When you click on links to various merchants on this site and make a purchase, this can result in this site earning a commission. Affiliate programs and affiliations include, but are not limited to, the eBay Partner Network.
I am at about 89K miles now and decided it was time to replace the rear shocks and related bushings. Was not getting any clunks or shakes yet but was pretty sure that the foam rubber bushings had to be near the end of their service life. So I bought a pair of shocks and bushings from Rock Auto. Less than $300 for everything.
I did this job with hand tools and floor jack. No need for a spring compressor. There have been a few threads debating how hard/easy it is. I would call it "not hard".
I got the car up on stands and with the first tire off had to decide where to start. I removed the lower shock bolt. Wanted to see what else would have to be removed after things started to loosen up.
It becomes quickly obvious that several things need to be disconnected so that the control arm can drop enough to extract the spring and shock.
First I removed the four bolts on the rear plate. 22mm
Next the support bars had to be removed. These might only be on convertibles. 17mm
Then disconnect the roll (or sway) bar link. 16mm
(I took this pic out of sequence so you can see the block of wood I stuck in the space later.)
The four retaining nuts holding the shock plate to the body are not hard to get to. 13mm
I decided to get the brake caliper and wheel speed sensor out of the way. Then it was time to push the control arm down to make space for the extraction. I was not comfortable with the "bend the living **** out of the plate" strategy. So I chose to use the good old scissor jack to push the arm down and let the arm make contact with the plate and slowly bend the plate just enough. ( Then I stuck the wood block in the space just in case.)
Once you make space and extract the shock assembly the jack can stay there till you are ready to reassemble.
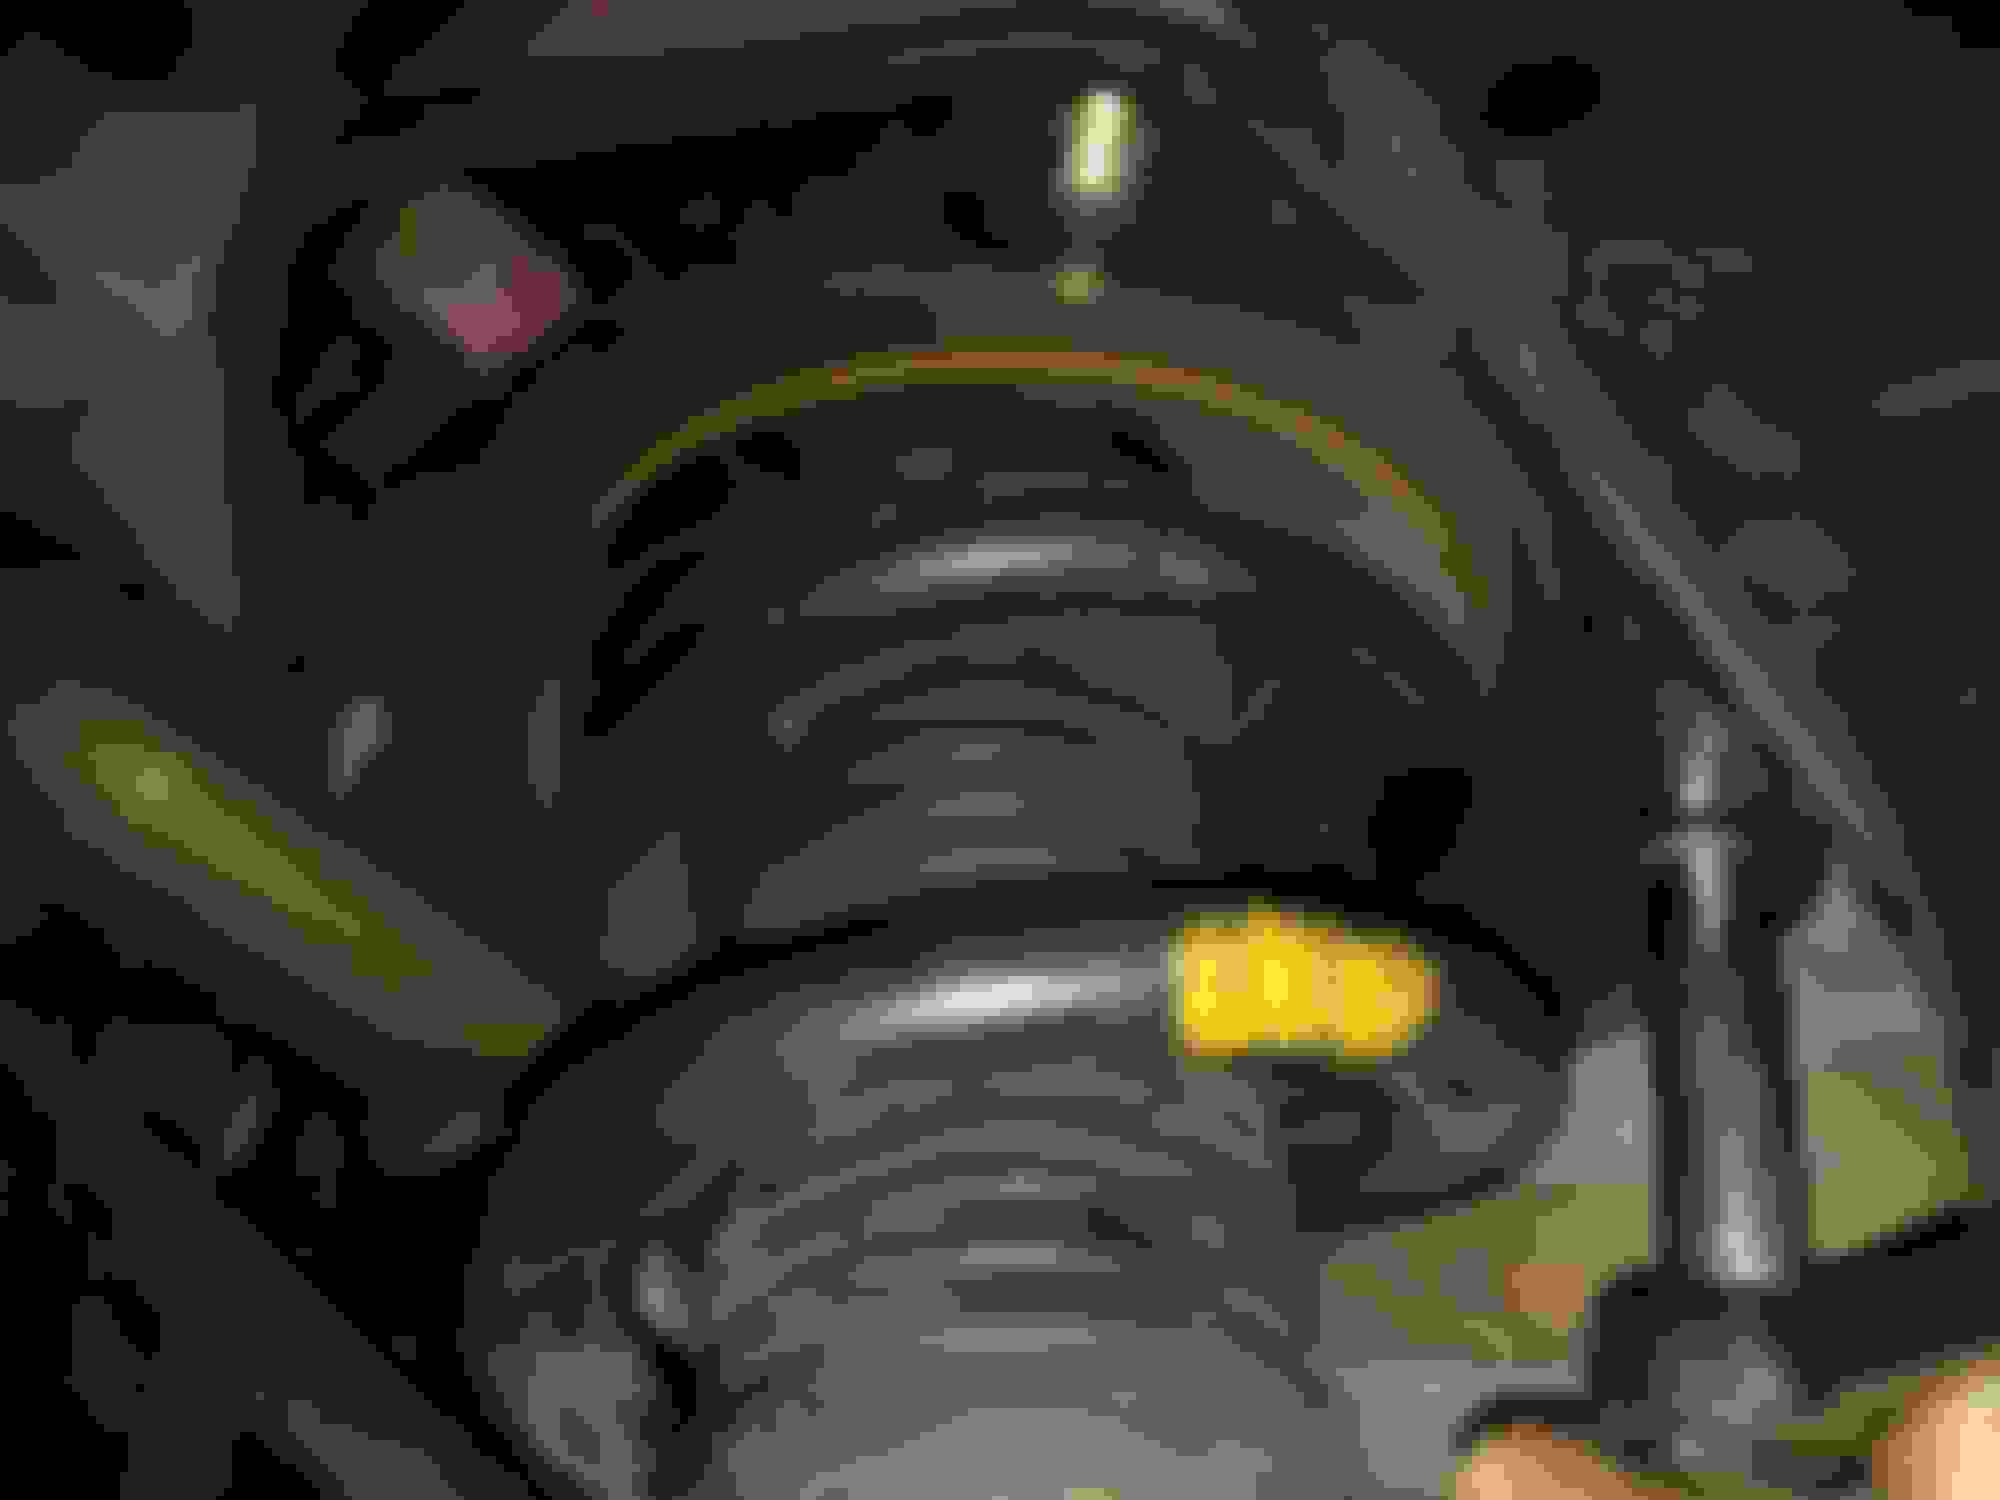
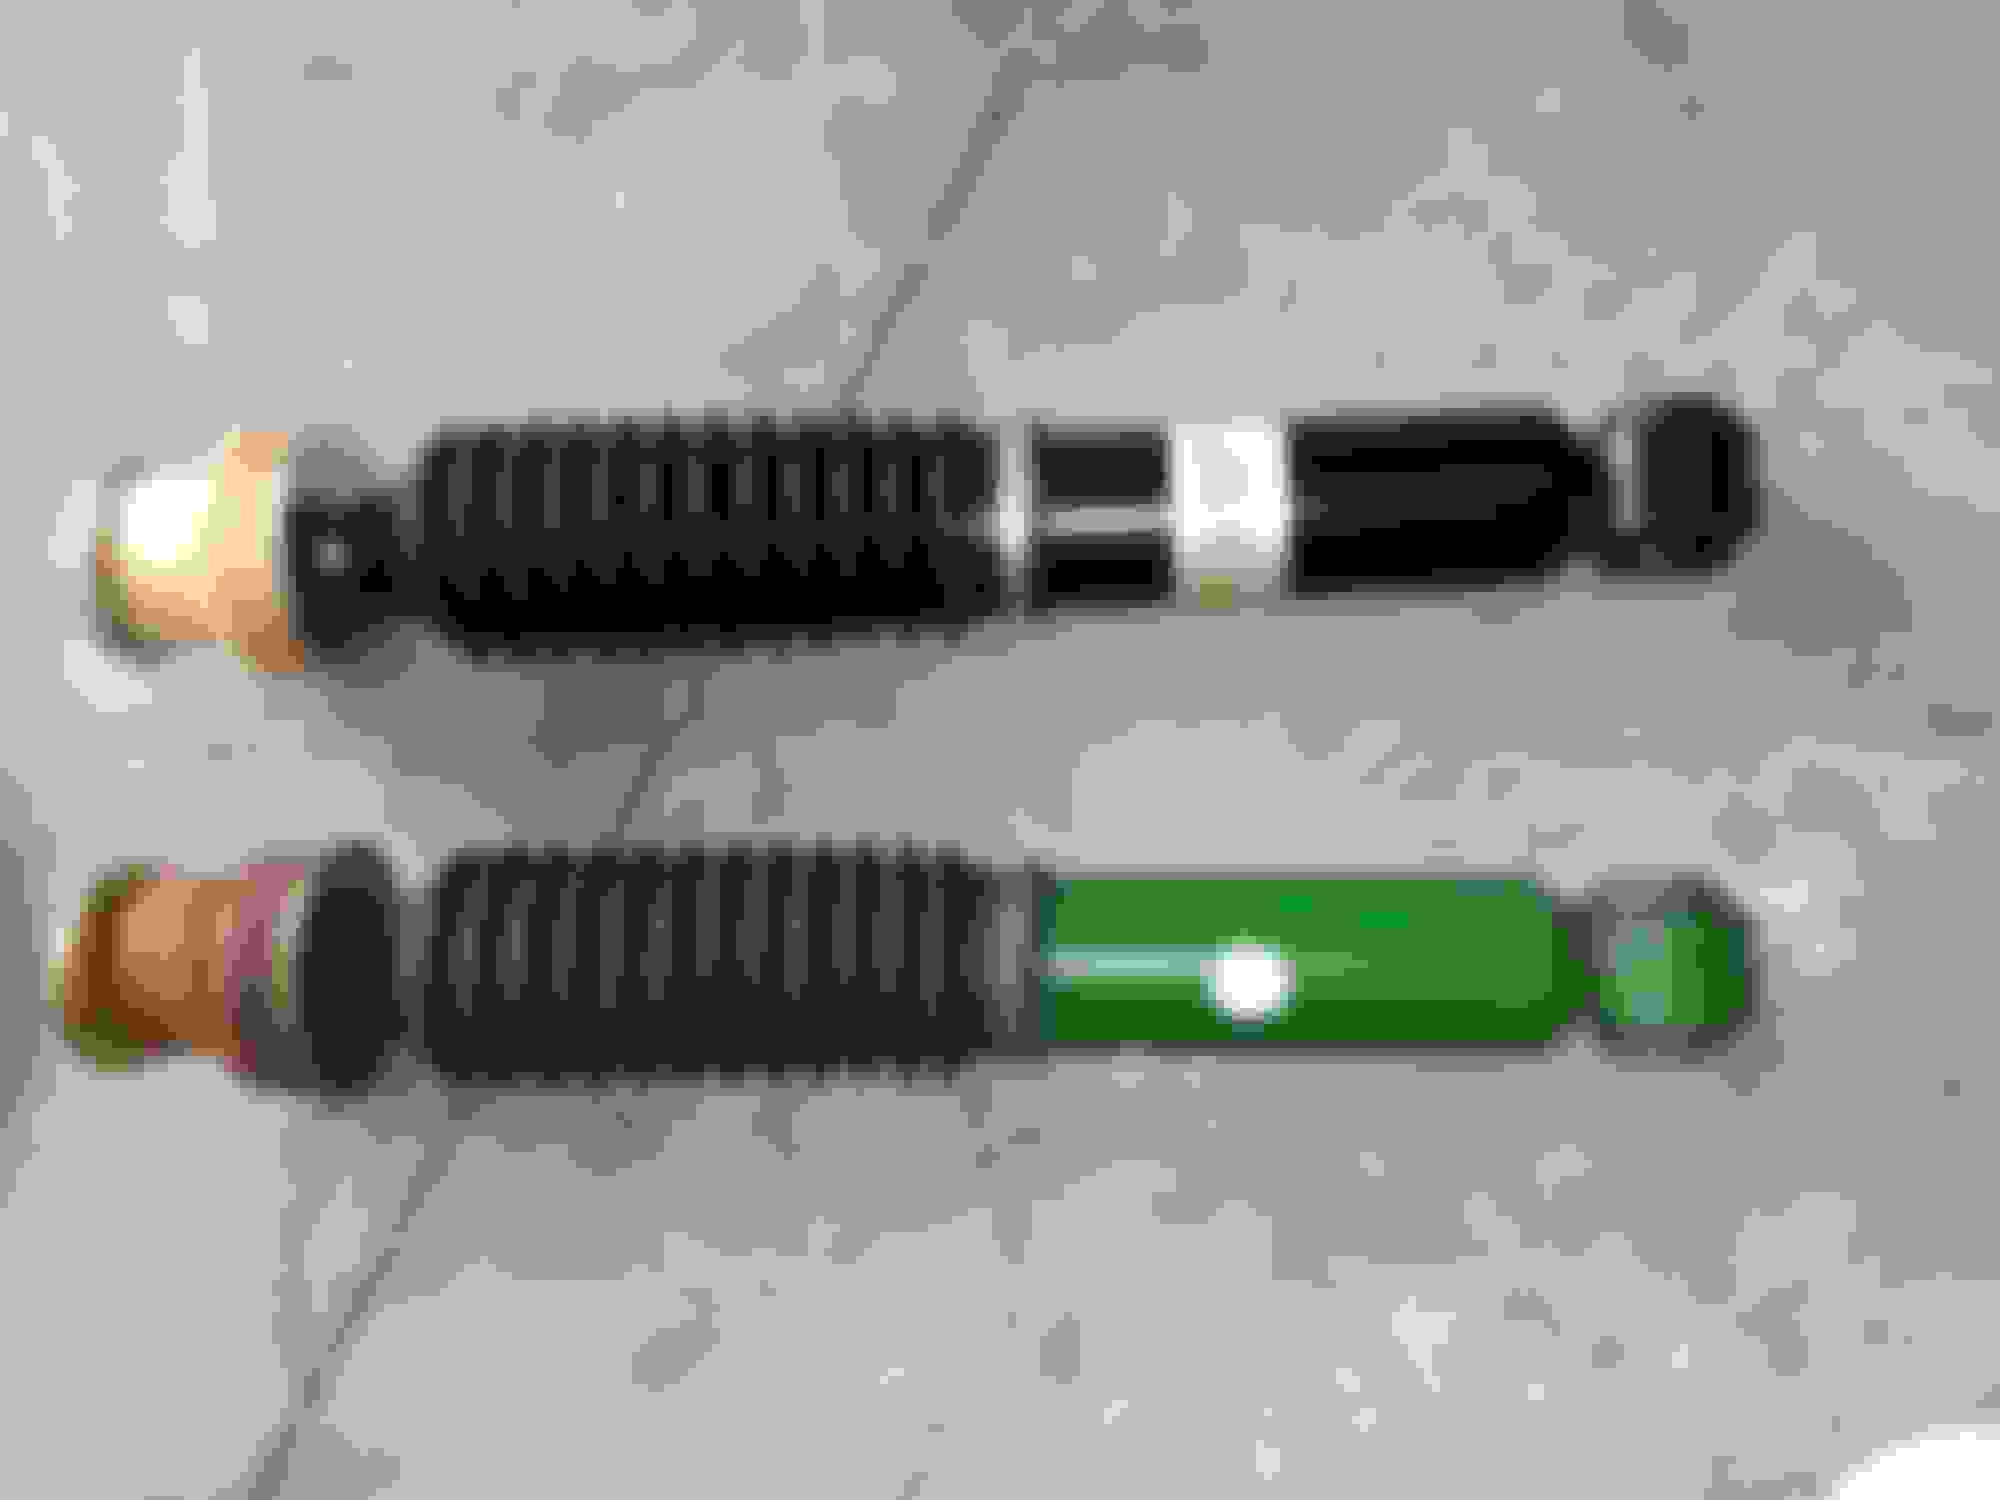
Inspection showed that the rubber was just starting to break down. The shock was still functional but definitely easier to compress than the new one.
Lower bushings were still solid but rubber was falling apart a bit.
The new shock comes assembled correctly. You just have to remove the nut and the top washer and bushing.
I cleaned all the reusable parts and mounted the shock to its housing. Washer is concave from top.
I mounted the new spring bushing and secured the spring using large zip ties. This makes it easy to guide the whole assembly back into place.
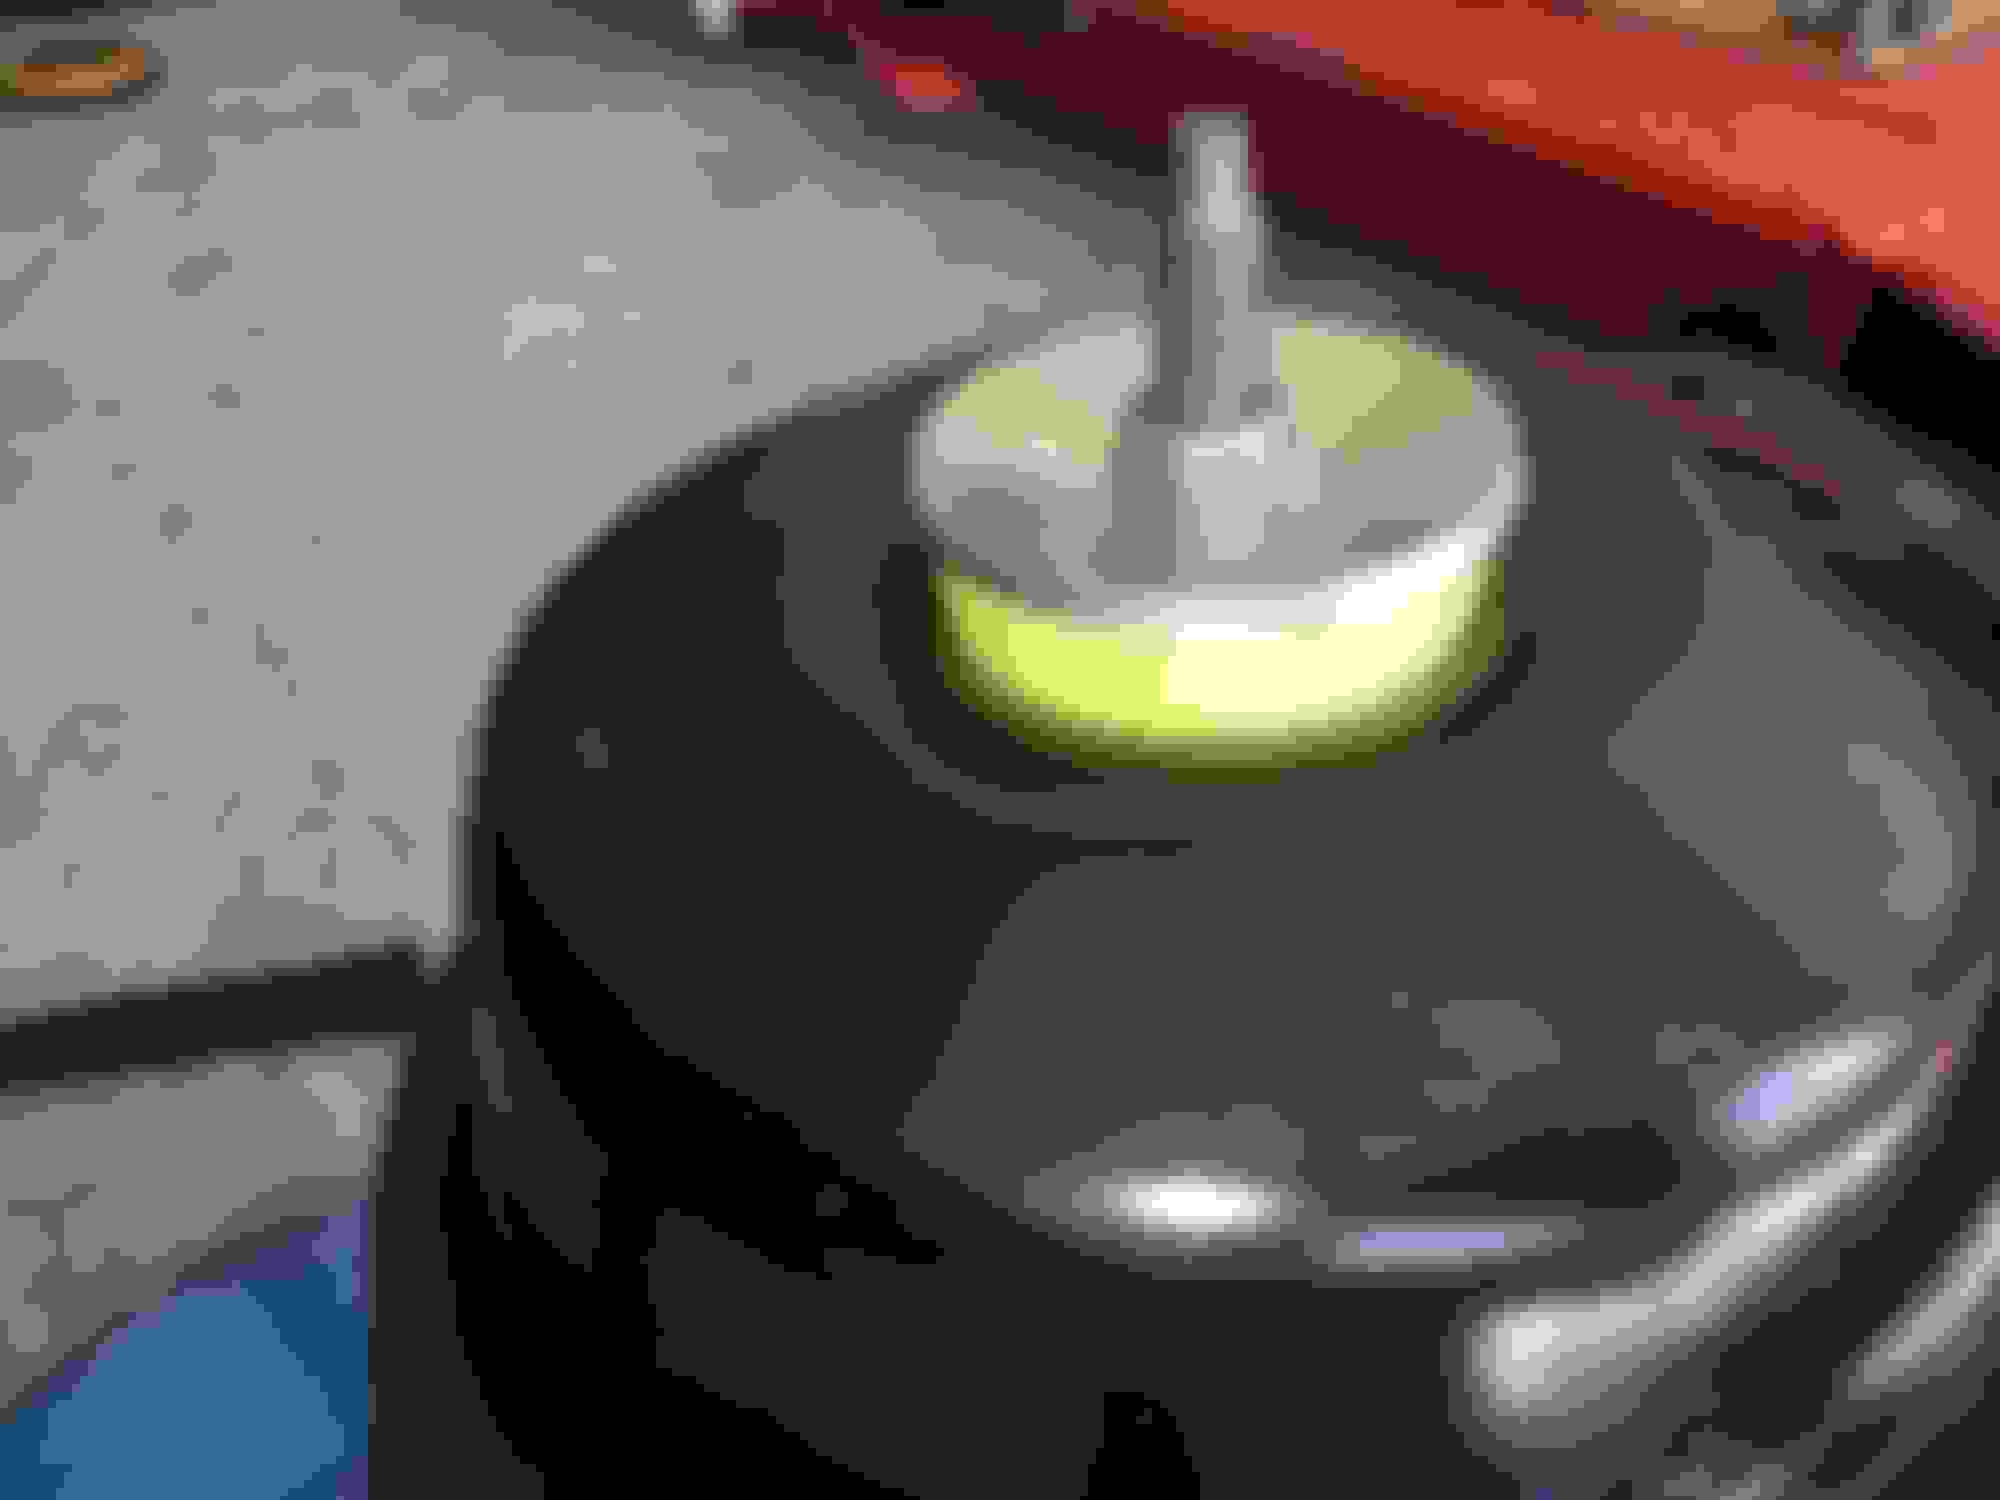
Before you insert the new assembly be sure to remove and clean the surfaces of the rubber spring seat on the control arm.
The new assembly goes in easily since the jack is keeping the space nicely.
Once you get the assembly align on the upper mounting bolts the scissor jack can be slowly released and the mounting plate will seat up against the body. The retaining nuts go back on easily.
While you are raising the control arm be sure to plug the bar link back into the hole as it ascends.
Back on with the brakes and the sensor and off to the other side.
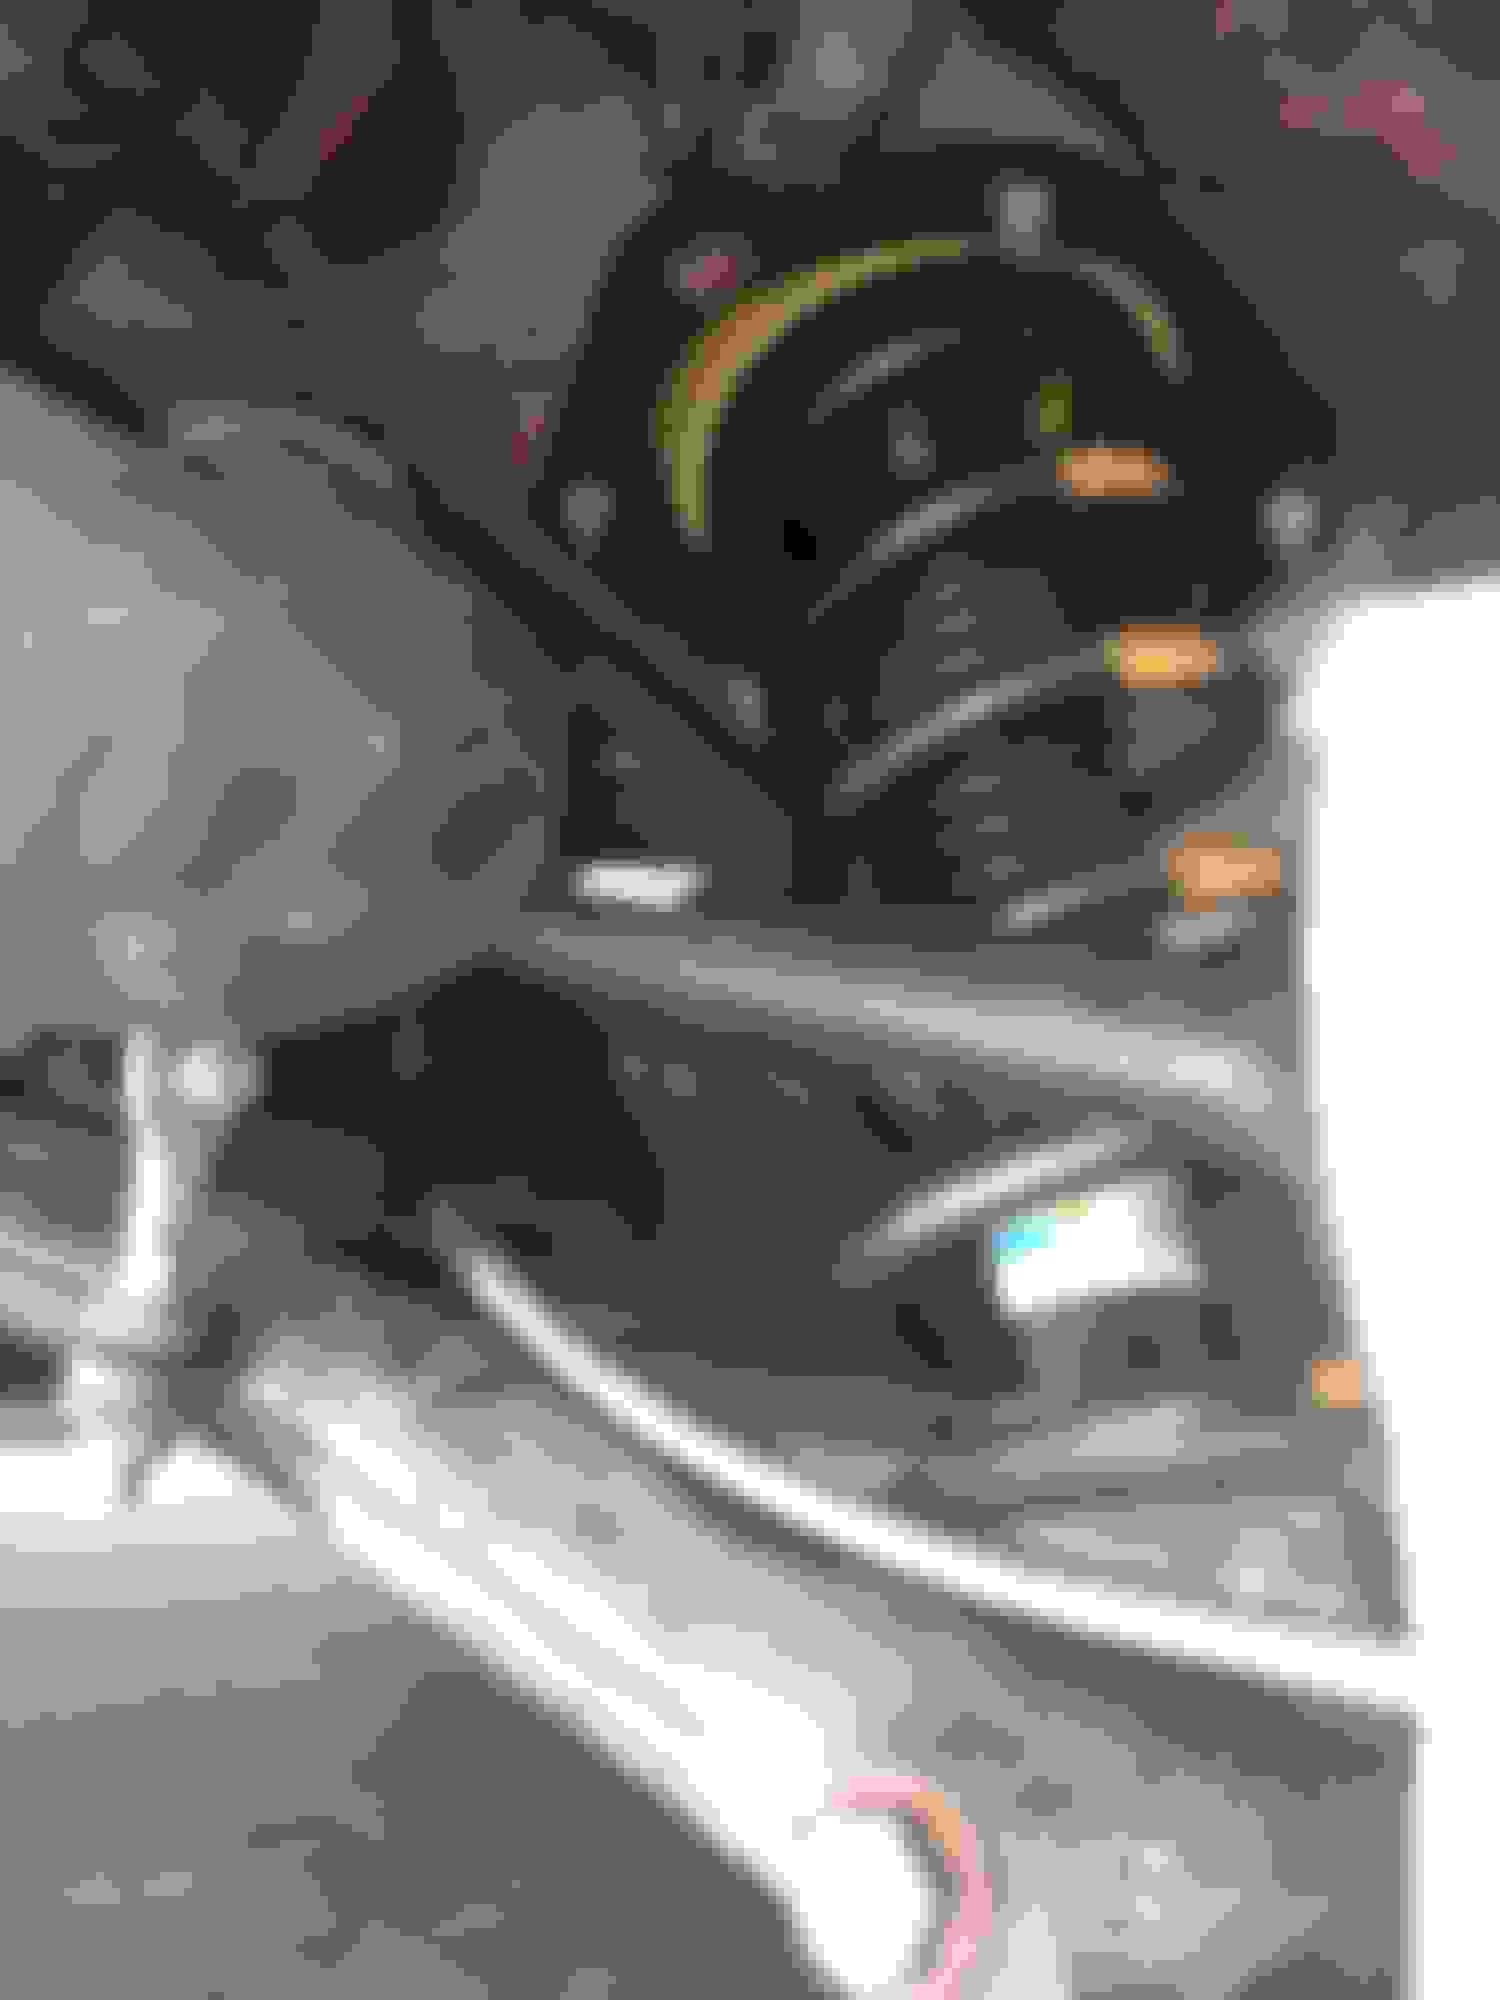
There were a couple things that had to be dealt with on this side. First was this arm connected to some sort of sensor. It just needs to be popped off at its joint.
And the fuel lines and some wiring make the placement of the scissor jack a bit tricky but doable.
Don't do what I did and forget to move these wires before you snug up the new assembly.
The wires need to be like this.
Finally you can remount the support bars and use a floor jack to bend the plate back up so the four bolts can be refitted.
While I had it all up and apart I also greased the u-joints on the drive shafts and cleaned the wheel speed sensors.
This all took me about 7 hours but I took my time and cleaned as I went.
On my test drive I was surprised at how much better the car handles now. I did not realize how soft the shocks were before.
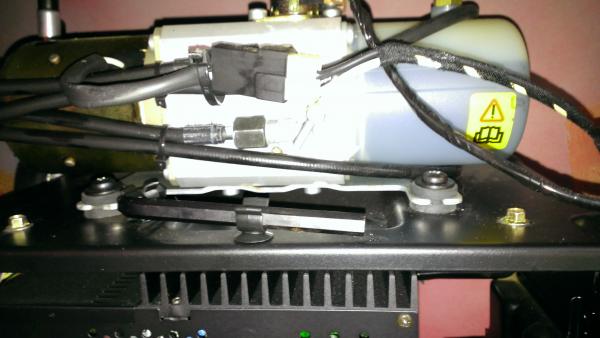
So I took a look at the pump and (sadly) no pressure relief installed. So it looks like I will be ordering one of those.
The hoses look to be original. Opinions on whether to replace these now?
Then I noticed signs of a leak near the latch. It doesn't seem to be wet but definitely has some residue. On the drive home with the car I dropped the top and have not put it back up since. Until I sort out the hydraulics I don't plan to put it back up.
Since it is not "showering" at the moment is this something that might be solved by the pressure relief? What is the best course of action?
The pressure reduction valve will not fix a problem where the hoses or latch are already leaking. It is simply a method of reducing stress on the components so they last longer.
On the other hand, the dampness in the roof console can be left over from a leak that was previously repaired. A visual inspection of the latch hydraulics is in order to resolve this.
I know from experience in my 05 VDP that a weak battery will give you problems.
The one in this 04 XK8 looks to be original but I can't find any date markings on it. Wondering if I should just replace it now. Opinions?
Have the battery load tested wherever they sell batteries.
Alternatively drive the car for 30 minutes or so to make sure the battery is fully charged. Then let is sit overnight. In the morning measure the voltage at the battery terminals with the ignition off. Anything under 12.3-12.4 volts is marginal in a Jaguar.
............. The one in this 04 XK8 looks to be original but I can't find any date markings on it. Wondering if I should just replace it now. Opinions?
That is an OE Jaguar battery manufactured by Varta.
The manufactured date on these is stamped into the top of the negative terminal post in the format WW-YY for Week and Year:
This code on mine in the photo is 23-12 for the 23rd Week in 2012. I can't make out a code stamp on the negative terminal of yours. It could be the pic resolution or that it's worn off.
If it's five years or more old, it's probably on borrowed time.
The pressure reduction valve will not fix a problem where the hoses or latch are already leaking. It is simply a method of reducing stress on the components so they last longer.
On the other hand, the dampness in the roof console can be left over from a leak that was previously repaired. A visual inspection of the latch hydraulics is in order to resolve this.
I'll take it apart and get a closer look. Any particular thread have a good how-to on disassembly?
After reading thru Gus's material I must say that I am amazed at how something as simple as a latch mechanism could be so well under engineered.
Why in the world was it necessary to use 40' of tubing and fluid to close a latch? It seems like they just designed in repair costs to float the dealers.
I can see how to get at the latch from above. How do you get the control console off?
there are two pressure clips on the console that fit into a plastic bracket in the overhead - I've never had to remove the console but did have to reinstall since the bracket was cracked/broken. Pry very cerefully and it should pop loose
If it's five years or more old, it's probably on borrowed time.
Graham
The negative battery posts have 18/03 stamped on my 2003 XK8 and 01/04 on my 2004 XJ8. Both are doing fine. The morning after the cars are driven the static voltage is above 12.5V for both of them. Not too shabby ...
How high of a priority should I make this repair? I don't feel any looseness or poor handling/ride quality.
I would say medium to high without seeing your car. Others will chime in now that I've put that out there. It will affect your ride and handling, it just might take a while to notice. Some guys report thunking in the front end on bumps as the mount really goes bad.
Full disclosure: mine are bad and I haven't gotten to them yet. Need to as the ride height is too low. Looks kinda badazz, but won't be good for my new tires (camber?) or other suspension bits.
I have had the car for a week now. Put about 500 miles on it. No noticeable thunking yet.
It only has 39K miles total but is about 10 years old so I am guessing that most of the suspension rubber bits will need replacing. I just had the wheels off for a good cleaning and brake inspection and I will have to do the front brakes this fall when it gets a little cooler. Think I will do those shock mounts at the same time.
What kind of life expectancy do the shocks have? Should I just replace them while I am in there?


 07-31-2013, 05:19 PM