
good place for detailing in Toronto?
#21
 01-09-2014, 08:06 PM

Junior Member
Join Date: Jan 2014
Location: oshawa
Posts: 1
Likes: 0
Received 0 Likes
on
0 Posts
#22
01-09-2014, 09:15 PM

Join Date: Oct 2007
Location: PHX some of the time
Posts: 117,811
Received 6,362 Likes
on
5,535 Posts
#23
01-14-2014, 04:33 PM

Junior Member
Join Date: Jan 2014
Location: Toronto
Posts: 4
Likes: 0
Received 0 Likes
on
0 Posts
#24
01-17-2014, 09:49 AM
I would highly recommend this place as I used to take my Porsche there and was amazed every time I picked it up. I haven't had my XK there yet as I just took delivery a month ago, or so and its been in my garage ever since. I will be taking it in for the Opti-Coat treatment in the spring. "GTA In Detail" is one of the few places in the GTA that is licensed to apply the Opti-Coat product.
Here's their website.
GTA In Detail - Professional Detailing Service Information
Here's their website.
GTA In Detail - Professional Detailing Service Information


#28
02-07-2014, 01:36 PM
Hey Guys,
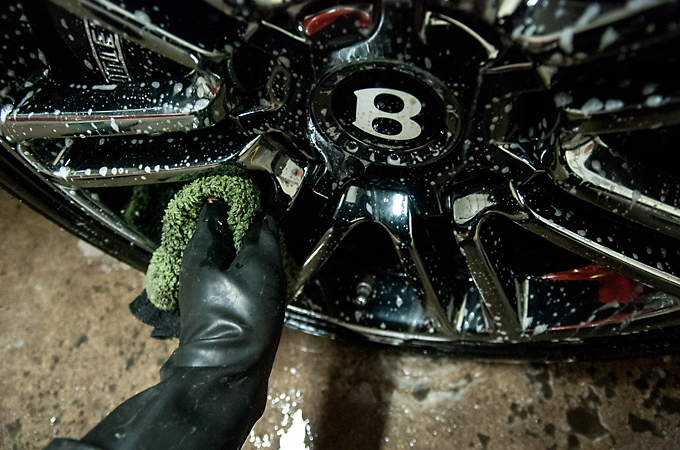
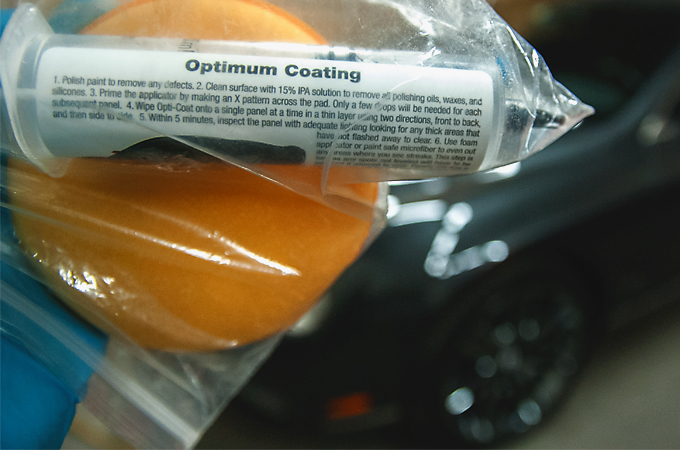
Here is a mini write up on a 60th Anniversary CGT that came to me after hearing about Opti Coat and decided it was the perfect option to protect his CGT since it would be winter driven. He decided to upgrade and go for the Opti Coat Pro over Opti Coat 2.0. This job ended up being a 2 stage polish and here are the results.
Stay warm
Cleaning the wheels
Before paint correction

After paint correction
I wanted to do something different then the usual 50/50 shot so I polished only in a square. Lol I call this the window of hope for paint. Hahaha I know, corny, but I can't help myself
Opti Coat Pro
Glossy rear panel. I love the cloud reflections
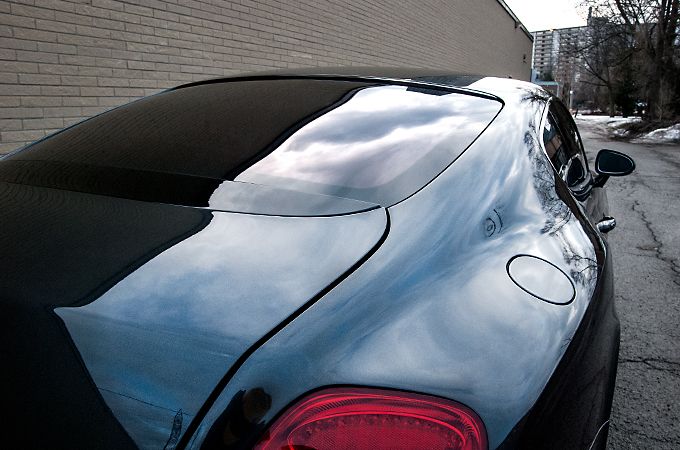
Last pic. Unfortunately no sun but it was still shiny.

Here is a mini write up on a 60th Anniversary CGT that came to me after hearing about Opti Coat and decided it was the perfect option to protect his CGT since it would be winter driven. He decided to upgrade and go for the Opti Coat Pro over Opti Coat 2.0. This job ended up being a 2 stage polish and here are the results.
Stay warm
Cleaning the wheels
Before paint correction
After paint correction
I wanted to do something different then the usual 50/50 shot so I polished only in a square. Lol I call this the window of hope for paint. Hahaha I know, corny, but I can't help myself
Opti Coat Pro
Glossy rear panel. I love the cloud reflections
Last pic. Unfortunately no sun but it was still shiny.
#29
02-07-2014, 03:23 PM

Join Date: Oct 2009
Location: Perth Ontario Canada
Posts: 11,058
Received 2,266 Likes
on
1,845 Posts
#31
02-13-2014, 09:54 AM
Hey Jaguarforumers,
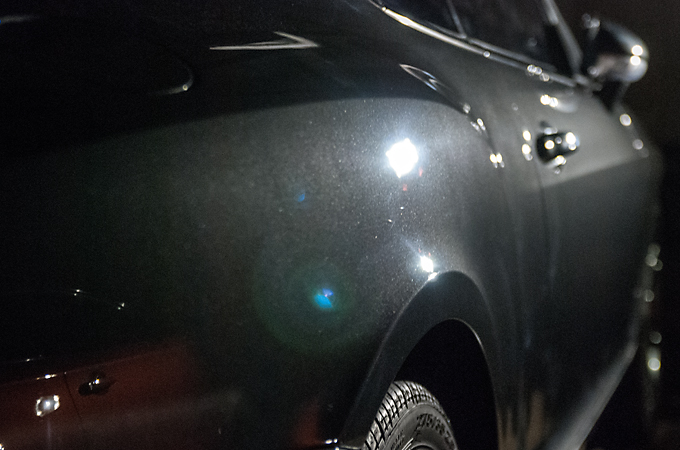
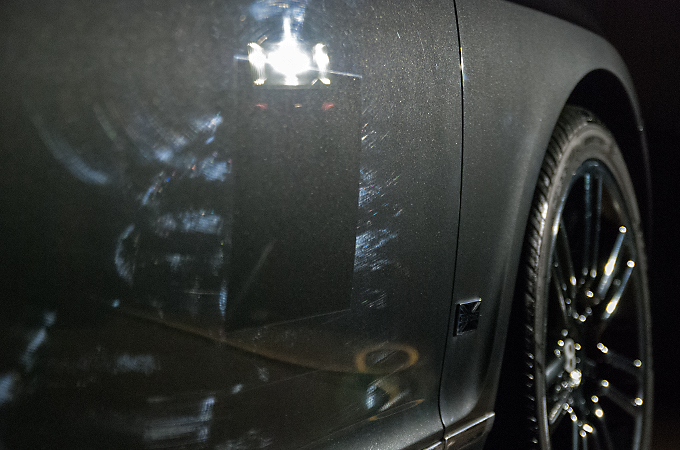
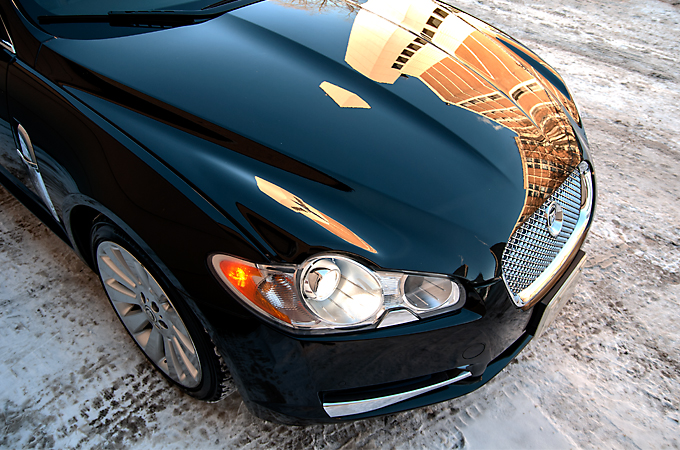
This beautiful XF came in after seeing the 60th Bentley and wanted to restore the finish on his Jag. We exchanged contact info and after answering a few text message we finally arranged a date and in to the shop it came. The paint was in rough shape as it had been through the brush washes many times. This job was a fairly aggressive 2 stage polish + Opti Coat 2.0
Before

After

50/50 shot (left side unpolished)

After the 2nd stage of polishing we could see the metallic flake again! Looking at this pic it sort of looks like outerspace.

Opti Coat 2.0

I love the reflection of the building on the hood!
And last pic
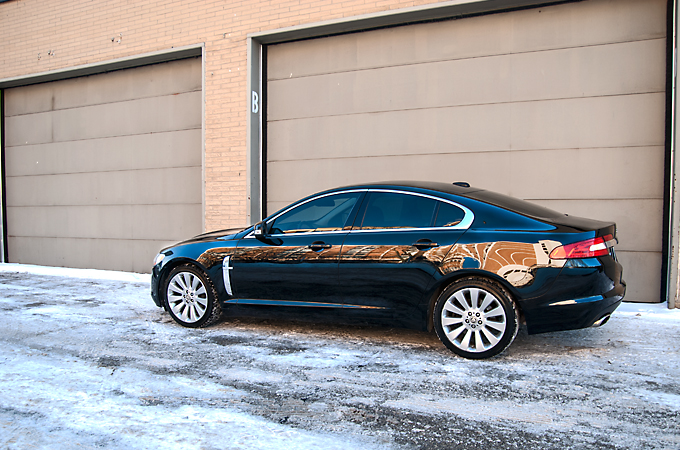
Hope you enjoyed and stay warm!
This beautiful XF came in after seeing the 60th Bentley and wanted to restore the finish on his Jag. We exchanged contact info and after answering a few text message we finally arranged a date and in to the shop it came. The paint was in rough shape as it had been through the brush washes many times. This job was a fairly aggressive 2 stage polish + Opti Coat 2.0
Before
After
50/50 shot (left side unpolished)
After the 2nd stage of polishing we could see the metallic flake again! Looking at this pic it sort of looks like outerspace.
Opti Coat 2.0
I love the reflection of the building on the hood!
And last pic
Hope you enjoyed and stay warm!
#32
02-25-2014, 04:09 PM
Hey Jaguarforumers,
Just a mini write up this time due to time constraints.
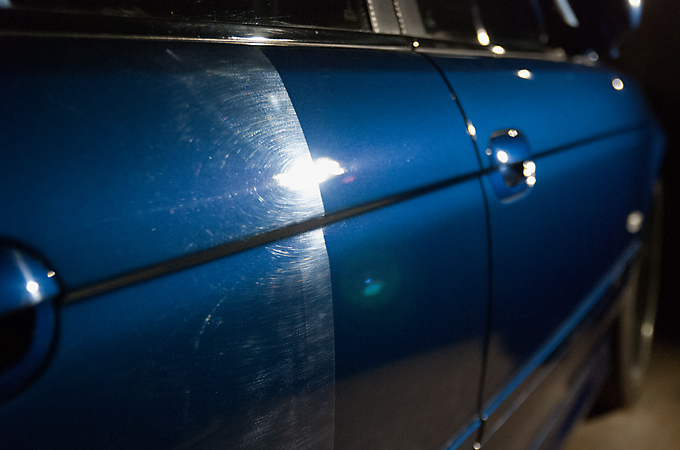
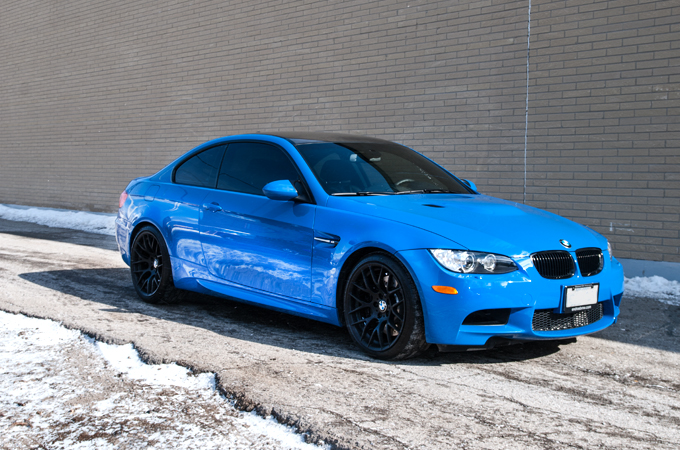
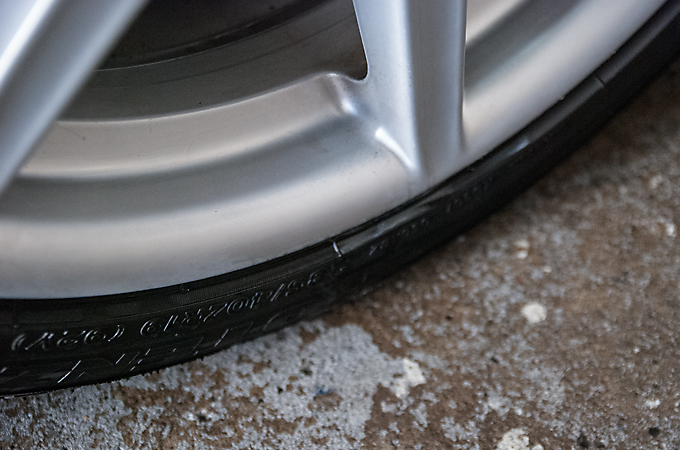
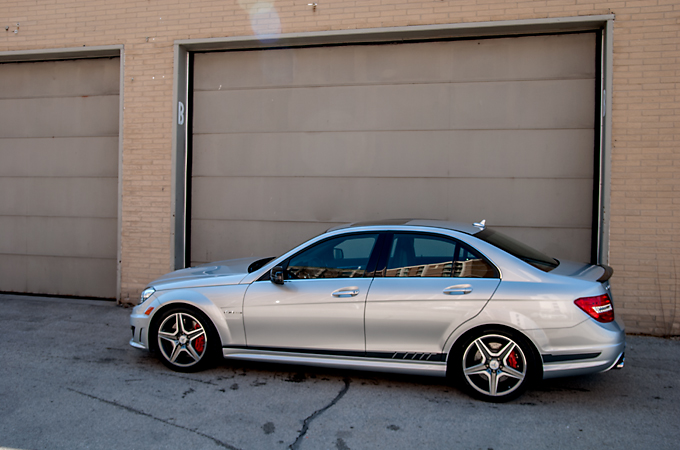
This client has been with me for a couple years now and first came in with a 335is. He recently purchased this brand new Santorini Blue M3 of which there are only 10 of in Canada. It had some light swirling that was to be polished out and then Opti Coated. I mentioned Pro but in the end we just went with 2.0. This was a 1 Stage Polish to buff out the light swirling.
Getting started with the rims, which came in black from the factory by the way

2 Bucket Method Washed as always

Clayed with the Nanoskin Mitt while the car was still wet
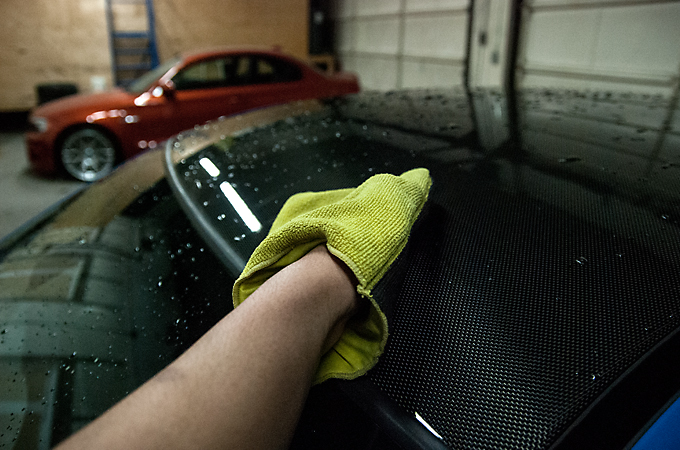
Then dried with a plush microfibre towel

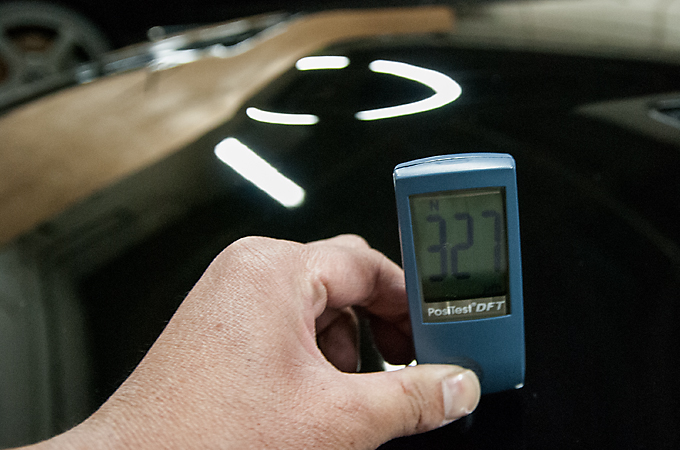
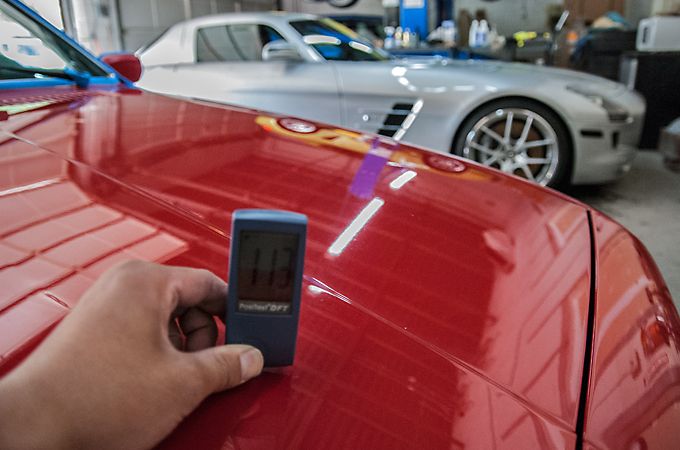
Paint was measured in microns to look out for low spots or repainted panels
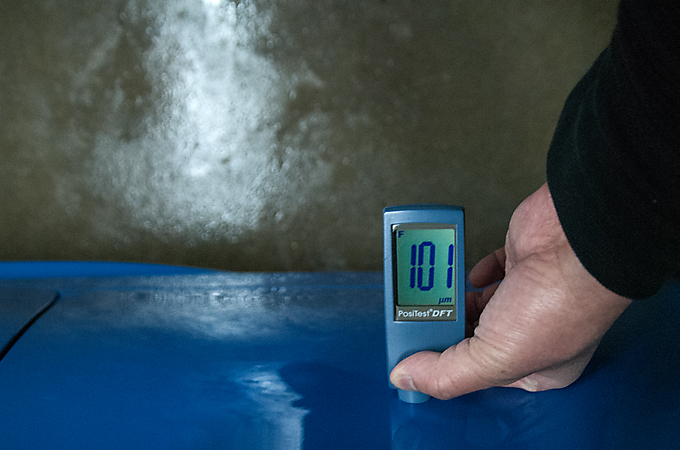
And we brought out a new paint depth gauge that can measure non metallic surfaces by using ultrasound. This thing costed $3000!!!
It can measure up to 3 different layers.
The front fenders are made of an "advanced plastic" according to BMW so the "32" is primer and paint and the "68" is clearcoat equalling 100 microns. Which is about right because the other gauge measured 101 microns on the door.


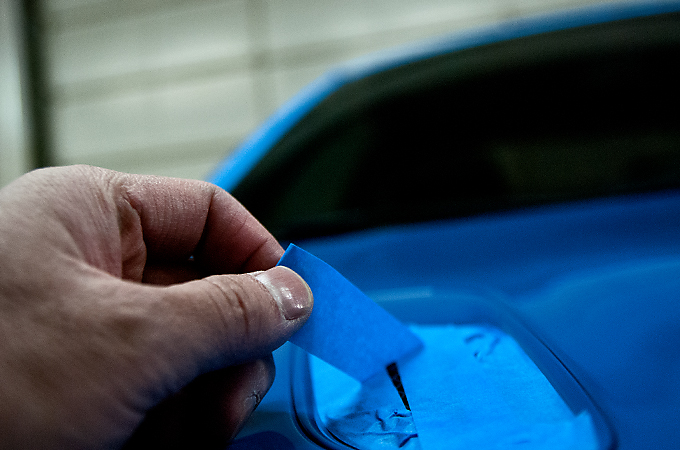
Next up was masking the rubber trim
 [/QUOTE]
And I could start polishing
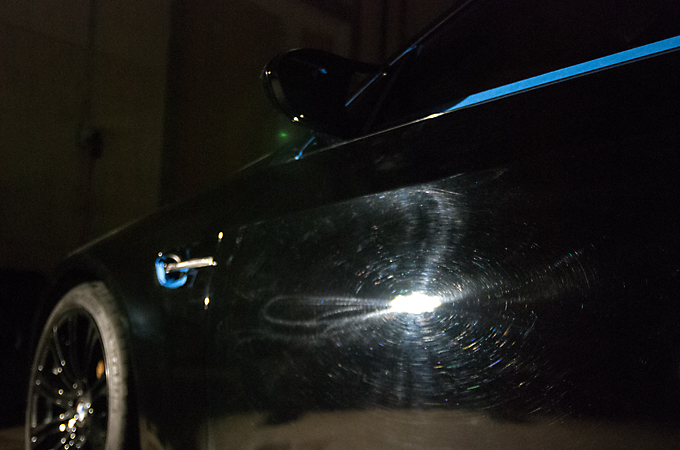
Before

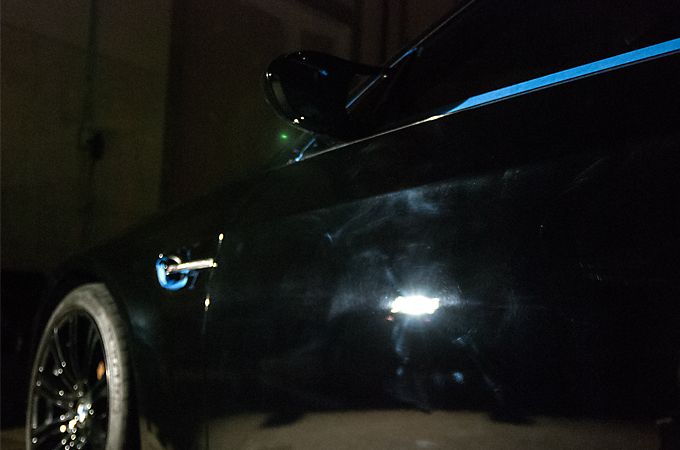
After

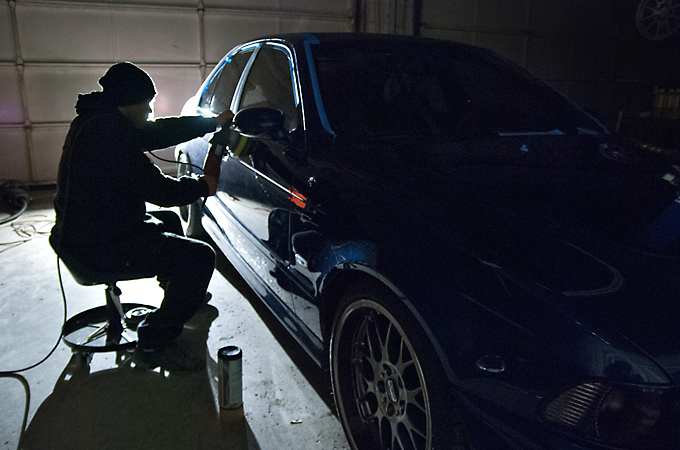
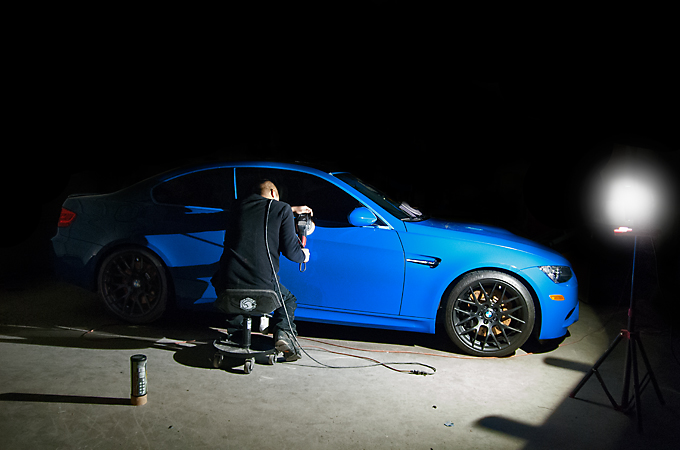
A shot of yours truly polishing
Unmasking
Alcohol wiping to clean off the polishing oils
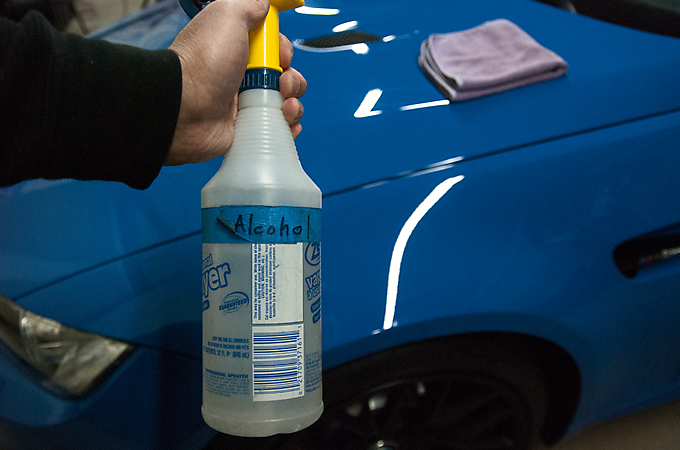
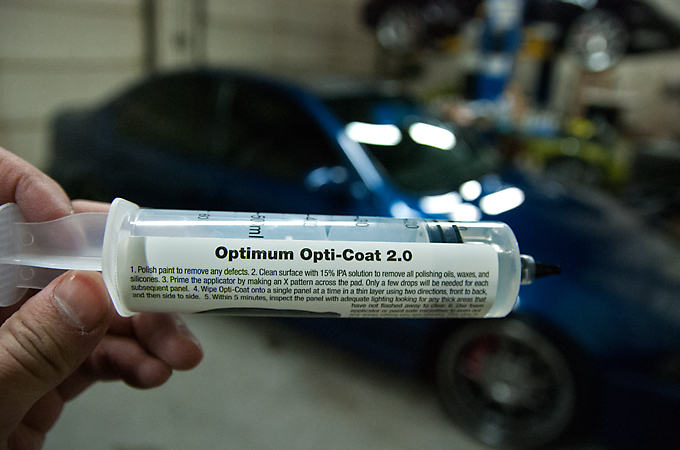
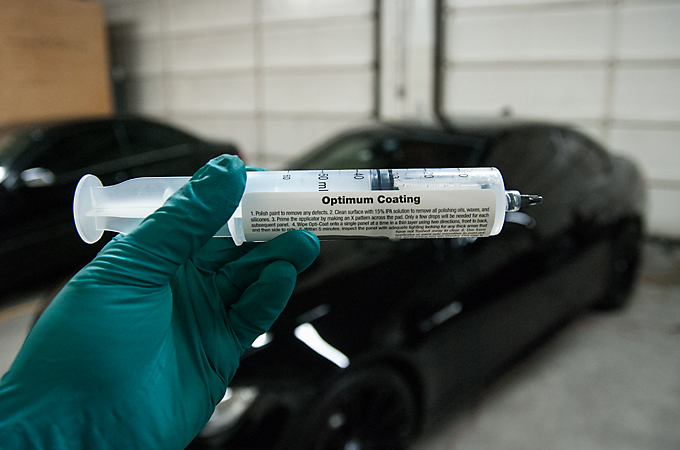
Opti Coat 2.0 about to be applied

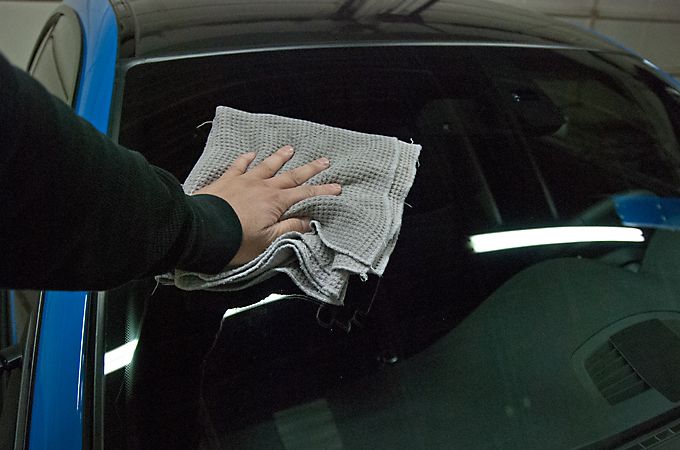
Windows cleaned
Tires dressed(I don't like the shiny stuff. I prefer a satin finish)

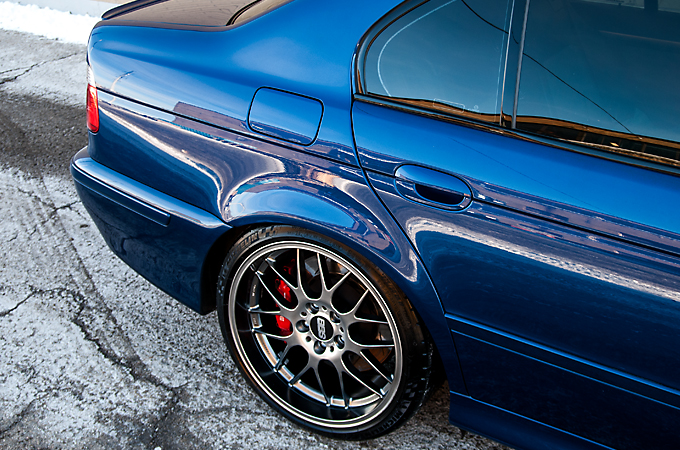
And the super sexy afters! Words cannot describe!
Drool


And my last 2 favorite pics
I love the matching stitching

And one of those cool guy pics to end it off

All in all I spent about 9hrs beginning to end.
Hope you guys enjoyed the pics!
Just a mini write up this time due to time constraints.
This client has been with me for a couple years now and first came in with a 335is. He recently purchased this brand new Santorini Blue M3 of which there are only 10 of in Canada. It had some light swirling that was to be polished out and then Opti Coated. I mentioned Pro but in the end we just went with 2.0. This was a 1 Stage Polish to buff out the light swirling.
Getting started with the rims, which came in black from the factory by the way
2 Bucket Method Washed as always
Clayed with the Nanoskin Mitt while the car was still wet
Then dried with a plush microfibre towel
Paint was measured in microns to look out for low spots or repainted panels
And we brought out a new paint depth gauge that can measure non metallic surfaces by using ultrasound. This thing costed $3000!!!
It can measure up to 3 different layers.
The front fenders are made of an "advanced plastic" according to BMW so the "32" is primer and paint and the "68" is clearcoat equalling 100 microns. Which is about right because the other gauge measured 101 microns on the door.
Next up was masking the rubber trim
[/QUOTE]And I could start polishing
Before
After
A shot of yours truly polishing
Unmasking
Alcohol wiping to clean off the polishing oils
Opti Coat 2.0 about to be applied
Windows cleaned
Tires dressed(I don't like the shiny stuff. I prefer a satin finish)
And the super sexy afters! Words cannot describe!
Drool
And my last 2 favorite pics
I love the matching stitching
And one of those cool guy pics to end it off
All in all I spent about 9hrs beginning to end.
Hope you guys enjoyed the pics!
#33
03-27-2014, 07:58 AM
Hey Guys/Gals,
Spring is almost here.... I hope lol.
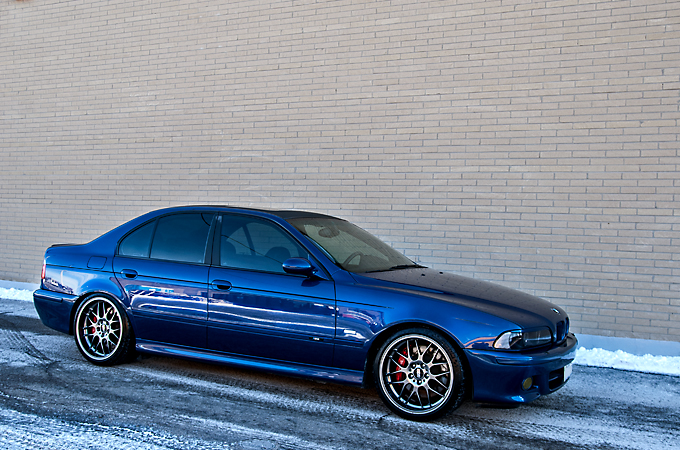
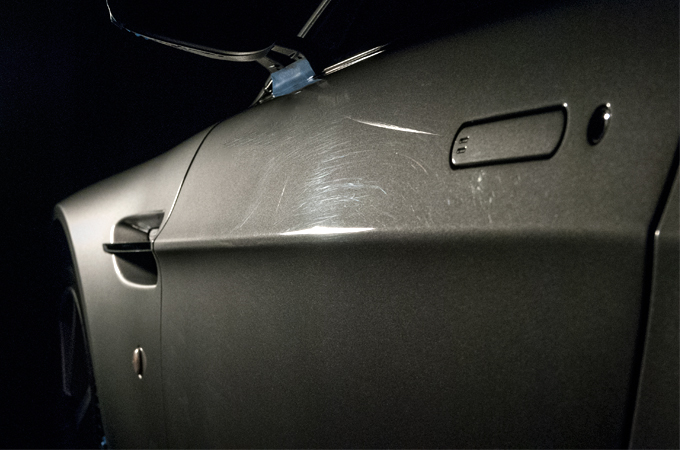
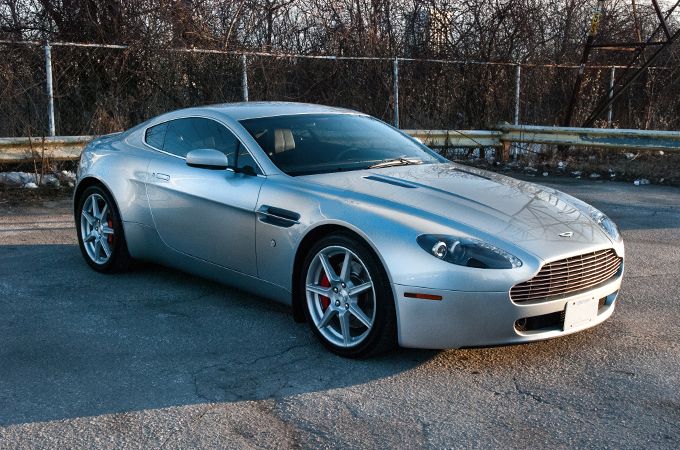
This client contacted me regarding paint correction on his Vantage as well as his M5. Not much was really discussed other then pricing and when he could bring the cars in. We figured out a date and in first was the Aston which received a 1 stage polish. This was the loudest Vantage I have ever heard, and any car with aftermarket exhaust for that matter actually.
On arrival pic

Started out with the rims, wheel well, and calipers
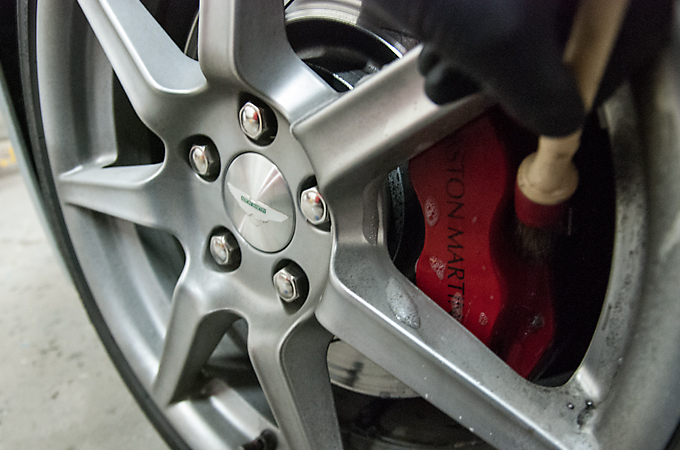
After cleaning the rims there was some left over tar that needed special attention

Tarminator in action

All gone
Washed with a sea sponge and the 2 Bucket Method

Claybarred the paint and it was in really rough shape
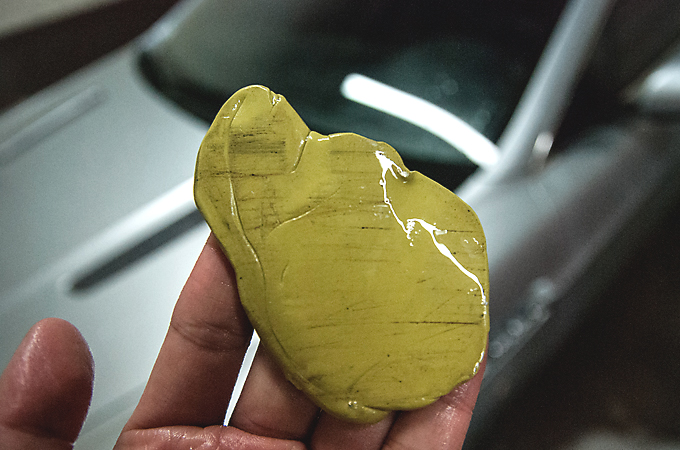
Took measurements and everything was ok with no repaint

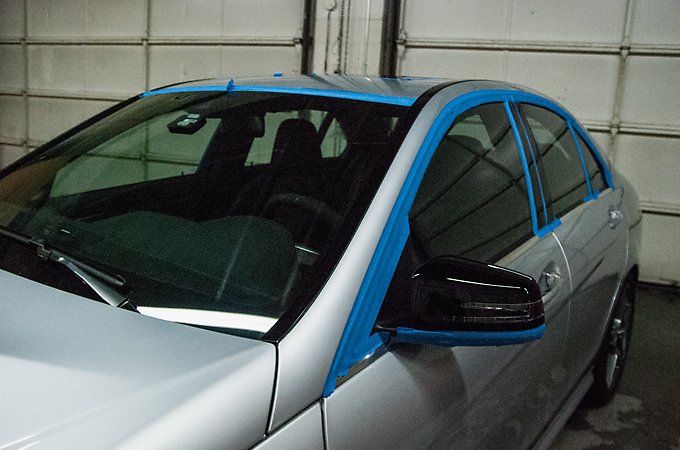
Masked off all the rubber trim and began polishing
Before

After
Before

After
Before
After

Before

After

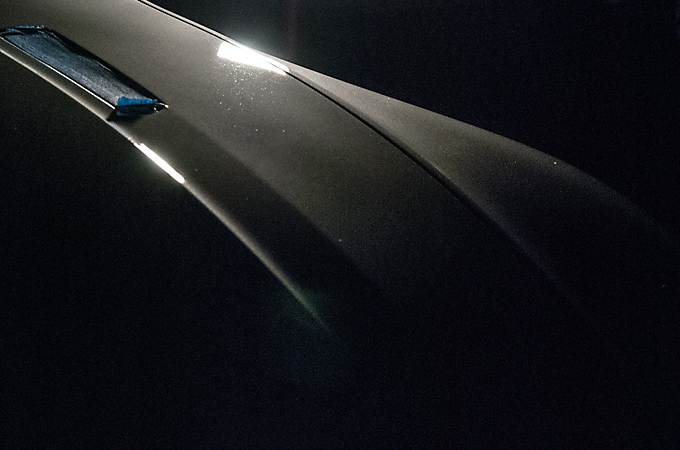
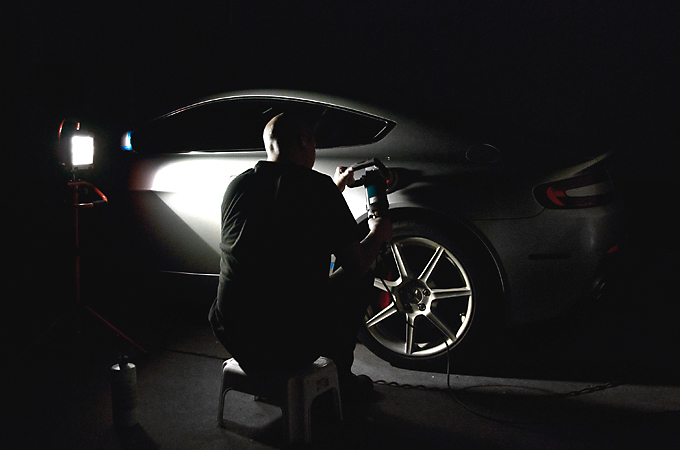
Paint correction in action going old school with the rotary
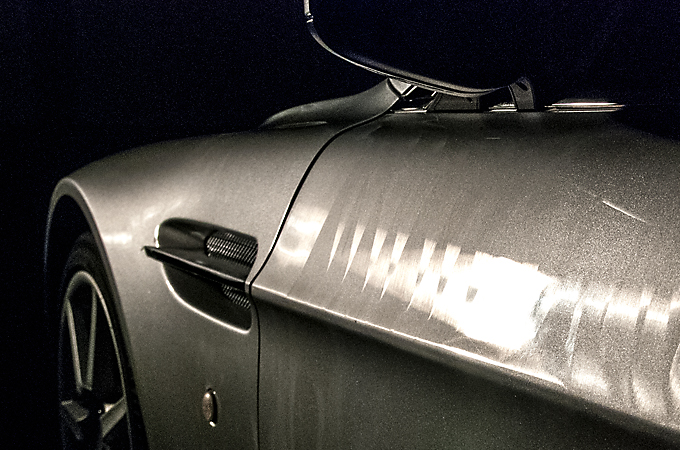
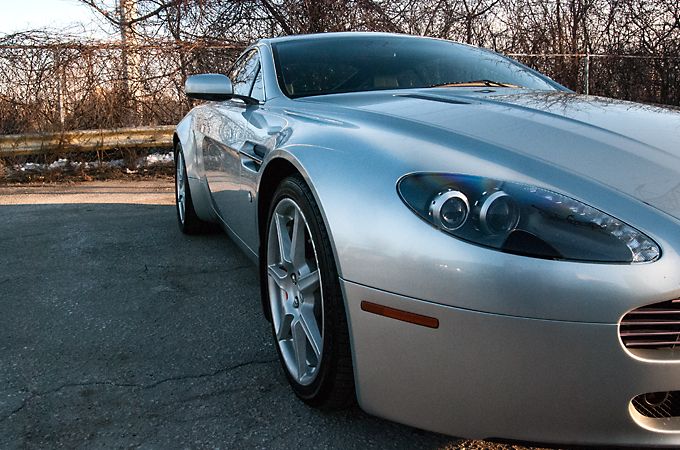
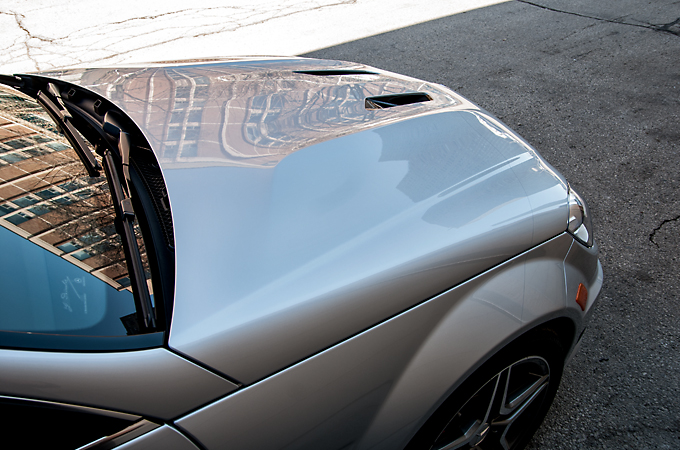
Teaser shot of the gloss achieved. The fender was looking like liquid metal!

Blue masking tape removed

Cleaning up the polishing dust left behind

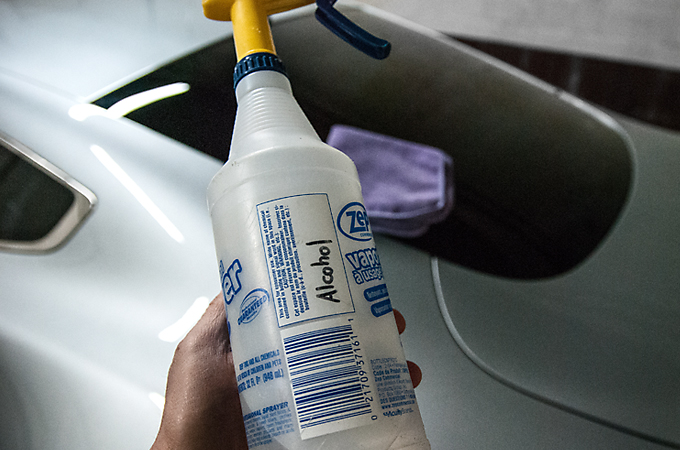
Alcohol wipe down
Wax applied and curing
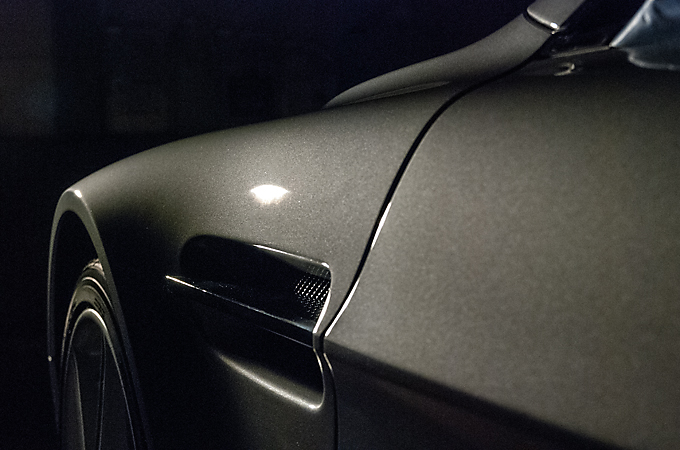
And the afters
Reflections


Who says silver can't shine and reflect

I love the reflections down the side
And my favourite pic!

Hope you enjoyed the pics as usual and hopefully this weather starts to get warmer soon!
Spring is almost here.... I hope lol.
This client contacted me regarding paint correction on his Vantage as well as his M5. Not much was really discussed other then pricing and when he could bring the cars in. We figured out a date and in first was the Aston which received a 1 stage polish. This was the loudest Vantage I have ever heard, and any car with aftermarket exhaust for that matter actually.
On arrival pic
Started out with the rims, wheel well, and calipers
After cleaning the rims there was some left over tar that needed special attention
Tarminator in action
All gone
Washed with a sea sponge and the 2 Bucket Method
Claybarred the paint and it was in really rough shape
Took measurements and everything was ok with no repaint
Masked off all the rubber trim and began polishing
Before
After
Before
After
Before
After
Before
After
Paint correction in action going old school with the rotary
Teaser shot of the gloss achieved. The fender was looking like liquid metal!
Blue masking tape removed
Cleaning up the polishing dust left behind
Alcohol wipe down
Wax applied and curing
And the afters
Reflections
Who says silver can't shine and reflect
I love the reflections down the side
And my favourite pic!
Hope you enjoyed the pics as usual and hopefully this weather starts to get warmer soon!
#34
03-30-2014, 08:36 AM
Senior Member
having prepared all my own cars for Concours competition I have used many different polishes. Some great others not so great. At the last Concours I attended I won a bucket of assorted polishes from NAPA. They were put aside and forgotten. Yesterday I decided as it was a nice day (not snowing for a change) perhaps I should treat my truck to a coat of polish. Camping season will be on us soon and it would be nice to have a clean truck to pull my fifth wheel trailer.
Out came the NAPA polish and boy am I impressed with it. The stuff I am talking about is the NAPA Body Pro Polymer cleaning wax and costs around $18.00. Goes on really easily and boy for the cost, gives you a extremely good deep shine that holds. I am really impressed with it, would not have had any regrets had I used it to detail any of my Jaguars.
Bonus is that the stuff is produced in Canada.
#35
04-20-2014, 07:49 AM
Just Opti Coated this 507 which was a pretty brand new car. There were some very light swirls that needed to be polished out but with the color being silver my camera couldn't get a good before and after. Regardless I couldn't have a 507 in the shop and not take pics.
Rubber trim masked up
Polishing

Opti Coat Pro

Very nice gloss!
And a quick shot before she leaves
Happy Easter!
Rubber trim masked up
Polishing
Opti Coat Pro
Very nice gloss!
And a quick shot before she leaves
Happy Easter!
#36
05-11-2014, 03:38 PM
Happy Mother's Day guys,
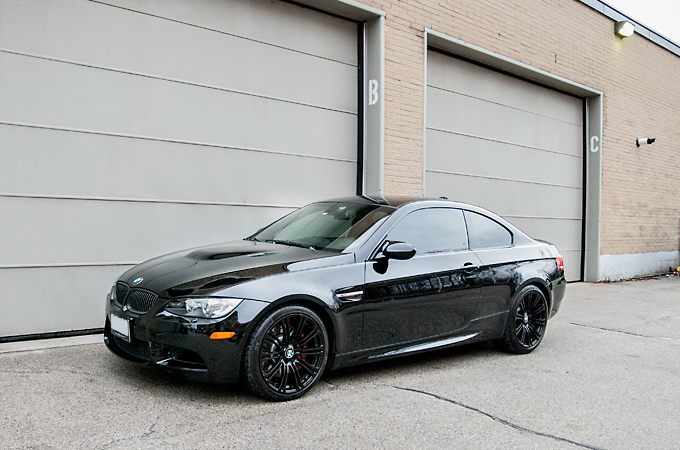
We recently polished this rare for the e92, Jet Black M3. The hood had been repainted and was a little more faded then the rest of the car and the owner was hoping that a good polish would even out the shine.
Masking the rubber trim

Paint measurements on the hood
Before
After the 1st stage of compounding the paint
After the 2nd stage of polishing and refining the finish

Opti Coat Pro about to be applied
And the finished pics

Hope you enjoyed the pics!
We recently polished this rare for the e92, Jet Black M3. The hood had been repainted and was a little more faded then the rest of the car and the owner was hoping that a good polish would even out the shine.
Masking the rubber trim
Paint measurements on the hood
Before
After the 1st stage of compounding the paint
After the 2nd stage of polishing and refining the finish
Opti Coat Pro about to be applied
And the finished pics
Hope you enjoyed the pics!
#37
07-13-2014, 12:01 PM
Hey Jaguarforumers,
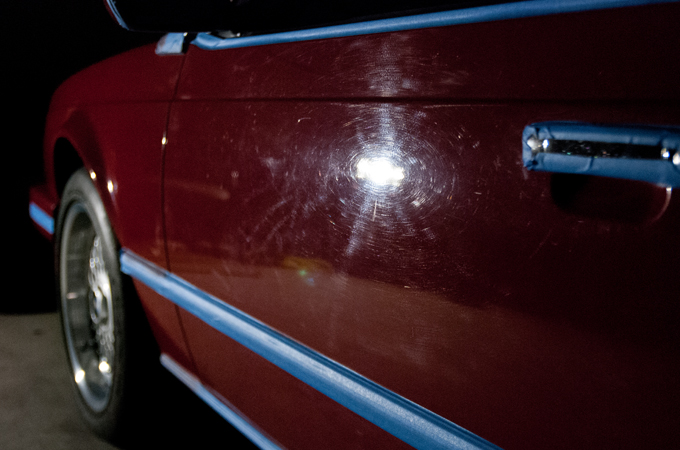
Had a chance to polish this classic e24 M6 last week. It's so funny because I was talking to my landlord about a fantasy M collection which included the e24, and then all of a sudden it shows up the next day lol! I hope you guys/gals enjoy the pics of this beautiful classic.
The car wash

Masking the rubber trim

Measuring the paint
Before
After
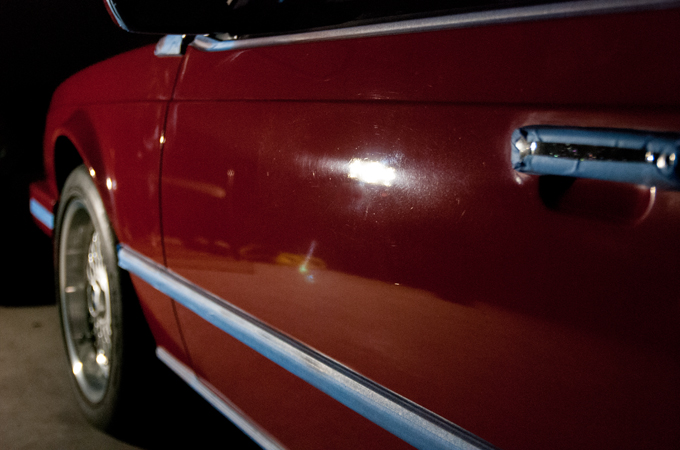
Opti Coat Pro
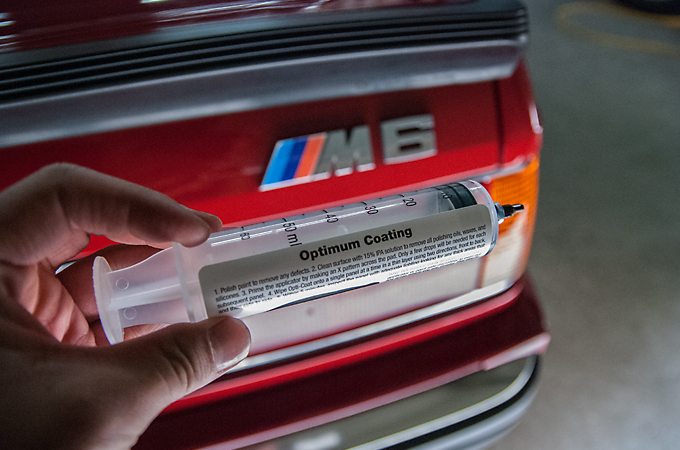
And the final and only pic. Oh man I love this car!
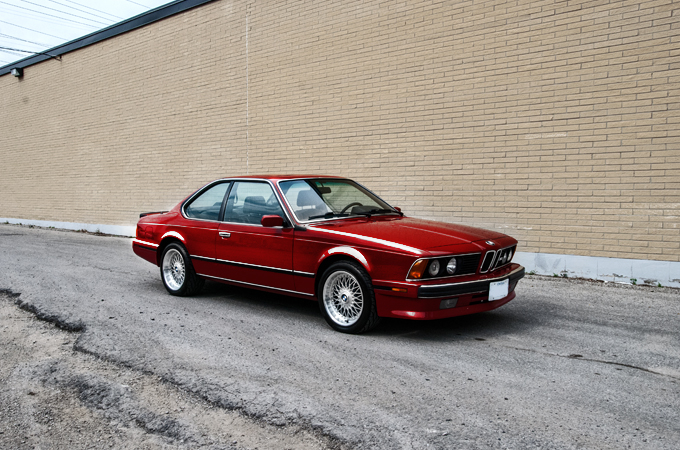
Thanks for reading again!
Had a chance to polish this classic e24 M6 last week. It's so funny because I was talking to my landlord about a fantasy M collection which included the e24, and then all of a sudden it shows up the next day lol! I hope you guys/gals enjoy the pics of this beautiful classic.
The car wash
Masking the rubber trim
Measuring the paint
Before
After
Opti Coat Pro
And the final and only pic. Oh man I love this car!
Thanks for reading again!
#38
07-24-2014, 07:11 PM
Hey Guys,
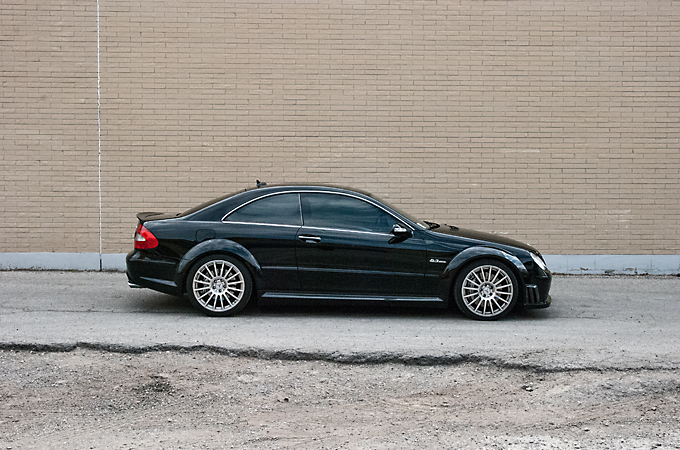
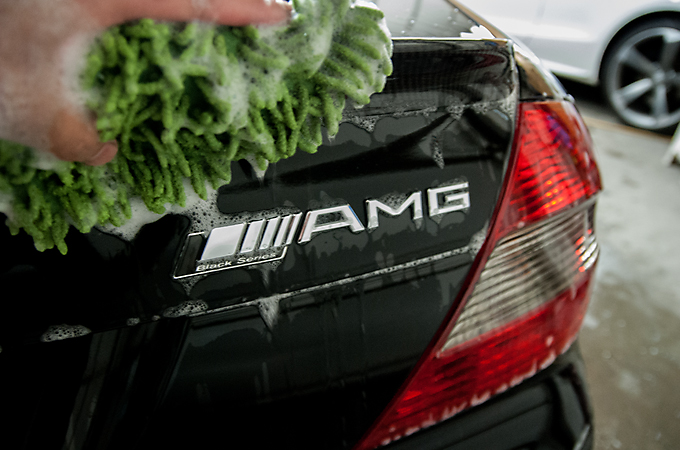
We were contacted earlier this year regarding this CLK Black and 2 stage polishing it. Things were put on hold as the owner decided on wrapping it instead and entering it in Importfest. We were contacted again and but this time for a job to focus more so on the interior and a clay bar wax job.
I couldn't have a Black Series in the shop and not take pics of it!
Hope you enjoy the pics!
Upon arrival
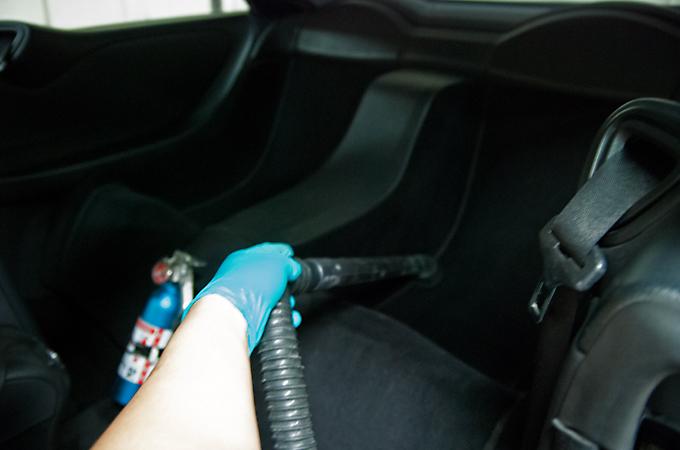
Starting the interior with vacuuming
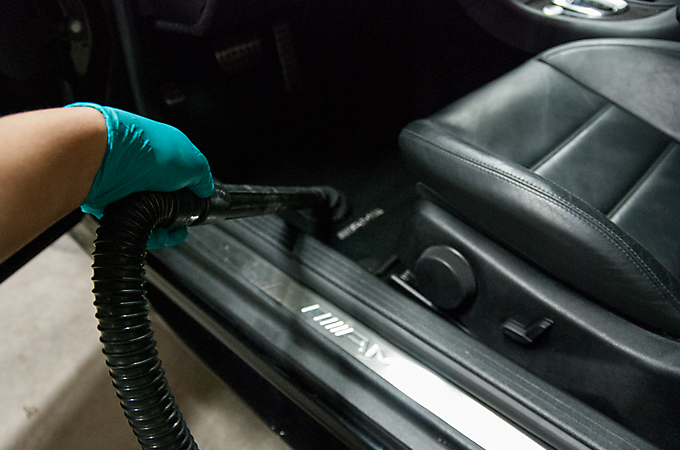
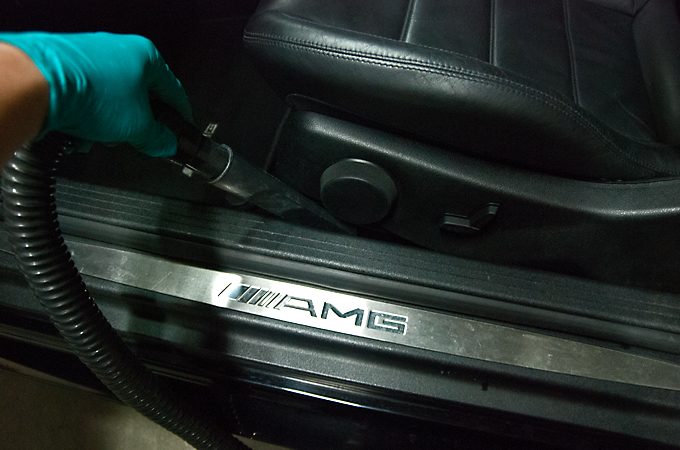
The uummm, back seats or lack there of lol
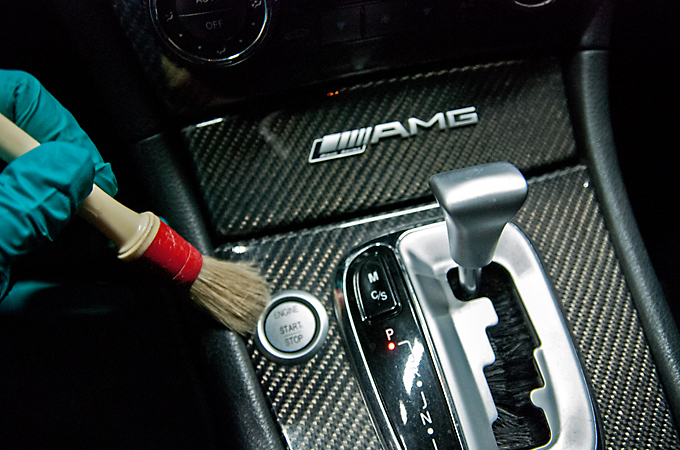
Dusting out the crevices
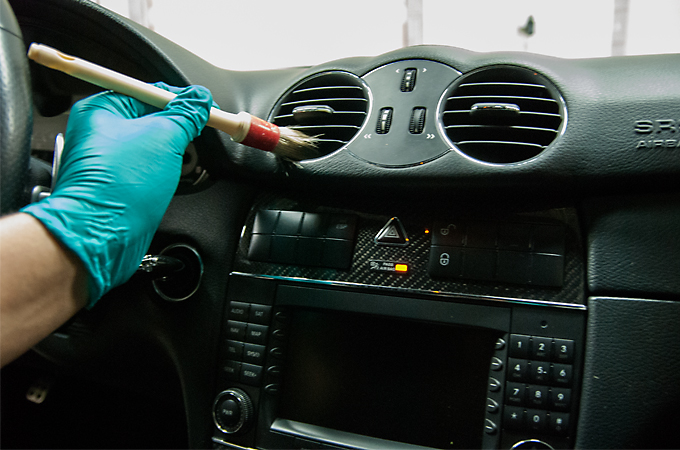
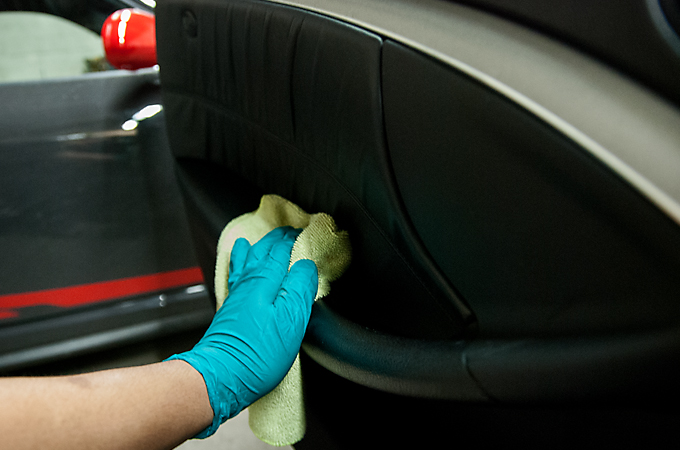
Wiping down the interior with all purpose cleaner
I love this steering wheel

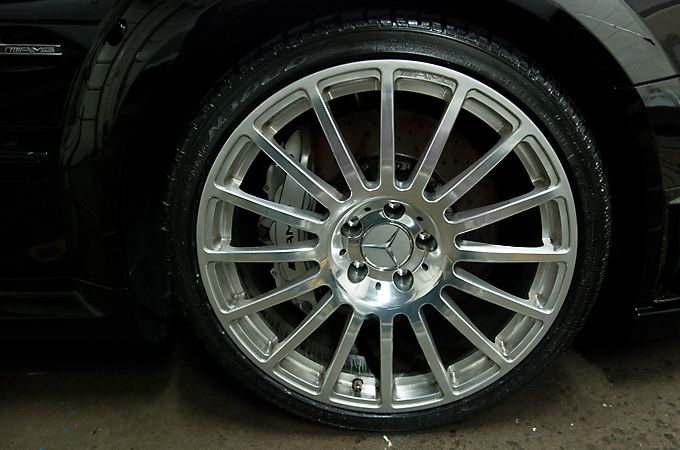
Wheels were cleaned using Iron X
Wheel wells cleaned
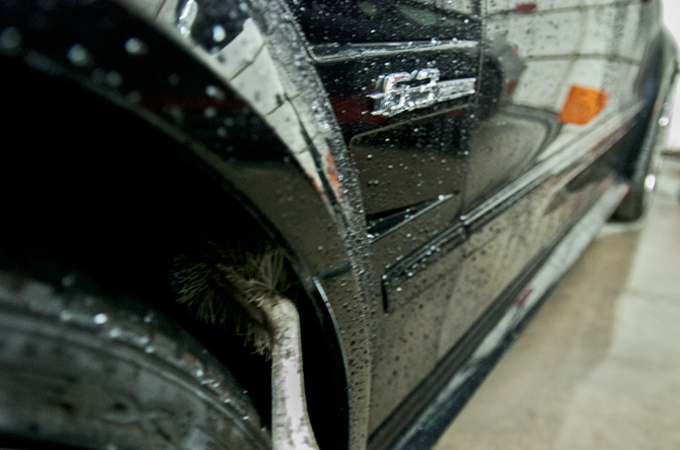
Car washed, always with 2 buckets
Clay barred the paint using the Nano Skin Mitt

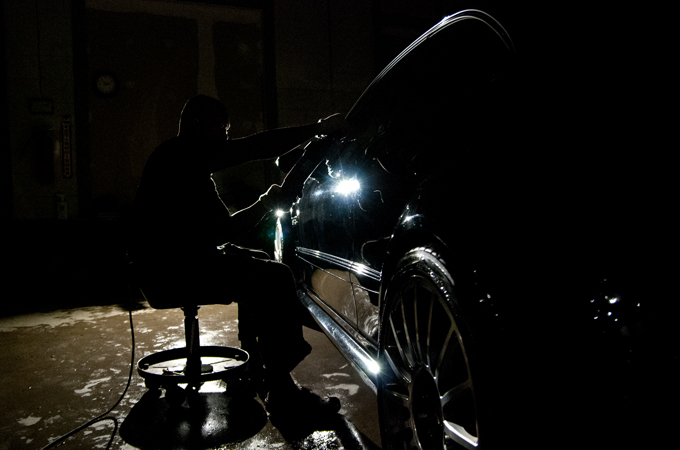
Lite polish
Tires dressed
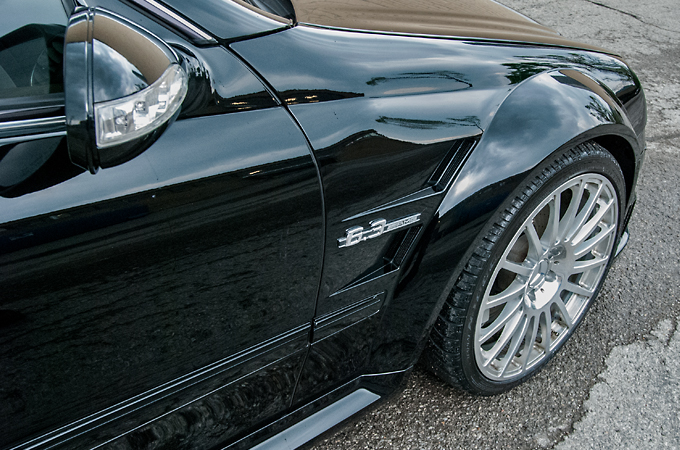
And the finished pics


I can't wait until these are legal in Canada. I would love to eventually get one!
We were contacted earlier this year regarding this CLK Black and 2 stage polishing it. Things were put on hold as the owner decided on wrapping it instead and entering it in Importfest. We were contacted again and but this time for a job to focus more so on the interior and a clay bar wax job.
I couldn't have a Black Series in the shop and not take pics of it!
Hope you enjoy the pics!
Upon arrival
Starting the interior with vacuuming
The uummm, back seats or lack there of lol
Dusting out the crevices
Wiping down the interior with all purpose cleaner
I love this steering wheel
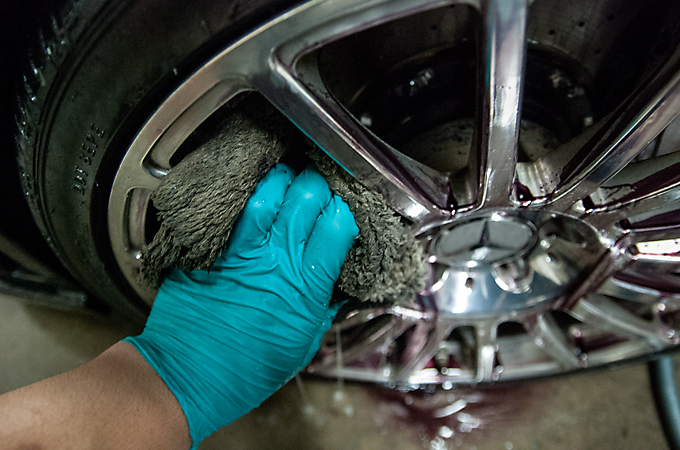
Wheels were cleaned using Iron X
Wheel wells cleaned
Car washed, always with 2 buckets
Clay barred the paint using the Nano Skin Mitt
Lite polish
Tires dressed
And the finished pics
I can't wait until these are legal in Canada. I would love to eventually get one!
#39
07-28-2014, 03:01 PM

Junior Member
Join Date: Aug 2013
Location: Toronto, Ontario, Canada
Posts: 11
Likes: 0
Received 0 Likes
on
0 Posts
I strongly recommend GTA In Detail (GTA In Detail - Professional Automotive Detailing in the Greater Toronto Area).
Kevin did my 2010 XF last summer and results were just stunning.
He has facebook page with status updates from his projects.
Kevin did my 2010 XF last summer and results were just stunning.
He has facebook page with status updates from his projects.
#40
08-04-2014, 11:07 AM
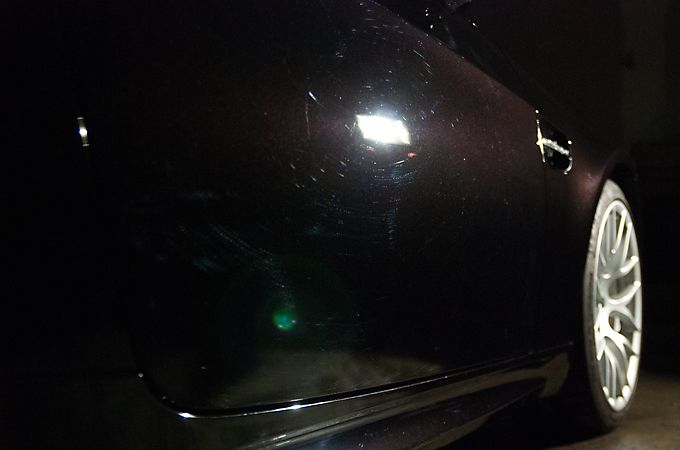
This client has been a long time customer of ours and has brought previously owned vehicles to us. To be honest we did this job last year but I forgot I had these pics until he brought the car back to us last week for a clean up as he is considering selling it to buy a GTR.
I love the color on this M3 which is Ruby Black. The flake looks like a wine color and under white lighting the car looks almost burgundy. This is a Competition Package so you have the goodies from suspension, to carbon roof, to the sexy wheels. I kind of really like this car if you can't tell....
Anyways on to the pics
Upon arrival

Before
After
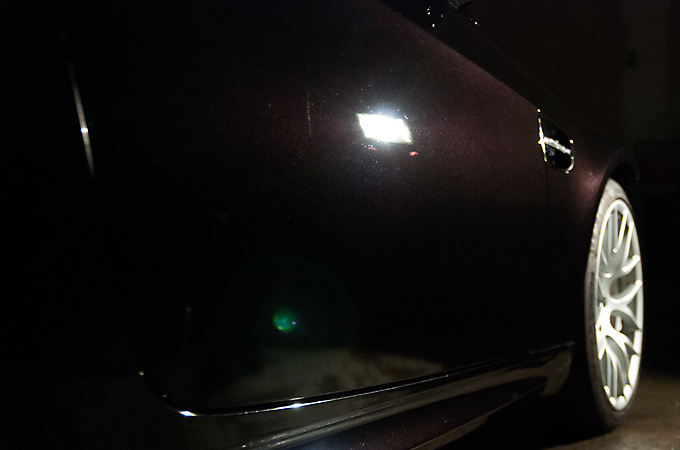
I love the flake!!!

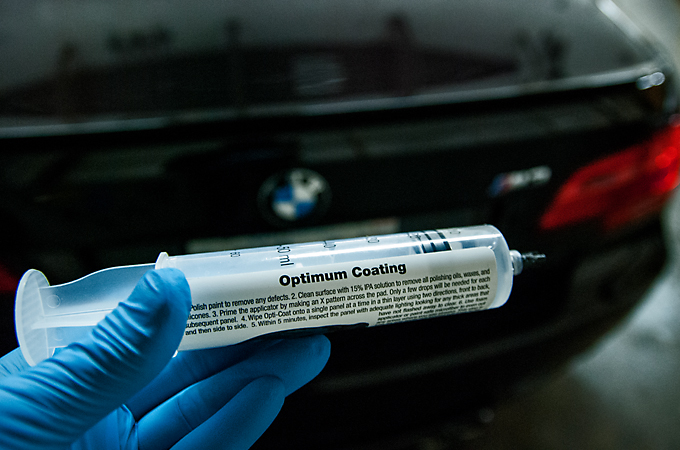
Opti Coat Pro
And the after pics
Front
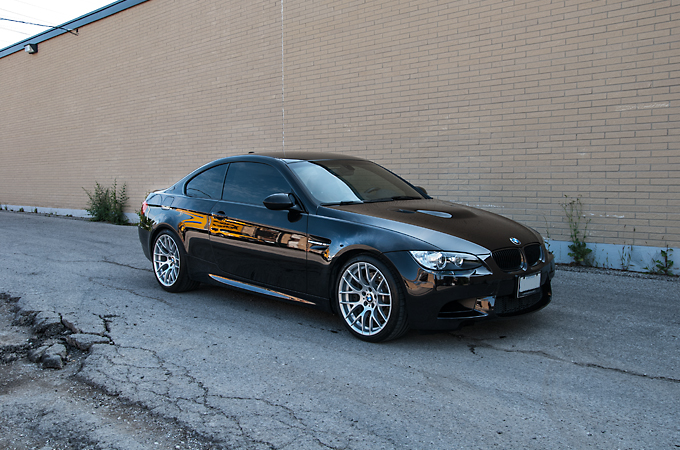
Back

Thanks for looking guys! As always I really appreciate the support from the Jaguar community!
I love the color on this M3 which is Ruby Black. The flake looks like a wine color and under white lighting the car looks almost burgundy. This is a Competition Package so you have the goodies from suspension, to carbon roof, to the sexy wheels. I kind of really like this car if you can't tell....
Anyways on to the pics
Upon arrival
Before
After
I love the flake!!!
Opti Coat Pro
And the after pics
Front
Back
Thanks for looking guys! As always I really appreciate the support from the Jaguar community!