
good place for detailing in Toronto?
#61
 09-27-2015, 02:58 PM


I love this e46 M3! Laguna Seca Blue on Laguna Seca Blue seats and navi! What more could you ask for.
The shine on this M3 was still great but the swirls in the sun was annoying the client and he wanted to get as much of the swirls out as possible. We ended up doing a 2 stage polish which brought the paint condition to about a 9 out of 10 minus the deeper scratches.
Hope you enjoy the pics as much as we enjoyed polishing this one!
Arrival

Paint measurements
Masking off the rubber trim

Before

After

50/50 shot

And the finished product

The shine on this M3 was still great but the swirls in the sun was annoying the client and he wanted to get as much of the swirls out as possible. We ended up doing a 2 stage polish which brought the paint condition to about a 9 out of 10 minus the deeper scratches.
Hope you enjoy the pics as much as we enjoyed polishing this one!
Arrival
Paint measurements
Masking off the rubber trim
Before
After
50/50 shot
And the finished product
#62
10-17-2015, 09:05 PM
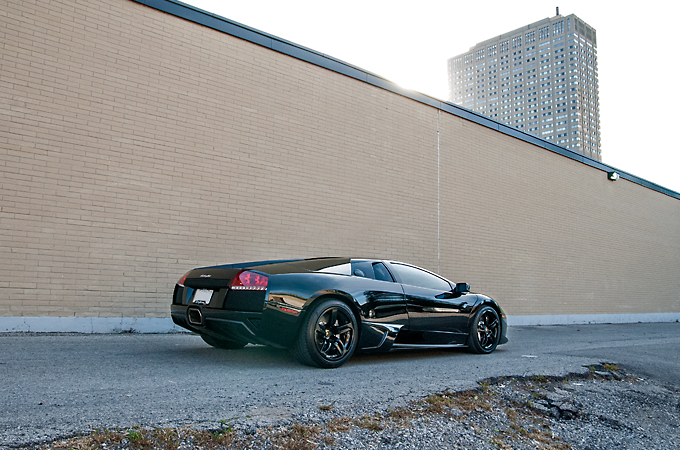
Very good client contacted me regarding a 2 stage polish + Opti Coat Pro on his recently purchased Lp640.
We had tried to schedule an appointment prior to this one but due to rainy weather we had to reschedule and he mentioned that maybe he was considering postponing the detail until the springtime, which is understandable. Luckily ... he had a change of heart and we were able to schedule a date where the weather worked in our favour!
So in to the shop it came!
As usual, the arrival pic

After cleaning the wheels, 2 Bucket Method wash, and clay bar, we masked the rubber trim

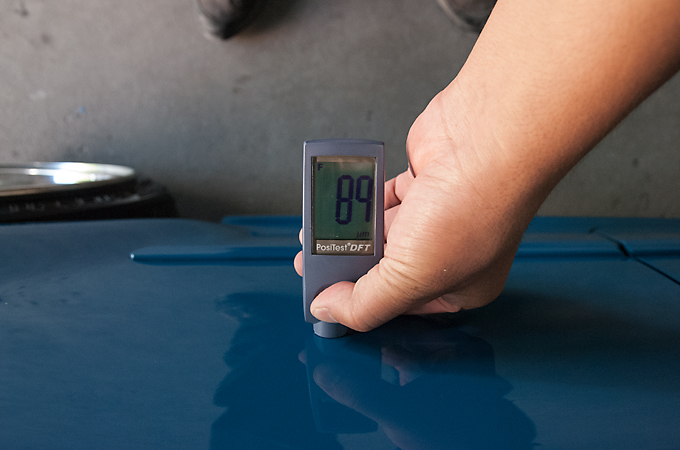
Next up was to take measurements of the paint with our special paint depth gauge which measures via ultrasound due to a few panels not being made of steel or aluminium. This gauge is not cheap at all and costed us $3000

These are the results of the 1st stage of polishing
Before

After(did I mention that solid black is a pain in the a**?!)

Headlights & Taillights were polished as well
Before
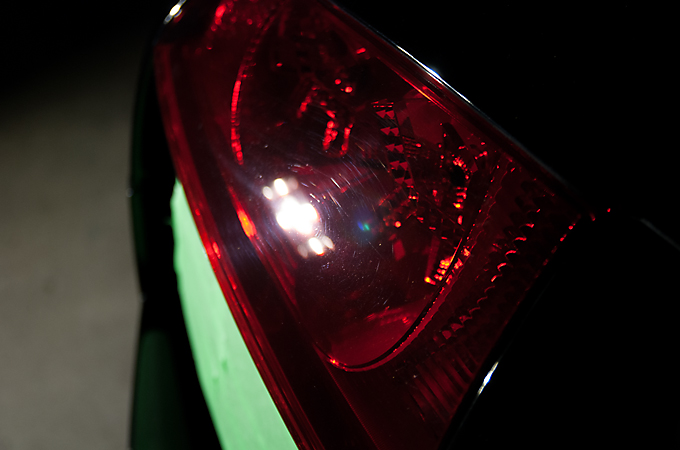
After

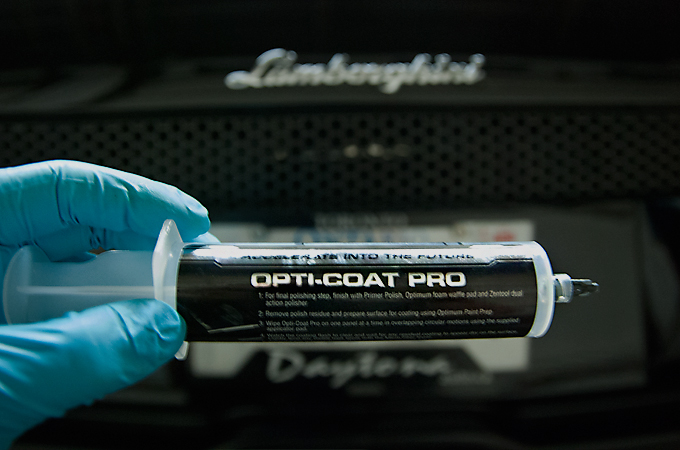
2nd stage of polishing was completed and then an alcohol wipe down to remove the polishing oils. Finally Opti Coat Primer applied to prepare for the Opti Coat Pro application

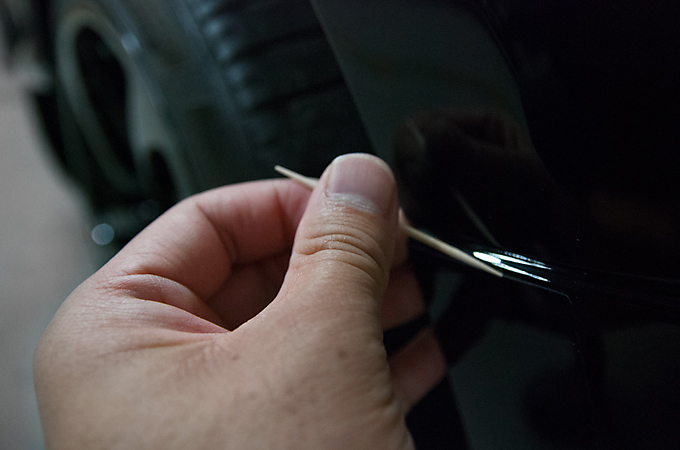
Tape removed and little details such as removing polish with a tooth pick from the edge of the stone guard was performed
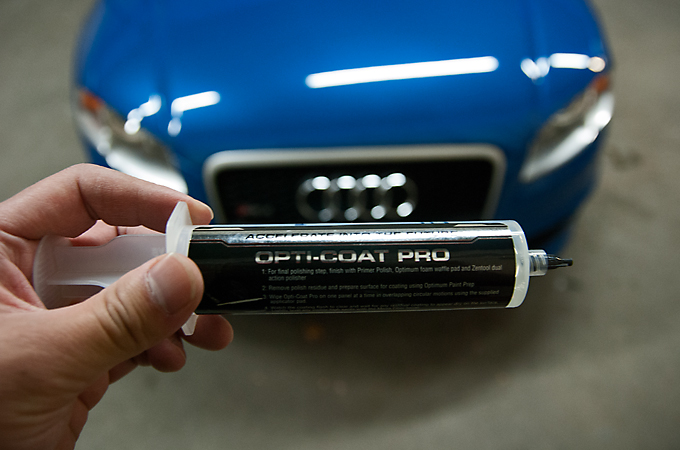
And finally the star of the show, Opti Coat Pro
A shot in the sun to show no more swirls in the paint

All in all minus some deeper scratches which I suspect may have been from people leaning on the car for pics and the fact that it is solid black, I would say we got the paint condition to about an 8.5/9 out of 10.
Here are the results

I love reflection pics


The lens flare pointing at the car is pretty cool

And the last pic to finish the walk around
Hope you enjoyed the pics!!!
We had tried to schedule an appointment prior to this one but due to rainy weather we had to reschedule and he mentioned that maybe he was considering postponing the detail until the springtime, which is understandable. Luckily
... he had a change of heart and we were able to schedule a date where the weather worked in our favour!So in to the shop it came!
As usual, the arrival pic
After cleaning the wheels, 2 Bucket Method wash, and clay bar, we masked the rubber trim
Next up was to take measurements of the paint with our special paint depth gauge which measures via ultrasound due to a few panels not being made of steel or aluminium. This gauge is not cheap at all and costed us $3000
These are the results of the 1st stage of polishing
Before
After(did I mention that solid black is a pain in the a**?!)
Headlights & Taillights were polished as well
Before
After
2nd stage of polishing was completed and then an alcohol wipe down to remove the polishing oils. Finally Opti Coat Primer applied to prepare for the Opti Coat Pro application
Tape removed and little details such as removing polish with a tooth pick from the edge of the stone guard was performed
And finally the star of the show, Opti Coat Pro
A shot in the sun to show no more swirls in the paint
All in all minus some deeper scratches which I suspect may have been from people leaning on the car for pics and the fact that it is solid black, I would say we got the paint condition to about an 8.5/9 out of 10.
Here are the results
I love reflection pics
The lens flare pointing at the car is pretty cool
And the last pic to finish the walk around
Hope you enjoyed the pics!!!
#63
11-21-2015, 11:38 PM
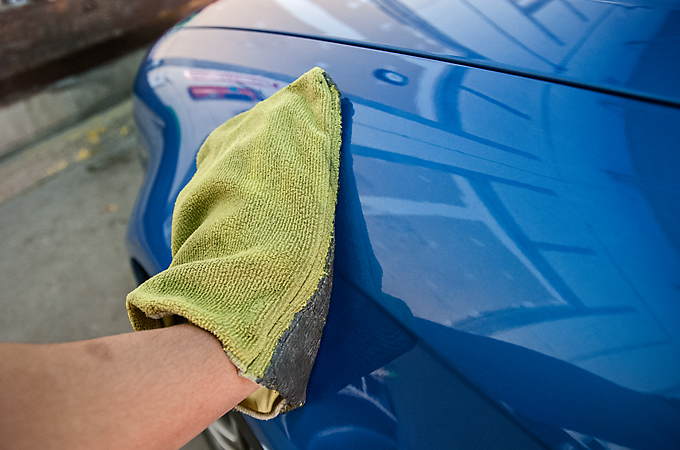
I had talked to this client for quite sometime now regarding his other vehicles like an e39 M5(which was sold) and an e30 M3. We had never gotten a chance to book a solid date but stayed in contact over the years. He had recently purchased this new Sprint Blue RS4 and was planning to drive it year round and wanted to protect it with Opti Coat Pro. The car was brought in for a consultation and we finally booked a date!
Arrival

After cleaning the wheels and a car wash we claybarred the paint
Took some paint measurements

And finally we started with the 1st stage of polishing
Before
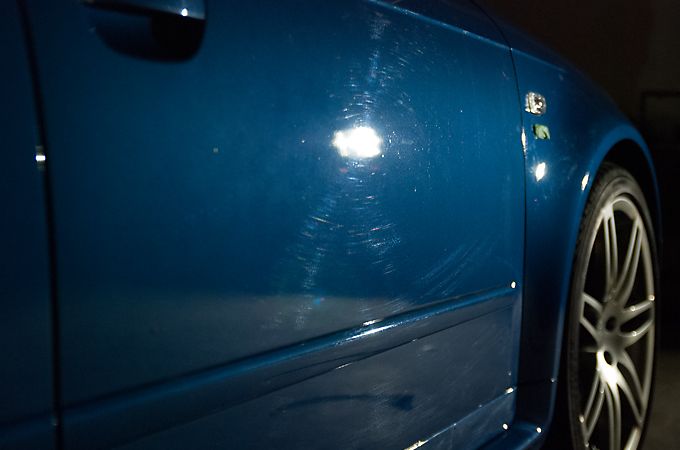
After

A 50/50 shot
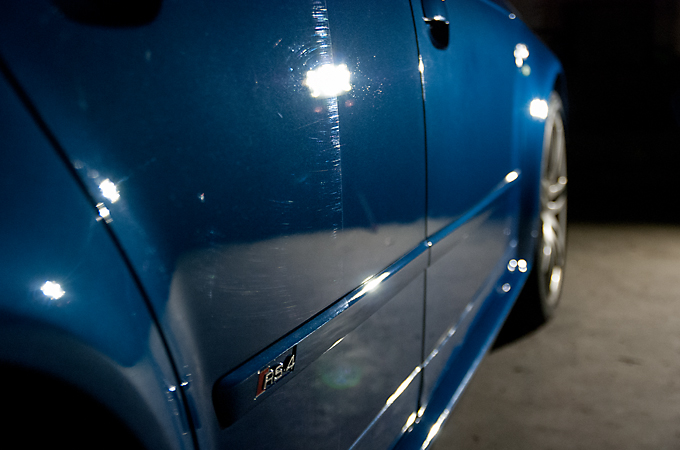
The metallic flake in the Sprint Blue started to really POP again!

We also polished the headlights and taillights
Before

After

After all the polishing Opti Coat Primer was applied

Unmasking

Then cleaning all the little details like removing polish from the edge of the stone guard

Then finally Opti Coat Pro is applied
And here are the afters


Always a pleasure to work on an RS and glad we could bring this Sprint Blue back to life!
Arrival
After cleaning the wheels and a car wash we claybarred the paint
Took some paint measurements
And finally we started with the 1st stage of polishing
Before
After
A 50/50 shot
The metallic flake in the Sprint Blue started to really POP again!
We also polished the headlights and taillights
Before
After
After all the polishing Opti Coat Primer was applied
Unmasking
Then cleaning all the little details like removing polish from the edge of the stone guard
Then finally Opti Coat Pro is applied
And here are the afters
Always a pleasure to work on an RS and glad we could bring this Sprint Blue back to life!
#64
12-09-2015, 05:20 PM
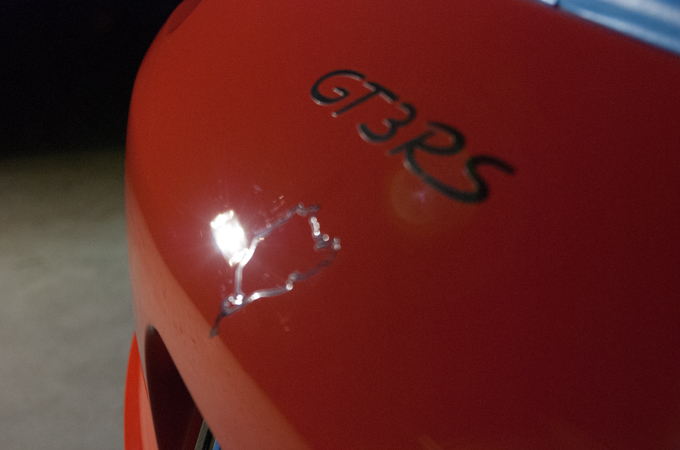
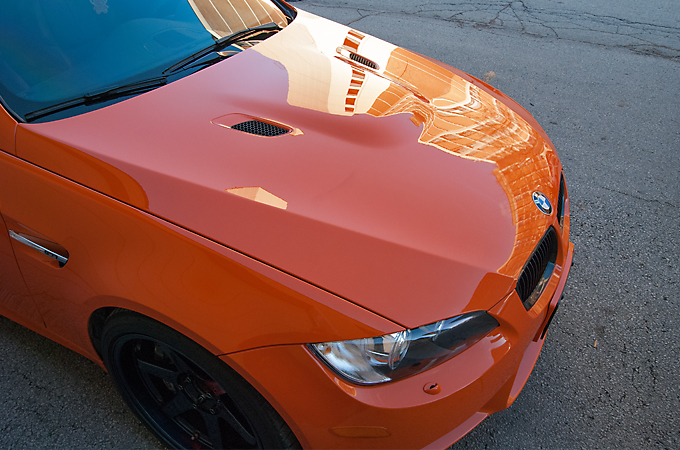
We had been looking forward to this Lava Orange 991 GT3RS for quite sometime. We maintain this clients other RS's as well so we knew about this one for almost a year now.
Not really much else to say, got the call Saturday evening and it was in the shop by Wednesday
Arrival

Cleaning the wheels

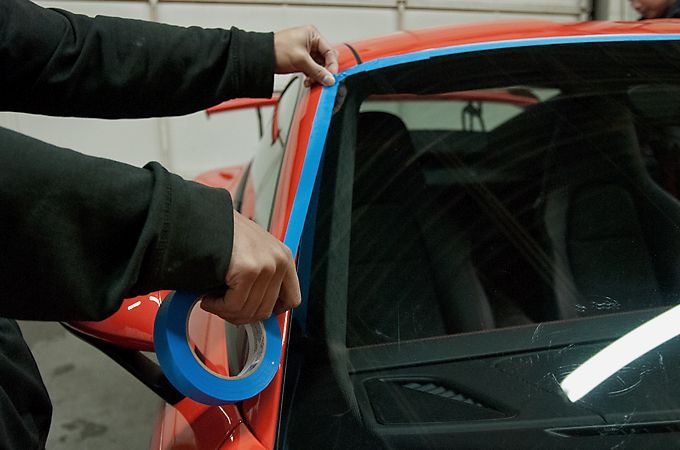
Masking off the rubber and plastic trim
The whole front end is carbon fibre so we had to bring out our ultrasound paint gauge to measure the paint
Underneath the hood

Ultrasound measurements

Magnetic measurements

And on to polishing the paint.
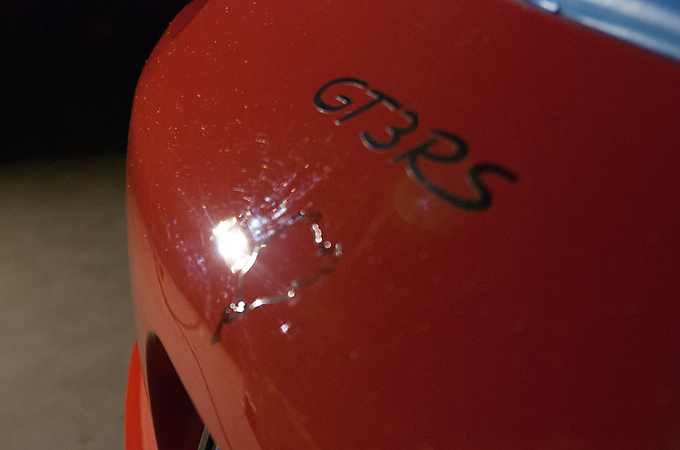
There was already close to 5000km on the odometer so the paint had some light swirls to polish out before applying Opti Coat Pro.
Before

After
Before
After
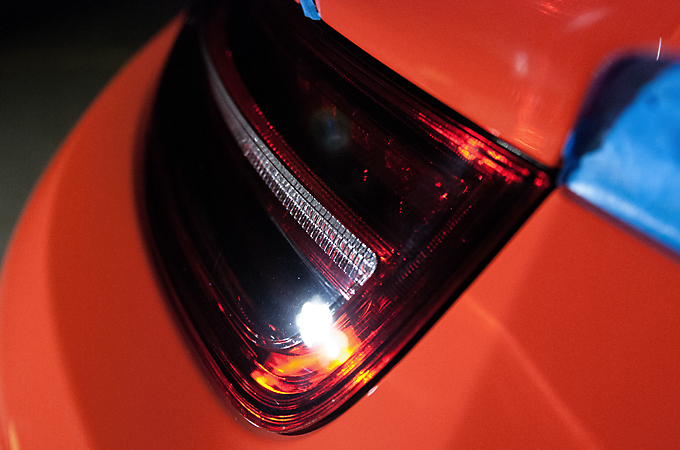
The taillights were polished as well
Before
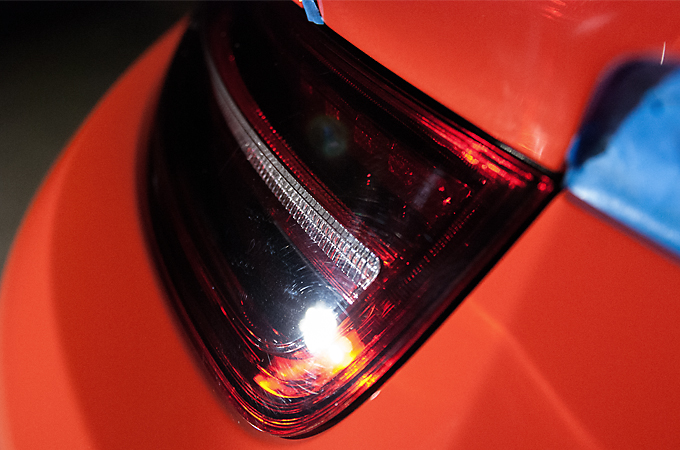
After
After the 2nd stage of polishing was completed we applied Opti Coat Primer via machine to the paint


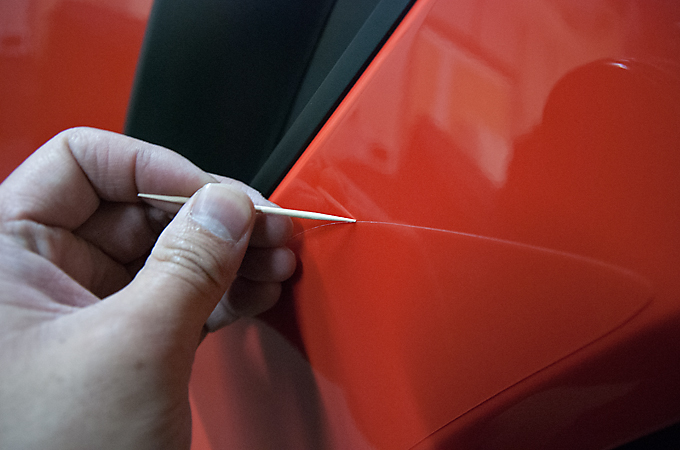
We unmasked the trim and took care of some finishing touches like cleaning up the polishing dust and cleaning polish from the edge of the stone guard with a tooth pick
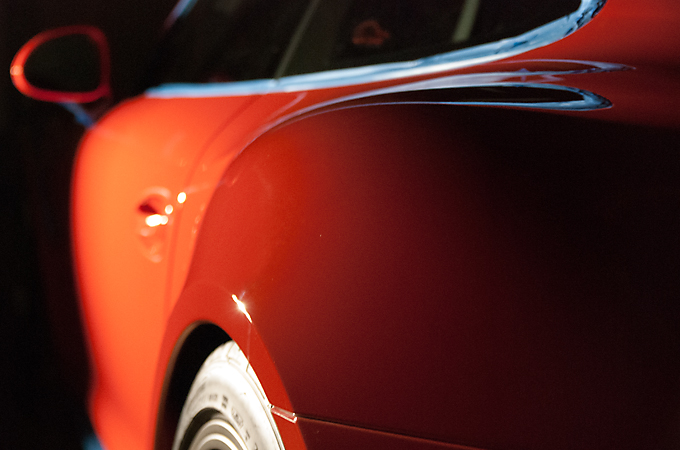
And finally applied Opti Coat Pro

Overcast day so the gloss was not photographing the best it could be, but still happy with the finished pics!


And the icing on the cake.... an autograph under the hood from Wolfgang Porsche!!!

Hope you enjoyed the pics as much as we enjoyed working on the car!
Thanks!
Not really much else to say, got the call Saturday evening and it was in the shop by Wednesday
Arrival
Cleaning the wheels
Masking off the rubber and plastic trim
The whole front end is carbon fibre so we had to bring out our ultrasound paint gauge to measure the paint
Underneath the hood
Ultrasound measurements
Magnetic measurements
And on to polishing the paint.
There was already close to 5000km on the odometer so the paint had some light swirls to polish out before applying Opti Coat Pro.
Before
After
Before
After
The taillights were polished as well
Before
After
After the 2nd stage of polishing was completed we applied Opti Coat Primer via machine to the paint
We unmasked the trim and took care of some finishing touches like cleaning up the polishing dust and cleaning polish from the edge of the stone guard with a tooth pick
And finally applied Opti Coat Pro
Overcast day so the gloss was not photographing the best it could be, but still happy with the finished pics!
And the icing on the cake.... an autograph under the hood from Wolfgang Porsche!!!
Hope you enjoyed the pics as much as we enjoyed working on the car!
Thanks!
#65
01-06-2016, 06:08 PM
Happy New Year!
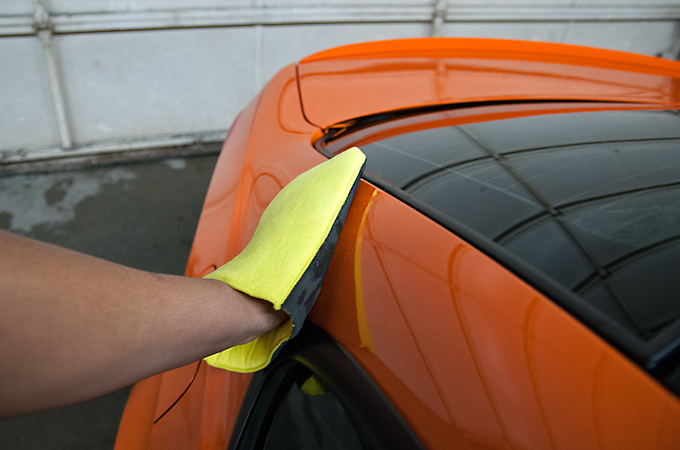
We were contacted by this client to detail this rare fire orange M3,1 of 2 I believe in Toronto, for storage. When it came in to the shop and upon inspection we came to the conclusion that it definitely needed a 2 stage polish as the paint was in rough condition. Anyways onto the polishing.
Arrival

Claybarring the paint
Measuring the paint

Masking off the rubber and plastic trim

Finally with all the prep done we started the compounding
Before
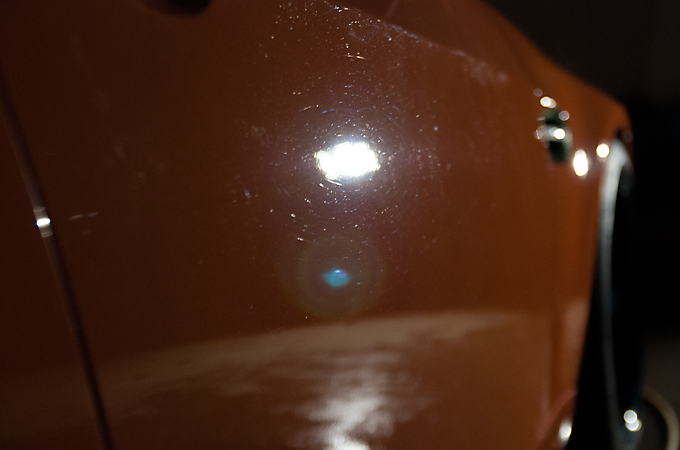
After

Before

After

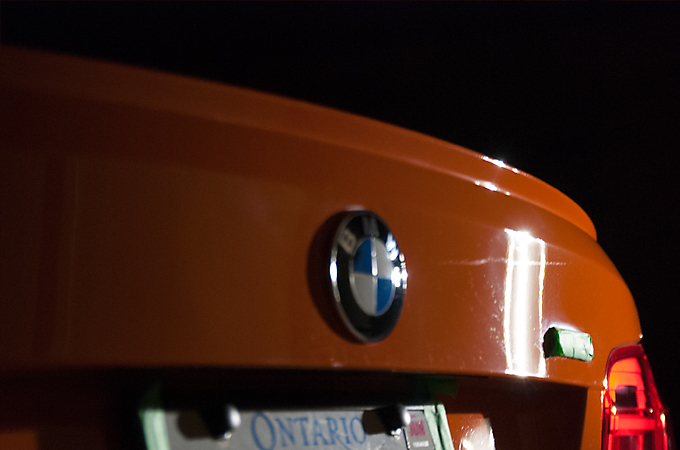
Before (the trunk was in horrible shape with buffer trails everywhere)

After (there was a deeper scratch that was to deep to come out)
50/50 shot

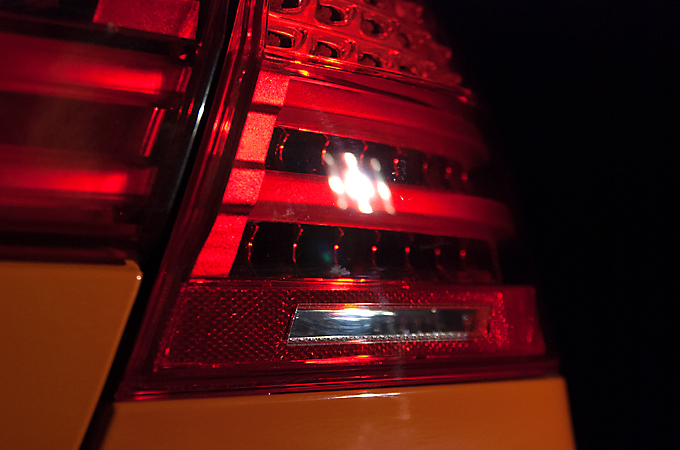
Headlights and taillights were polished as well
Before

After
After all the compounding and polishing Opti Coat Primer was applied

Then Opti Coat Pro was applied

Here is the result of all our hard work starting with a sun shot


And finally my favourite shot

All the best in 2016!
We were contacted by this client to detail this rare fire orange M3,1 of 2 I believe in Toronto, for storage. When it came in to the shop and upon inspection we came to the conclusion that it definitely needed a 2 stage polish as the paint was in rough condition. Anyways onto the polishing.
Arrival
Claybarring the paint
Measuring the paint
Masking off the rubber and plastic trim
Finally with all the prep done we started the compounding
Before
After
Before
After
Before (the trunk was in horrible shape with buffer trails everywhere)
After (there was a deeper scratch that was to deep to come out)
50/50 shot
Headlights and taillights were polished as well
Before
After
After all the compounding and polishing Opti Coat Primer was applied
Then Opti Coat Pro was applied
Here is the result of all our hard work starting with a sun shot
And finally my favourite shot
All the best in 2016!
#66
03-16-2017, 09:45 AM
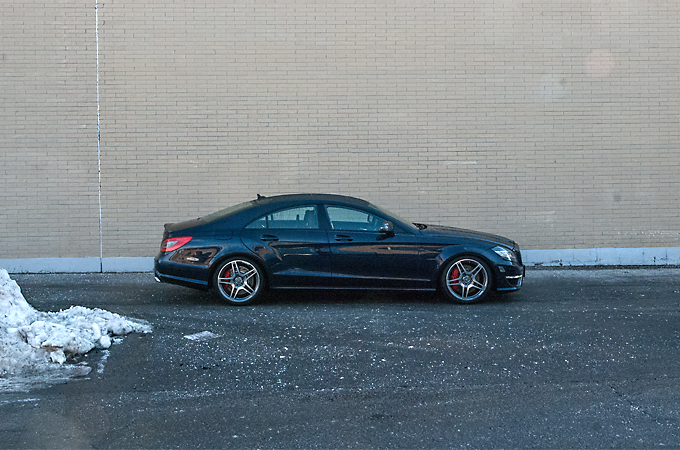
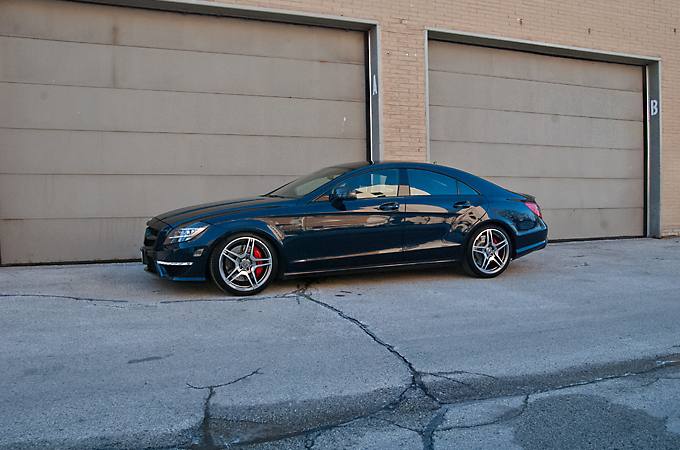
Long time client who previously brought us his w219 CLS 500, purchased this new w218 CLS 63 AMG and brought it in again for a 1 stage polish + Opti Gloss Coat.
Not much to mention about the car itself, the paint wasn't to bad and the 1 stage was enough to bring it up to a 8.5/9 out of 10.
On to the pics.
Arrival
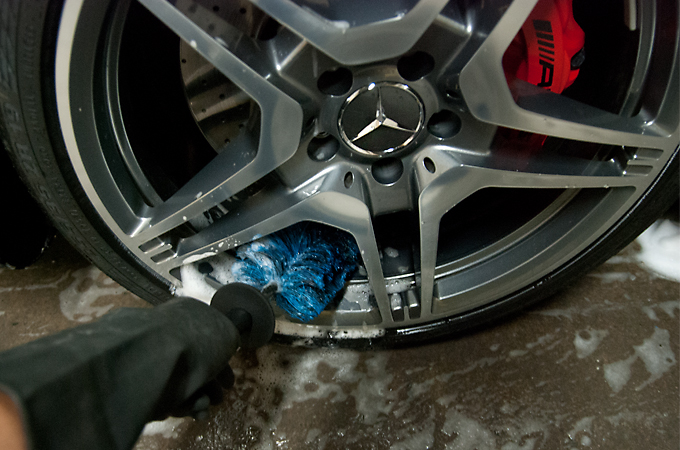
Cleaning the wheels
Claybarring the paint
Quick measurement of the paint

On to the polishing
Before

After

Metallic flake looking beautiful

Opti Gloss Coat about to be applied

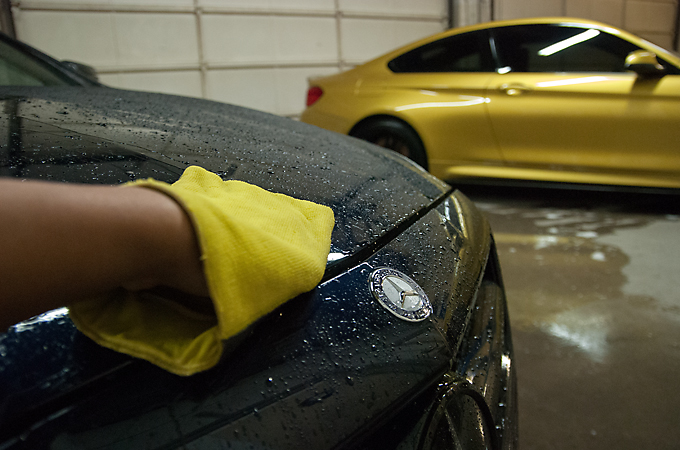
And finally the finished pics
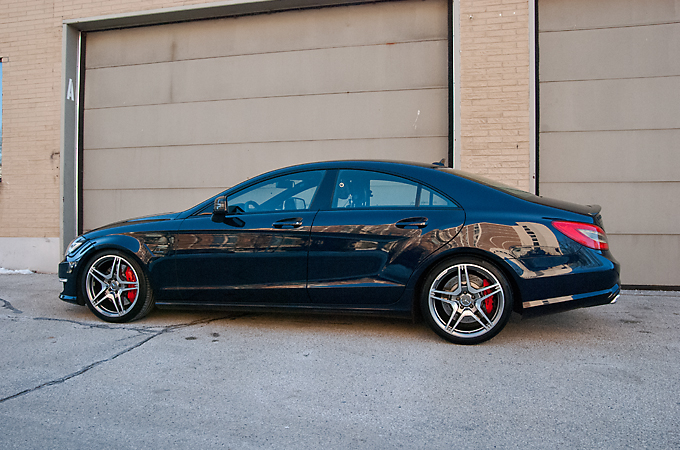
Always a pleasure to take care of this clients cars and I hope you guys enjoyed the pics!
Instagram - OrionDetailing.Co
Facebook - Orion Detailing Co.
Not much to mention about the car itself, the paint wasn't to bad and the 1 stage was enough to bring it up to a 8.5/9 out of 10.
On to the pics.
Arrival
Cleaning the wheels
Claybarring the paint
Quick measurement of the paint
On to the polishing
Before
After
Metallic flake looking beautiful
Opti Gloss Coat about to be applied
And finally the finished pics
Always a pleasure to take care of this clients cars and I hope you guys enjoyed the pics!
Instagram - OrionDetailing.Co
Facebook - Orion Detailing Co.
#67
11-23-2017, 01:54 PM
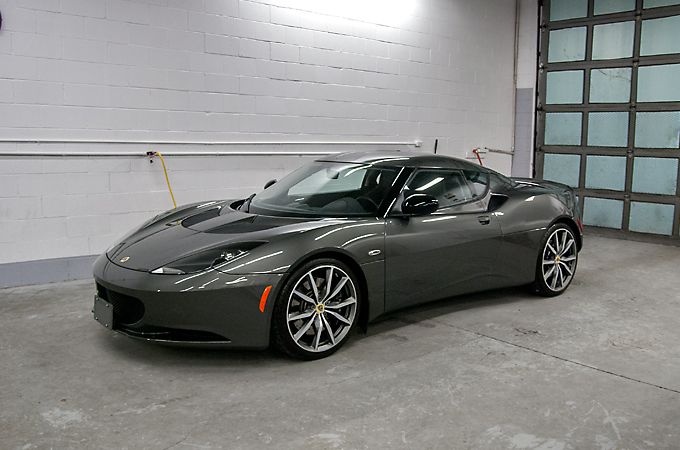
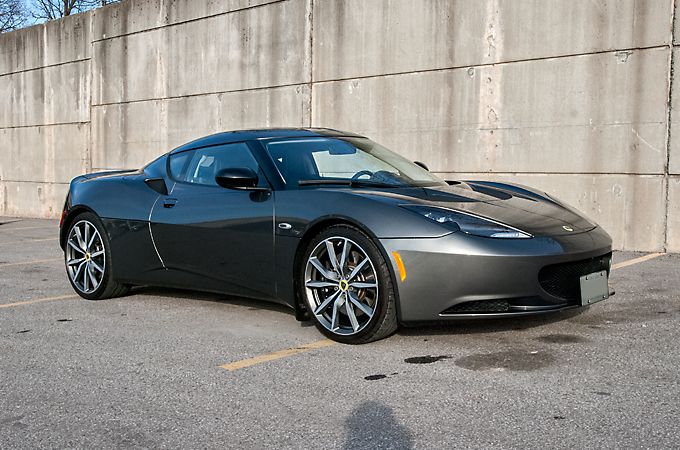
We had protected this Evora S with Opti Coat Pro about 2 years back and now the owner was bringing it in for our Basic In & Out package to prep it for storage as he had no time to do it himself. Here are a few pics from the job.
Arrival
Claybarring with a Nano Skin Mitt
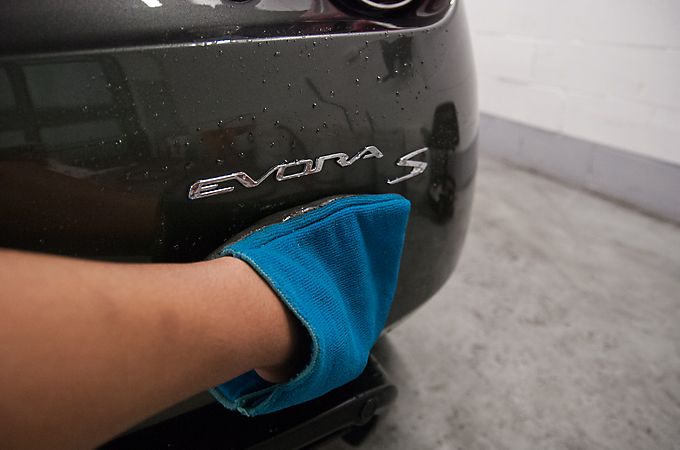
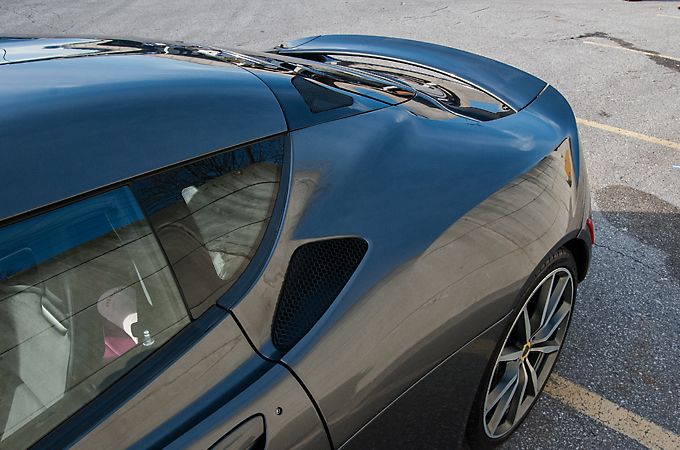
Giving the paint a light polish/wax which is ceramic based and repairs and adds on to the exsisting coating
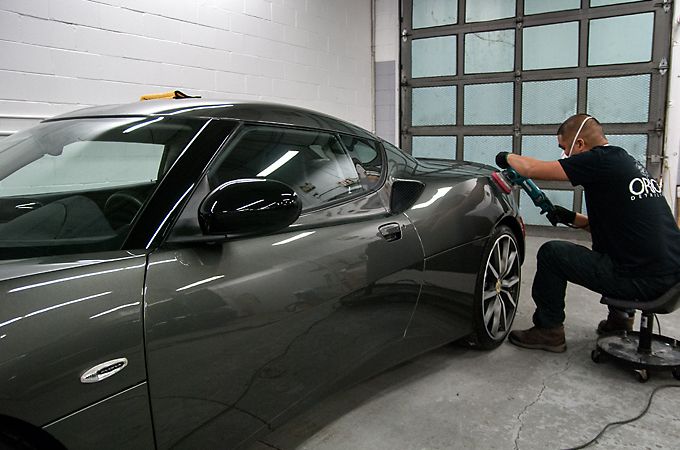
After the light buffing the metallic flake was popping in the paint

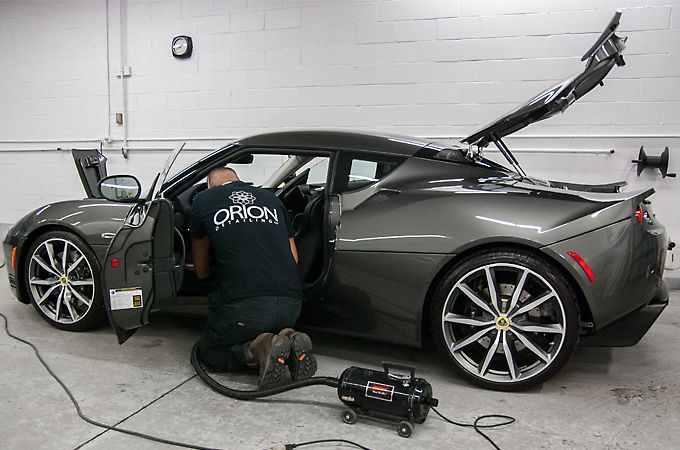
Interior getting vacuumed
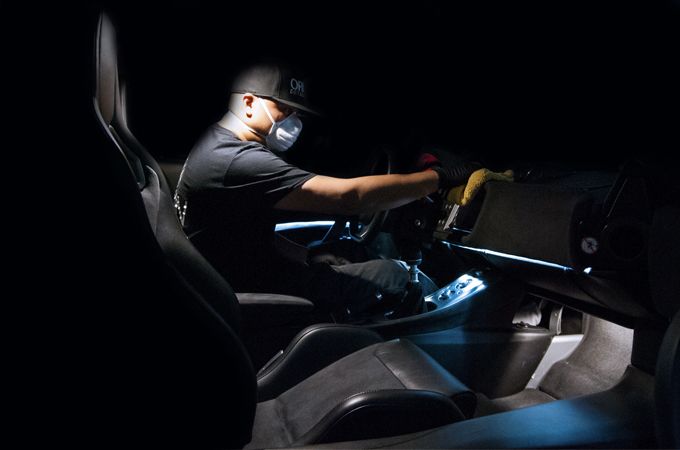
Interior wipe down
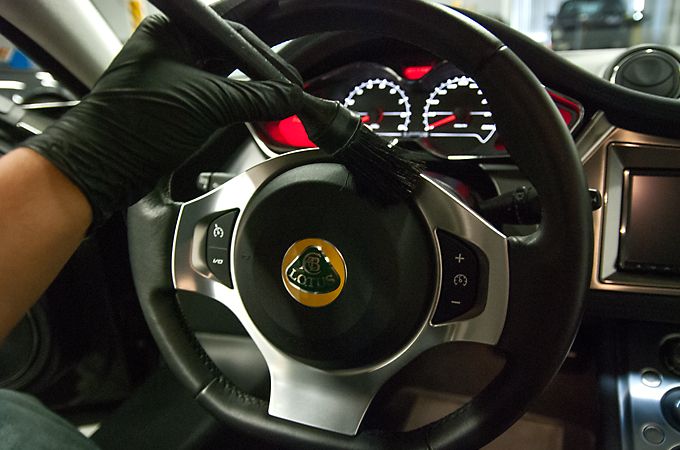
Detail brush getting in all the cracks and crevices
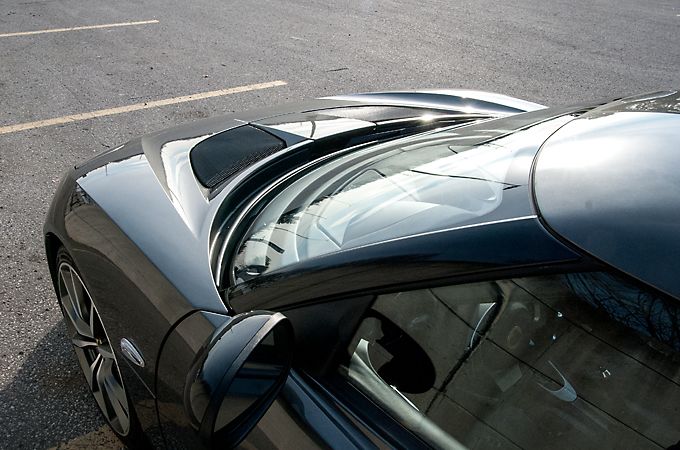
And the finished product
Hope you enjoyed the pics!
Wes
(647)999-8499
www.instagram.com/oriondetailing.co
Arrival
Claybarring with a Nano Skin Mitt
Giving the paint a light polish/wax which is ceramic based and repairs and adds on to the exsisting coating
After the light buffing the metallic flake was popping in the paint
Interior getting vacuumed
Interior wipe down
Detail brush getting in all the cracks and crevices
And the finished product
Hope you enjoyed the pics!
Wes
(647)999-8499
www.instagram.com/oriondetailing.co

Thread
Thread Starter
Forum
Replies
Last Post
hunter34
XJ XJ6 / XJ8 / XJR ( X350 & X358 )
19
09-14-2022 11:09 PM
FS[Western US]: XJS Wiper Motor Upgrade- 76-88 - Electrolux Style
XJsc-guy
PRIVATE For Sale / Trade or Buy Classifieds
0
09-02-2015 11:43 AM
Currently Active Users Viewing This Thread: 1 (0 members and 1 guests)