
Wes_R + XK-R(62 pics)
#1
 11-02-2012, 11:42 AM


Hey JaguarForumers,
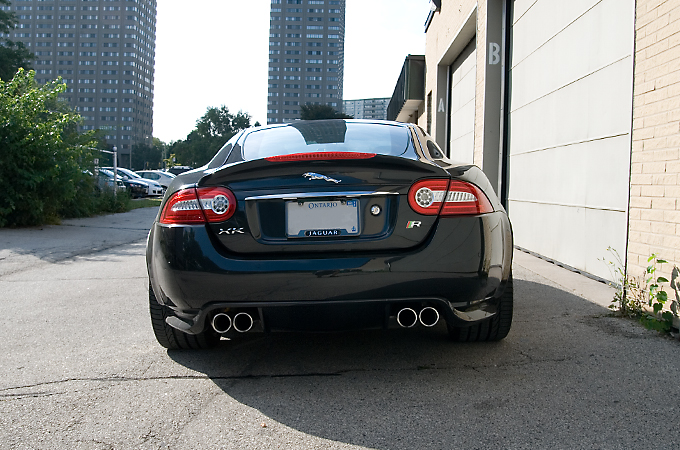
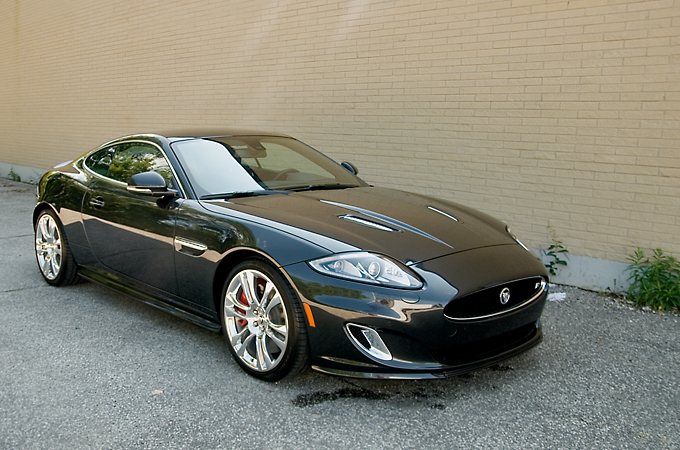
The owner of this brand new XK-R(300km) had seen some of my previous work and contacted me expressing that he wanted to get his paint in top condition. We exchanged a few emails, I answered a few of his concerns, and we finally set a up date for the work to be completed.
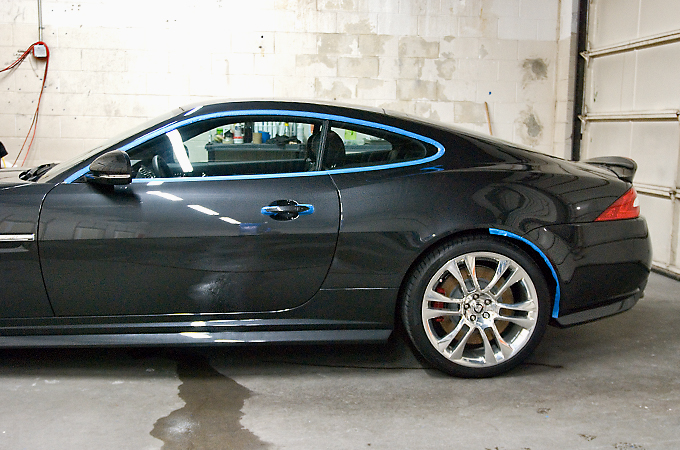
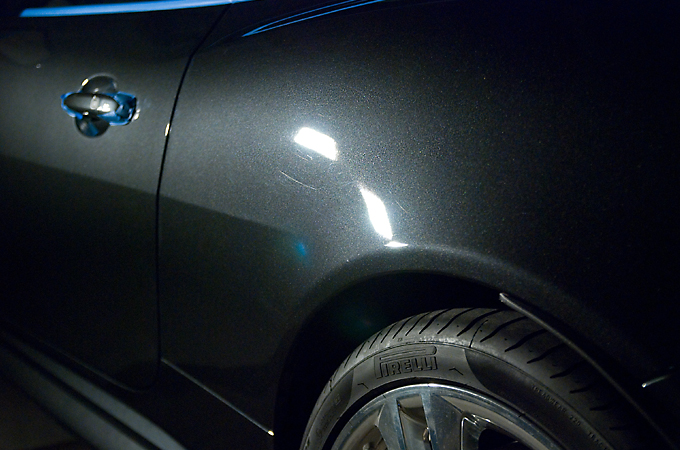
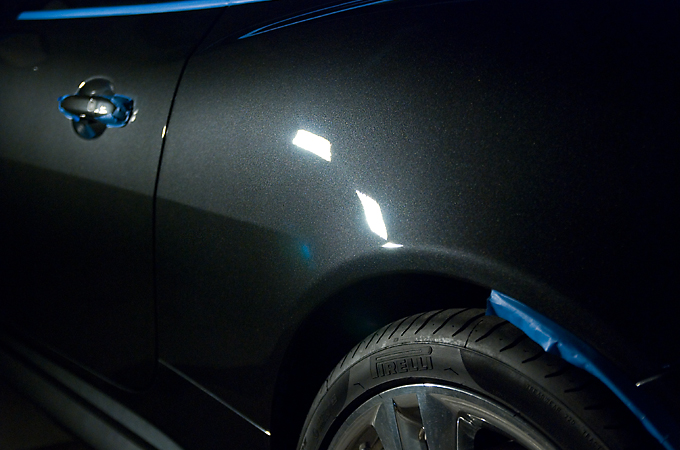
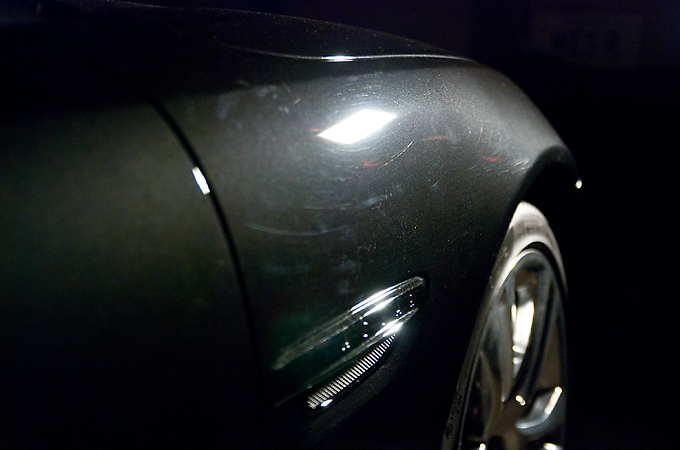
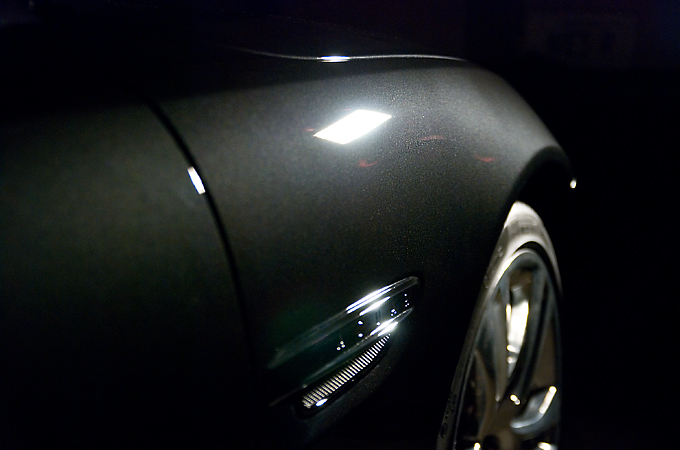
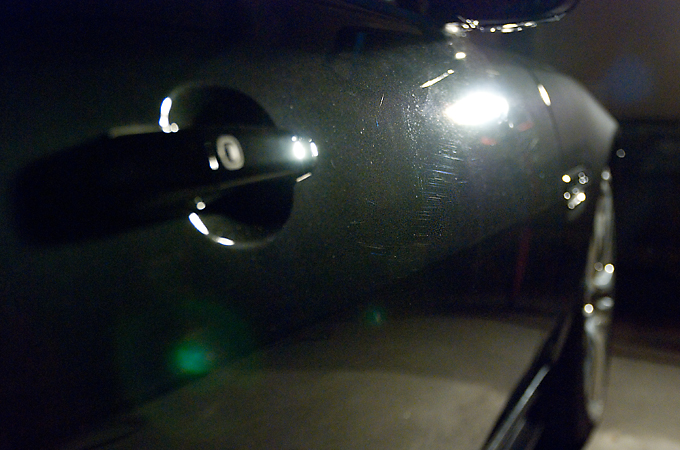
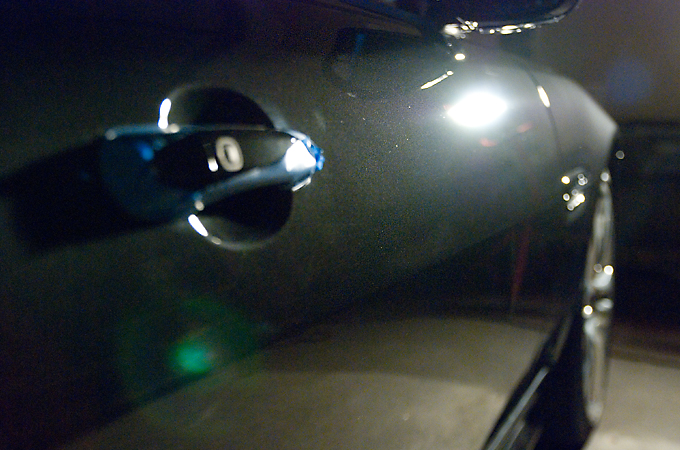
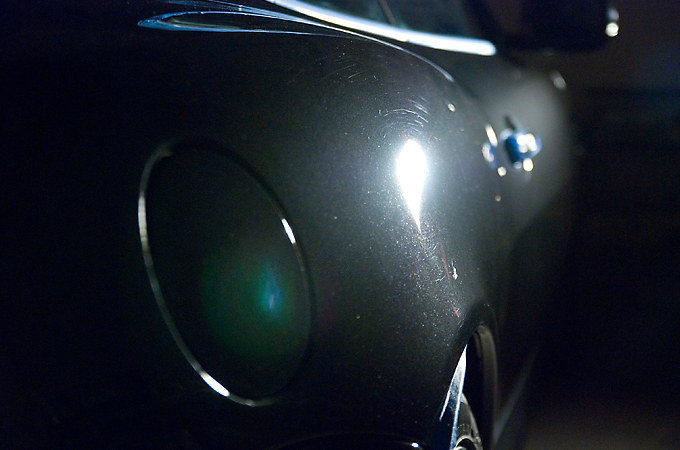
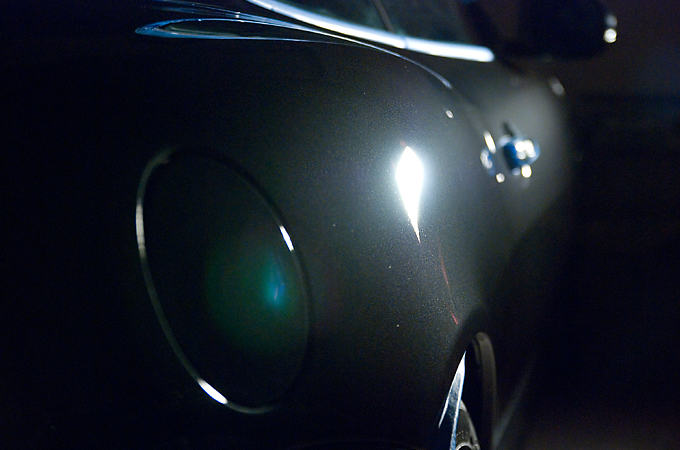
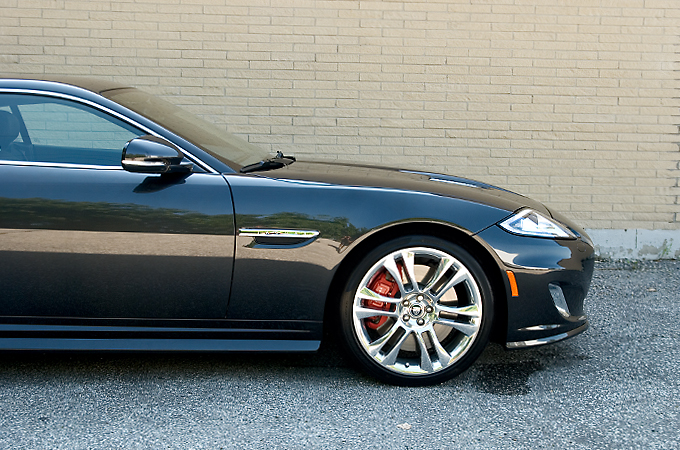
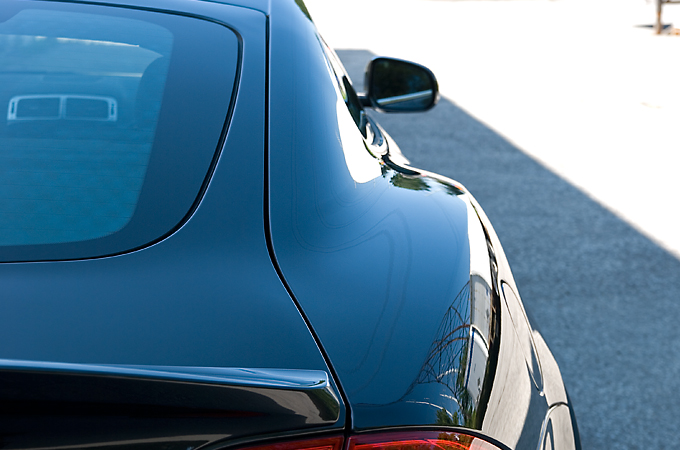
Upon arrival I had a chance to walk around the car and inspect it in direct sunlight
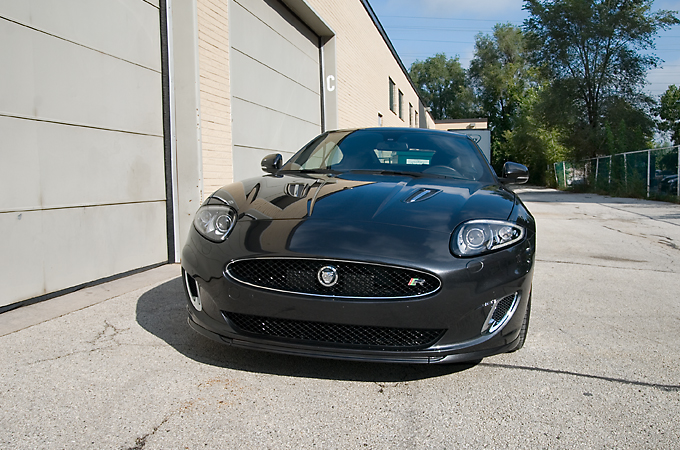
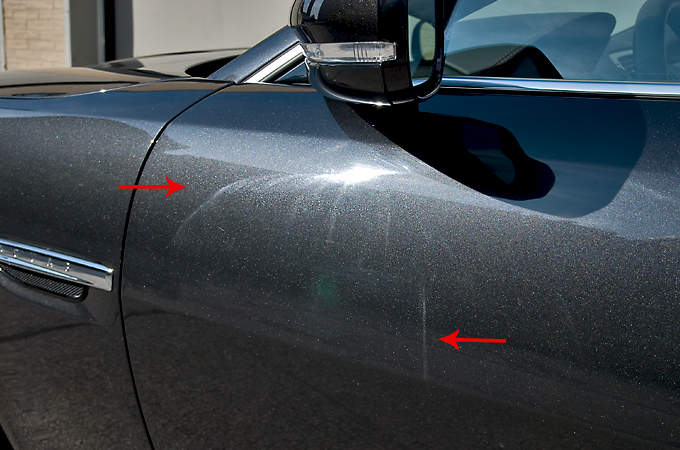
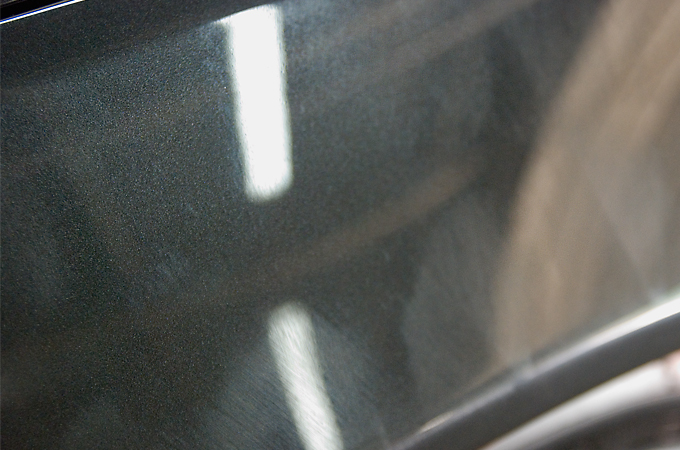
After inspection I found some buffer trials or holograms(where the red arrows are pointing) left behind by a previous detailer, possibly during the new car prep
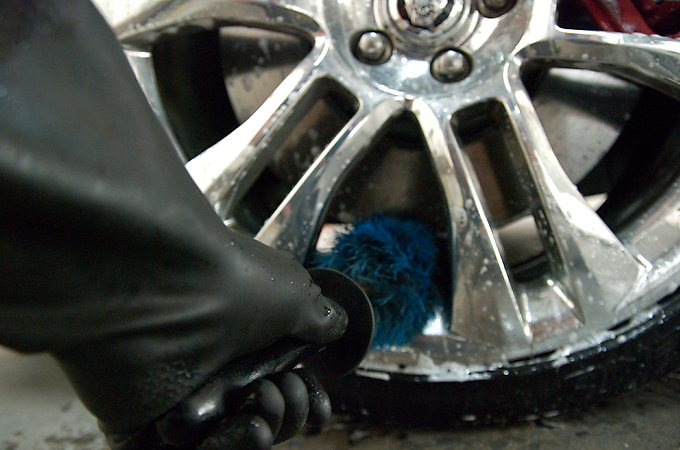
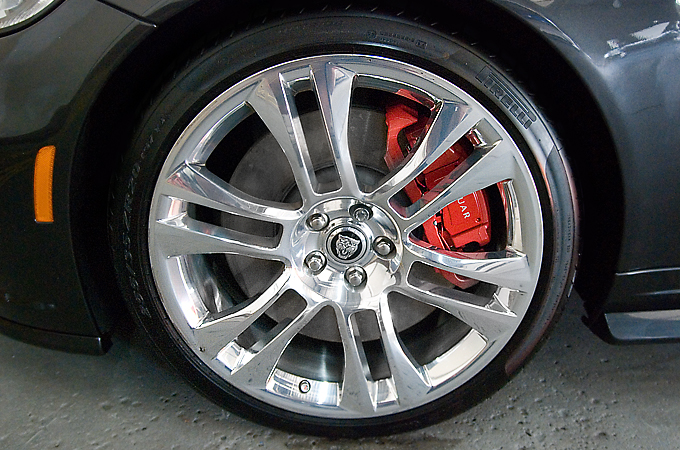
I brought it in and began the prep work starting with cleaning inside the inner barrel of the wheels with my EZ Brush
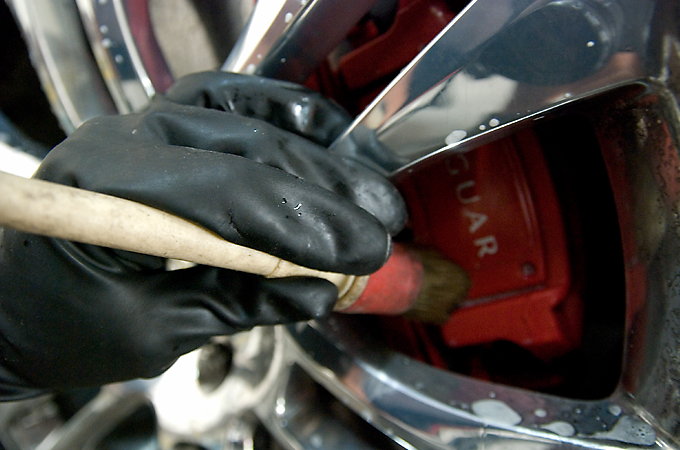
Lugnut area and calipers

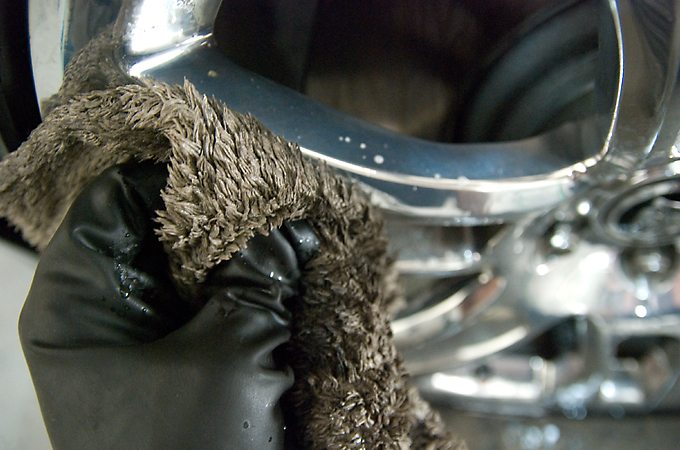
And finally the rim face with a microfiber mitt
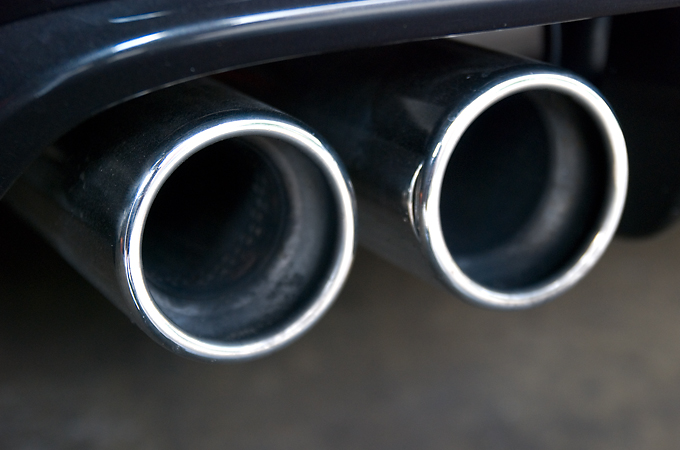
The exhaust was cleaned up as well
Dirty
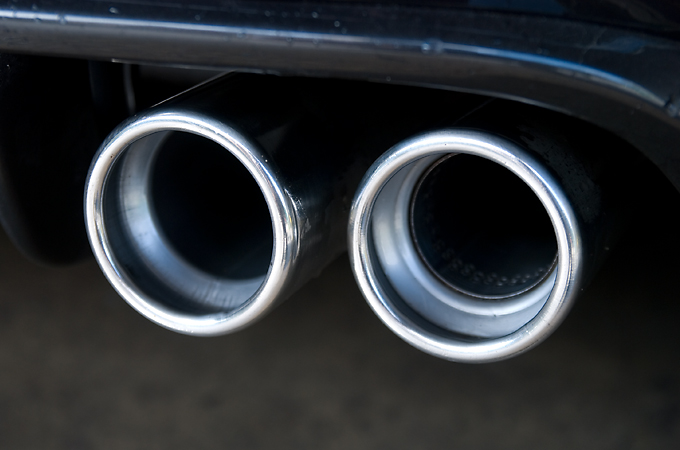
Clean
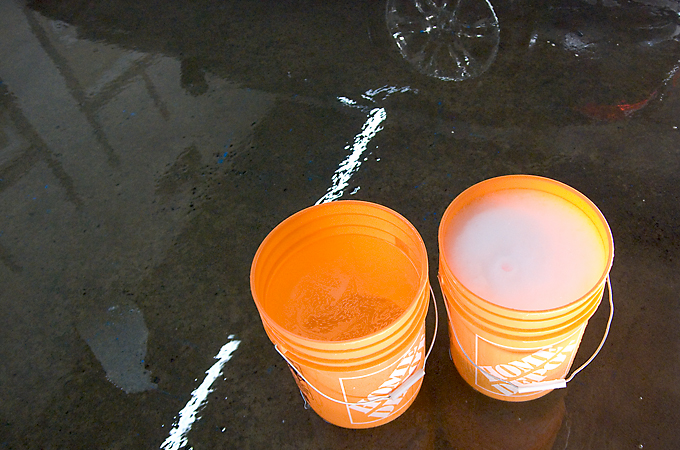
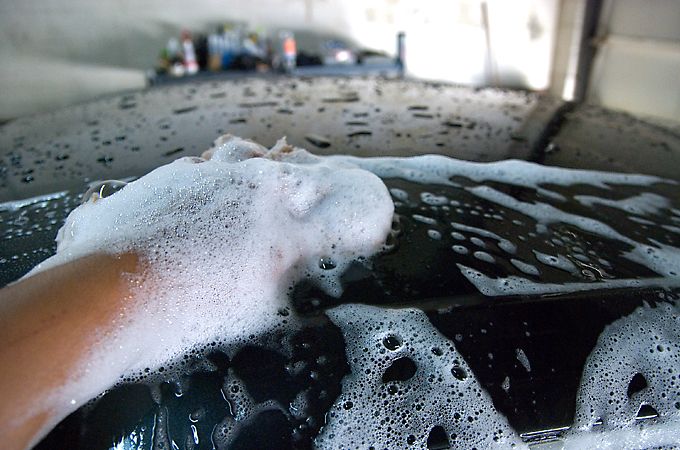
Getting on with the car wash we perform this with two buckets. Reason being is because we don't want to introduce more swirls into the paint and how we do this is, one bucket is filled with just water and the other just soap. As we wash the car after every panel we rinse off our wash media in the water only bucket before dipping it back into the soap bucket thus eliminating the chances of contaminating our soap water with the dirt we just picked up off the panel and reducing the risk of us dragging dirt filled soapy water across the paint which would scratch it causing more swirls
A soft natural sea sponge is what I use as my wash media
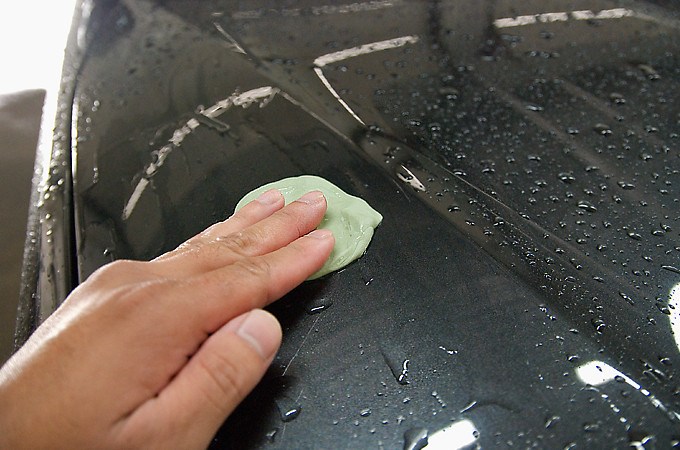
After rinsing down the car while it is still wet I began the claying process
If your not familiar with what clay is or what it does, it is basically an automotive clay bar that you rub on your paint along side a lubricant to remove contaminants embedded in the clear coat
If you have ever washed your car and even waxed it then felt the paint after all is said and done you'll notice that it is still very rough. The roughness that you are feeling is embedded dirt etc in the clear coat that needs to be removed by clay bar
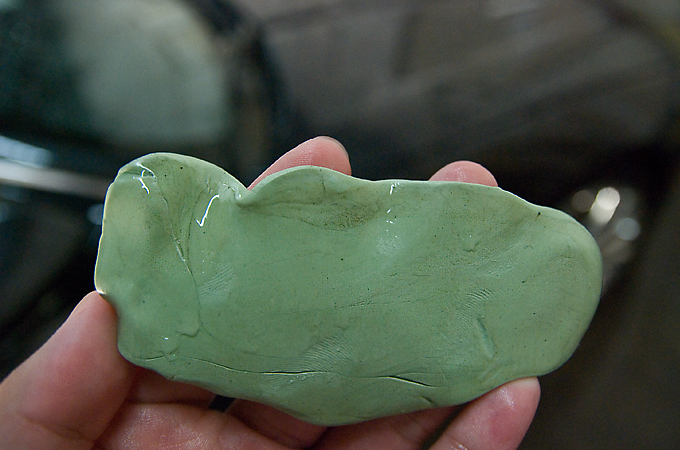
Not bad but there was still some dirt that got picked up as you can see in the section closer to the index finger
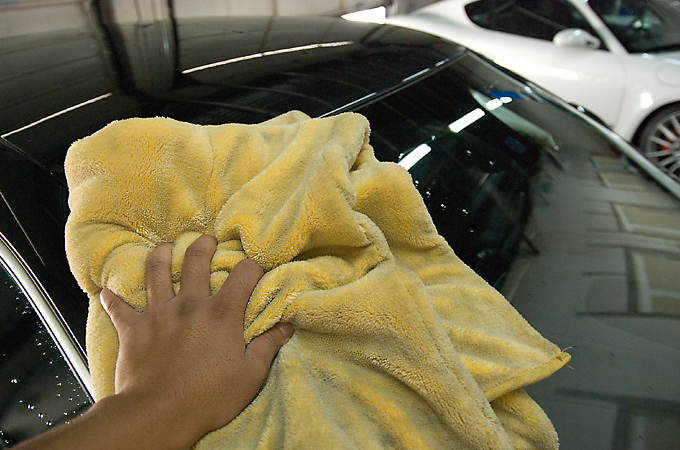
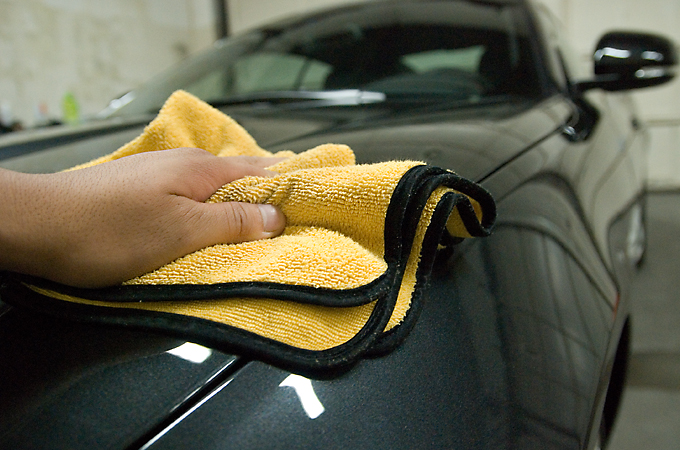
Finally began drying the car with a very plush microfiber towel imported from the UK. After a shower I don't even dry my own body *with towels of this quality or as expensive hahaha
Once the vehicle is dry I measure the paint before polishing to look for any low spots I should be weary of or any inconsistencies in the paint.
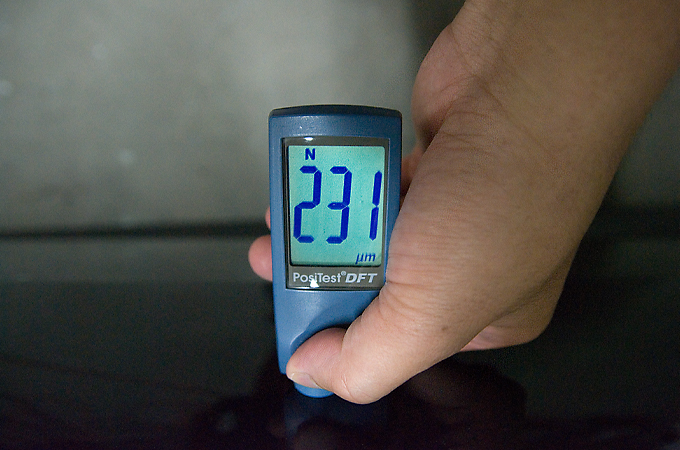
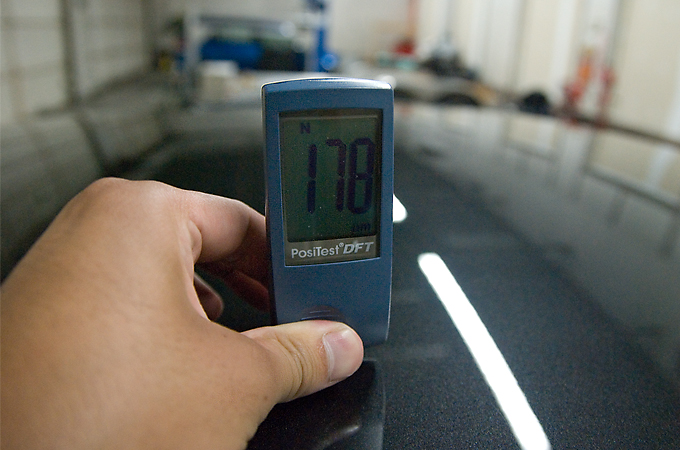
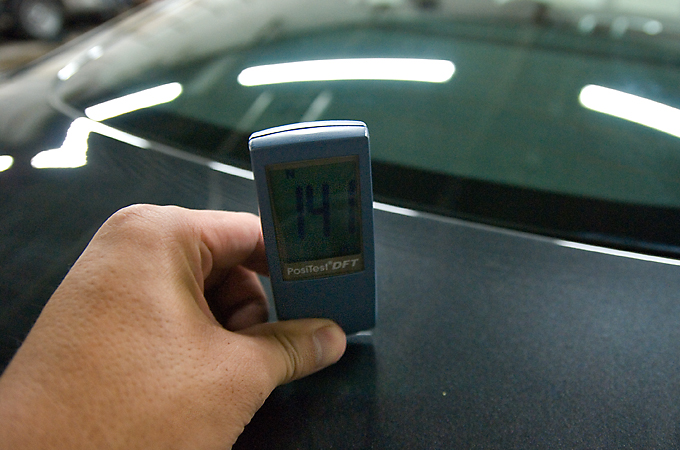
Measurements are taken in microns
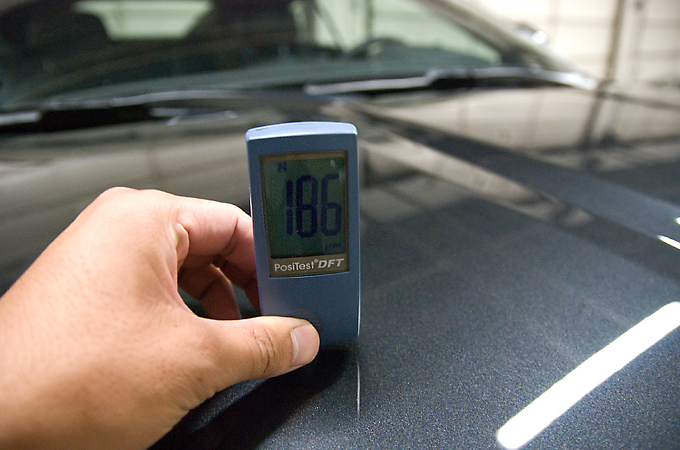

This is actually one of the inconsistencies I was referring to. Measurements around the car were reading in the 140 - 180 range then all of a sudden on the passenger door it shoots up to 231 microns. Usually what this means is that the area has been repainted which is not a bad thing as long as it is disclosed to the potential buyer
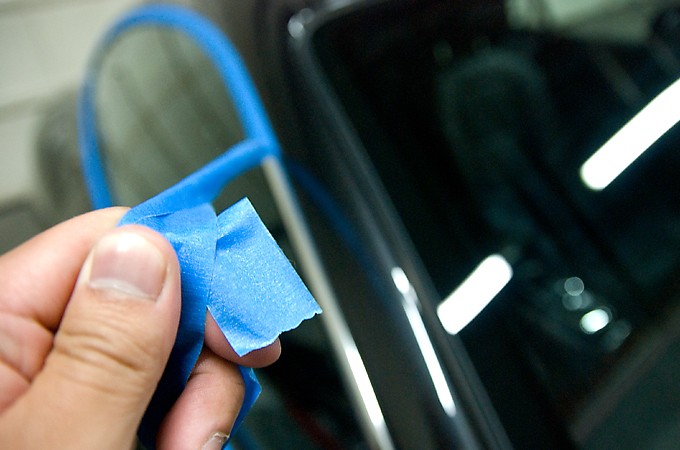
After measuring the depth of the paint we began to mask all rubber trim to protect it from being burnt by the buffers
The paint was not in terrible condition so a medium cutting polish was used. Here are some befores and afters of the panels
Before

After
Before
This was the driver's door with all those buffer trails left behind
After
And now corrected
Before
After
Before
After
Before
After
Before
After
The owner of this brand new XK-R(300km) had seen some of my previous work and contacted me expressing that he wanted to get his paint in top condition. We exchanged a few emails, I answered a few of his concerns, and we finally set a up date for the work to be completed.
Upon arrival I had a chance to walk around the car and inspect it in direct sunlight
After inspection I found some buffer trials or holograms(where the red arrows are pointing) left behind by a previous detailer, possibly during the new car prep
I brought it in and began the prep work starting with cleaning inside the inner barrel of the wheels with my EZ Brush
Lugnut area and calipers
And finally the rim face with a microfiber mitt
The exhaust was cleaned up as well
Dirty
Clean
Getting on with the car wash we perform this with two buckets. Reason being is because we don't want to introduce more swirls into the paint and how we do this is, one bucket is filled with just water and the other just soap. As we wash the car after every panel we rinse off our wash media in the water only bucket before dipping it back into the soap bucket thus eliminating the chances of contaminating our soap water with the dirt we just picked up off the panel and reducing the risk of us dragging dirt filled soapy water across the paint which would scratch it causing more swirls
A soft natural sea sponge is what I use as my wash media
After rinsing down the car while it is still wet I began the claying process
If your not familiar with what clay is or what it does, it is basically an automotive clay bar that you rub on your paint along side a lubricant to remove contaminants embedded in the clear coat
If you have ever washed your car and even waxed it then felt the paint after all is said and done you'll notice that it is still very rough. The roughness that you are feeling is embedded dirt etc in the clear coat that needs to be removed by clay bar
Not bad but there was still some dirt that got picked up as you can see in the section closer to the index finger
Finally began drying the car with a very plush microfiber towel imported from the UK. After a shower I don't even dry my own body *with towels of this quality or as expensive hahaha
Once the vehicle is dry I measure the paint before polishing to look for any low spots I should be weary of or any inconsistencies in the paint.
Measurements are taken in microns
This is actually one of the inconsistencies I was referring to. Measurements around the car were reading in the 140 - 180 range then all of a sudden on the passenger door it shoots up to 231 microns. Usually what this means is that the area has been repainted which is not a bad thing as long as it is disclosed to the potential buyer
After measuring the depth of the paint we began to mask all rubber trim to protect it from being burnt by the buffers
The paint was not in terrible condition so a medium cutting polish was used. Here are some befores and afters of the panels
Before
After
Before
This was the driver's door with all those buffer trails left behind
After
And now corrected
Before
After
Before
After
Before
After
Before
After
The following users liked this post:
Custom (06-15-2014)
#2
11-02-2012, 11:43 AM
After the polishing was complete the car was unmasked
And then wiped with ipa alcohol
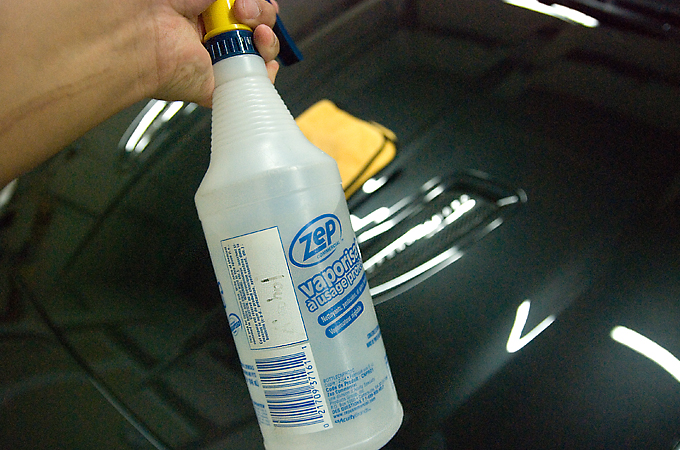
To clean off the polishing oils so that the wax can bond to the paint properly
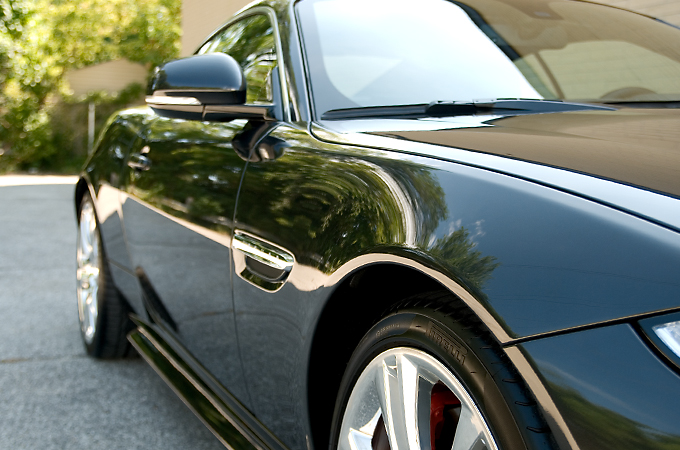
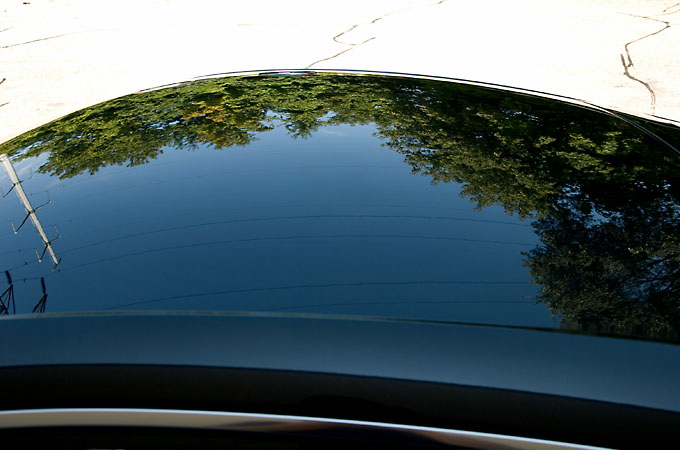
Here is the gloss achieved without a wax applied on yet
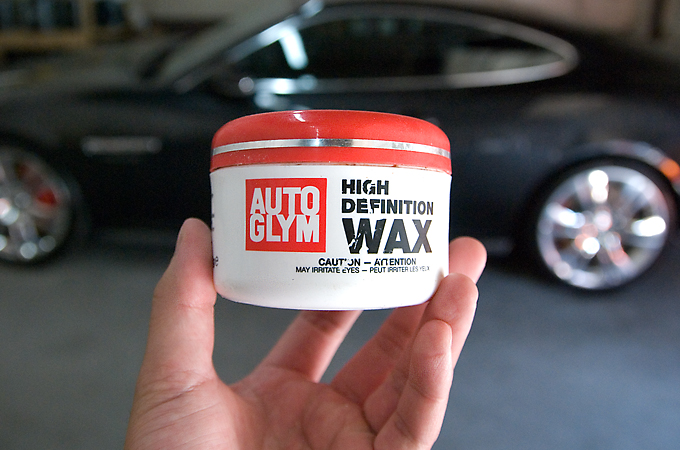
I hope you see the humour in this but I decided to apply a British manufactured wax to a British manufactured car
Applied to the paint
While the wax was curing I attended to other areas like cleaning the windows and dressing the tires
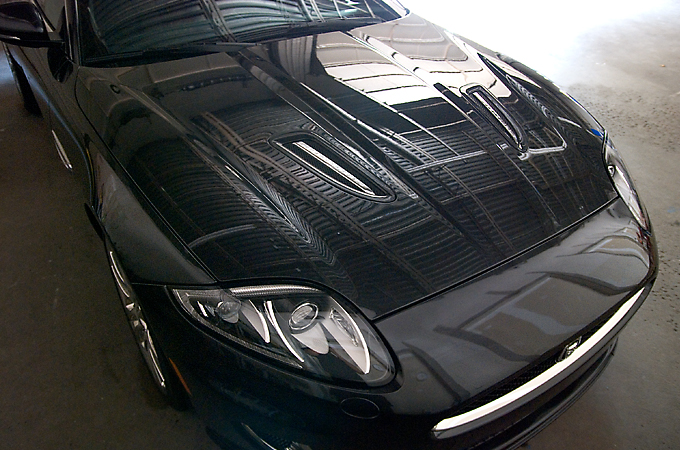
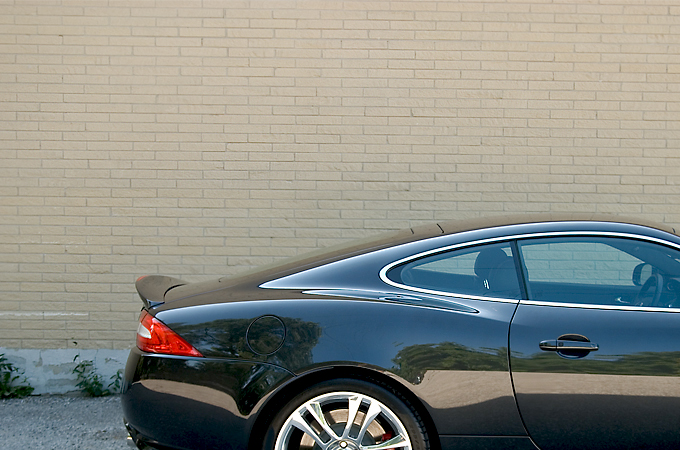
Wiped the wax off and took it outside for some final shots
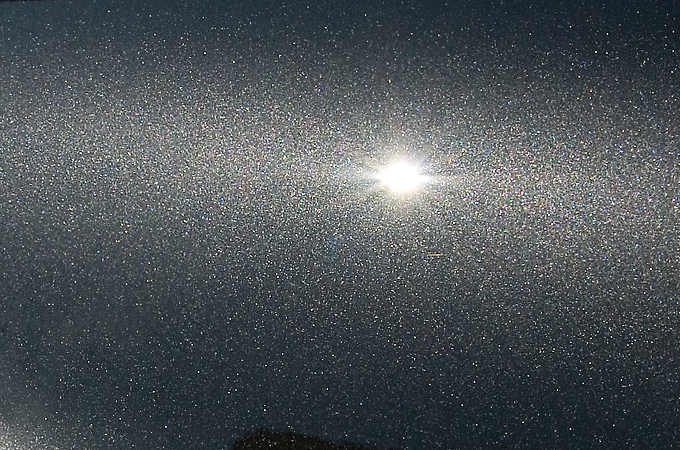
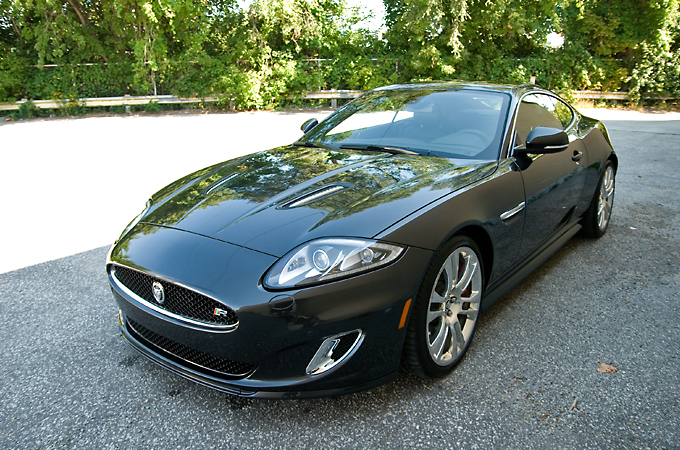
First off some pics in the direct sun
Perfect
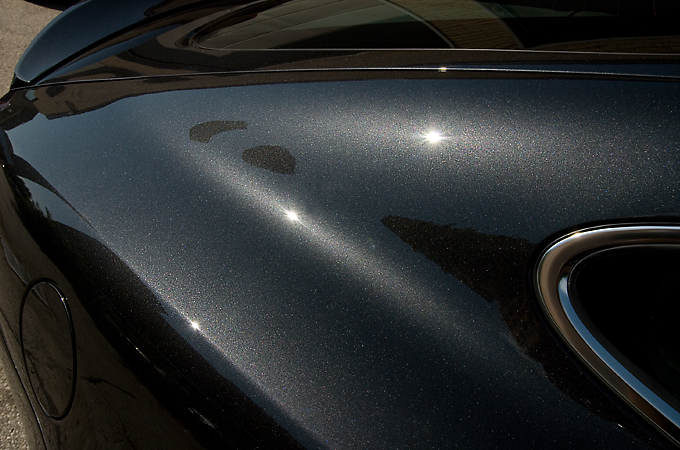
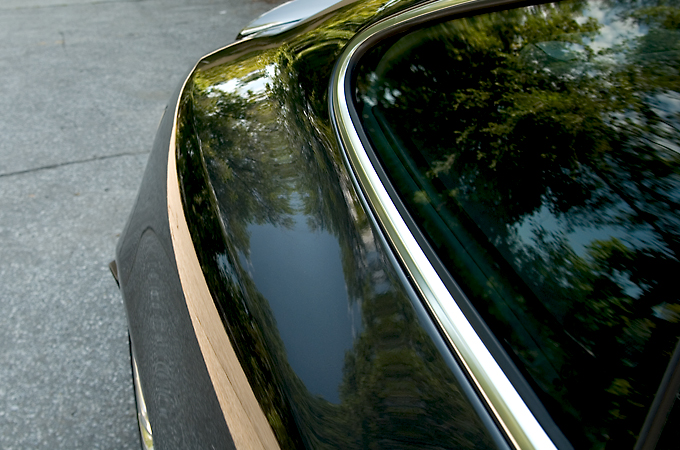
I love the way the metallic flake looked in this pic
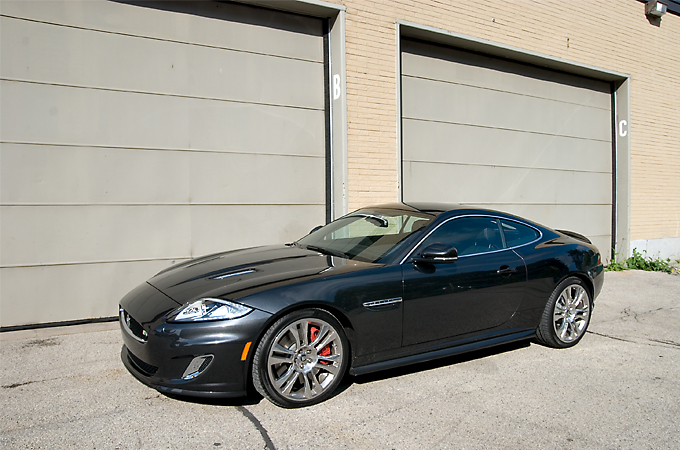
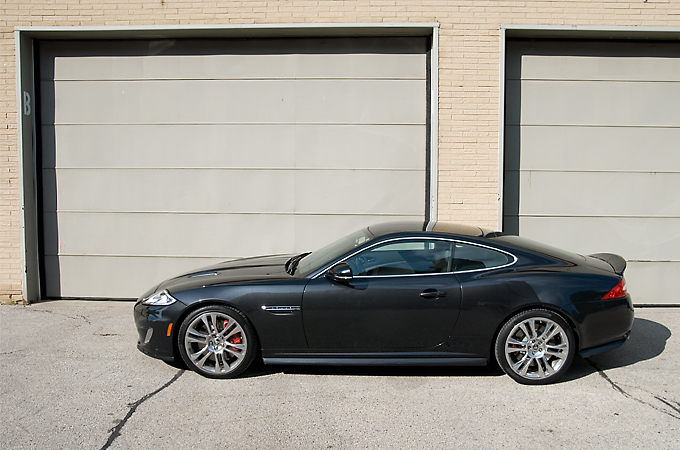
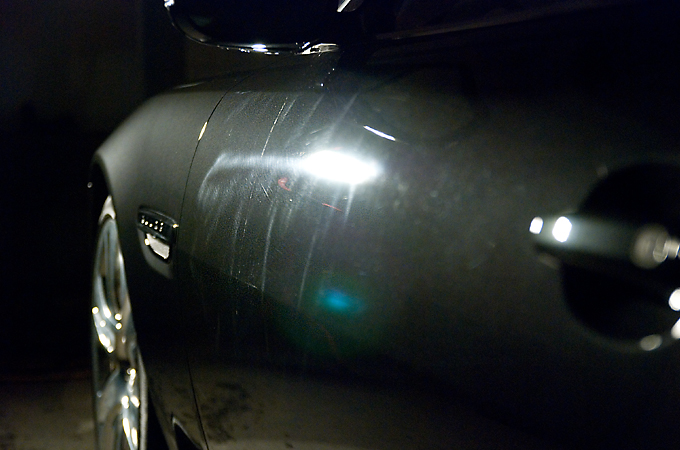
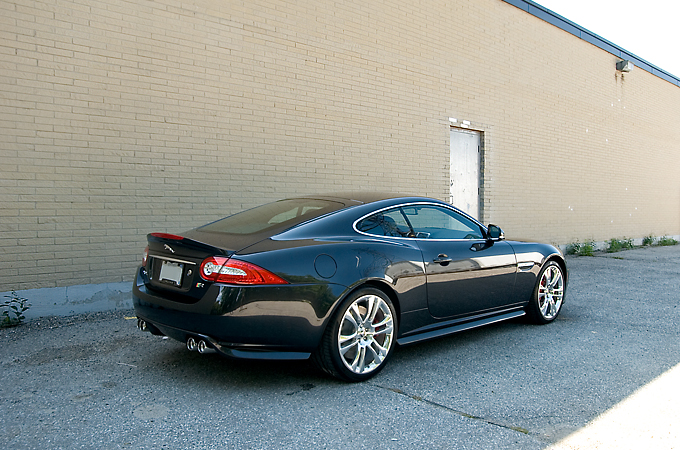
And now the final pics
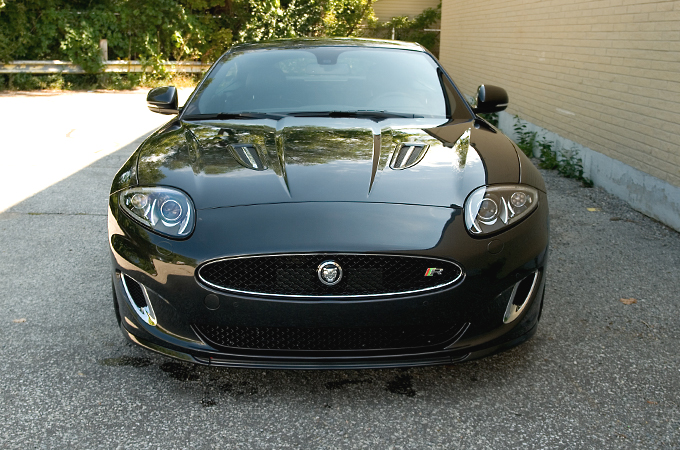
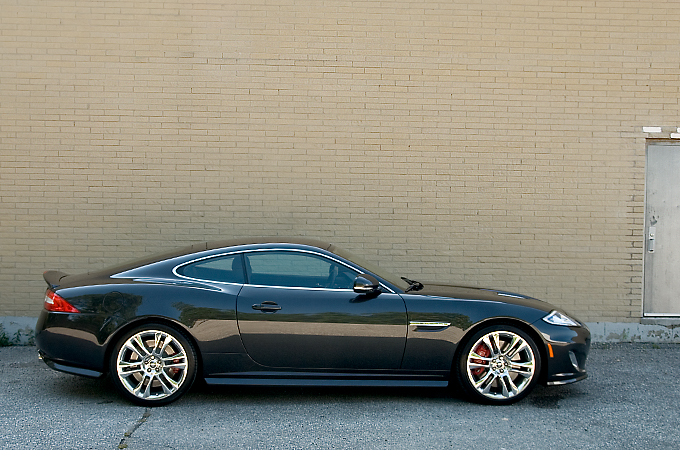
I like how this pic turned out
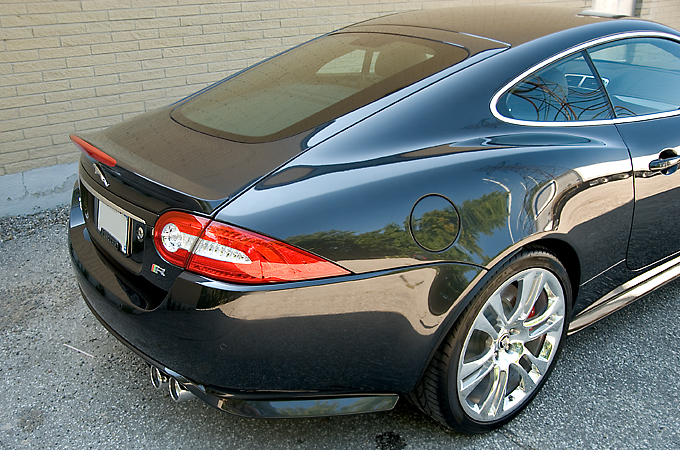
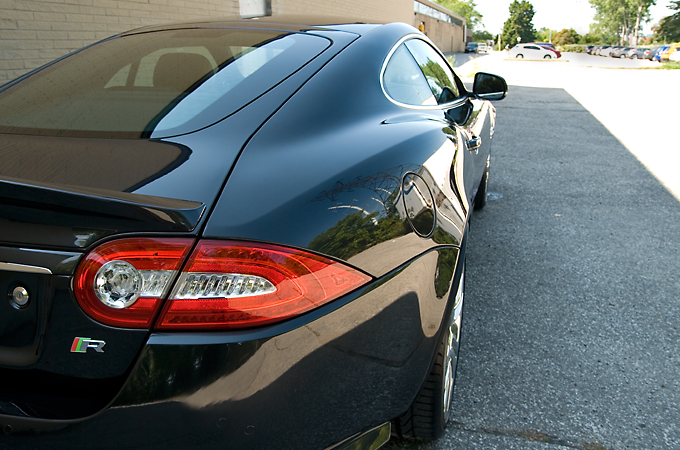
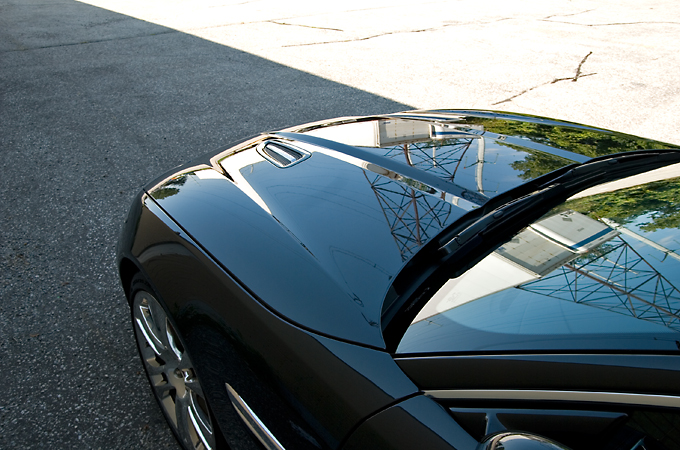
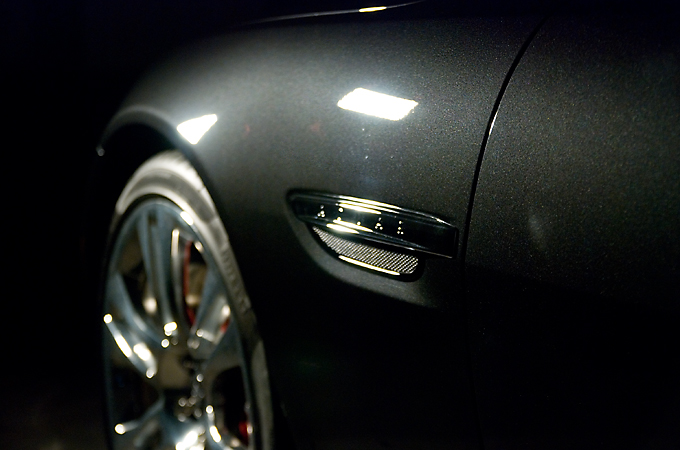
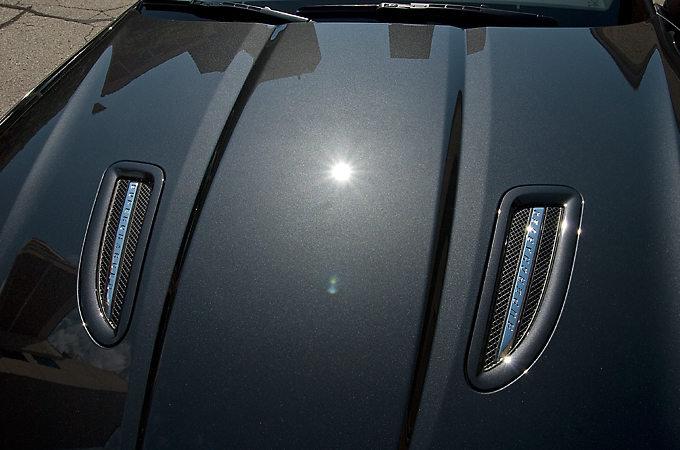
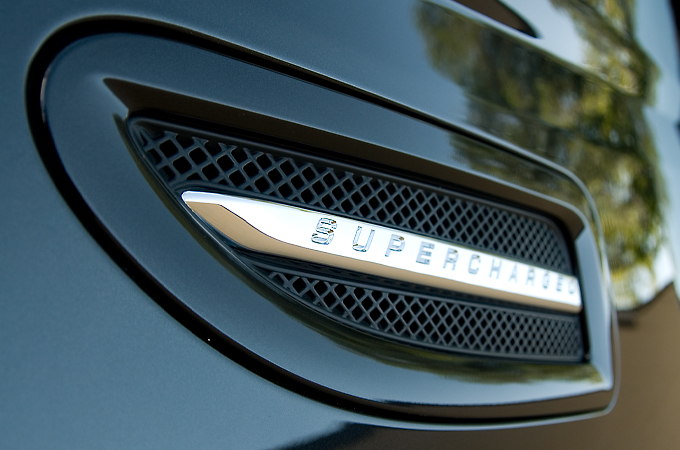
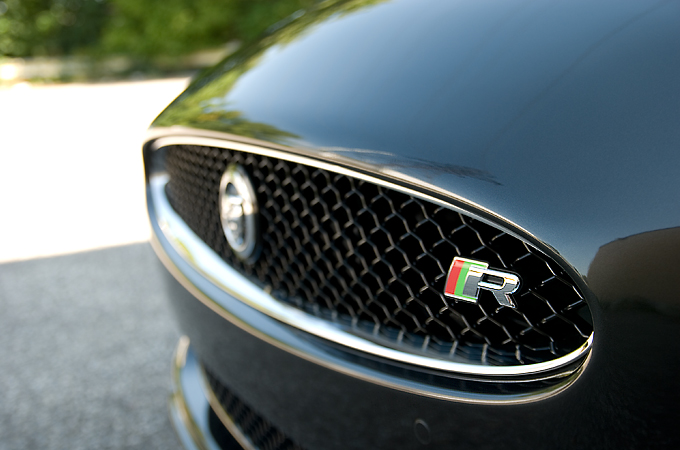
Some cool pics of nice details on the XK-R
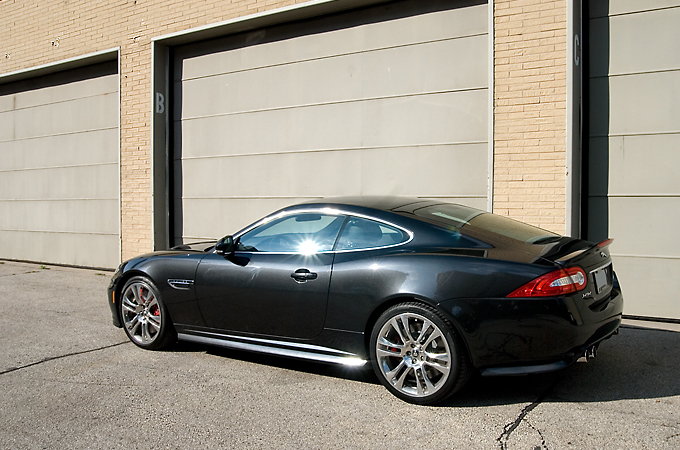
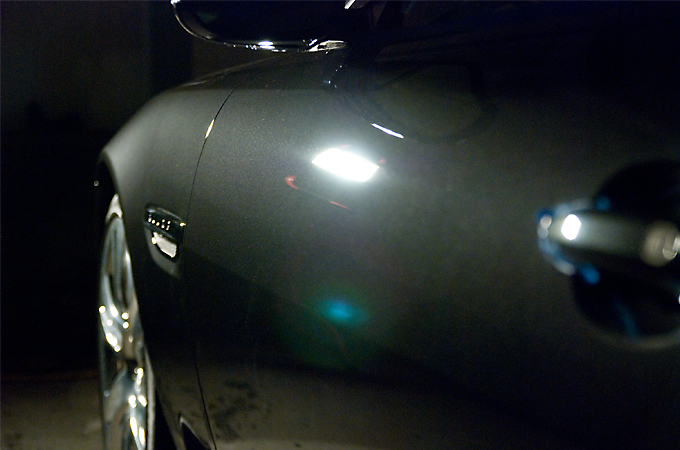
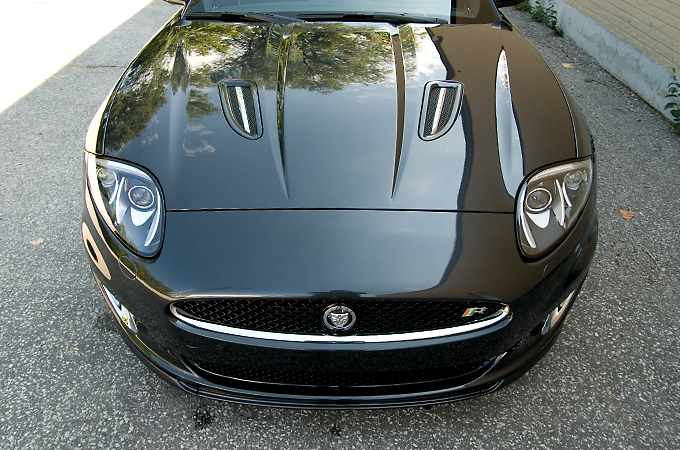
And finally my favourite pic
I hope you enjoyed reading through the write up and I look forward to sharing more in the near future!
Cheers!
Wes
And then wiped with ipa alcohol
To clean off the polishing oils so that the wax can bond to the paint properly
Here is the gloss achieved without a wax applied on yet
I hope you see the humour in this but I decided to apply a British manufactured wax to a British manufactured car
Applied to the paint
While the wax was curing I attended to other areas like cleaning the windows and dressing the tires
Wiped the wax off and took it outside for some final shots
First off some pics in the direct sun
Perfect
I love the way the metallic flake looked in this pic
And now the final pics
I like how this pic turned out
Some cool pics of nice details on the XK-R
And finally my favourite pic
I hope you enjoyed reading through the write up and I look forward to sharing more in the near future!
Cheers!
Wes
The following users liked this post:
Custom (06-15-2014)


#6
11-08-2012, 07:56 AM
Thanks!
Anything worth while takes time 
It's always nice to feel your paint after a good polish, even smoother then a baby's skin.
It's always nice to feel your paint after a good polish, even smoother then a baby's skin.

Thread
Thread Starter
Forum
Replies
Last Post
mikiep
XK8 / XKR ( X100 )
14
12-20-2019 07:37 PM
FS[MidWest]: 2001 Supercharged Vanden Plas
Col. Sandurz
PRIVATE For Sale / Trade or Buy Classifieds
1
09-28-2015 07:29 PM
Currently Active Users Viewing This Thread: 1 (0 members and 1 guests)