When you click on links to various merchants on this site and make a purchase, this can result in this site earning a commission. Affiliate programs and affiliations include, but are not limited to, the eBay Partner Network.
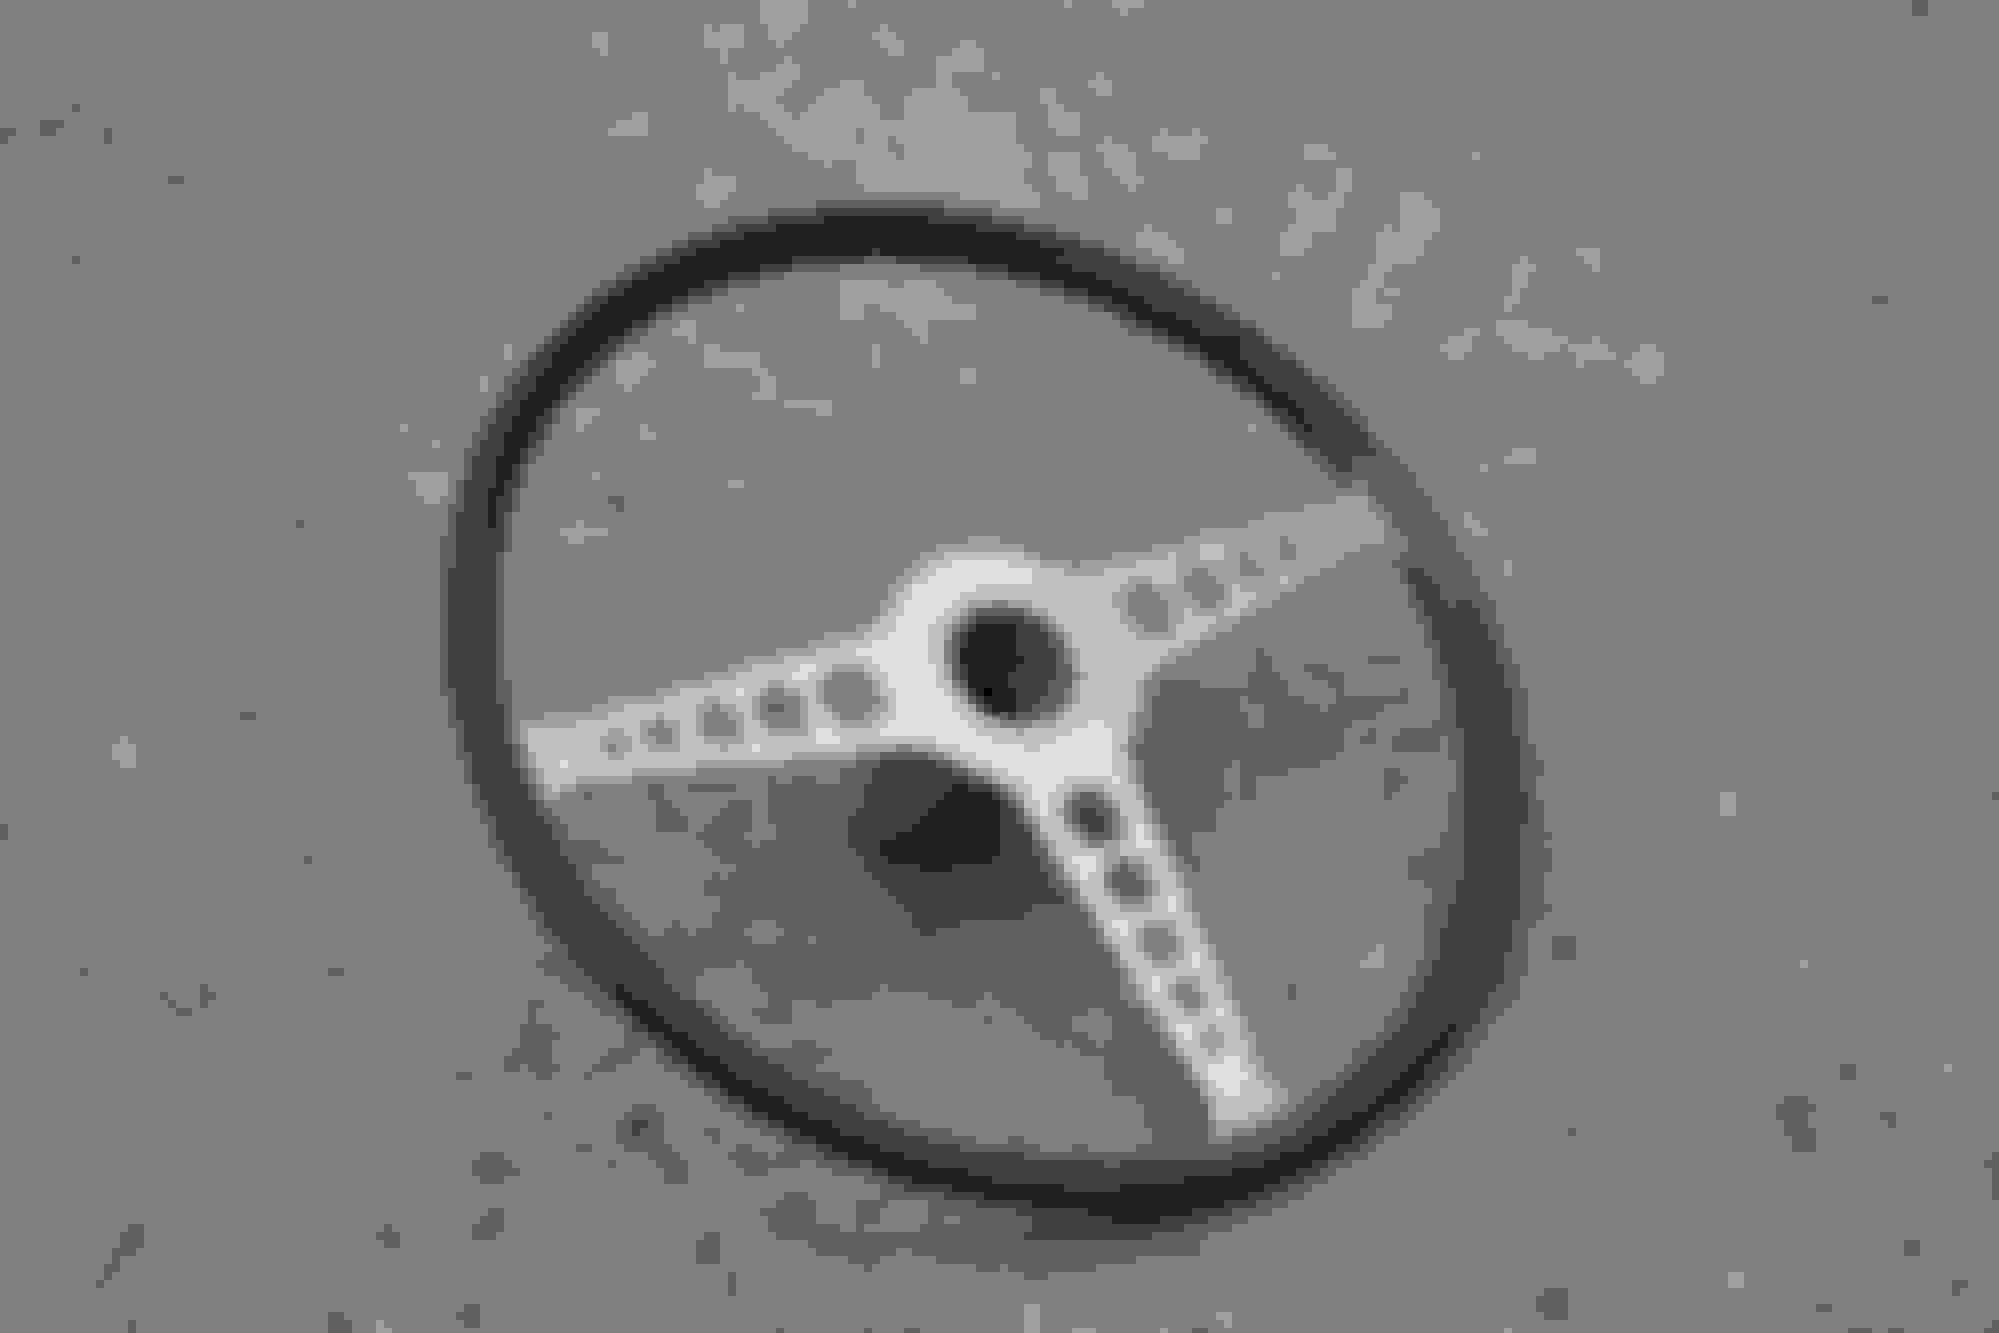
I started with the wheel in this state. This is after giving it a once over with very fine scotch brite pads, and realizing I had to step up to a more aggressive method. The left hand spoke had fairly deep pitting, and was quite black, and at the ends of all the spokes by the rim was a build up of hand gunk. I discovered one split in the wood under closer inspection, but it does not catch the hand or pull away from the assy, so I will just urethane over it when I am ready to refinish the wood. The hub assy was stained with something mysterious, and was rough with oxidation.
I started my search for an appropriate media to clean the metal by bead blasting the back of the wheel with glass bead. I wanted to start in an inconspicuous place incase the media was too aggressive, which it was :/ If I was able to find my walnut media, I would have gone there next, but I have no idea what I did with it, so out came the steel wire brush.
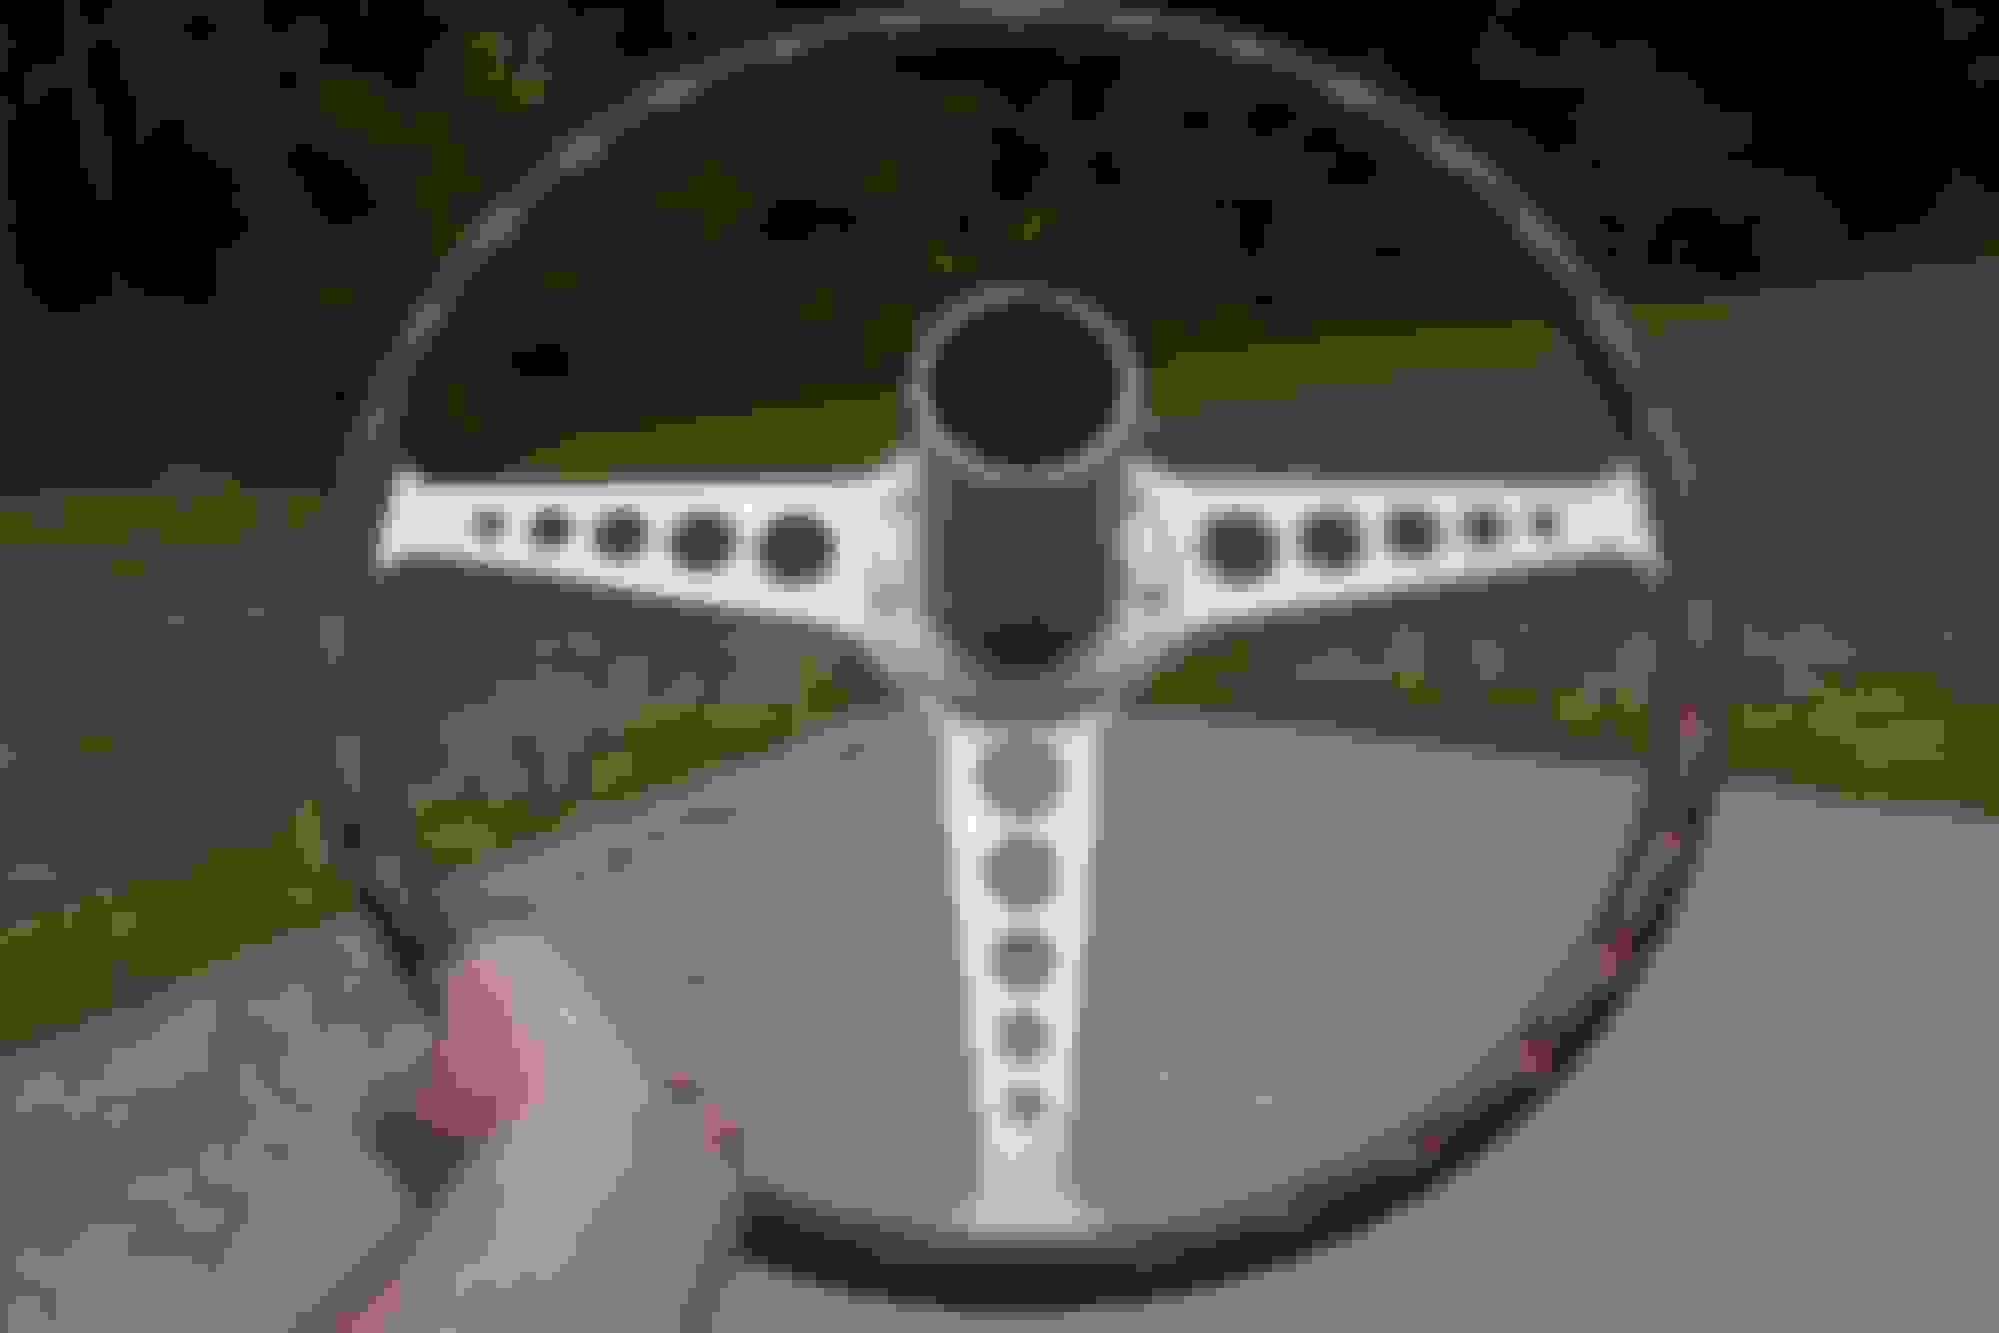
The tool I used to do the heavy lifting had thin gauge wire, and was about the size of a toothbrush. I worked in 1/2" circles, lightly abrading the surface until it turned up lustrous and even. I did this around one hole at a time, working my way out to the rim one spoke at a time. After I finished, I ran back over the entire spoke in broad fast strokes to brush the surface like the original (1968 series 1.5 got a brushed aluminum wheel from the factory). The hub got a very through once over from all directions around the edges and rivets, and the cylindrical body was wrapped in a more aggressive scotch brite pad and worked over to apply the original brushed finish. After all this, it got another once over with very fine scotch brite as a finishing touch.
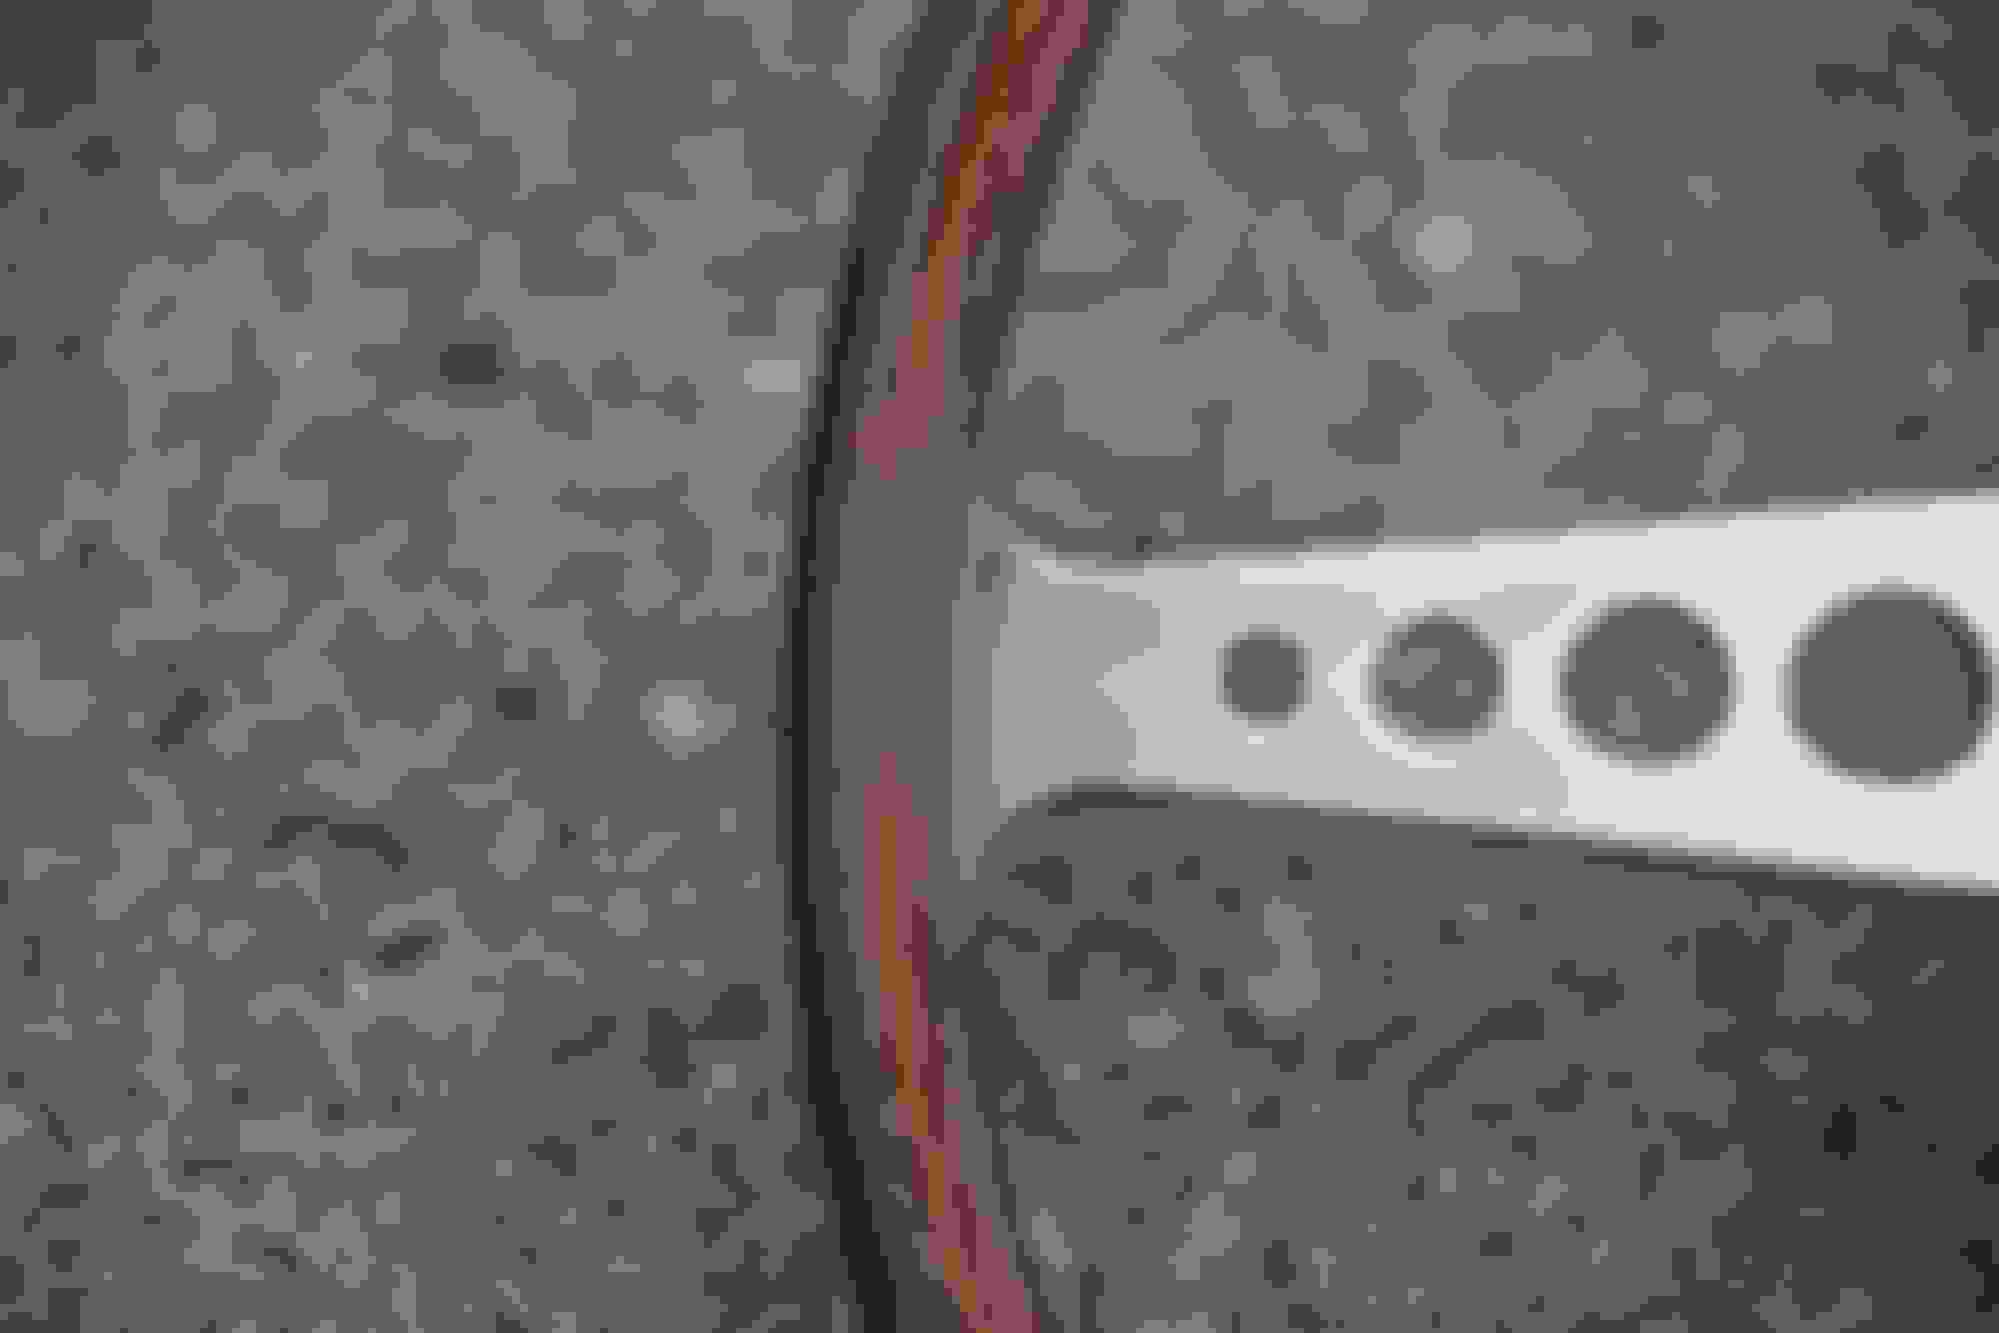
Notice the dark arear on the right hand spoke. This is an as of yet finished area. Quite a difference in luster.
Last edited by E-Type Erik; 07-11-2020 at 06:37 PM.
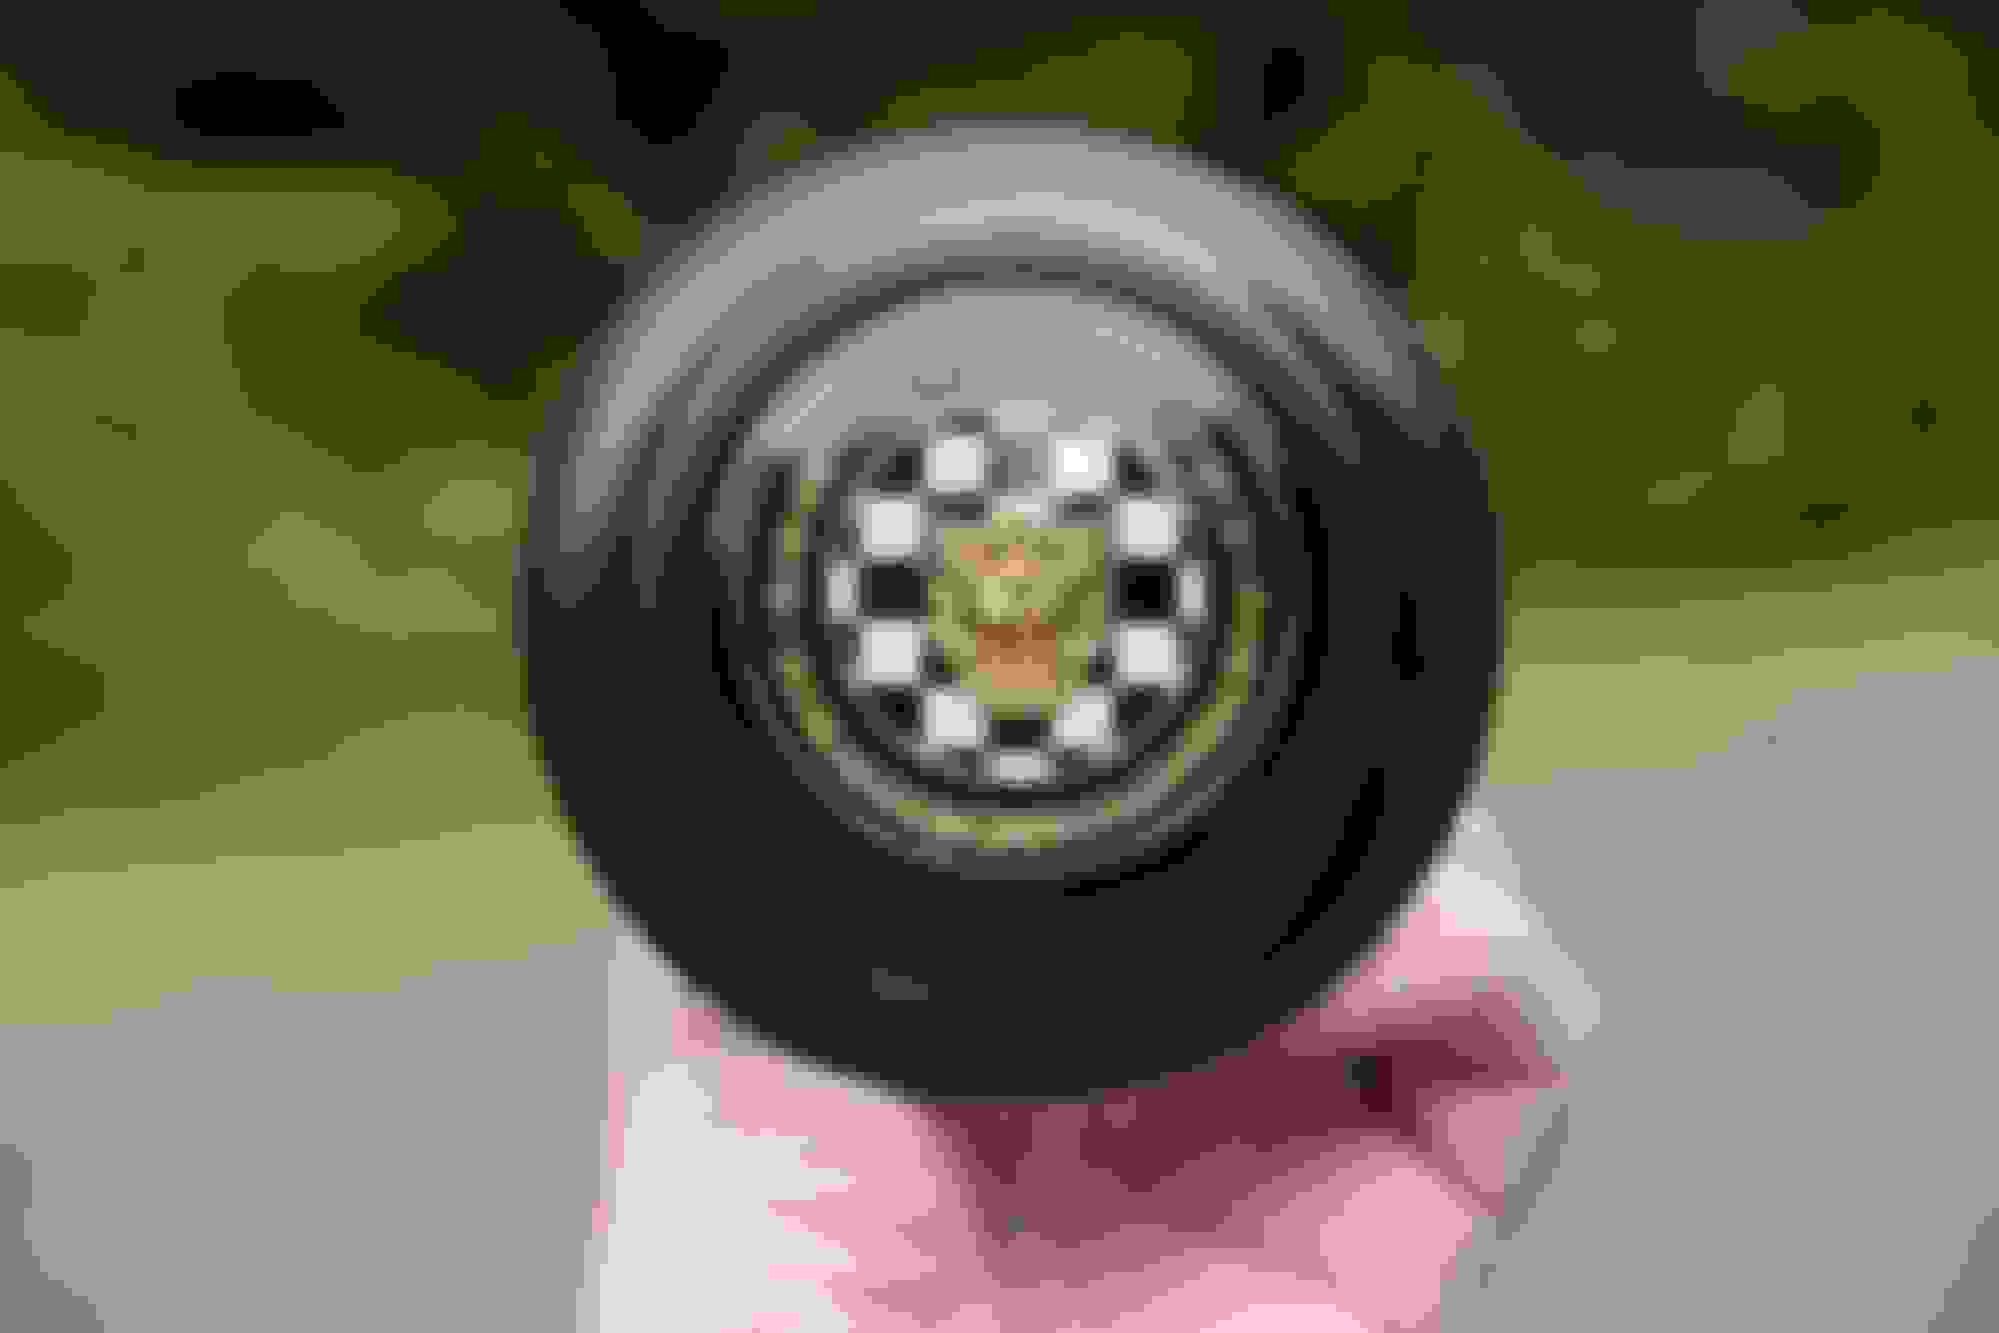
The center piece of the wheel got a light sanding on the outter rim, a vigorous crack cleaning with a soft bristle tooth brush, and a hand polish with cutting compound on the cloisonn�. There is a thin metal separator between the outter rim and the cloisonn� which had a number of small spots missing finish. Here I felt it was appropriate to use lab grade Sharpie marker as a touch up (spots were the size of the head of a pin). After that, a good wipe down with a microfiber, and a layer of real carnauba wax over the entire assy, and it was done.
And now the finished product for now! The wood still needs to be sanded, and refinished. I haven't chosen a material to refinish the wood with yet, but I will mention it here when I pick my poison.
Very nice jog. I have the same project to do on my 1967 2+2. I will be very interested in how you do the wood as mine really need work.
Thanks for your post, Craigar in Utah.

 07-11-2020 | 05:55 PM