When you click on links to various merchants on this site and make a purchase, this can result in this site earning a commission. Affiliate programs and affiliations include, but are not limited to, the eBay Partner Network.
Hi does anyone have any experiences replacing rear wheel bearings/ overhauling rear hub carrier wheel bearings. This job does not appear to be covered in the official Jaguar E-Type Series 1 & 2 workshop manual? Any thoughts appreciated
It is not a particularly difficult job, I did mine in the early 90s. However, I didn't have to contend with Locktite on the splines of the drive shaft. Jaguar used this in later cars to stop the customers complaining of clicking noises coming from the rear, but probably not to E-types as they finished in 1975. Considering the independent rear suspension was introduced in 1961 with the E-type and the Mark 10 you do wonder why it became an issue. I only noticed it once on my XJ when driving over a very rough track. If the drive shaft won't come out of the hub, you'll have to used some force to make it move. Others on here may have had this, so hopefully will contribute. Once you've got the hub out, the bearings can be tapped out of the hub carrier and new ones tapped into place. Make sure you keep and refit the spacer. This makes sure the bearing slack is maintained at the correct value. In theory, you should measure up play and put in the correct spacer, but on mine it was OK. I suspect the spacer is to compensate for the Jaguar machine shop not being precise enough with their machining. The bearings are made very precisely, (far more than the hub they fit in), so most times the bearing play will be correct on reassembly. Best to check, of course !
Ivor
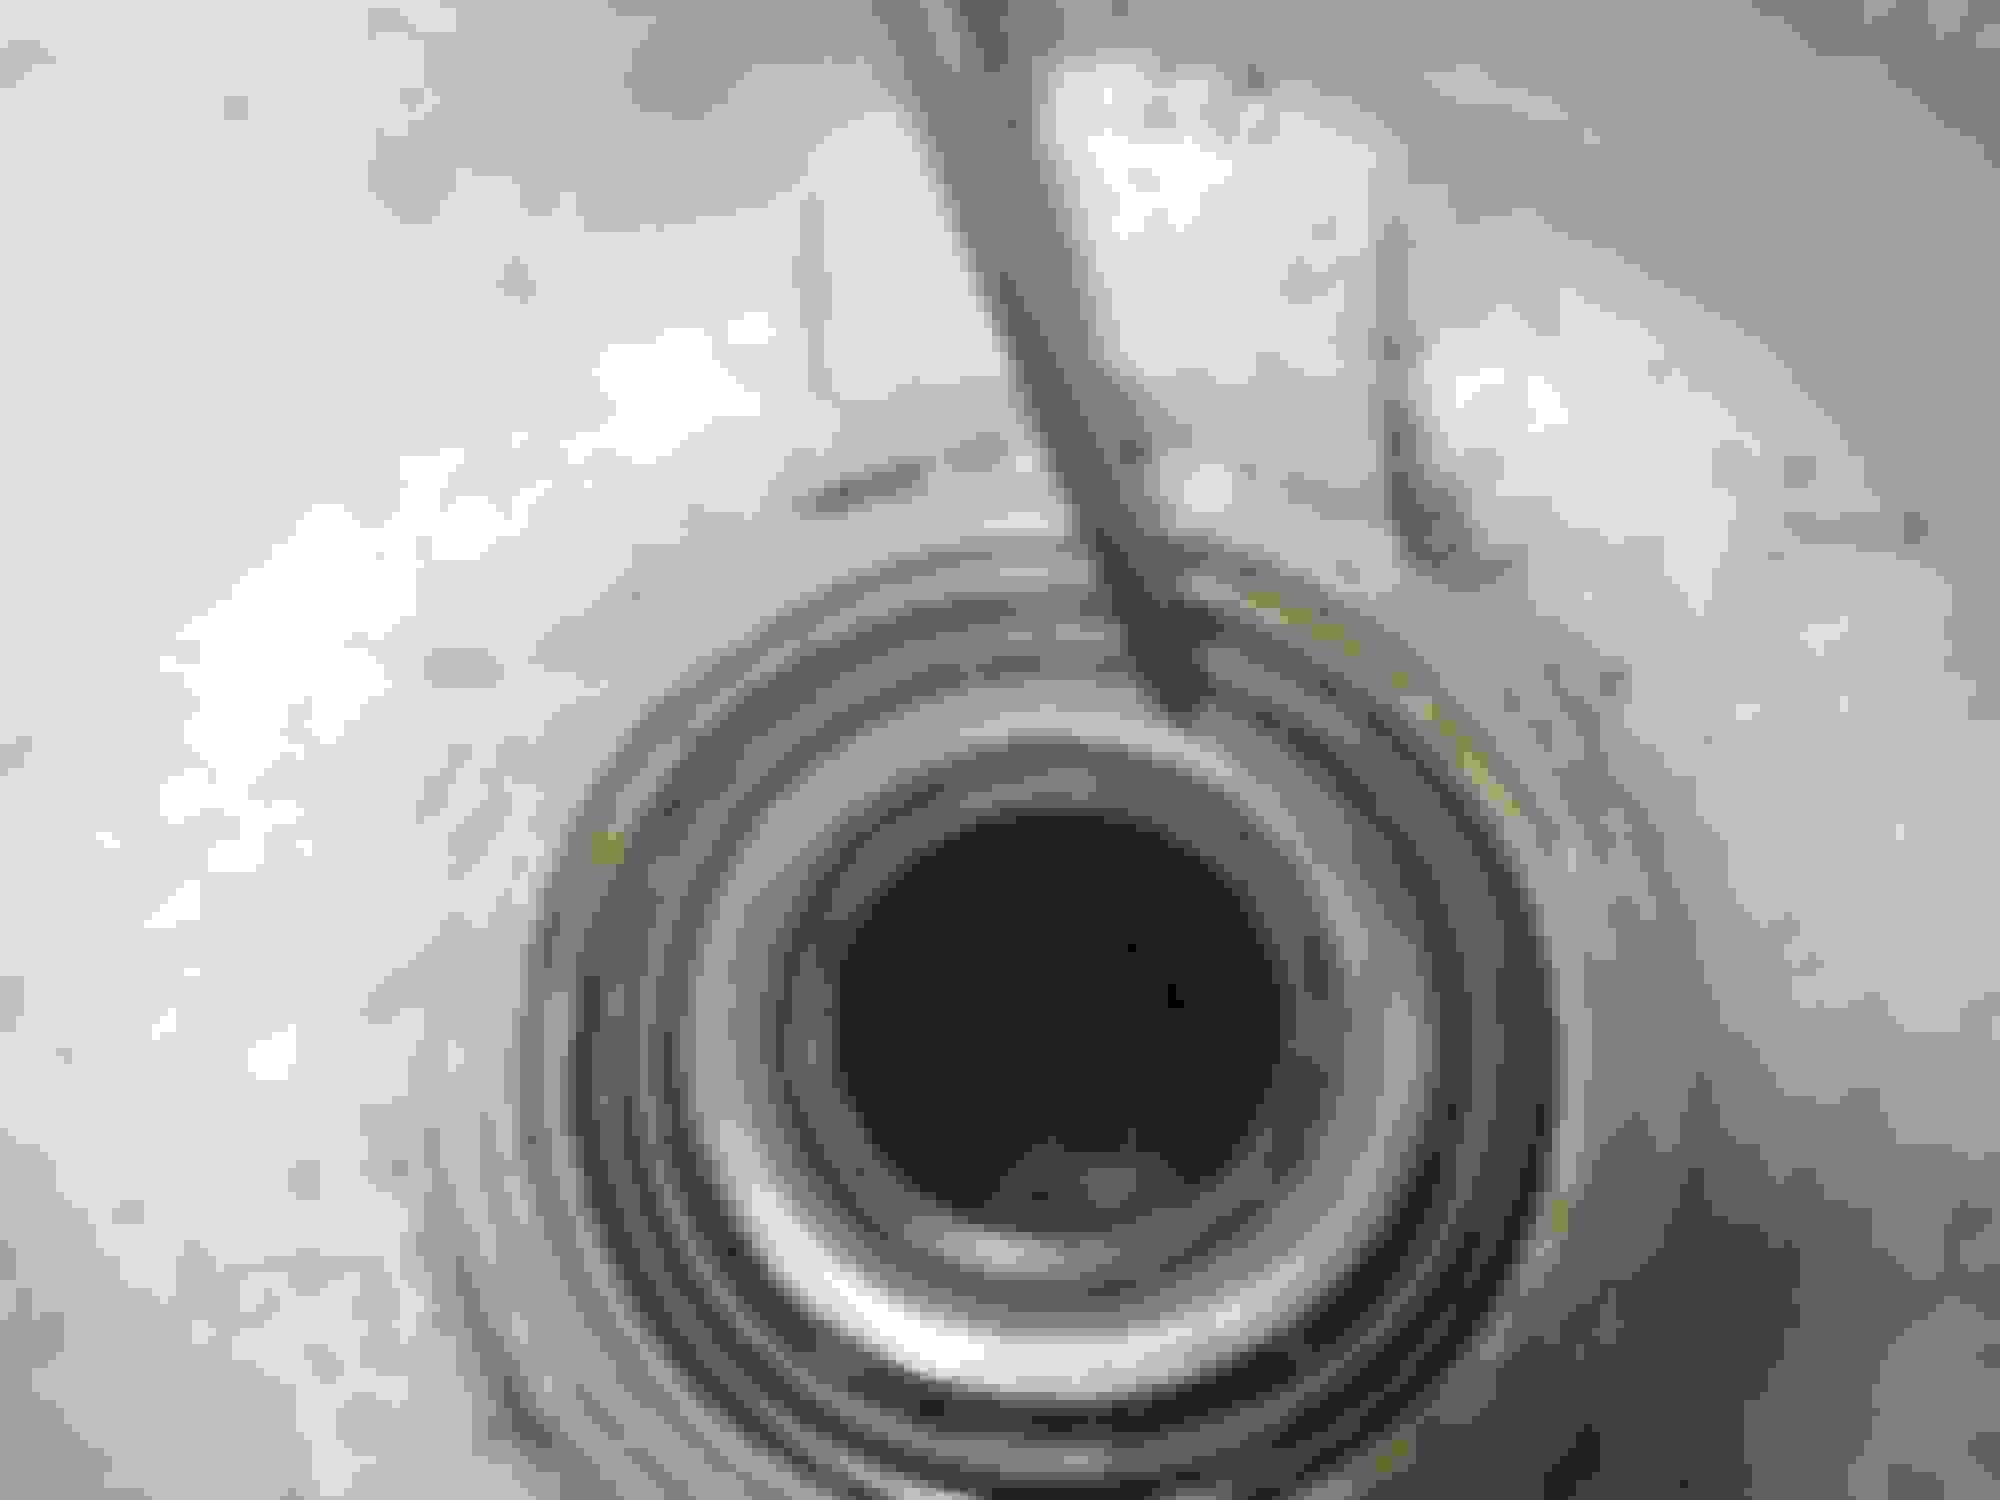
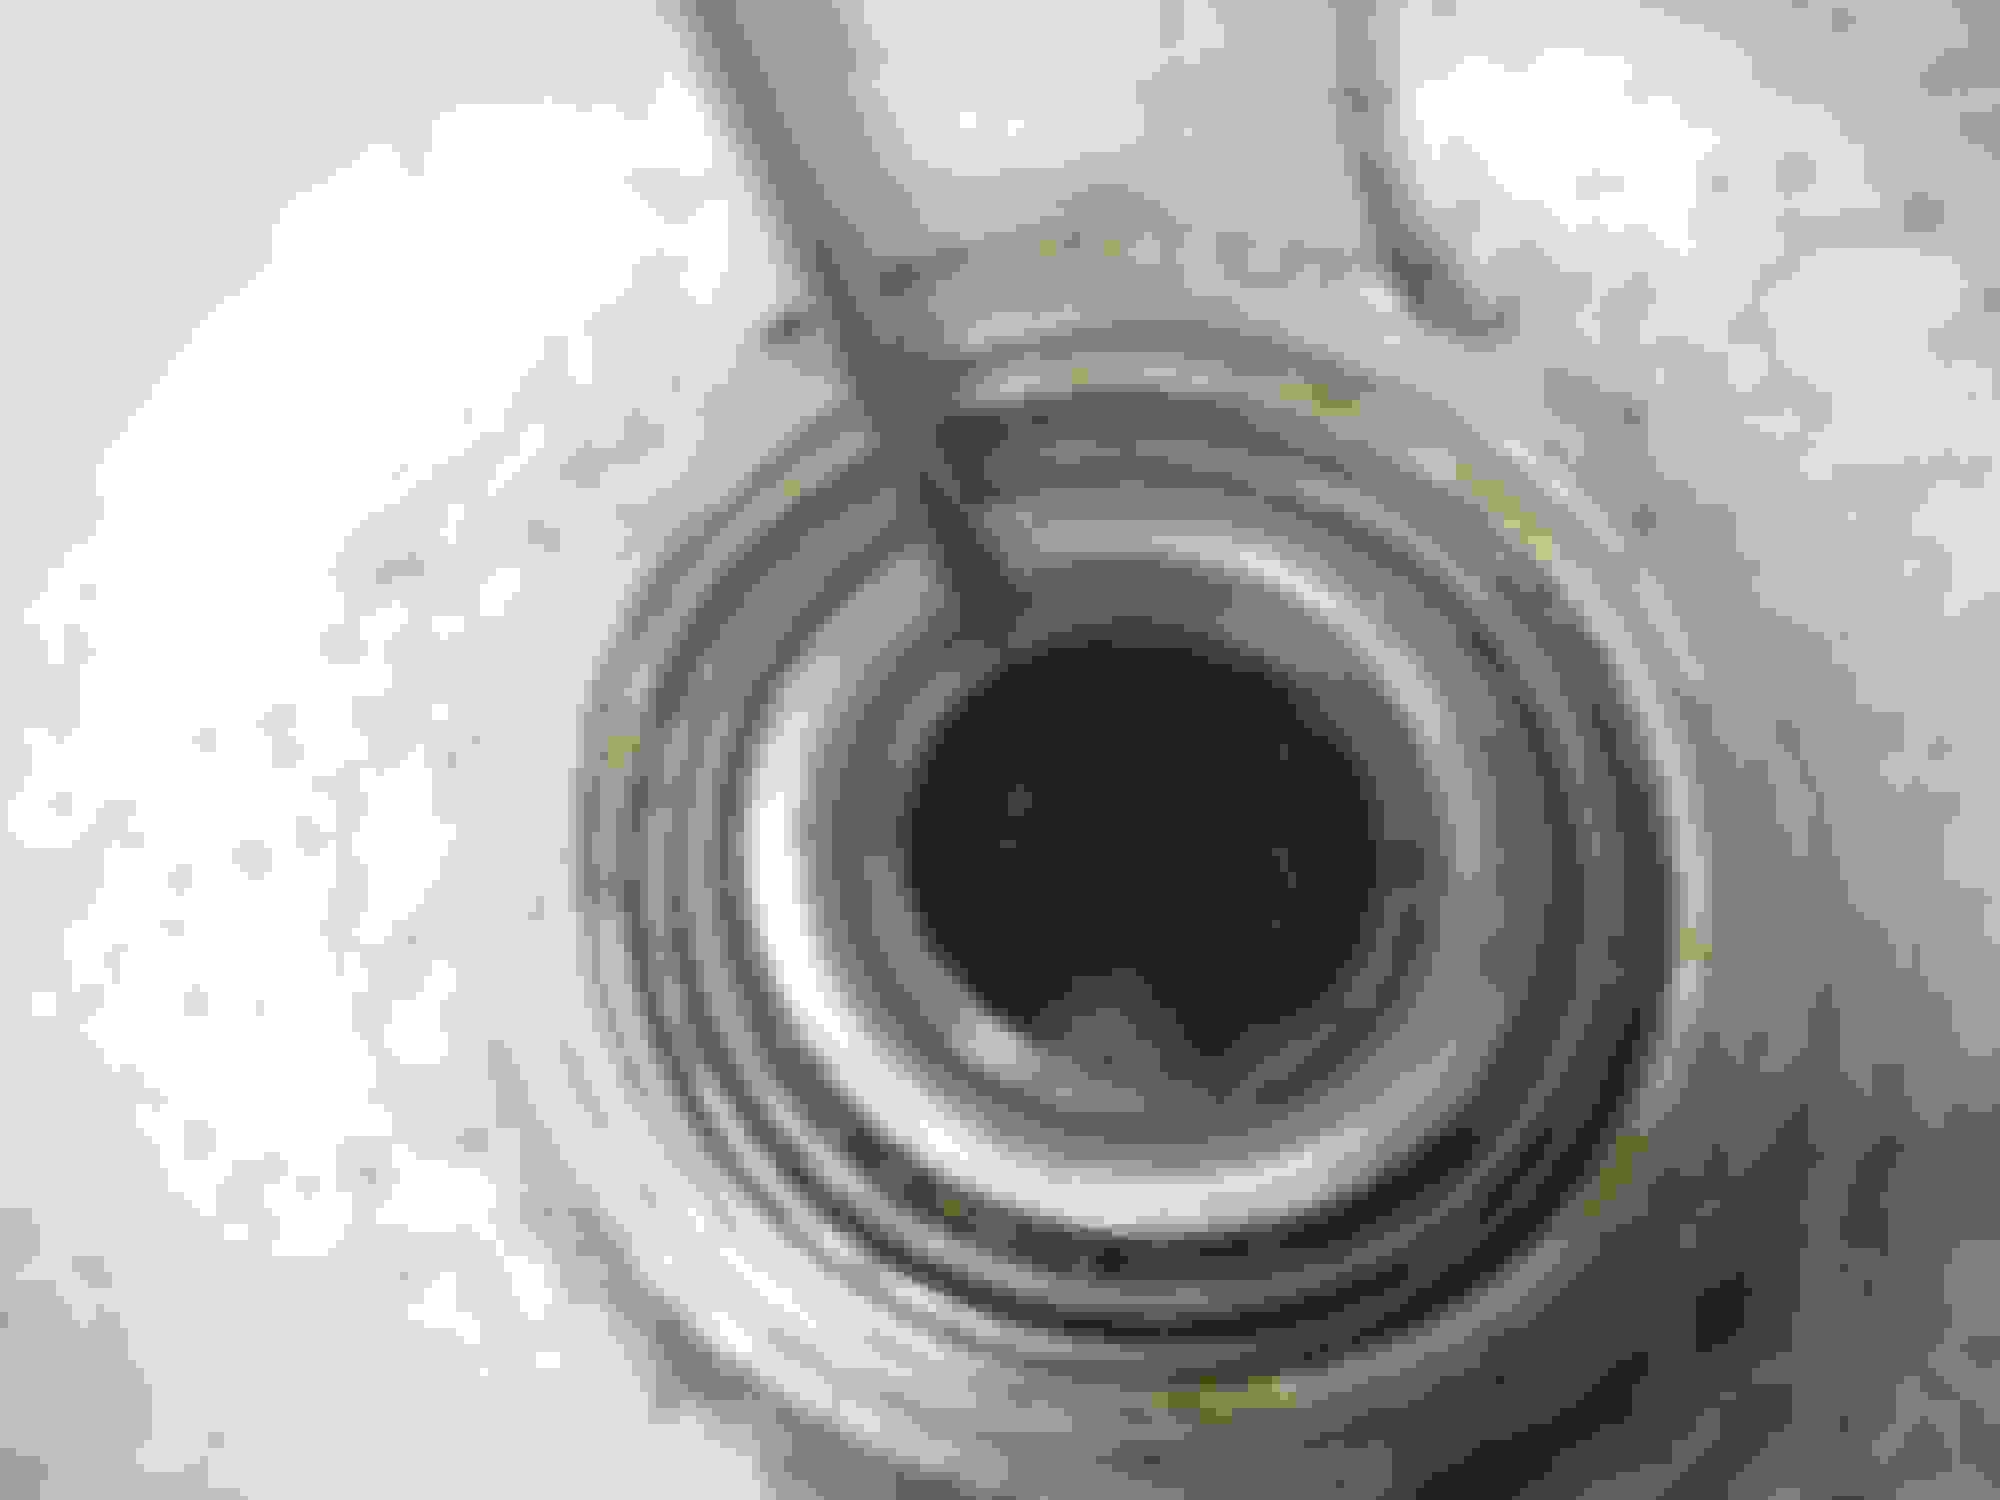
Just in case it is useful, I have dug out a few detailed snaps of the measurement of the phosphor bronze spacer: This is the view of the inner side of the hub carrier. The bearings are in it, and the hub has been inserted too. The pointer is on the INNER race of the inner bearing. In this snap, the pointer is on the inside end of the hub tube, that rotates with the driveshafts and into which the splined end of the driveshaft goes. The useful end (for measuring depth) of the electronic caliper. The caliper is measuring the height difference between the inner end of the hub tube and the inner race of the bearing. It is this height difference that must be filled by the phosphor bronze spacer. Doing up the castellated nut on the driveshaft, means the bearings are tightened to the required preload/endfloat, but no further, as the spacer transmits the torque to the driveshaft inner flange by the UJ. Once measured, select the required width of spacer. Endfloat/preload should be 0 ideally, but anywhere between +2 thou to - 2 thou is fine.
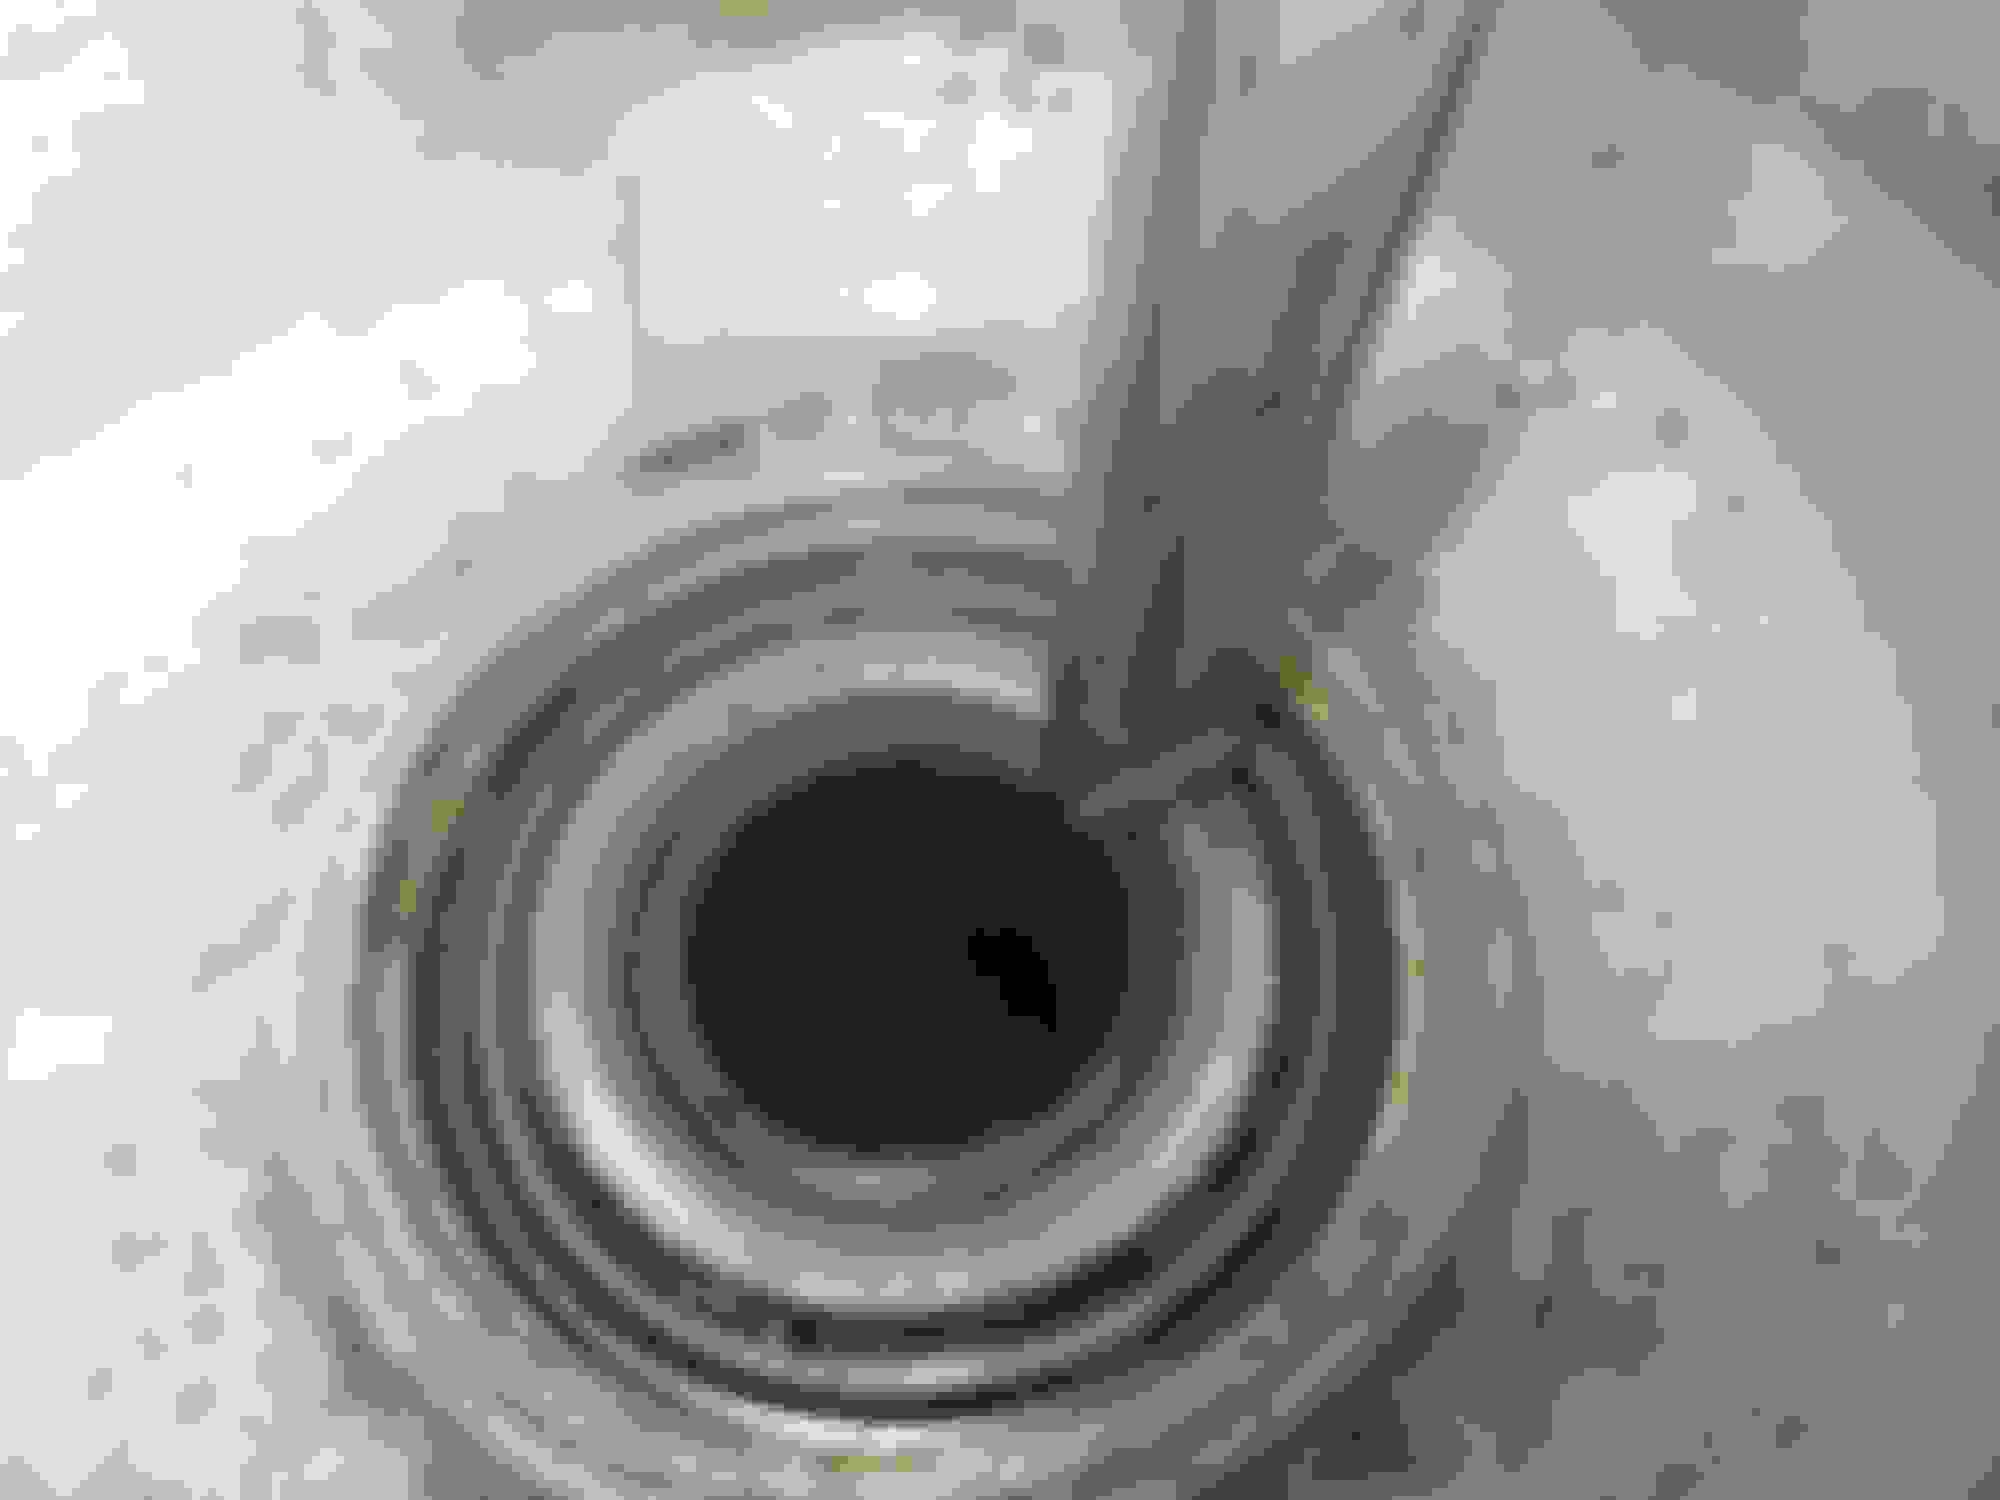
This final pic shows what the spacer is being torqued against on the driveshaft UJ flange. The large chrome spacer acts as a spacer, but also provides a surface for the oil seal on the hub inner side to run on:
Last edited by Greg in France; 03-21-2021 at 02:49 PM.
Greg, many thanks that’s the best description of what I need to do to get the correct end float. I’ve completed the rhs drivers side first and can feel very slight movement 12 - 6 o’clock so think that’s ok but on completion of n/s today can’t feel any movement so will check as per your description. But all I’ve done is strip down to rep,ace the radius arms due to shot bushes! So wouldn’t have expected to change spacers etc as all I’m doing is rebuilding what was removed to facilitate new radius arm installation?
Also I run 305/70/15 Pirelli Cinturato tyres which are wider than the original 185’s fitted at the factory. I mention this because when jacking the rear as the suspension drops the inside tyre wall makes contact with the top bump stop so tight that it’s impossible to rotate the rear wheels, necessitating jacking under to fulcrum pin on the hub carrier to free the tyre wall from the bump stop. Do you run wider tyres? If so have you experienced this situation?
Many thanks again for your assistance
Ian
Greg, I did measure the phosphor bronze spacer before reassembly and it measured 0.130” but I didn’t measure the height difference between the inner race and the hub tube as you describe - may strip down and check this.
Ian
Ian
Sorry i cannot help with the tyre stuff, knowing zero about it. On my XJS I run OEM spec tyres ony. The slight movement (check carefully that it is hub-in-the-bearing movement, not e.g. UJ movement or hub carrier to bottom fulcrum pin) should not be there. As you have had the driveshaft splines out, it is always possible they go back a tiny bit differently into the hub splines; or that the bearings are now a bit worn and not dead right. Your wider tyres may have caused bearing wear owing to slightly different offset/load on the hub/ etc. It does need eliminating though.
Last edited by Greg in France; 03-22-2021 at 02:20 AM.
Greg, I did measure the phosphor bronze spacer before reassembly and it measured 0.130” but I didn’t measure the height difference between the inner race and the hub tube as you describe - may strip down and check this.
Ian
I would, as long as the splines come out of the hub OK, it is dead easy to do. You do not have to undo the bottom fulcrum, even. I do see new bearings in your future!

 03-16-2021, 06:06 PM