When you click on links to various merchants on this site and make a purchase, this can result in this site earning a commission. Affiliate programs and affiliations include, but are not limited to, the eBay Partner Network.
XKE master cylinder and brake servo tear down for analysis
So, as I was applying preventative rust measures to the floor pans, I discovered that brake fluid was consistently running down the inside of the firewall I stripped the firewall/floorpan seam using a wire wheel attached to a big hand held grinder, and 2 days later there was new fluid in the seam. That is when I knew that we had a leaky...something (probably why the car had no carpets when we got it).
Fast forward to yesterday. I decided to get a proper look inside of the components to see why one, or both, were leaking. I knew we were gonna have problems when it took me 20 minutes to drain the almost completely full Reservac tank of brake fluid
MASTER CYLINDER INFO
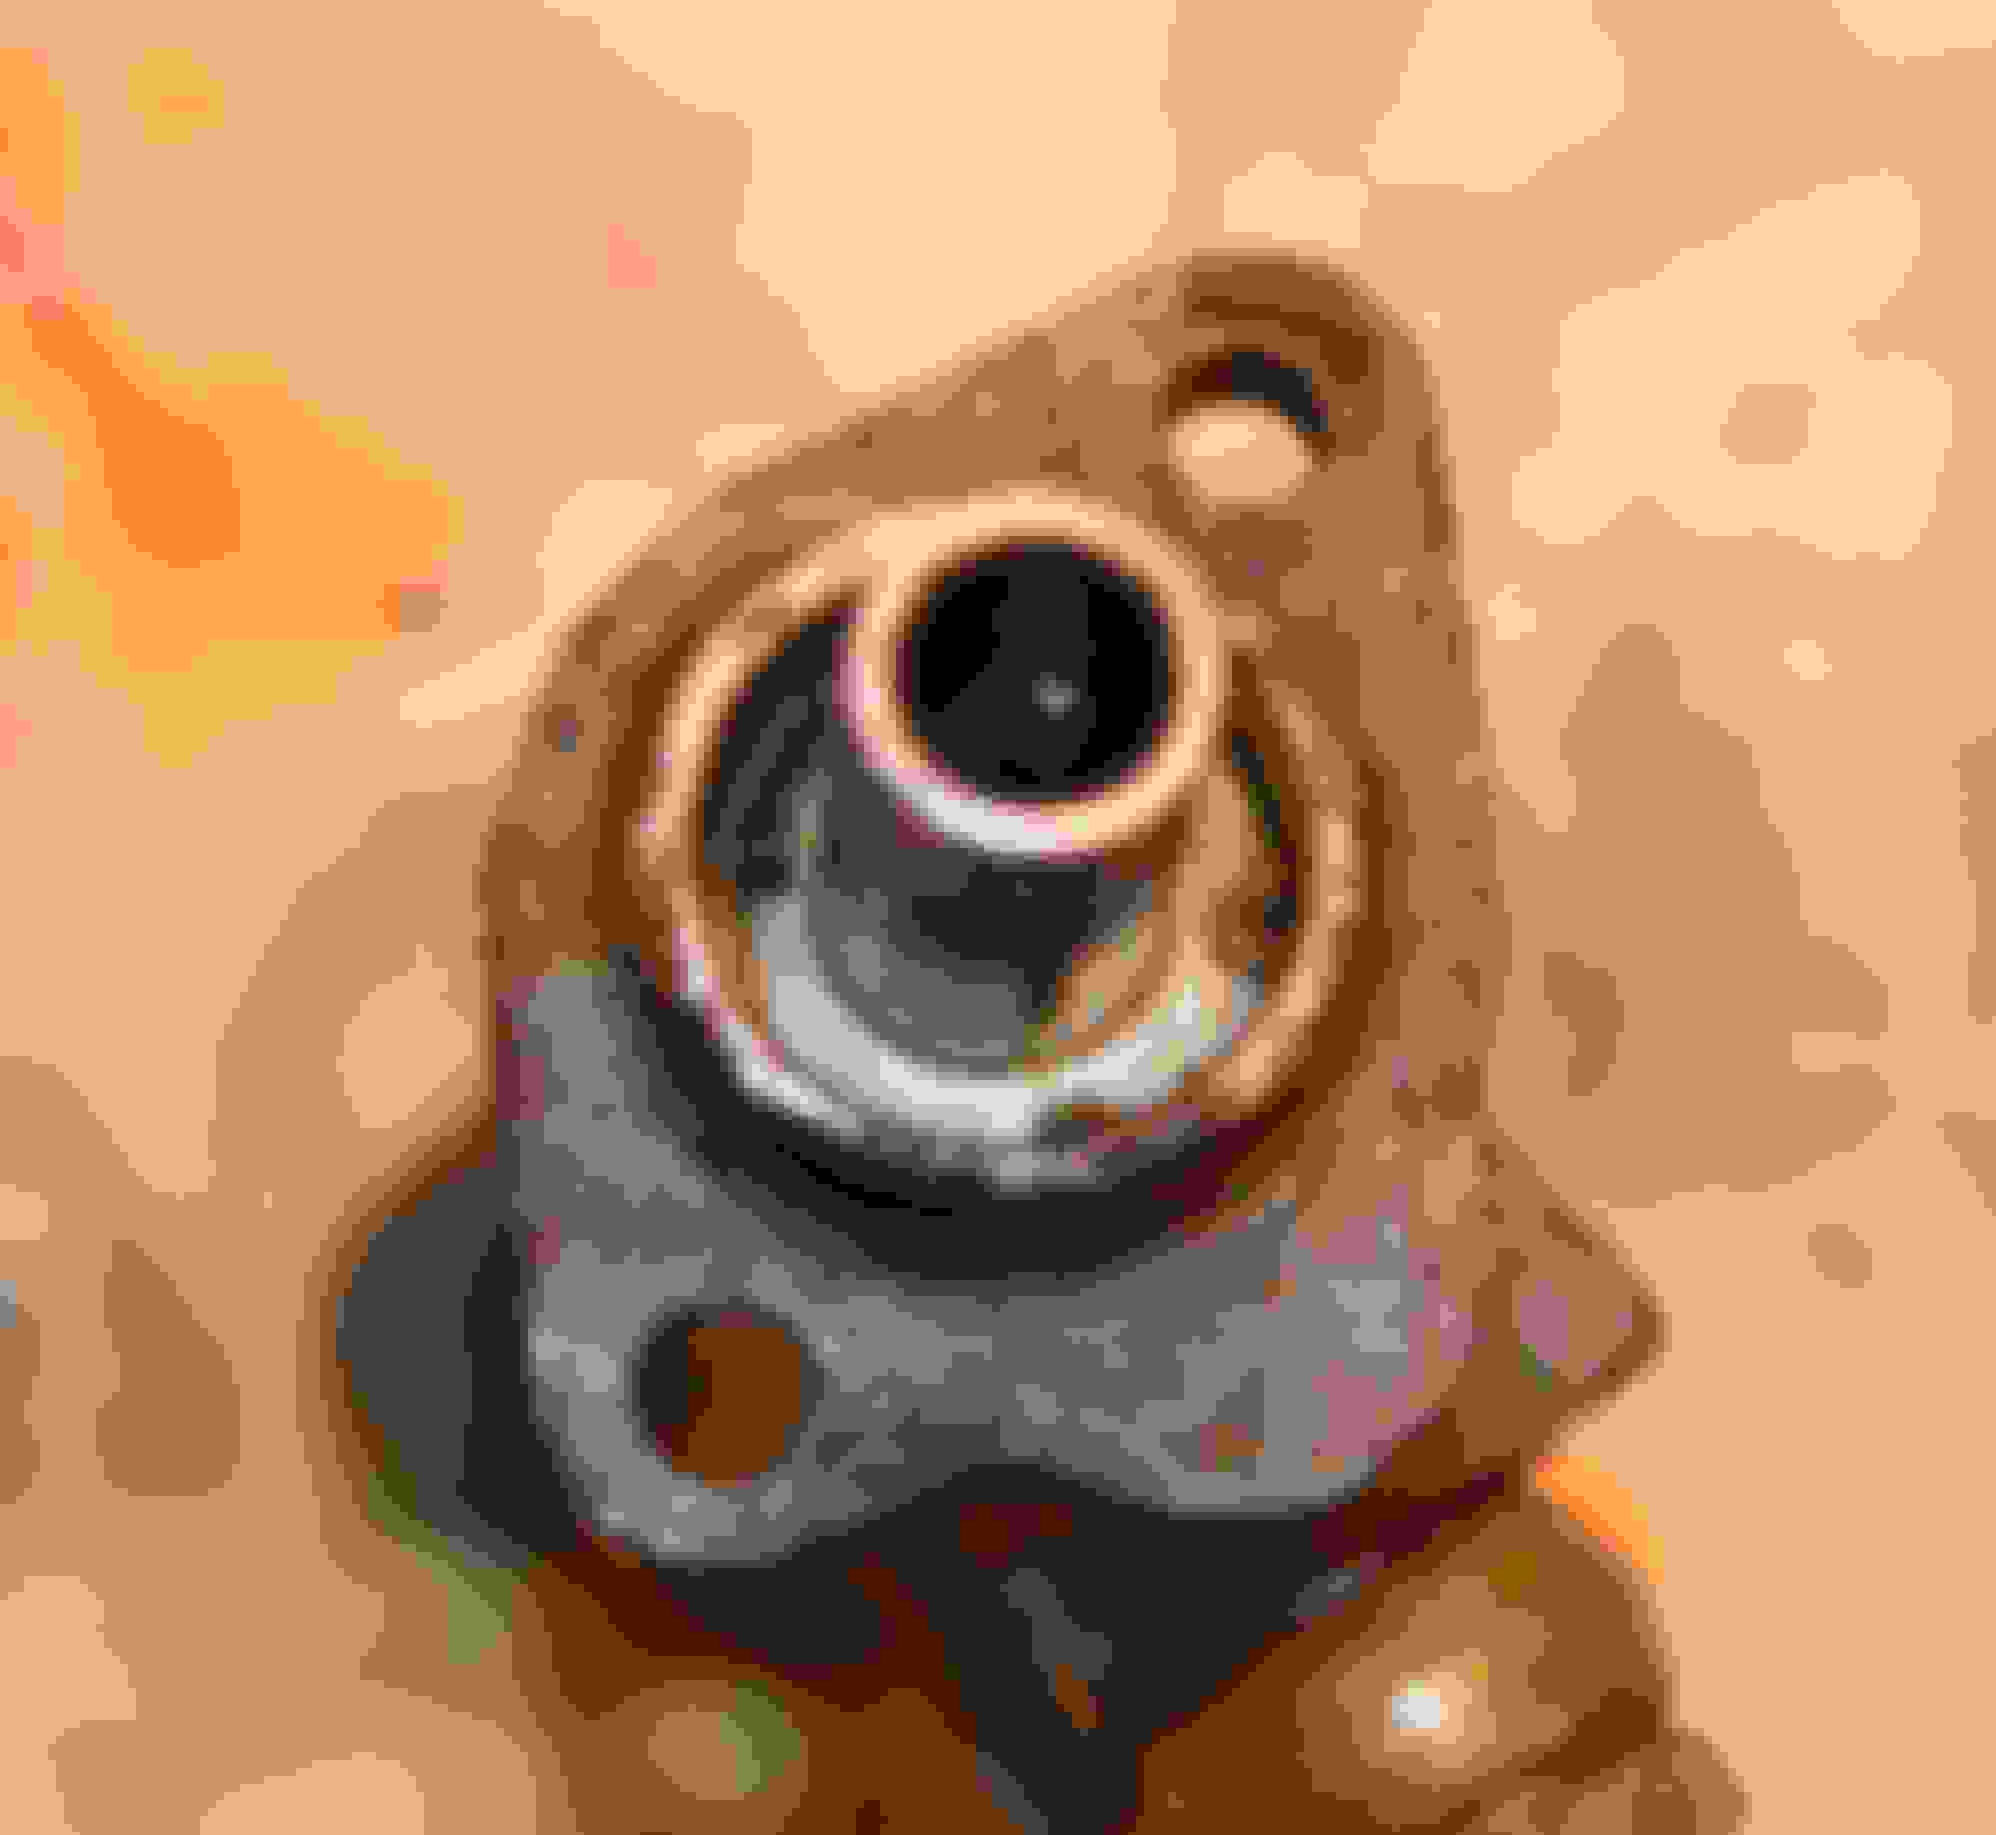
I started by removing the broken reac-valve. It was easy enough to remove being injection molded plastic. underneath I found a mess of rust, failed paint, and some clogged holes where there shouldn't be
From here I turned the assembly over to pull the guts out from the pedal side, and a river of fluid came bursting forth from the boot. Not a good sign As you can see in the picture, clearly from under the boot, and not from the ports out the top.
The next step is removing the return spring under the boot. The clip shown here is what retains this assembly and it's mounting cup to the central shift.
The interior assembly is kept in place by a C-clip in the bore of the master cylinder body. Remove this and......your parts will very likely be frozen in the bore like mine. I had to apply compressed air to the hydraulic side, through the upper/aft port on the master cylinder before it would give. I had my father hold the piston side (so we catch the internals, because they're likely to shoot out the end like a bullet), I beared down on a rubber plug in the fwd most port of the master cylinder to block off the air escaping, while also controlling the air.
At this point you can remove the internal piston, and all of the parts inside. Here you can see the assy as it comes out in it's entirety. I have also included a picture which shows the sequence of assembly as laid out on the bench.
This is when I discovered something alarming. There is a loose washer flopping around in the end of the master cylinder bore. This, and another part that fell out are pictured above, at the bottom of the picture. Both a small washer, and the T-shaped actuator for the reac-valve were just loosely floating around in there.
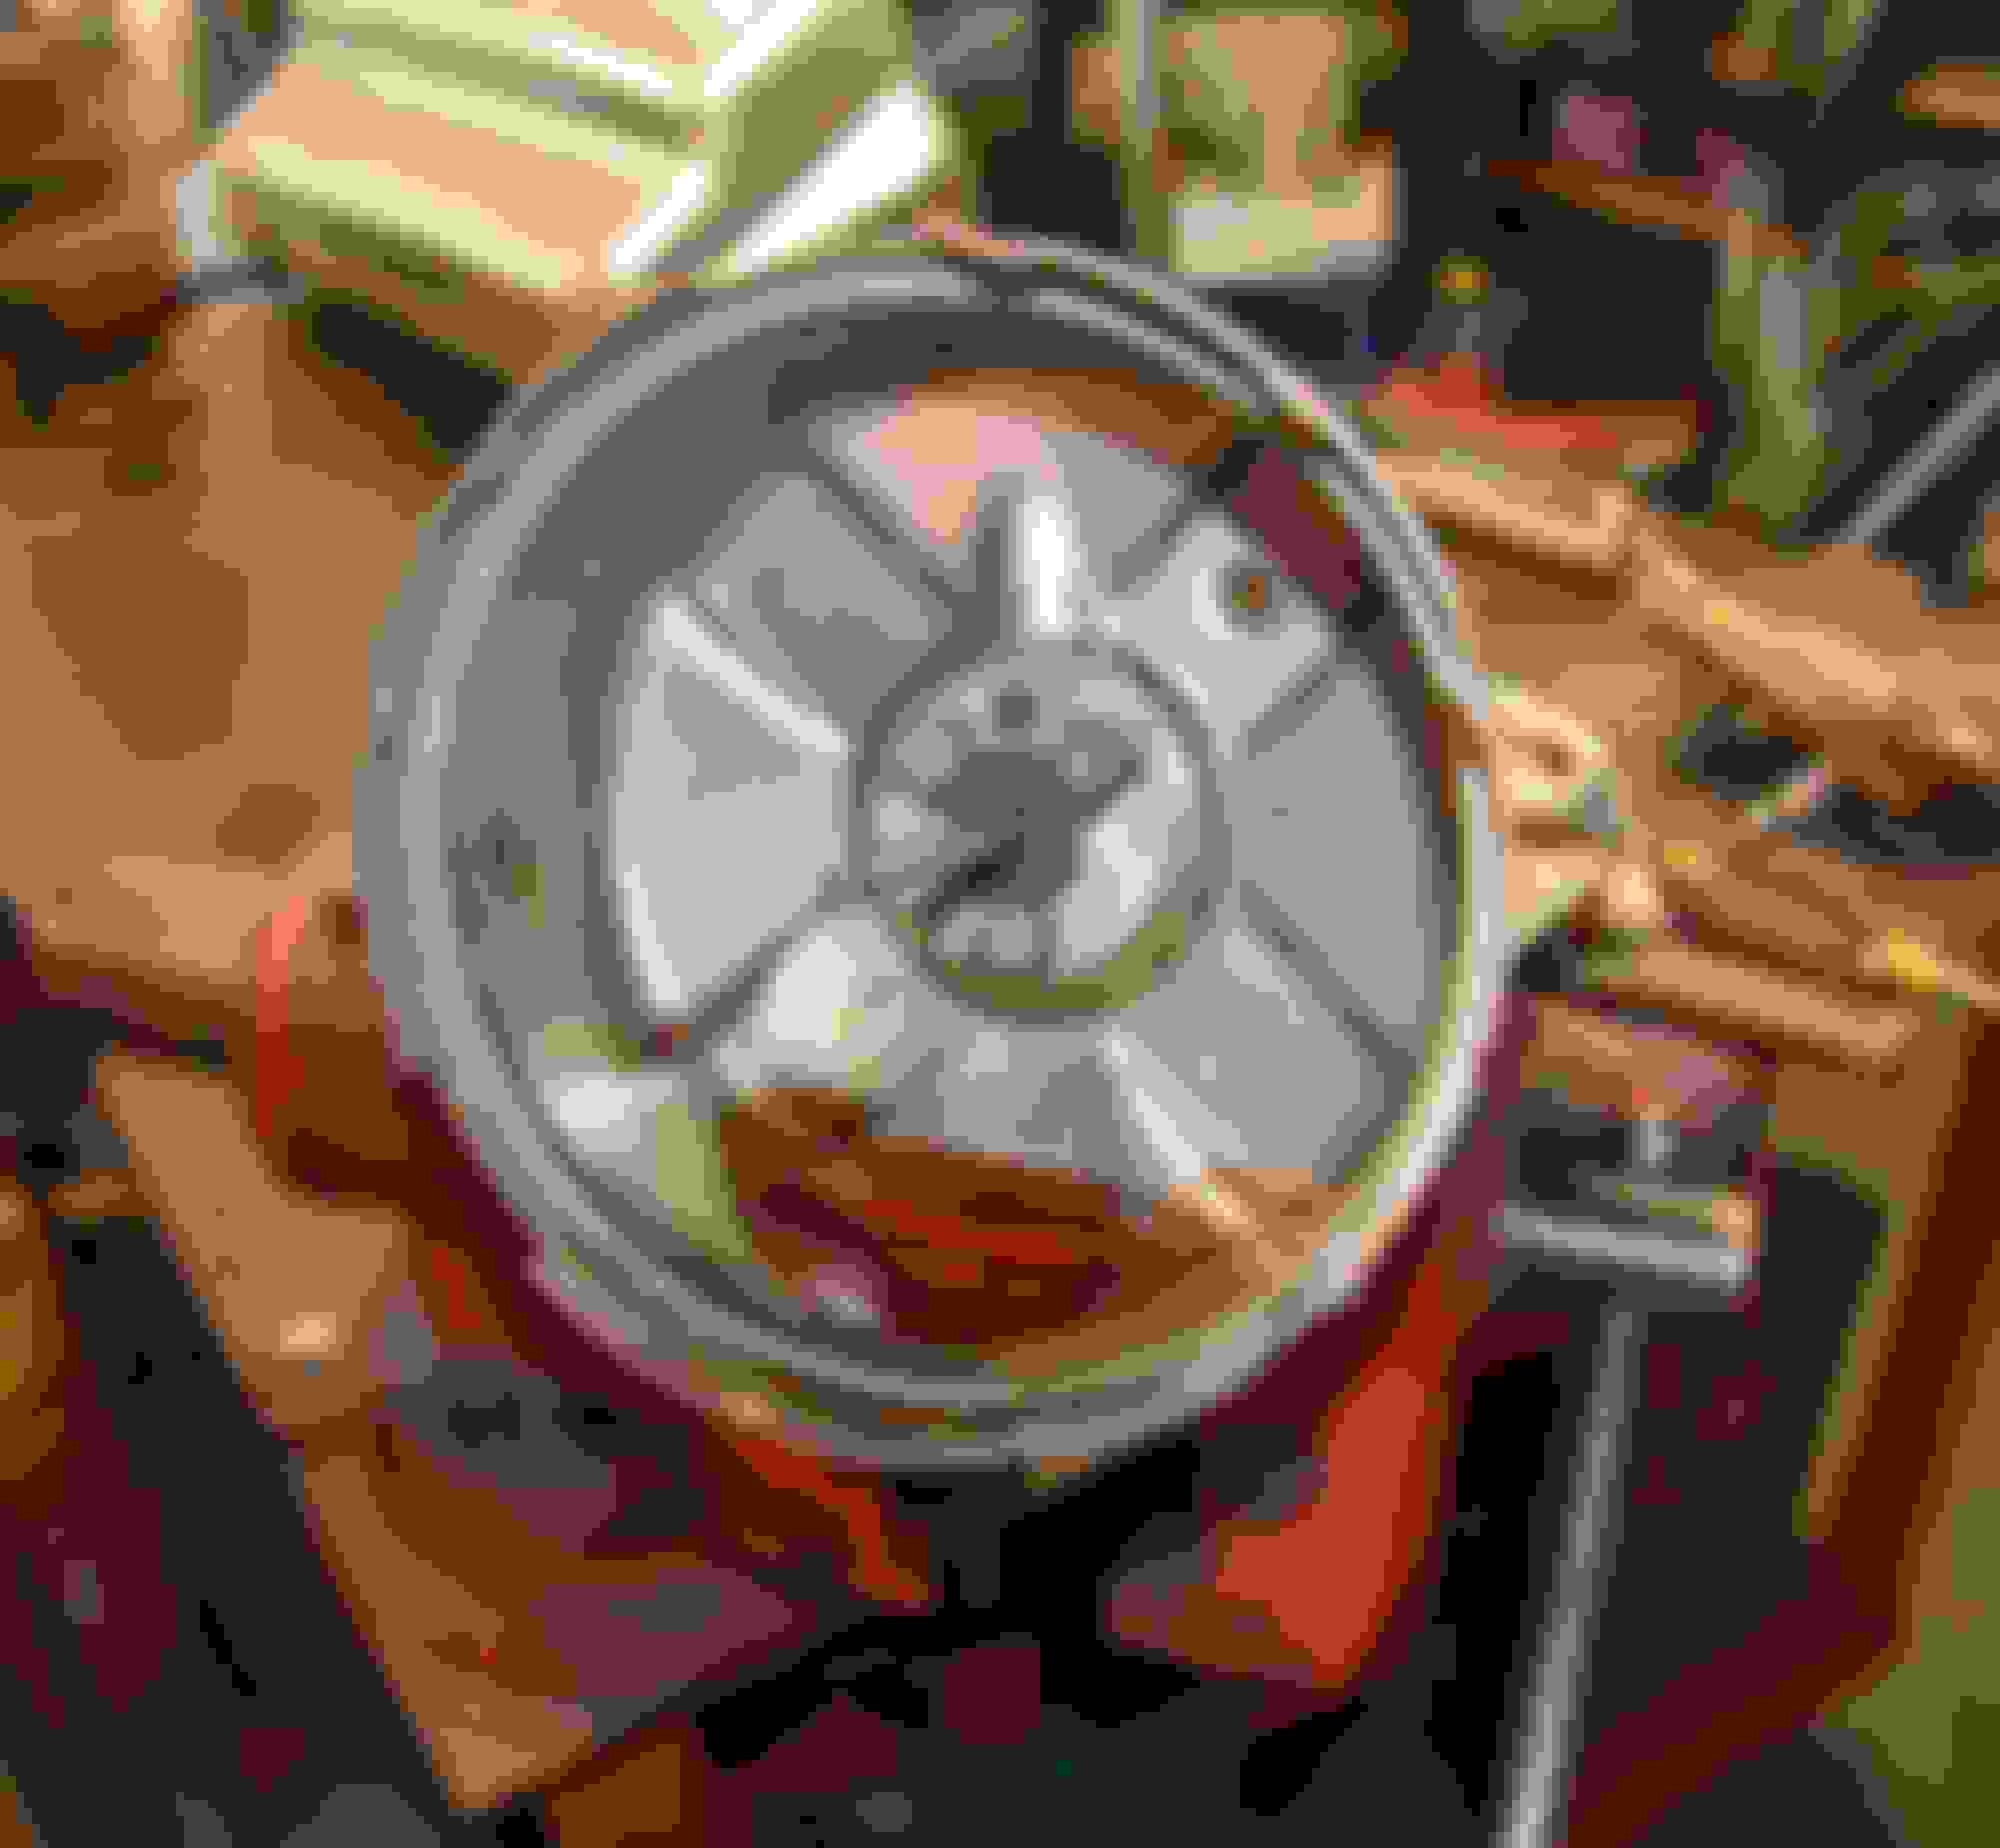
At this point my father and I got together to examine the bore, see if it was a saver or a tosser. Verdict?
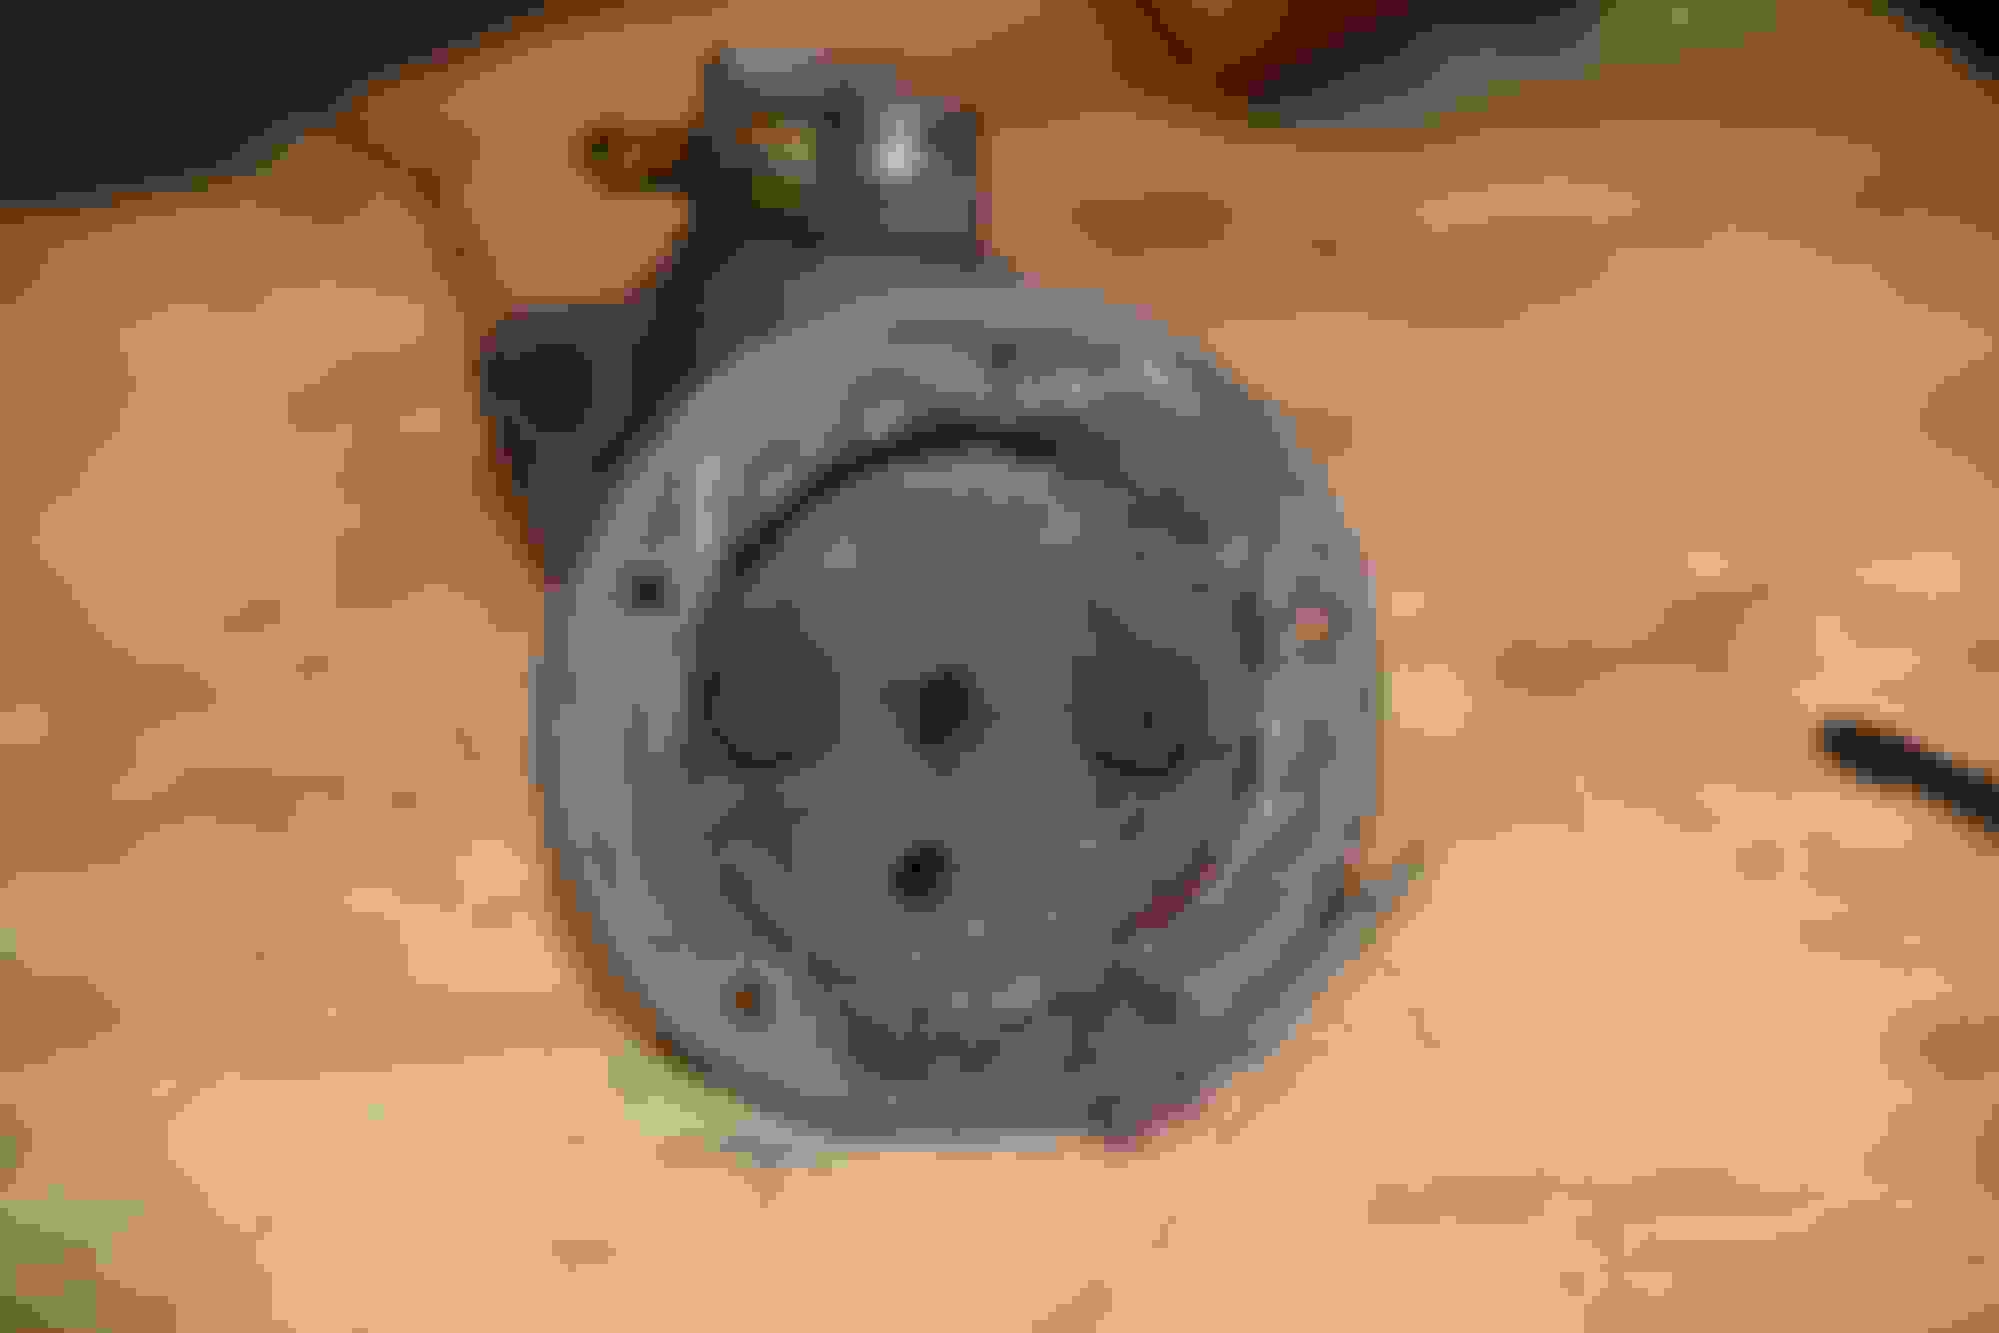
Since the MC was toast, and requires complete replacement, I started breaking into the servo. This APPEARS to be dry outside, and not leaking upon initial inspection. We start by removing the rear body of the vacuum booster. It is effectively a giant nut holding the back on the assembly. I protected the threads of the part with metal tape, and used a breaker bar between two of them to open the can, like so.
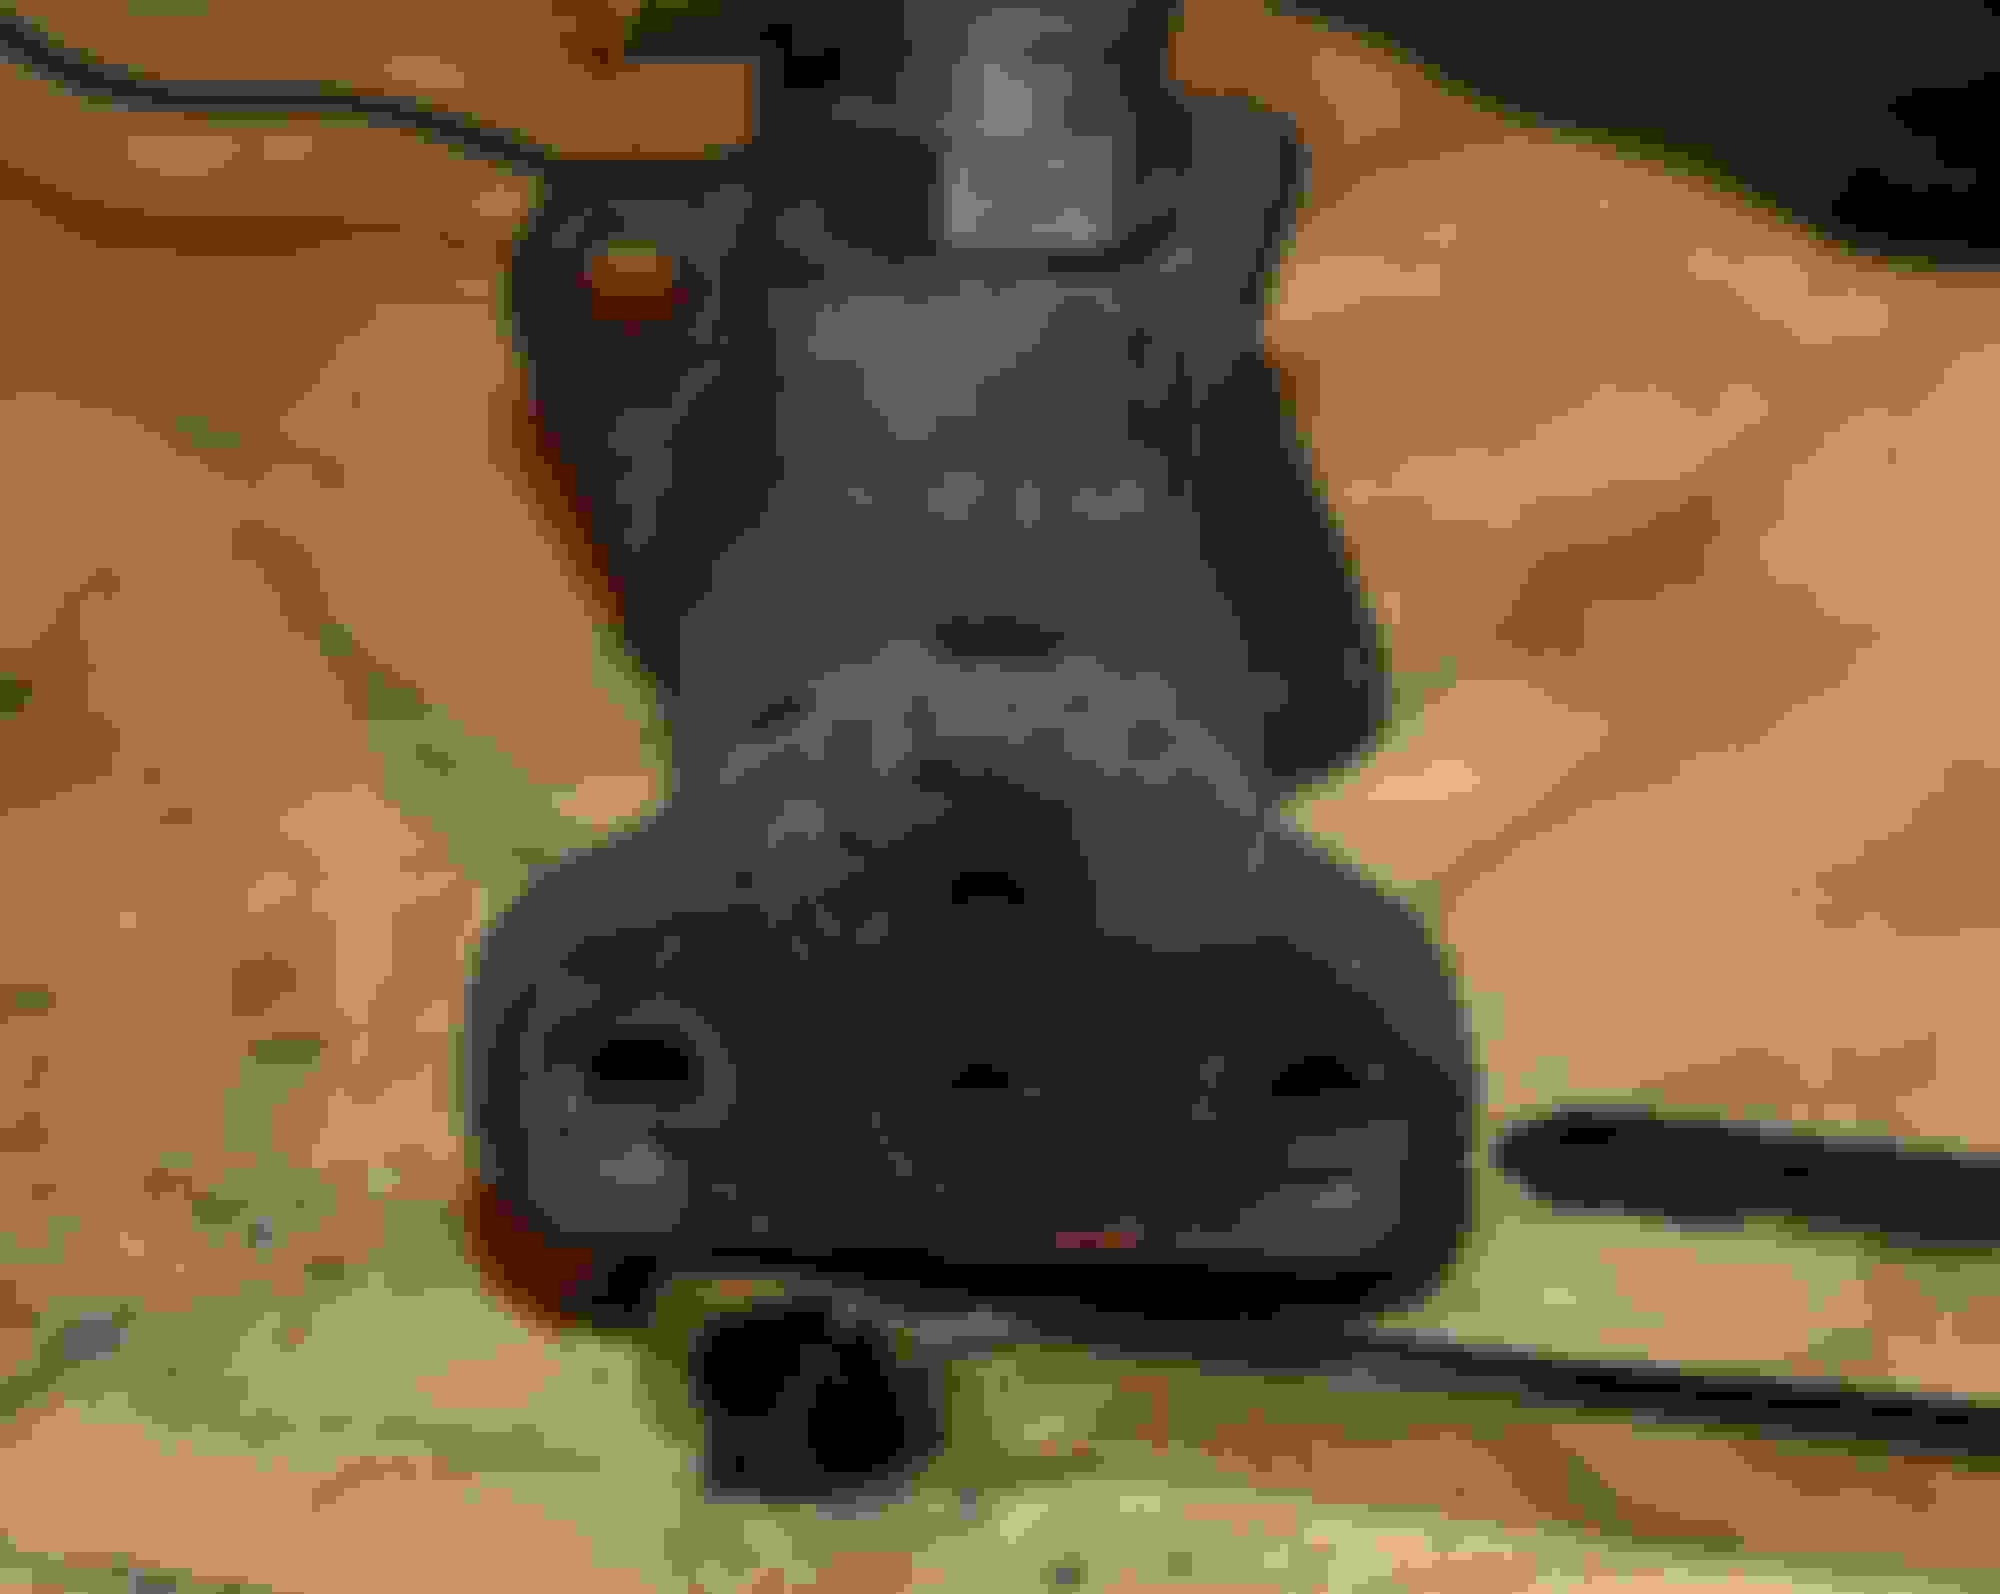
In my ignorant fumbling, looking for the way in which the rubber diaphragm's bakelite backer attaches to the shaft, I broke a chunk off of it Don't be like me. I then pulled out my paperwork, and saw that UNDER the mounting lip of the rubber diaphragm was a steel clip retainer (always closely examine all of the diagrams). You can see pictured bellow at the 2 o'clock position, the retainer which pulls out readily with a pair of needle nose pliers, and it lives in the mounting surface for the rubber. Gotta remove that before you can pull out the retainer. There is also a raised design on the bakelite backer which shows where it is; hard to see in the picture, but it is there. I'm not worried about this part being chipped. The bakelite backer is there JUST to render support to the diaphragm, otherwise the loose rubber would collapse during operation.
As you pull out this retainer, be ready to catch the whole guts of the can. There is quite a large spring behind everything, and it will push everything out with force if you don't have a hand on the bakelite backer.I got my stuff out, and discovered a significant amount of fluid in the can This one is probably a toast too.
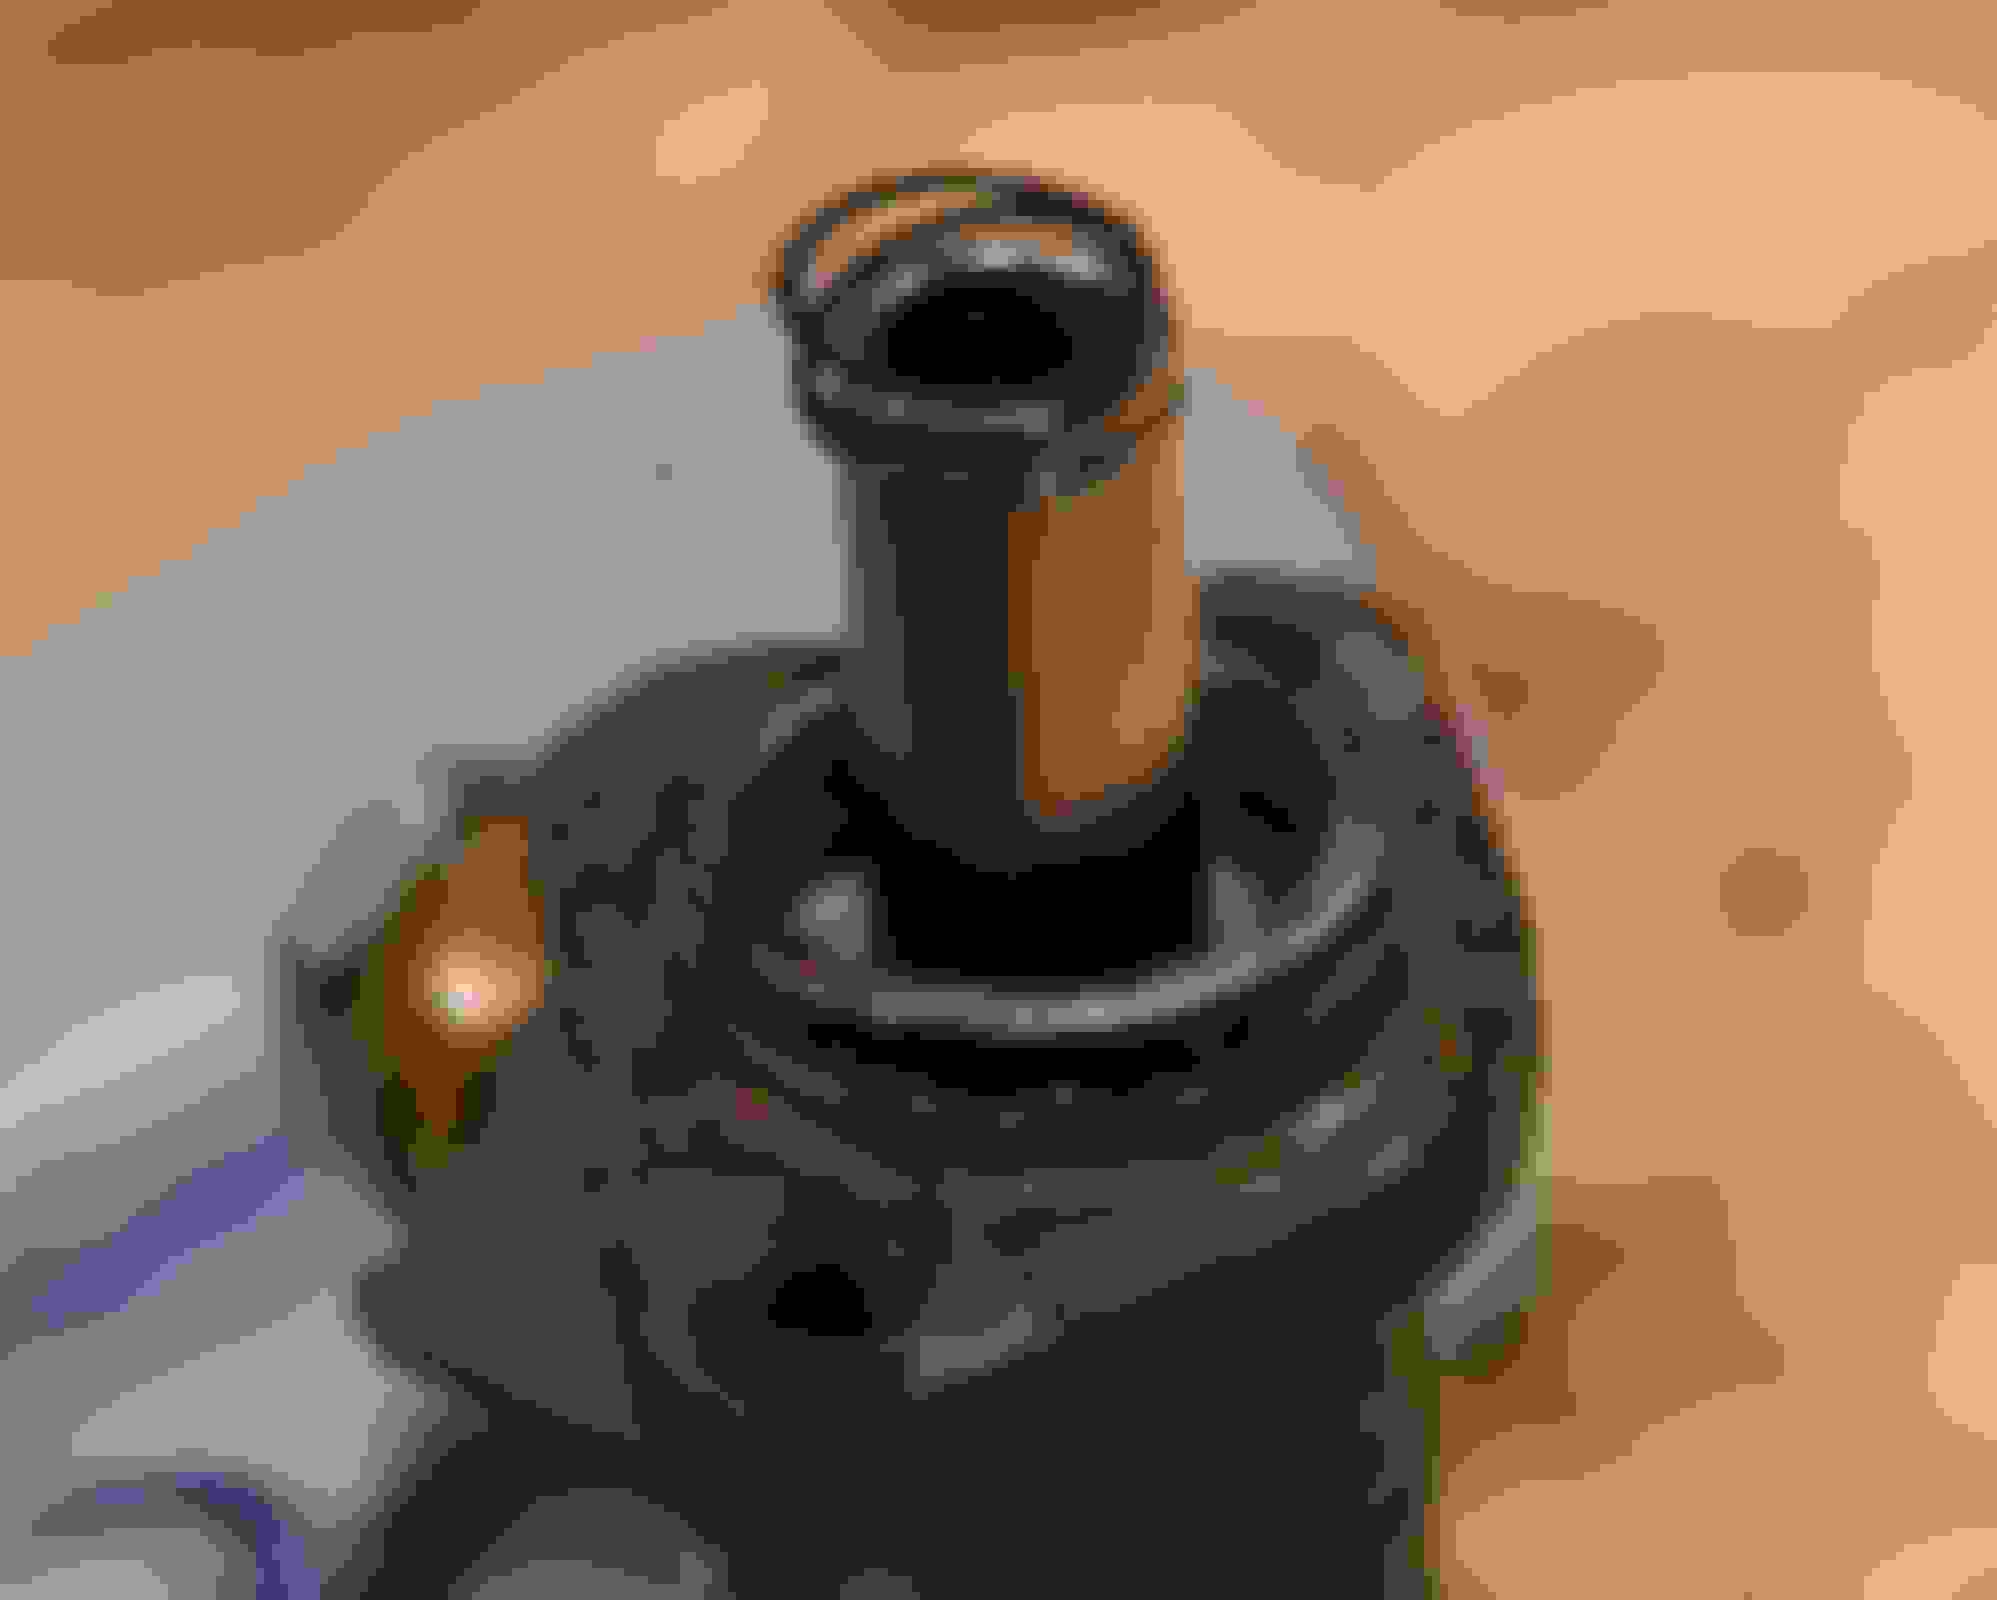
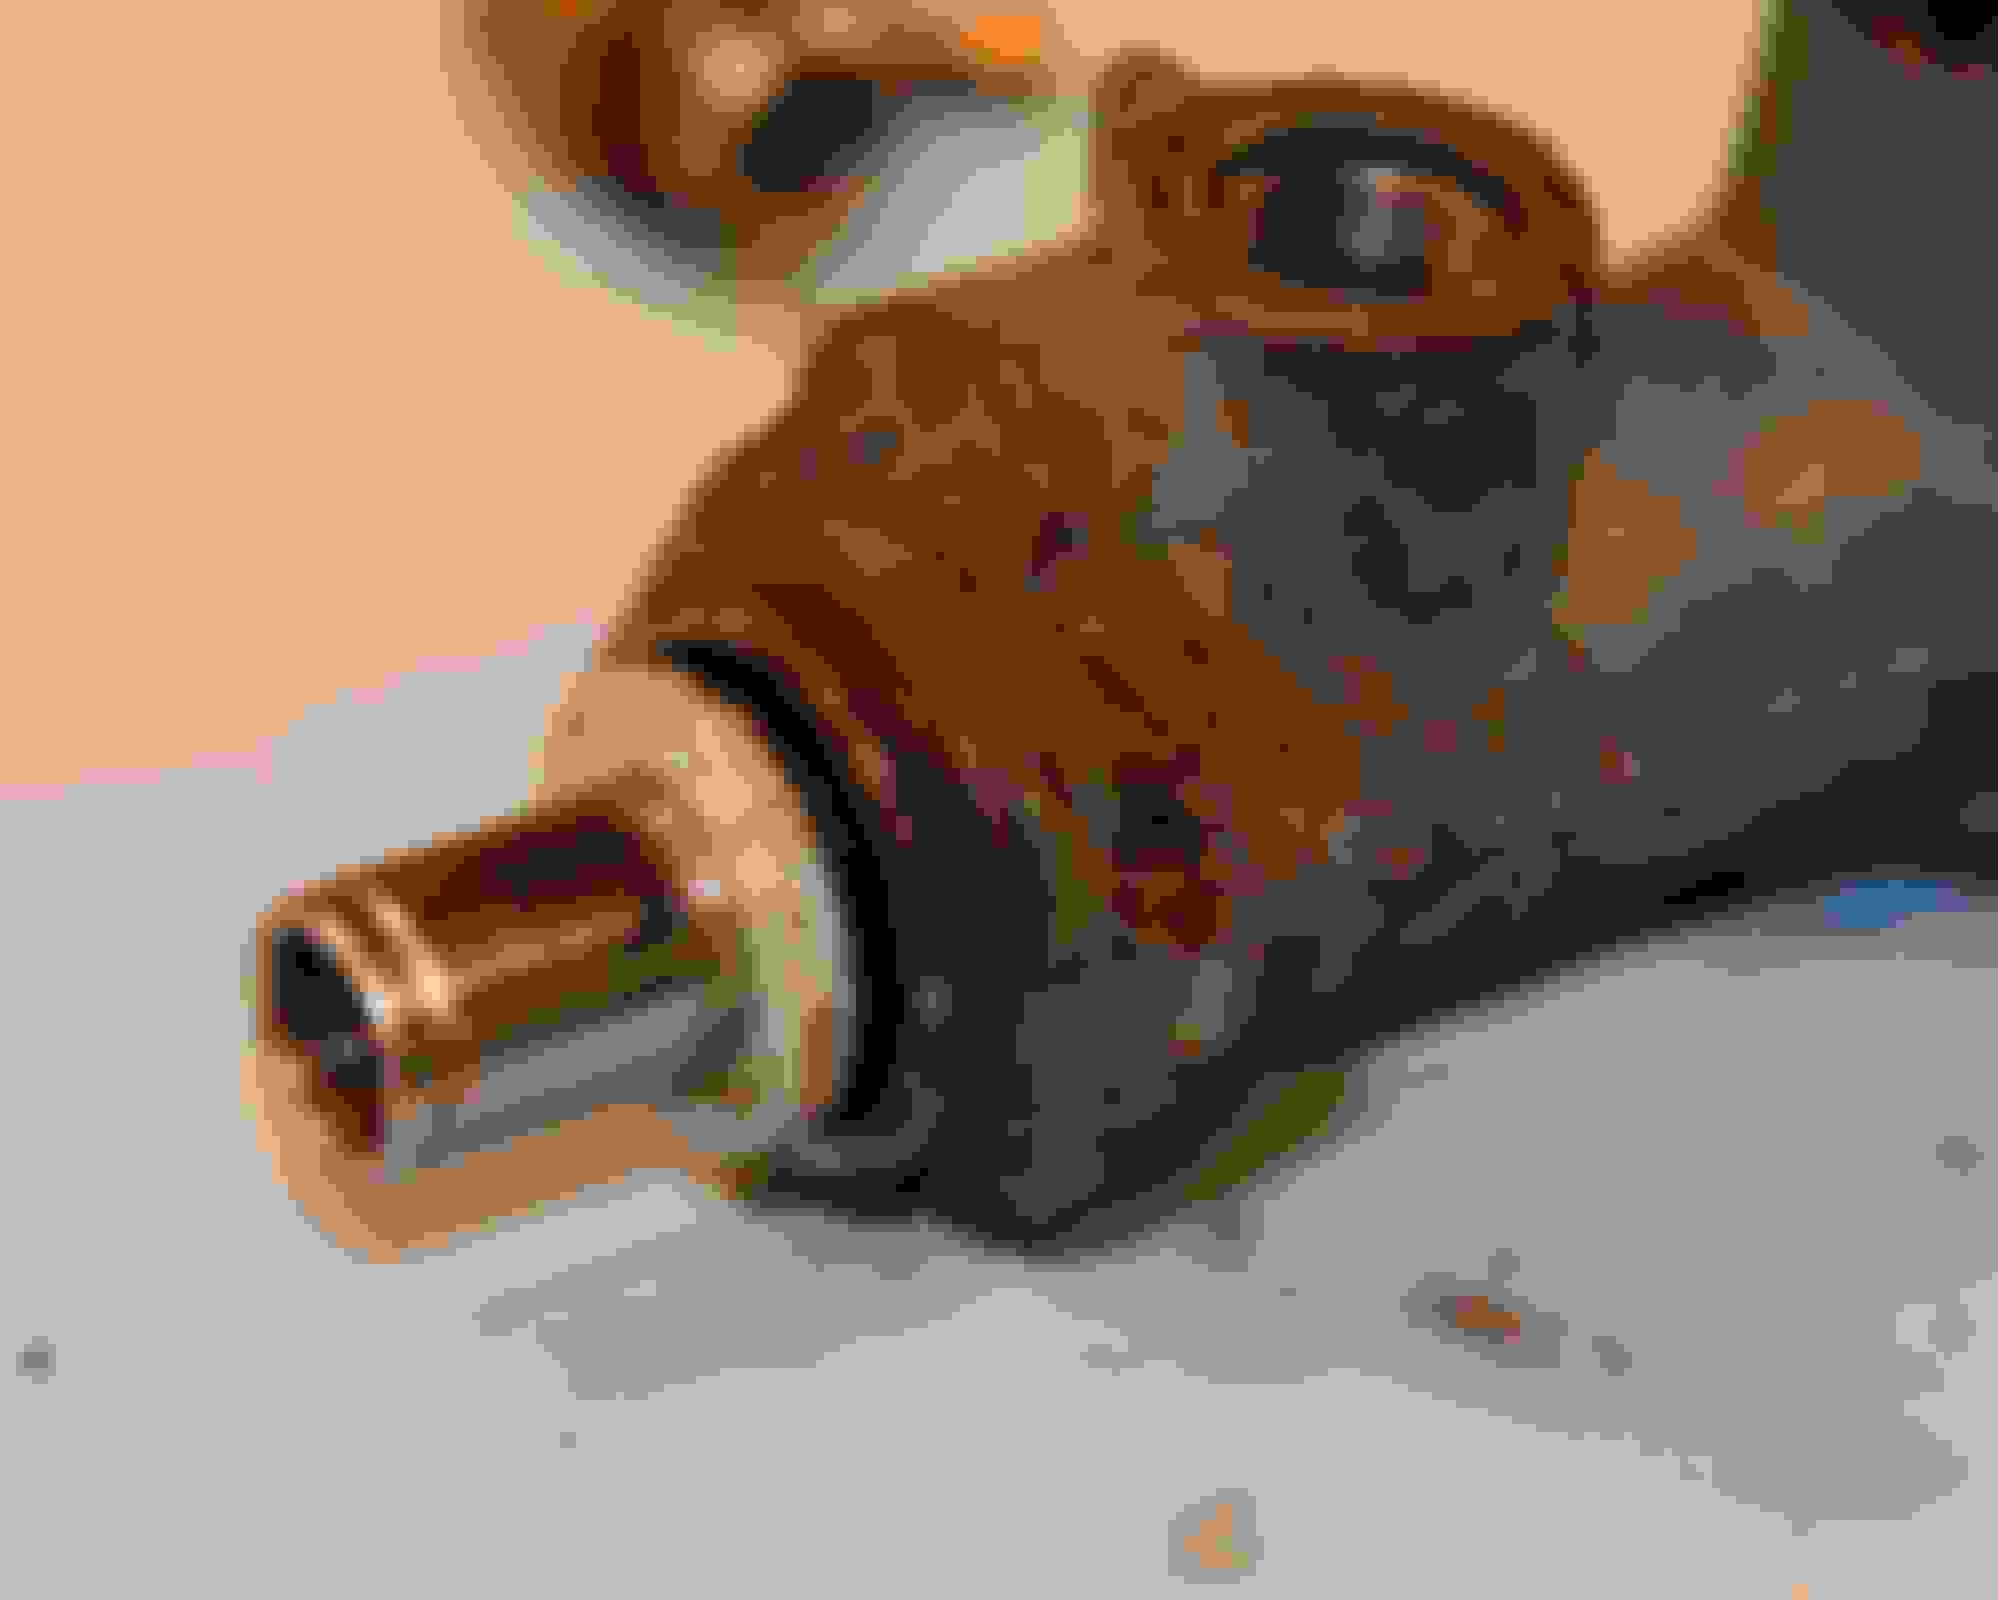
Here I have pictured all the internals, including both shafts from inside the servo body, in their order of assembly. You can see the small peg which retains the fwd most shaft here. The second piston will not come out after removing the first one. You must pull this tiny peg out from underneath the aft most top port of the servo body to pull the remaining internal parts.
Again, we used the power of my FX sensor Nikon to examine the bore of this unit as well. Verdict?
So now we get to order everything new, lol. Ya know, on second thought, that is likely a GOOD thing. I mean, the brakes are effectively the only safety device in these cars after all :{
If anyone has any questions, please feel free to leave them here, and I will answer them when I can. I just hope that this helps increase the knowledge base, and is useful to someone in their E-type journey
Great description and photos, thanks! It highlights the importance of changing your brake fluid every couple of years even if you seldom drive your car. Brake fluid is very hydroscopic and once it has absorbed a fair mount of water the brake system will start to rust from the inside out.
Since the MC was toast, and requires complete replacement, I started breaking into the servo. This APPEARS to be dry outside, and not leaking upon initial inspection. We start by removing the rear body of the vacuum booster. It is effectively a giant nut holding the back on the assembly. I protected the threads of the part with metal tape, and used a breaker bar between two of them to open the can, like so.
In my ignorant fumbling, looking for the way in which the rubber diaphragm's bakelite backer attaches to the shaft, I broke a chunk off of it Don't be like me. I then pulled out my paperwork, and saw that UNDER the mounting lip of the rubber diaphragm was a steel clip retainer (always closely examine all of the diagrams). You can see pictured bellow at the 2 o'clock position, the retainer which pulls out readily with a pair of needle nose pliers, and it lives in the mounting surface for the rubber. Gotta remove that before you can pull out the retainer. There is also a raised design on the bakelite backer which shows where it is; hard to see in the picture, but it is there. I'm not worried about this part being chipped. The bakelite backer is there JUST to render support to the diaphragm, otherwise the loose rubber would collapse during operation.
As you pull out this retainer, be ready to catch the whole guts of the can. There is quite a large spring behind everything, and it will push everything out with force if you don't have a hand on the bakelite backer.I got my stuff out, and discovered a significant amount of fluid in the can This one is probably a toast too.
Here I have pictured all the internals, including both shafts from inside the servo body, in their order of assembly. You can see the small peg which retains the fwd most shaft here. The second piston will not come out after removing the first one. You must pull this tiny peg out from underneath the aft most top port of the servo body to pull the remaining internal parts.
Again, we used the power of my FX sensor Nikon to examine the bore of this unit as well. Verdict?
So now we get to order everything new, lol. Ya know, on second thought, that is likely a GOOD thing. I mean, the brakes are effectively the only safety device in these cars after all :{
If anyone has any questions, please feel free to leave them here, and I will answer them when I can. I just hope that this helps increase the knowledge base, and is useful to someone in their E-type journey
Thanks for posting this Erik as i have just had to dis-assemble my brake servo when i found a wasp nest inside the inlet pipe union and found it very helpful. I note in the 4th pic of the brake servo where you lay out the piston assemblies from the servo body the second [ innermost ] shaft assy is in the opposite direction to mine that i have just dismantled. The original spare parts catalogue and SNG show the spring going into the housing first followed by the shaft [ which is how mine came out ] and was wondering if your servo worked ok after re-assembling as until checking the books i thought maybe my P.O. had assembled it incorrectly when fitted re-furb kit many years ago. Look forward to your reply, Regards Paul
I just went through the same process you did. In order to keep the parts original I sent them off to Apple Hydraulics to have the bores sleeved. They came out great and everything is back together. BTW I chipped the Bakelite rim too. Not quite as bad as yours but I found out that Gorilla epoxy works great.
And for future reference, my Jaguar mechanic and I fully recommend DOT 5 brake fluid.

 09-05-2020 | 01:12 PM
 I stripped the firewall/floorpan seam using a wire wheel attached to a big hand held grinder, and 2 days later there was new fluid in the seam. That is when I knew that we had a leaky...something (probably why the car had no carpets when we got it).

 As you can see in the picture, clearly from under the boot, and not from the ports out the top.


 Don't be like me. I then pulled out my paperwork, and saw that UNDER the mounting lip of the rubber diaphragm was a steel clip retainer (always closely examine all of the diagrams). You can see pictured bellow at the 2 o'clock position, the retainer which pulls out readily with a pair of needle nose pliers, and it lives in the mounting surface for the rubber. Gotta remove that before you can pull out the retainer. There is also a raised design on the bakelite backer which shows where it is; hard to see in the picture, but it is there. I'm not worried about this part being chipped. The bakelite backer is there JUST to render support to the diaphragm, otherwise the loose rubber would collapse during operation.
 This one is probably a toast too.