When you click on links to various merchants on this site and make a purchase, this can result in this site earning a commission. Affiliate programs and affiliations include, but are not limited to, the eBay Partner Network.
**This applies to RWD V6 with the equipped with the Black Pack and RWD V8.
The recent heatwave in Southern California (115F/46C in Irvine/Orange County) along with extreme boredom has prompted me to explore additional cooling options for our cars. As you can, see its HOT!
Whether or not this actually does anything to help cooling isn't confirmed but it certainly isn't going to hurt. Out of habit, whenever the car is in the garage after parking, I open the hood so at least the heat can dissipate and I typically drive without the plastic engine cover.
Some V6 F-Types are equipped with chicken wire mesh style hood vents either in satin or gloss black. As you can its pretty open and you can easily see the engine cover and the "supercharged" badging:
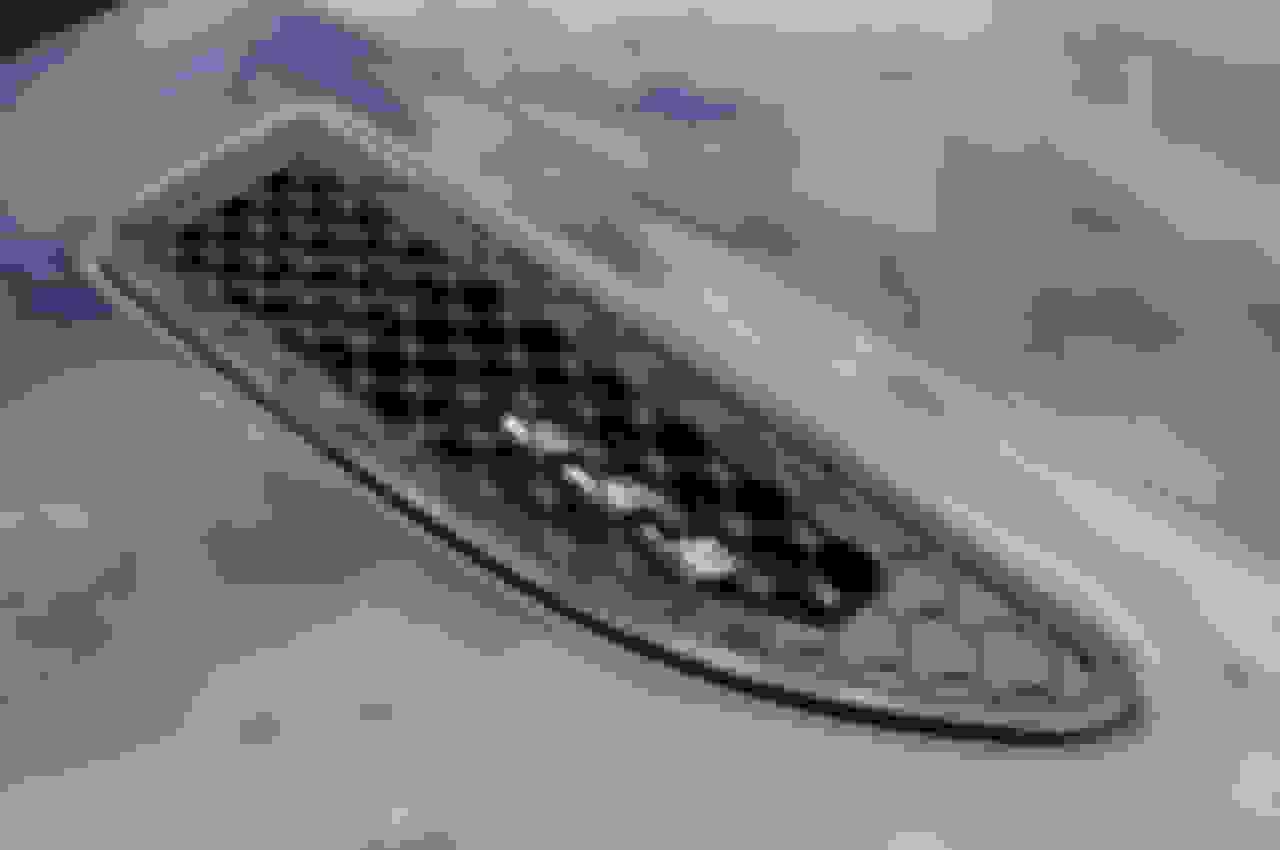
Those with the optional Black Pack or with the V8...you probably got these vents:
If you've ever opened the hood, you'll see that the amount of open surface are is limited to some water drainage holes. Nowhere near as much as the standard hood vents:
There are some options. One is to switch out the vents to the standard ones OR drilling out some holes.
**OPTION 1:**
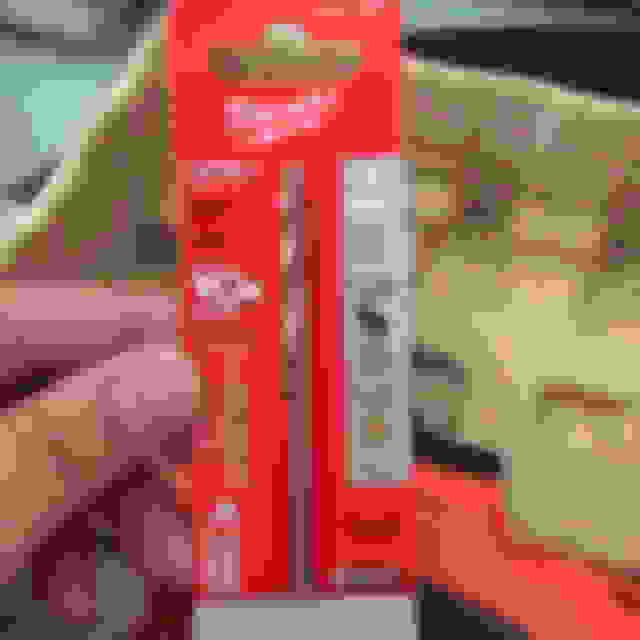
I originally was going to order the standard hood vents but at nearly $170 per side, I opted not to..however, I discovered that you'll need 2 more items in conjunction the vents. Stand vent equipped cars have "black out" decals installed on the hood to give the illusion that the metal immediately behind vents are painted black. I tinkered with another F-Type..without the black out decal behind the vents, its down right ugly. Each side is about $5 and is made by Avery. I installed them on my car in the event I came across some used vents.
1. Get the blackout decals:
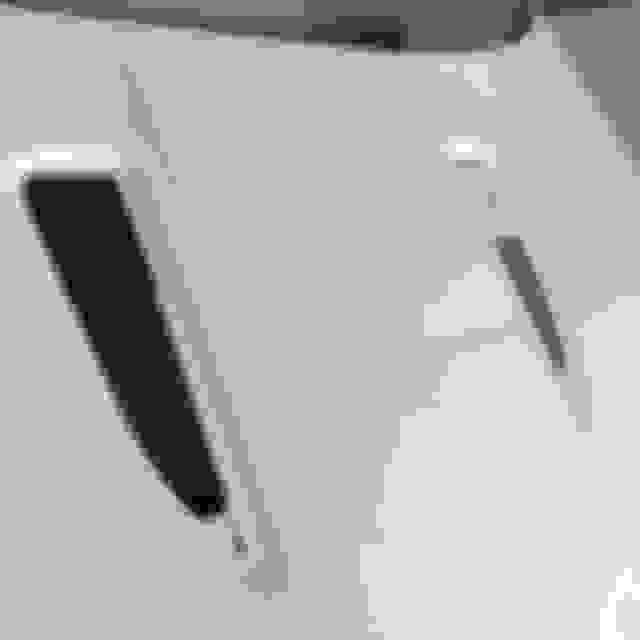
2. Remove original vents. Clean surface area to ensure adhesion and apply. I've applied the blackout decal on one side so you can see the difference. Apply to both sides...lining up to the holes.
3. Install new vents
**OPTION 2**
Drill holes in the fake "mesh".
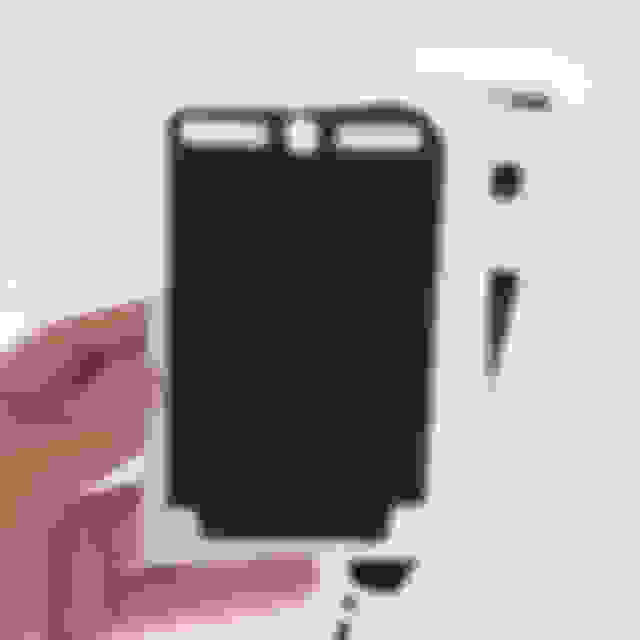
1. Remove vents by squeezing the tabs. Its easy but it can get a little tricky as the tabs will pop back into place when you release another tab.
2. Using a 3/16" drill bit, CAREFULLY drill holes using the fake "mesh" as your template from the OUTSIDE in. The vents are made from ABS plastic so there will be a lot of plastic shavings and burning plastic smell. Repeat for both sides.
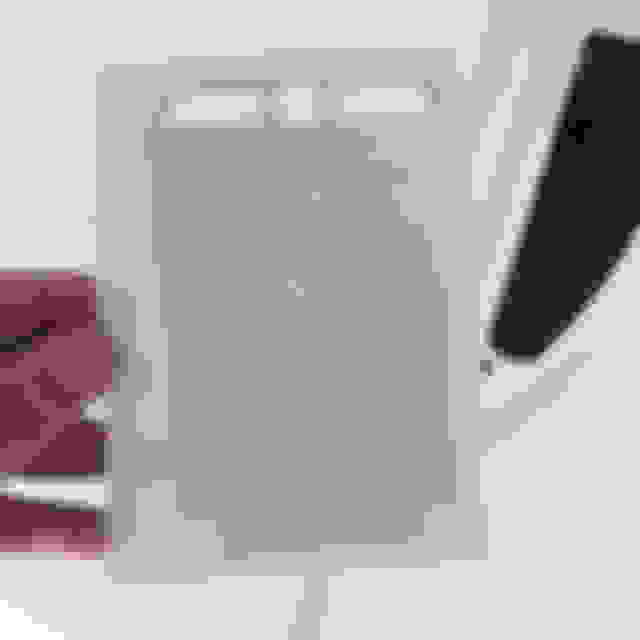
3. Optional: Use a needle file to clean up the edges and notice how much more open the vent is now; all while preserving the lines of the fake "mesh"
If you're worried about max cooling through the vents, and I'm not sure why you would be, I'd suggest mounting a set of the V6 mesh vents (pictured above) that come on all V6 RWD cars 14-17. They will fit all RWD cars.
If you're worried about max cooling through the vents, and I'm not sure why you would be, I'd suggest mounting a set of the V6 mesh vents (pictured above) that come on all V6 RWD cars 14-17. They will fit all RWD cars.
If you're worried about max cooling through the vents, and I'm not sure why you would be, I'd suggest mounting a set of the V6 mesh vents (pictured above) that come on all V6 RWD cars 14-17. They will fit all RWD cars.
I have an extra set if anyone would like them.
I mentioned that in my original post. However..the gloss black mesh vents are about $170 each. Too rich for my blood.
Have you figured out a way to open up the v8 style vent to both let in air and at the same time allow us to see the "Supercharged" plate underneath?
The engine cover that has the "Supercharged" plate is already noticeably faded on my car where it is exposed to sunlight. Maybe someday I'll get some pictures
I was looking to perhaps get some of the vents that do not give visibility and remove the engine cover completely. I didn't want to remove the cover when sun can get in because I don't want the plastic tubes and such that would then be exposed to degrade and get brittle.
If any of you guys are interested I have a set of the gloss black "R" style / black pack vents off my old car that I will sell - $150 for the pair.
They are in brand new condition as I swapped them for CF vents shortly after I bought the car.
PM me if interested.
Color coded the outside edge similar to the way jag does on the new 4wd ones (as shown in pic #4). Better, but not perfect like my prototypes (pic #5, photoshop) are.
The mesh are OK but simply don't look as beefy as the R type. Modifying the R type correctly would offer us the "perfect louver"
If I had an extra set of louvers to borrow for a few weeks, I would use them temporarily on my car while using my current louvers to develop the perfect louver like in pic. #5 The obvious problem is if I Dremel out the flat area, the mounting clips will be compromised. Also I need to fabricate some grilling to finish the look. If someone wants to loan me a set to put on my car (not to modify) while I perfect my donor louver, I will sed you back your loaners as soon as I finish and of course, at the same time, post detailed notes as to how I did it. I may even modify yours for the use of yours and helping me.
Without a loaner set, I'll just be content with what I have now.
Either way, as you can see, what I have now looks far better than the shiny, out of place, gaudy black plastic oem offerings that would only look good on a black vehicle.
Lastly, I will color code my rear diffuser.
Last edited by polarisnavyxj; 06-27-2016 at 01:42 PM.
Color coded the outside edge similar to the way jag does on the new 4wd ones (as shown in pic #4). Better, but not perfect like my prototypes (pic #5, photoshop) are.
The mesh are OK but simply don't look as beefy as the R type. Modifying the R type correctly would offer us the "perfect louver"
If I had an extra set of louvers to borrow for a few weeks, I would use them temporarily on my car while using my current louvers to develop the perfect louver like in pic. #5 The obvious problem is if I Dremel out the flat area, the mounting clips will be compromised. Also I need to fabricate some grilling to finish the look. If someone wants to loan me a set to put on my car (not to modify) while I perfect my donor louver, I will sed you back your loaners as soon as I finish and of course, at the same time, post detailed notes as to how I did it. I may even modify yours for the use of yours and helping me.
Without a loaner set, I'll just be content with what I have now.
Either way, as you can see, what I have now looks far better than the shiny, out of place, gaudy black plastic oem offerings that would only look good on a black vehicle.
Lastly, I will color code my rear diffuser.
I have a spare set you can borrow, if you want to pick them up. I live in the East Bay Area. PM me if you're interested.
WayneB

 06-26-2016, 07:24 PM