When you click on links to various merchants on this site and make a purchase, this can result in this site earning a commission. Affiliate programs and affiliations include, but are not limited to, the eBay Partner Network.
Even if I had owned an AT at one time, tackling any work related to one would have been off the table. Given the complexity (hundreds of parts versus a couple dozen for an MT) and the need to undertake something akin to a Native American rain dance to properly drain and fill the beast, I would never consider touching one.
20 years ago I bought a low mile stock '88 Mustang GT from my uncle. It had AT with OD so I decided to put 4:10 gears and a B&M shift kit in it so I could shift it manually. I was quite scared removing the valve body, drilling some new pilot hole and replacing a few check valve ***** and springs. But I was young and had just received my ASE certification, so I figured I knew a little something. Fortunately it all worked out wonderfully. But yeah, I never again messed with one of those "magical devices".
Very nice write up from OP. I would like to add that there's a bit more pain to doing the procedure on an AWD F-type. There is a aluminum support brace that is attached to the transaxle that needs to be removed before you can access the rear pan bolts. It's a bit of a pain to get the long bolt out of the rubber mount. Make sure you support the transaxle with a jack before undoing the four 13mm bolts on the sides. Then loosen and wiggle the long bolt out between the exhaust pipe and heat shield. It's a 15mm. Replacement is equally painful but doable with persistence.
I was able to drain around 4.25 quarts from the pan removal. I then refilled with about 2.5 qts of Lifeguard 8 before it ran out the fill hole. I used an OBDII reader to watch the transmission temp after start up and working thru the gears, filling the torque converter like the OP described. The transmission temp started at 30C (warm day) and I was done refilling with engine running and going thru the gears before it hit 40C so time urgency didn't seem to be a factor. BTW, I could not manually go beyond 2nd gear on my vehicle so just switched from R-D-1-2-P a few times for 10sec each gear. This is also what the ZF instructions for our 8HP70 gearbox states.
I think most F-types have an external transmission cooler (opens at 69F) so I followed the Meyle video instructions to overfill by about 0.5 quarts before closing the fill port for a warm up drive. Quite a bit of fluid rushes out while trying to replace the fill screw which is right next to a very hot exhaust pipe by this stage. I wrapped the latter with a wet towel which helped. Drove around going thru all gears for about 15 mins until transmission temp exceeded 75F per the Meyle video (mine reached 83F). The F-type service manual instructions are confusing as it says not to exceed 69F which doesn't make sense.
During the warm up drive (which was moderately aggressive after the first 5 mins) the transmission shifted great. Can't say I noticed much change from before but I just bought the car with 46K miles and wanted to be safe and replace the ATF than sorry that I didn't later. Who knows how hard the last owner drove it !?
Now I'm going to sit back and have a lot of beers while the thing cools back down before I can do a final check of the ATF level after start up, running thru the gears and with the transmission temp between 30-50C.
Transmission support brace removed After removal you have access to rear T30 bolts. Support the transaxle with a jack Remember to support the transaxle with a jack before removing the support bracket. Pan removed. 4.25 quarts drained The long bolt that goes thru the rubber mount is a pain but can eventually be wiggled out and back in by angling the support brace
Noticed in my previous post I had temps in degrees F and C mixed up in one paragraph. They should be in Celcius...
"I think most F-types have an external transmission cooler (opens at 69 Celcius) so I followed the Meyle video instructions to overfill by about 0.5 quarts before closing the fill port for a warm up drive. Quite a bit of fluid rushes out while trying to replace the fill screw which is right next to a very hot exhaust pipe by this stage. I wrapped the latter with a wet towel which helped. Drove around going thru all gears for about 15 mins until transmission temp exceeded 75 Celcius per the Meyle video (mine reached 83 Celcius). The F-type service manual instructions are confusing as it says not to exceed 69 Celcius which doesn't make sense."
Another update is that after I let the transmission cool overnight the next day I started it up when the OBDII showed the transmission temp to be 31C. I revved to 2000rpm for 30 sec then ran thru the gears (P-R-D-D1-D2) a couple of times. Got back under and drained about 325cc ATF. Tansmission temp was 41C when I closed the fill port. All in all, I got 4L out (4.25qt) and put 4L back in so I guess I really only managed to change <50% of the total fluid using the ZF prescribed technique. The good news is that the fluid drained was still green and not brown/black and did not smell burnt. I guess I'll be doing it all again in another 40-50K miles.
Thanks RacerX! Great instructions.
With ther ZF 6 speed I found draining over night would get about another quart or so of fluid out.
Do you think that would also work with this 8 speed?
I wish ZF had put a TQ drain plug in like some MB cars have. You get a higher percentage of clean fluid in.
.
.
.
Yep, ZF Lifeguard 8 fluid is GREEN. But to me it smells just like the red stuff that goes into all of my other cars' auto boxes.
And to clarify, maybe it's just gears "1" and "2" (Not "D1" and "D2") when you select manual mode and shift using paddle-shifters. I can't remember exactly what my dash display showed. But I certainly couldn't "run through all the gears" (3rd-8th) using paddles as some instructions have implied is possible.
New ZF Lifeguard 8 on left. Found this pic on BMW forum
Changing the lifetime fluid at 50k miles is recommended. So at 51,000 I did this and post some pictures here of the adventure. This fluid change is an easy 2 hour process. Contrary to most other vehicles that have an easily accessed transmission fluid dipstick and no tranny drain plug, the 6ZF6HP26 transmission has no dipstick and an easily opened drain plug. This may make sense as the proper fluid level is set by temperature not by dipstick. What does not make sense is Jaguar hides the fill plug behind an exhaust pipe heat shield requiring the plug re-insertion on a hot running engine. So heat resistance and patience is all you need for this job.
1. First purchase all the stuff. case of red Mercon SP Plastic pan with integrated filter and gasket Torx T30 M6 washers 17mm diameter Measuring desired 40 C fluid temp
Six quarts of fluid if just changing the oil.Twelve quart case if doing a drain, refill, drain again, replace the filter, refill again. I used Mercon SP that now sells for $85 a case on Amazon. Pan with integrated filter and gasket. I got this one from RockAuto for under $100. Be sure to get the pan with the integrated filter; I doubt if the filter-only option will work on the 6ZF6HP26 transmission and plastic pan. A pack of M6 x 1mm thread 30mm long fully threaded Torx T30 screws and 17mm flat washers. I prefer McMaster Carr as they ship in a day. My tranny takes 21 screws but a pack of 25 is $7.00. Many use expensive Torx T40 heads to replace the wimpy OEM screws but the 17mm washers do a fine job of securing this pan with the T30 screw.
Standard metric tools are assumed. You need male Torx drives, 8mm wrench, 10mm and 8mm allen keys, an oil collection pan, infrared thermometer, white paper or cardboard, 3+ feet of clean tubing and a clean funnel. I have a four post lift but doing this on a two post, on four level jack-stands or four ramps is easy. Do not work under a car supported by jacks or cinderblocks.
2 Remove stainless steel right side heat shield. On my car it was held by three 8mm hex head screws as shown. An 8mm flat ratchet makes it an easy task.
right side heat shield
3. Remove the filler cap with an 8mm hex and short extension set so your hand need not touch the exhaust pipe. Although you can touch it now, reinstallation of this cap will be with the car running hot. Align your oil collection pan as some fluid may flow out. The cap is above the right rear corner of the pan. 8mm hex filler cap Open the plastic drain plug in the plastic pan with a 10mm allen wrench. Put your oil collection pan underneath. I collected about 5 quarts of dirty fluid at this point. Shown here is the color of the old tranny fluid. This is only a useful comparison if you are refilling with OEM yellow Lifeguard6 fluid. I am refilling with red Mercon so this picture is for dramatic visual impact only.
drain old stuff 4. Do not remove pan if you intend to flush the torque converter of old fluid. Instead, thread your ~3 foot long fill hose with funnel attached from the top of the engine bay aft of the right front shock. Put the lower end of the hose into the open fill hole. I prefer this to trying to fill against gravity from below. If everything is perfectly clean great. If there is any doubt, pour some of the old fluid into the funnel to flush out any possible debris as pictured here. You should see this old fluid quickly flow out of the open plastic drain pan hole. fill from top
5. Refit the plastic drain plug hand tight. Place white cardboard or paper directly under the tranny so you can see (and hear) any evidence of dripping fluid. Fill tranny from above with clean Mercon SP. My car took about 2.5 quarts before I saw drips on the white cardboard, that is easily seen and heard from above. You will have a direct line of sight from the engine bay to the floor.
6. The correct level of fluid is to the top of the open filler hole at 40 degrees C. So start the engine and continue to fill with fresh fluid until drips again appear on the fresh white cardboard. When drips appear, step on the brake and put the car in drive for 5 seconds, in reverse for 5 seconds, in each gear, and repeat this a few times. After doing this on my car it accepted another three quarts of fresh Mercon.
keep pouring until it flows out the fill port measure 40 C by aiming at the pan
Continued...
part two:7. Measure the temperature of the pan. Most threads indicate the pan temperature is only a few degrees less than the actual fluid temperature. So I lucked out and measured 39.8 degrees C on the pan when the cardboard drips appeared for this final fill. If lower than that, just wait until it heats up and pour in the last bit of fluid if needed. If higher than that, you must cool the car as the fluid has expanded beyond the fill point. 40 C8 Reinsert the filler plug using the extended socket with 8mm hex (the engine is still running). Might be a good idea to wear gloves as that exhaust pipe is toasty. If you are stopping here (no filter change) then torque the fill plug to 35 newton-meters. Several quarts of old fluid have mixed with the new, so you can go back to step 3 and repeat to step 8 dilute the old fluid that remained inside the torque converter. Do this as many times as your stockpile of fresh transmission fluid allows. If you want to replace the integrated pan filter, proceed with step nine.
9. Remove and replace the pan with filter. The OEM screws may be seized by aluminum oxide corrosion so I hit each several times with a mallet, and soaked each with Kroil. Notice some screws on the left and right are not captive with the screw hole drilled clear through to the top. So you can flow some Kroil or blaster on the top threads of these screws. I have 21 T27 screws. The ZF video shows 24 screws. I used brake parts cleaner instead of wiping off the mating surface to avoid contaminating particles in the tranny. If any of your screws are impossible to remove, consider a test drive at this point to see if your problem is solved and know the old filter is happy to continue work. Ensure the o-ring is not trapped inside the transmission tube connector. Your new pan contains the new o-ring and the new rubber gasket. The pan bolts are tightened to 10 newton meters.
10. Inspect the pan magnets for extensive metal slurry. Mine was light so no further investigation is needed. Avoid the temptation to wipe the fluid dripping from the transmission with a linty rag as you might put fibers inside your transmission. Fasten the pan with your new T30 screws with a dab of copper anti-seize on each M6 thread and torque each one in an opposing zig-zag pattern starting in the middle to 10 newton-meters. A 24 screw s quence is shown by
You can now fill the tranny to the proper level starting at step five (5) and ending at step 8.
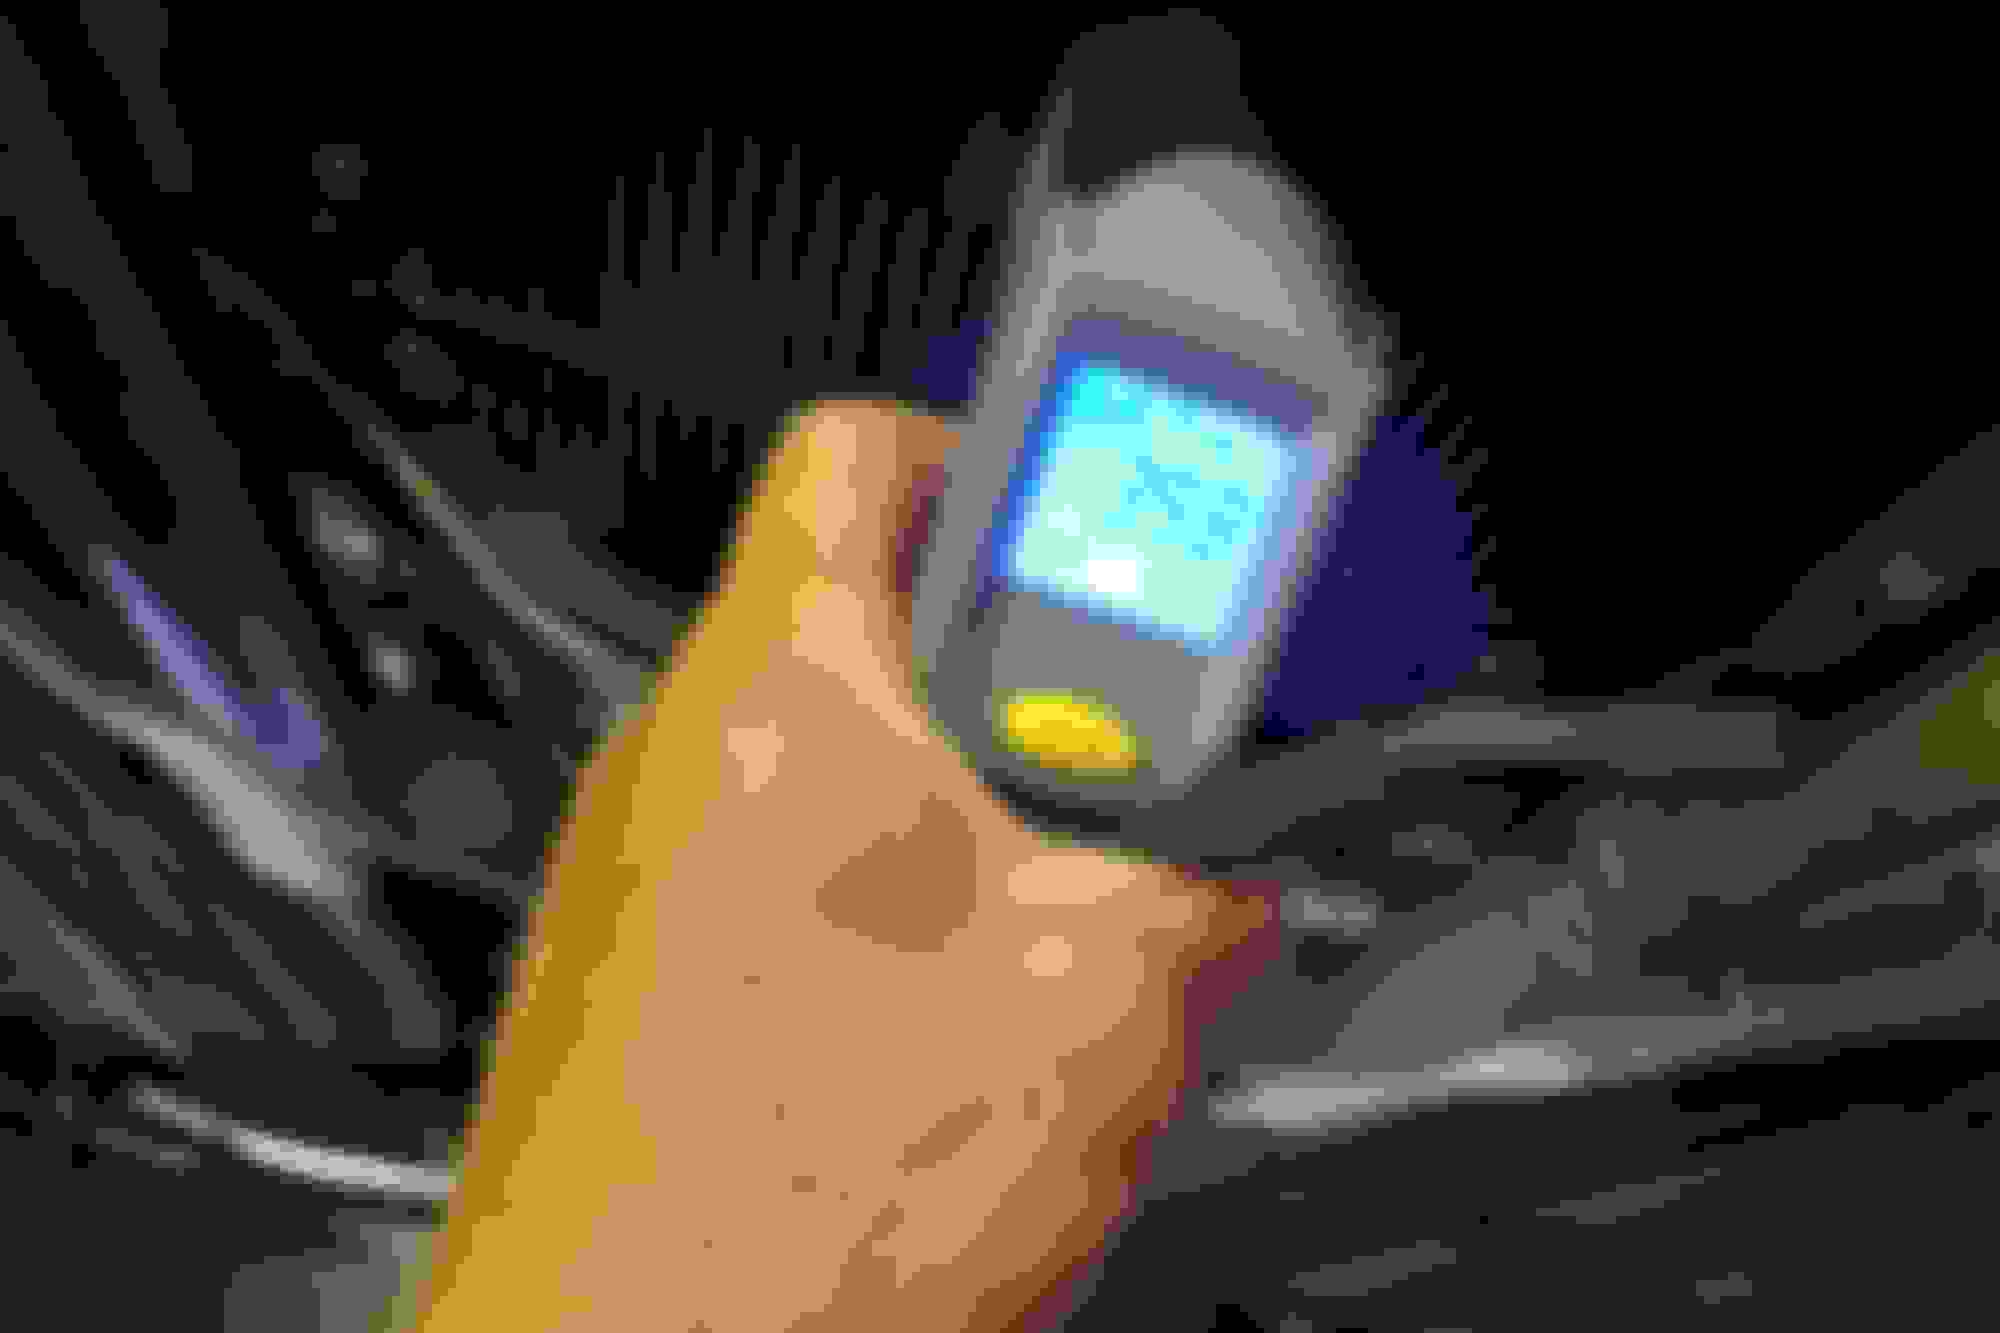
11 You can use your code reader to find the fluid temperature but I found the hand laser to be accurate and convenient. I put in a total of 7 quarts and there was still room for more in the tranny, but much to my relief, when the pan temperature hit 40 degrees C fluid started to flow out of the fill hole, indicating the top fill was reached. While at 40 degrees install the fill plug and torque to 35 n-m with engine running. Reinstall the heat shield after the engine cools off then take your car for a very gratifying, happy shifting test drive.
Last edited by jagophile; 08-09-2020 at 03:59 PM.
Reason: attachment PDF
part two:7. Measure the temperature of the pan. Most threads indicate the pan temperature is only a few degrees less than the actual fluid temperature. So I lucked out and measured 39.8 degrees C on the pan when the cardboard drips appeared for this final fill. If lower than that, just wait until it heats up and pour in the last bit of fluid if needed. If higher than that, you must cool the car as the fluid has expanded beyond the fill point.
40 C8
Reinsert the filler plug using the extended socket with 8mm hex (the engine is still running). Might be a good idea to wear gloves as that exhaust pipe is toasty. If you are stopping here (no filter change) then torque the fill plug to 35 newton-meters. Several quarts of old fluid have mixed with the new, so you can go back to step 3 and repeat to step 8 dilute the old fluid that remained inside the torque converter. Do this as many times as your stockpile of fresh transmission fluid allows. If you want to replace the integrated pan filter, proceed with step nine.
9. Remove and replace the pan with filter. The OEM screws may be seized by aluminum oxide corrosion so I hit each several times with a mallet, and soaked each with Kroil. Notice some screws on the left and right are not captive with the screw hole drilled clear through to the top. So you can flow some Kroil or blaster on the top threads of these screws. I have 21 T27 screws. The ZF video shows 24 screws. I used brake parts cleaner instead of wiping off the mating surface to avoid contaminating particles in the tranny. If any of your screws are impossible to remove, consider a test drive at this point to see if your problem is solved and know the old filter is happy to continue work. Ensure the o-ring is not trapped inside the transmission tube connector. Your new pan contains the new o-ring and the new rubber gasket. The pan bolts are tightened to 10 newton meters.
10. Inspect the pan magnets for extensive metal slurry. Mine was light so no further investigation is needed. Avoid the temptation to wipe the fluid dripping from the transmission with a linty rag as you might put fibers inside your transmission. Fasten the pan with your new T30 screws with a dab of copper anti-seize on each M6 thread and torque each one in an opposing zig-zag pattern starting in the middle to 10 newton-meters. A 24 screw squence is shown by ZF here. You can now fill the tranny to the proper level starting at step five (5) and ending at step 8.
11 You can use your code reader to find the fluid temperature but I found the hand laser to be accurate and convenient. I put in a total of 7 quarts and there was still room for more in the tranny, but much to my relief, when the pan temperature hit 40 degrees C fluid started to flow out of the fill hole, indicating the top fill was reached. While at 40 degrees install the fill plug and torque to 35 n-m with engine running. Reinstall the heat shield after the engine cools off then take your car for a very gratifying, happy shifting test drive.
The post referred to us very detailed, it could be confusing though as it's not an F Type or even the same ZF8 transmission , nor does it use the same transmission fluid as F type ZF 8 speed
The post referred to us very detailed, it could be confusing though as it's not an F Type or even the same ZF8 transmission , nor does it use the same transmission fluid as F type ZF 8 speed
Yep...Agree...Directionally correct with deviations. Mine is completed and went flawlessly... I may write up a proper DIY to weed through confusion all over the web. I put some info and pics HERE also. Don't let the title throw you...I did the Transfer Case too.
The post referred to us very detailed, it could be confusing though as it's not an F Type or even the same ZF8 transmission , nor does it use the same transmission fluid as F type ZF 8 speed
Since Mercon SP has been verified as an exact replacement for the Lifeguard 6 fluid. Is there any substitute for the Lifeguard 8 fluid or should I stick with the ZF Lifeguard 8 fluid only?
.
.
.
 05-12-2020, 01:03 AM