When you click on links to various merchants on this site and make a purchase, this can result in this site earning a commission. Affiliate programs and affiliations include, but are not limited to, the eBay Partner Network.
Ok now I have had a chance to live with this a while I have updated my opinion.
It only suits a small group of users- It Would still be a reasonable option for convertible and if you listen to bass heavy material where you will get a nice massage. It doesn�t add much to slower music.
For everyone else:
Does it add anything over and above aftermarket sub - yes but not worth doing. $100 better spent in Dynamat instead or other components.
Would only do if you are definitely set in NOT upgrading the OEM sub otherwise spend your money there instead . I am going to remove them and swap them to the home theatre set up instead
Hope this has helped somebody.
I finally got my system set up and tested. Using the door woofer signals as the high level input on my amp, I am getting good sound out of my 2 woofers that I have fit into the OEM rear sub frames. MUCH better than the stock rear subs with their original signal. I just need to dial in the gain, and perhaps connect the high level input ground as I have a low level of background static right now. Although, I am not sure if I can get rid of it as the OEM rear subs also exhibited the same amount of static. After that, mount everything properly, tuck the wires away, and put all the trim back.
Is there a 12V switched power source for the remote turn on wire in the trunk? I thought I was smart by tapping a fuse in the trunk floor fuse box, but it turns out those are always on (or at least not turned on/off with the ignition).
There are a couple circuits in the rear fuse box that are only on with ignition, just need use multimeter to find them. I used the high level signal sensing feature on the Audiocontrol amp to provide turn on. You may have a similar feature on your amp.
just made a new thread on how to solve rear speaker rattle. The link is posted below for future reference (just in case it gets buried with time)for anyone on their audio journey.
This was my solution for a stealth install. I piggy backed the jag factory amp onto a Audio control D6.1200. It was tucked away in the factory amp location in the right rear quarter panel by making a new mount out of 1/4 MDF. Audio controls are generally very good with heat but even this area was a bit constricted for airflow so 4 fans were added on a controller that allow each to turn on at different heat settings sequentially as the amp gets warmer. Dedicated Audio control 1.300 mono sub-woofer amp was mounted to a MDF mount to the rear as shown in the photos. If I were to do again I would have went with the Helix P Six DSP Pro as their DSP software is light years ahead of the audio control products but that would have changed some of the way this stuff was installed because the Helix does not have that cover plate I used to mount the factory amp to. The helix amp is a little smaller than the Audio Control as well so there is that. The left side quarter behind the interior panel also has a bunch of space you could use to mount an amplifier as well.
By any chance do you know the spec of those horizontal bolts on the right you used to mount to the OEM holes?
Also, thanks for the info on the fuse box - I had thought they were always on but they do indeed turn off after a while. I guess it correlates with the red hazard triangle on the center console, as when that turns off my amp is turning off as well.
Last edited by takeapieandrun; 08-17-2022 at 12:15 AM.
Just wanted to finally summarize my journey upgrading my audio experience. Also, a disclaimer, I am by no means an audiophile but i am a bit OCD. So that means my primary goal was to bring the system up to par and remove any quirks rather than truly going for a high level system.
First of all, my intention was always to replace the stock subwoofers in their stock brackets. I figured this would be a place I could start, and if it was not satisfactory, I would explore other options. Initially, I wanted to just do a drop-in replacement to see how new rear subs sounded. So I found the closest speakers size-wise I could to the OEMs, that would still be DVC and solid quality.
This led me to these Aurum Cantus units: 7" DVC (I made a mistake with my parallel ohm calculations, these speakers give 4 instead of 2 with both voice coils in parallel. But it didn't end up mattering). I want to make a note that these speakers were by far the most pleasant part of this project. They just worked, sounded amazing, and most importantly fit into the stock brackets nearly perfectly. The only issue was them having a square cutoff instead of perfectly round, which meant i needed to fill a couple slivers of airspace on the stock brackets with sound insulating material. Looking back, I might have gone for something like these as they are higher performance, non-DVC for simpler wiring, and are round but with almost the same diameter. Also, a major lesson learned here is to be careful when drilling holes in the stock brackets. Without the arched backing, they are much more fragile and a hole in the wrong place can compromise the structural integrity and break off one of the mounting arms. Ask me how i know.. smh. Another side note, the speakers are much heavier than the oem flimsy units, probably 2-3x as much.
Of course, as many of you might mention, I realized quickly after reading more threads and listening to the stock subs closer that the signal to the stock subs is crap, and that the solution is to tap the door woofer signal. Furthermore, my driver side stock sub was outputting no sound at all (!!) and my passenger side was weak and gravely. Thus I upgraded this project into one that incorporated an amplifier to drive these two new speakers. As someone who has never done more than drop in a new speaker or two little did I know what I was in for.. lol. For this purpose I chose a relatively unimpressive amp, a BOSS audio 600W 2-channel, but my logic was I could always make a change to this down the road and $100 wasn't a steep cost to eat as a first attempt. What was important here is that it had high-level inputs, a bass gain control knob, and a low/high pass filter.
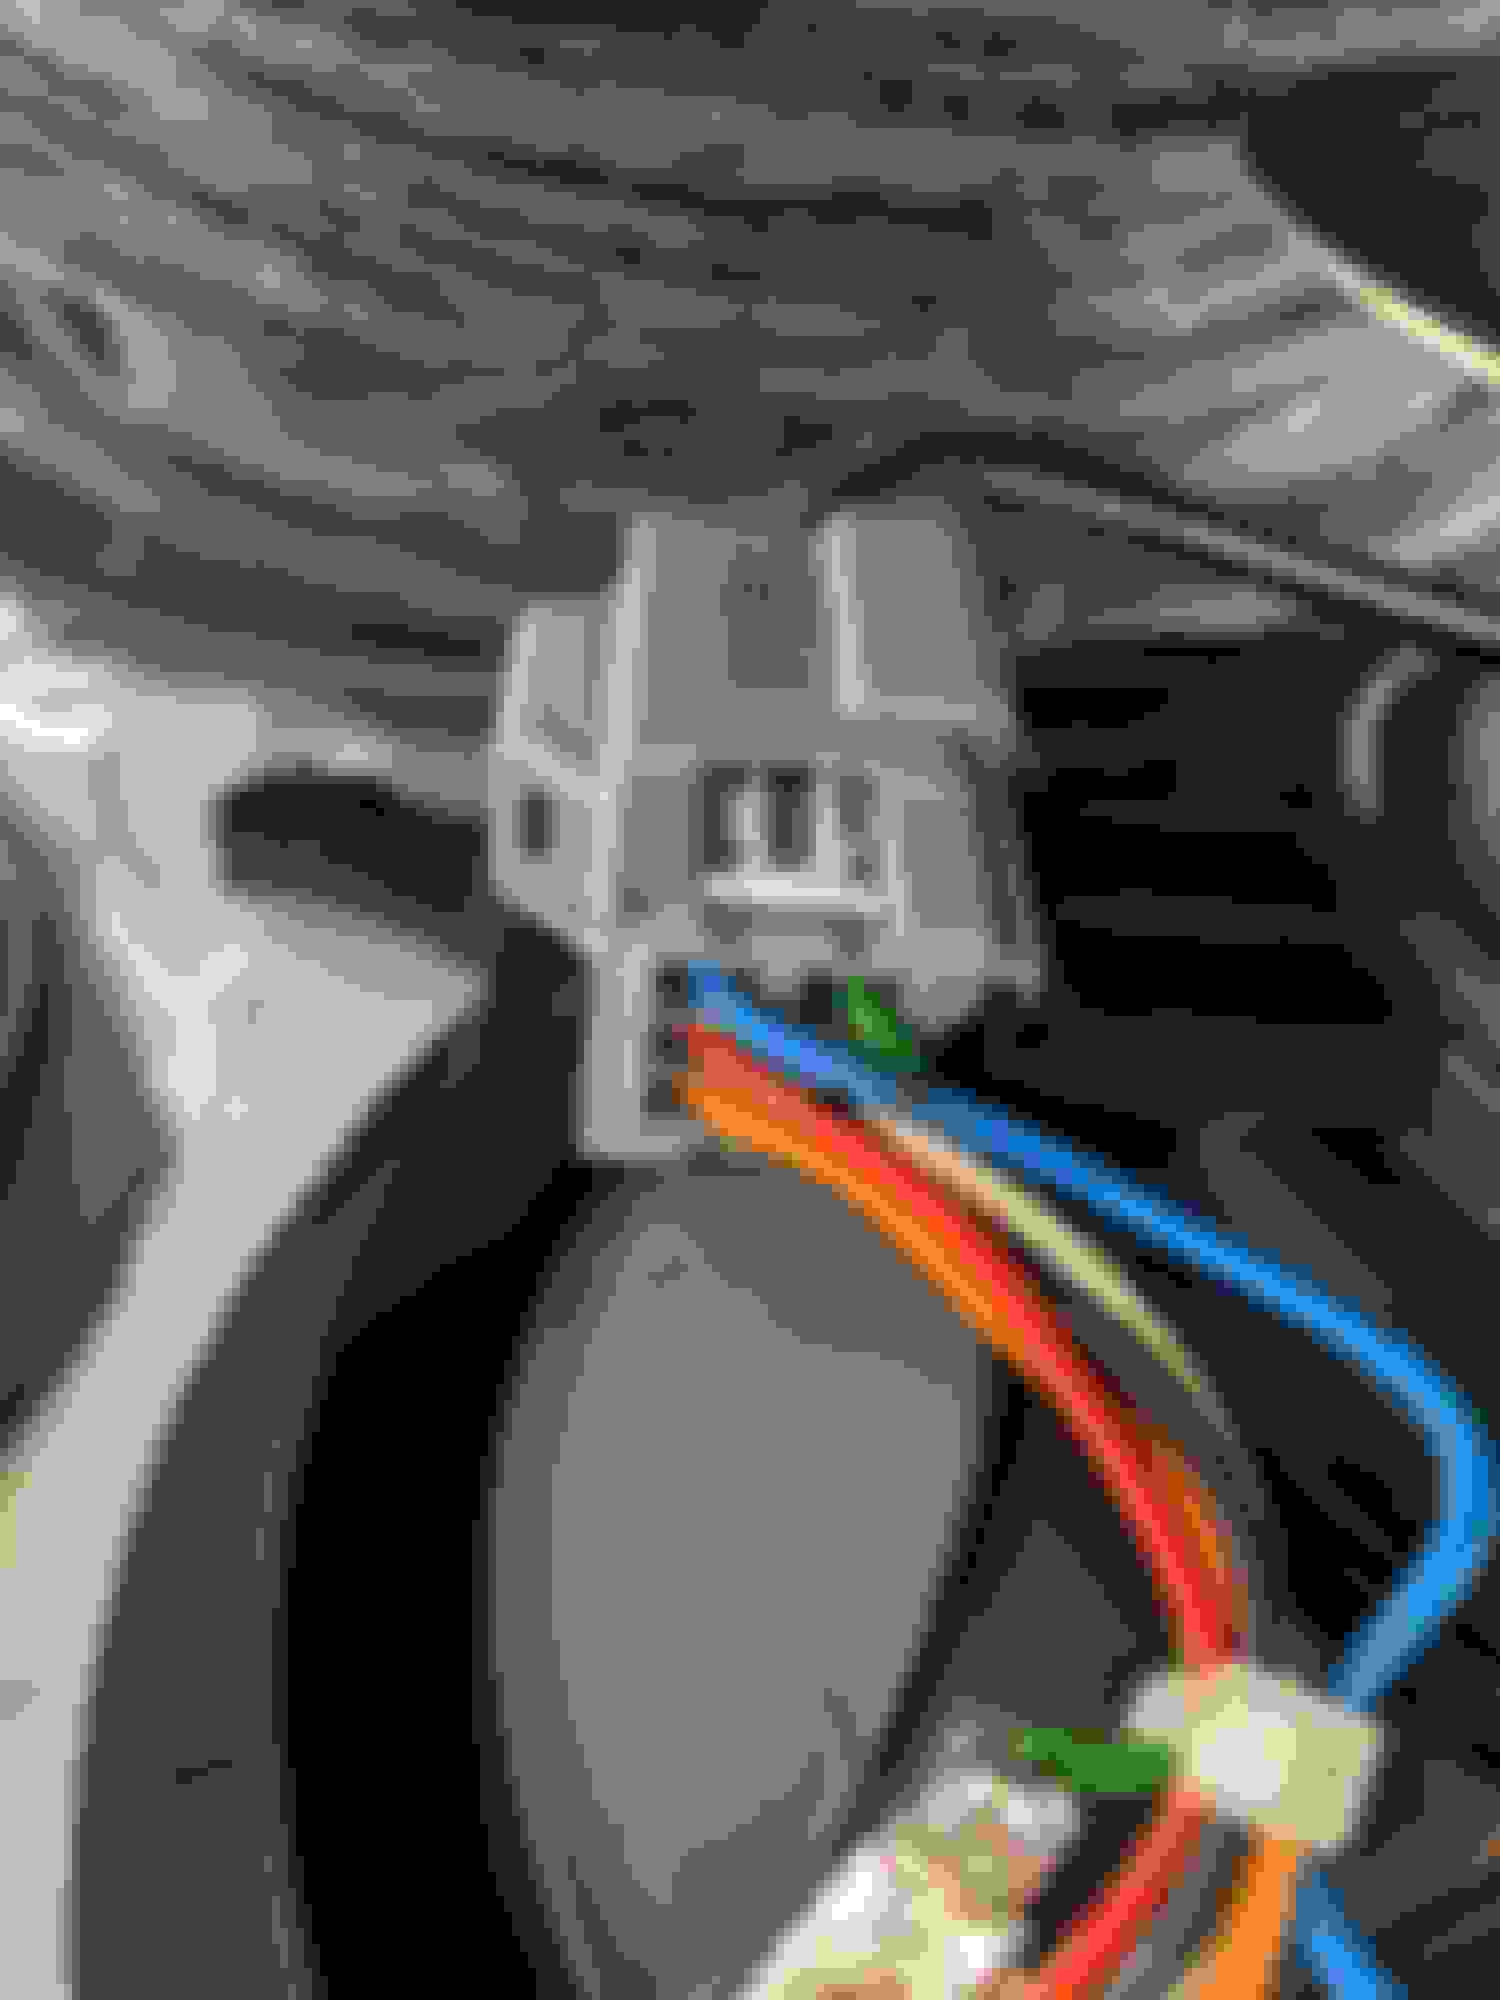
Firstly I started with mounting the speakers into the OEM brackets. Diameter wise, they fit perfectly. Be sure to mount them securely, as I had some rattling with heavy bass and had to redo this step with nut+bolt combos instead of screws. You won't need the below connector for the sub, but you still need to keep it plugged in for the rear midrange speakers. I would recommend terminating the wires going to the subs (I believe it was green, blue, red, and white but don't take my word for it, definitely check before cutting anything!) with heat shrink/electrical tape so they don't make contact with anything:
Next, I'll say that tapping the speaker level inputs isn't bad. Using posi-taps under the parcel shelf where the stock amp wiring runs I was able to extend out the wiring to the trunk relatively easily (I posted the wiring schematic earlier in this thread):
This next part was fun (mostly), I got everything hooked up (outside the cabin) and tested the sound quality. Initially realized I had a bad ground connection as the amp was cutting out under load. Also, I was also an idiot here and accidentally flipped the amp into high-pass mode which absolutely destroyed the sound of the subs and had me thinking all my work was for nothing for a good 30 minutes. Make sure your amp has a low-pass mode! Glad that one turned out to be something simple. Finally got it sorted, and damn these 7" units slap. See first vid for distorted sound under high-pass mode and second vid for the proper sound. My phone recording does no justice to the bass, by the way.
I chose this stealth location (left side of the trunk) as the mount for my amp (this is just a test fit with no mounting in the picture). The metal plate circled in red has an M8 bolt hole that I used (thank you above posters for the info); I also used a metal plate (think in the shape of a backwards C, but with right angles) with the righthand side circled bolt hole (this is where the metal loop in the trunk trim screws into) to mount a small wooden platform back there to place the amp on. I will also say be absolutely certain that you don't need to remove any connections on the backside of the amp once you mount it - otherwise you will be unmounting and mounting it again. Honestly, as far as the mount, I will say you just have to get creative. I may also add a computer fan or two to the vented trim pieces to aid in air circulation.
Then I mounted the subs into their stock locations. This was a pain because I had to ensure wiring was going to and from the amp with correct lengths, and neatly ziptie everything down without forgetting wires. Be sure to label the wires to prevent confusion. I definitely also had to undo and re-do the zip ties a handful of times... so maybe don't use zipties. I also took this time to dynamat (I actually used an analogous product called soundbarrier) the entire area behind the seats. I also tried to solve the 'free-air' nature of the stock sub mounting by using the dynamat all the way onto the speaker surrounds, under the foam ring. The sound insulation was by far the most painful part of this install, in my opinion. So much measuring, cutting, adhering, re-adhering, rolling, etc. A true PITA. Sorry, no pics on this part.
Oh, and I didn't mention the remote sense wire. I had to wire this into the passenger footwell fuse box to provide on/off voltage to the amp. I also ran the subwoofer control knob alongside the armrest/center tunnel under the trim to under the steering wheel for driver control.
Finally I put everything back together. Be sure to follow this thread by Borbor to minimize rattles/noises (https://www.jaguarforums.com/forum/f...sy-diy-261768/). I wrapped so many things in felt tape at this point lol. After this, I realized I still had a rattle from the right speaker. This ended up being a rattle between the speaker and mounting bracket that I mentioned earlier, so I had to remove this speaker and improve the solution for mounting the subs in the frames. For safety I did both speakers at this point. Let me tell you, it is a true pain to try to connect and disconnect quik-disconnect fittings to the speaker prongs without breaking anything when you are hanging through the window/door of the car reaching behind the seat. Especially with DVC speakers, which means double the connections. With that solved, one last problem.. at high bass, the larger speakers were literally contacting the backs of the mesh grill on the respective trim pieces. My ghetto solution: heat gun to bend the grills outwards so they form somewhat of a bubble. Looks pretty OEM, actually.
Final thoughts: Overall well worth it, for around $350-400 with hardware, electrical connections/wiring, and my own labor. Took a lot longer than I thought it would, but I can literally feel the bass on my lower back through the seat now with almost no rattles. The bass hits so much harder that I find myself using the bass control knob to lower it on long drives. I also inadvertently have become an absolute expert at removing/installing the parcel shelf and behind the seat trim. In the future, I may go for the drop in door woofer replacements but I am very happy for now.
Last edited by takeapieandrun; 11-18-2022 at 03:15 AM.
Reason: grammar
. My ghetto solution: heat gun to bend the grills outwards so they form somewhat of a bubble. Looks pretty OEM, actually.
.
brilliant idea. Nice solution and would never have thought of doing that.
Congrats on finishing your journey.. Sit back and Enjoy the fruits of your labour
A long and tedious journey for all of us no thanks to Jaguar /Meridian
Just completed mine last week after finally installing the Signature drivers so can shut the book on this once and for all.
Thank you. I just went for a drive earlier and was admiring the sound quality. I can't believe I am finally satisfied lol, it was definitely a tedious journey as you said. Starting with a software update at the dealer.
What rubs it in even more is that my dad's XJ (which is only 1 year newer) with the meridian has a great sound system. Although being a model that was being sold for 10+ years, I suppose they ironed out the kinks.
I wanna thank everyone on this thread, ESPECIALLY CAMBO.. I did the complete speaker upgrade n went with the direct fit Land Rover speakers in the from and the Sakar subs for the rear. All for 700 bucks.. ordered all the speakers new from Land Rover n amazon had the Sakar speaker for 54.00 bucks each.. everyone on this thread made so easy to do the upgrade n just wanted to say THANK YOU.. sound is amazing n I�m totally satisfied with the upgrade.
 08-12-2022, 11:46 PM