When you click on links to various merchants on this site and make a purchase, this can result in this site earning a commission. Affiliate programs and affiliations include, but are not limited to, the eBay Partner Network.
By all reports it's just carpet and underlay and no metal.
I guess that is why the directions specify 15 mm max hole depth, any further and you risk hitting metal.
I'll be drilling these holes soon and will report back!
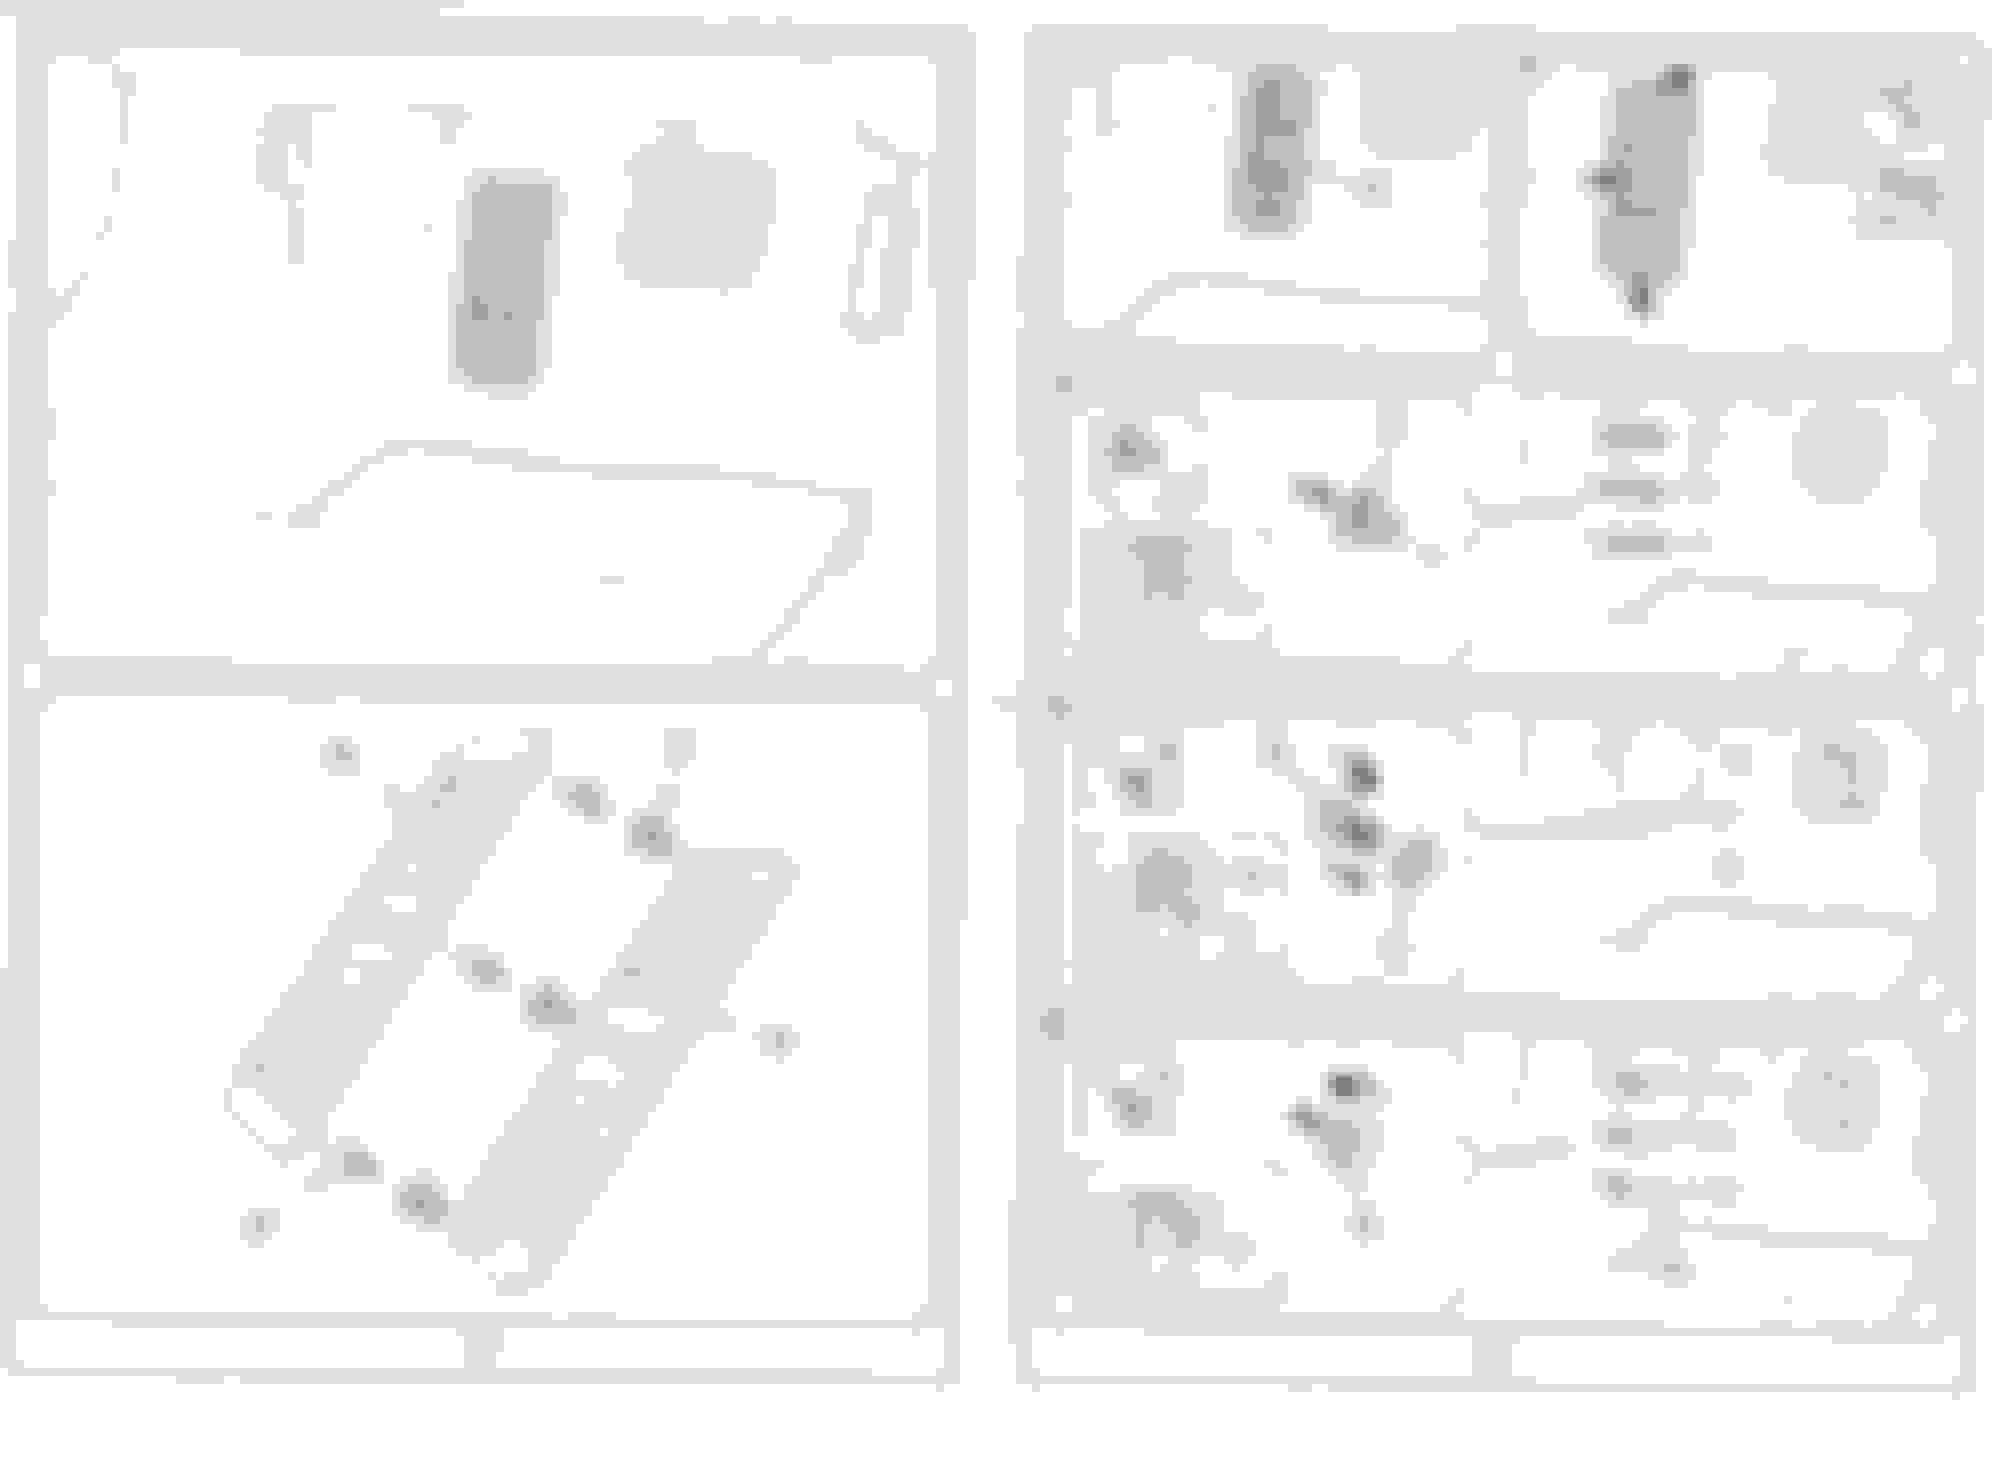
Edit - Dwight & Rock - I reckon I have figured out what is going on with the fitting instructions:
Panels 4 and 5 are telling you to screw the scrivets into the plugs and then to unscrew them and take them out.
I guess this is so as to widen the bases/plugs and/or "prime" them to properly take the threaded sections/prongs on the metal part of the footrest.
Yes...That makes sense...If they would just use a few words in their instructions..It would help!
I like Mr. DC's covers....can you share the link for the set?
Thank You Sir...Sparkmeister
Thanks! Posted the closest I could find in my last response. If I come across these exact ones I will post. The ones I found are identical with the exception of no Leaper...
DC
Edit: Found these in China...No idea about the company? But only $27...May be worth a shot... HERE
Looking at the cover page for the instructions, I see nine different languages. I guess I can see Jaguar's point in going with drawings rather than printing nine different translations. In some ways it is better than the instructions that come with some made in China products that while are in English, still require some head scratching to interpret !
Sorry for digressing but I put the WeatherGuard floor mats in mine specifically engineered for my F-Type floor box and they match the seats and look great. Plus
they protect the carpet and are easy to clean. What you are doing looks great so long as you aren't carrying in dirt every time you enter your car.
I received the footrest, Jaguar part # T2R11322 today from Rimmer Bros. in England. Transit time to California was about 3 weeks by mail. I have attached photos of the part and a scan of the installation instructions. The instructions don't quite match the parts supplied. As you can see, the mounting studs are part of the metal part of the footrest (Part B). The instructions indicate that once determining where you want the footrest to be located, you need to drill three 7mm diameter holes 15mm deep. Then you insert the female half (Part C) of the plastic anchors in each hole.
I assume that you don't use the little threaded male parts of the anchors (Part D) but just push the metal and rubber footrest assembly (Parts A & B) into the anchors and the threaded studs that are part of Part B expand the anchors and secure it in place. Has anyone installed this item recently and do I have it right ?
My only concern is what exactly am I drilling through on the firewall ? Any risk of causing a future rust issue at those holes ?
Hi...Thanks, and yes, it fits very well. HAs been on for a while now too with no issues (all of the pedals were changed at the same time). As I recall, I ordered on eBay, and just tried a set that said they fit Jaguar, as I could not find any that were specific to F-Type, or if I did, I was asked to remove a kidney and send as payment. I do not seem to be able to find that exact set any longer, but I think they were only ~$50 or less. And they are holding up very well. They are just pedals...So I was not/am not concerned about them coming from Jaguar.
I ordered the EBAY Set (3 pcs.) Identical in "pattern" to DC's. If I interpreted the Ad correctly, the "Jaguar Logo" is Imprinted/Etched on each pedal cover. For their mass market, I believe they may have chosen the "generic" photo for Ad and added the "Logo" info down near the bottom of pg. Estimated arrival from China (Wuhan??) June 20th. I can report on "Logo detail" upon delivery.
Thanks DC, you (and others here) have assisted us so much with product...tech...install info, etc.
I installed the factory footrest in my new F Type today. One of the first things I discovered when making a pilot hole on the carpet with an awl is that the material under the carpet is just molded Styrofoam. So drilling per the instructions was no problem at all. One of those little Harbor Freight LED flashlights that are always on sale or given away free with a coupon came in really handy so that I could see what I was doing as it is dark down there in the footwell even in an open and well lit garage.
One tip I will share is that the instructions about screwing Part D into the plastic bushings Part C after you press the bushings into the holes that you have drilled is really important. You need to bear down hard on the screws and make sure that you turn them all the way in as far as possible. Do all three at once. Then, when you remove the screws do it quickly and then press the footrest assembly into place right away and use a rubber mallet or some non-marring tool to tap the footrest fully down onto the carpet surface.
What I suspect was happening was that the screws expanded the bushing but once you removed them, the plastic starts to spring back pretty quickly making inserting the studs more difficult. In other words, it seemed like the screws did not permanently expand and anchor the bushings into the Styrofoam. It feels pretty secure but I guess time will tell.
Thanks Dwight, good tip there.
Still waiting delivery of mine, has been seven weeks now, maybe it was lost in transit!
I installed the factory footrest in my new F Type today. One of the first things I discovered when making a pilot hole on the carpet with an awl is that the material under the carpet is just molded Styrofoam. So drilling per the instructions was no problem at all. One of those little Harbor Freight LED flashlights that are always on sale or given away free with a coupon came in really handy so that I could see what I was doing as it is dark down there in the footwell even in an open and well lit garage.
One tip I will share is that the instructions about screwing Part D into the plastic bushings Part C after you press the bushings into the holes that you have drilled is really important. You need to bear down hard on the screws and make sure that you turn them all the way in as far as possible. Do all three at once. Then, when you remove the screws do it quickly and then press the footrest assembly into place right away and use a rubber mallet or some non-marring tool to tap the footrest fully down onto the carpet surface.
What I suspect was happening was that the screws expanded the bushing but once you removed them, the plastic starts to spring back pretty quickly making inserting the studs more difficult. In other words, it seemed like the screws did not permanently expand and anchor the bushings into the Styrofoam. It feels pretty secure but I guess time will tell.
I just installed mine that I received from Rimmer. I would say you described the install exactly the way mine went. It is secure but making sure the inserts are fully inserted before final assembly is wise.
Thanks Dwight, good tip there.
Still waiting delivery of mine, has been seven weeks now, maybe it was lost in transit!
The footrest finally rolled up this morning so I thought I would spend a few minutes installing it.
Ha, try around 3 hours including time out for rests, drinks and ponderings!
Three main problems:
1. It was damn near impossible to get all three drill holes perfectly positioned / lined up (see 3.). I tried half a dozen markers, screwdrivers etc and nothing made a mark I could clearly see. So I drilled as accurately as I could but it turned out not to be accurate enough.
2. It was a real PITA getting the screws to fully seat, the effing things simply did NOT want to screw in. I ended up hammering them in 90% of the way and only then would they screw right down tight. Of course trying to hammer the top screw where there is almost zero room was fun - NOT!
3. Once I finally got all three receptacles seated nice and tight and the screws out would the damn prongs on the footrest go in - of course not! I could get two out of three in, either top and middle or bottom and middle (forget top and bottom, no chance) but no way was the third one going in, it was too far out of alignment.
In the end I went with bottom and middle and widened the top hole a bit to where the prong wanted to go once the bottom and middle prongs were in but left the plug out, that way the damn thing finally seated fully and sat flat and reasonably tight. Time will tell how well it stays put.
Bottom line - this is not an easy job for an old fart like me with failing eyesight and poor hand/eye coordination.
Sorry to hear it was a struggle to install for you. Good news is you made it happen!
OzXFR I feel your pain. The instructions indicated that the installation was a 20 minute job. Ha is right !
I marked the spots to drill by trying to poke a hole through the carpet dead center to the holes in the rubber piece. Of course the holes in the black carpet were about impossible to see even with good illumination in the footwell. I also struggled a bit getting all three threaded studs lined up with the plastic bushings. Looking at the metal piece, it appeared that the threaded studs were not all tack welded on perfectly perpendicular to the footrest plate but I didn't want to attempt to bend them.
Another issue was that I wanted the footrest to be all the way to the left side against the bulge in the floorboard (in a LHD car) so there wasn't much wiggle room to line up the studs while forcing the footrest towards the left side. With the help of a lot of 12 letter words and some contortions while kneeling on a pad and lying with my belly across the door sill, I eventually got it to seat properly.
And since I am an old fart too, I needed a couple of Advil afterwards. I'm sure glad that I will be able to do my own oil changes on my car with the help of a Mityvac and won't have to be crawling under it. As much as I enjoy working on my cars, age is starting to make itself known.
Thanks Dwight.
Speaking of feeling pain, I am stiff and sore all over this morning.
I think my days of working on the car other than simple things like oil changes are coming to an end!
Jaguar guides/instructions are some of the worst I have ever seen. Rarely do they use words...mostly just pictures, and you have to guess. What is laid out here makes 0 sense to me, and does not even seem relevant with the parts you have there.
My guess (and it is just that, as we are left to interpret cave drawings for instructions), is that you align the three holes, to the protruding bolts on the back of the metal piece, and you insert the grommets, but NOT the plastic crews. When you press the metal piece and associated 3 bolts into the plastic grommet rings, it would spread them out (like the plastic bolts would) and should secure it. I do not see any other way from what is pictured??
Also, you are fine to drill there, just do not go too deep (beyond the 15 mm indicated)
Good luck.
DC
PS...I put these on mine and have no issues...
I received the three pedals IDENTICAL to yours ($41.00 shipping incl.). After sliding the OEM brake pedal what I have is a steel pedal with a couple small holes.
Question: Did you predrill holes into each pedal? Did you secure with a machine screw and nut? Can you send a closeup of each, installed so that I can fab mine? Do not want to be cutting up my nice ride!
Thanks for your AWESOME guidance Sir. SPARKY
 05-18-2021, 07:57 PM