When you click on links to various merchants on this site and make a purchase, this can result in this site earning a commission. Affiliate programs and affiliations include, but are not limited to, the eBay Partner Network.
So last night I spent 10 mins changing the brake pads and 2.5 hours swearing at a little clip. There has to be a trick. I did the YouTube thing and either they do it off screen, probably to avoid having to bleep out all the profanity, or they film it from so far back, to be worthless. May as well give me the Podcast version.
Here's my method, feel free to critique:
Locate the 2 prongs first:
Then I used a clamp across the caliper to hold the face of the clip (the bit with the sticker on) in place.
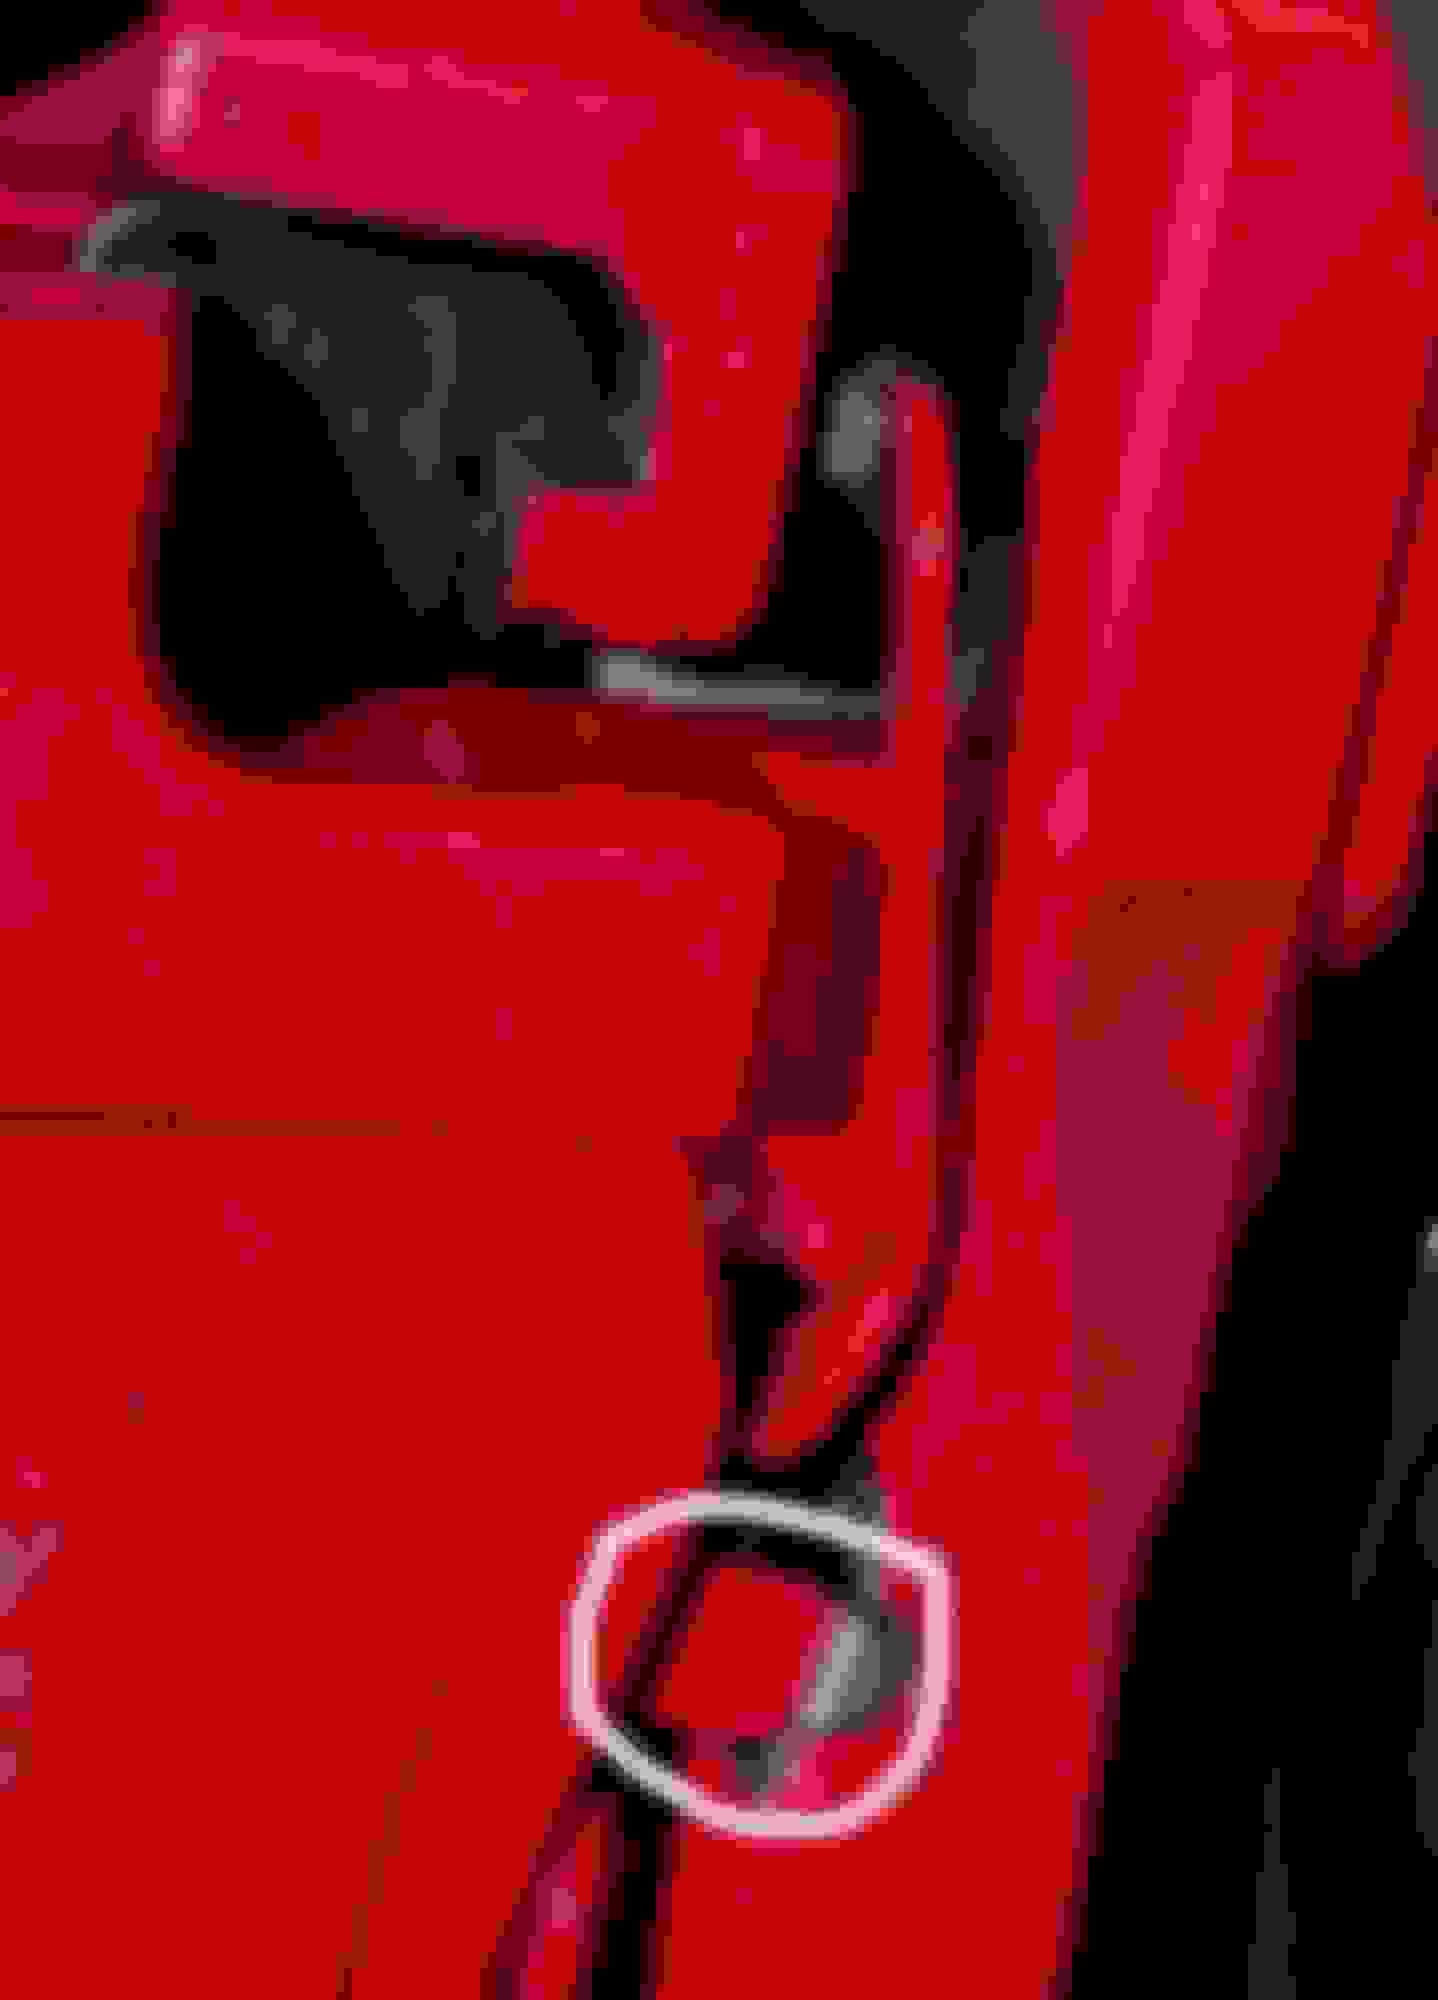
Using a combination of large screwdrivers and pliers, apply downward force on the ends of the arms (the two long spring bits), until face color matches that of the caliper. Neither end will seem to bend far enough to locate in place. Last night came to a sweary end, as the little metal clip on the end of one of the prongs, freed itself under force and went airborne, never to be seen again. This bit:
Any ideas before somebody loses an eye?
Good reference. Putting the clip back on is at 12:00.
That looked way too easy. Something must be up with mine and warrants a closer look. I was doing the exact same thing but there was no way either of the arms could be levered into place like that, it was requiring 10x the leverage. I�m wondering if they aren�t bent or twisted in some way. I�ll inspect tonight.
OK, my method, honed after dozens of attempts over many hours, piles of little clips falling off and pinging all over the garage and thousands of expletives:
1. If one or both of the central little bright metal clips on the bracket (first pic) come off and disappear don't sweat it, I ran my XFR front brakes without them for years with zero problems. But best if you can find and replace it/them.
2. If one or both of the little clips come off the end of the springy bit then you gotta find it/them and refit as the clip won't work properly without it/them - not enough tension. Easy peasy to slip back on then squeeze shut/tight with some pliers, although the little blighters tend to keep falling off again until you get "the knack".
3. My method involves zero clamps or zip ties although it does help to have a third hand or a helper if you don't have a third hand.
4. Offer up the clip to the caliper so that the body of the clip is sitting about 1 cm low/inside of it's final "locked" position.
5. While pushing/holding the clip firmly against the caliper manoeuvre each "foot" into place. You can juuuust do this by hand on your lonesome but the first few times you try as soon as you attempt to put the second end in place the first end pops out and/or one (or both) of the end clips falls off. Keep persevering and you will get there.
6. Now comes the hardest part - grab a very large flat head screwdriver, and while pressing both "feet" in as hard as you can with the thumb and forefinger of one hand, use the screwdriver to lever under the very centre of the edge of the central part of the clip (up against the bracket) to lever the clip "up and in" to it's final "locked in position" place. You need to lever it up about 1 cm then push it back towards the caliper as hard as you can. Once firmly in place give it some light taps with the butt of the screwdriver to push it flat against the caliper. The most important thing is to keep pressure on those pesky feet while you lever otherwise one or both will spring out and you are back to square one, and this is where a third hand or helper comes in handy. The second most important thing is you need to lever HARD with a nice big screwdriver otherwise the central part of the spring won't clear the bracket and seat properly.
7. If you have painted your calipers you may need to touch up some spots, especially right in the middle of the edge of the bracket where you levered against with the screwdriver.
Thanks OZ. I will give that a try tomorrow. I spent the first half of the evening looking for the clip off the end, and the other half fabricating a new one.
I remember using a number of "magic words" I learned in my days wrenching professionally, and that I ended up with some scratches on the red paint. That's seriously bad form on someone else's car, let alone your own, but was unable to achieve satori in this venture. I figured if I had to do it again I'd fabricate some sort of tool to facilitate, but I'm in no hurry to repeat the process.
Nah, he's doing it the hard way still in the video.
The method OzXFR suggested is the best one, although I use a round-headed tool not a sharp one.
1. Put both the end clips in, leaving the center clip sticking over the edge (so it has slack)
2. Position the center clip over that silver slide clip
3. Wrap a phillips screwdriver tip in a rag (to avoid scratches)
4. Push the center clip up and in with the wrapped screwdriver tip
I'll make a video eventually, but it's much easier this way than trying to press the sides in while the center is already engaged.
Worked a treat. Held the spring arms in place with a couple of cable ties, then just eased the feet/tangs up and into their locating holes. No drama.
Update to my earlier post (post #8).
Yesterday I had a bright idea - apply lots of brake grease to the backs and ends of the front brake pads to hopefully cure the incessant brake "graunch" just as the car comes to a stop with gentle braking and cold brakes (eg peak hour traffic). This has bugged me for years and was really bad with the stock pads and rotors but still there with after market rotors and pads, and I just read elsewhere that slathering brake grease onto the backs and ends of the pads often works to cure this problem.
So far so good, no more graunch, but who knows if or how long it will stay that way.
I had the usual hassles refitting the RHS anti-rattle clip but got there after about 10 minutes, but could I refit the LHS clip, no way!
The damn thing simply would not co-operate despite my previous blather about having worked out the best method and "the knack". After around 20 minutes and countless expletives I thought "nothing to lose, time to try the zip method suggested by others".
Bingo, it worked a charm!
I was 99% sure it wouldn't work and one or more of the pesky "feet" would just spring out as soon as I levered away on the centre of the spring but I was so wrong, the zip ties held those feet in no worries and the centre plate levered up into place real easy.
So I will use the zip tie method every time from now on.
 05-11-2021, 12:34 PM