When you click on links to various merchants on this site and make a purchase, this can result in this site earning a commission. Affiliate programs and affiliations include, but are not limited to, the eBay Partner Network.
Finally getting a chance to swap mine. I have one front done. Tips for the spring came in handy, but I didn't see that anyone had trouble actually removing the rotor once everything was out of the way. I needed to heat the center of the OEM rotor with a propane torch to get it to free up. The passenger side came loose but the driver's side is being quite stubborn. I'll get back to it in the morning. For now, I think my malaria is acting up, so some quinine water is needed. With gin, to help it go down, and lime, or course, to prevent scurvy.
"If you haven't got your health, you haven't got anything." -- Count Rugen
Sometimes a rotor can be stuck hard to the hub, usually rusted on.
I have found that a good whack on the back of the rotor with a heavy hammer usually does the trick, with a folded cloth for protection if you don't want to damage the rotor.
Are you sure you have removed the (usually two) little screw on screw off washers on the lugs that are used as rotor retainers?
Yes, stuck to the hub by rust, even though I'm in California and we don't know what winter is here.
I removed the washers (two) before trying anything, and was giving it medium-hard persuasion with an old friend of mine, a copper-faced mallet. Penetrating oil and some heat worked on the first, but the second was more stubborn. I'll see what tomorrow morning brings. I might up the ante to my 48 oz. engineers hammer, but I hope I don't have to.
Yep, you will probably need the big *****!
Also, don't forget to clean up the hub face as best you can before you fit the new rotor.
The big ***** is the ten pounder, but it's a little unwieldy in a fender well. I'm hoping the penetrant will have worked its magic by morning. I'd like to finish all four wheels by lunch time so I can goof off in the afternoon (including a drive).
The big ***** is the ten pounder, but it's a little unwieldy in a fender well. I'm hoping the penetrant will have worked its magic by morning. I'd like to finish all four wheels by lunch time so I can goof off in the afternoon (including a drive).
Hammering on the face side of the rotor (near the center) with a 2 pound ball-peen will also break the rust. Just keep tapping away at it. Usually less destructive than coming from the backside with much larger persuasion.
Hammering on the face side of the rotor (near the center) with a 2 pound ball-peen will also break the rust. Just keep tapping away at it. Usually less destructive than coming from the backside with much larger persuasion.
I'll add that to my list of things to try. Impact closer to the point where it's stuck is always more effective. It really just needs to be enough that the penetrant gets in breaks the grip.
Got the brakes done, and holy smokes, those front rotors are heavy. The rears too, but crikey.
Only had time to road test and bed in, although I did get them a little too hot too soon and overcooked a turn. Nothing serious, just didn't get the line I was aiming for, and had a brief moment of "this isn't what I want." I can't say how they'll be after a few miles, but it seems like the low-pressure grabbiness is gone. Need some more miles before I can give a better review.
Hey guys. I have a question. My Porterfield pads and wortec rotors unfortunately didnt bed properly. I followed the bed in procedure but it didn't seem to take. I'm thinking about going back to OEM pads and do the slow bedding in procedure by driving gentle over 500 miles. However the mechanic is claiming my wortec rotors were over heated and therefore warped and suggesting a brand new set of rotors. How do I confirm this is the case? They feel flat to my finger but that's not very scientific. What do you guys suggest?
Hey guys. I have a question. My Porterfield pads and wortec rotors unfortunately didnt bed properly. I followed the bed in procedure but it didn't seem to take. I'm thinking about going back to OEM pads and do the slow bedding in procedure by driving gentle over 500 miles. However the mechanic is claiming my wortec rotors were over heated and therefore warped and suggesting a brand new set of rotors. How do I confirm this is the case? They feel flat to my finger but that's not very scientific. What do you guys suggest?
Attach a magnetically mounted dial gauge to the caliper and measure the runout on the rotor as it's spun by hand.
You most probably have uneven pad material deposition rather than "warped" rotors, and if so you should be able to get the rotors skimmed/machined to remove the deposits, then try again with the bedding in procedure. Worth a try before springing for new rotors.
You most probably have uneven pad material deposition rather than "warped" rotors, and if so you should be able to get the rotors skimmed/machined to remove the deposits, then try again with the bedding in procedure. Worth a try before springing for new rotors.
+1.If your steering wheel isn't vibrating when you apply the brakes, they aren't warped.
When you say the bed-in procedure "didn't seem to take" what symptoms are you experiencing? I only put mine on over the weekend and seem to have got them a bit too hot at one point on the "test drive" but the only thing I'm noticing now is a bit more pedal effort than stock. That's what I wanted as I thought the stockers were a little too grabby at low speed, but I haven't tried any really hard braking since then. I need to do that to make sure I have confidence that they won't fade again. I'd rather not swap pads again. It was a bit of a pain, at least in the front.
When you say the bed-in procedure "didn't seem to take" what symptoms are you experiencing? I only put mine on over the weekend and seem to have got them a bit too hot at one point on the "test drive" but the only thing I'm noticing now is a bit more pedal effort than stock. That's what I wanted as I thought the stockers were a little too grabby at low speed, but I haven't tried any really hard braking since then. I need to do that to make sure I have confidence that they won't fade again. I'd rather not swap pads again. It was a bit of a pain, at least in the front.
It'll take about 500 miles of normal driving to properly bed the pads. Too many folks try to rush the process. Mine now requires the same pedal force as before without the initial grabiness of the OEM setup.
It'll take about 500 miles of normal driving to properly bed the pads. Too many folks try to rush the process. Mine now requires the same pedal force as before without the initial grabiness of the OEM setup.
I've been through this *lots* but was trying to follow a process I don't normally do, so perhaps got a bit off track. I'll see how they settle over the next week or so before really testing them.
As you know I have several thousand miles on my set now.
We bedded in the typical race car way, get out on track, several stops from 80-130mph down to 10-20mph, to turn the disc blue and to the point smoke was coming off, however that is just the quick way, just driving on them for several hundred miles will achieve similar results.
What I will say is now several thousand miles later, they do feel even better, I'd say this setup offers around 30% more braking power than the stock setup, there is a lot more confidence. I found the stock brakes after 70% brake pedal travel gave no more, so if you were slowing from over 100mph and were deep into the brakes and realised you needed more stopping and giving the pedal from 70-100% really yielded no extra stopping effort, in fact it was quite scary trying to stop from 190mph on the stock brakes, to the point I was braking 500 plus yards before I needed too.
Now on the new brakes I can slam on the anchors past the brake boards at over 190mph, ease into the pedal, ferocious stopping power around 70%, but then when I put the pedal to the floor the car really stops up, in fact even at high speed it is now possible to lock up and get ABS interaction, so the additional power and pedal modularity is in another league.
Also so far the brake pads and disc are showing no wear!
My steering wheel doesn't vibrate when braking, its smooth. The only thing that has me concerned is:
It takes a lot more effort to stop the car than before, it feels a bit slippery when I need to stop, a friends Corolla as more bite than my car now.
Brakes are WAY underpowered at full pedal application.
Squealing at low speed braking.
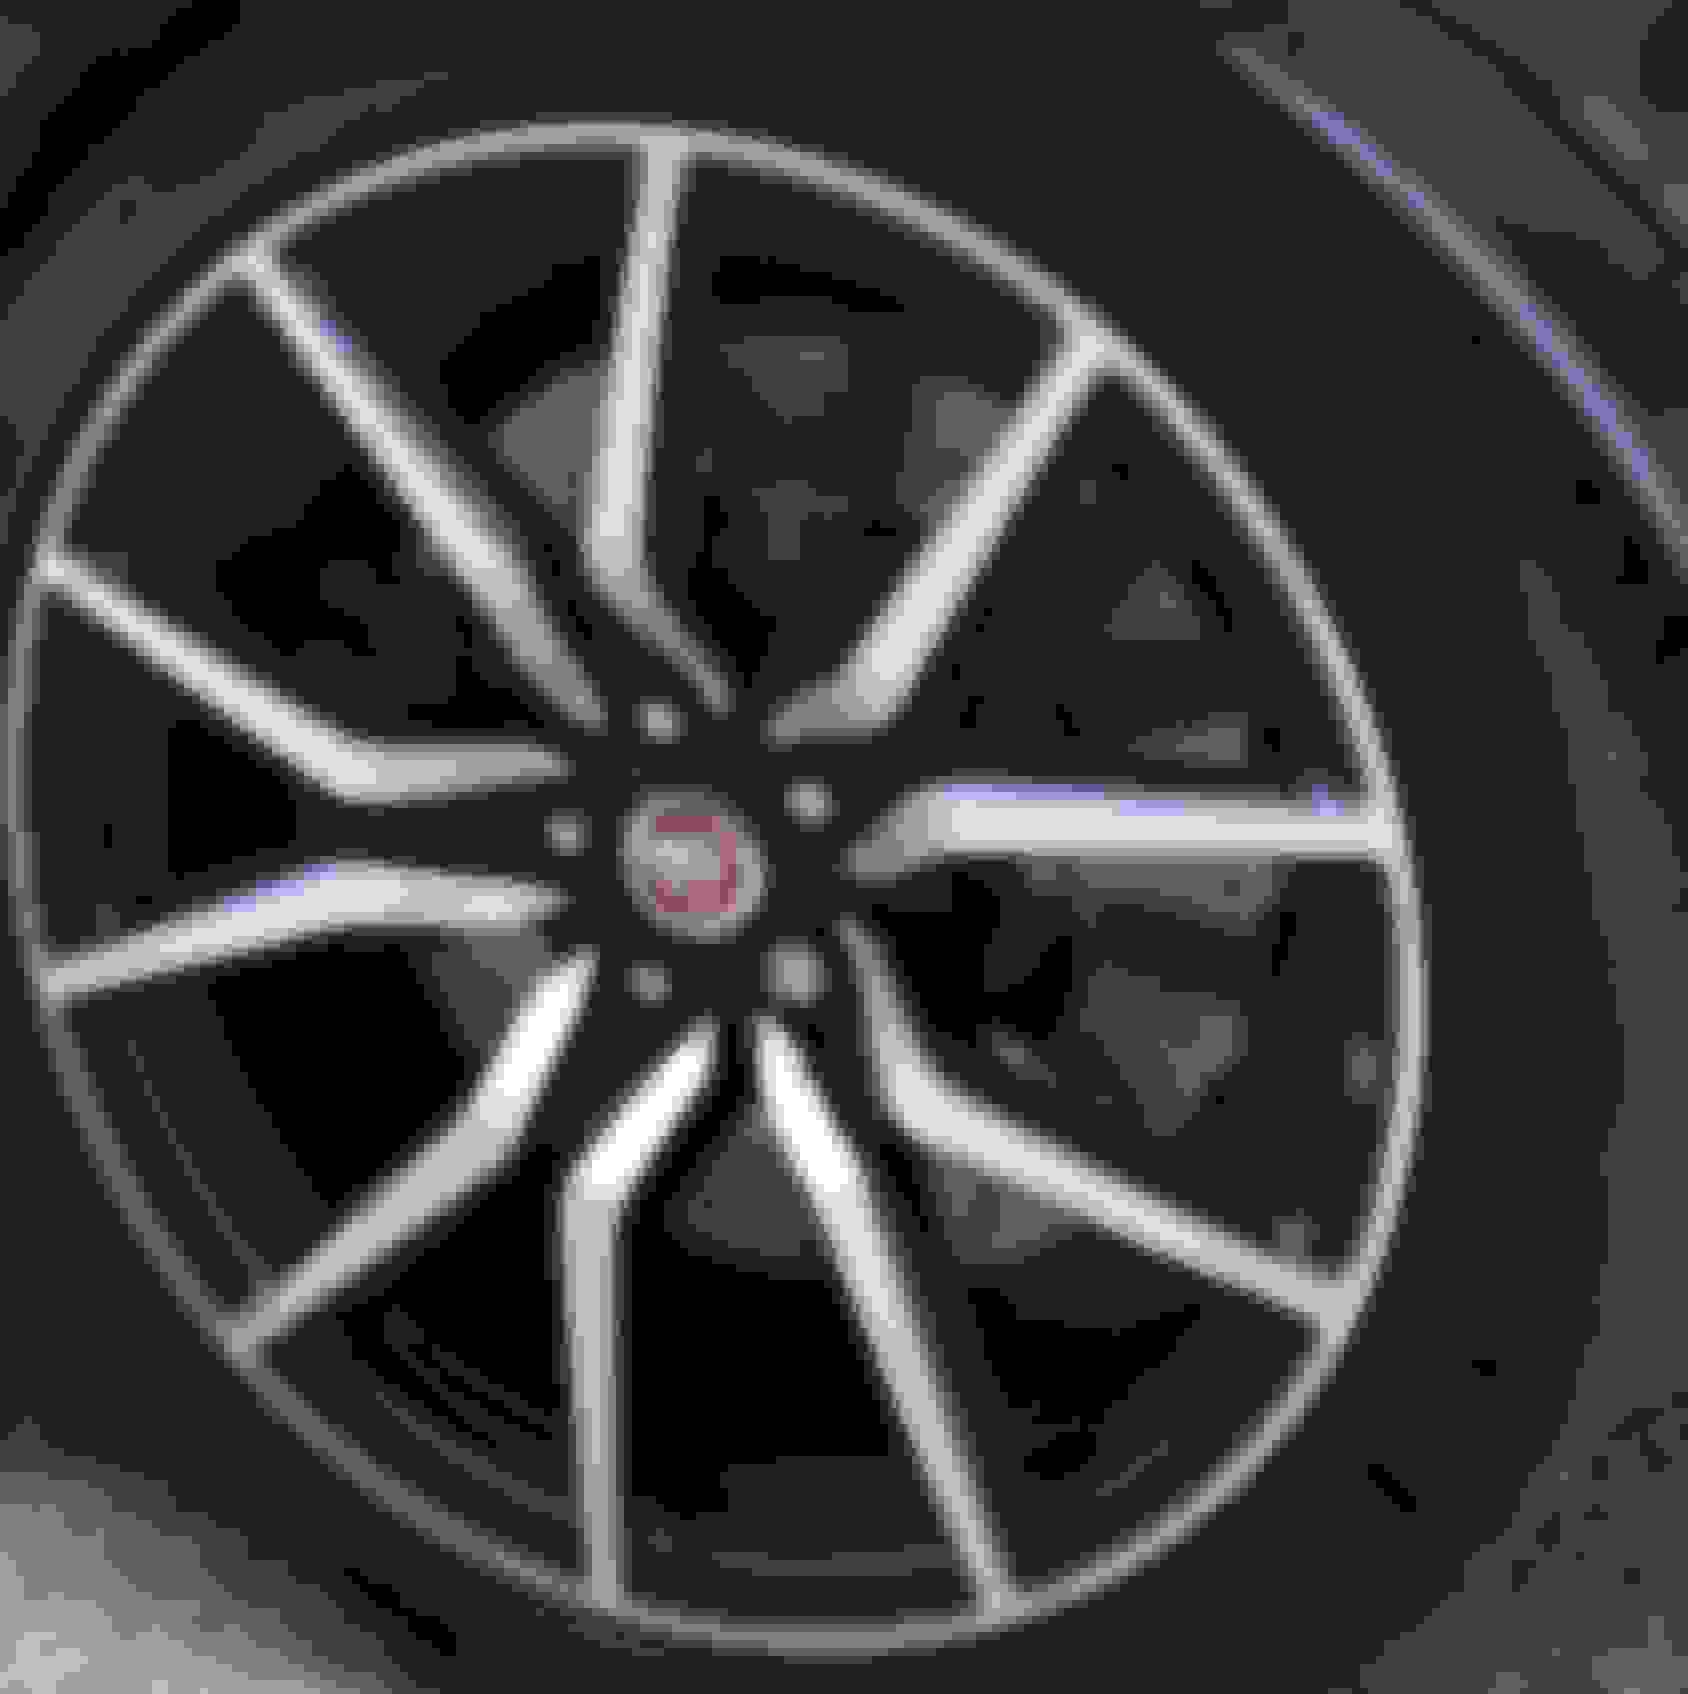
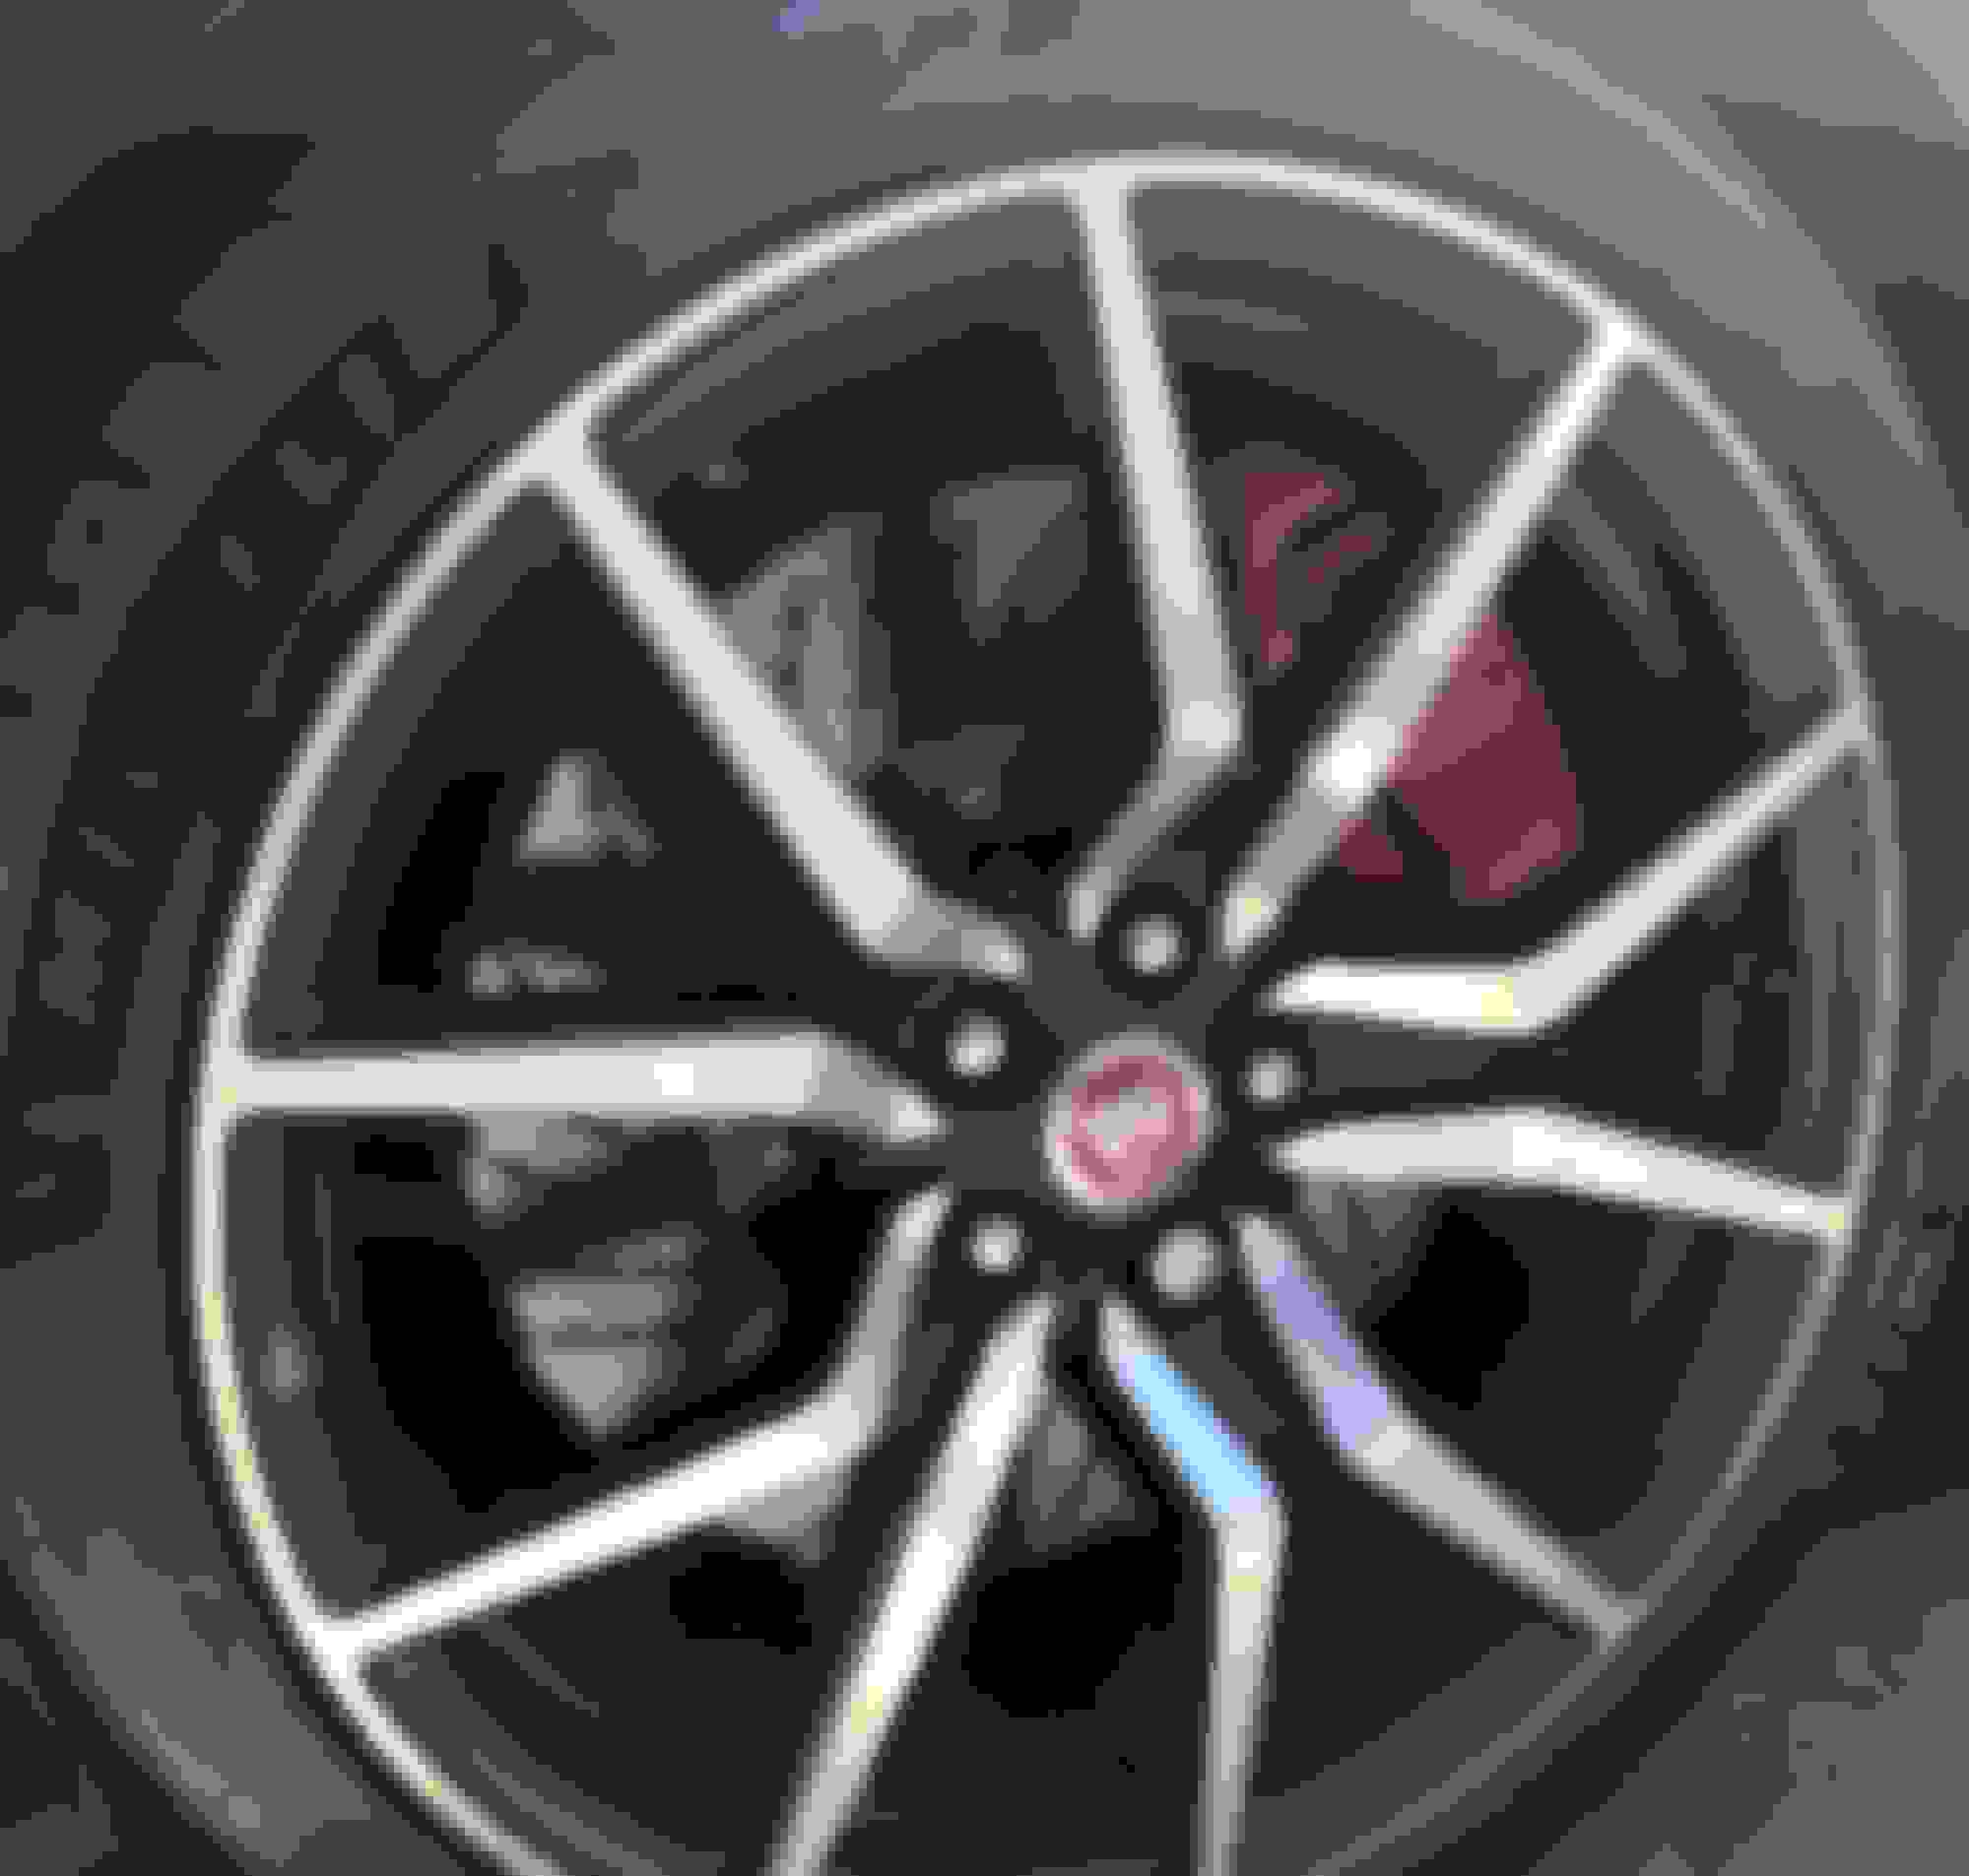
My guess is that the pads have crystalized, the rotors look completely fine and I don't even see any coloration on them. I have attached photos, but they are probably too low quality to see anything. I will take it to another brake shop here for a second opinion.
Why can't you pull the pads out yourself and check them?
Although I understand if you don't have the time/space/tools etc.
In the past I have deglazed pads simply by rubbing them on a concrete floor.
Why can't you pull the pads out yourself and check them?
Although I understand if you don't have the time/space/tools etc.
In the past I have deglazed pads simply by rubbing them on a concrete floor.
It's just a time thing. If i wait to get around to it myself, it will be months. The tech world is busy and the little time I do have to myself, I'd rather spend it driving than fixing :P
Why can't you pull the pads out yourself and check them?
Although I understand if you don't have the time/space/tools etc.
In the past I have deglazed pads simply by rubbing them on a concrete floor.
I've used 100 grit sandpaper laid down on a flat surface (only a bit more scientific). Either method works well.

 08-11-2018, 08:50 PM