F-Type ( X152 ) 2014 - Onwards
Sponsored by:
Sponsored by:

Koshi interior parts question

Thread Tools
 
Search this Thread
 
  #81  
Old 12-20-2021, 03:23 PM
datriani's Avatar
Senior Member
Join Date: Jan 2021
Location: Manassas
Posts: 393
Received 141 Likes on 78 Posts
Default

Originally Posted by gg2684
the tape you linked to did not hold up long term for me. I’ve been doing this stuff for a while and pretty well versed in preparation for adhesion etc. The authentic 3m VHB tape comes in a pretty thin and narrow size which I am going to use to re-apply the interior pieces. The clear stuff shown seemed great but a couple pieces just gave way randomly and without much use (I drive the car like 500 miles per year). If you have great luck with it, good on you, but it seemed fine for me until it didn’t - I would prefer not to have a piece fall off while opening the door etc or worse, have one fall off and break.

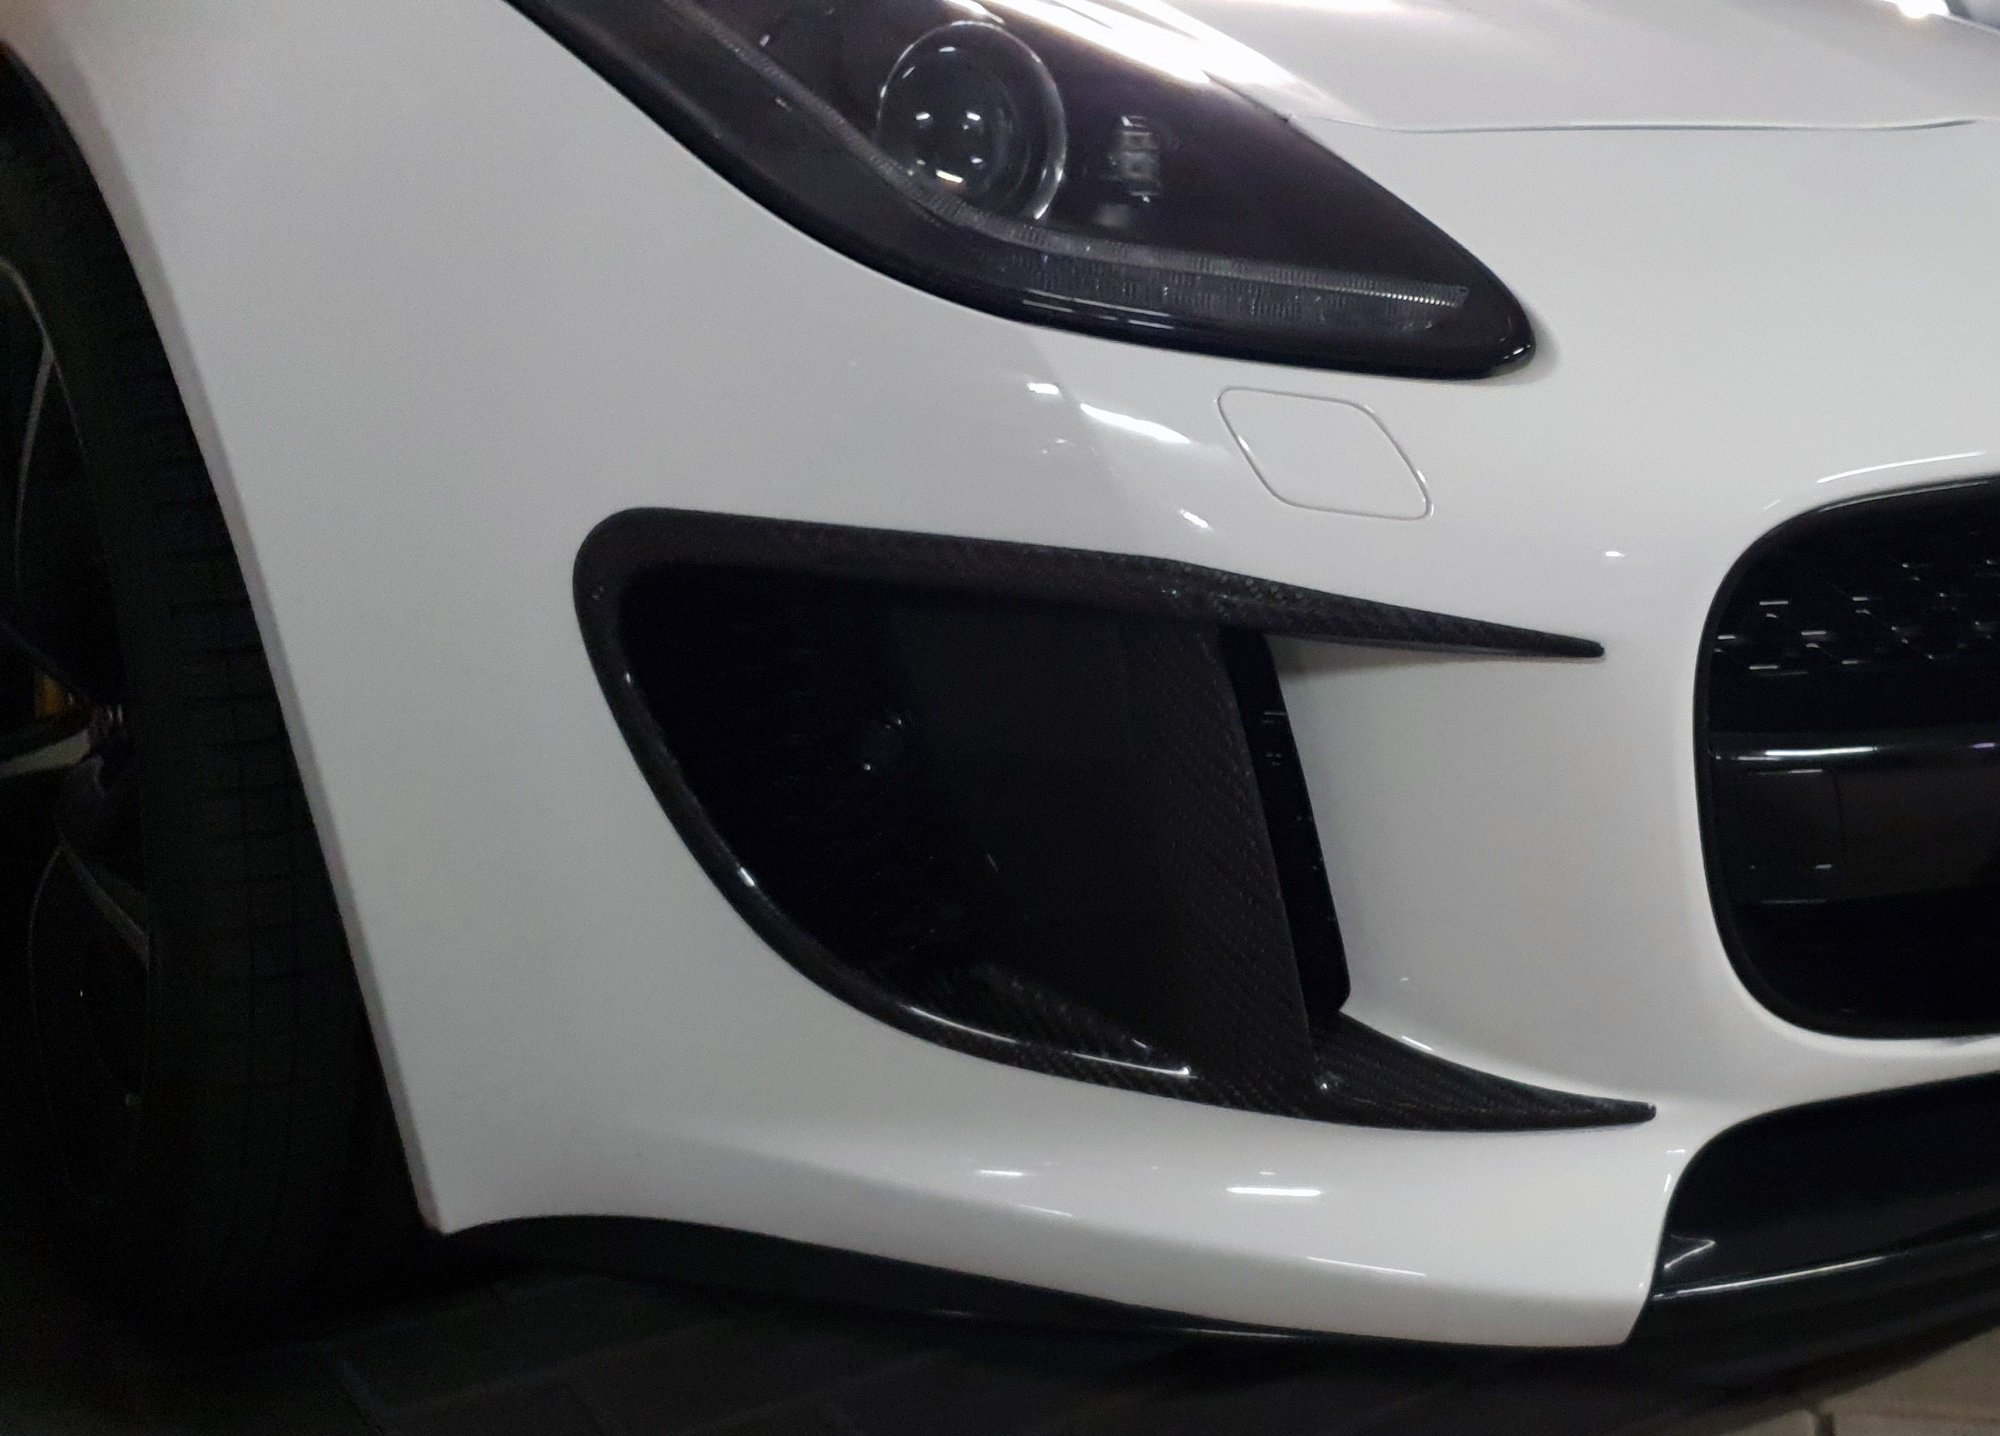
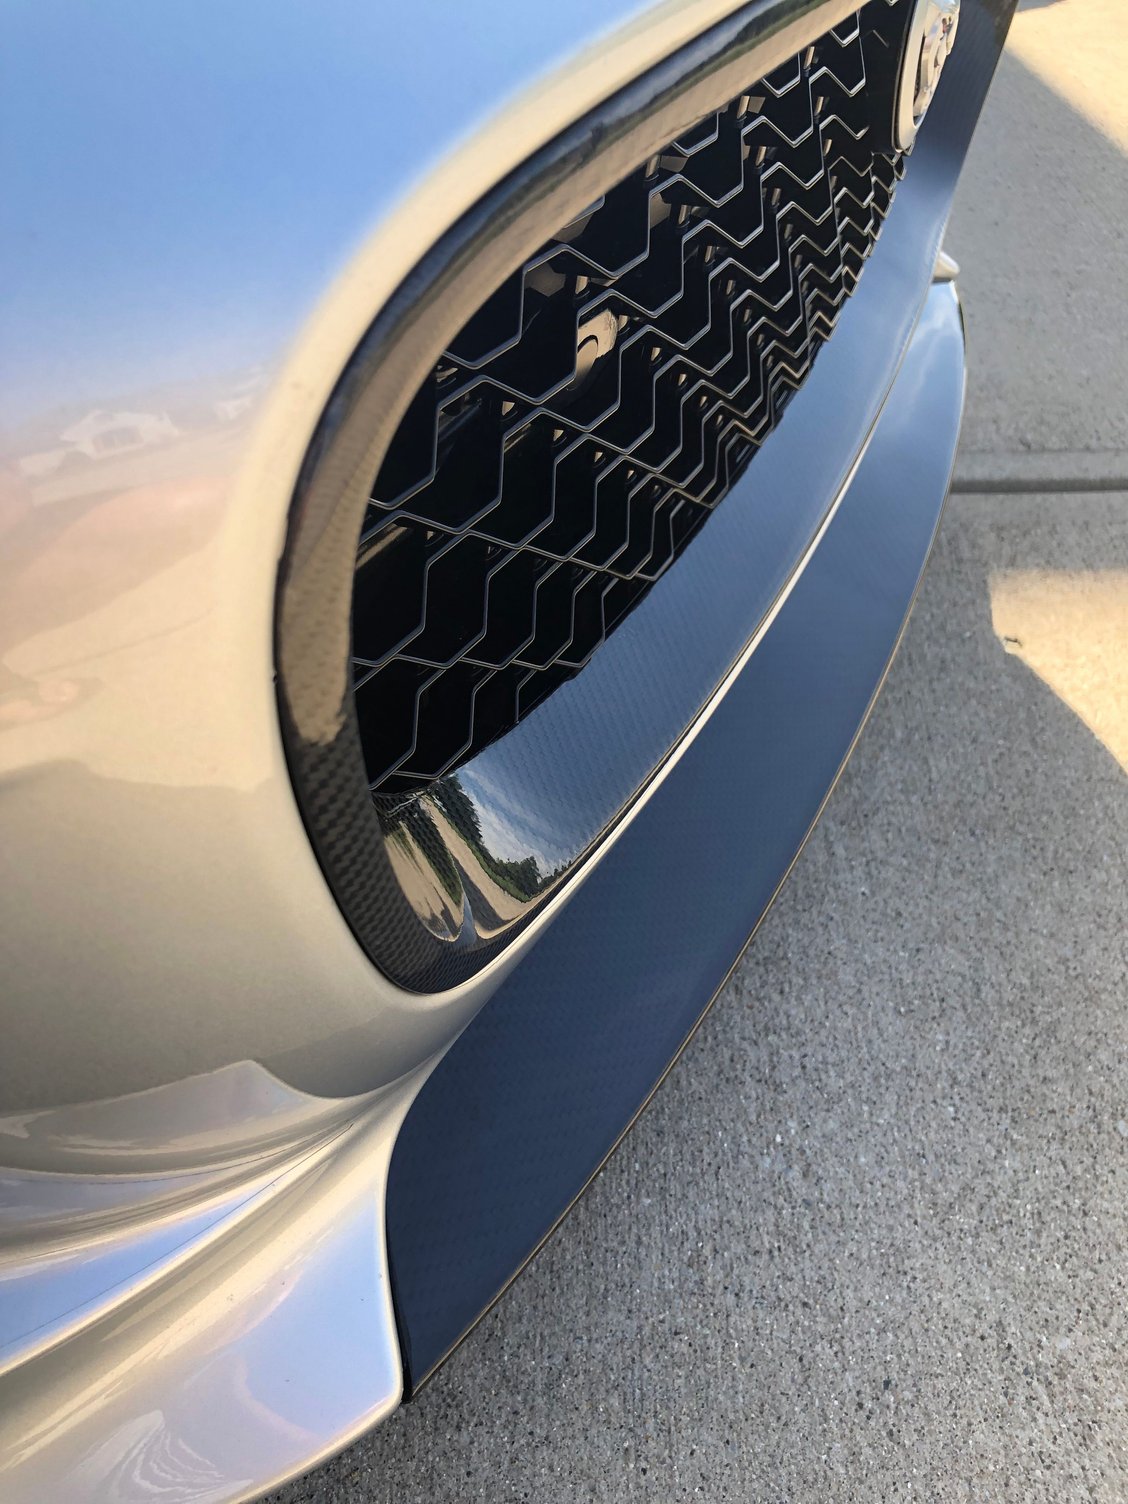
As far as the front splitter, I have that as well and I used 3m tape on the inner top and bottom portions of the carbon overlay which worked great - I also drilled two tiny holes so I could use screws underneath just in case - my Koshi lip has two predrilled holes. I also removed the whole bumper and the center black piece to ensure a good application and correct fit. Just note that the factory black piece will be permanently scratched once the Koshi piece goes over top. Takes time, but patience is rewarded.
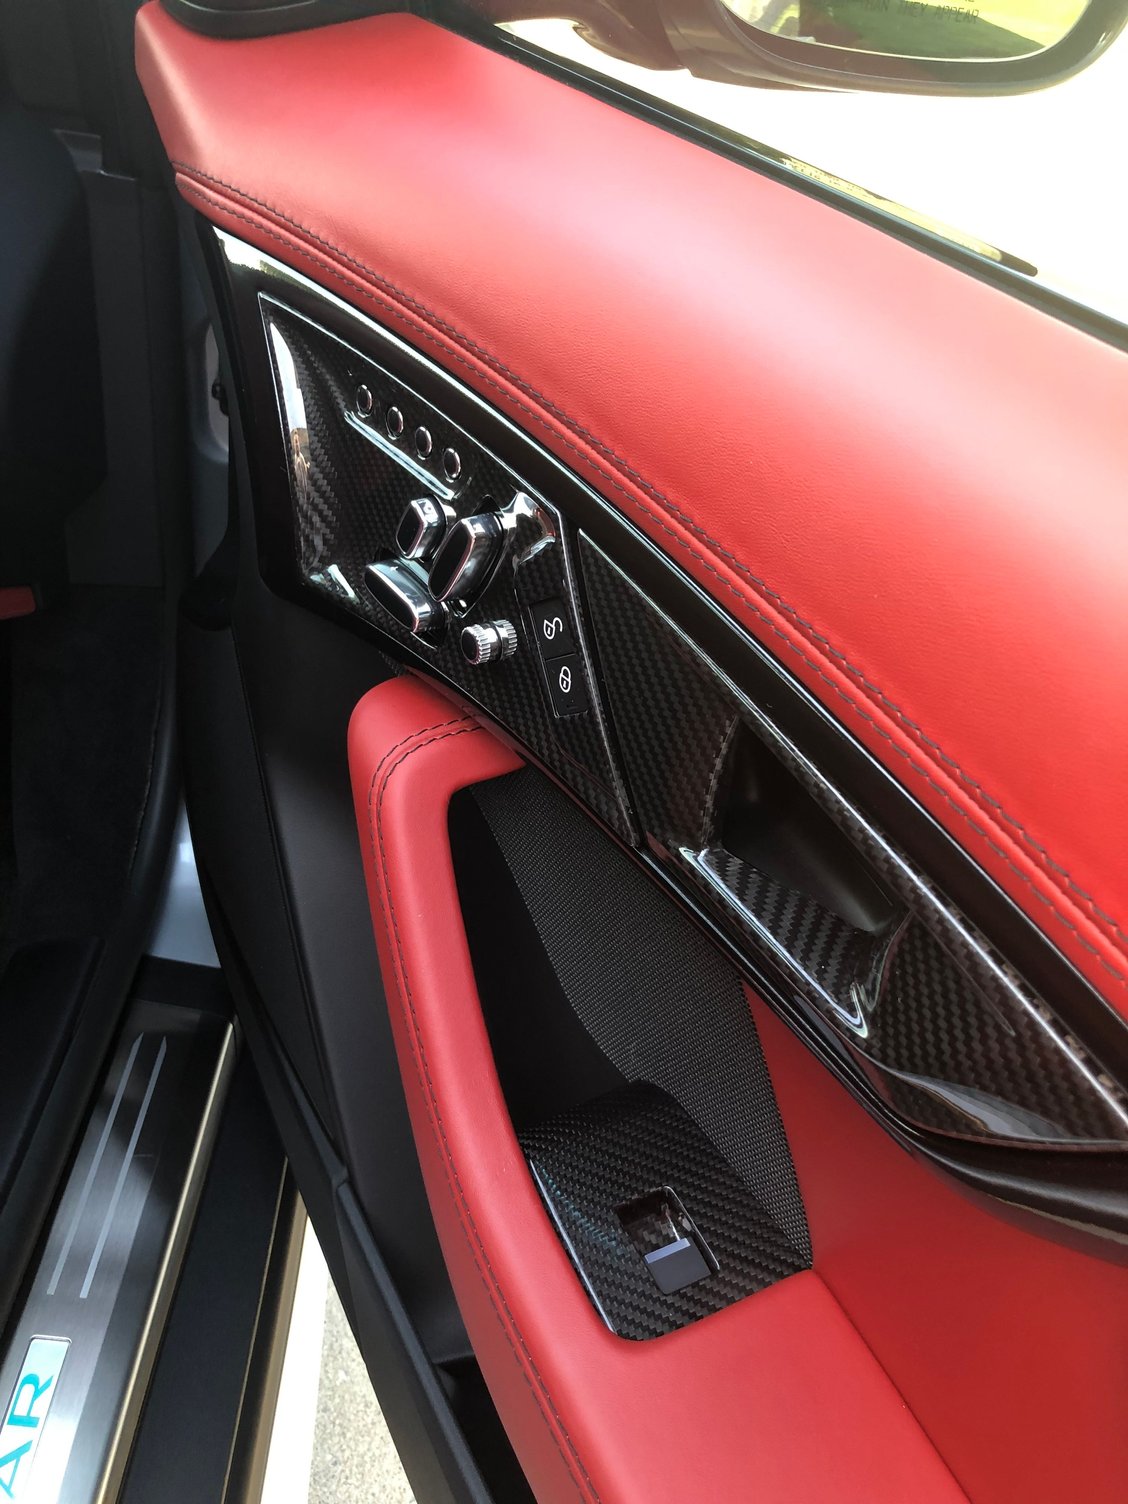
Thanks for the response and insight. That would be pretty embarrassing to have a part come off when a passenger grabs touches it. On a few of the parts I noticed that the contact wasn't so great so I doubled up on the double sided tape. Although the tape is thin, doubling it up really secures the contact. As mentioned, I used other 3M thicker double sided tape for a few pieces that had a bigger gap between the CF piece and the surface. A few pieces that don't automatically secure into place by design (door control cover and the piece right under the center AC Vent), I covered the backside and if needed cut out the edges and holes so that pretty much the entire underside is tape. I used a heat gun on it and it seems to be on there pretty well but time will tell. You're right about taking your time, definitely not something I want to randomly fall off.

Do you have any pics of your ride?
 
  #82  
Old 12-20-2021, 04:58 PM
gg2684's Avatar
Senior Member
Join Date: Aug 2018
Location: indianapolis
Posts: 654
Received 222 Likes on 165 Posts
Default

I bought various thicknesses of tape and did numerous test fittings to see where the deeper voids were. Takes a little time, but worth the peace of mind and yes, I would be horrified for someone to compliment the car and then have something fall off of it.
 
  #83  
Old 12-20-2021, 05:08 PM
gg2684's Avatar
Senior Member
Join Date: Aug 2018
Location: indianapolis
Posts: 654
Received 222 Likes on 165 Posts
Default

I don’t have photos of the completed work, I bought extra trim pieces to go around the seat controls etc and painted them paint black to match the carbon better, but I have to take the door cards off to install and I also bought extra vents and plan to remove the originals completely and replace with the carbon covered ones. I also have been working on a couple other cars more so the jag has been kicked to the curb for a bit. I will get my stuff together in the near future (hopefully) and get some photos.
 
  #84  
Old 12-21-2021, 04:46 AM
bcbruno's Avatar
Senior Member
Join Date: Jun 2020
Location: Rotterdam
Posts: 170
Received 84 Likes on 42 Posts
Default

Yes, photos please
 
  #85  
Old 03-19-2022, 06:46 PM
bcbruno's Avatar
Senior Member
Join Date: Jun 2020
Location: Rotterdam
Posts: 170
Received 84 Likes on 42 Posts
Default

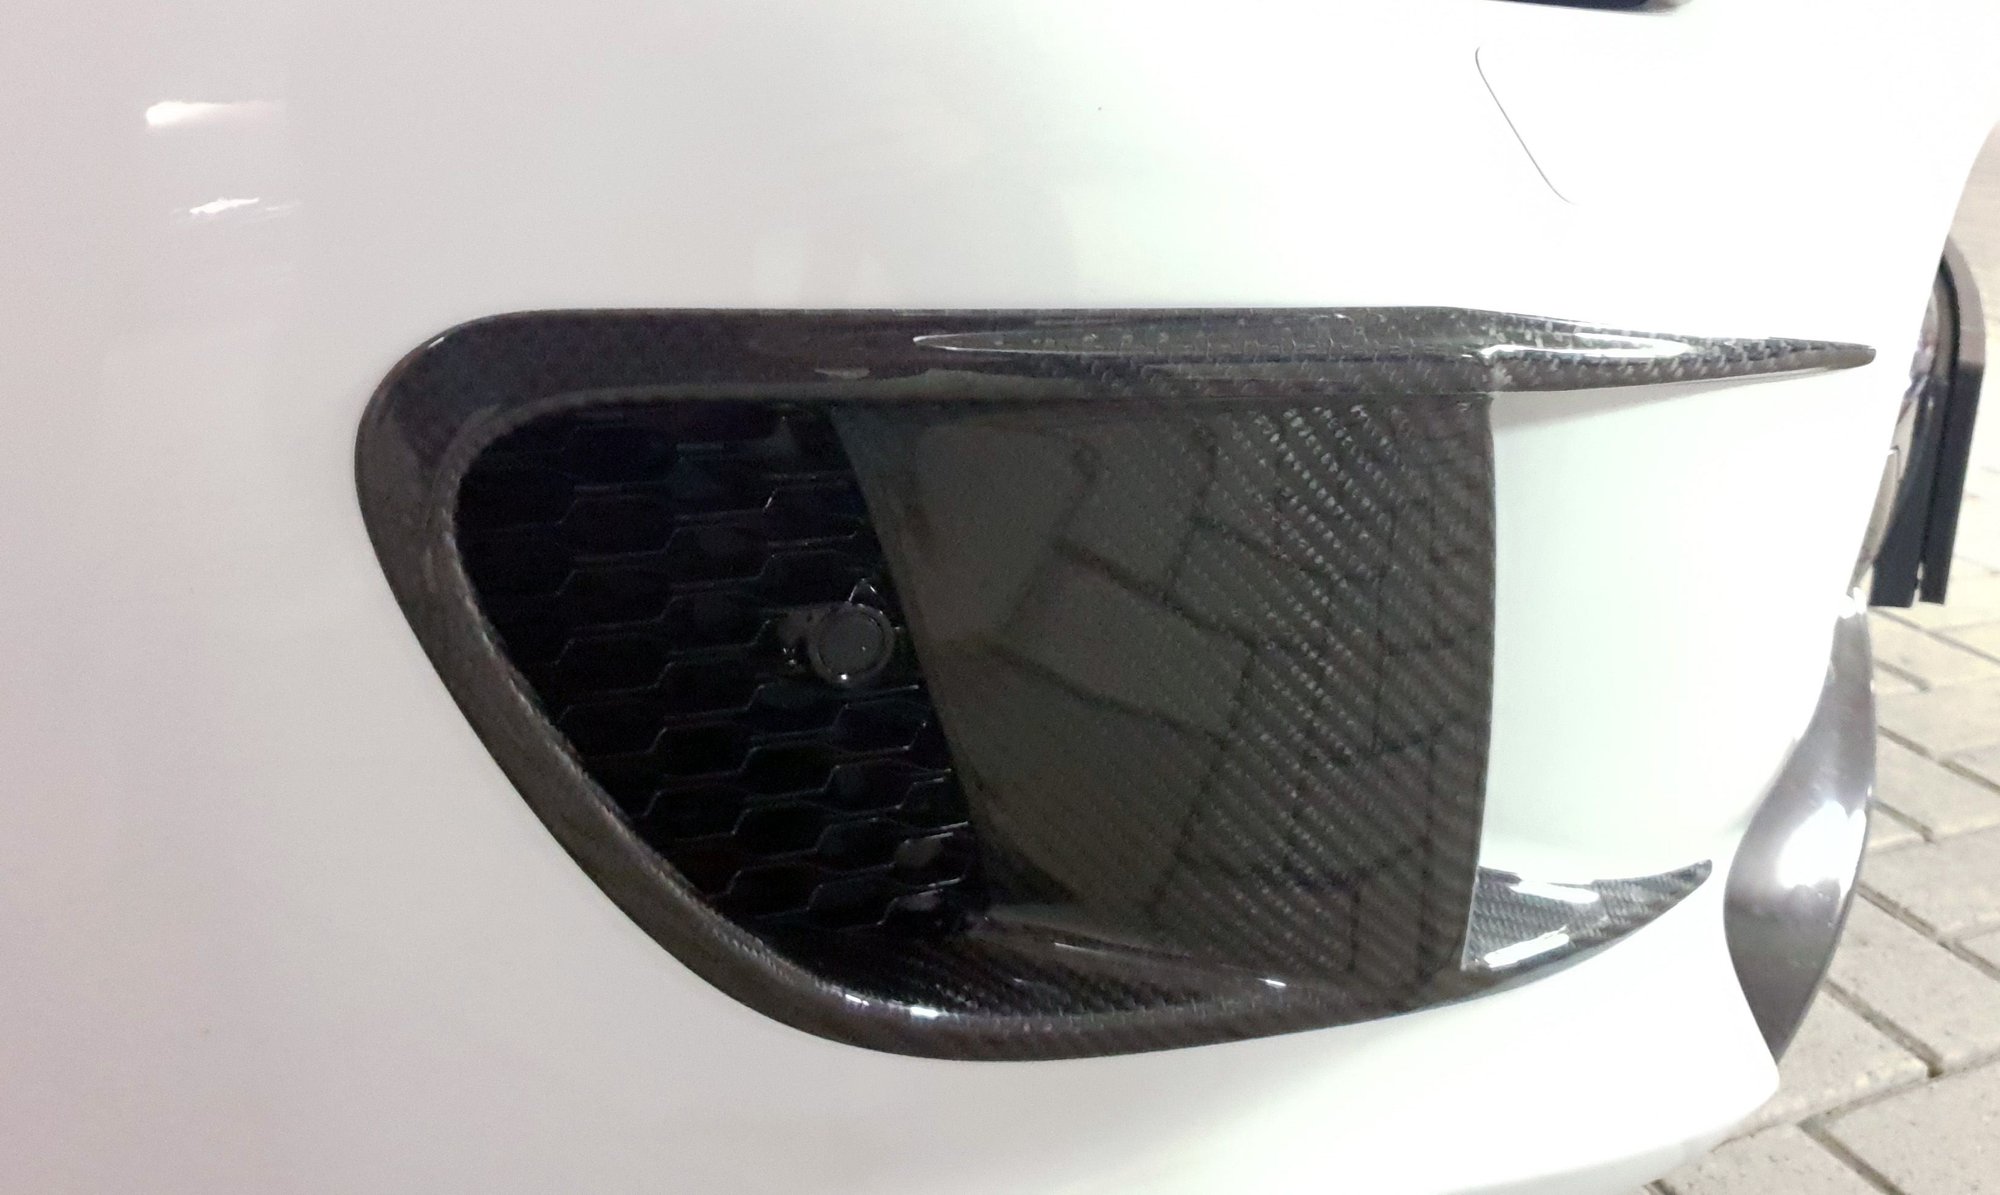
Fits like a glove


The following 3 users liked this post by bcbruno:
BruceTheQuail (03-20-2022), Jaguar1611 (03-21-2022), JgaXkr (03-20-2022)
  #86  
Old 03-19-2022, 08:29 PM
Craaaazzy's Avatar
Senior Member
Join Date: Nov 2020
Location: Georgia
Posts: 378
Received 133 Likes on 90 Posts
Default

Originally Posted by bcbruno
Fits like a glove
that looks pretty slick!
 
  #87  
Old 03-20-2022, 06:08 AM
BenFT's Avatar
Member
Join Date: Aug 2020
Location: Detroit
Posts: 44
Received 10 Likes on 7 Posts
Default

Goods great! How did you adhere the CF fascia to your car?
 
  #88  
Old 03-20-2022, 07:57 AM
bcbruno's Avatar
Senior Member
Join Date: Jun 2020
Location: Rotterdam
Posts: 170
Received 84 Likes on 42 Posts
Default

3M VHB 5952, i have different thickness, one i think is 0.5mm or less and 2mm for the gapped areas
 
  #89  
Old 06-04-2022, 08:04 PM
gg2684's Avatar
Senior Member
Join Date: Aug 2018
Location: indianapolis
Posts: 654
Received 222 Likes on 165 Posts
Default

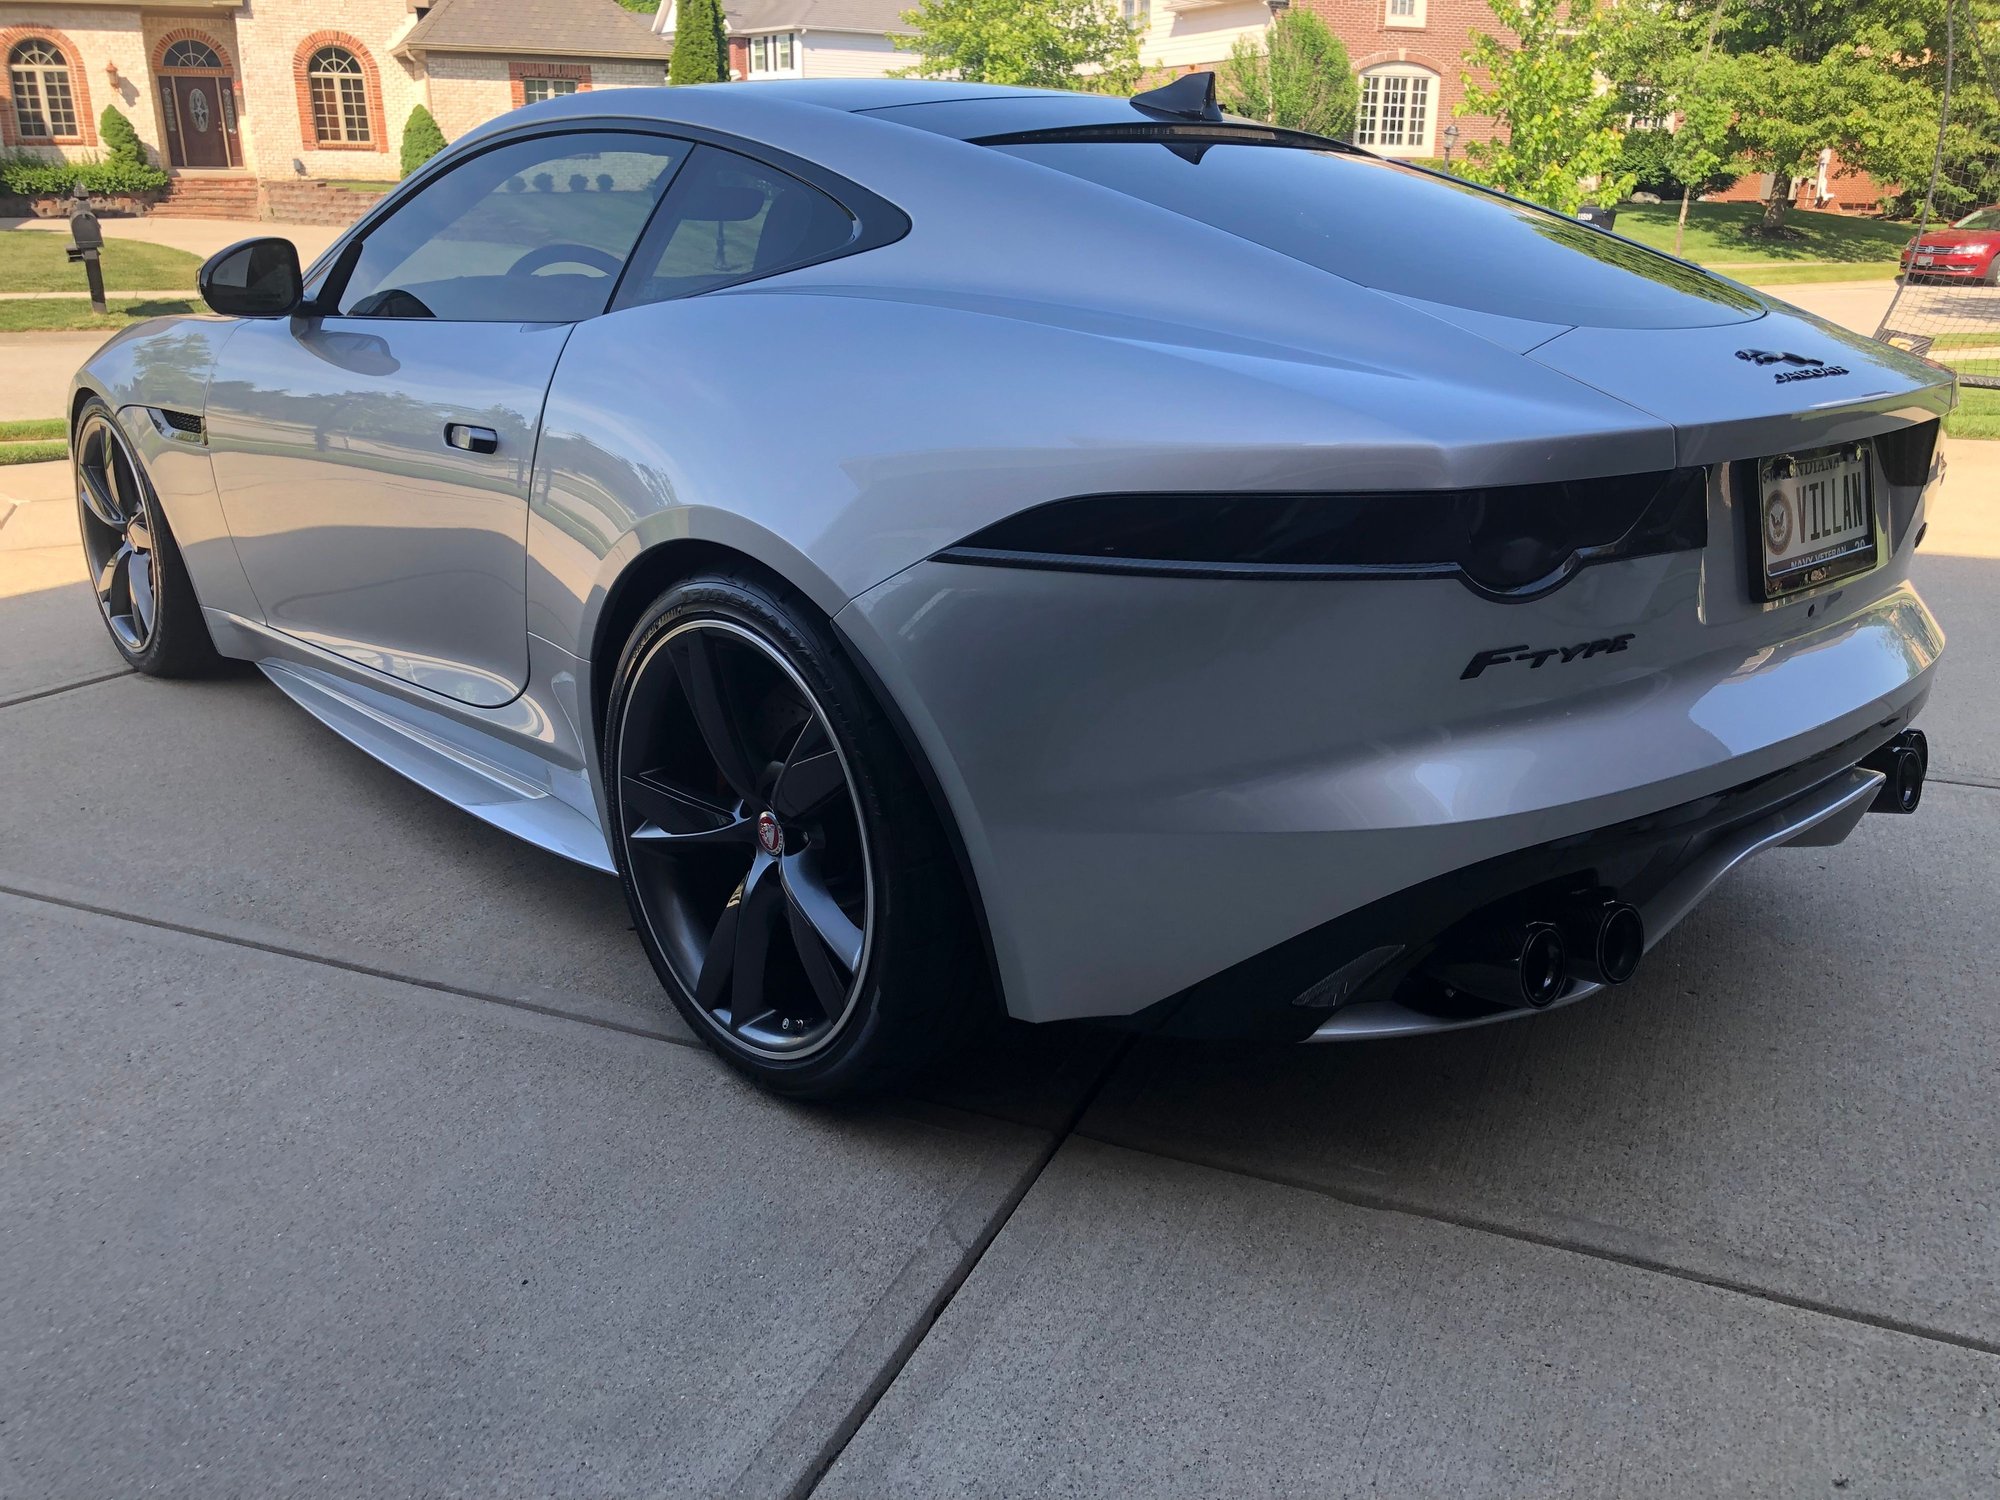
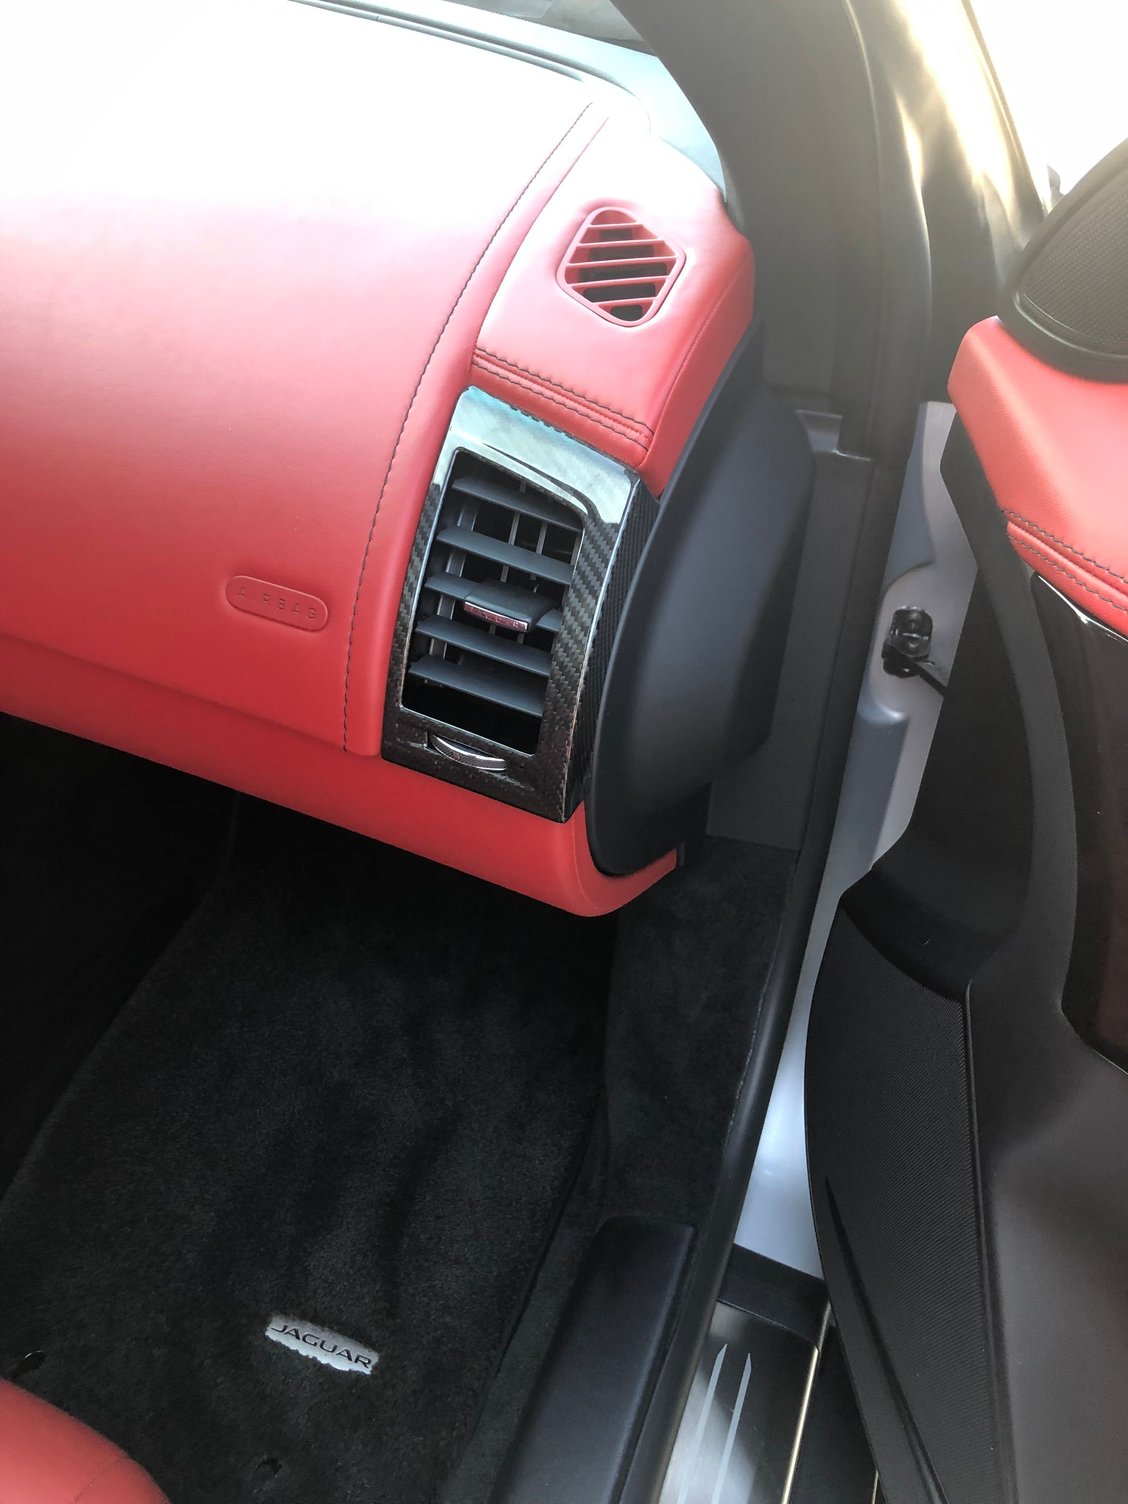
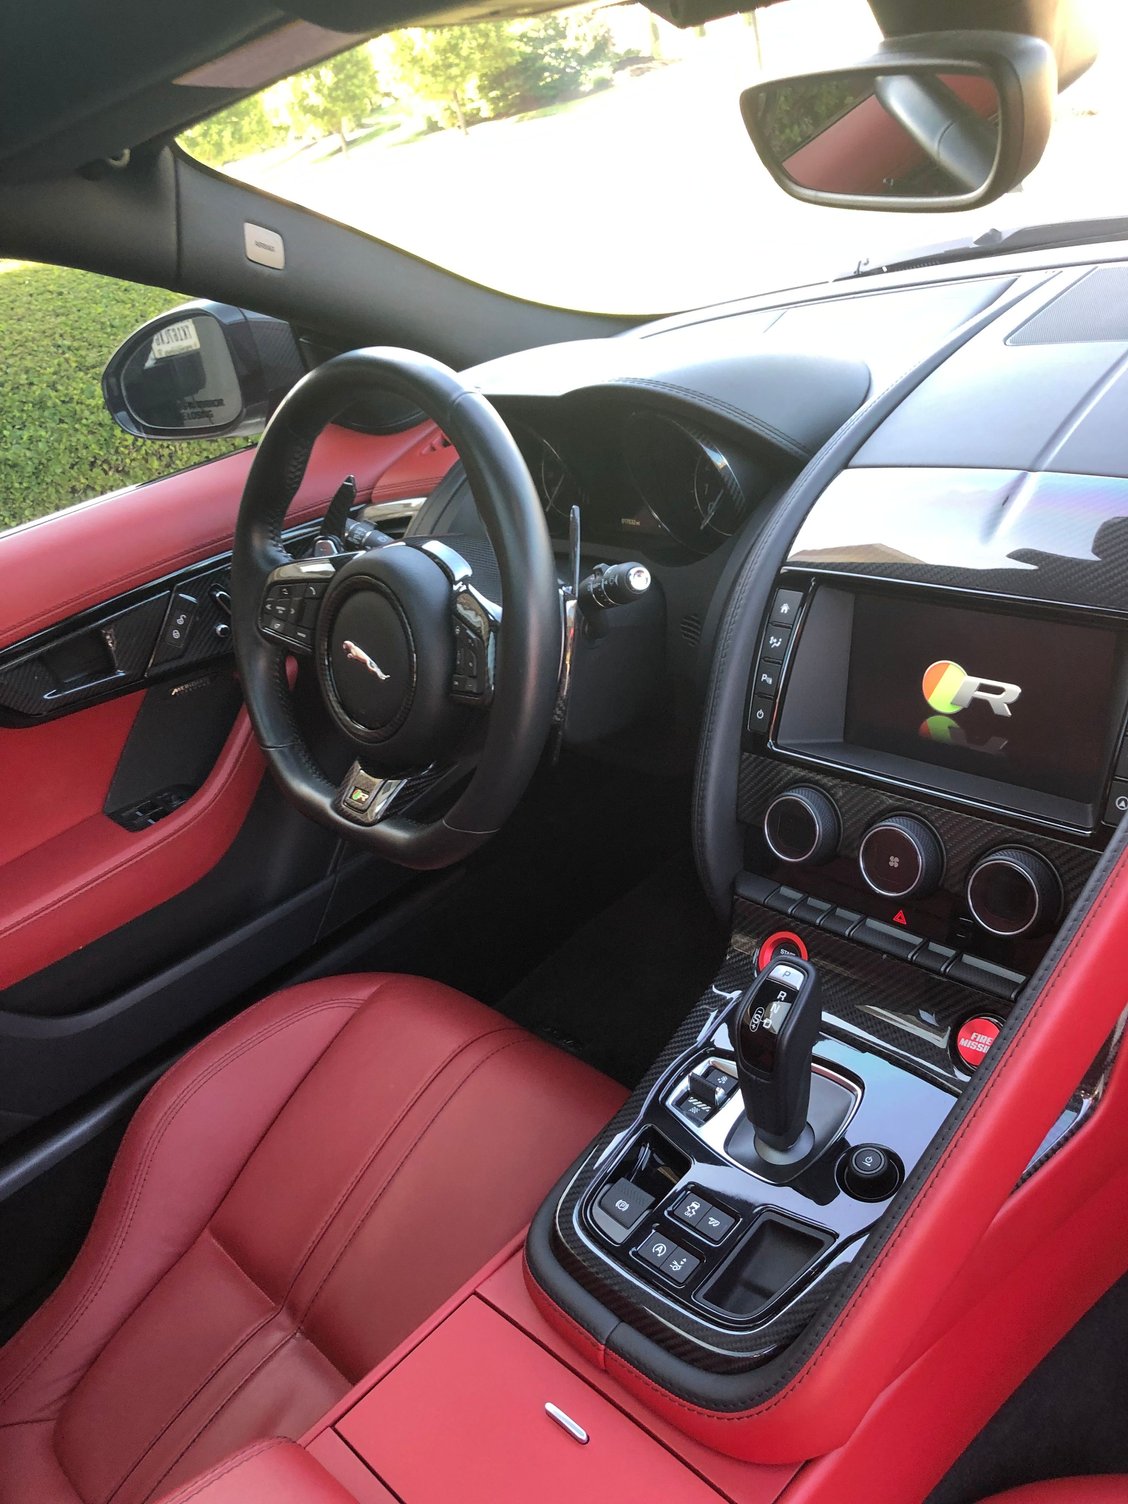
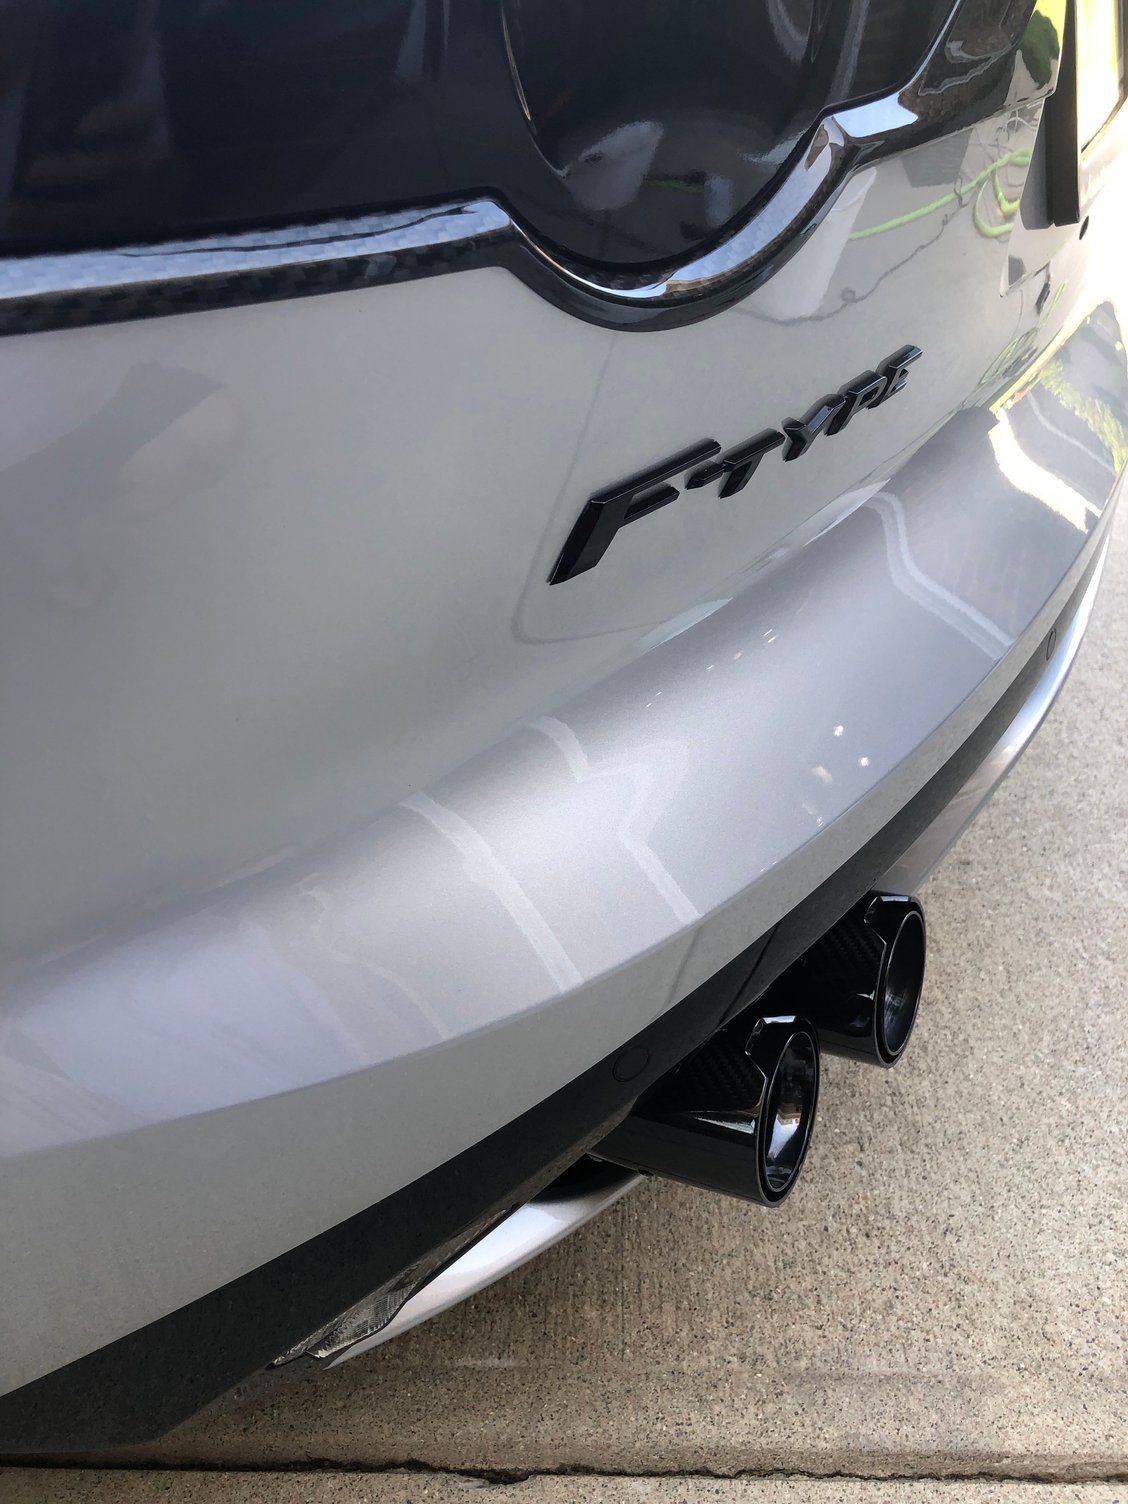
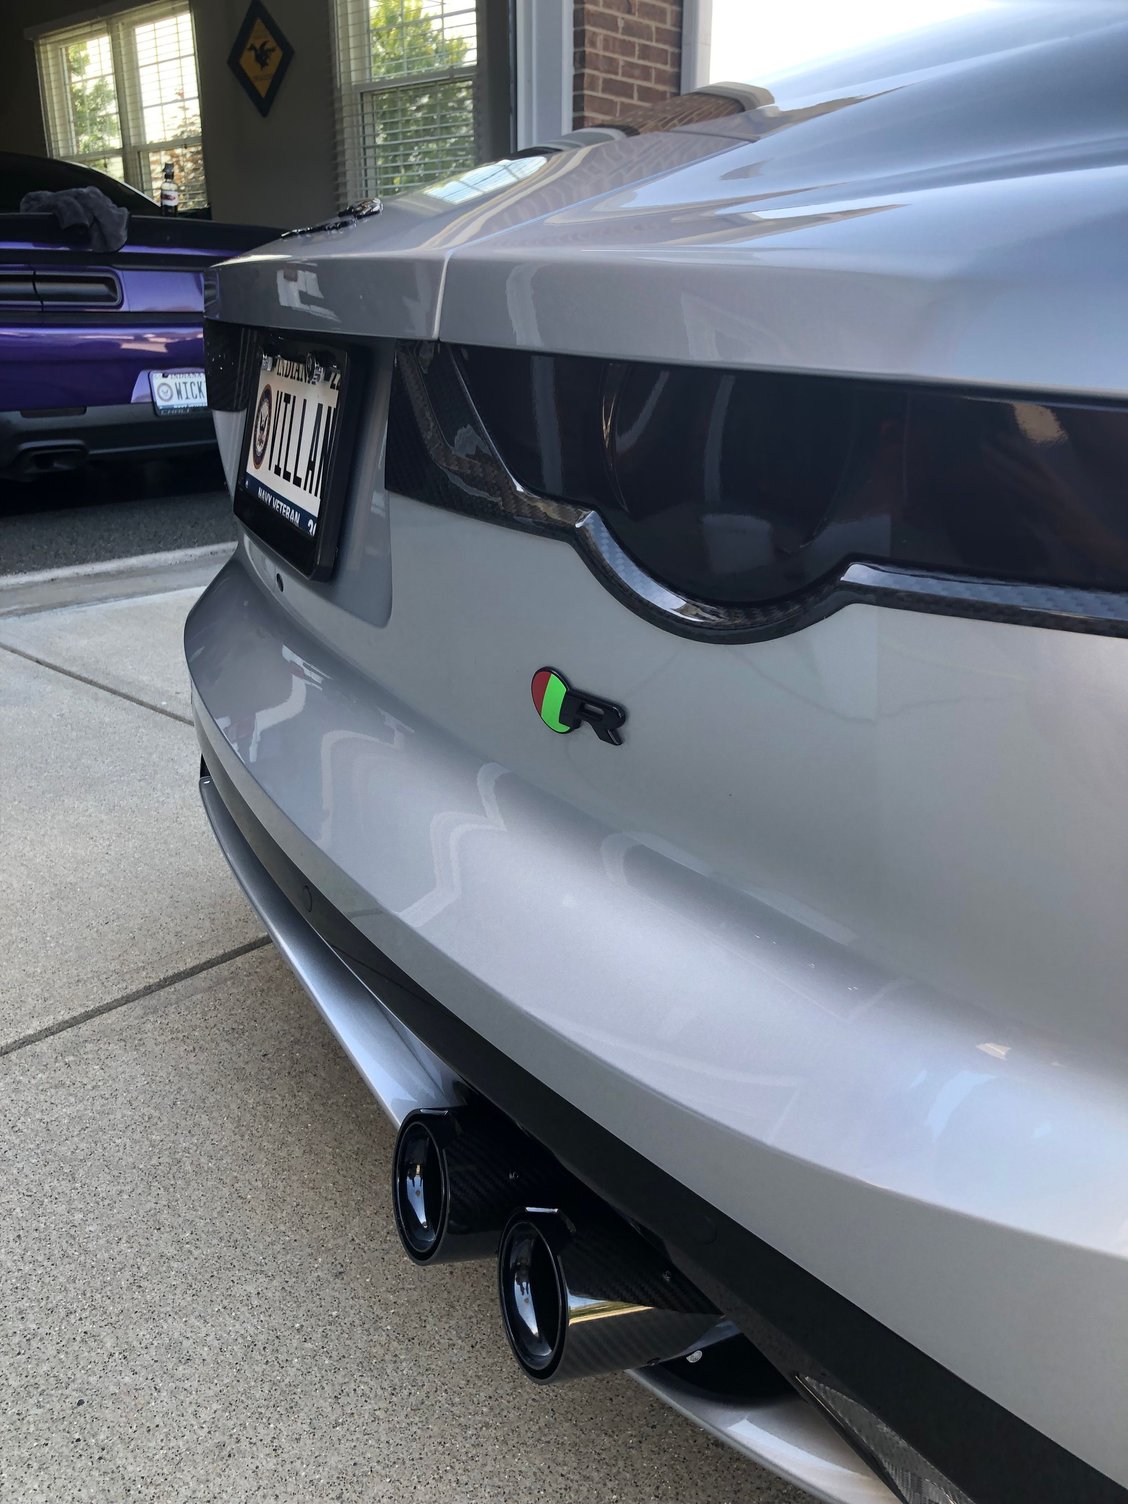
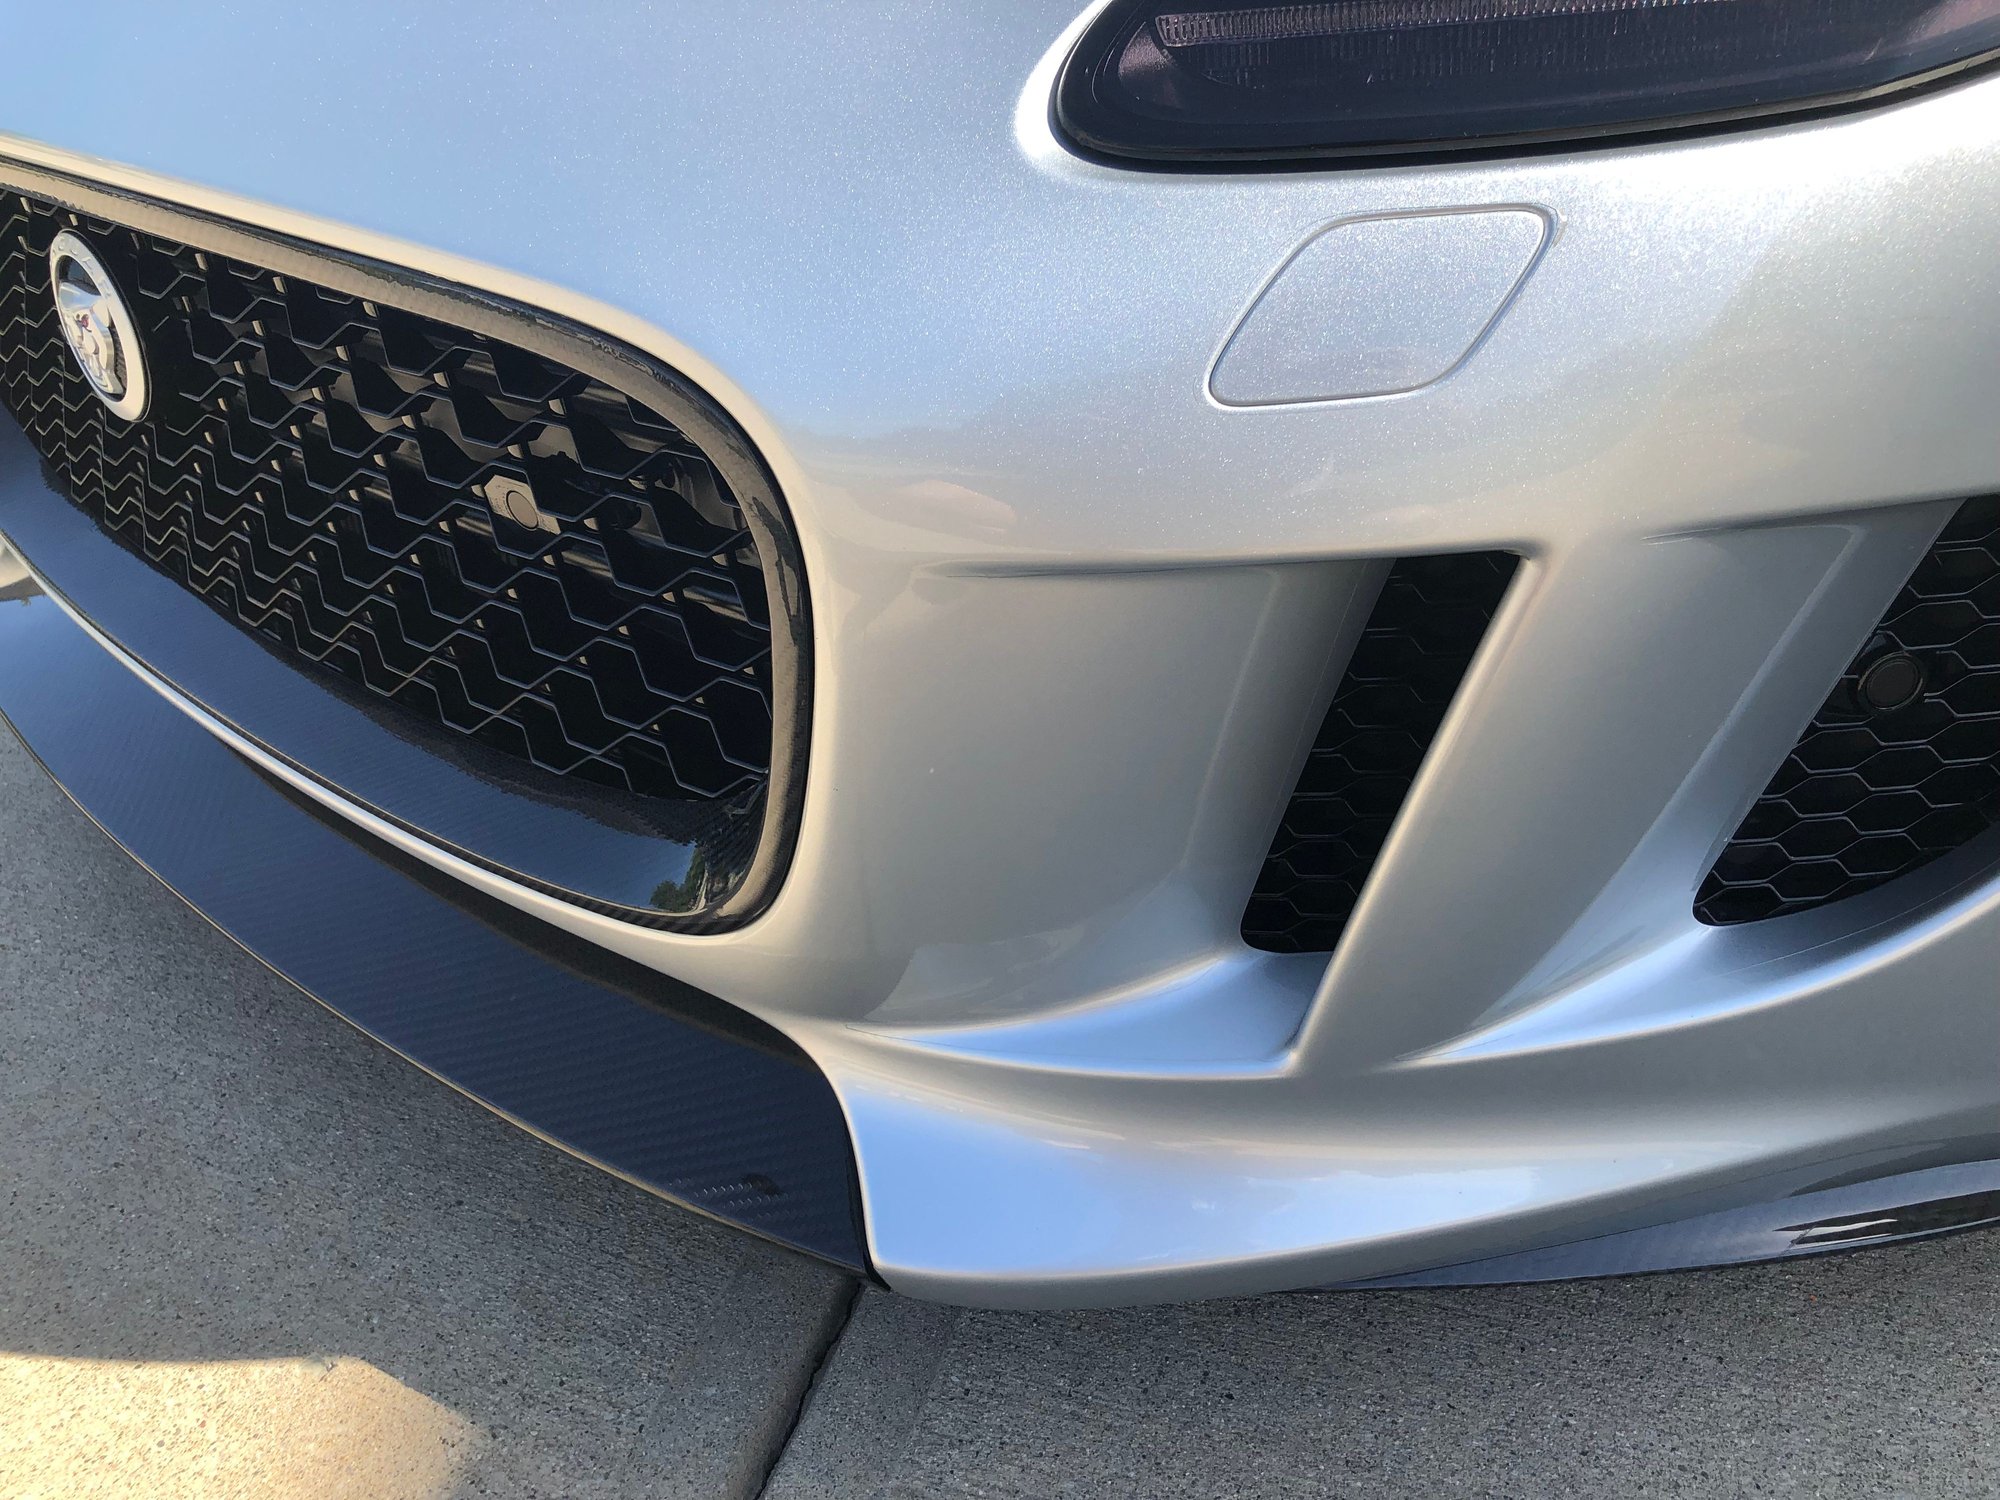
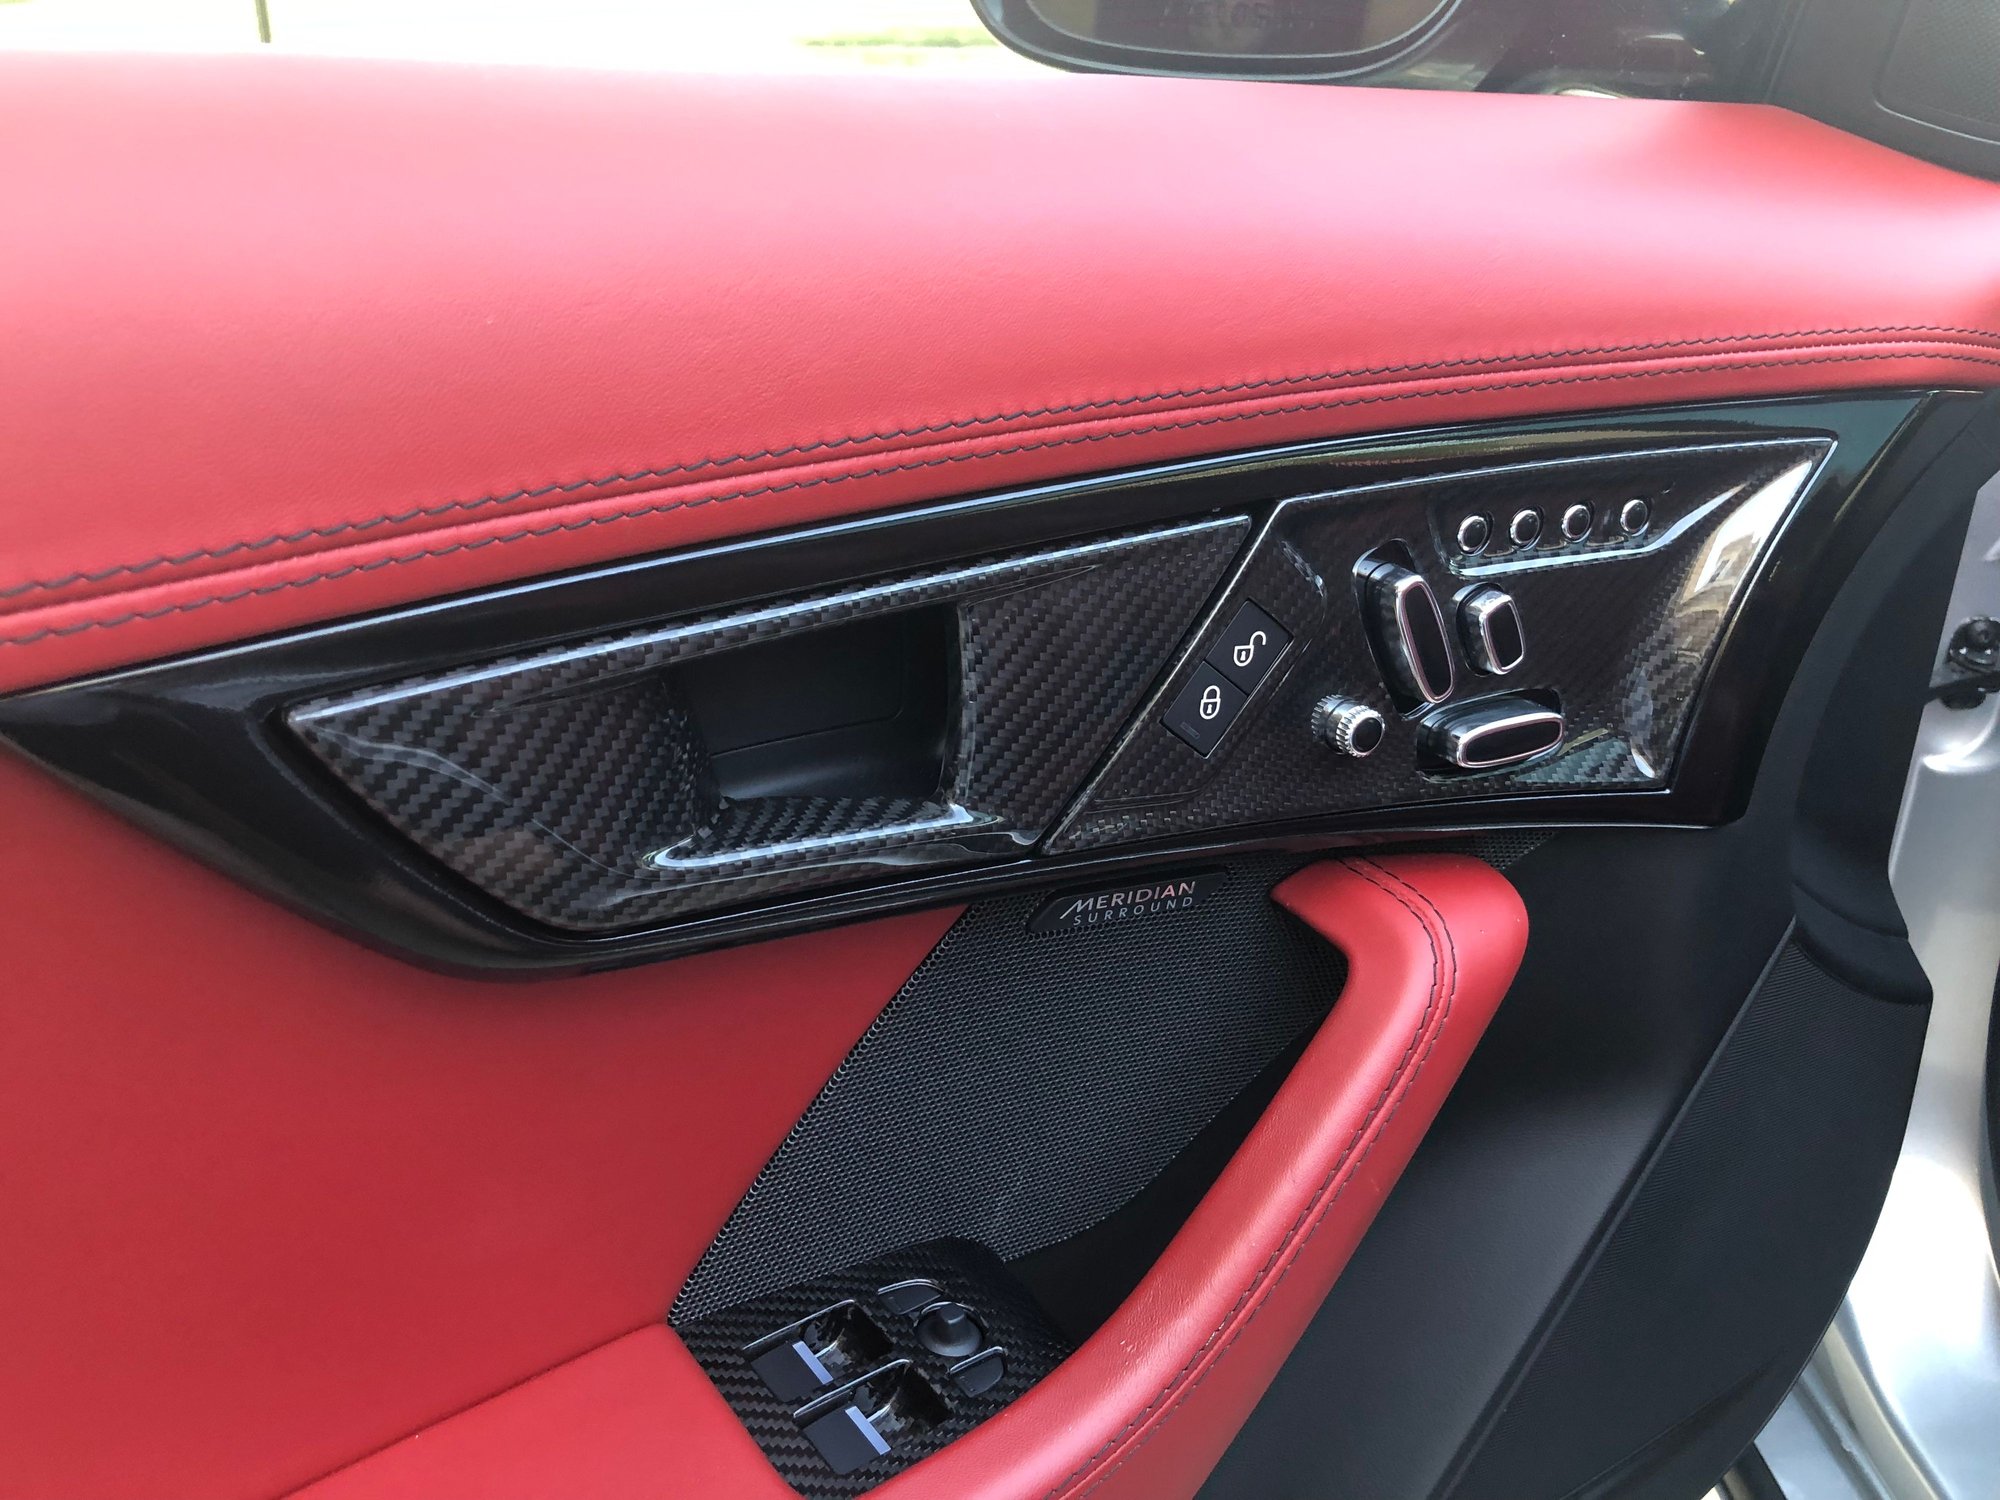
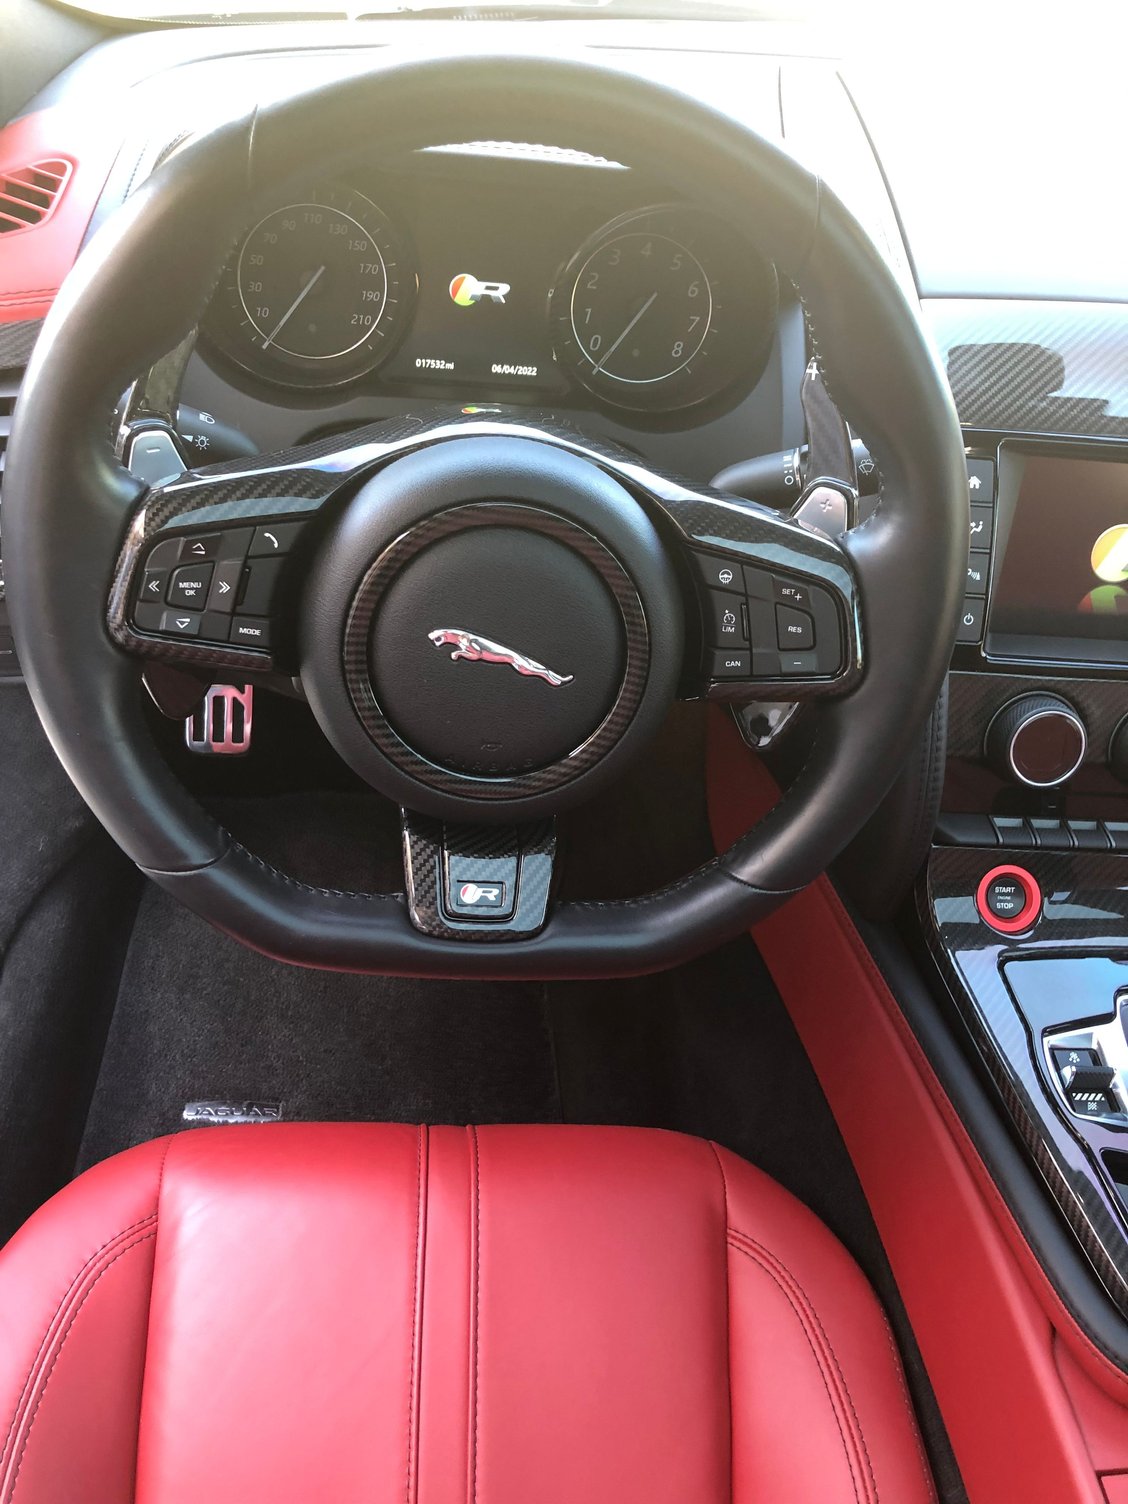
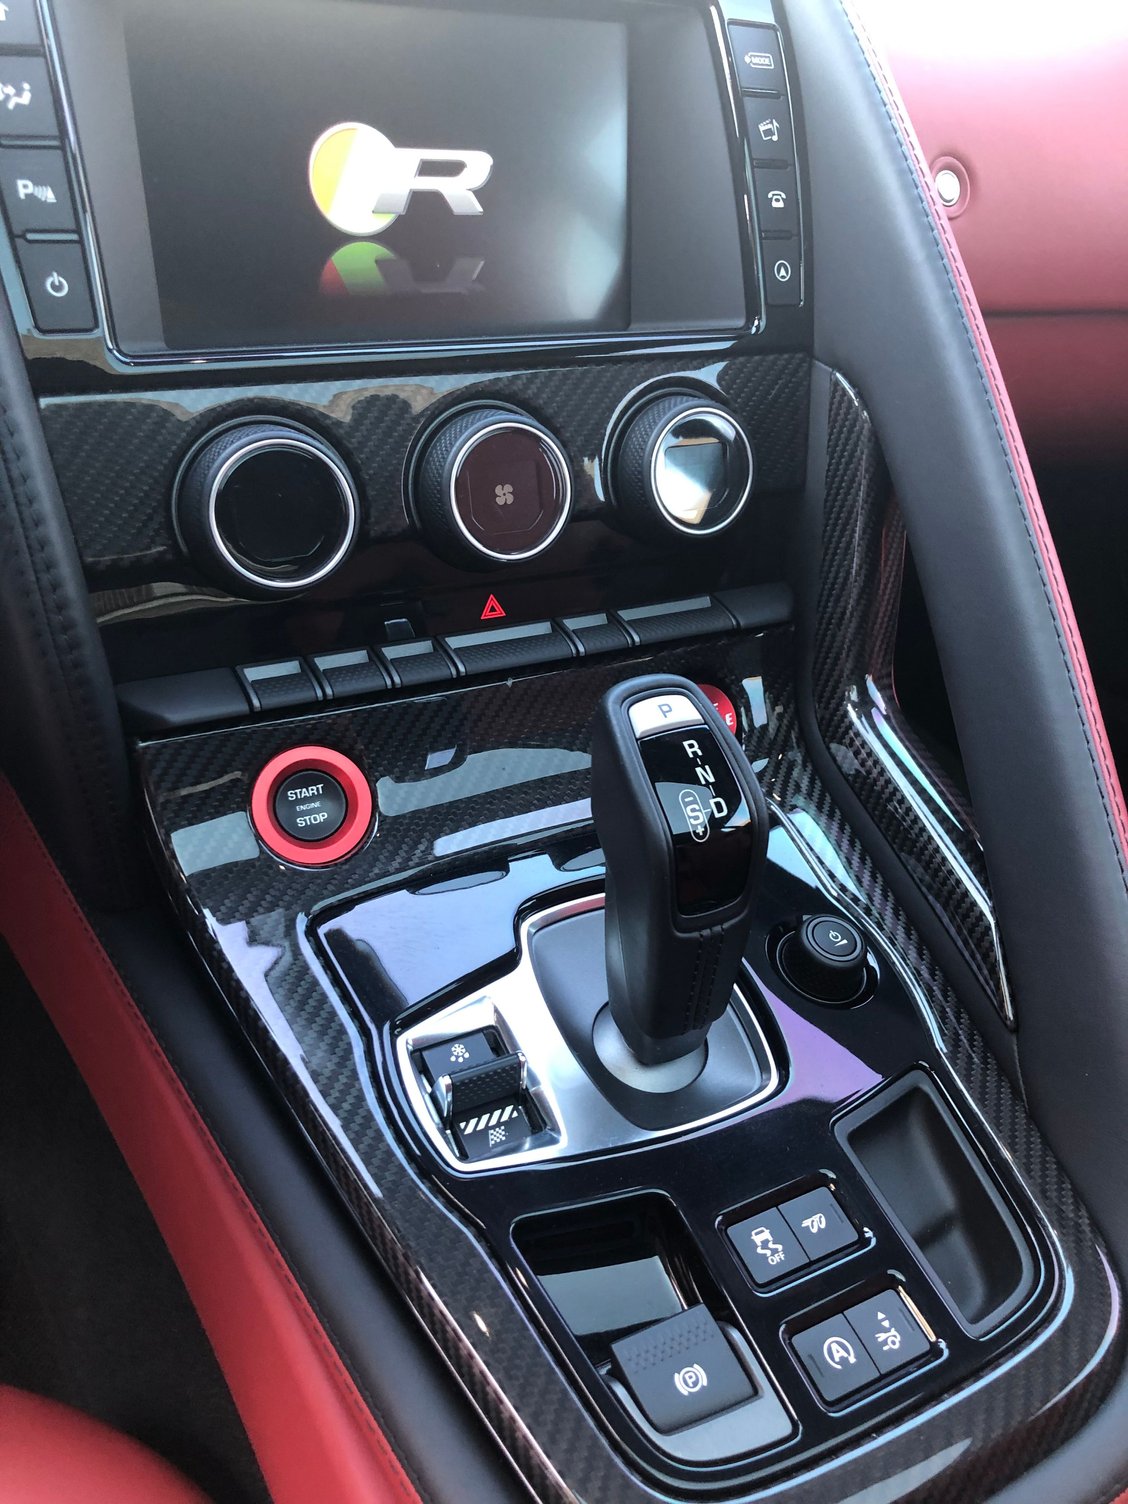
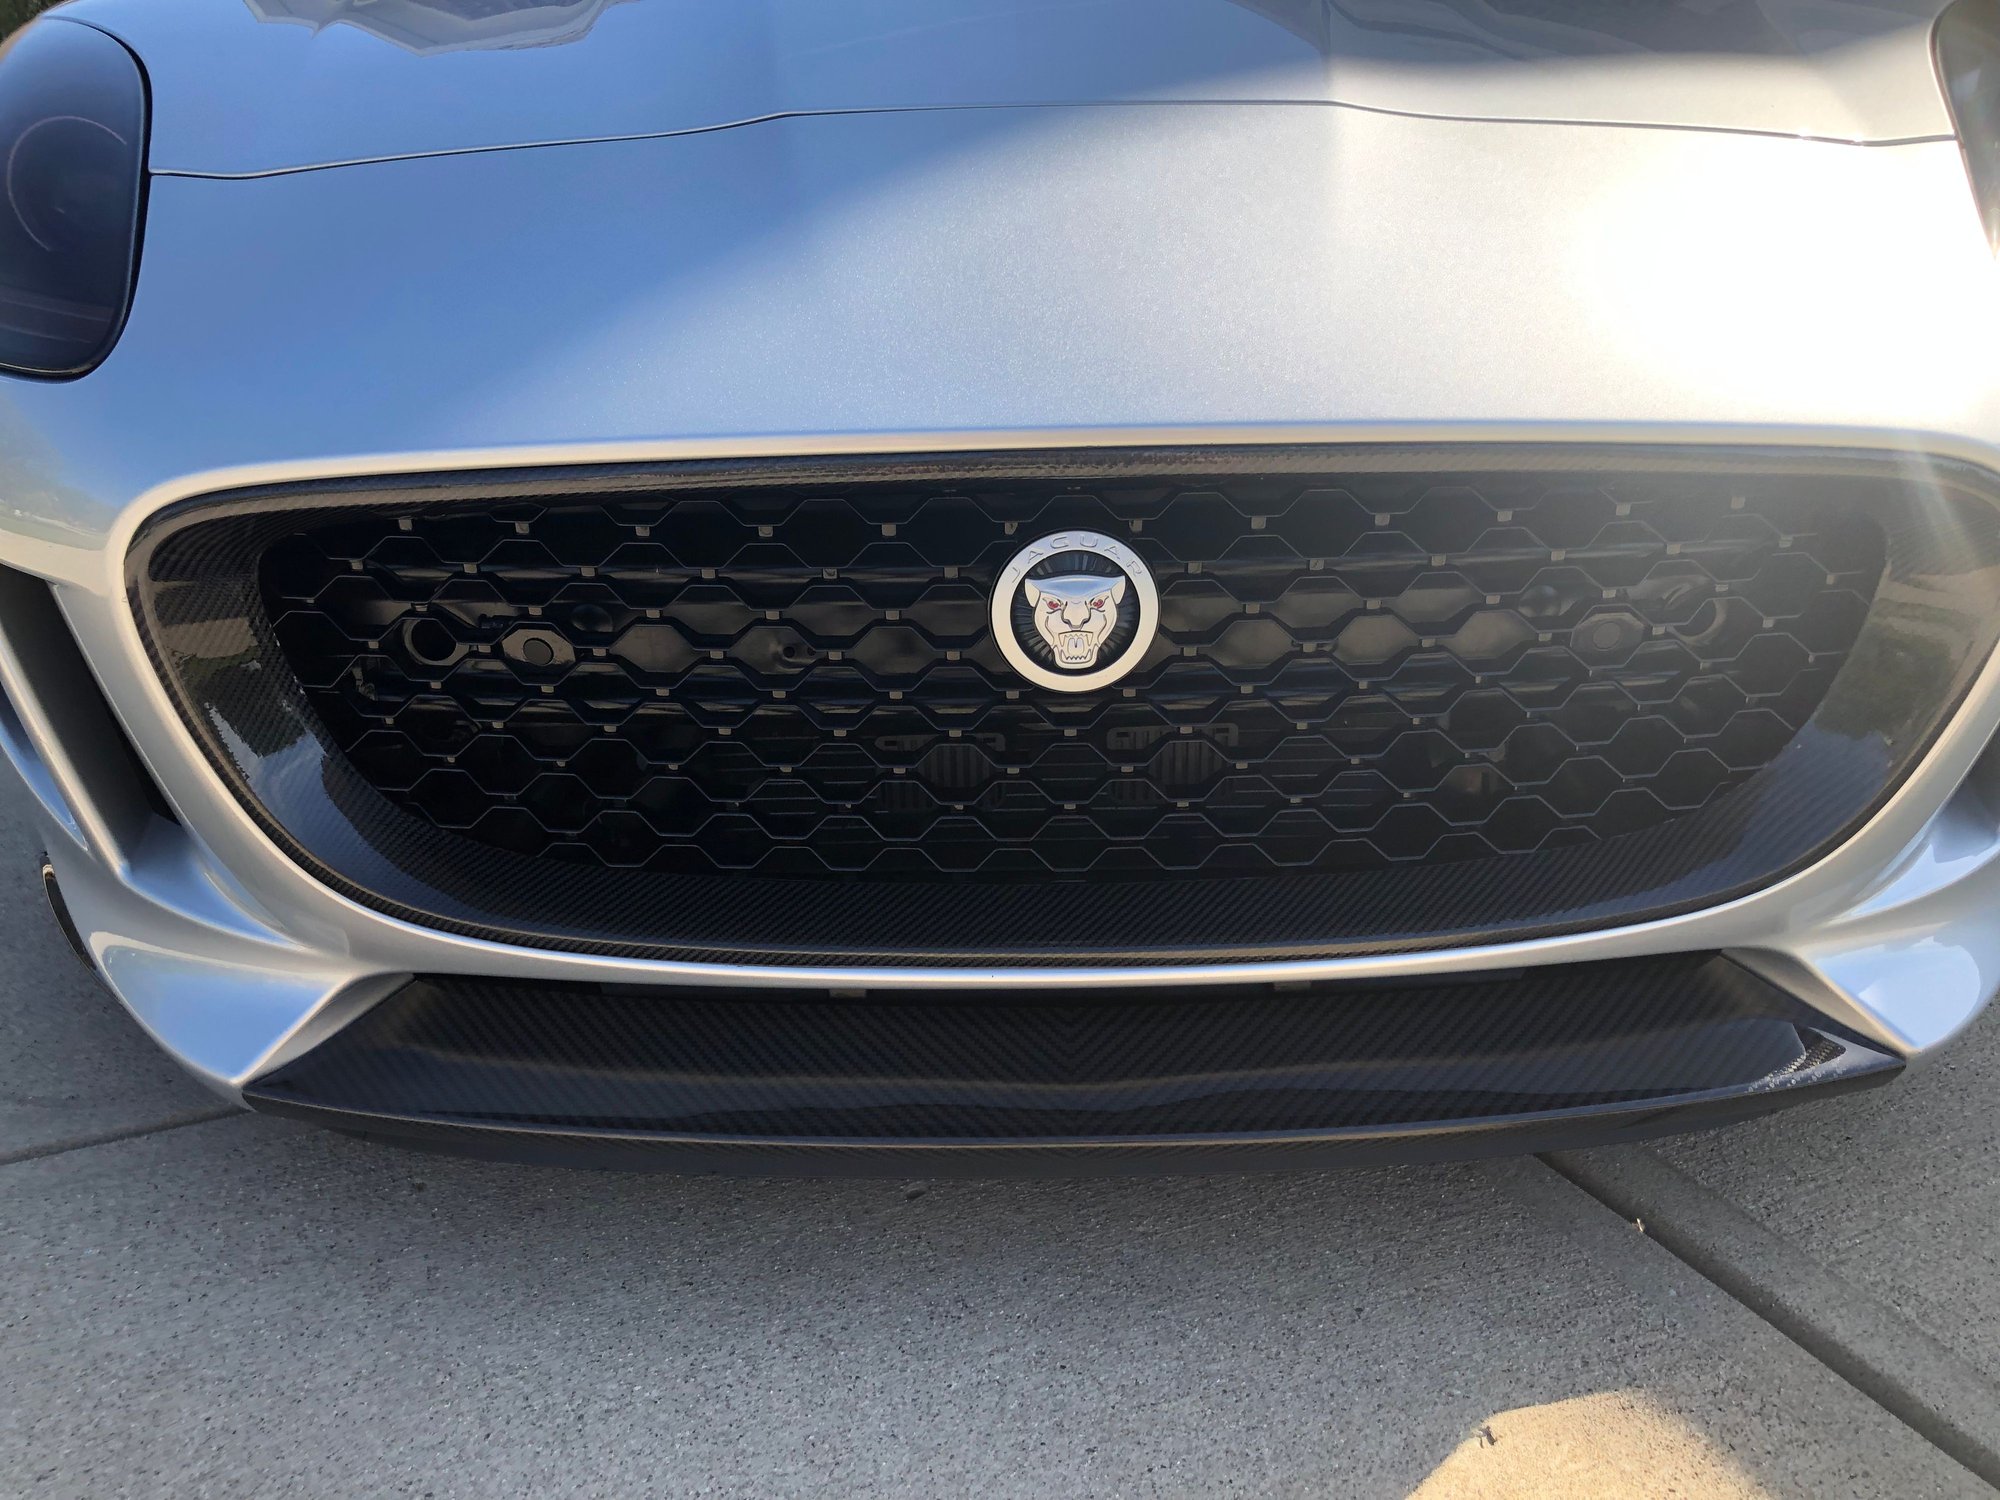
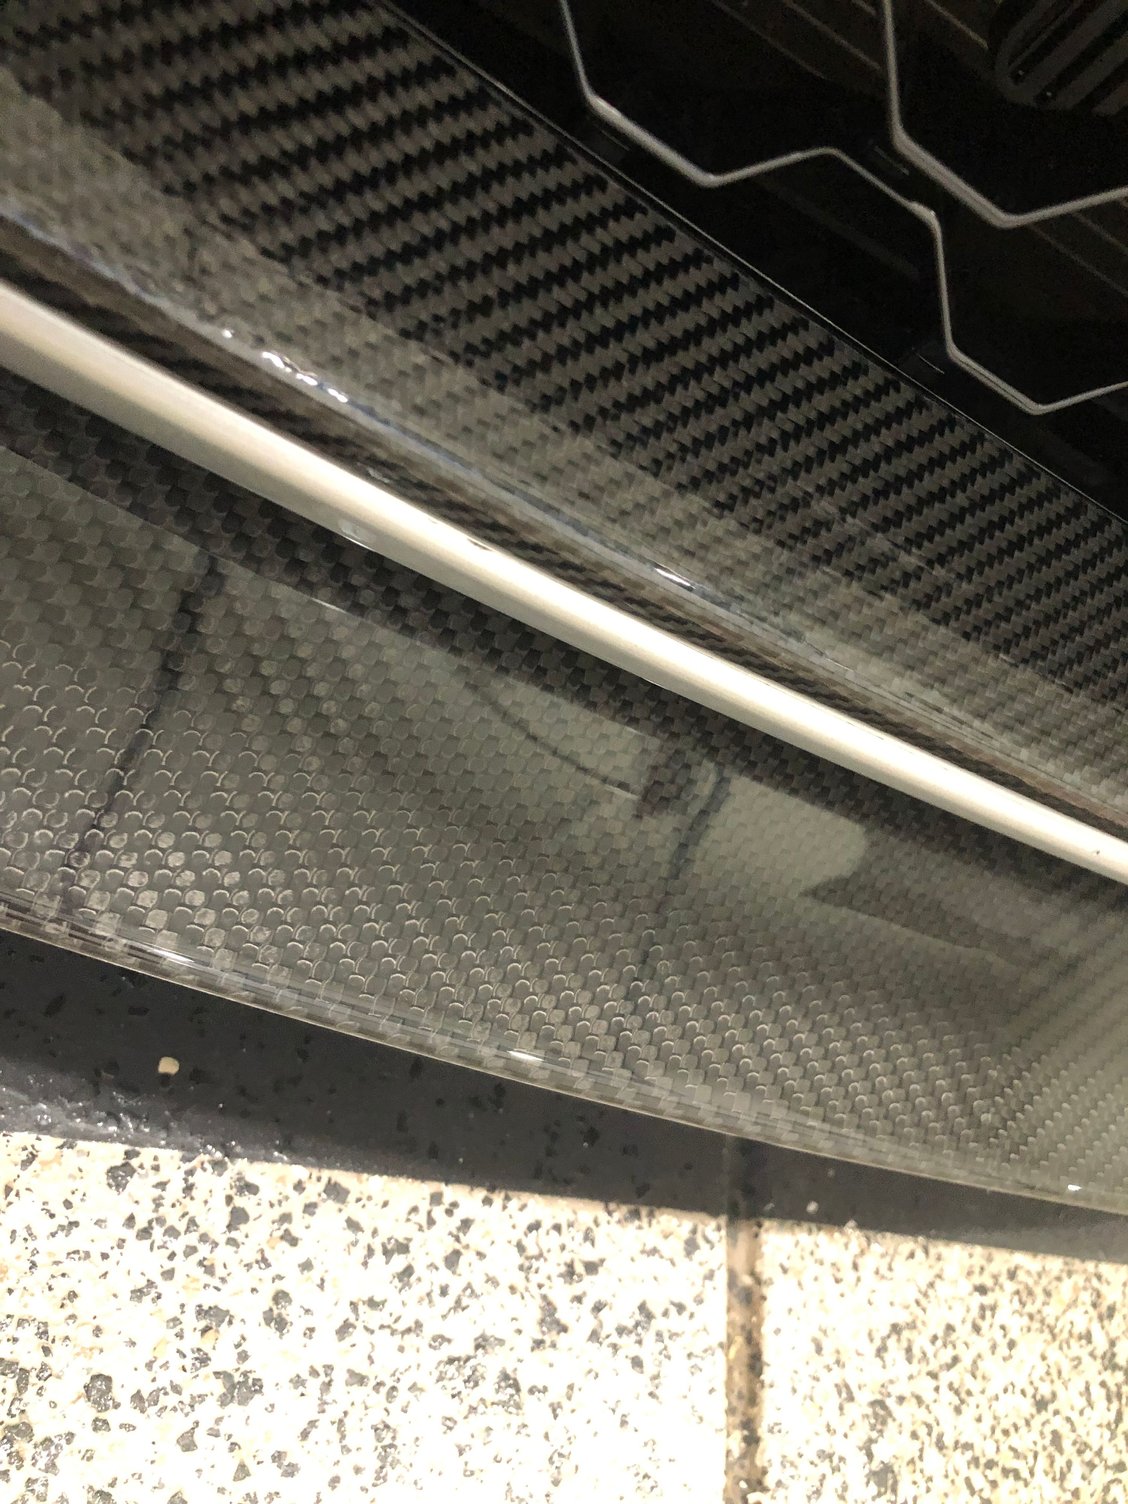
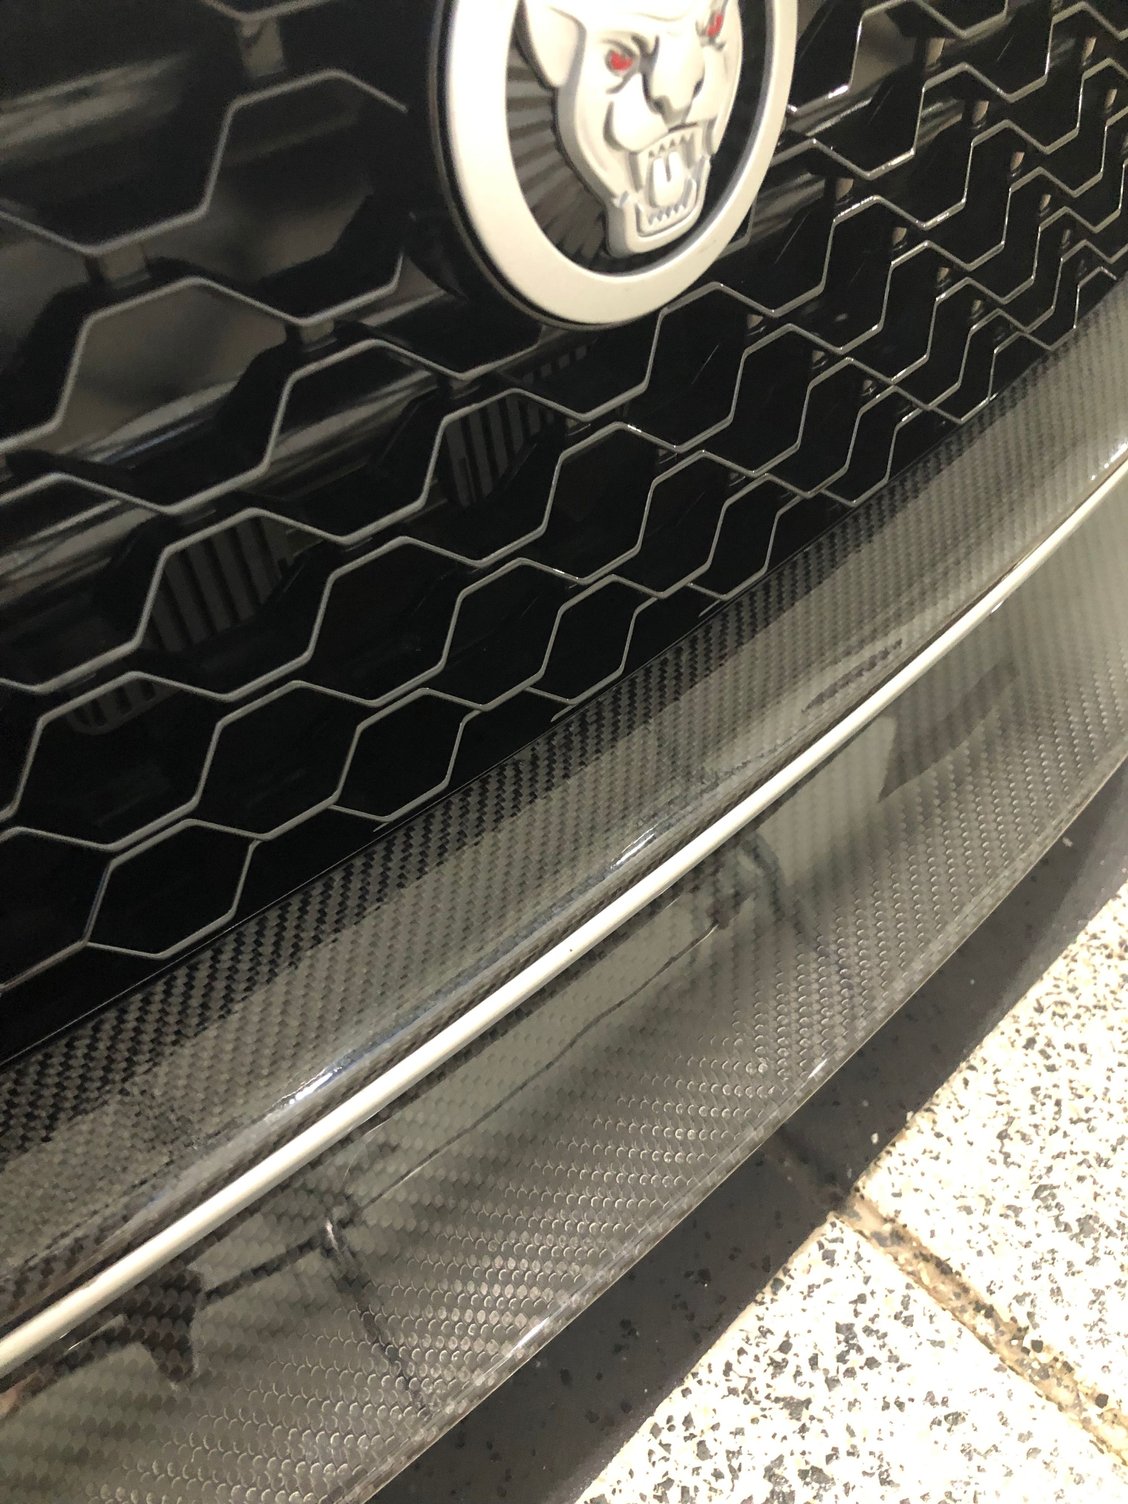
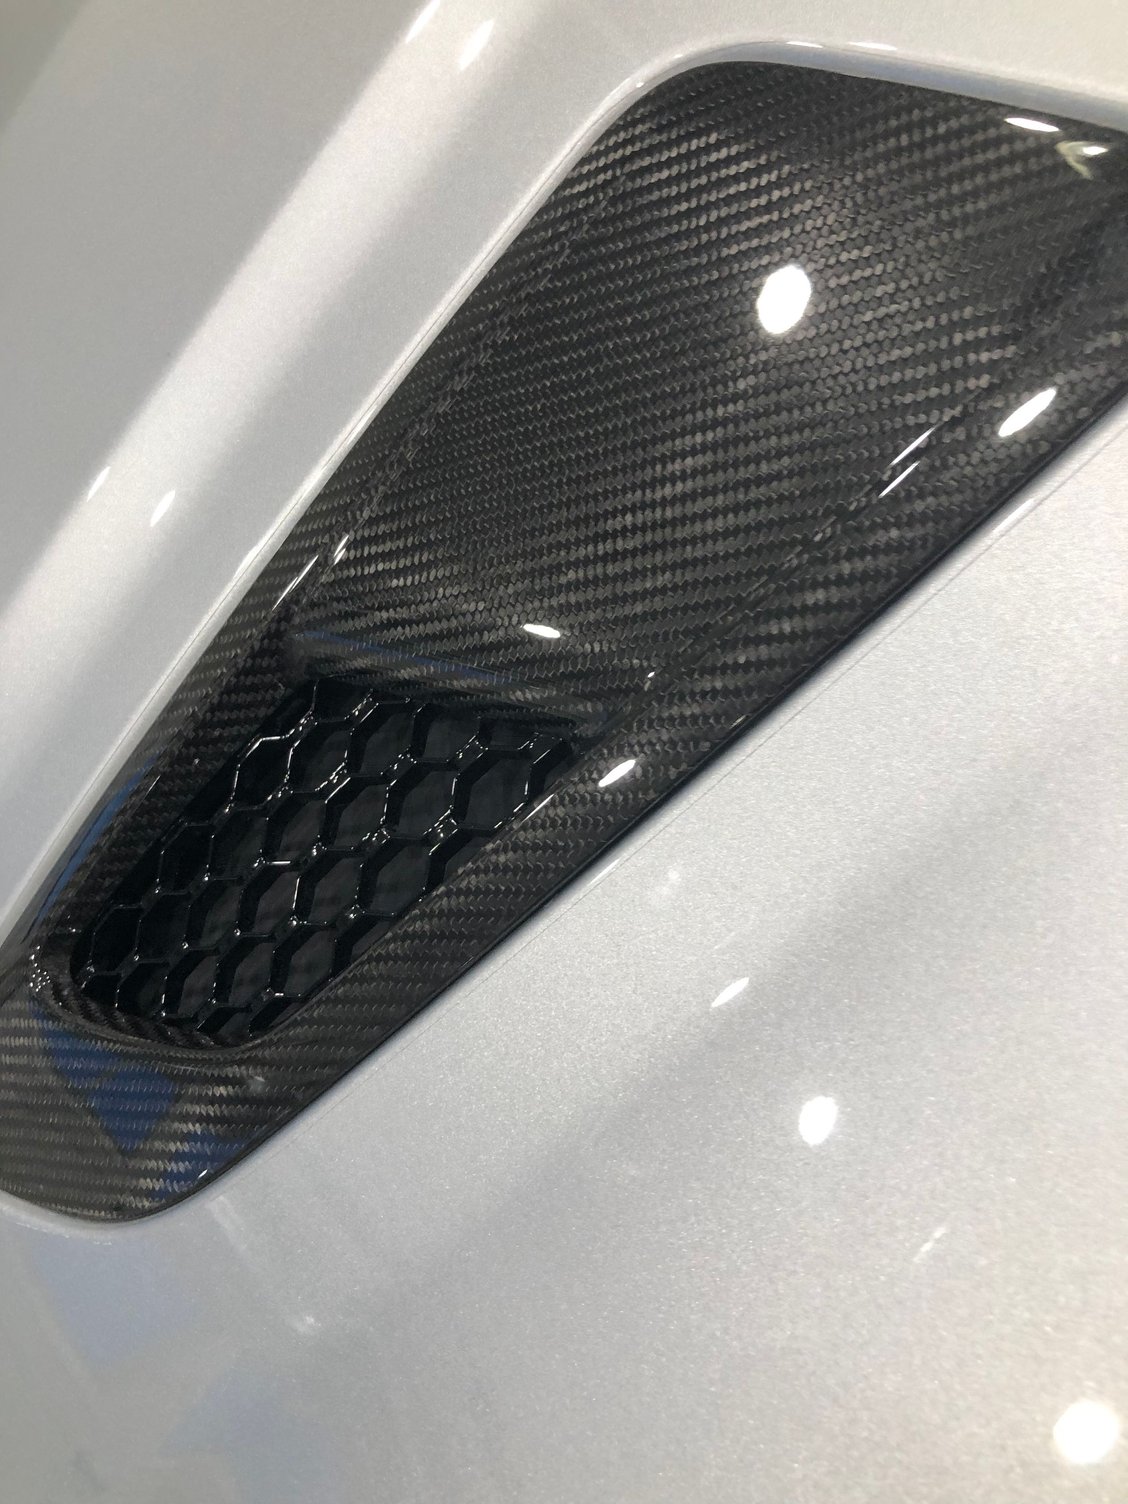
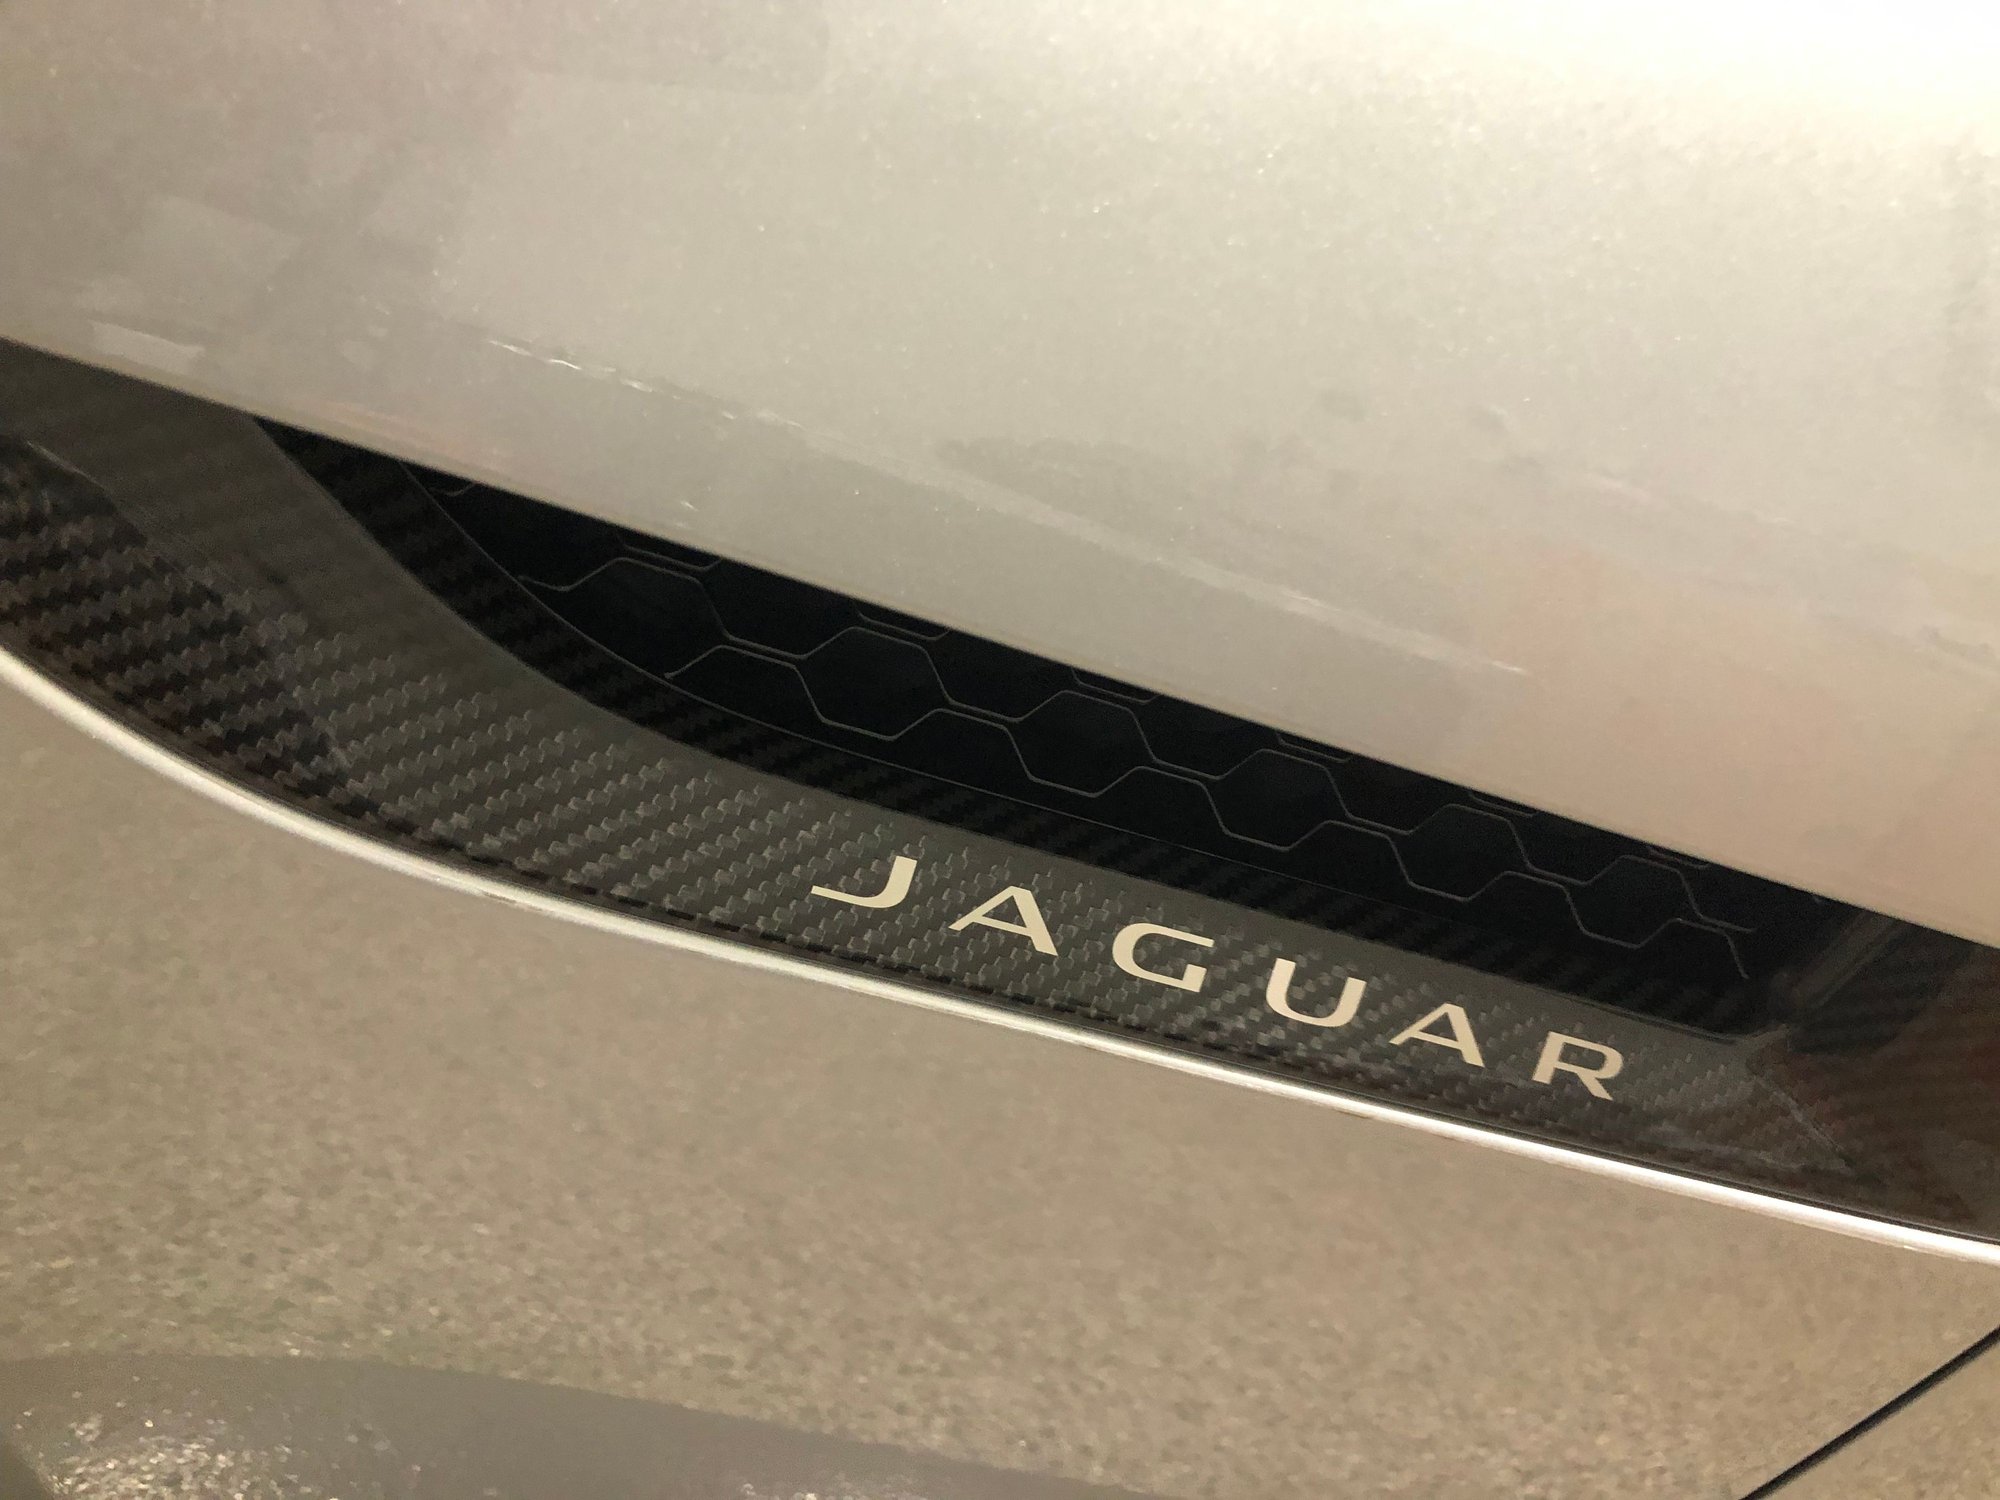
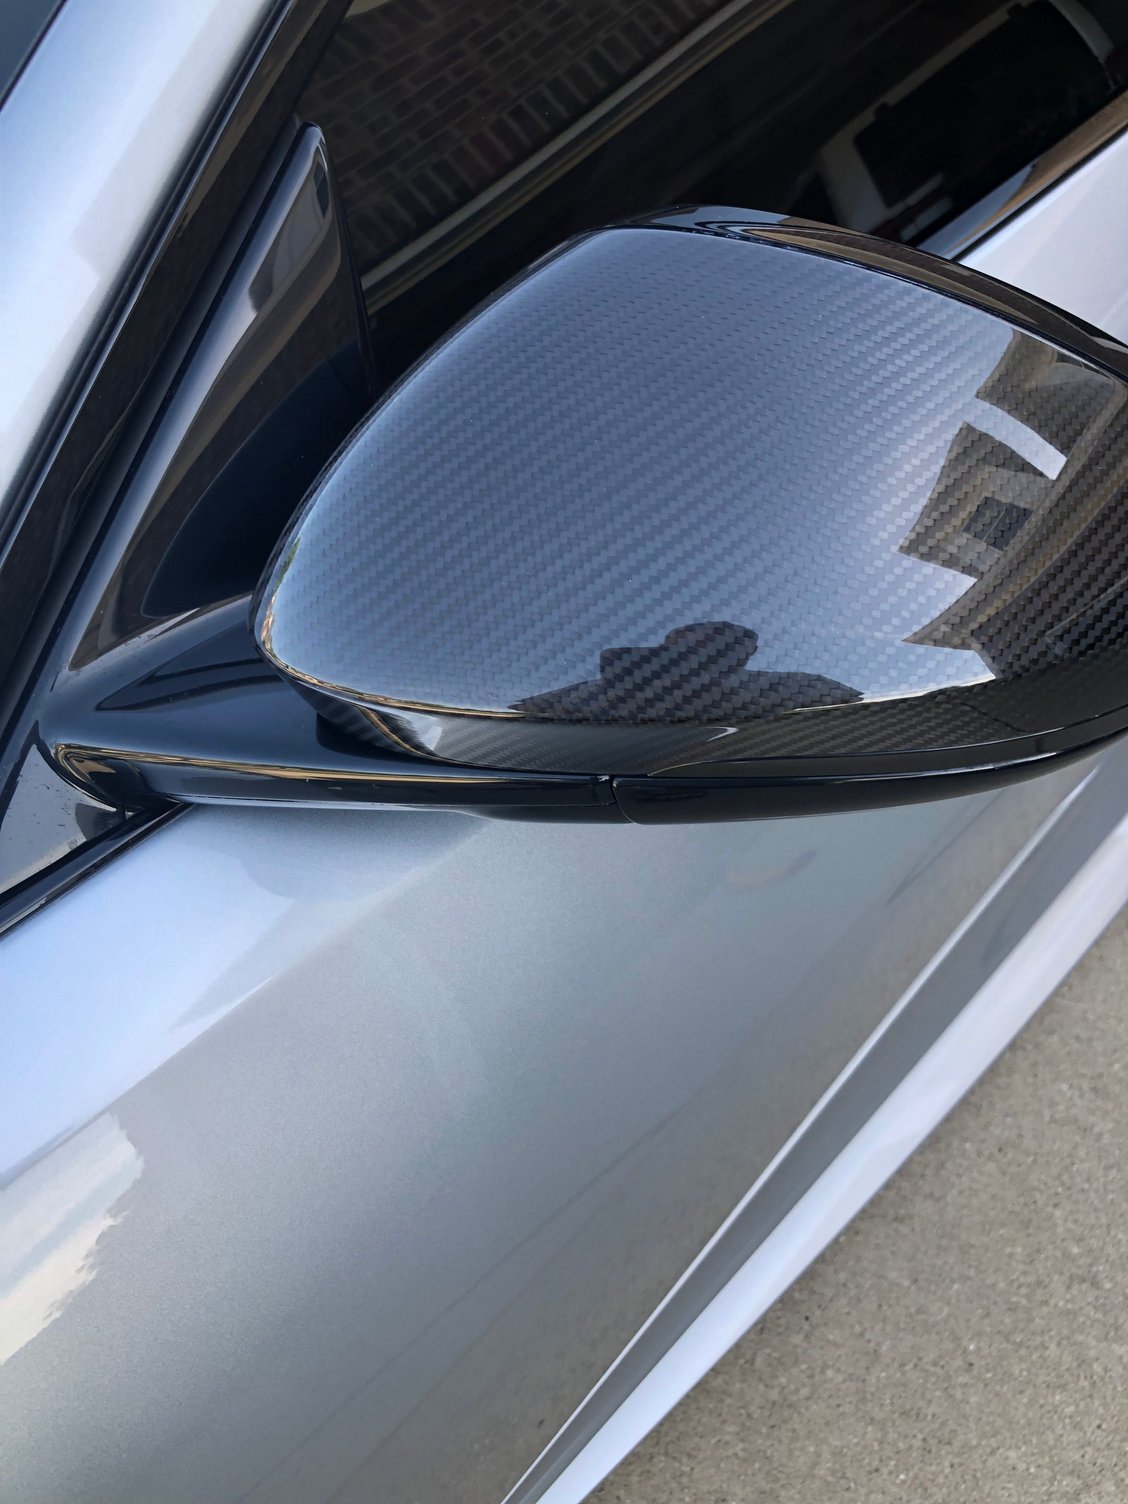
Okay, so after promising to provide photos and neglecting to do so for months - here are some photos of misc interior and exterior pieces.


Last edited by gg2684; 06-05-2022 at 08:32 AM.
The following 4 users liked this post by gg2684:
BruceTheQuail (06-05-2022), datriani (06-07-2022), INDY - F Type (06-08-2022), Jaguar1611 (06-06-2022)
  #90  
Old 06-05-2022, 04:40 AM
bcbruno's Avatar
Senior Member
Join Date: Jun 2020
Location: Rotterdam
Posts: 170
Received 84 Likes on 42 Posts
Default

Originally Posted by gg2684
Okay, so after promising to provide photos and neglecting to do so for months - but here are some photos of misc interior and exterior pieces.


Looks really good and expensive

I couldn't install that bit on the triangular void, do you need remove something prior installation, any tips?
 

Last edited by bcbruno; 06-05-2022 at 04:43 AM.
  #91  
Old 06-05-2022, 06:19 AM
19FRG's Avatar
Senior Member
Thread Starter
Join Date: Sep 2020
Posts: 362
Received 115 Likes on 66 Posts
Default

Originally Posted by bcbruno
Looks really good and expensive

I couldn't install that bit on the triangular void, do you need remove something prior installation, any tips?
That piece gave me fits too but if you work with it trying different angles it will pop in. I used some soapy water to ease the friction.
 
The following users liked this post:
bcbruno (06-05-2022)
  #92  
Old 06-05-2022, 08:31 AM
gg2684's Avatar
Senior Member
Join Date: Aug 2018
Location: indianapolis
Posts: 654
Received 222 Likes on 165 Posts
Default

Originally Posted by 19FRG
That piece gave me fits too but if you work with it trying different angles it will pop in. I used some soapy water to ease the friction.
it is a little tricky - almost looks like it is too large, but if you work it back and forth being careful not to put too much strain or flex on it, it will snap in.
 

Last edited by gg2684; 06-05-2022 at 08:35 AM.
The following users liked this post:
bcbruno (06-05-2022)
Related Topics
Thread
Thread Starter
Forum
Replies
Last Post
hlgeorge
X-Type ( X400 )
3
11-07-2015 09:20 PM
650
Australia - Western
0
07-25-2015 12:50 AM
magredvet
XJS ( X27 )
20
10-15-2012 08:13 PM

Currently Active Users Viewing This Thread: 1 (0 members and 1 guests)


Quick Reply: Koshi interior parts question


All times are GMT -5. The time now is 01:55 PM.