When you click on links to various merchants on this site and make a purchase, this can result in this site earning a commission. Affiliate programs and affiliations include, but are not limited to, the eBay Partner Network.
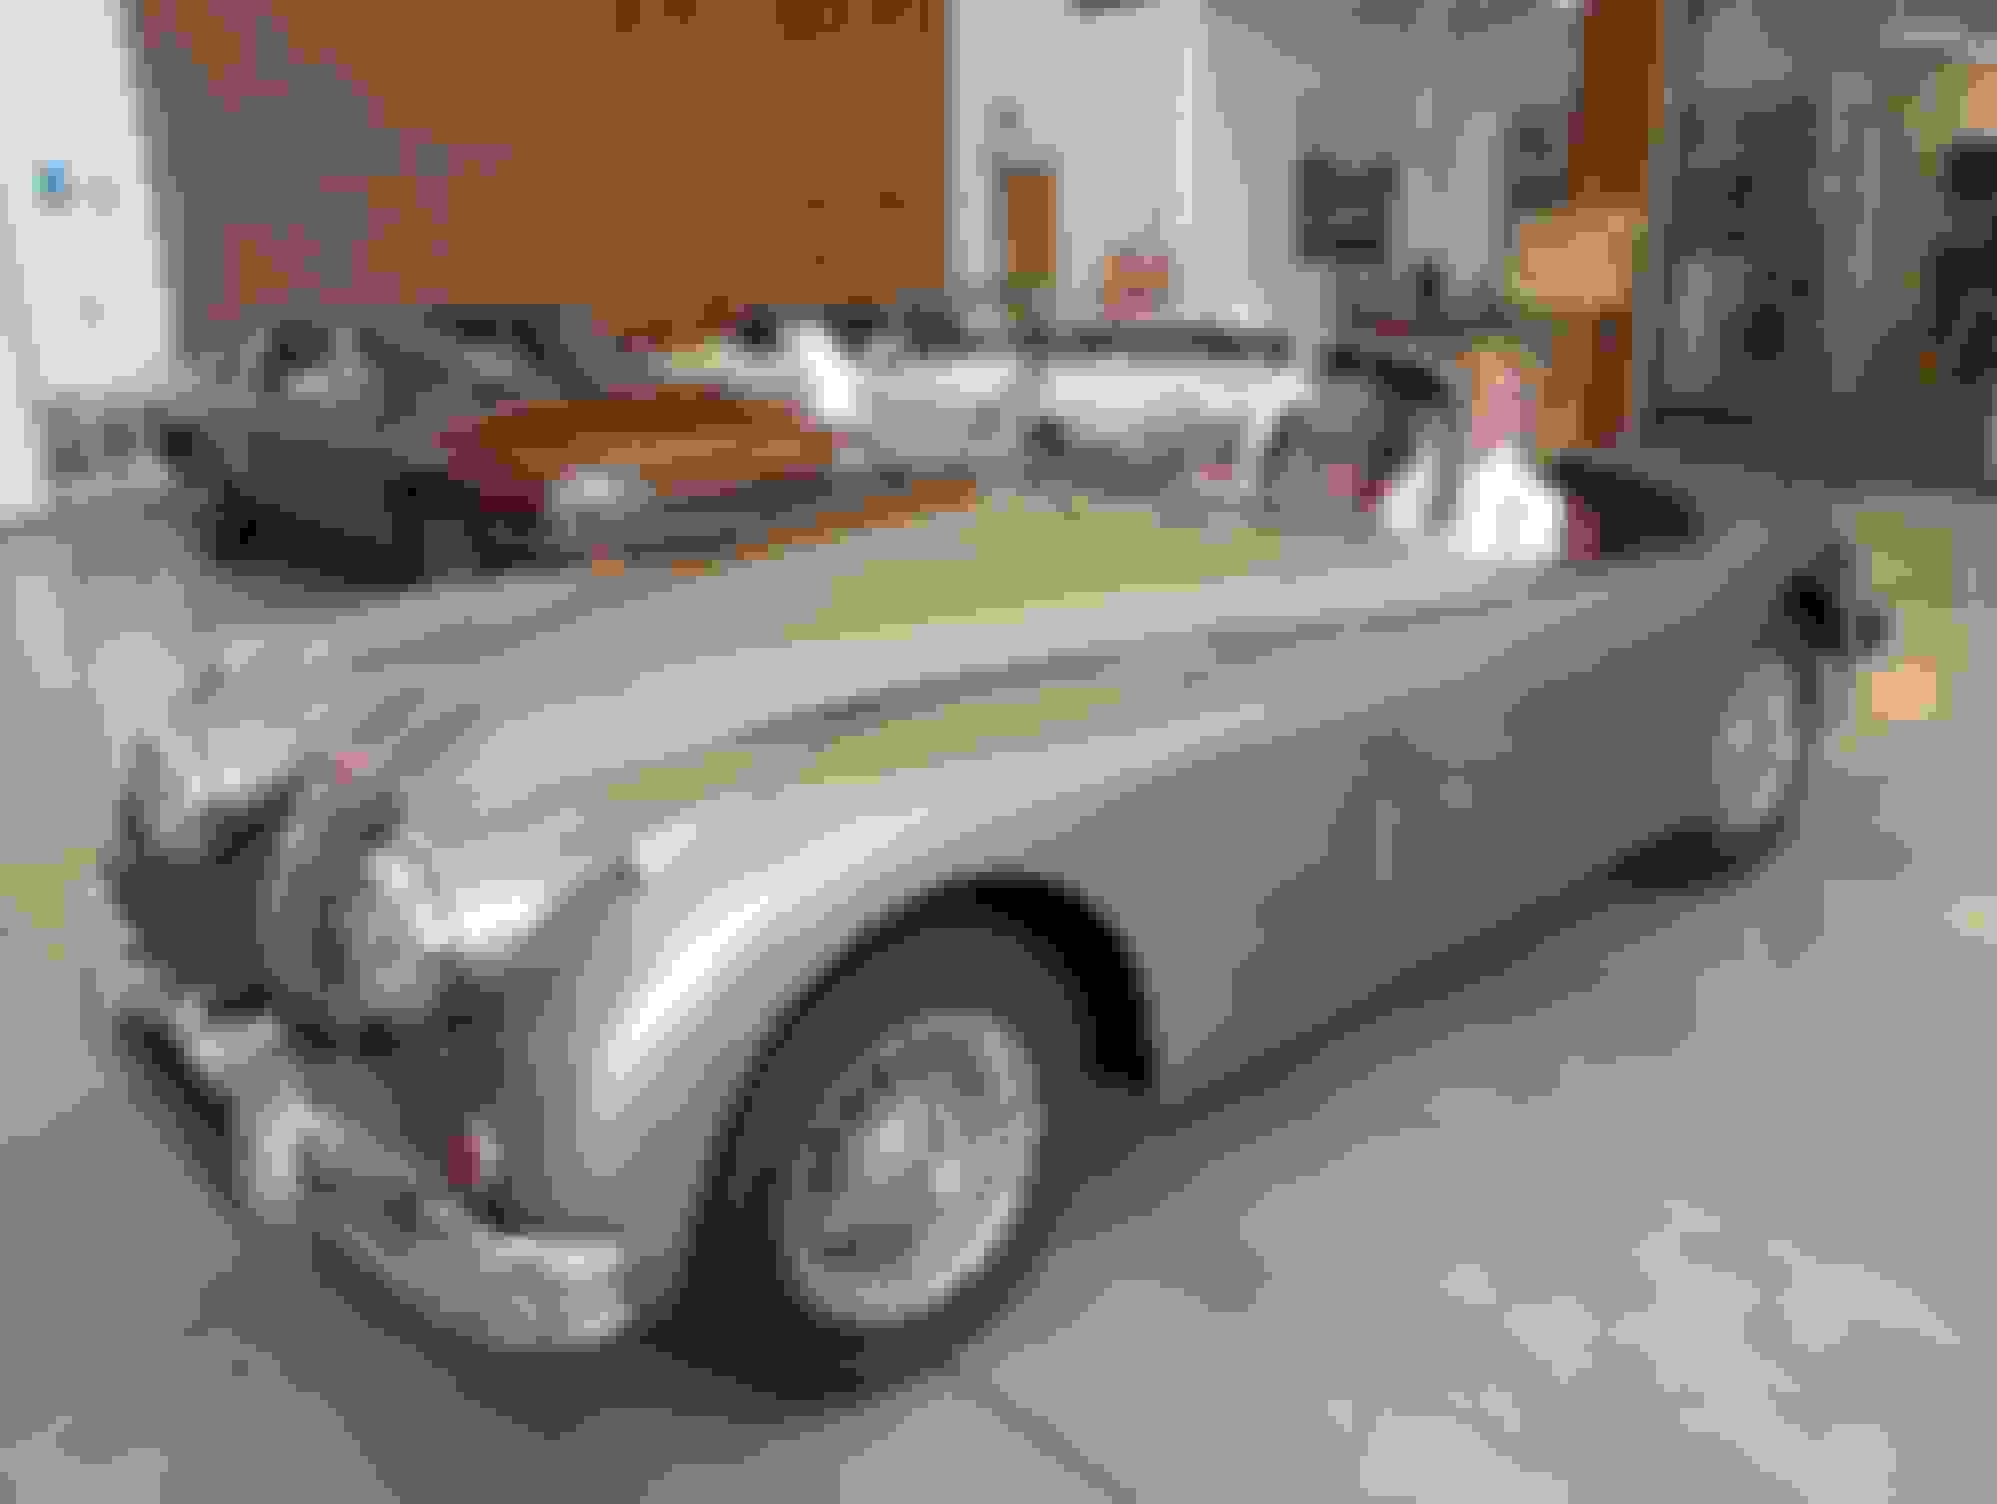
Noticed our "extended leather package" headliner has come unglued. We are out of warranty. New headliner is $2,000 plus probably 5-6 hours to swap it. Anyone have a recommendation on an alternative? I have a shrinkalogical problem spending that kind of money on something that should not have gone wrong so soon.
My entire drivers side headliner fell after sitting at work in Texas heat.. I didnt want to pay either so I uninstalled and re-glued the headliner myself.
I will say it is a little scary first time doing it (I removed it 3 times...) but its not as difficult as it seems.
You do NOT need to remove any of the car seats, rear view mirror, parts of the dash, steering wheel, or even the A pillar like the manual may suggest, itll just require some maneuvering.
You'll have to remove:
The car head visors
The rear small windows (may be the hardest part)
and a couple of T25 screws.
Materials wise: I removed it many times because of lack in glue knowledge.. I used spray 3M glue that didnt last me for some reason. So I used a more heavy duty glue (DAP Wildwood liquid contact cement adhesive) and what I totally forgot to instal was more foam. Once you remove the headliner youll need to scrub / brush drill remove the old foam off both the leather and headliner (super time consuming if its your first time like me).
If you're willing to give it a try, let me know I can give you more detailed instructions on how I did it.
Good to know it�s not hard to remove the headliner. It looks like a PITA.
Wasn�t sure if anyone had success putting the old hide back on because of shrinkage.
I'll try my best to give a quick run down of all the steps with little tips.
Easiest thing to start with is the sun visor removal. You can pry these little covers with a soft plastic pry tool or your fingers. There is a T25 on both sides of the visor. You have to wiggle around the visor for it to come down. There are these loose square brackets on top of the headliner that secure it into place, they will move around a lot. I broke some little tabs off the visor, but it still secures into place so no worries.
You'll have to remove this T25 (I think) from the A pillar. Again you can just use a pry tool to pop it off gently since it is connected. The removal of this screw is to allow you to prop the A pillar out a little bit to give you room to wiggle the headliner out.
Rear window removal.
There is a slightly different color black tab covering this T25 in the rear window. The tab was difficult to remove as you have to either push down and out to the side or push up and out.. I cant remember exactly. This one is exposed on my car because I ended up breaking it hahaha. so be gentle and patient.
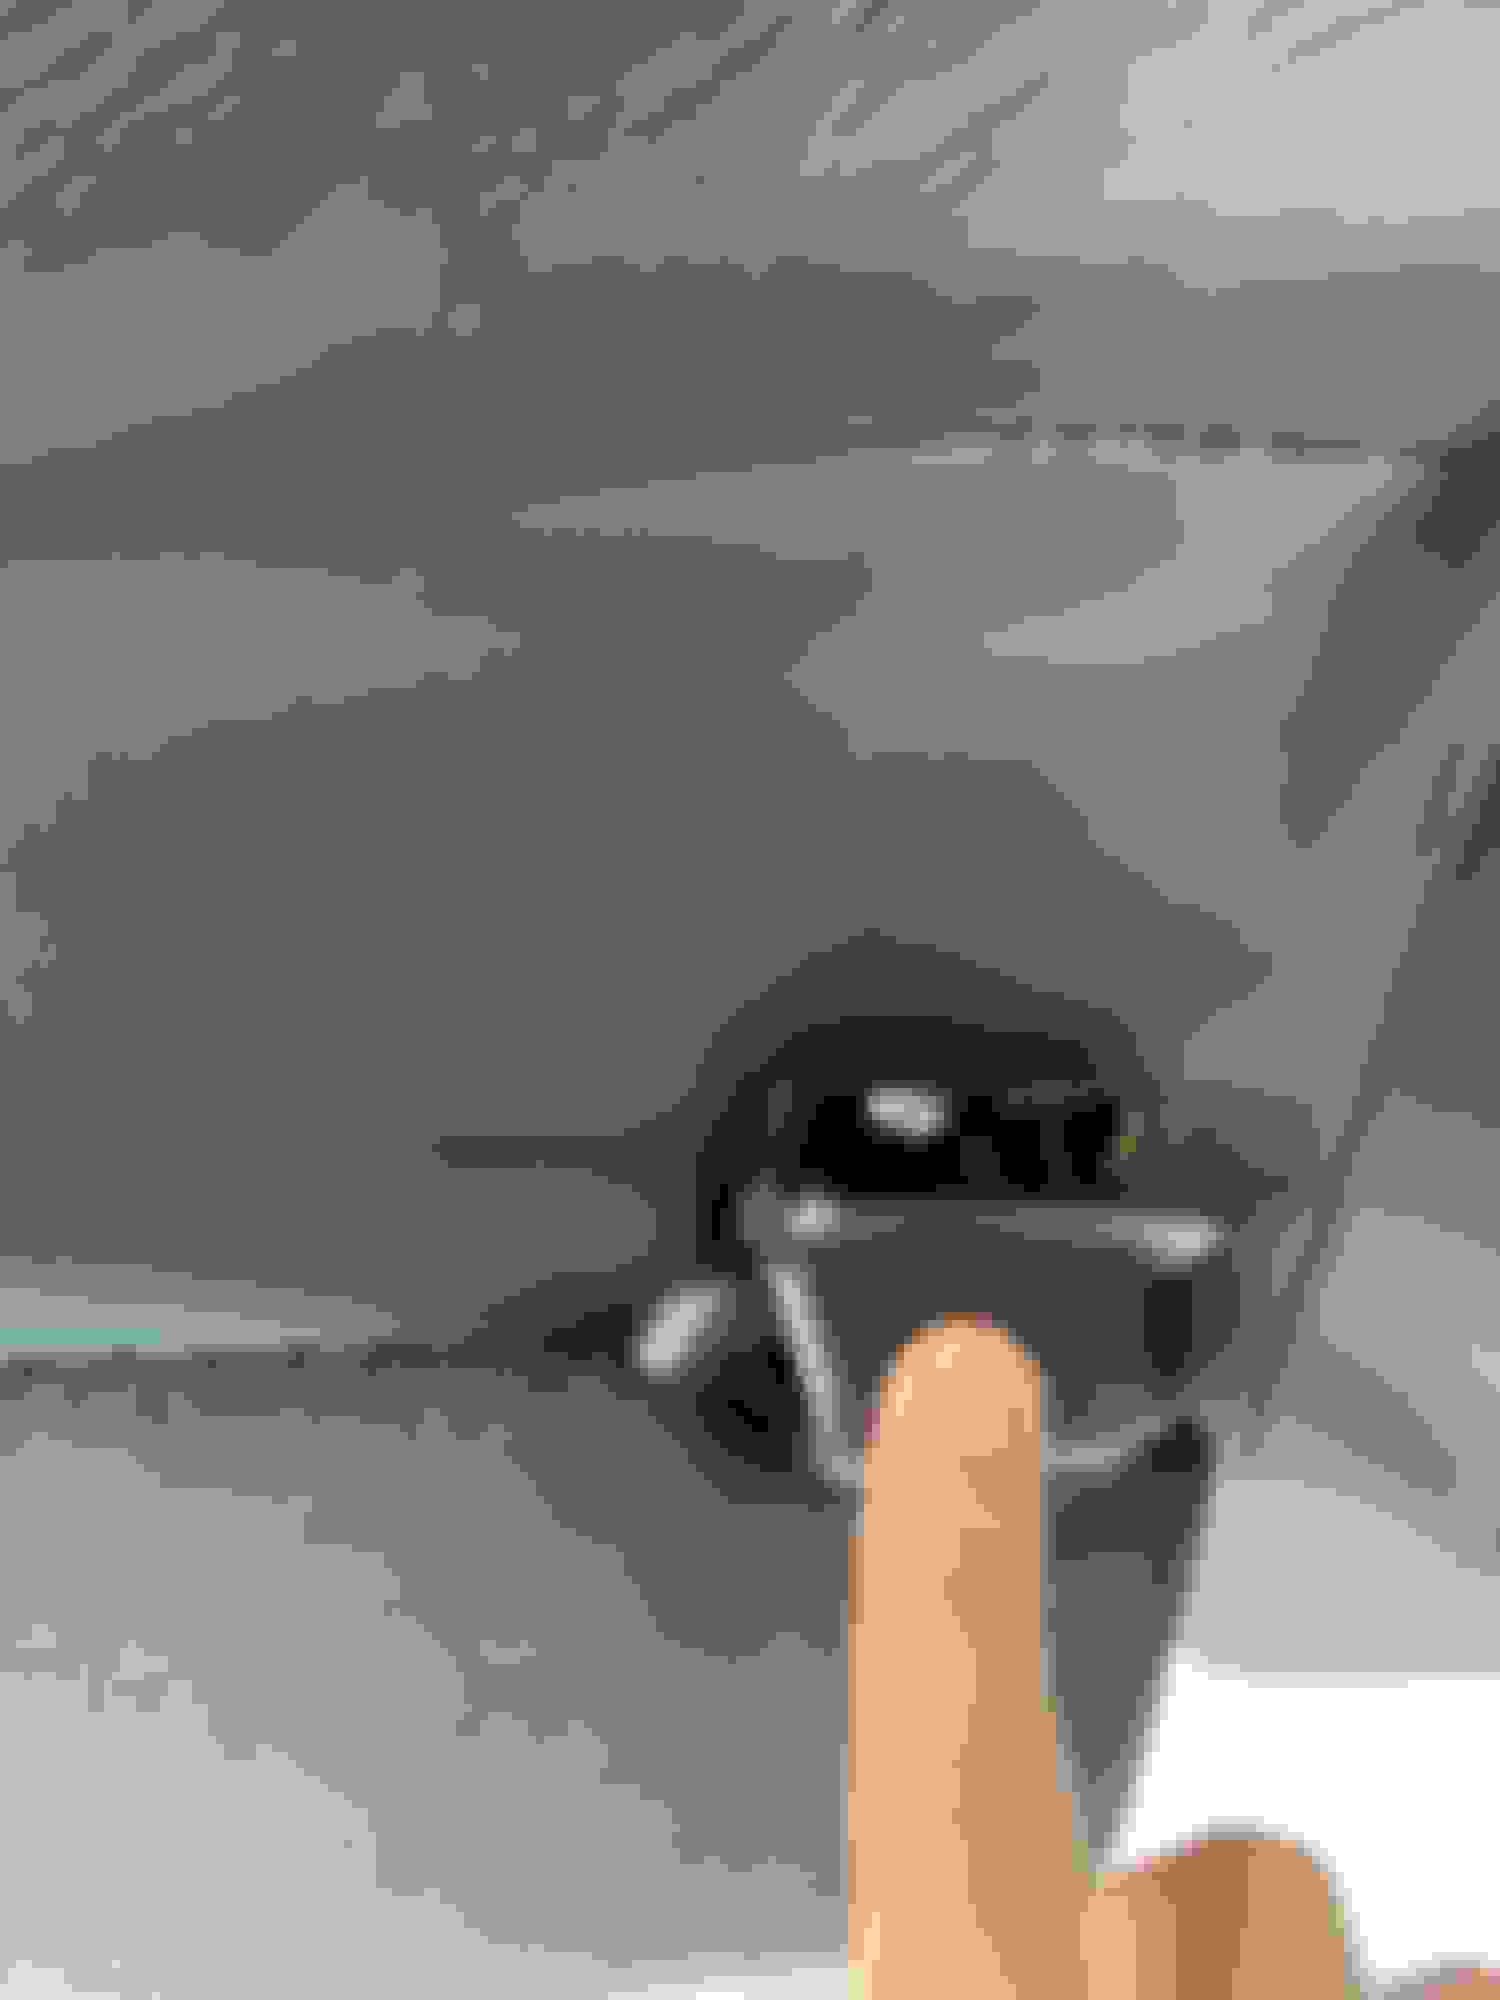
All the way at the back of the window is this soft rubber cover. Simply pull this out and a hexagonal metal rod will be connecting the body to the window. I forgot the size of the wrench, but you will need a really small and slim wrench to fit it in there. You just keep undoing it until the rod screws away from the window. (I believing the passenger side is undone by wrenching up, and the drivers side is wrenching down?).
To the left of my thumb is a small lug nut thats the same size as the hexagonal bar. You'll have to pull away some of the whether strips from the side window, and just push a bit off from the bottom while you're removing the nut. Careful not tear the bottom strip.. I tore mine a bit but its all good. Once you remove this nut, the window slides out!
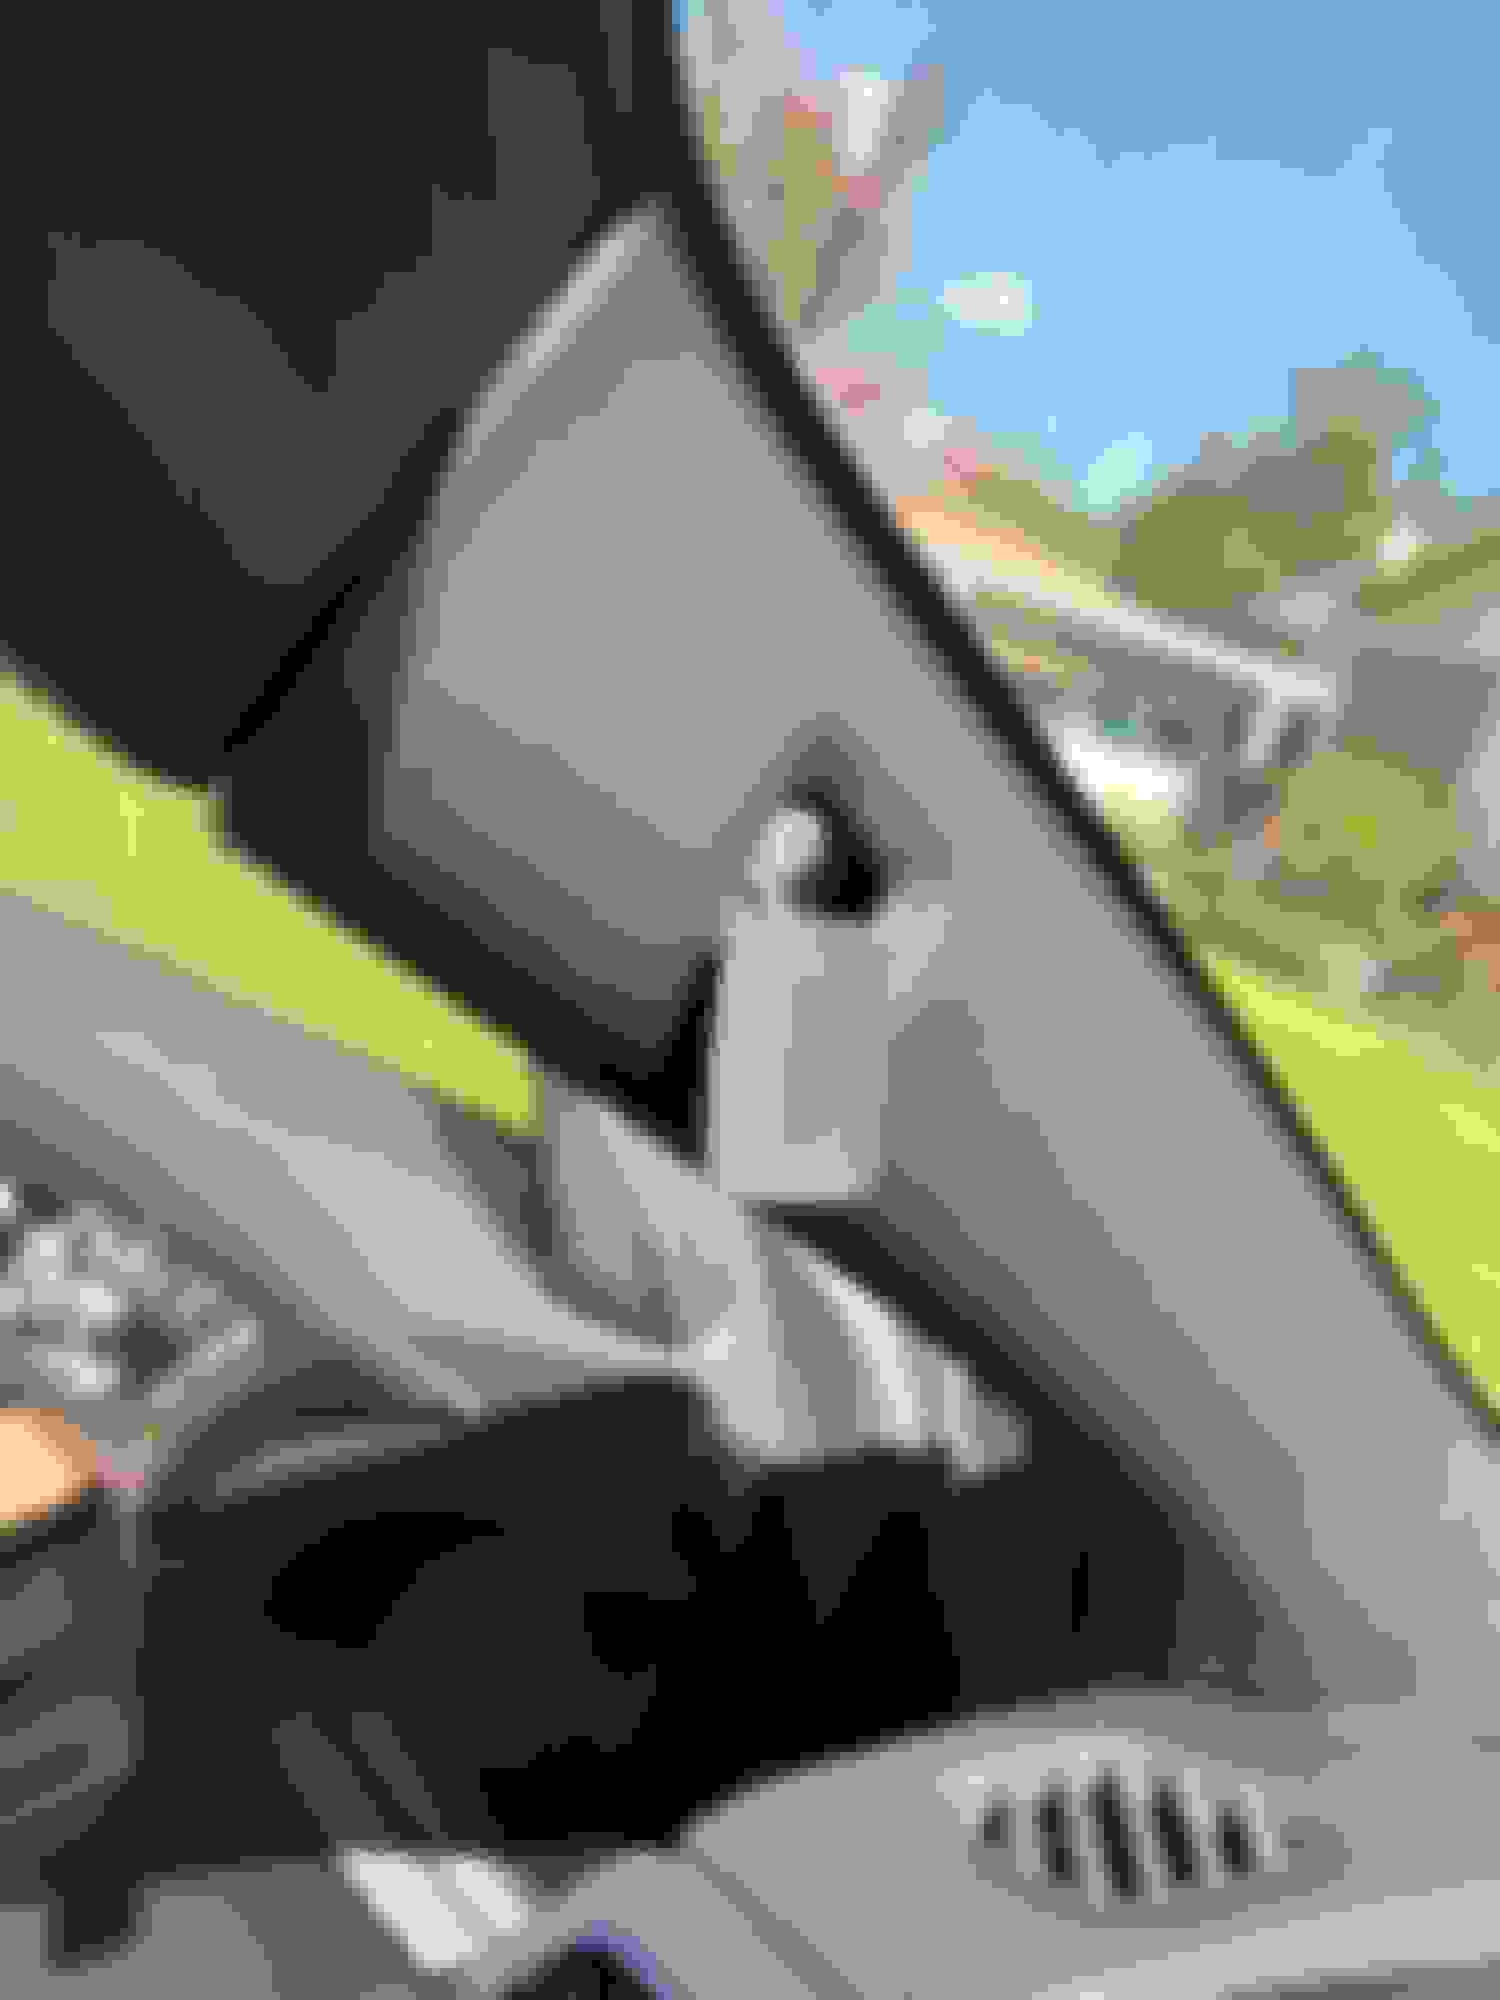
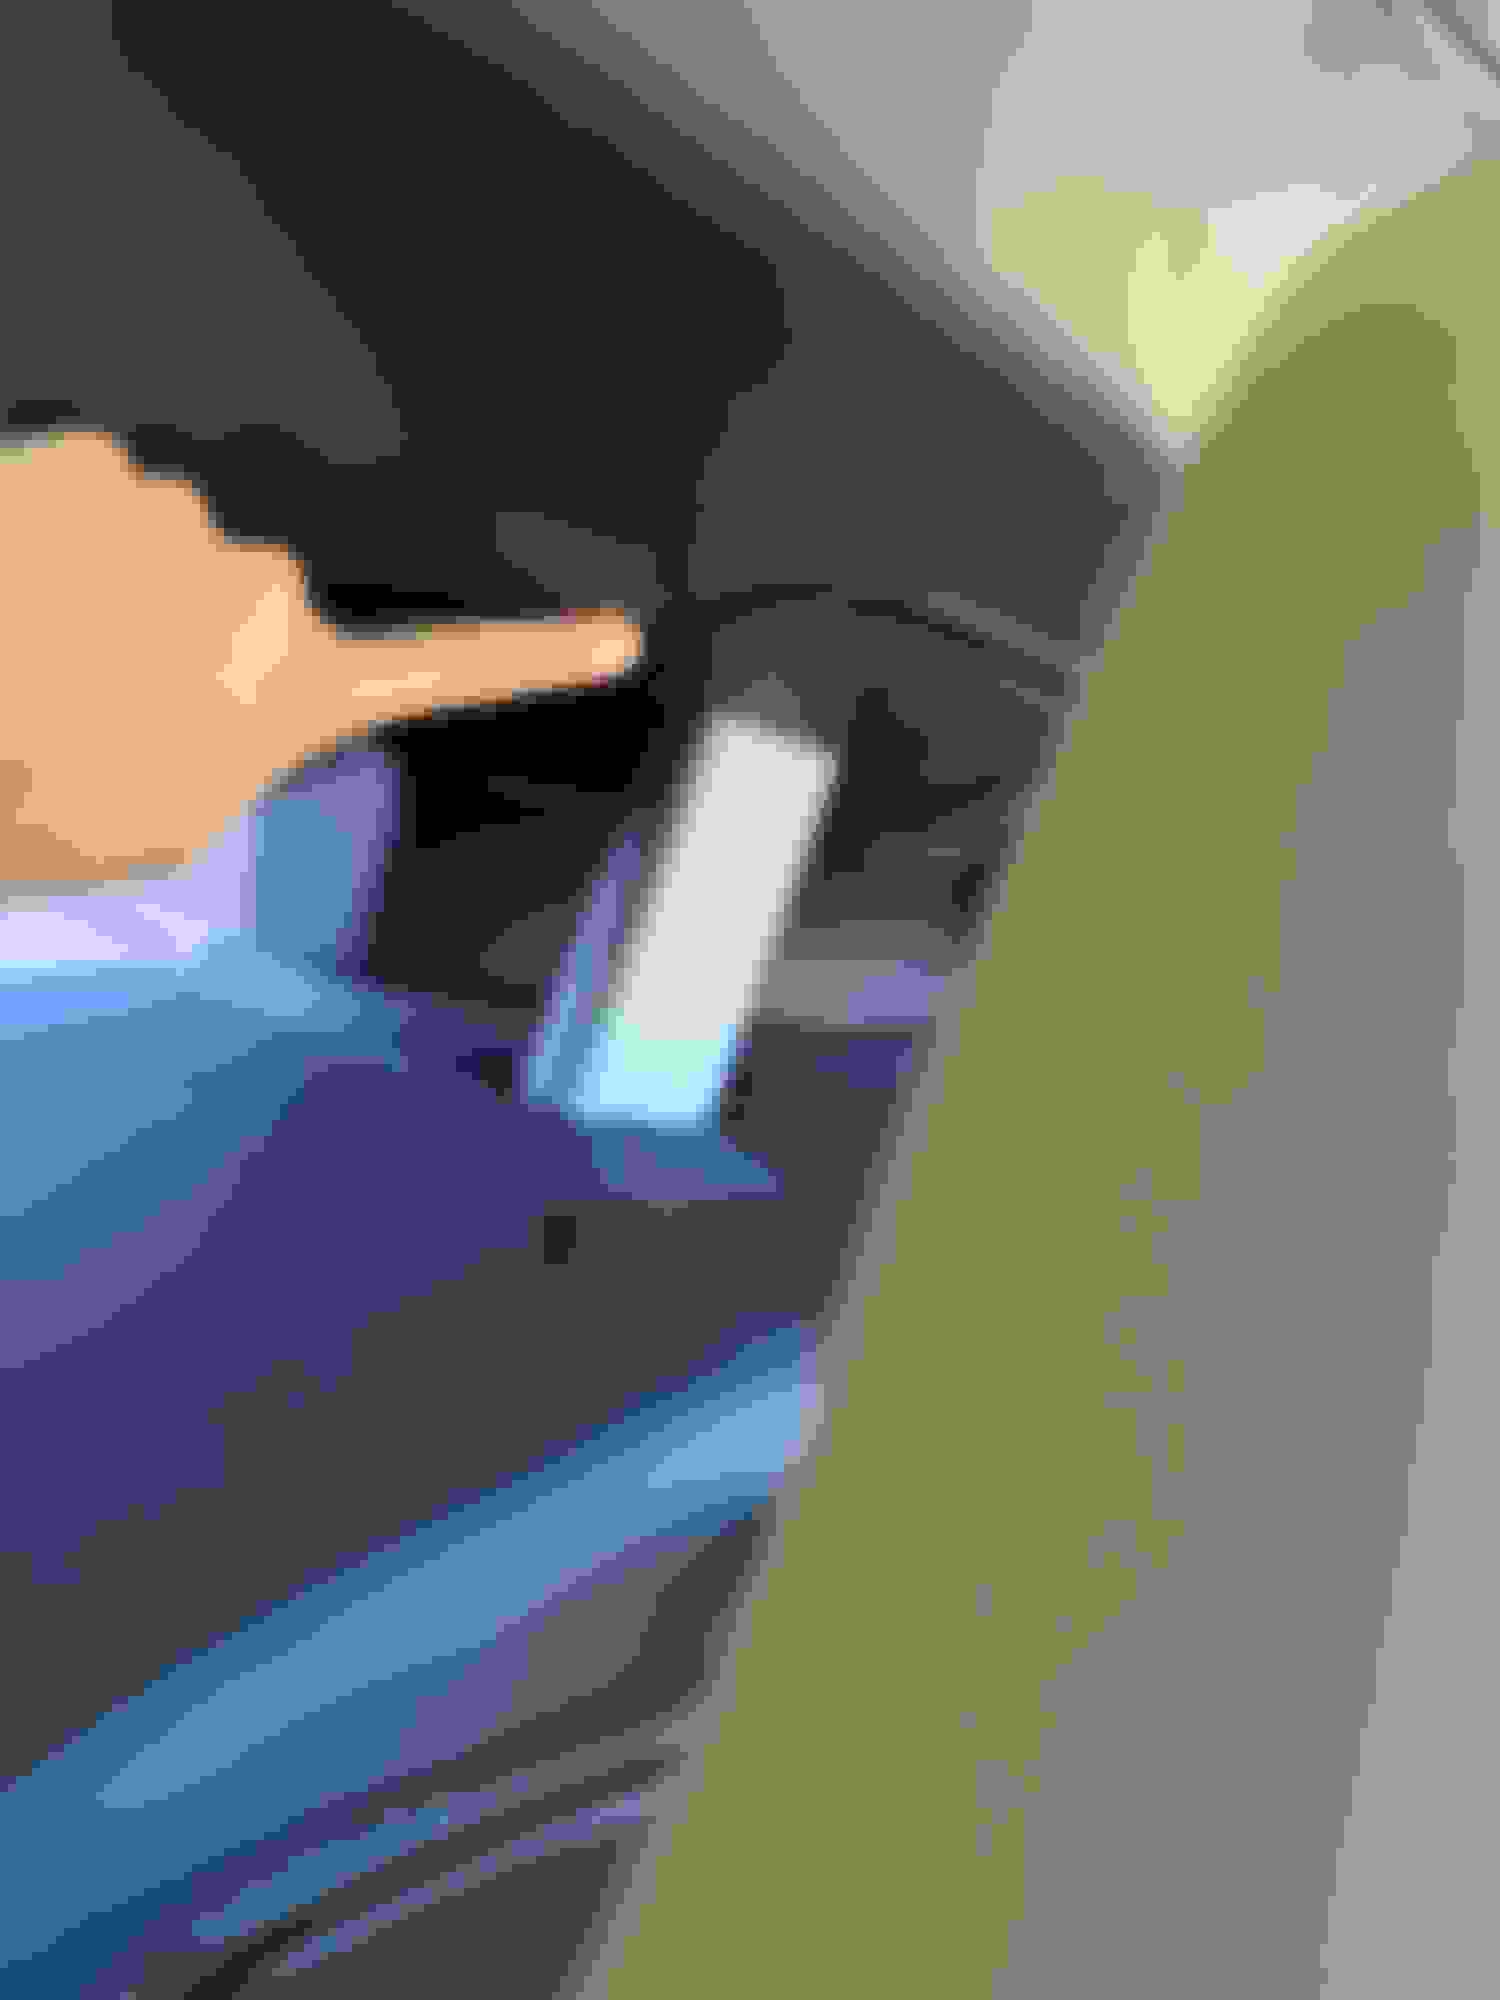
(I found this one out the hard way) Pop this cover off and a couple of screws will be there. There is one right about where my finger is that has a tab connected to the liner, remove only this T25. The others are off to the side, you can ignore the other screws there.
That is all that is really needed to remove the headliner.
TIPS
- Lower your door windows, scoot your seats forward and leaned back and the steering wheel down once youre ready to drop the headliner.
- The headliner will come out of the car from the sides at an angle. Pushed forward, front angled down, back end angled up a bit.
- The dome light comes off with the headliner.
- There are small cone tipped clips near the dome light area. I found it easier to just put my hand against the windshield and fingers behind the headliner to pry them down. It takes a bit of force and you will hear pops, but its okay, just be gentle.
- When you have the front lowered, youll notice the back is still stuck on top. There is a slider like clip all the way in the back of the headliner. Youll have to first slide the headliner backwards towards the tailgate to unclip this. (I could not slide it back in during the instal but its all good).
- The install is much harder.. youll need an extra set of hands to hold it up while you put everything back together. (or literally use the top of your head to hold it up like I did)
- Take your time cleaning the foam from BOTH the leather and headliner. The extra foam will show up through the leather once installed again.
- I'd recommend buying extra foam to instal, it will give it much better shape and wont show defects like in mine (I didnt install foam, so its just headliner and leather glued..)
- Research the right glue, I used liquid cement.. 3M seems to work well for some people but not for me as I found the leather too heavy for 3M spray glue.
- Leather wont really stretch, but it will get wrinkly in some areas. Mine's wrinkled near the A pillars.
You can see some of the defects left on mine from not installing new foam . Ill have to find time to undo everything again in the future, but for now its good for me.
I called an interior upholstery guy that the local Porsche dealership had recommended for a clients Cayman that had dropped it's fabric headliner. His quote then was $1,000 including fabric.
I said "Jaguar, leather, headliner." He said "NO." "The leather has shrunk and there's no way it's going to go back on and look right." I said "A new one is $2,200." He said "Is that all?"
So I had my dealership get one in from Atlanta and recruited my young tech friend to come lend a hand.
A) There's no way I would have guessed you need to remove the quarter windows first and that it was so easy to do. So thanks again Cwis for posting this guide!
B) We found it was easier to leave the visors on the headliner and remove them after the headliner was out of the car. Put them on the new headliner and then stuck the whole thing back in. Two people are definitely ideal for maneuvering the headliner in and out. We covered the dash with the huge bag the new headliner came in.
C) The dome light is easier to remove before dropping the headliner, just pry from the back and it swings forward toward the glass. Two harness sockets to unclip. That gives you access to a clip that needs popping out. Then you need to unclip the other end of the harness on the passenger side just by the A pillar before the headliner will drop down fully. The wire harness has to be transferred to the new headliner but all new clips come with the new headliner, including the yellow one in back that always breaks.
D) The quarter window at the back is just pressed against the outside trim. "Tightening" the nut means you're releasing the pressure, not unbolting something. That wasn't intuitively obvious to us at first. Having the tech help me was huge, he's more BMW than JLR but has good instincts on when to be rough and when to go easy.
E) The opening around the panorama roof is a press fit that is a bit fiddly. If you're taking down the headliner to recover it then you need to be carful here. You can easily damage the pressboard. Going back up is a bit of a trick. DON'T FORGET TO RECONNECT THE WIRE HARNESS! Ask me how I know.
And yes, the little covers on the upper part of the B pillar broke coming off. Going to order new ones this morning.
Unfortunately my headliner has come down on my 2016 for the 2nd time (now of course out of warranty), and my car is stored in a garage. When I got the estimate to repair I about fell over. This is after replacing the plastic coolant pipes, front suspension shock tops and spring isolators since the the bushing material turned to peanut butter. Total ****-poor materials - no excuse for that. None of these should fail in a car only 8 years old (bushings and coolant pipes should almost never fail). The only headliner I've had issues with is my 1967 Cougar. We've had many cars in the family over 10 years old with perfectly fine head liners.
How many others have had to replace theirs? I've counted 4 in a few posts.
Just noticed mine sagging on the passenger side much like the pic above when I was conditioning the leather earlier this week. I thought I would be fine since my car is garage kept. Not looking forward to the fix, but many thanks for the DIY.
A tip from installing my E's headliner is to make corresponding locating/centering marks on each side at the center, as well as the front center and rear center. You can also use green/blue tape and use a marker to make your arrow on that. You can then transfer those to the new headliner as required. Helps getting things lined up a bit easier. Congrats on taking this on, as well as the great writeup!
After the very high quote from a local repair shop ($3600 plus windshield removal cost) I decided to give Jag a chance. They repaired it (inadequately) under warranty... let me give them a chance to remedy their shoddy workmanship. I believe the 3rd try should still be on their Nickle since headliners are a long term item.
The local service manager heard my case (only questions - was I the original purchaser and did I own any other Jags - my reply was simply - should that matter?). He said he'd get back with me.
What a surprise - he didn't until I sent another email to remind him. They blew me off. He referred me to the same shop where the high quote was given. My retort was the following: "Please let your contacts at Jaguar know this will likely be our last Jag. Plastic coolant pipes (8 hrs. labor to replace), crumbling bushings in the upper strut towers and spring isolators ($800 in parts plus 2 hours labor), and a headliner quote of $3600 (from Central Auto) PLUS an unknown cost to remove the windshield has tipped me over the edge. The car is 8 years old with less than 27,000 miles, garage kept. This is very substandard quality and design. No other way to put it.
Quite a shame because we love this car."
This is after I had sent him the attached picture of Sep 4 (less than 2 weeks prior) and shared with him that not only did we tour Castle Bromwich but the 4 of us also toured Classic Works where they fed us lunch and we had a great time. Hmmm.... that doesn't show loyalty or interest in the brand?
In the day when I had quality issues with my Ford Mustang - they made good. Over $110K for this car new, and they can't stand behind their crappy quality parts and service?!
You don’t need to take the windshield out. You do need to remove the quarter windows, which takes about 5 minutes each. Other than the cost of the new head liner, it really was no big deal to swap it out. But the next time it fails I’ll have a guy redo it in Alcantara.
You don’t need to take the windshield out. You do need to remove the quarter windows, which takes about 5 minutes each. Other than the cost of the new head liner, it really was no big deal to swap it out. But the next time it fails I’ll have a guy redo it in Alcantara.
Understood, I've already put the details above into a document I'm taking to the shop I use (he's not tremendously computer literate so hard copy with pics makes it easier)!
BTW - it appears the problem I have is that all Jag did in 2018 was to put the same (new) POS headliner board (with leather already poorly affixed) in the car. It was a ticking time bomb as we've seen. The local guy here does all the high end work (including all of Lexus' work). He will do it properly.
Tremendous thanks to all on this post, in particular Chris (Cwis). Your notes were wonderful. As stated above, I consolidated them and brought them to a local gent who's had to do the same on Bentleys - all was just per the notes. $650 was the total charge. I'm quite happy. Hopefully no other crap quality parts to deal with!
 09-07-2022, 06:22 AM


 . Ill have to find time to undo everything again in the future, but for now its good for me.