When you click on links to various merchants on this site and make a purchase, this can result in this site earning a commission. Affiliate programs and affiliations include, but are not limited to, the eBay Partner Network.
Obviously this doesn’t apply to everybody but I thought I would post it in case it helps some of you.
I have the coupe so won’t apply to the convertible.
I have dynamated the doors and the rear speaker baffles. As part of gaining access removing the two side covers to enable removal of the parcel self really reveals how everything is really flimsy and moves against each other like a old cardboard box held together with failing sticky tape. There is just so much flex in all the parts it is no wonder it is a squeak heaven.
Hard plastics rubbing together is poor design and could have been done in a better way.
Most of the noise in my case comes from the two rear side panels
pressing on this in any area of this panel cause squeaking, from top down or pressing the thinner part outwards towards the side of the car
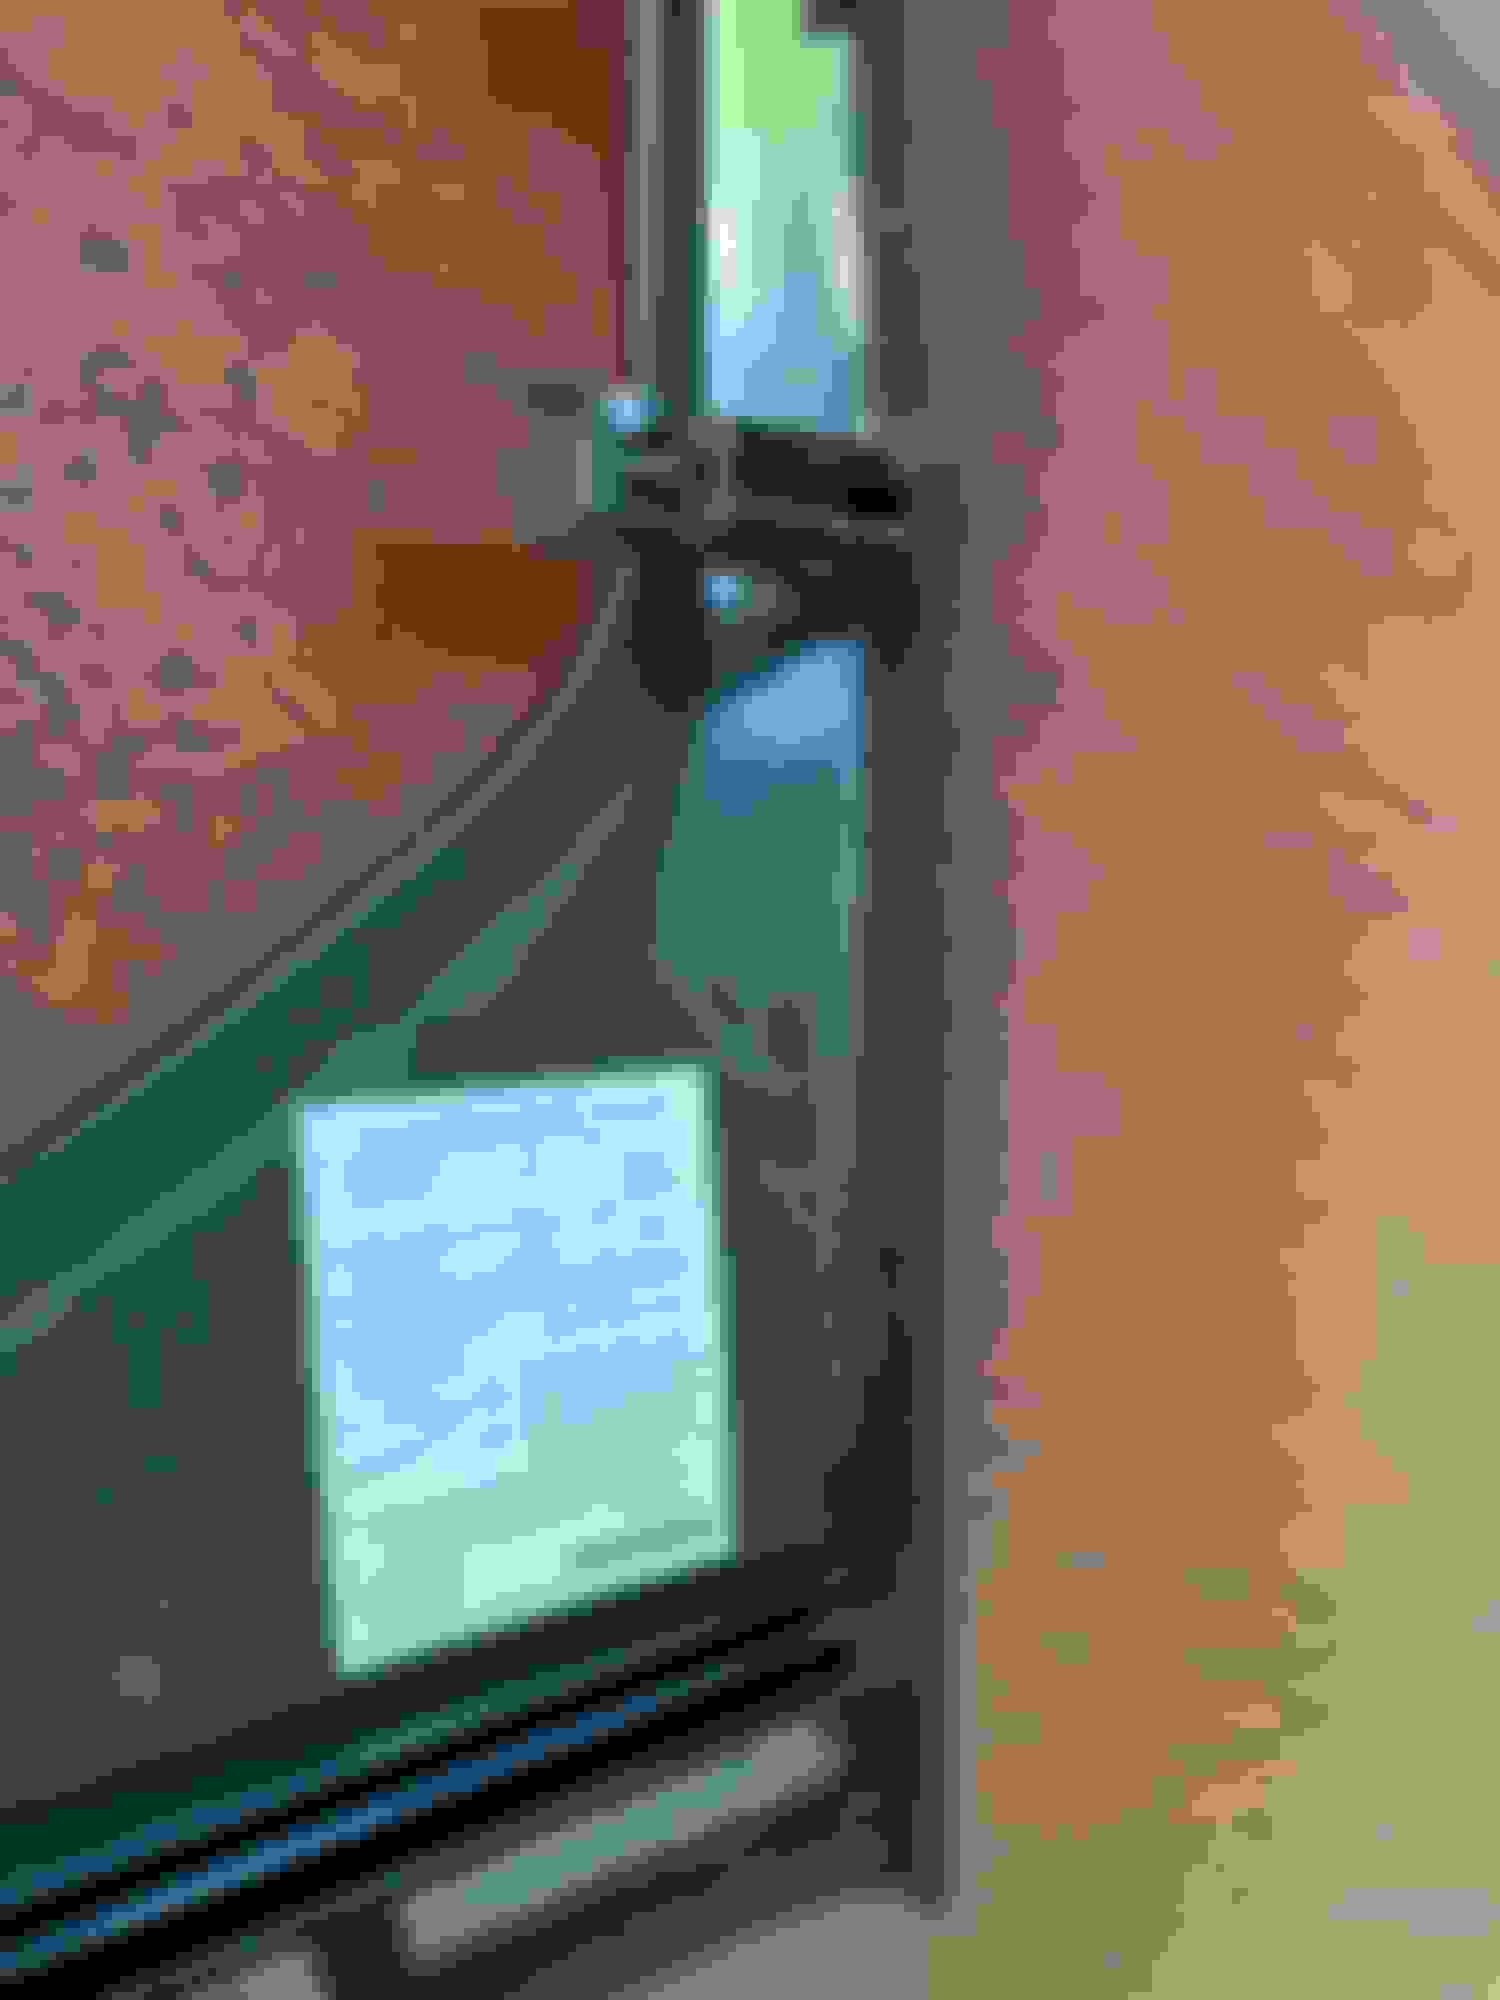
it rubs i the areas highlighted in red in the photos below.
I have lined the rubbing areas with felt tape wrap and there are no creaks when pressing on this part any more. The car flexing would also cause these panels to rub .
A second rubbing point is the green line where the luggage cover can rub on the plastic shelf it sits on. Taping this is easy as pictured
below are pictures of where I taped the edges of the side panels. It won’t rub on the carpetted panel behind it but the last 6 cm of the tip part does rest against a non carpeted plastic part so will squeak as well if not done.
Only need to do the inferior edge Do the last 6cm underside AND backside I don’t think this squeaks but did it anyway
ok that’s it
a couple of rattle points in the back to isolate if you are having rattles
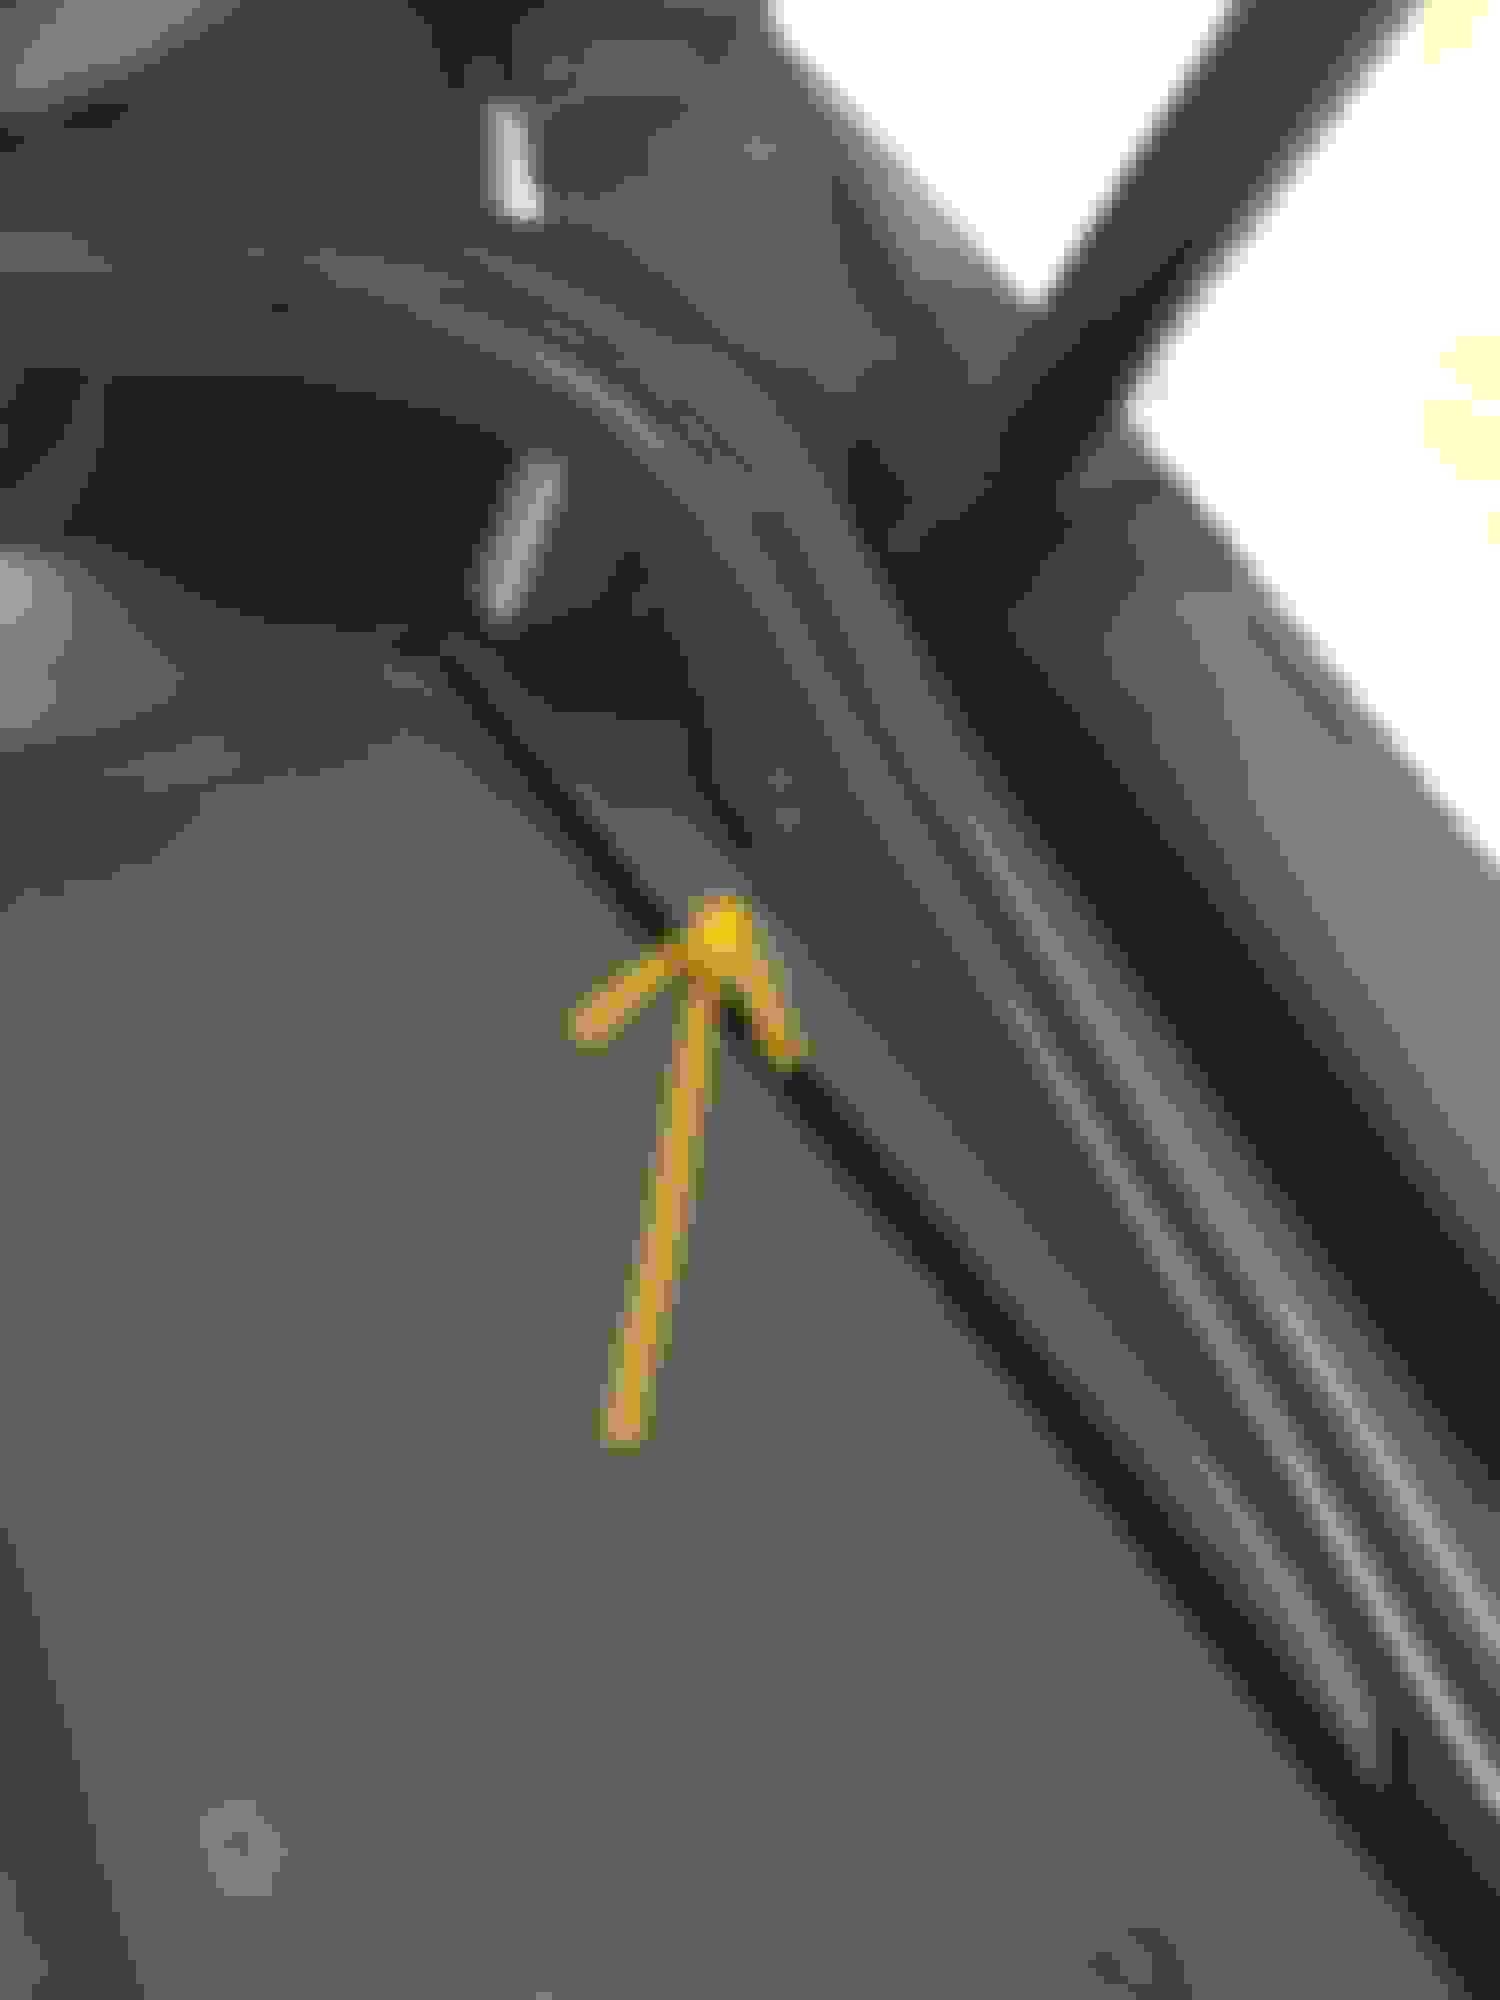
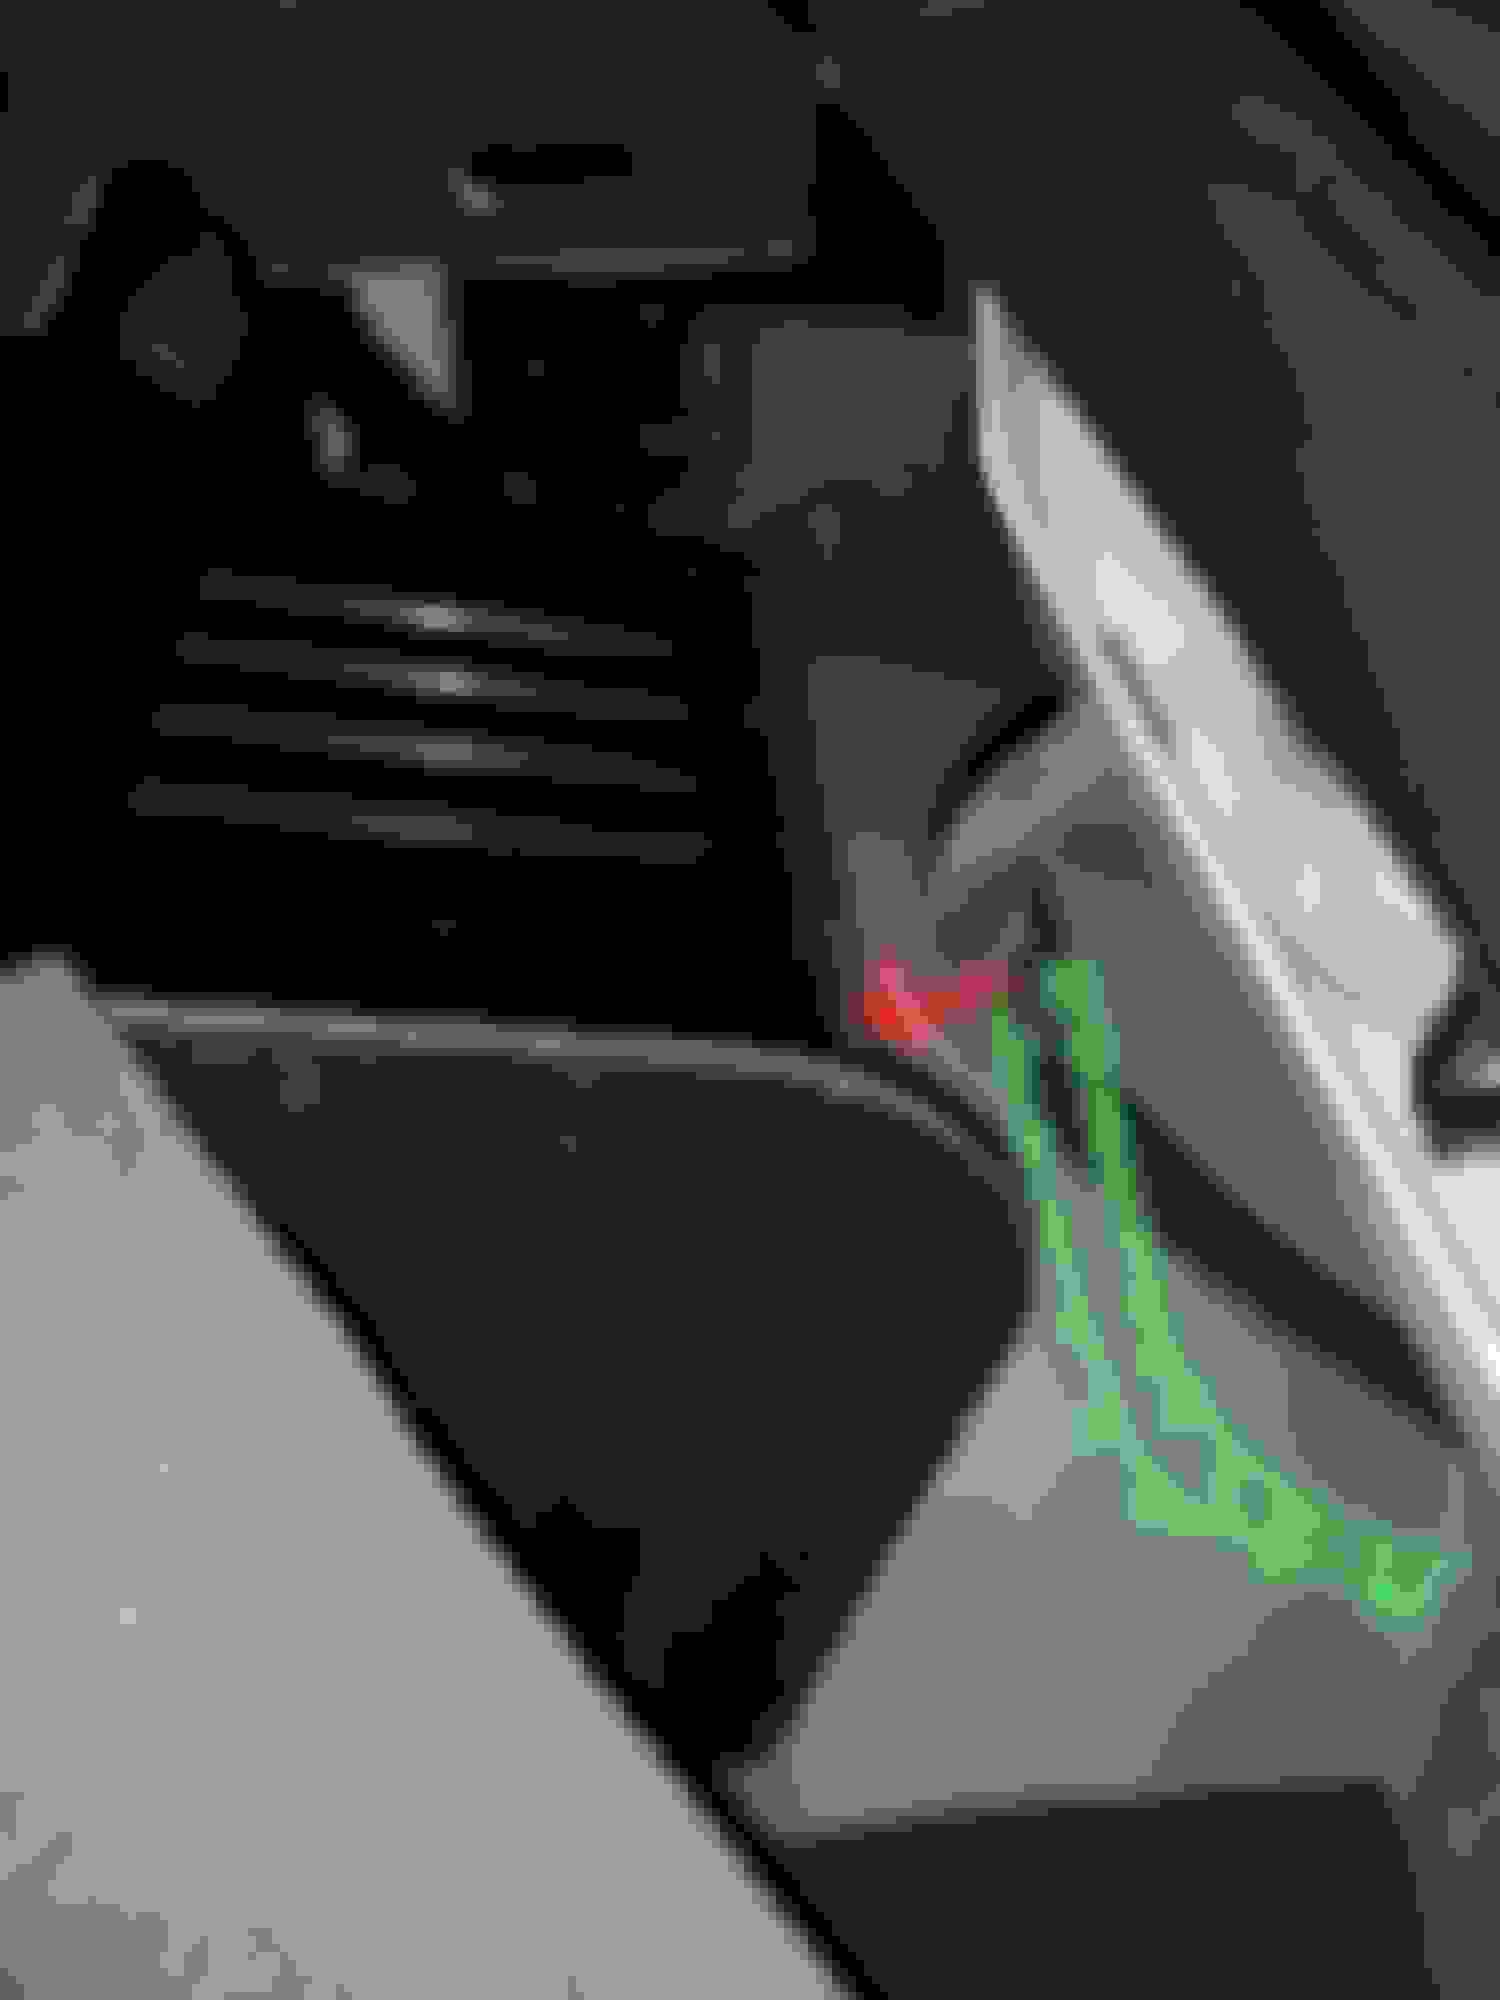
The rear side window drains can rattle against the plastic part as shown by the red arrow. One of my sides was clipped into a holder right at the very bottom and will be held taught and away from the contact point as shown in the photo. My other drain was just hanging loose which then lies in the path of the green dots and can rattle. It is hard to put the loose end back into the clip as it is right down the bottom and you are doing it blind and by feel only and you don’t want to create a kink. Carpeted rear panel can vibrate forward and backwards as the hole for the push in anchor is bigger than the width of the anchor pin. I put some self adhesive foam under it to tighten everything up
Thank you for the guide. I took my parcel shelf out a while back when I needed some extra room and realized what a huge contributor it was to the creaking noise back there, but I eventually put it back in and have been dealing with it. I'm going to give this a try once I get some of that felt tape.
Where exactly is this? I am having rattles only on bumps from the rear passenger side of the trunk. That seems like a candidate for it. Is it behind the large cover of the trunk of the right/left side? Because the vented side looks very much like it.
You’re welcome , glad it has help others enjoy their cars a bit more.
that drain is for the rear quarter window so the view of the picture is from the front . I removed the rear parcel shelf and the subwoofer panel to get access . Not sure if you can access that area from the boot
Thank you Borbor,
"I removed the rear parcel shelf and the subwoofer panel to get access . Not sure if you can access that area from the boot"
I am fairly new to the F-Type, is that an easy process? Because I am fairly sure thats my rattling noise.
super easy and would rate it as 2/10 on difficulty scale even with no experience. Remove the luggage tray cover.
using a plastic trim tool (best) or small screw driver with the tip wrapped in several layers of hankerchief so as not to scratch anything remove the panel with the yellow arrow in the first picture. Gently pry it towards the centre of the car ie away from the sides of the car.
Once both sides are out you can push the rear parcel shelf forward. Maybe a few soft taps with your hand to release the clips that hold it in place. You will have to move both seats as far forward as possible.
Then you can access the subwoofer panel. Unscrew the long plastic pointy thing at the middle and very top of the panel. Make sure you note how it sits /slots into the carpet at the bottom.
You also have to release the plastic vertical trim pieces that hold the outer edges of the subwoofer to the door frame . To release that you have to lift the at least the rear part of the inner plastic kick plate to create some wiggle room. All of the is done simply with your fingers and gently lifting and wiggling at the same time to release the panel clips
There are more threads on this as well so search. Have done it so many times would only take 3 -5 mins to strip everything out now.
Only word of advice is when replacing each part make sure you line up the panel clips to their hole carefully before pushing/ clipping it back in. Takes as much effort as pressing a door bell for example to click in if aligned correctly. If you just think it’s in the right position and thump on it you will destroy the panel clip and will then have to source new ones. Same with slotting the very first piece you removed back in. I actually climb into the boot to align it when sliding it back in as so many times I was sure it was lined up when it wasn’t

 02-27-2021, 01:49 AM