When you click on links to various merchants on this site and make a purchase, this can result in this site earning a commission. Affiliate programs and affiliations include, but are not limited to, the eBay Partner Network.
Unfortunately, I do not have red brake calipers on my V6s that is a black/w-red int F-Type. This is something that I am looking to do in the near future and I am either going to rattle can or bristle/foam brush paint them. Before doing that, I want to see if anyone has a set of Red calipers they've either replaced or want to swap for black ones. According to my spec sheet, I have these brakes:
C08F - High Performance Brake System
Unfortunately, I am not setup at home to be able to easily pull all calipers to rattle can them, unless I do them one at a time, which will then make bleeding the system a problem. So I may go with the foam brush approach with them still on the car. I'm paranoid about overspray so leaning towards the brush route since the calipers will most likely be staying on the car.
I know there are other threads on this topic that I have reviewed, but they talk about buy vs paint, covers vs paint (would never consider covers, kinda cheezy looking and apparently will make the brakes run hotter)
I highly recommend G2 caliper paint. It will is an epoxy paint that forms a tough coating on the caliper. Make sure everything is cleaned and sanded first. I divided up the paint and catalyst and did the fronts then the backs. I jacked up the front with a floor jack and jack stand using slotted hard rubber discs.
Appreciate the tip. Is the G2 a brush on or spray or either available? Did you brush or spray yours? In the pics there is a slight hint of an orange to me, is that true or are they dead red? I've ordered the decals that are supposedly heat ready, but I see you don't have the decals on the fronts. I assume you have different brakes than my V6s?
It is brush on and they give you a small hair brush which I didn't use for fear a hair would get in the paint. I bought a large and small sponge brush to use instead. The color is deep red. I did not paint the caliper clips. I removed them first as I prefer that look so no decals. If you do that, make sure the paint has a good 24 hrs of drying before you put them back on or you will rub off the paint. Tape up any part you don't want to get paint on.
Thnx Buck, I think I may have seen what you state above in another thread and specifically recall the 2 foam brushes as opposed to the bristle option. Not having to take the calipers off for me will be a big plus and mean I may actually be able to do this without anyone assisting due to my automotive acumen and garage setup limitations.
I've used rattle cans to spray paint the calipers in place dozens of times over the years, and never had a problem with overspray. Simply mask off around the caliper but no need to go nuts as any overspray can be easily cleaned up with turps, and any small amounts or smears left on the braking surfaces of the rotors will be cleaned up by the brake pads in no time with no harm to the pads or rotors.
It's a lot easier than having to remove the calipers (and don't forget the caliper holders/brackets will also need painting and hence also need to come off) which as you say will let some air into the brake lines and therefore necessitate some brake bleeding, and the finish is usually a lot better and smoother than using a brush or sponge.
As with most painting jobs the secret is in the preparation, so thoroughly clean the calipers and brackets beforehand.
++1
Done this on many of my cars, there are plenty of good caliper spray paint options, its easy to do, easy to touch up, and looks great. Consider using a clear coat after the color coat for more durability. Brushing seems like a PITA and I can't imagine the finish is as nice...
can anyone share pics of the prep/protection they put on their vehicle prior to using rattle can to paint? I would vomit if I had red overspray on my black fenders or qtr panels or even under the wheel well. Is blue painters tape OK to stick to the exterior paint without leaving residue marks or stripping paint?
Remember spray paint is paint that dries once the solvent evaporates. G2 is an epoxy that polymerizes into a very durable and thick coat depending on how many coats you use. I used three.
I's actually leaning towards the G2 and brushing on. How long has it been Buck since you painted them? How do they look as of today (pics)? I'd also like to see pics, assuming you get the decals, to see proper decal location for front/rear calipers. Is it safe to use jackstands on the Ftype? I think I can dig one pair up and either do a side at a time or an axle at a time.
I used Rustoleum Caliper Paint. I got it on Amazon. I used the smallest Home Depot throw away paint brushes and an artist brush for the hard to get to areas. I did this on my Fiesta. My Jag is red enough ! I didn't use the spray caliper cleaner because its basically airplane glue and was afraid it would melt the surrounding parts.
I painted them in May. They look perfect after the wheels are washed. The accumulate brake dust like the wheels. I'll take some pictures when the car is outside. I would do the two fronts then the two backs since the backs are way different from the fronts. You only need one jack stand and a hydraulic floor jack with two hard rubber grooved hockey pucks. In the front behind the embossed triangle on the bottom of the skirt is a raised bar about a foot long. You can jack up one side placing the groove of the puck under the bar. Put the jack stand with its puck next to it on the bar and lower the car on the jack stand. Now just jack up the other side with the floor jack and you are good to go. Loosen the lug nuts first of course. I didn't paint my anti-rattle clips so I will not use decals. If you do, they will go in the clips.
For the back, also right behind the triangular symbol is a three sided bracket with three bars. You can put the jack with the hockey puck on any of the three to jack or support the car.
For the back, also right behind the triangular symbol is a three sided bracket with three bars. You can put the jack with the hockey puck on any of the three to jack or support the car.
The correct jacking point is smack in the middle of those three bolts, on the flat plate. But if you have a large trolley jack with a large head the head might not fit between the bolts.
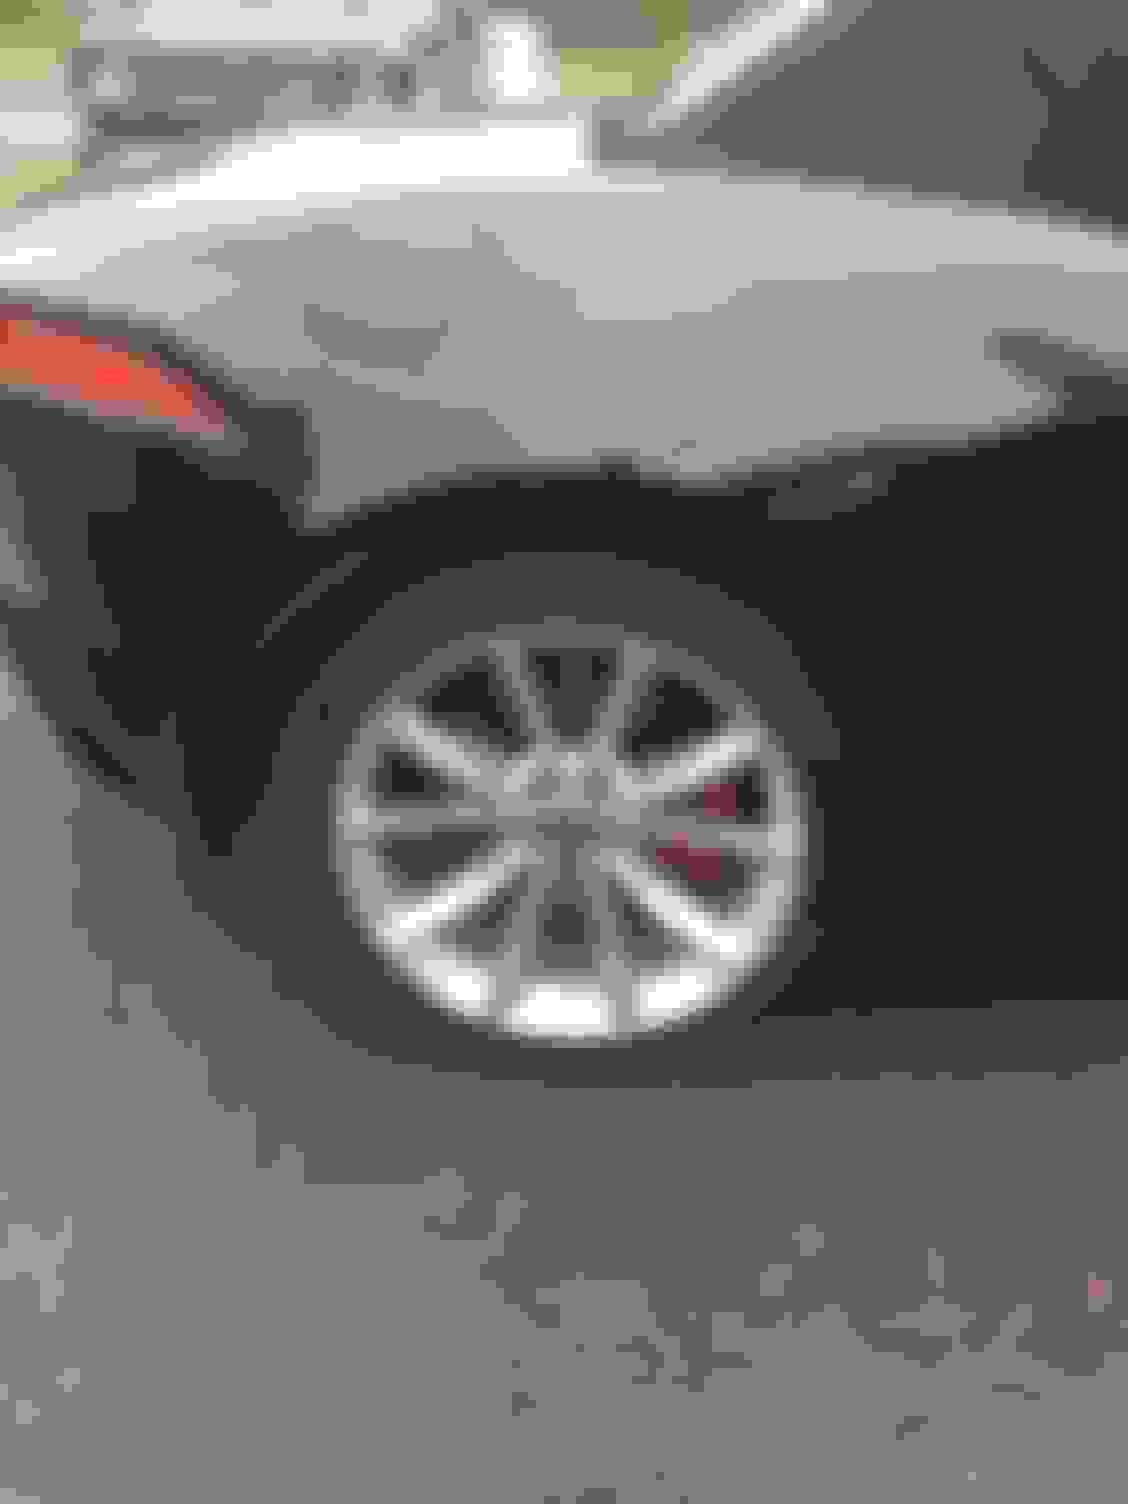
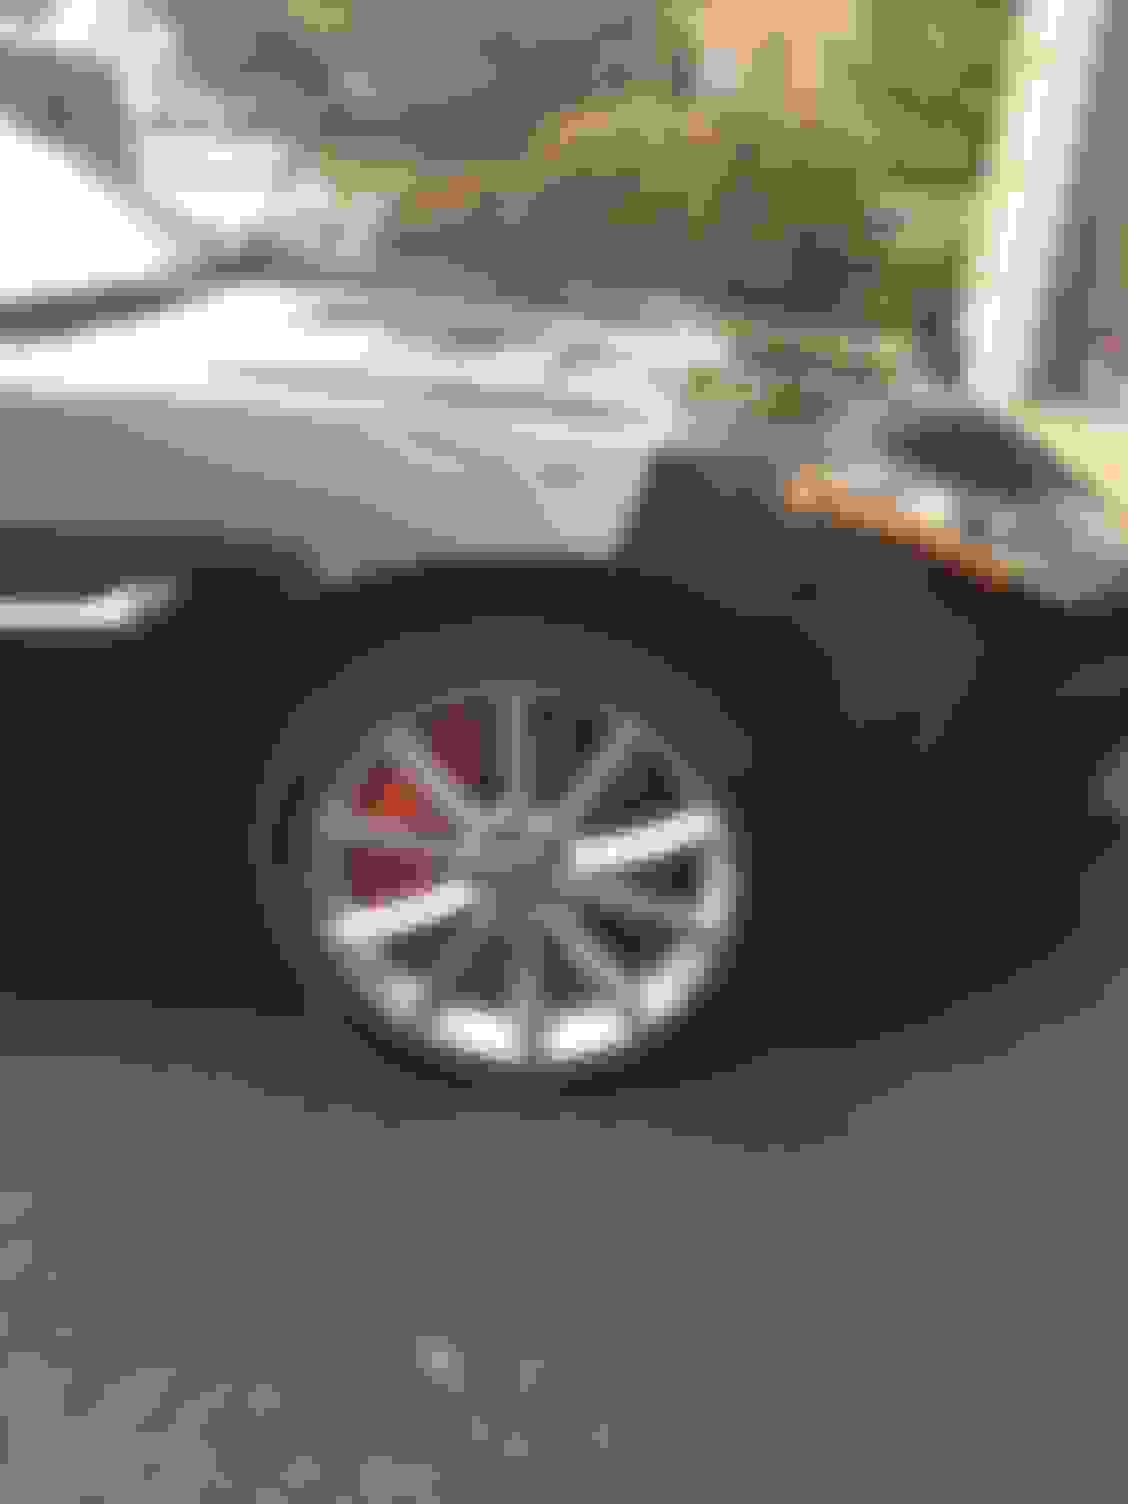
Any chance someone has a pic (or can take one) of the factory rear brake calipers when red? I have seen the fronts, but I am trying to figure out what finish is on the rear (Jaguar decals or not). In the pic posted by buckingham, I cannot see the entire caliper to see if there is anything, plus these are not factory red. Also, for anyone that has used the G2 paint, did you use any sort of seal/clear coat after painting?
No decal on the rear and no anti rattle spring. They look just look just like mine. No need to further coat after G2. In fact, it is not recommended as it will flake whereas G2 is an epoxy polymer and won't.
I can confirm about the rear brakes, because I have now got/had both the 326 mm and 376 mm versions. Both come without anti-rattle springs or decals. The springs are integrated into the ends of the pads, and it's difficult if not impossible to apply decals as the OEM surface is too rough/bumpy/orange peely. I tried on the 326 mm ones and no way would the decals stick, and the finish is the same on the 376 mm ones.
I have read elsewhere that it isn't too hard to sand/buff the outer surfaces of the calipers to a smooth finish and then repaint so that the decals will now stick, it's something I might try one day.
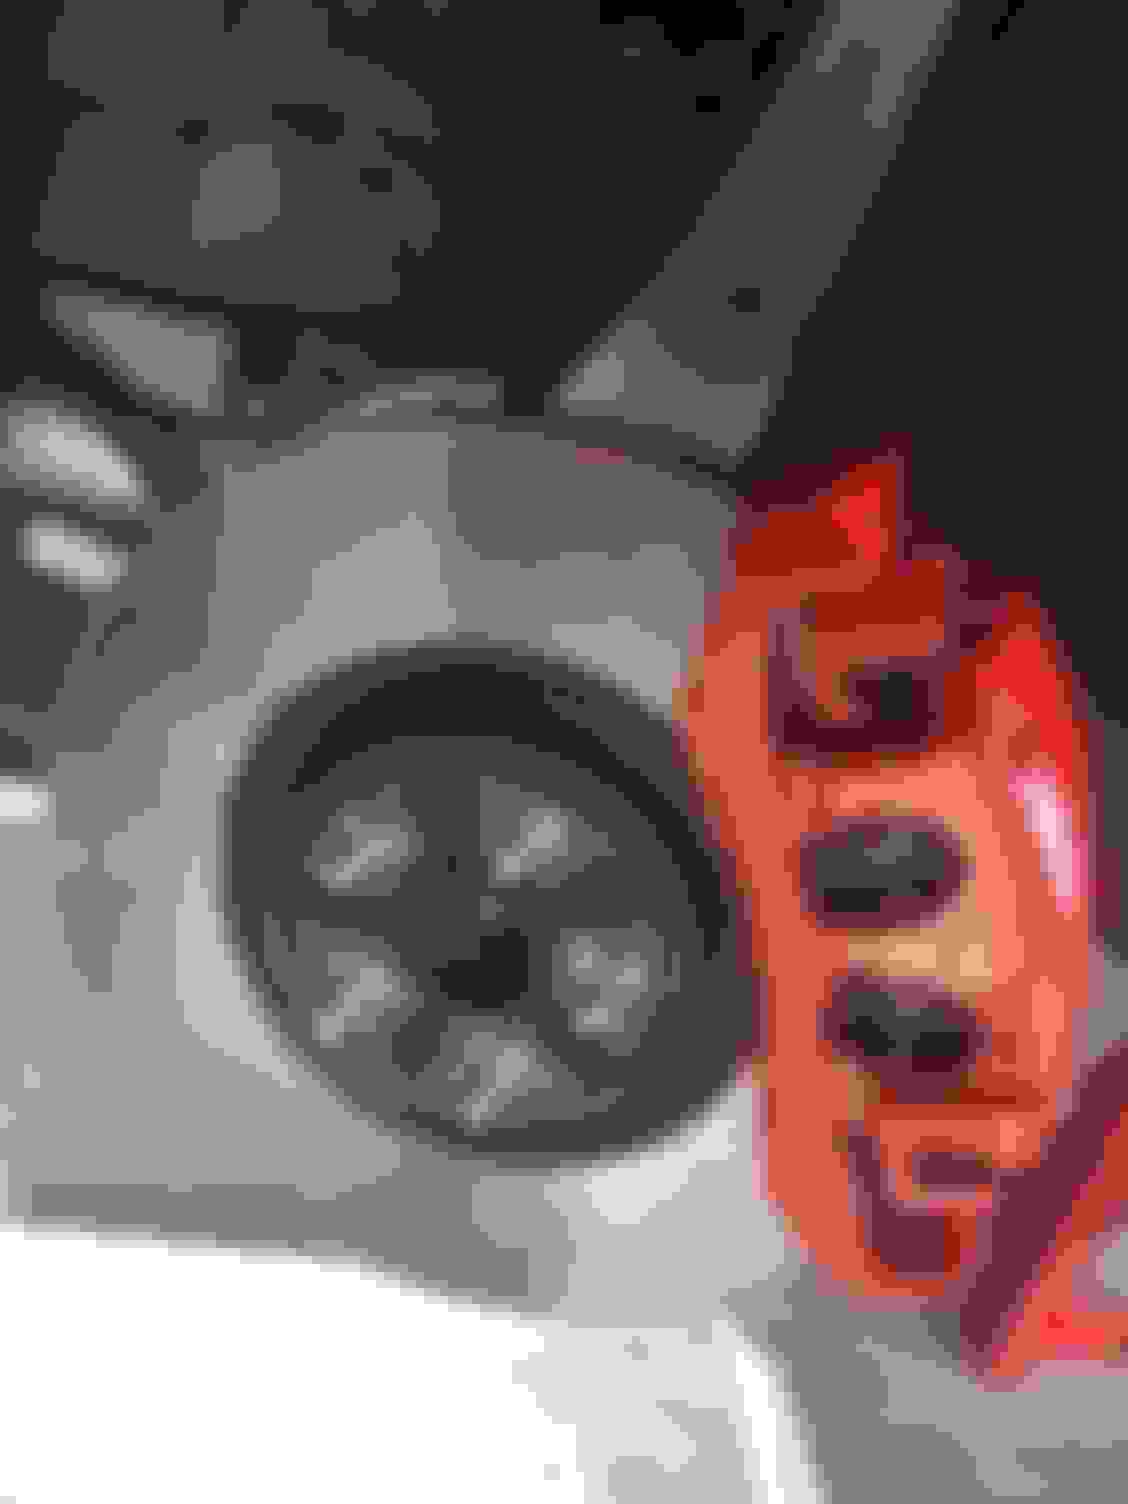
Alright, so I finally got around to painting my Calipers red and I think it came out pretty good, but not perfect. One of the mistakes I made was not waiting long enough for the paint to dry on the front calipers before applying the Jaguar stickers. When peeling back the covering for the stickers it did a little damage to the paint. And yes, I still did the second sticker after it happened on the first sticker. I had to get the garage cleared out so I could appease the wife (rain on its way).
Yes, I painted the springs, but every pic I could find of the factory red calipers had the springs painted.
Yes, I cleaned up the rotors prior to putting the wheels back on
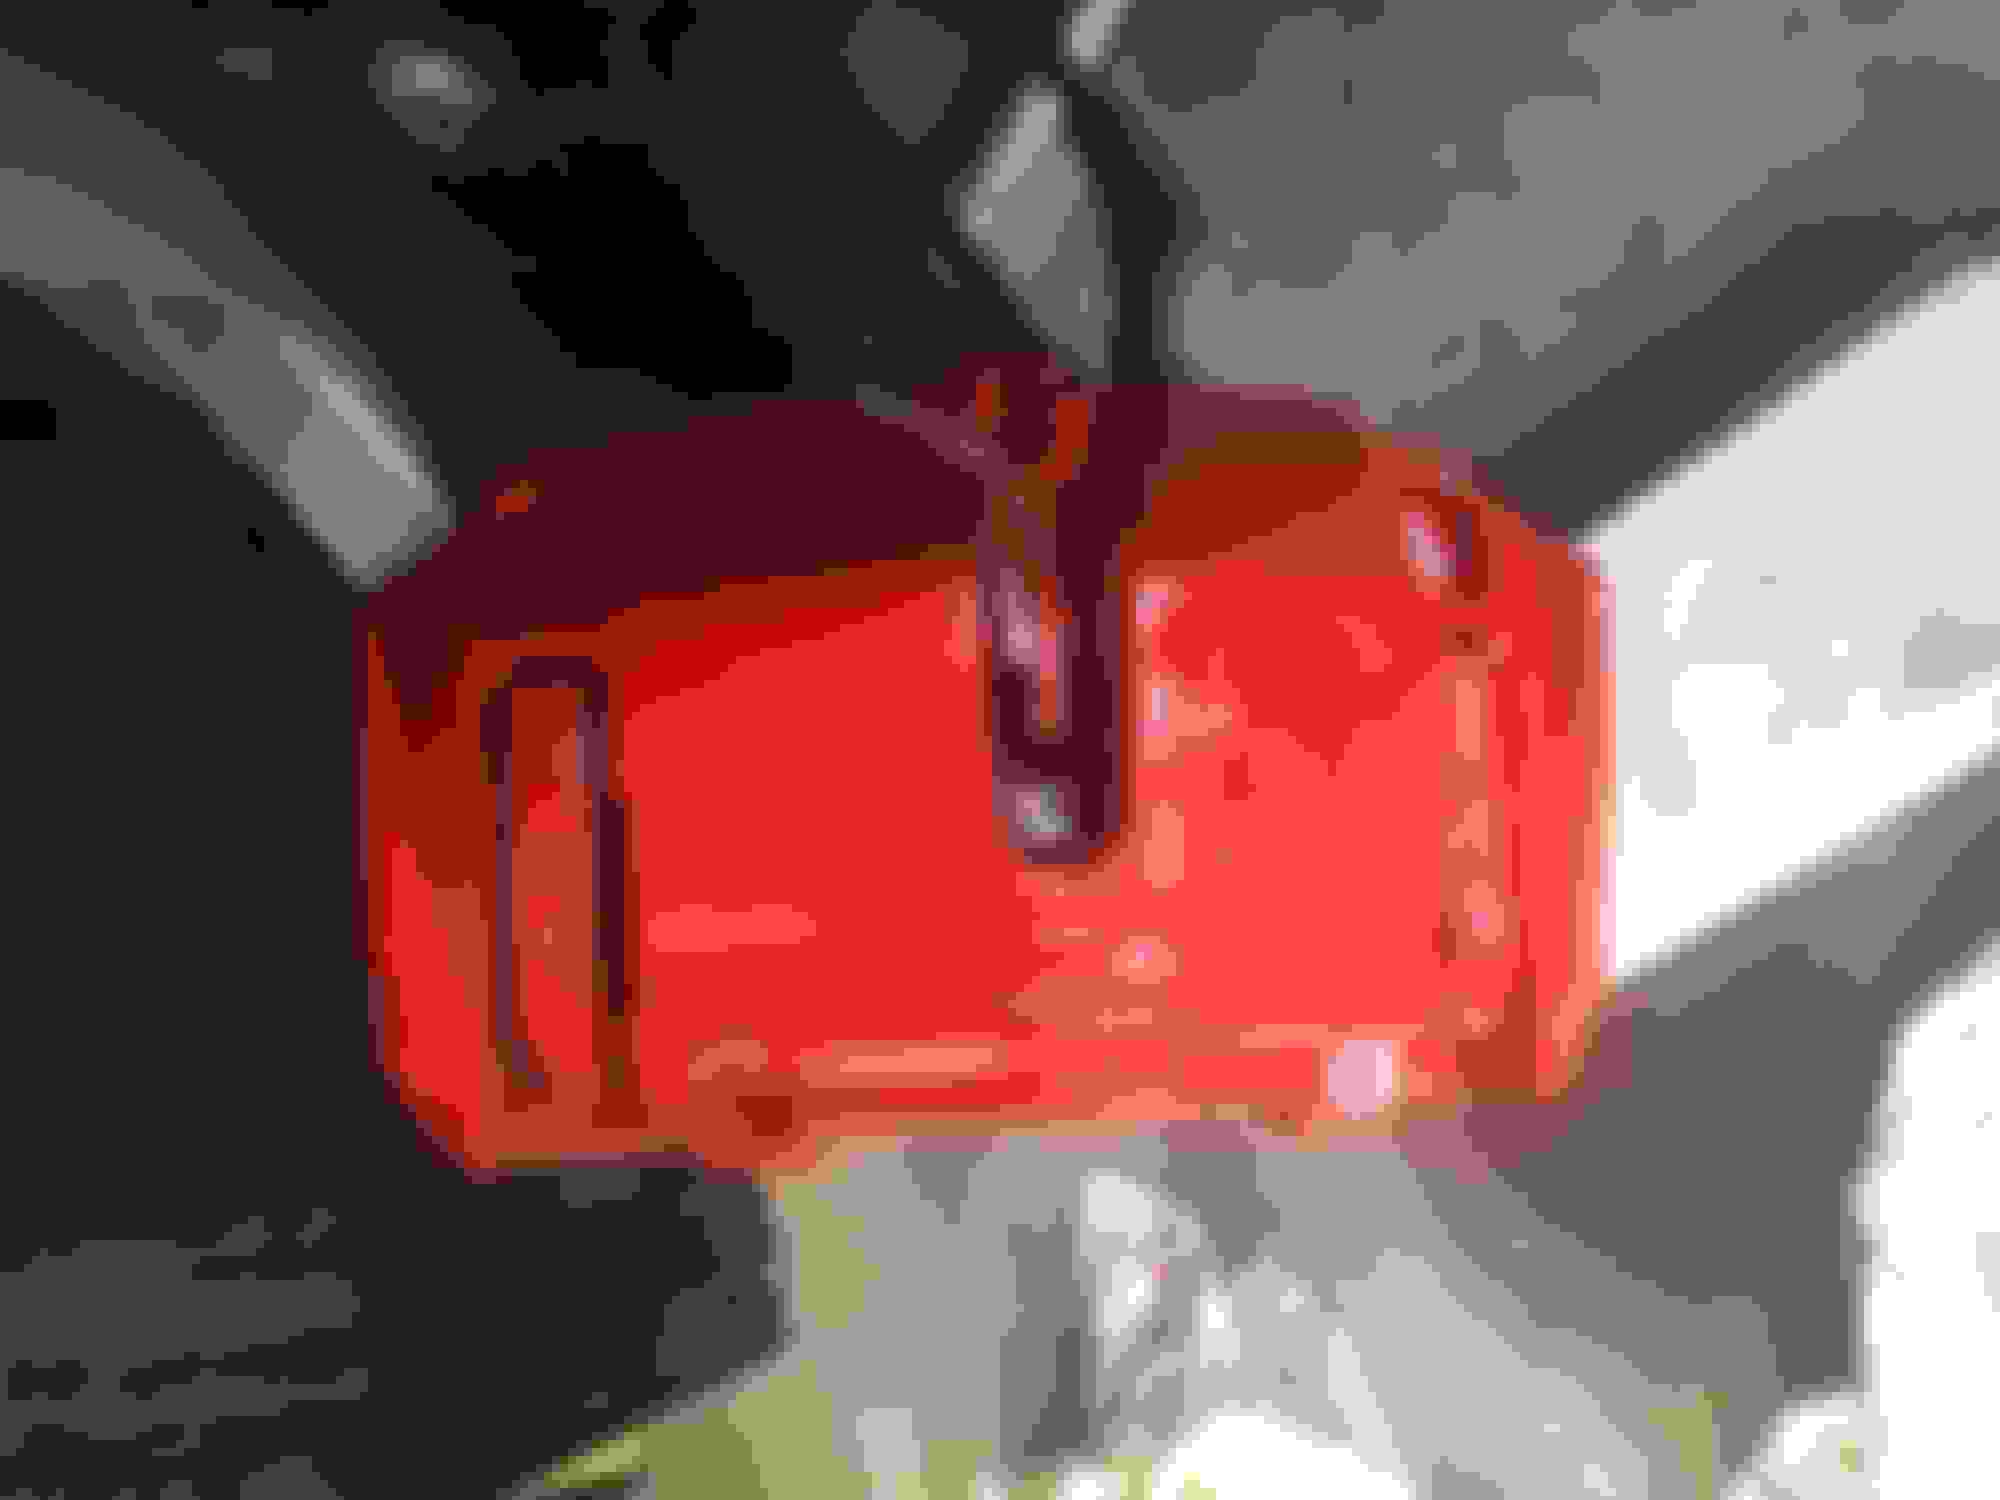
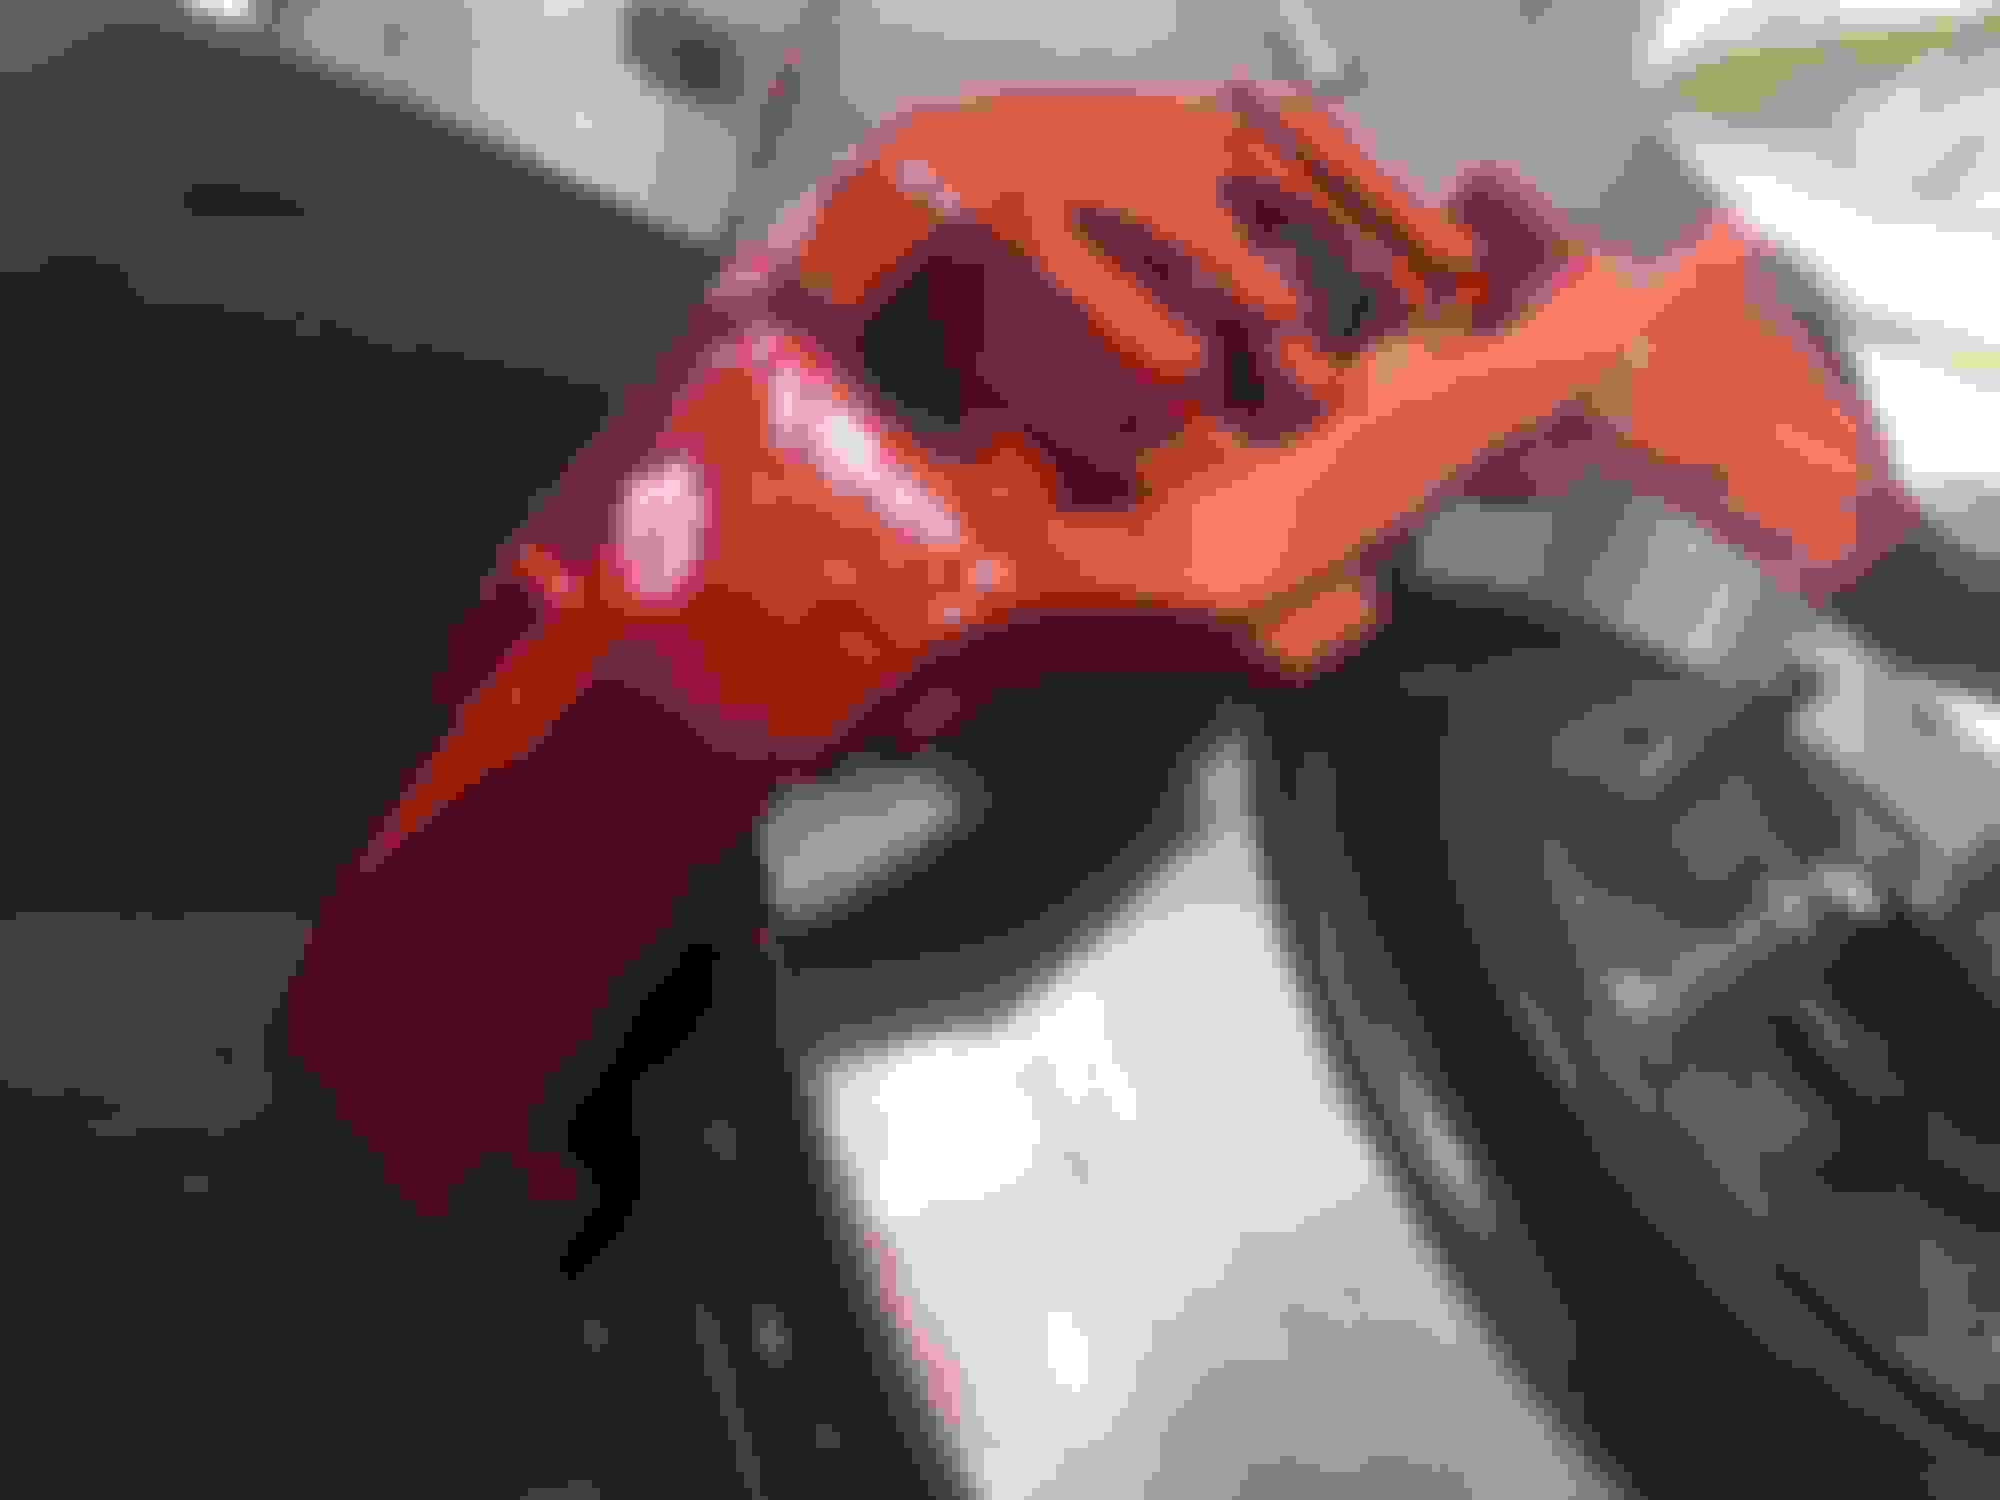
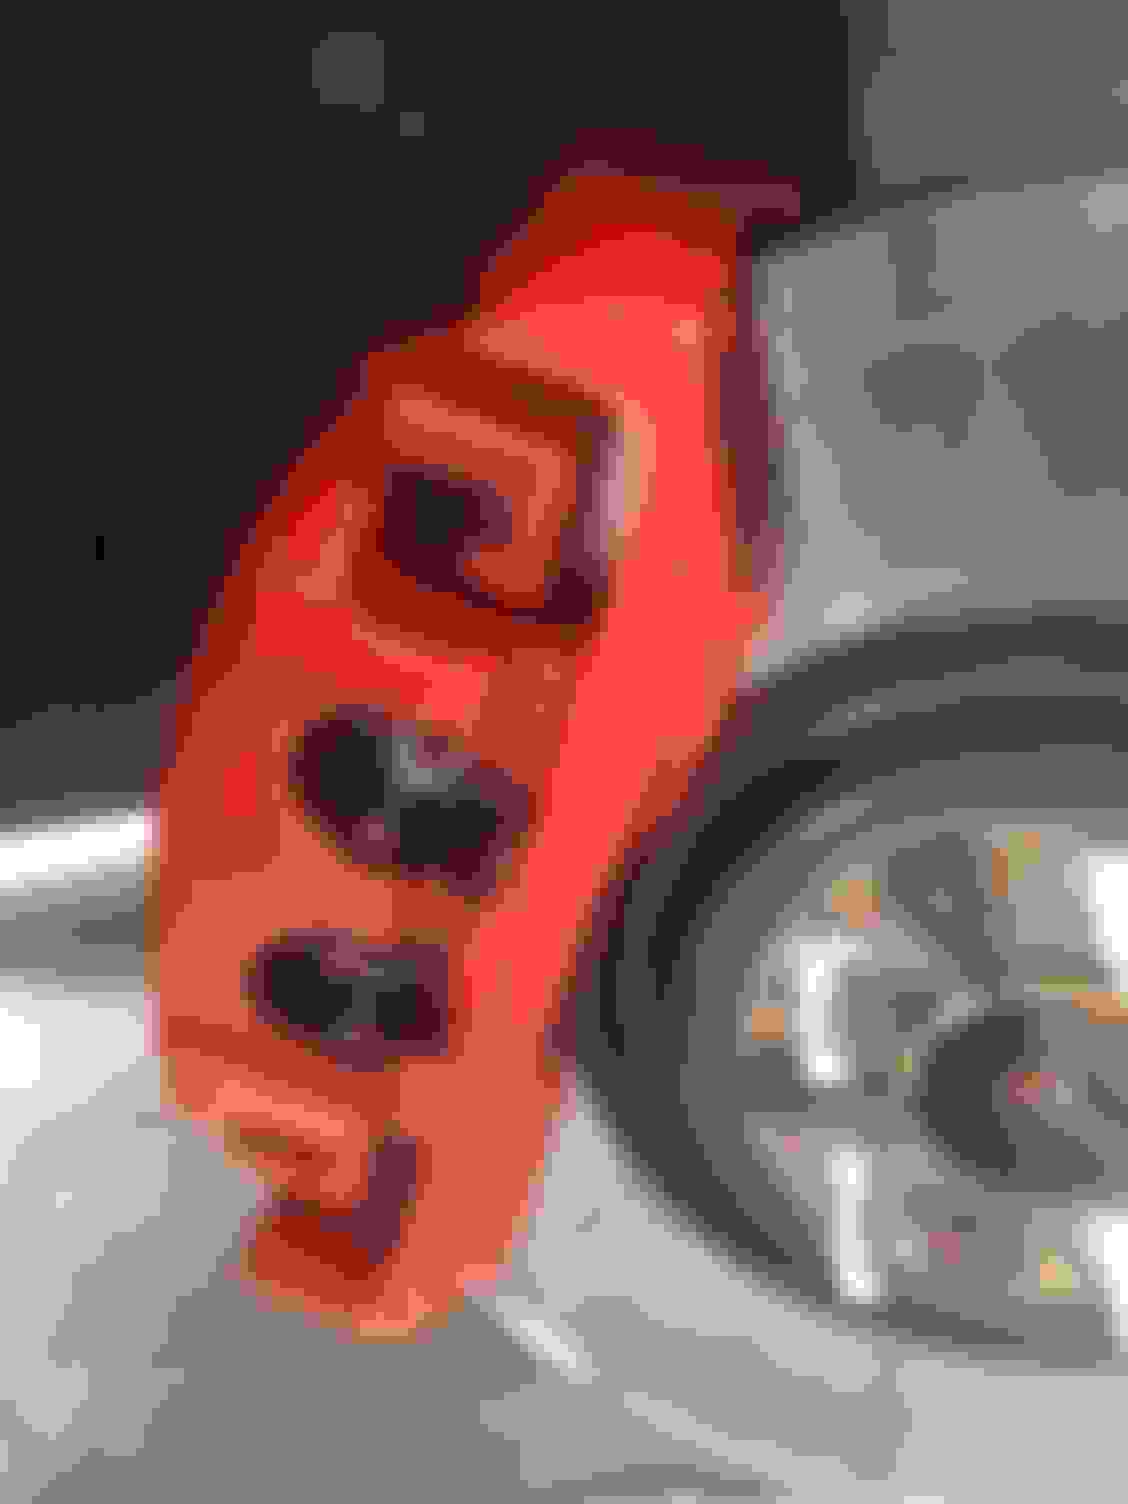
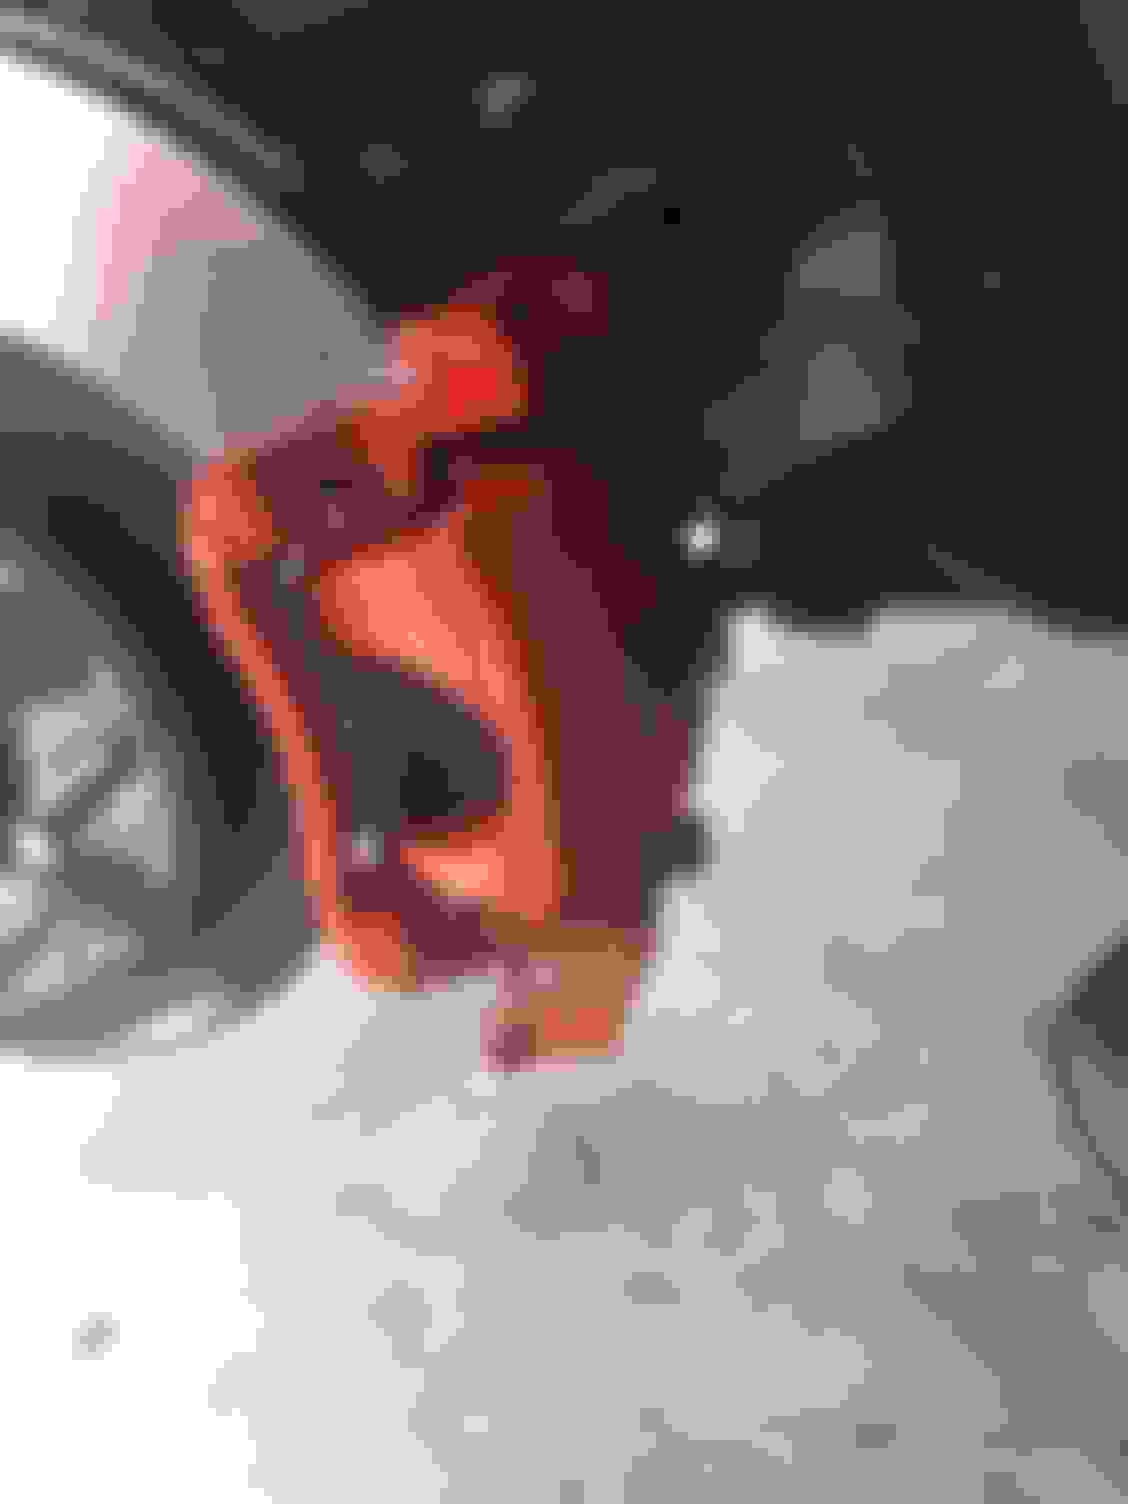
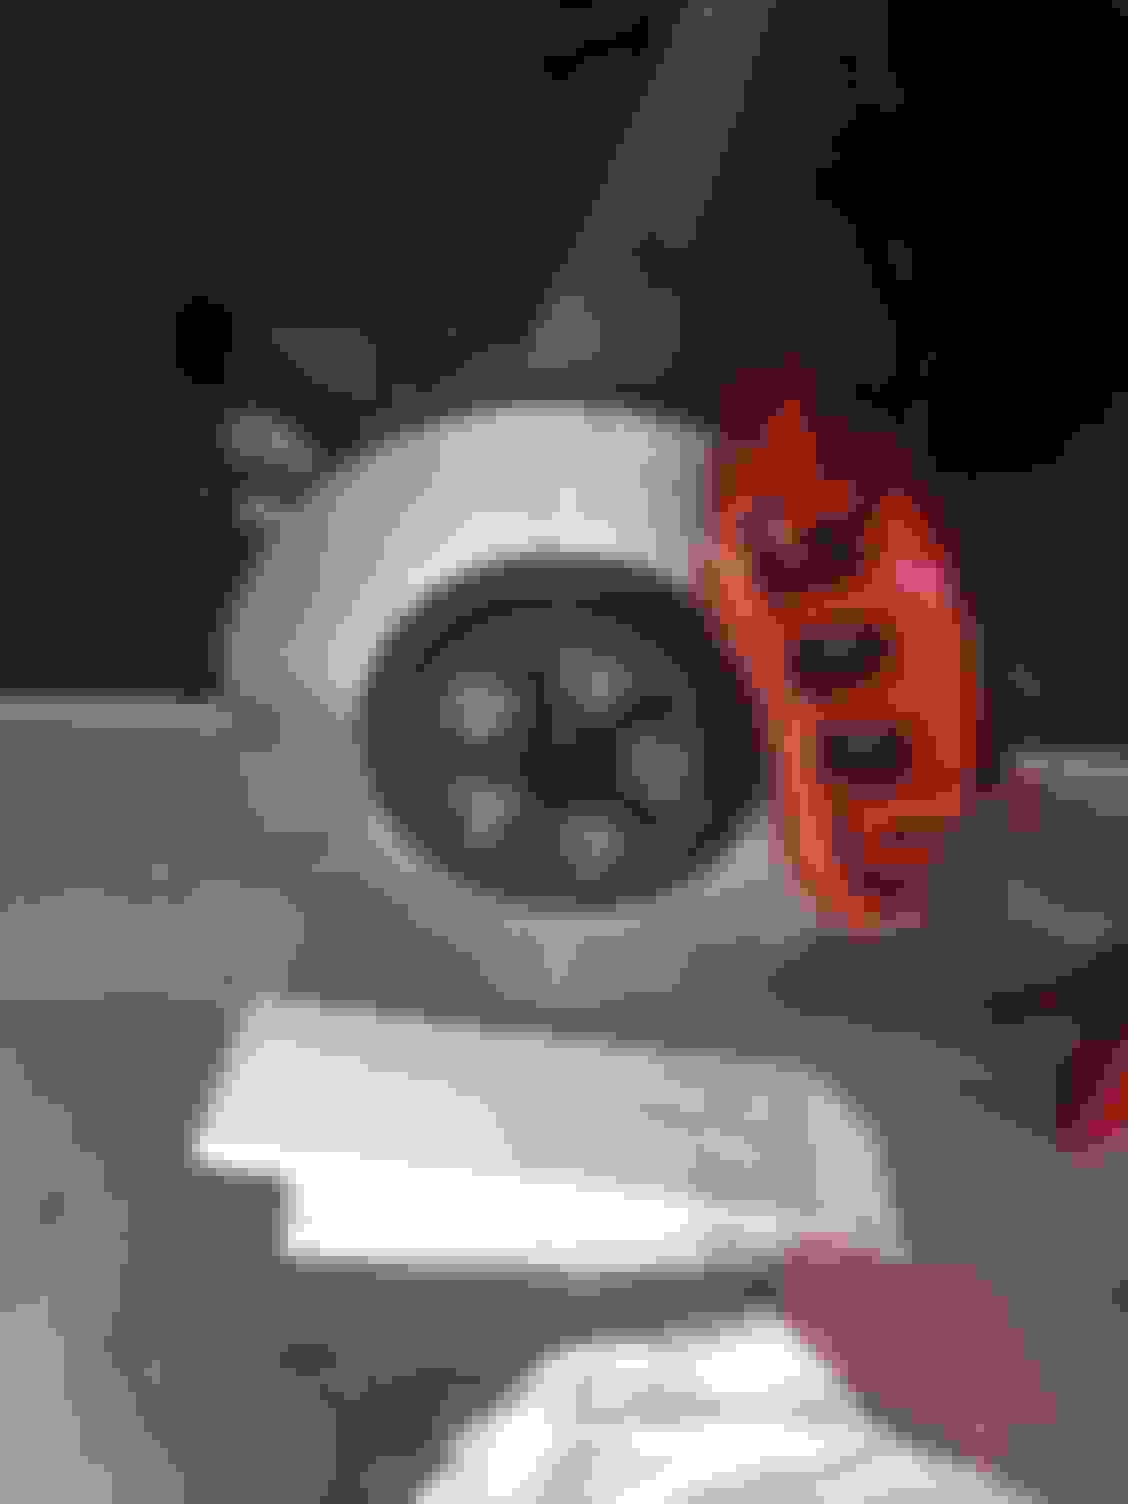
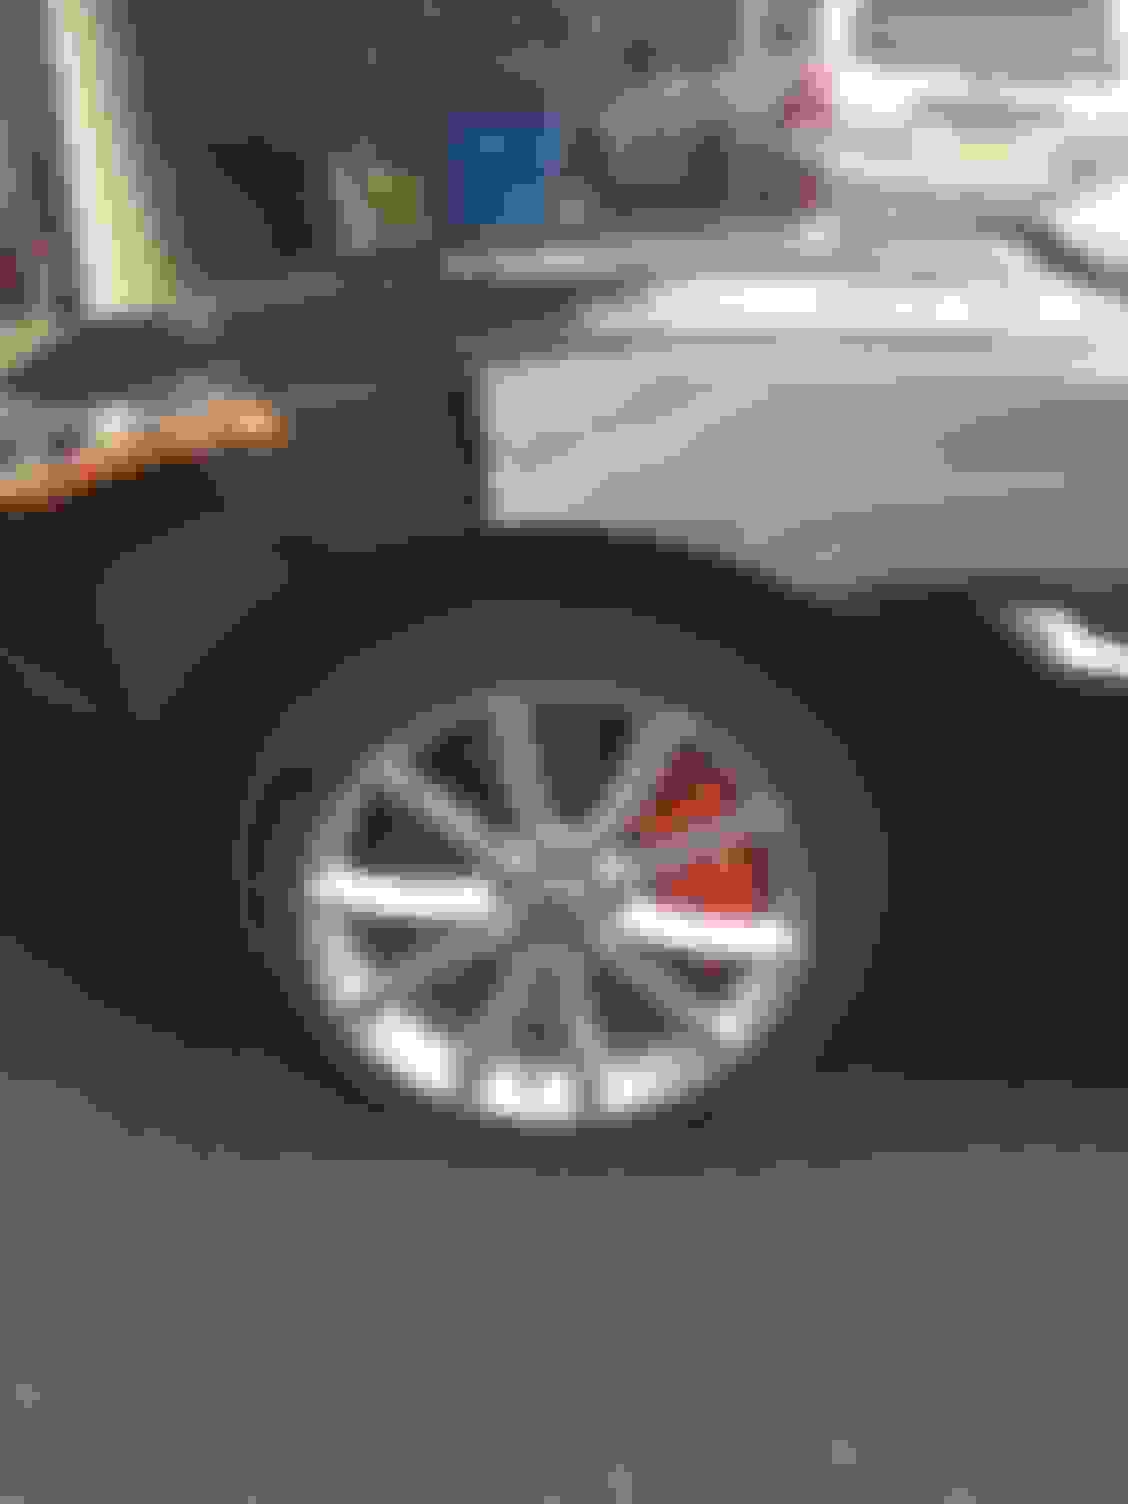
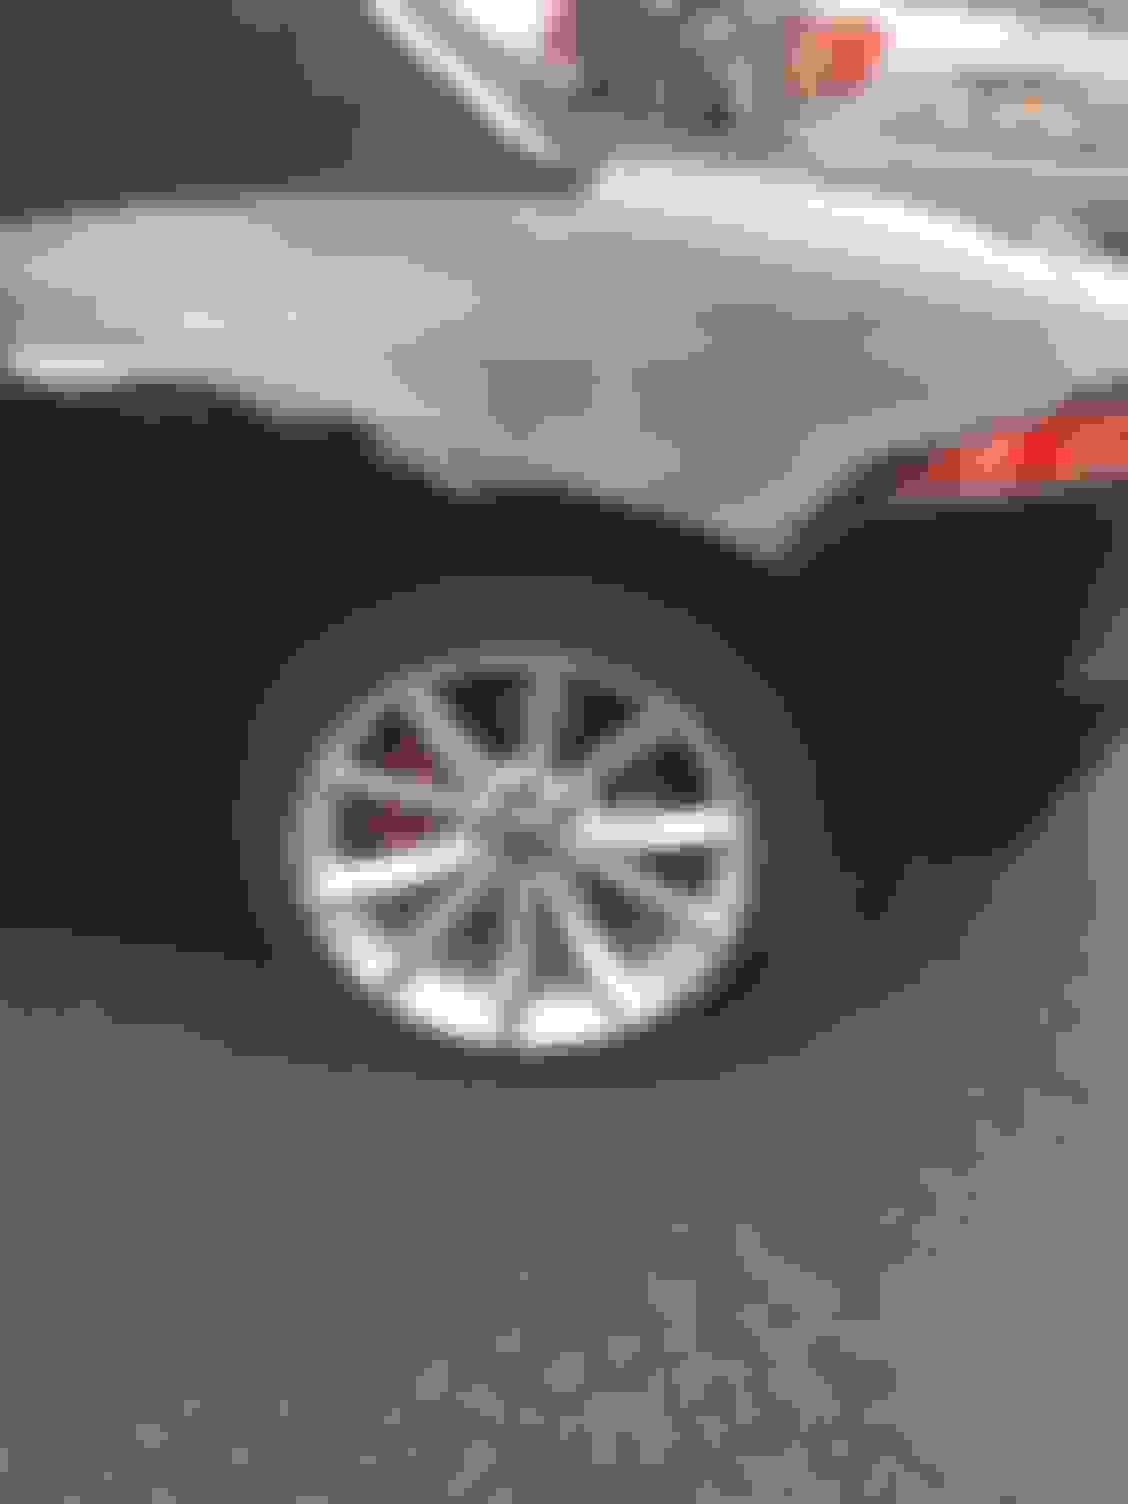
Pics attached (no clue if the pics will insert properly.
Drivers front after 2 coats
Drivers front from top
from below
Passenger front after 2 coats
Close up
Drivers rear
Drivers front prior to spring being replaced
Drivers front complete
Drivers rear complete
Passenger rear complete
Passenger front complete
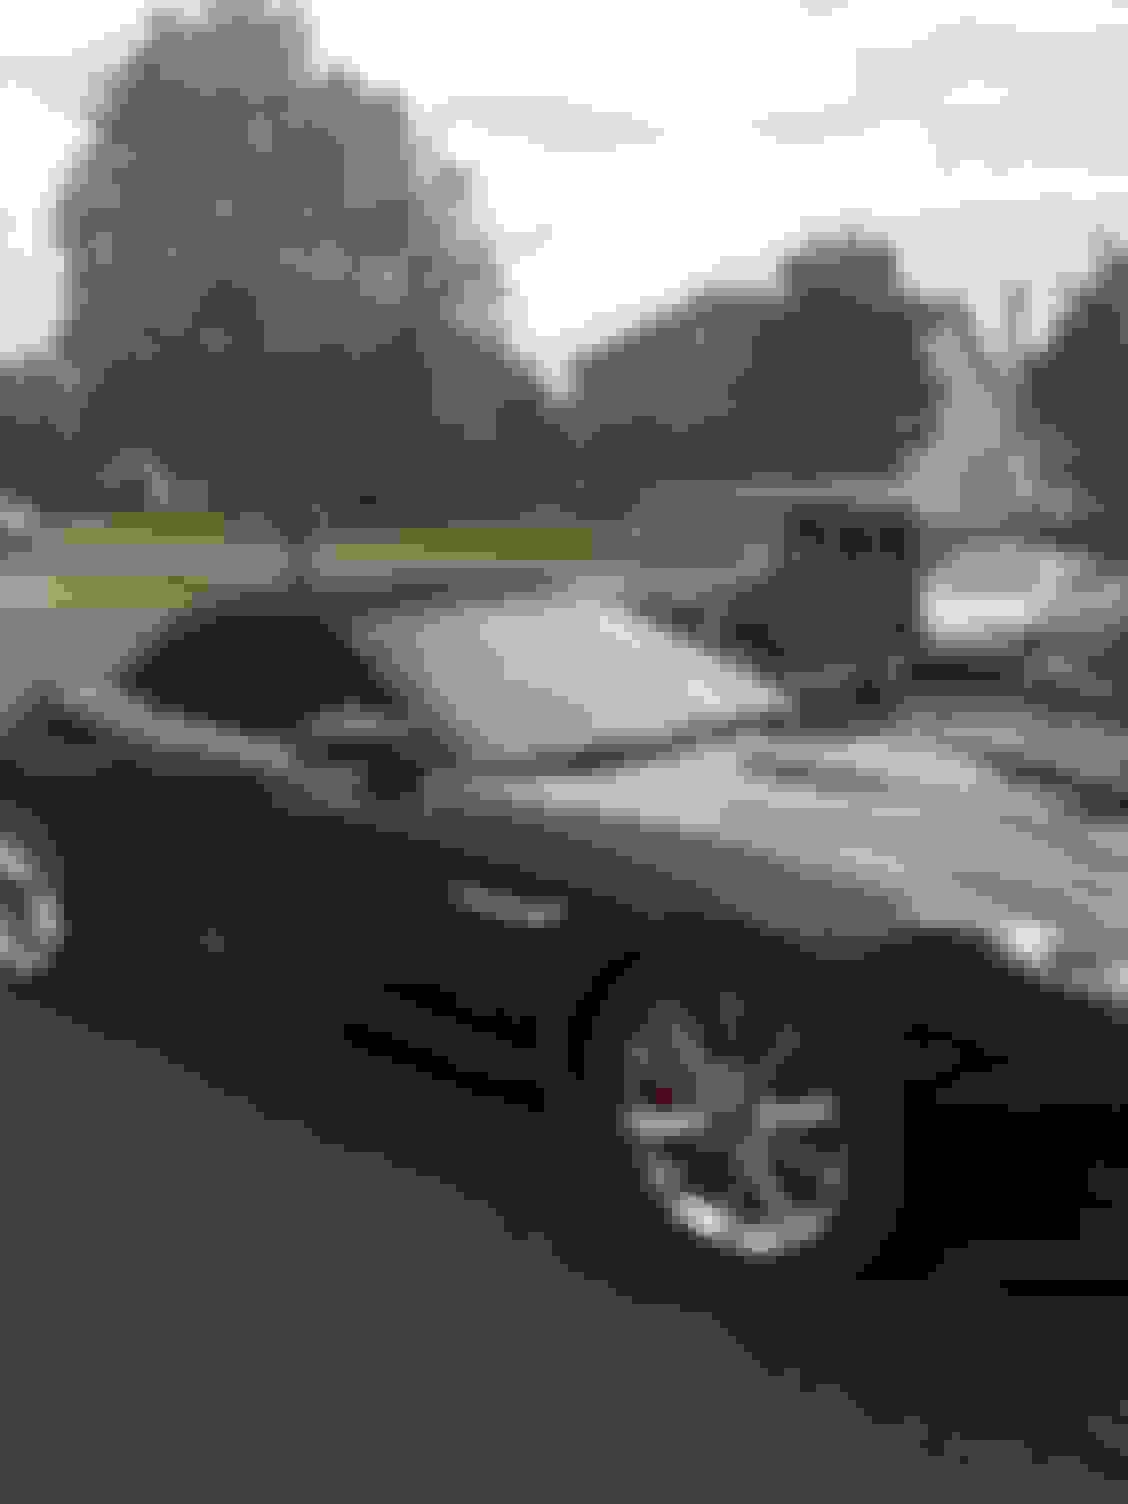
Full side view
Last edited by watson6505; 10-05-2017 at 04:04 PM.
 09-06-2017, 07:52 AM


 ! I didn't use the spray caliper cleaner because its basically airplane glue and was afraid it would melt the surrounding parts.