When you click on links to various merchants on this site and make a purchase, this can result in this site earning a commission. Affiliate programs and affiliations include, but are not limited to, the eBay Partner Network.
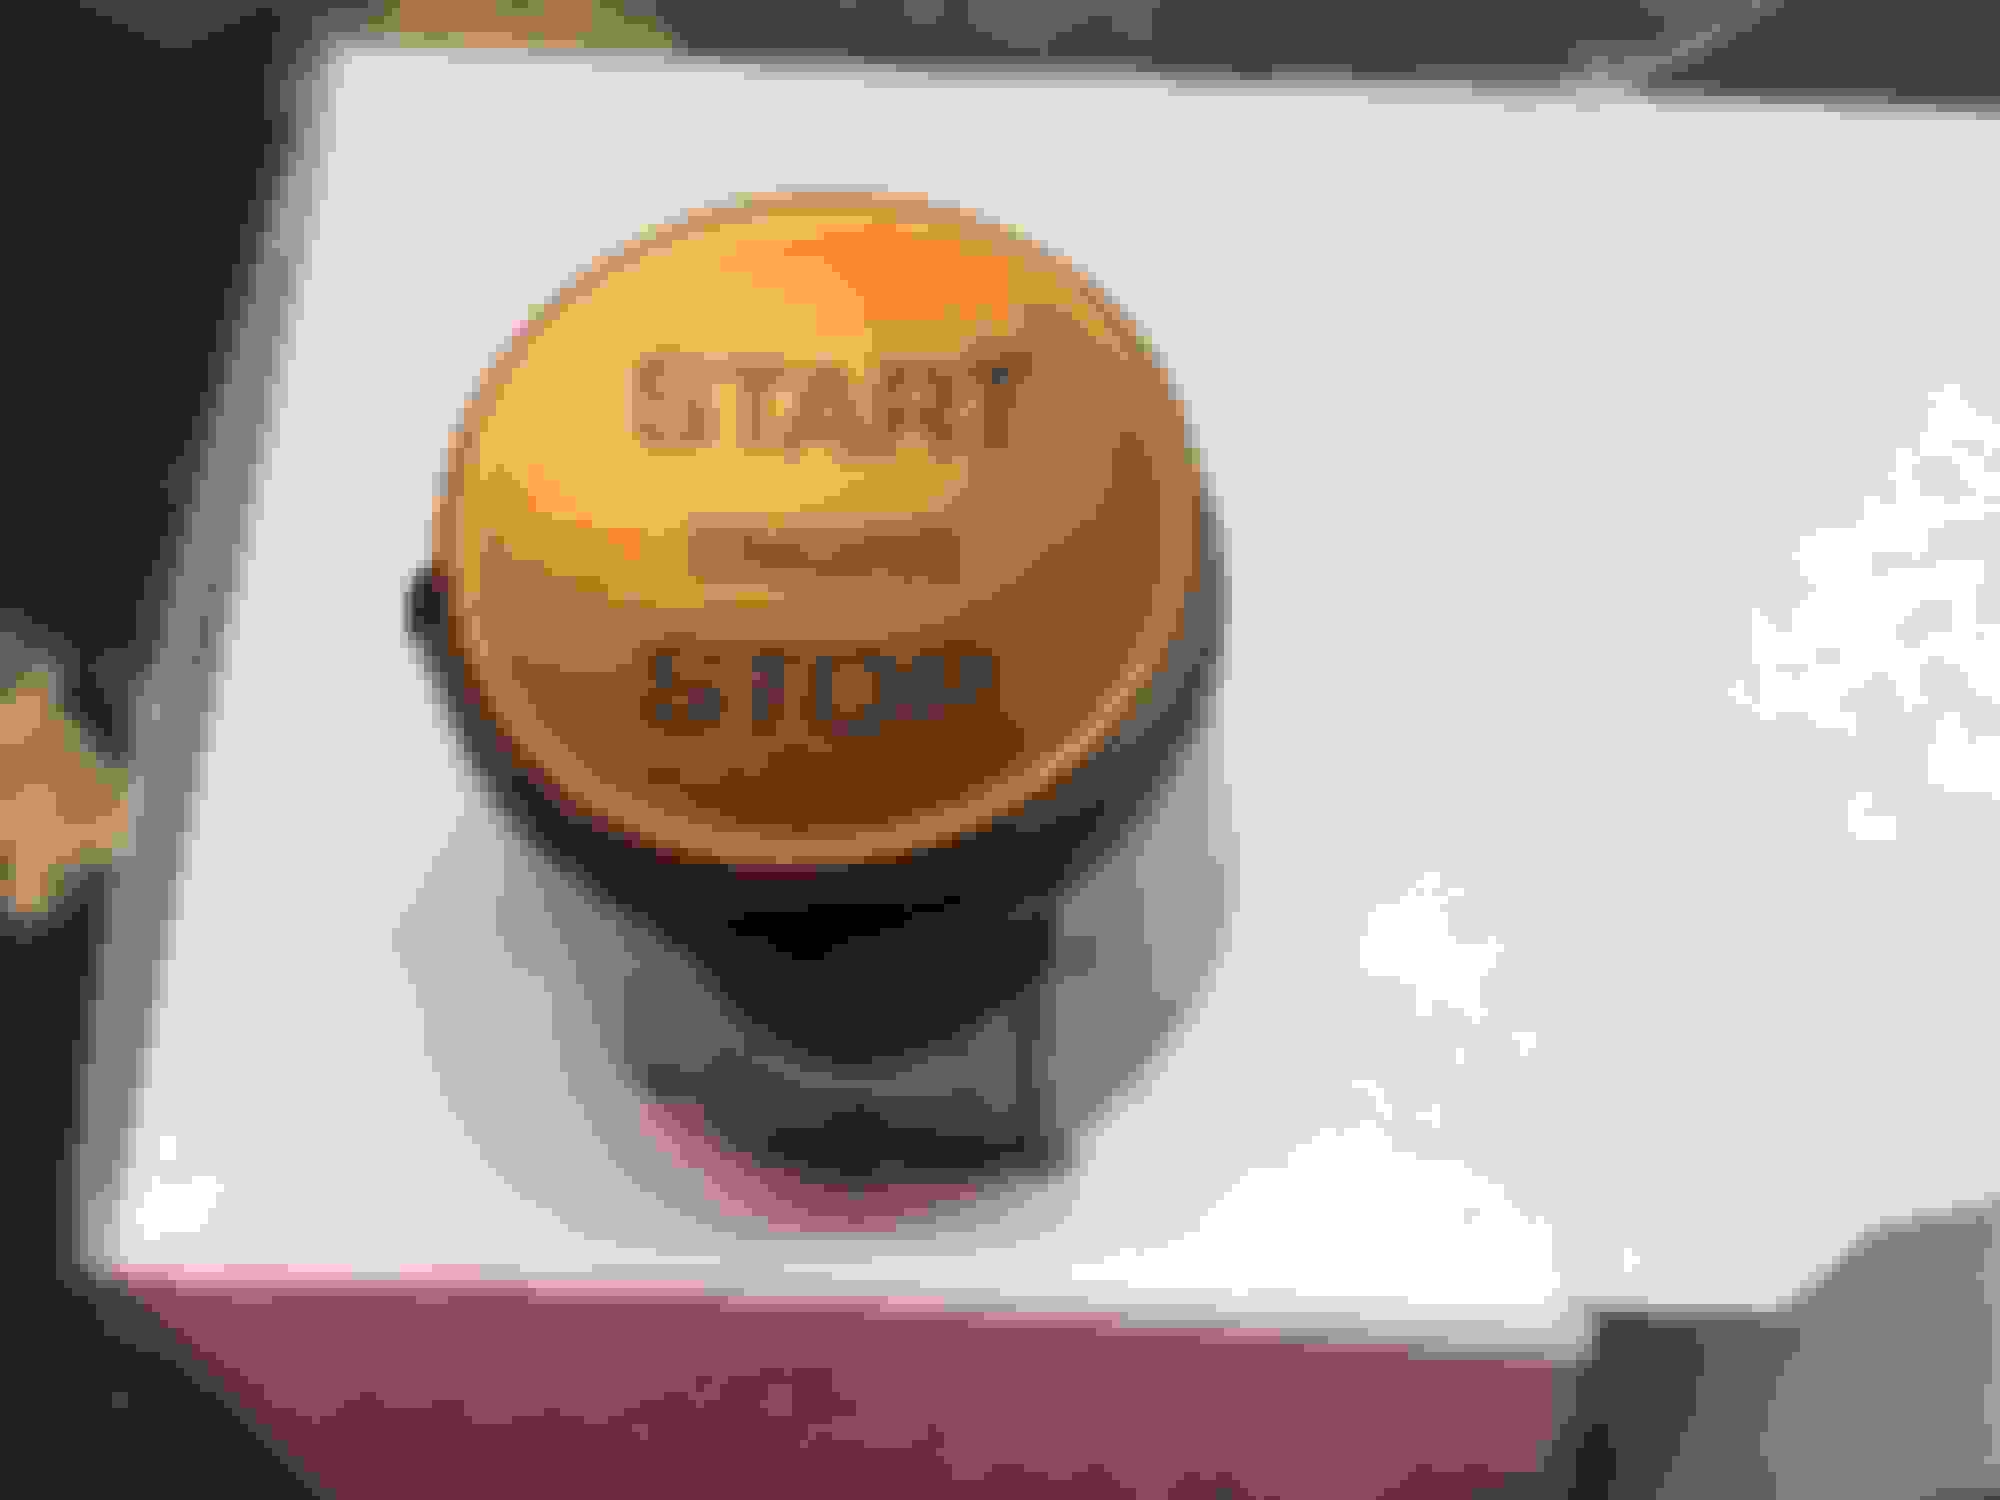
I just purchased a new to me 2016 Jaguar F-Type. I’m sure you’ll see a few post from me in the coming weeks. Today I would like to ask about the start stop button, this one looks to be a bit worn, honestly I would like to replace it with the one that comes in the newer models (orange or cooper in color). How can I do that myself, is it hard to do? Does anyone have an aftermarket one that might be different from factory that would work? Open for ideas
Thanks
Chuck
Last edited by ChuckTrish1; 02-06-2021 at 02:55 PM.
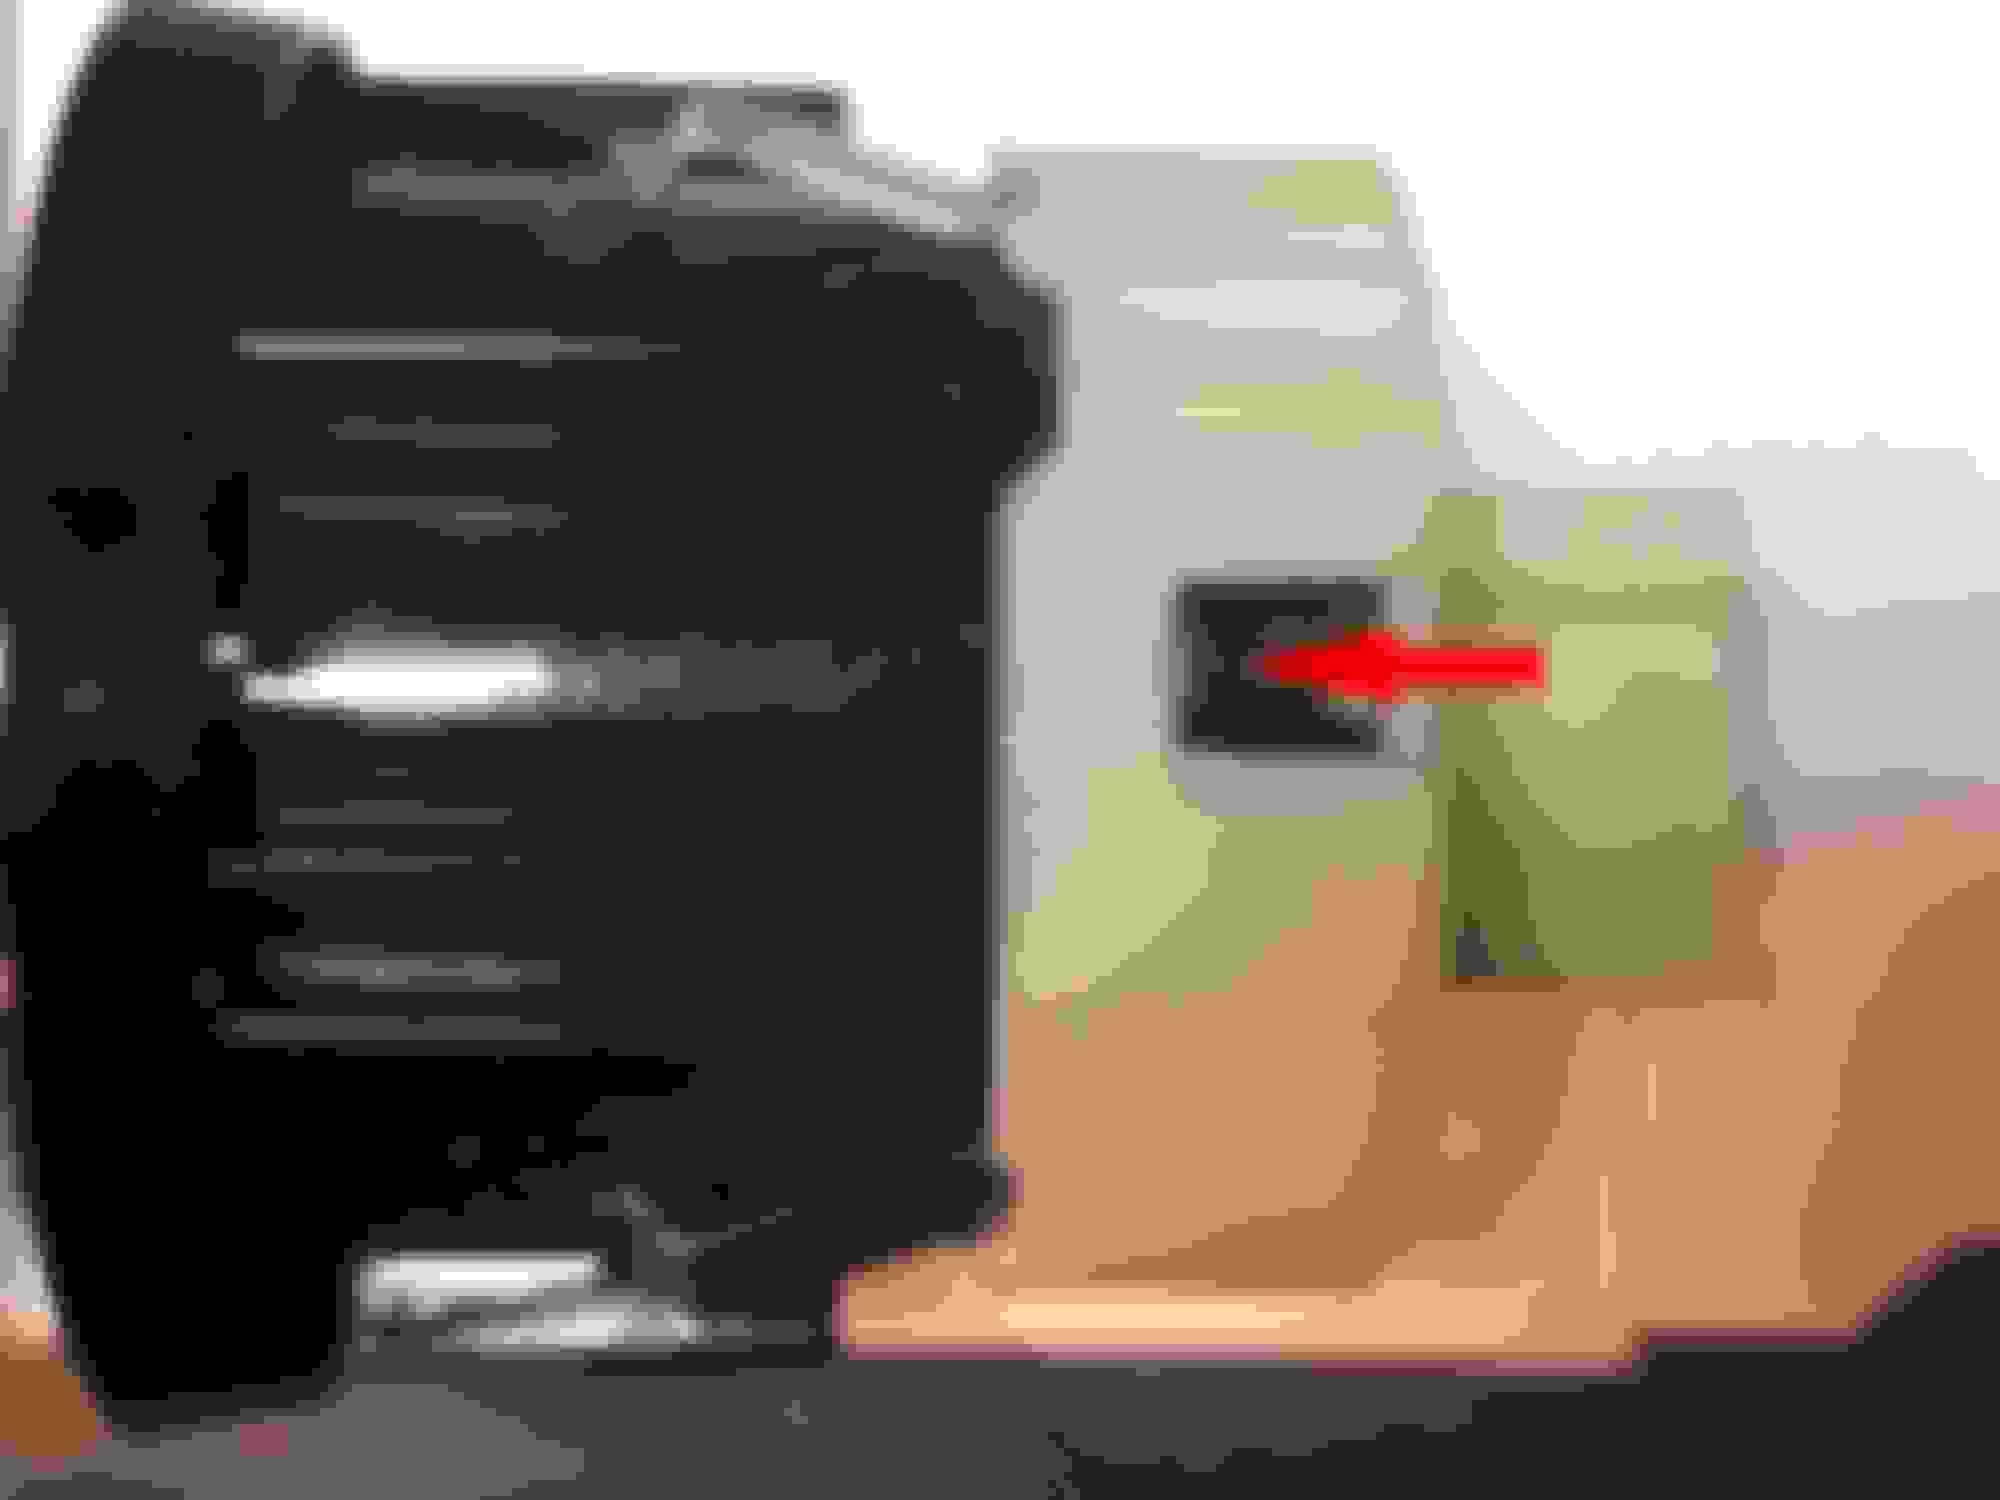
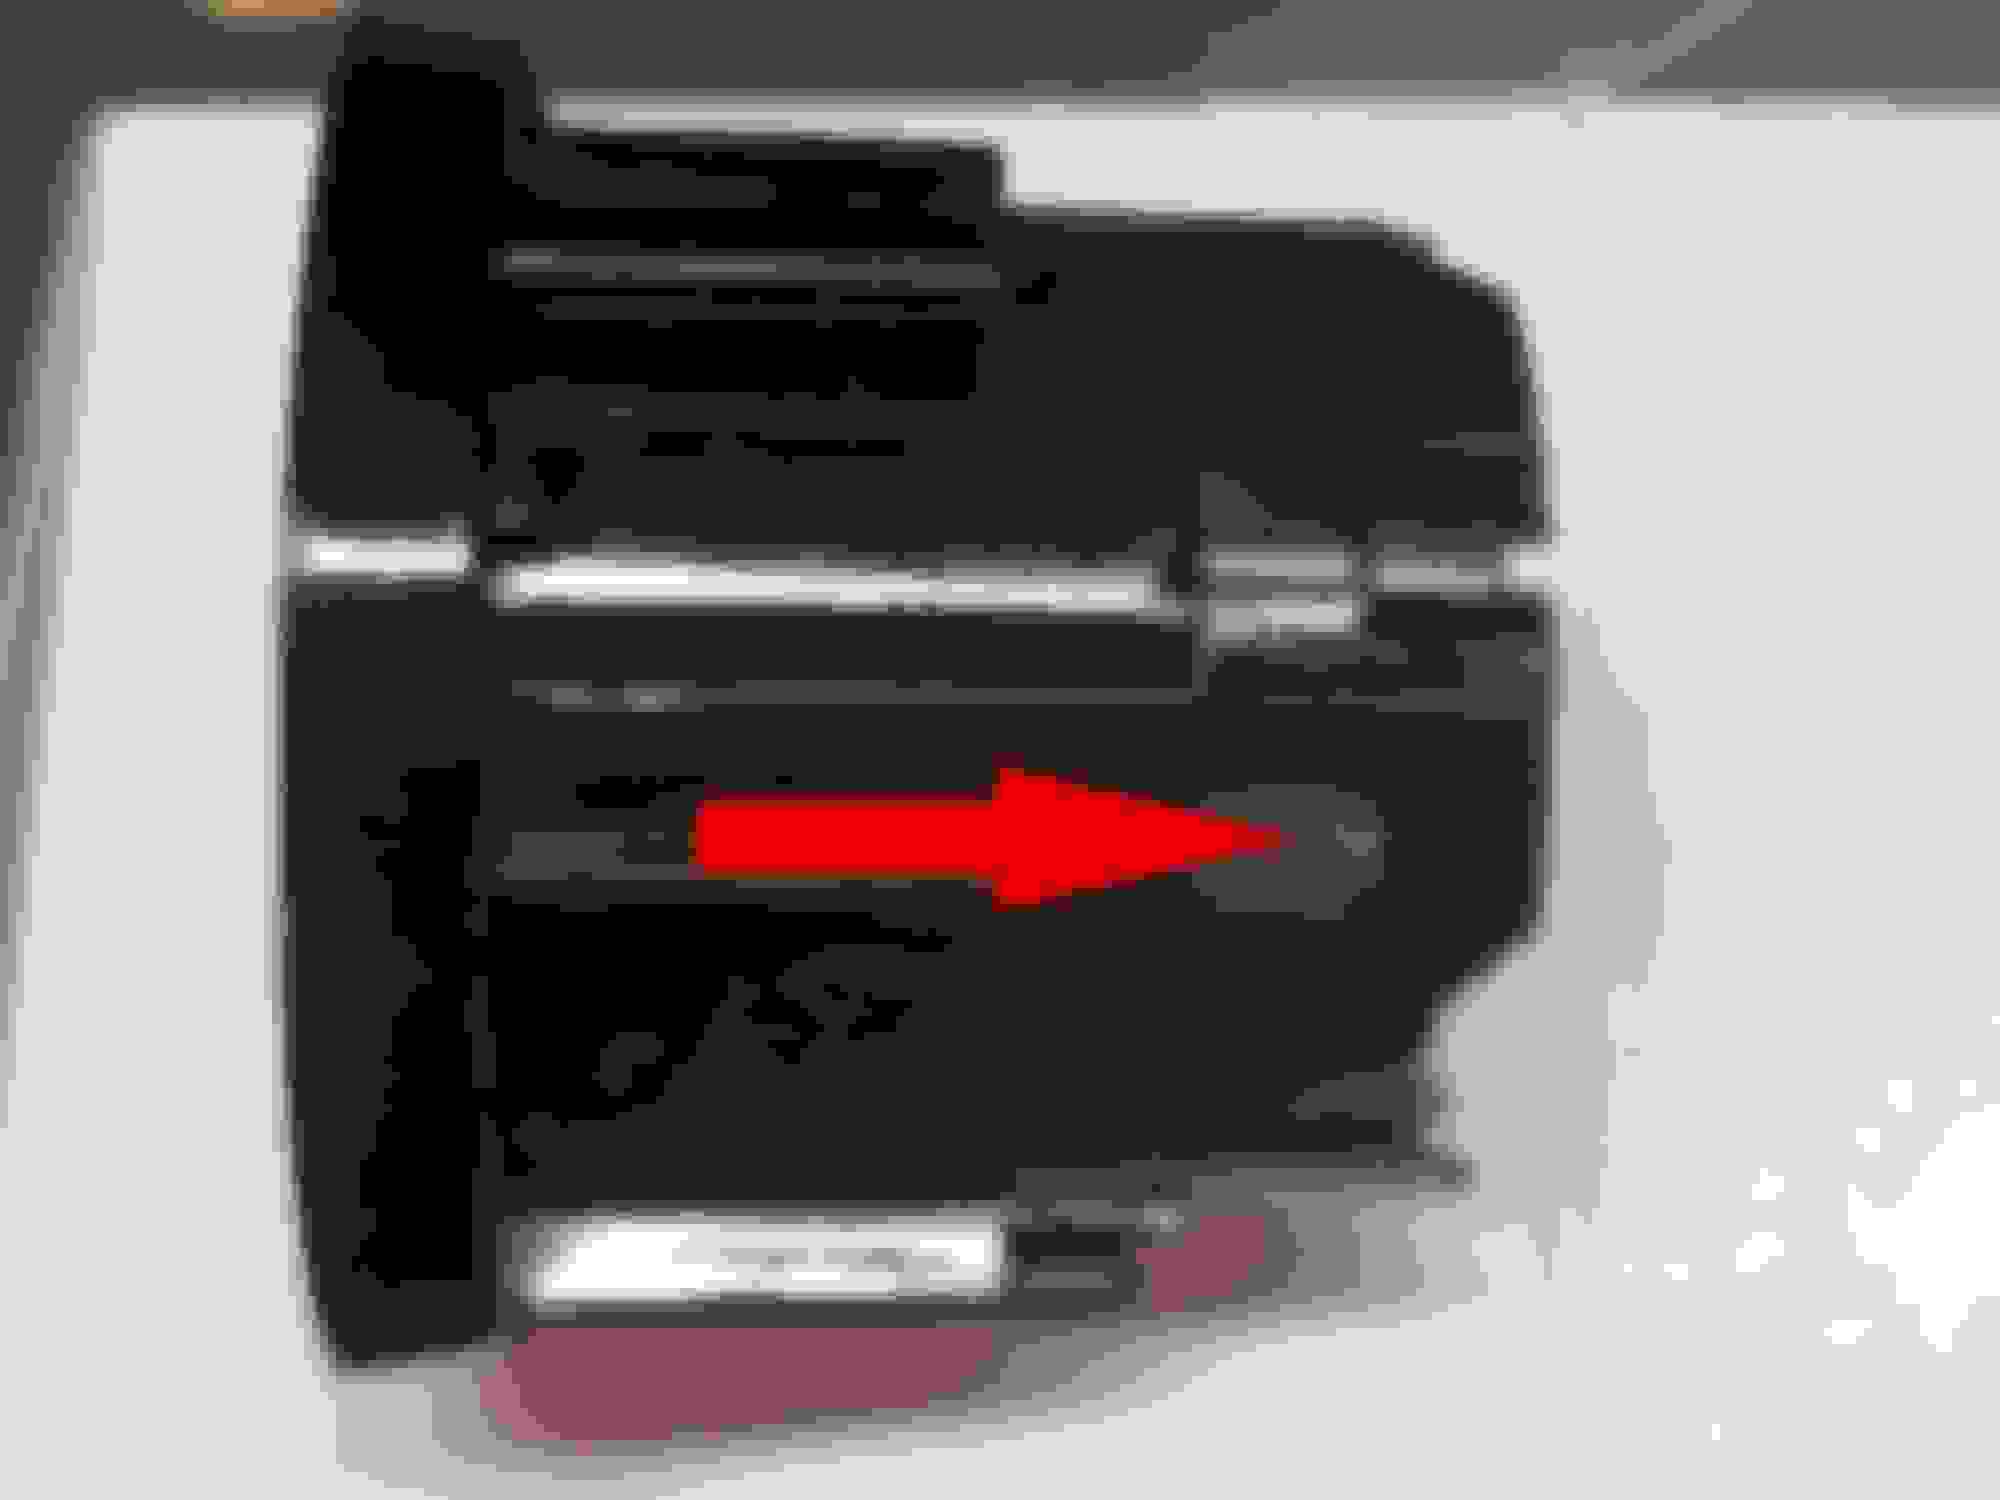
It is child's play. You can either gently pry up the edges of the existing switch - some have done this using tooth floss (!) and it will easily come free, - then you unplug it, plug in the new switch, press it down and you are done, OR, and perhaps better, you pry up the entire shift surround panel (easy) because it is simply held in place by press clips, using a plastic trim removal tool. The latter process is what I used. It is a 3 minute job at most.
Before installing a new switch you might want to spray coat the button with a clear satin spray urethane ffor plastics. This will prevent wear on the new switch (which is mostly finger nail damage).
The bronze-coloured switches were the earlier (and more attractive) type. The later switches are black.
Look on Ebay for aluminum buttons that go over your existing switch. I bought a red one with a red ring for around $10.00. My Start/Stop wasn't badly worn but I didn't want it to get any worse. You will lose the backlight heartbeat.
yes very easy to switch, I just used a plastic pry tool to remove the button, no need to remove the entire surround.
what kind of spray clear did you use? Anything that can be bought at the local big box store?
Originally Posted by sov211
It is child's play. You can either gently pry up the edges of the existing switch - some have done this using tooth floss (!) and it will easily come free, - then you unplug it, plug in the new switch, press it down and you are done, OR, and perhaps better, you pry up the entire shift surround panel (easy) because it is simply held in place by press clips, using a plastic trim removal tool. The latter process is what I used. It is a 3 minute job at most.
Before installing a new switch you might want to spray coat the button with a clear satin spray urethane ffor plastics. This will prevent wear on the new switch (which is mostly finger nail damage).
The bronze-coloured switches were the earlier (and more attractive) type. The later switches are black.
what kind of spray clear did you use? Anything that can be bought at the local big box store?
You need to buy a CASE of aerosols at a Big Box store, don't you?
I just cleaned the goo off our START button soon as I got the car. (Many topics here about sticky buttons)
I DID clearcoat on the P button of the automatic gearstick when I replaced THAT. (Also worth a SEARCH) Regular old Rustoleum.
You need to buy a CASE of aerosols at a Big Box store, don't you?
I just cleaned the goo off our START button soon as I got the car. (Many topics here about sticky buttons)
I DID clearcoat on the P button of the automatic gearstick when I replaced THAT. (Also worth a SEARCH) Regular old Rustoleum.
Yes, Rustoleum, but the clear which is marked that it also works on plastic. It gives a perfect finish.
Quick tip: When applying a few coats of clear to the center, I could not seem to mask off the rest of the switch well enough. I found it easier to pull the switch apart:
1. Push on the locking tabs with a screwdriver and pull off the white connector section:
2. Do the same with the inner pushbutton piece and slide it out:
3. Spray whatever color you like:
4. To keep the metal spring tabs in place when reassembling the connector piece, I used a rubber band, but you could use a small zip tie. You could also do this in step one, to prevent them from flying off, when taking it apart:
Or you could just de-orange and go with the black one. I think the orange is starting to look dated now, and I don't think the black scratches up the same.
No need if you use the Rustoleum for plastics. It works beautifully...on checking, I see that what I used was the Rustoleum clear gloss, not satin finish but it in fact gives a finish on the buttons identical to the original finish.
No need if you use the Rustoleum for plastics. It works beautifully...on checking, I see that what I used was the Rustoleum clear gloss, not satin finish but it in fact gives a finish on the buttons identical to the original finish.

 02-06-2021, 02:53 PM