When you click on links to various merchants on this site and make a purchase, this can result in this site earning a commission. Affiliate programs and affiliations include, but are not limited to, the eBay Partner Network.
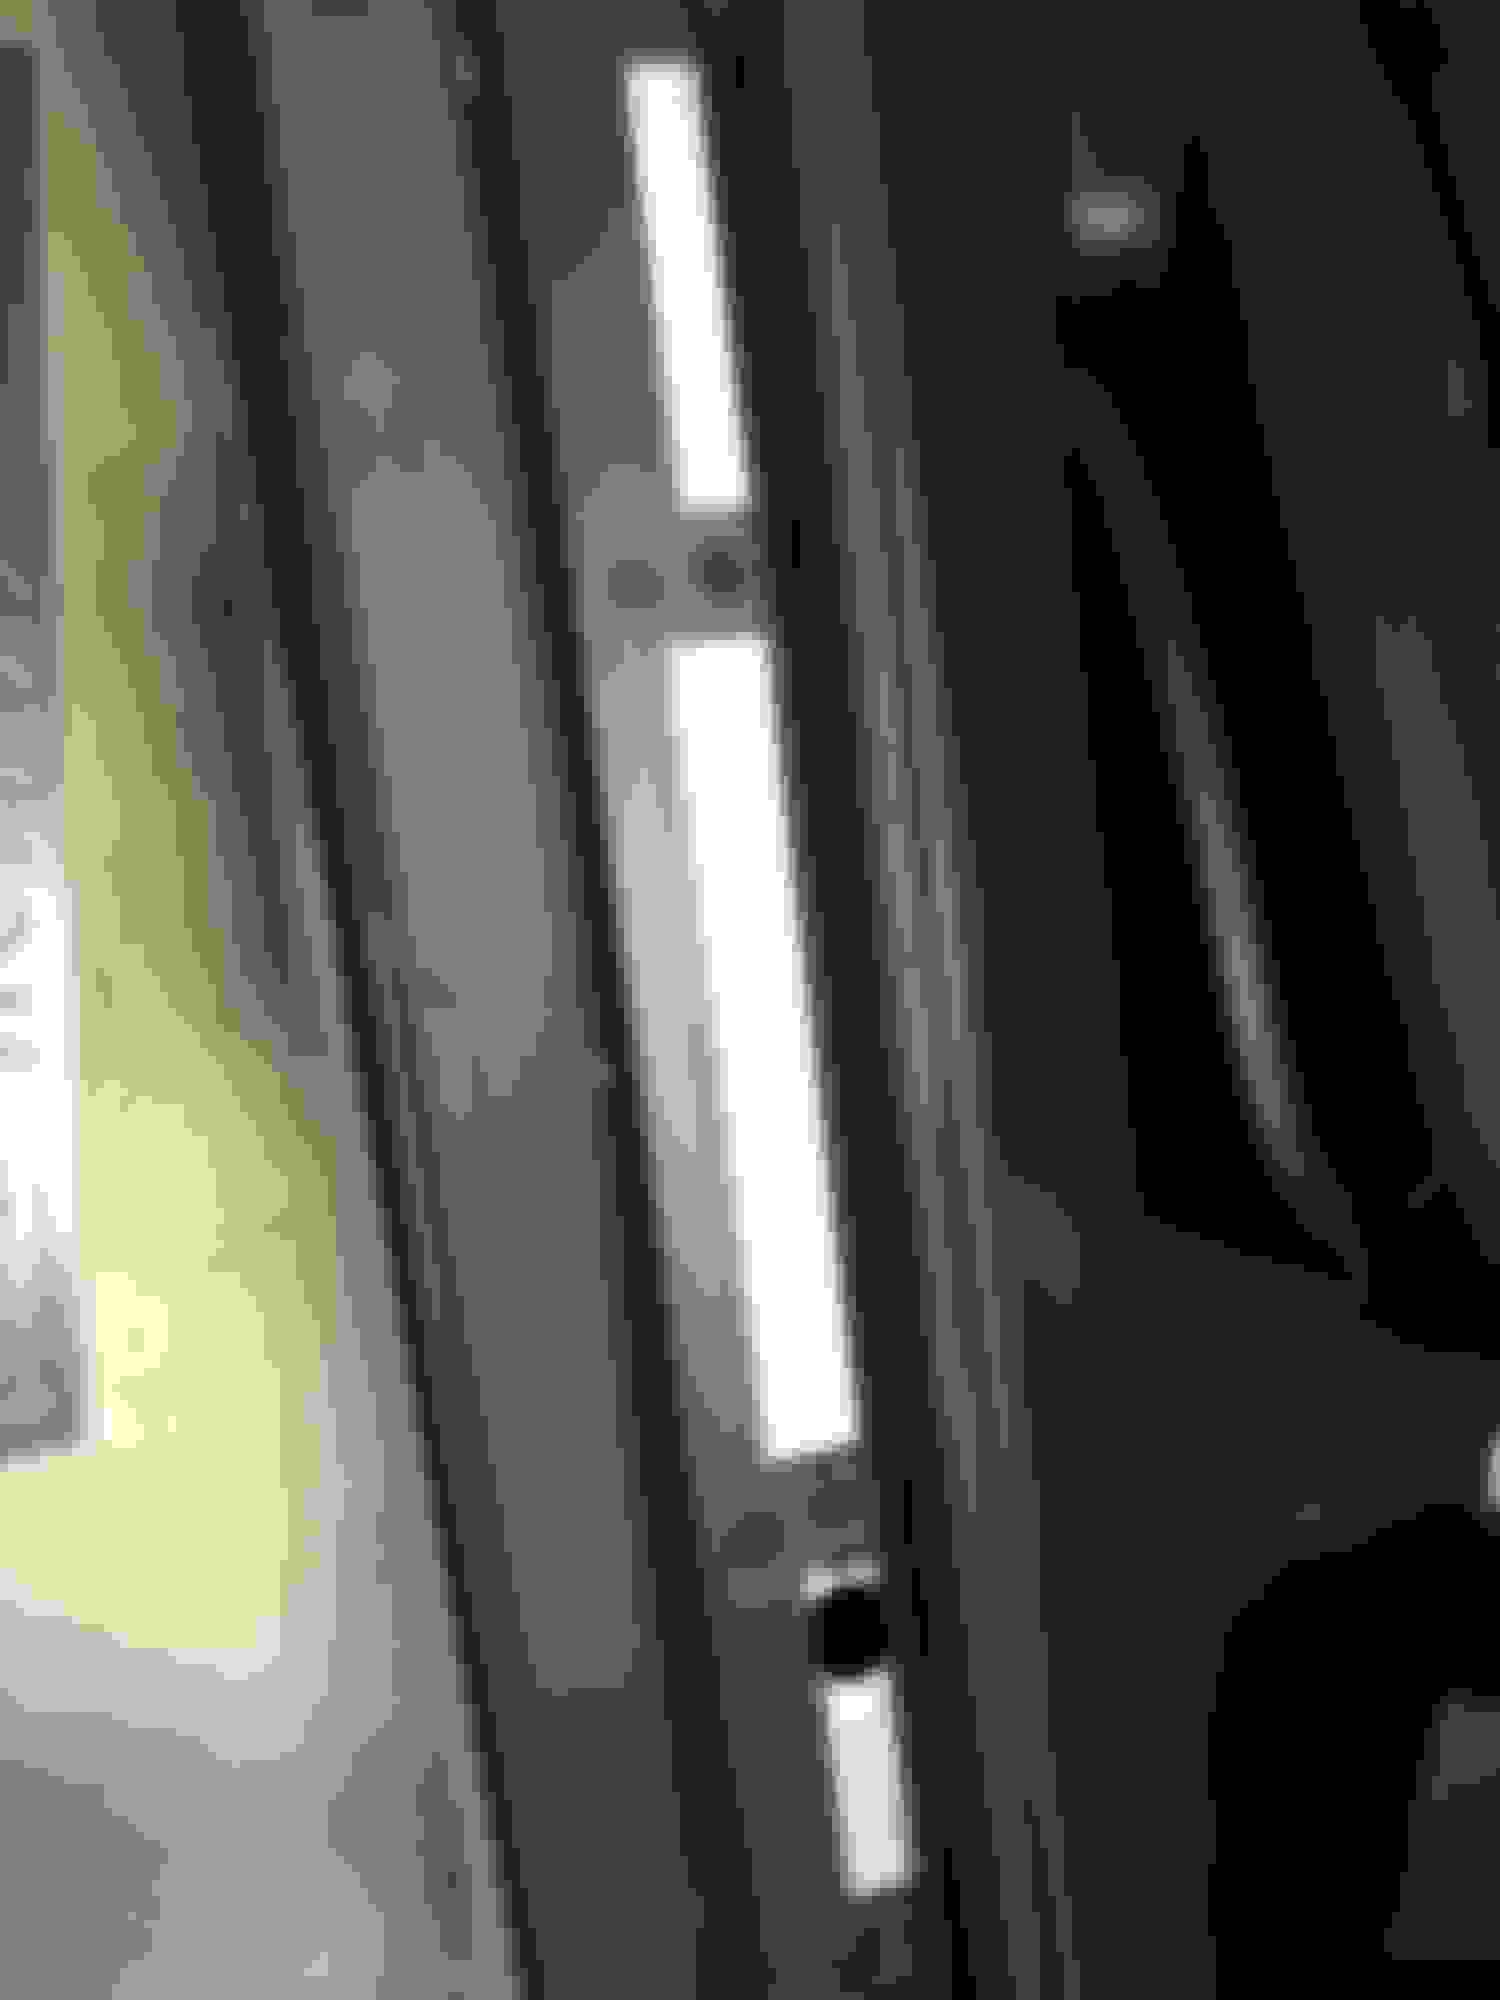
I have the regular non-illuminated treadplates which have picked up a few scuffs from the previous owner. My BiL brought over a new set of the union jack tread plates and I can see they're glue/tape fitted once the slots at one side locate.
I've read of people upgrading to the illuminated and accept that the originals are just going to get trashed but those who pried off the original, any tips on making it least painful - hot air gun worth anything ? Any additional trim removal or just pry up the current and clean up any left behind glue tape ?
I replaced mine with lighted versions, and agree the odds of saving the originals are slim to none. As I remember I tried a heat gun, but the aluminum is to flexible and the 3M(?) tape to strong. Two tips:
1) Pulling the fender out is unnerving, but keep going, it will pop out and go back wihout issue
2) When reinstalling the black base unit make sure to put the small outer lip under the outer metal edge of the door sill. I missed that on the first side...
Unlike the KN air filters, this is a project that is worth doing :-)
The kit came with the black base unit but as I assumed it is the same as I already have, I was thinking of just taking off the aluminium treadplate itself and replacing it - bad idea ? Trying to avoid removing the fender stuff if I don't have to (I can see that is necessary to do the illuminated to get to the wiring harness).
So, don't bother with the heat gun, just prybar it off ;-)
When you do get the tread plates off, would you be so kind to take a couple of photos of any fixings that are left that may or may not hold the rockers/sill in place please?
I have been trying in vain to take the sills off my car to get to the aero plastics, but they seem to be hooked up under the treadplates somehow, and I can't figure it out from the manual.
I have been trying to remove them, without tackling the tread plates, and this may be where I am going wrong????
TIA
Decided to tackle this upgrade tonight - the passenger side was a doddle and the tread plate could probably be re-used, not so much the driver side, that thing was a limpet and I had that sinking feeling half way through that it wasn't going to end well but thick gloves and a pair of small pry bars got me there - but you can see the result.
Once the original was removed, here are the fittings below for the benefit of someone who wanted to remove the sills.
Now although my kit came with replacement plastic sill scuff plate (as it says on the back) I was very careful not to scratch up the originals so I didn't remove the torx bolts so I can't say if they serve only to attach the plastic or whether they hold the lower sill in place too, sorry.
Then carefully clean and degrease the scuff plate, peel off the protective tape and firmly roll and press down the replacement tread plate and as we say in the Old Country, Bob's your uncle. The tread plates now match the tyre valve covers....
These are a smoother finish to the the standard plates, they feel a little heavier and I think they look more upmarket. For me, $130 well spent.
It makes me frustrated how JLR designs certain parts. There's absolutely no reason why your original scuff plate needs to get destroyed like that. Same goes for the F-TYPE's side fender vents. But for what its worth, its looks REALLY good.
If anything the entire scuff plate should come as one piece sort of like this as demonstrated from one of my previous cars, the Honda S2000. The entire doorsill was held down by 4 trim fasteners that was easily removable by hand.
Decided to tackle this upgrade tonight - the passenger side was a doddle and the tread plate could probably be re-used, not so much the driver side, that thing was a limpet and I had that sinking feeling half way through that it wasn't going to end well but thick gloves and a pair of small pry bars got me there - but you can see the result.
Once the original was removed, here are the fittings below for the benefit of someone who wanted to remove the sills.
Now although my kit came with replacement plastic sill scuff plate (as it says on the back) I was very careful not to scratch up the originals so I didn't remove the torx bolts so I can't say if they serve only to attach the plastic or whether they hold the lower sill in place too, sorry.
Then carefully clean and degrease the scuff plate, peel off the protective tape and firmly roll and press down the replacement tread plate and as we say in the Old Country, Bob's your uncle. The tread plates now match the tyre valve covers....
These are a smoother finish to the the standard plates, they feel a little heavier and I think they look more upmarket. For me, $130 well spent.
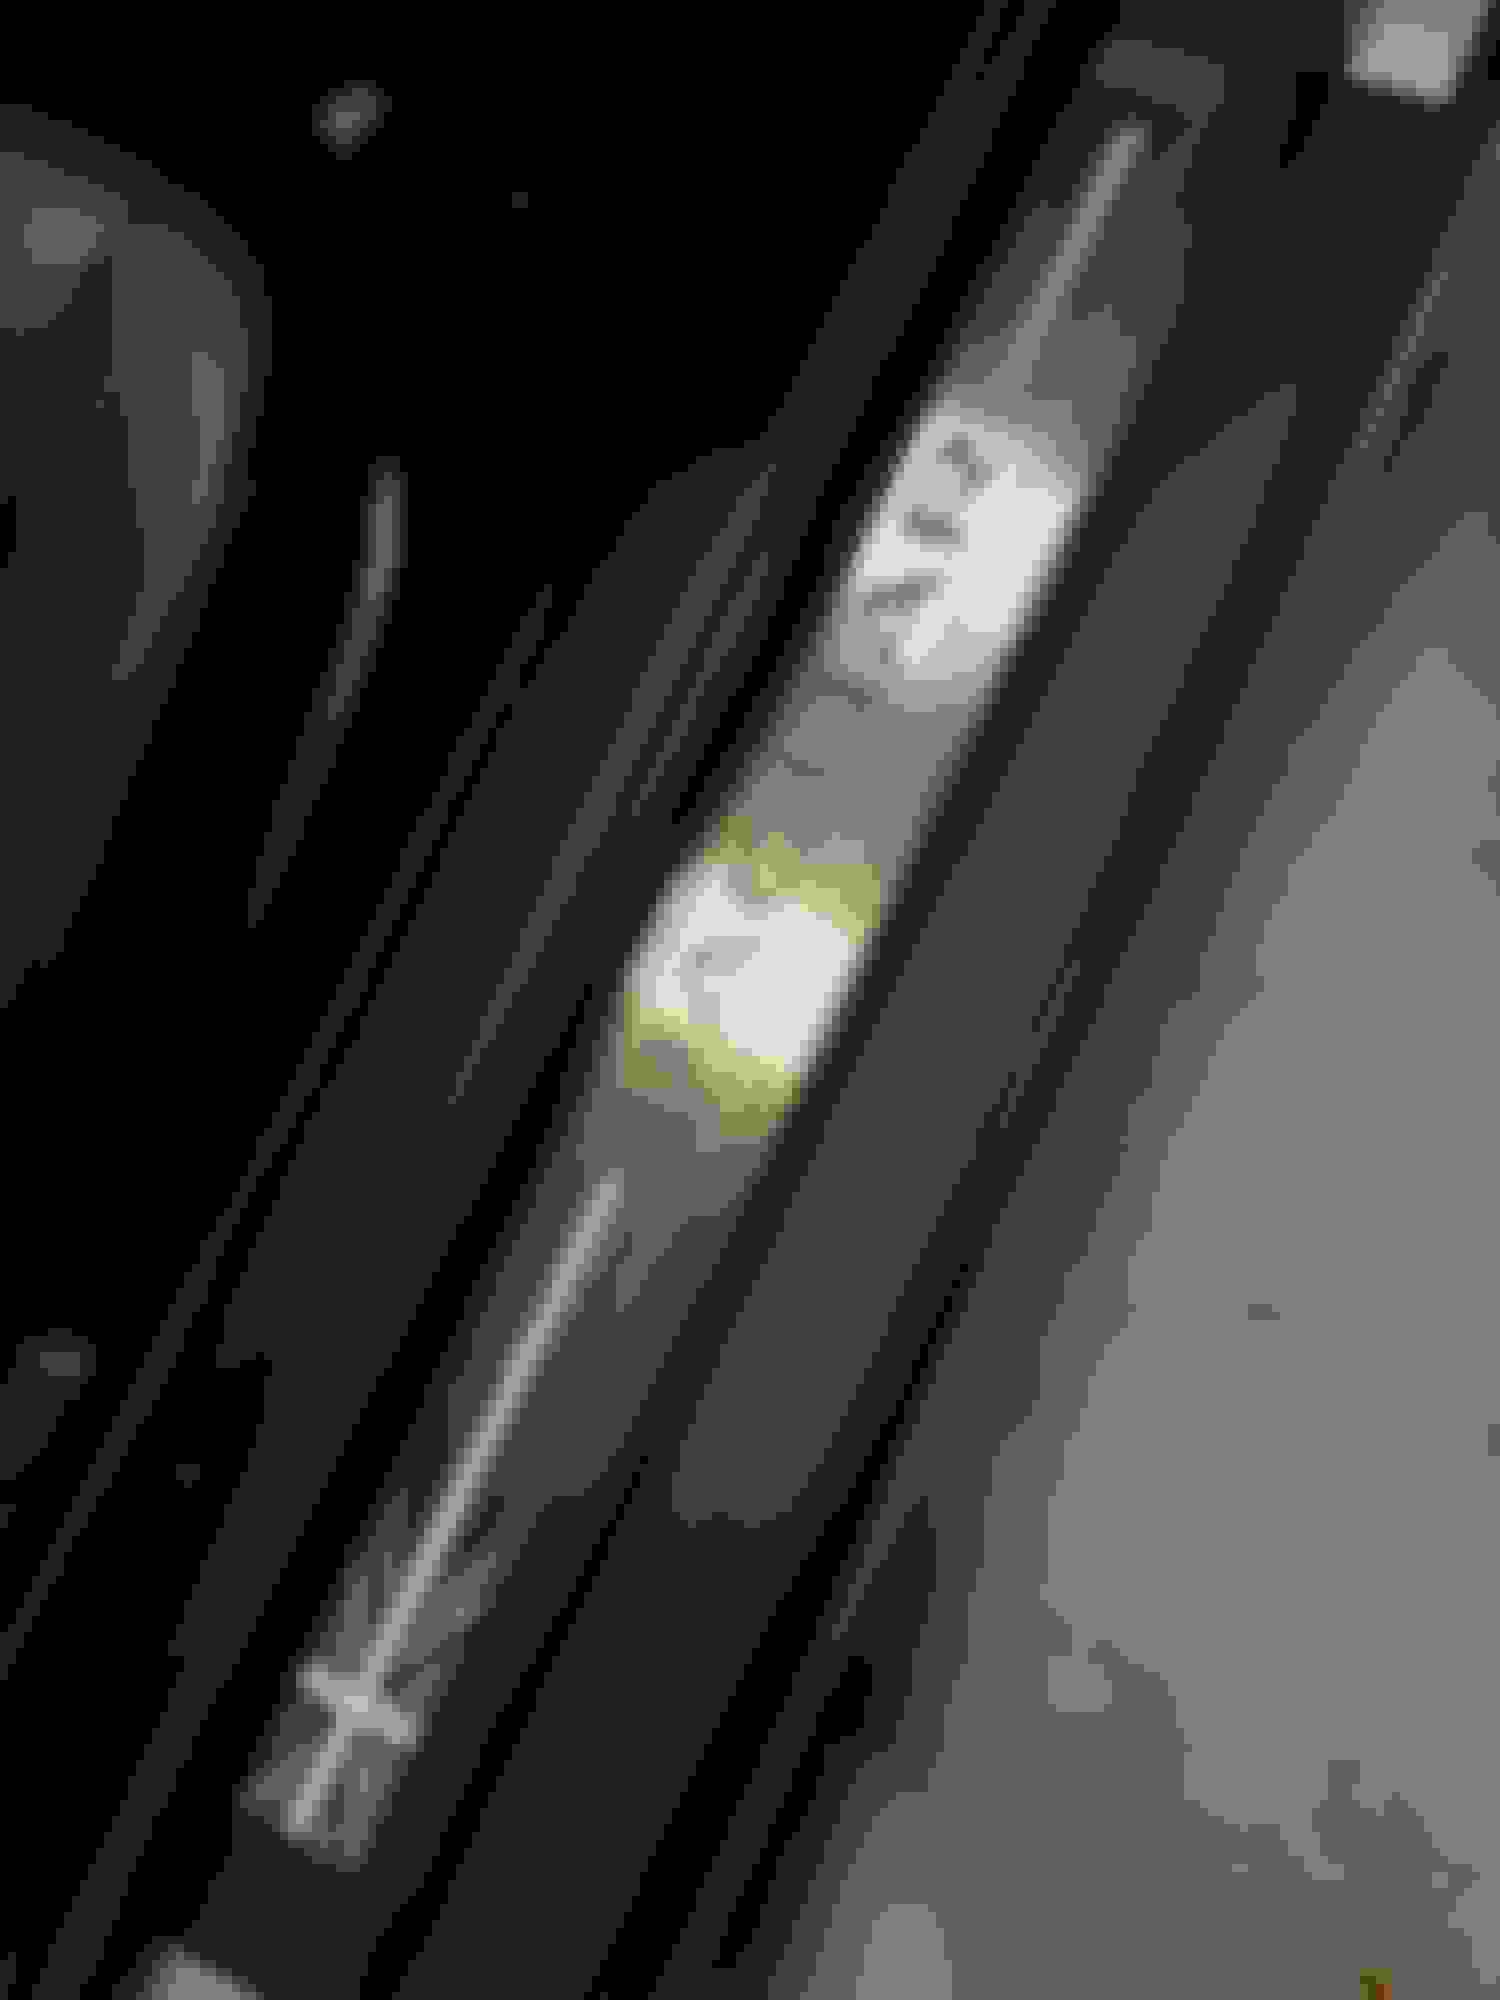
Sure! So here is the underneath showing the tape. Of course I had the replacements so I could see where the tape was although on the new ones, there was an additional single line of tape at each end top to bottom.
Note that the black "tape" on the edge nearest my thumb is not adhesive but a rubber strip I'm guessing to provide cushioning and avoid rattles.
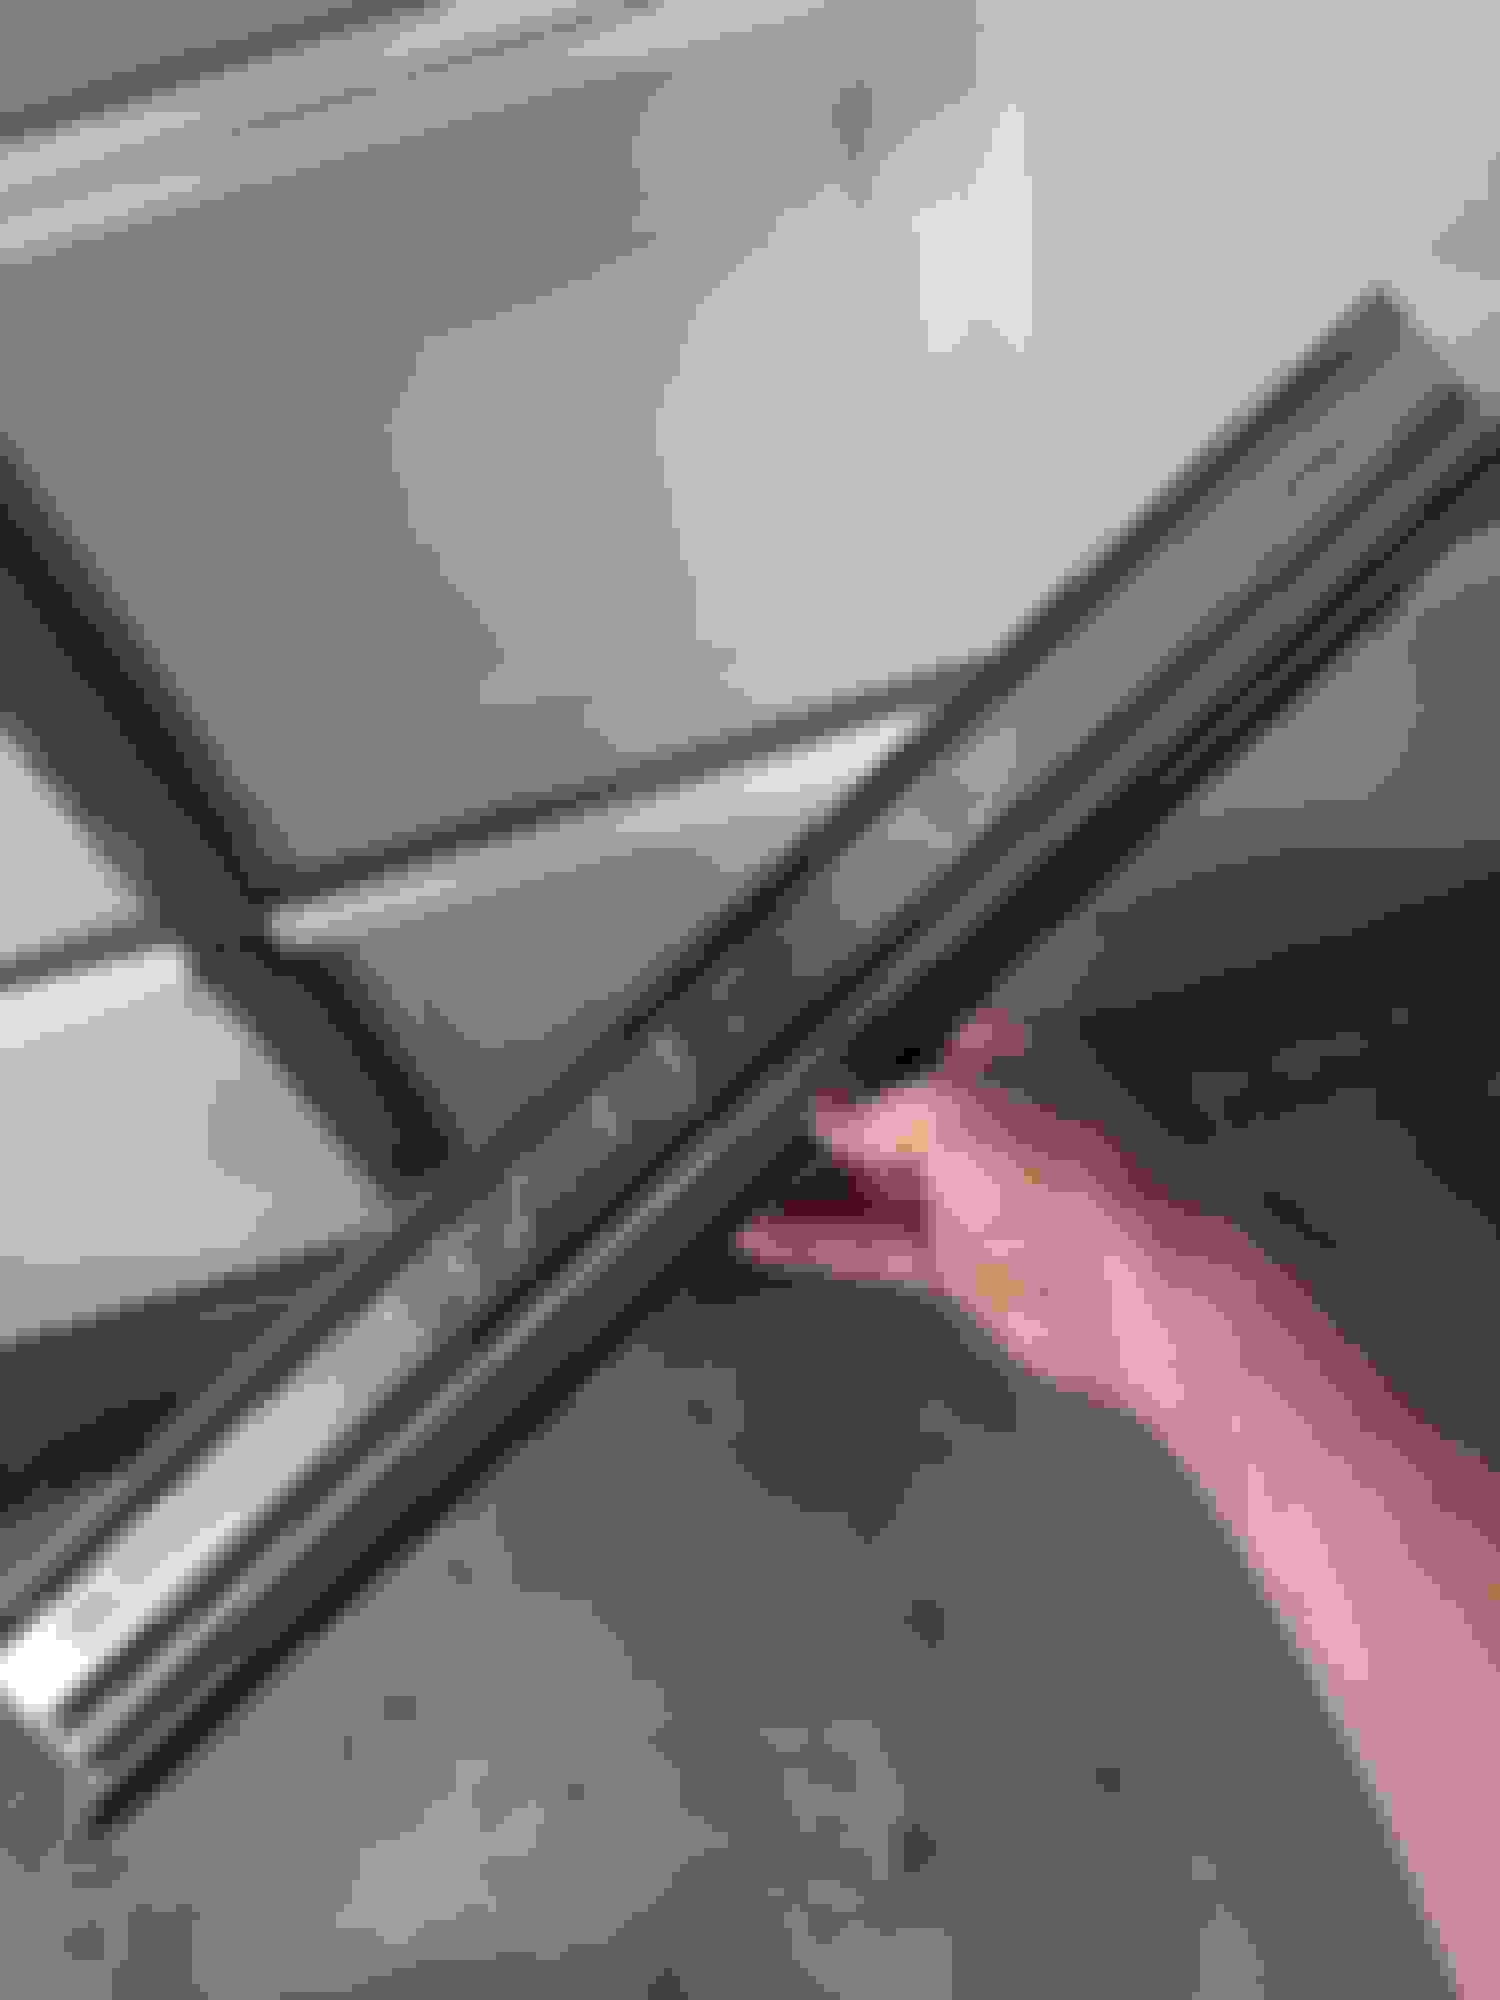
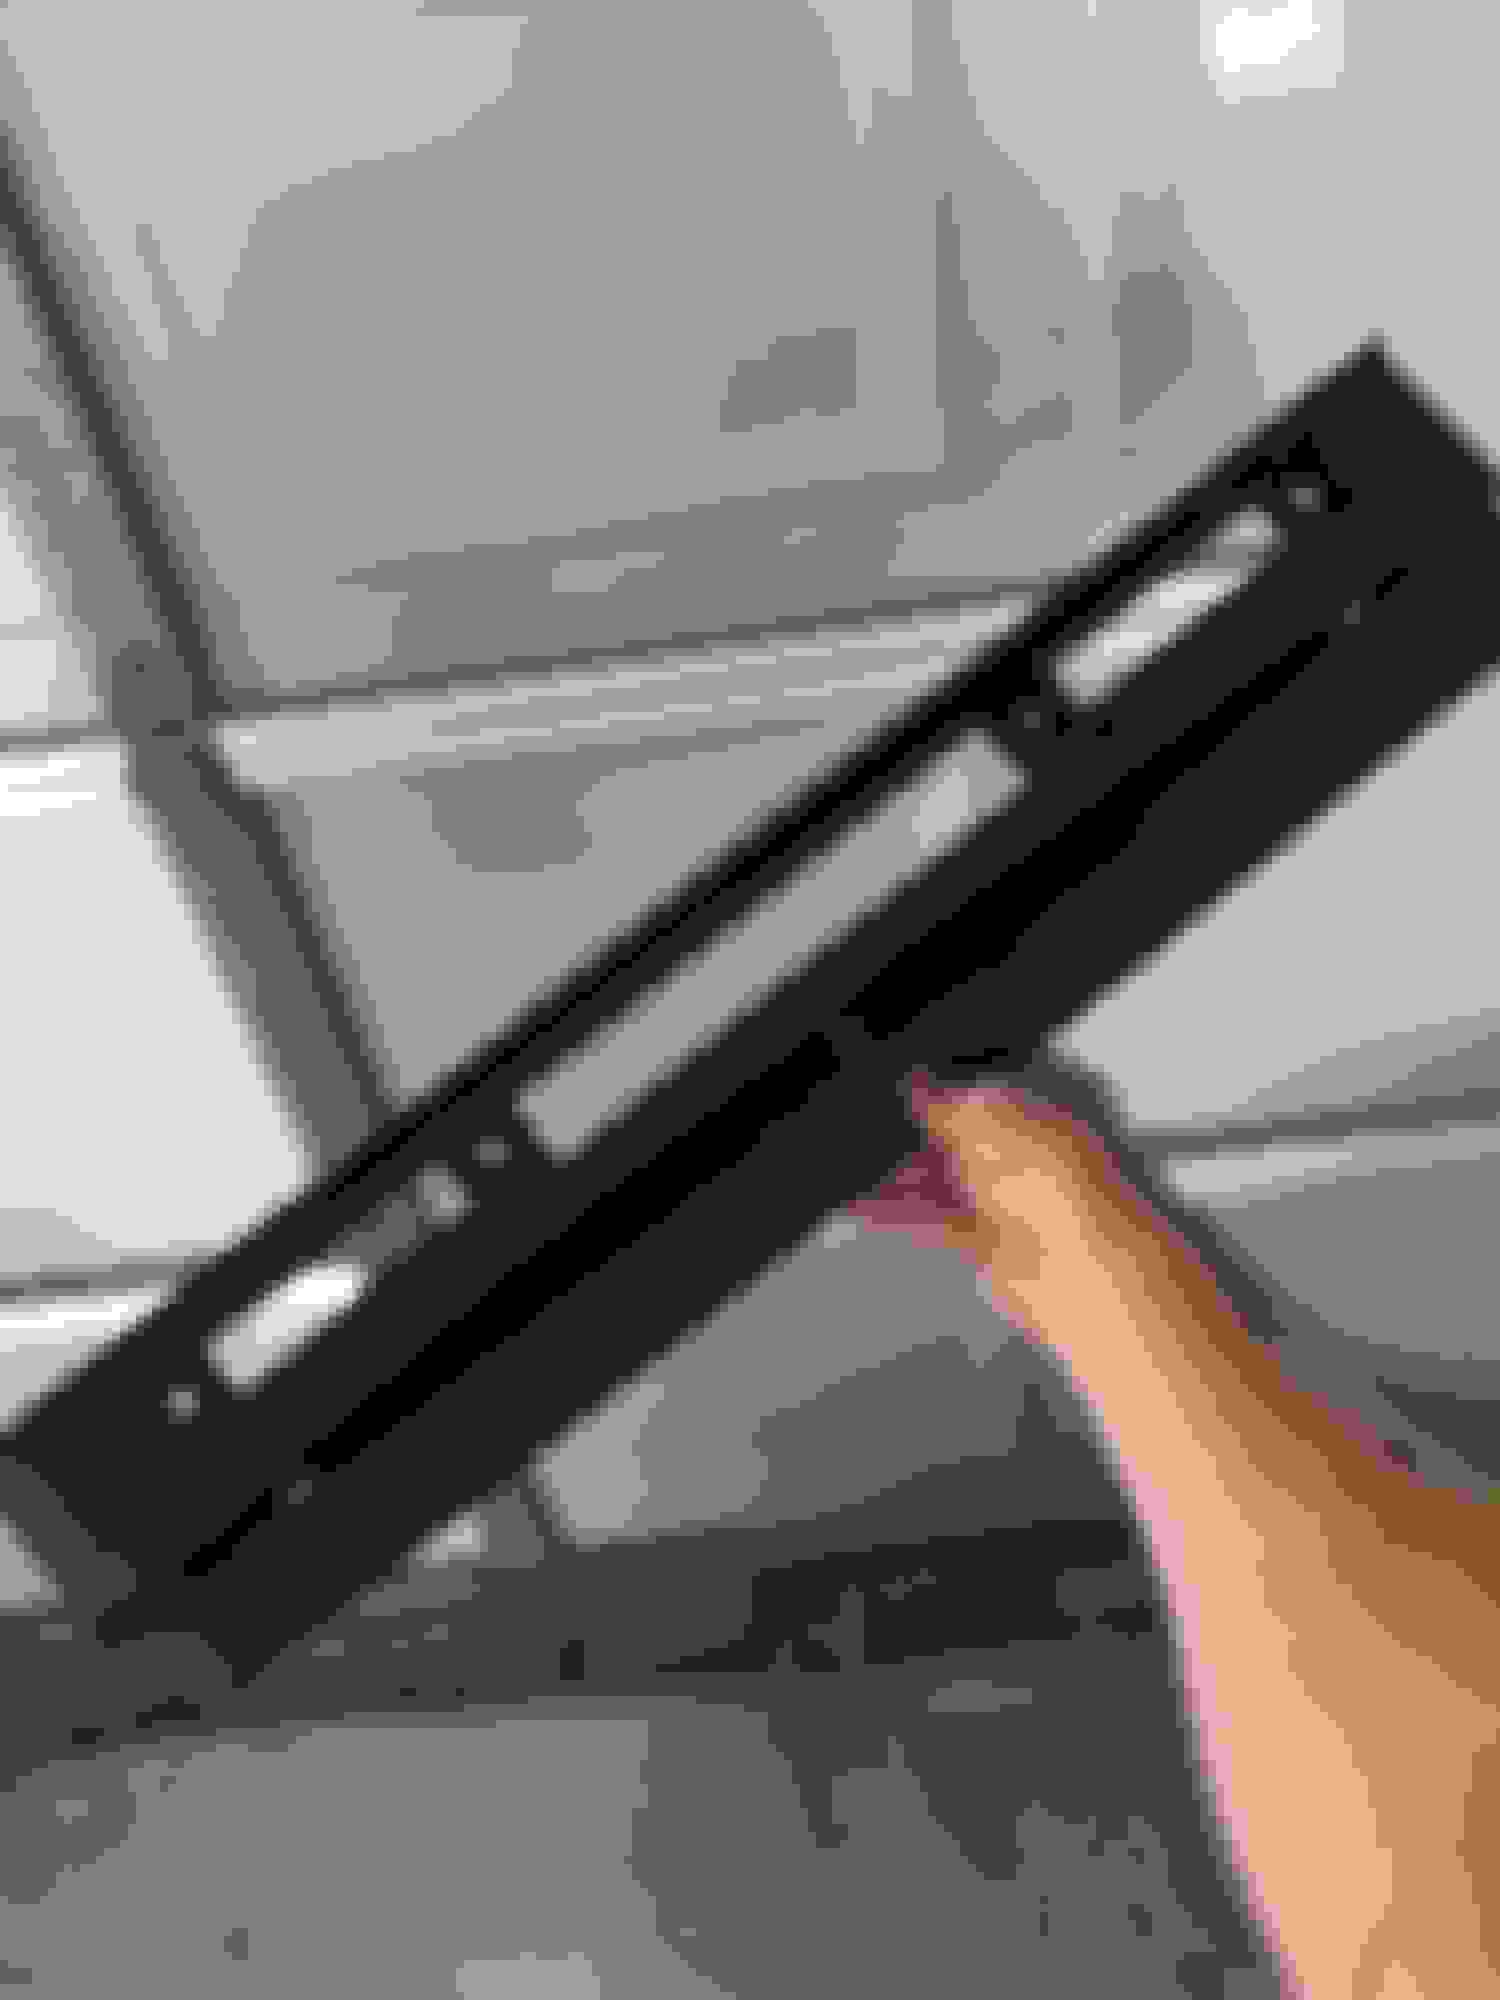
As to the the torx fixings, as I said, I didn't remove the sills or remove the bolts so I have no idea whether these are all that are involved. Here's a shot of the plastic mounting plate showing four bolt positions. I'm sure that's way overkill just to hold the plastic and treadplate in place so if I had to guess, I would say they also anchor the sill.
You're a star sir, thank you for the above - appreciated.
Talk about overkill with the 3M!!!
I assume that the black plastic 'plinth' fastens separately and doesn't need to come off?
If I understand correctly, it's ally treadplate, glued to plinth which is fastened somehow to the sill???
There are a few of us that have wrapped our aero sills without successfully being able to remove the Rocker panels/sills. The workshop manual shows everything, bar removal of the treadplates.
Whilst wrapping the aeros' in situ looks OK, it's no where near as good as actually removing the sill, then remove the aero completely to wrap properly.
Armed with this info, it will be my next project to work out a way of getting these off without wrecking them. I have lots of trim removal tools, so I'll start with them, and heat of course. I love a challenge!
I've had good results in the past using a heat gun to soften the glue on adhesive tapes under panels etc, but you have to be real careful with how much heat you apply and where you apply it. Obviously the main risk with the tread plates is melting or deforming the plastic/vinyl around the ali, so my tip is to start off with a low heat setting on your heat gun, see if that works, and if not very gradually turn up the heat.
As I noted, the passenger side came off pretty easily, the driver side was the Fight of Empires. I did think about the heat gun but a large chunk of aluminium is a pretty effective heatsink so as OzXFR noted, I was more worried about the melting of the plastic trim pieces I didn't have spares of than losing the tread plate I was removing.
If it helps, I found levering from the top of the trim plate towards me seemed the best working along from one end to the other with a small pry bar wrapped in cloth. The plastic ones just couldn't budge things but were helpful to get between the plastic and the metal and "cut" the glue. As the door seal rubber is there too, it can hide a few rough edges if you get too enthusiastic.
Correct, if you are just replacing the tread plate with one of the non-illuminated versions then you shouldn't need to remove the plastic plinth. I have a LH and RH though in a box if you screw them up as I don't think I need them for now. I had illuminated tread plates on my XFR and while they were cute, I don't think they are worth the cost of retrofitting them to the F-Type. I'd spend the money on the red seat belts ;-)
Yes, the plastic plinth is fastened to the sill with four torx bolts, I'm sorry I don't know how long they actually are and whether they hold anything else besides the plinth to the sill. But given the size of the head and there are four of the buggers, I'm thinking either it's wildly over engineered or it does hold other bits together ;-)
The more I look at my upgrade ones the more cheap the stock ones now look and it saved me having to figure out how to sand out the scratches on the originals...
I may just have to look at that seatbelt upgrade more seriously now...
I have some long plastic trim removal tools which are strong, that with my heat gun should do the trick.
You have to get things pretty warm for these new adhesives to start losing their bond. The badges took quite a bit of heat, but carefully applied it's a doddle. Alternatively dental tape works, but because these are right angled and not flat items, that's not an option.
The door seal will be removed and the plastic plinth gets wrapped in tin foil before any heat is applied though! As you rightly say, the Ally is an excellent heat sink, so that should spread the heat nicely/quickly.
I think the thickness and quantity of the 3M tape would give floss a real run for the money and getting it in there to get started isn't trivial compared to badges...
But I admit, I went for the rip it off at any cost because my end game was replacement.
 02-26-2017, 02:19 PM