When you click on links to various merchants on this site and make a purchase, this can result in this site earning a commission. Affiliate programs and affiliations include, but are not limited to, the eBay Partner Network.
So just as a quick update, The new subs are in, if you are looking at an upgrade exercise, these on their own are not worth doing (Hertz ML 1800's), as the volume is less (only one channel compared to 2), but the actually quality of sound is much better, with a more tight bass. However with the new amp installed, what a difference. the sound in the car has been transformed. I would agree with millst, there is a lot of processing done to the sound, judging by the de-equalisation efforts of the new amp. If you are dropping in a dual coil solution, it maybe a different outcome !
Paul, What would your feelings be if someone has the 770w system as I do. What size amp did you end up installing. I have no idea the power going into my rears stock to compare. I have a low expectation of the rear solution in general. Mine have significant distortion as soon as I try and put some bass into the system. I like the surround aspect and I have to now fade it very far forward to not have it act up. Thanks for any insight.
Paul, What would your feelings be if someone has the 770w system as I do. What size amp did you end up installing. I have no idea the power going into my rears stock to compare. I have a low expectation of the rear solution in general. Mine have significant distortion as soon as I try and put some bass into the system. I like the surround aspect and I have to now fade it very far forward to not have it act up. Thanks for any insight.
Bill
I have put in a 520w amplifier and the sound levels to me are more than fine. If you have the 770w system, my own personal view based on experience is to to take a step by step approach. Step 1 - Dynomat (or equivalent) the front door cards and the rear sub covers. This will take out the majority of your rattles and vibrations. Step 2 - replace the woofers in the doors with the JLR signature or B&W items (described in this thread https://www.jaguarforums.com/forum/f...-146775/page2/ ) I would just do the woofers first, as I found upgrading the other two speakers in the door, made the sound a bit harsh. Step 3 tackle the rear sub in one of the approaches described in this thread.
If all of that doesnt get you to point that you are happy with, then I would consider an add on like the Audison AP 8.9, but with your additional channels you may need to consider a different Amp.
Given your early comment that is exactly what I have put on order last week for my 770watt system. Dynomat doors and rear -> door subs replaced with meridian signature -> rear midbass replacement. Only differing factor is right now I don't plan on amplifying the rears. Time will tell, hoping everything will be in this week to finish
I have put in a 520w amplifier and the sound levels to me are more than fine. If you have the 770w system, my own personal view based on experience is to to take a step by step approach. Step 1 - Dynomat (or equivalent) the front door cards and the rear sub covers. This will take out the majority of your rattles and vibrations. Step 2 - replace the woofers in the doors with the JLR signature or B&W items (described in this thread https://www.jaguarforums.com/forum/f...-146775/page2/ ) I would just do the woofers first, as I found upgrading the other two speakers in the door, made the sound a bit harsh. Step 3 tackle the rear sub in one of the approaches described in this thread.
If all of that doesnt get you to point that you are happy with, then I would consider an add on like the Audison AP 8.9, but with your additional channels you may need to consider a different Amp.
Perfect thanks. I already had on the plan to replace all the door speakers and dynomat. Interesting feedback on the mids / highs in the doors. The panels come out easy so yes I will wait on them and just do the woofer. That is where I am not thrilled. Great advice. My car is in storage but will procure all the parts required. Interested in Dakota's results as he has the same system.
The comments on the mids/highs aren't shocking. We have no idea what the impedance, efficiency, power handling, etc. are for either speakers. Picking from the same JLR parts bin in no way guarantees compatibility, especially given the DSP amp in the design. It's a safer gamble with the woofers since our ears are less sensitive at the lower end.
Rear subs are in, it was quite an adventure. Unlike Paul, I was not able to use almost any of the back bracket for the speakers. I had to take everything off the surround in the back, including the stock mounting point for the harness. Then, mount a universal 6,5-inch speaker adapter found here to the back (https://amzn.to/2MRiqkM) The first one took me ~3hr of trial and error and the second took maybe 10 min.
I also dynomatted the rear before reinstalling. I took a slightly different approach to deaden the panel.on top of the sub. For that, I used camper shell tape foam found here (https://amzn.to/2t4vAl4) following roughly the guide for the TSB on the issue. I was pretty liberal with the tape.
Results:
For $60 in parts and 5 hours figuring it out:
Absolutely great. No vibrations, clean bass and when the volume is maxxed out with the top down you really feel that deep bass that was missing before. It did brutally point out that now all the distortion and rattling is coming from the doors, however, which is today's goal to fix along with installing the LR047119.
I did the same thing in my 2015 V6S. I also added sound dampening to the entire place. Still is some rattle though, but only coming from the cover behind the seats. Anyone doing this mod should add some dsmpedamp to the flimsy plastic cover as well to make it rattle lwas.
I went with the meridian signature for front speakers and monacore for the rear. Huuuge improvement over the stock 380 watt garbage.
Hi Richard I am looking at removing the rattles and vibrations on my 770w Meridian system. I have done the doors but now want to tackle the rears. I see from your pictures that you have removed the seats, is this an easy task? Also removing the rear panel where did you start and did any clips break when you removed it? Thanks in anticipation.
This thread just reinforces my opinion that JLR should work on improving quality rather than messing with an already classically beautiful car shape. I may get to doing some upgrade in back one day. For now I am satisfied with the front and door JLR upgraded parts. I think Paul is correct that the front tweeter upgrades (door tweeter and dual tweeter in center ront make the system a bit bright), but it is very crisp in reproduction. I don't believe Paul has the dual cone center front tweeter (s) though. I tend to blame this dual cone more for brightness because when I switch to stereo mode it seems to drop out the center front speaker and settles out. I'd still probably keep what I've done than revert to original tweeters in doors and front as the clarity and sharpness is just flat out better. Now the rattles in back area (not from the speakers) are starting to drive me to chase them down and kill them.
Hi everyone- sorry to revive an old thread but I was wondering if the people who have changed the rear speakers could give some guidance/instruction about getting access?
is it enough to just push the seats forward?
how to the panels come out?
any info on the fastening points/order etc would be greatly appreciated!
I have recently carried out this job on my V8R AWD coupe which I imagine would be similar if not the same for your V6S coupe. The job is not as difficult as it seems and this is my experience.
I definitely recommend removing the seats, this will avoid you from getting a twisted back or worse. You will require a Torx socket set or similar and you need to disconnect the battery.
Before disconnecting the battery move the seat back rest as far forward as it will go, then move the whole seat back and forwards to access and remove the 4 holding down bolts. Now disconnect the battery. You will need to tilt the whole seat back (runners and all) to access the electrical connections underneath the front of each seat. The plugs are within a plastic housing which has a drawer like opening at the front. It is however retained by a hefty clip on either side which needs to be pushed in. This is quite awkward because of the limited access but a bit of brute force will see it through. Once the "drawer" is opened you can access the plugs and unclip them. You will also need to remove the cable clip attached to the bottom of the try, again a bit fiddly. You can now remove the seat. Next job is to remove the trim around the door down to the sill, this is on clips and simply pulls off, start at the door catch area and work down to the sill. Now the seat belt anchors need to be removed and then the plastic trim around the aperture the seat belt disappears into. Next you can remove the cubby hole and trim, again this simply pulls out of the clips. The next panel to remove is the top panel however before you do it you need to remove the 2 pieces of trim either side of the rear parcel shelf (not the trim the shelf sits on). This trim attached to the top panel and is held in on clips so you need to gently prize it out. Once removed this is the brutal bit you need to get back in the car and get hold of the top panel and sharply pull horizontally towards you, the clips should release and the panel should be free. You now need to feed the seat belts through the apertures and you can then remove the panel. Next is the speaker panels which house the grills and again these are held in with spring clips so a sharp pull will release them.
You now have full access to the speakers which are each held in with 3 Torx bolts and the cable plug.
Note as per thread below you can access the speakers without removing the top panel however it does overlap the speaker panels which require prising out which you may not wish to do.
You can now follow any advice provided by others in this thread regarding speakers, insulation etc. For me the right rear speaker was blown and as such I replaced it. I added some anti-vibration material here and there but did not go to the extent of that of others. The job was a partial success speaker no longer "pops" but i still have occasional vibrations and rattles when the music gets too loud or the bass is dominant. I tend to drop the window and listen to the entertainment from the exhaust!!
To try and find some of the rattles & vibrations you can operate the sound system with the panels removed by reconnecting the battery and pressing the On/Off button for the system. Do not however switch on the ignition as you may get an airbag warning light because obviously the seats are disconnected. Don't forget to disconnect the battery again before you put it all back together.
Putting it all back together is a simple reversal of the above and won't take as long. Hopefully you didn't break any clips but it might be an idea to get half a dozen before you start the job, you only need one type of clip I'll drop you the part number if you need it.
I hope the above is of help, if I can be of further assistance drop me a message.
Cheers Jaaager
jaaager thank you so much for this awesome write up. Thanks for taking the time much appreciated
Keep in mind i did my audio knowing nothing or little about the technical part. I got an AMP, sub, speakers that all seems to have the right numbers for my AMP and stock equipment in my veloster and it worked.
However with a jag I would like to be smarter and do it with less trial and error.
2017 F-Type Premium V6 Auto coup
Last edited by BudgetBiker; 08-30-2022 at 10:25 PM.
You won't really get what you're looking for by doing a one for one swap of the rear subs. The signal is simply too weak. You need to tap the door woofer signal and have a amp drive a sub or two for actual bass. See this thread: https://www.jaguarforums.com/forum/f...ispreloading=1
After reading these stereo threads I’m nearly convinced that for the coupe at least, upgrading the drivers in the stock locations is a fools errand. The stock setup already has plenty of driver area and power, even with the 380 watt version.
To my mind, the main cause of the pathetic bass response is the driver (and head unit EQ/crossover) tuning with the available ‘enclosure’ volume. New speakers and Dynomat seem likely to offer only marginal improvements unless you’re very careful or just lucky.
I’m thinking that for the coupe, a cheap powered Bazooka tube or other modest powered subwoofer in the hatch area is going to be far and away the best bang for the buck. For the ‘vert, maybe slim powered subs behind the seats.
Hello all.
thought I would add my recent changes all though not much different than others. Real basic.
I decided despite me having a custom audio setup on my old Veloster, with this car its a 2 seater and small so not looking to go deaf.
However the flappy rear subs just could not remain.
So i got the measurements off other posts and did the best I could for some budget upgrades.
I will put links to the items I purchased at the end.
Bassically I swapped the rear subs for some Skar Audio EVL-65 D2 6.5" 400 Watt Max Power Dual 2 Ohm Car Subwoofer.
I got 2 and some Siless 50 mil (1.3mm) 52 sqft Car Sound Deadening mat.
I cut the harness off the old speakers which are paper garbage and pathetic. I expected more from Jaguar. But in my experience, all cars with "Premium" sound from factory usually means they just put badging on the speaker grill, add a tiny amp but still cheap paper speakers underneith.
Anyway. I used connectors and the OEM frame but do to untrue sizing and the OEM being built into the old frame, i had to make some McGuyver adjustments.
All in all it worked out. I soundproofed everything I could behing the Subs and on the paneling over them.
I used zip ties and Velcro to make the speakers work and they just barely fit due to the magnet size.
The results were better low bass from the rear and no rattling or flappy sounds.
I believe the biggest issue is that the sound decoders just mostly suck regarding sound to the right channels with the right volume.
Before and after I find myself getting good sound on some songs then have to adjust for another because it routs it all to the front center speaker.
So all though my budget upgarde improved the base in the rear, the entire rest of the system is alright at times and others, trash.
Siless 50 mil (1.3mm) 52 sqft Car... https://www.amazon.com/dp/B07B75TBCV?ref=ppx_pop_mob_ap_share
However given the small cabin size I am content. Here are images of my efforts.
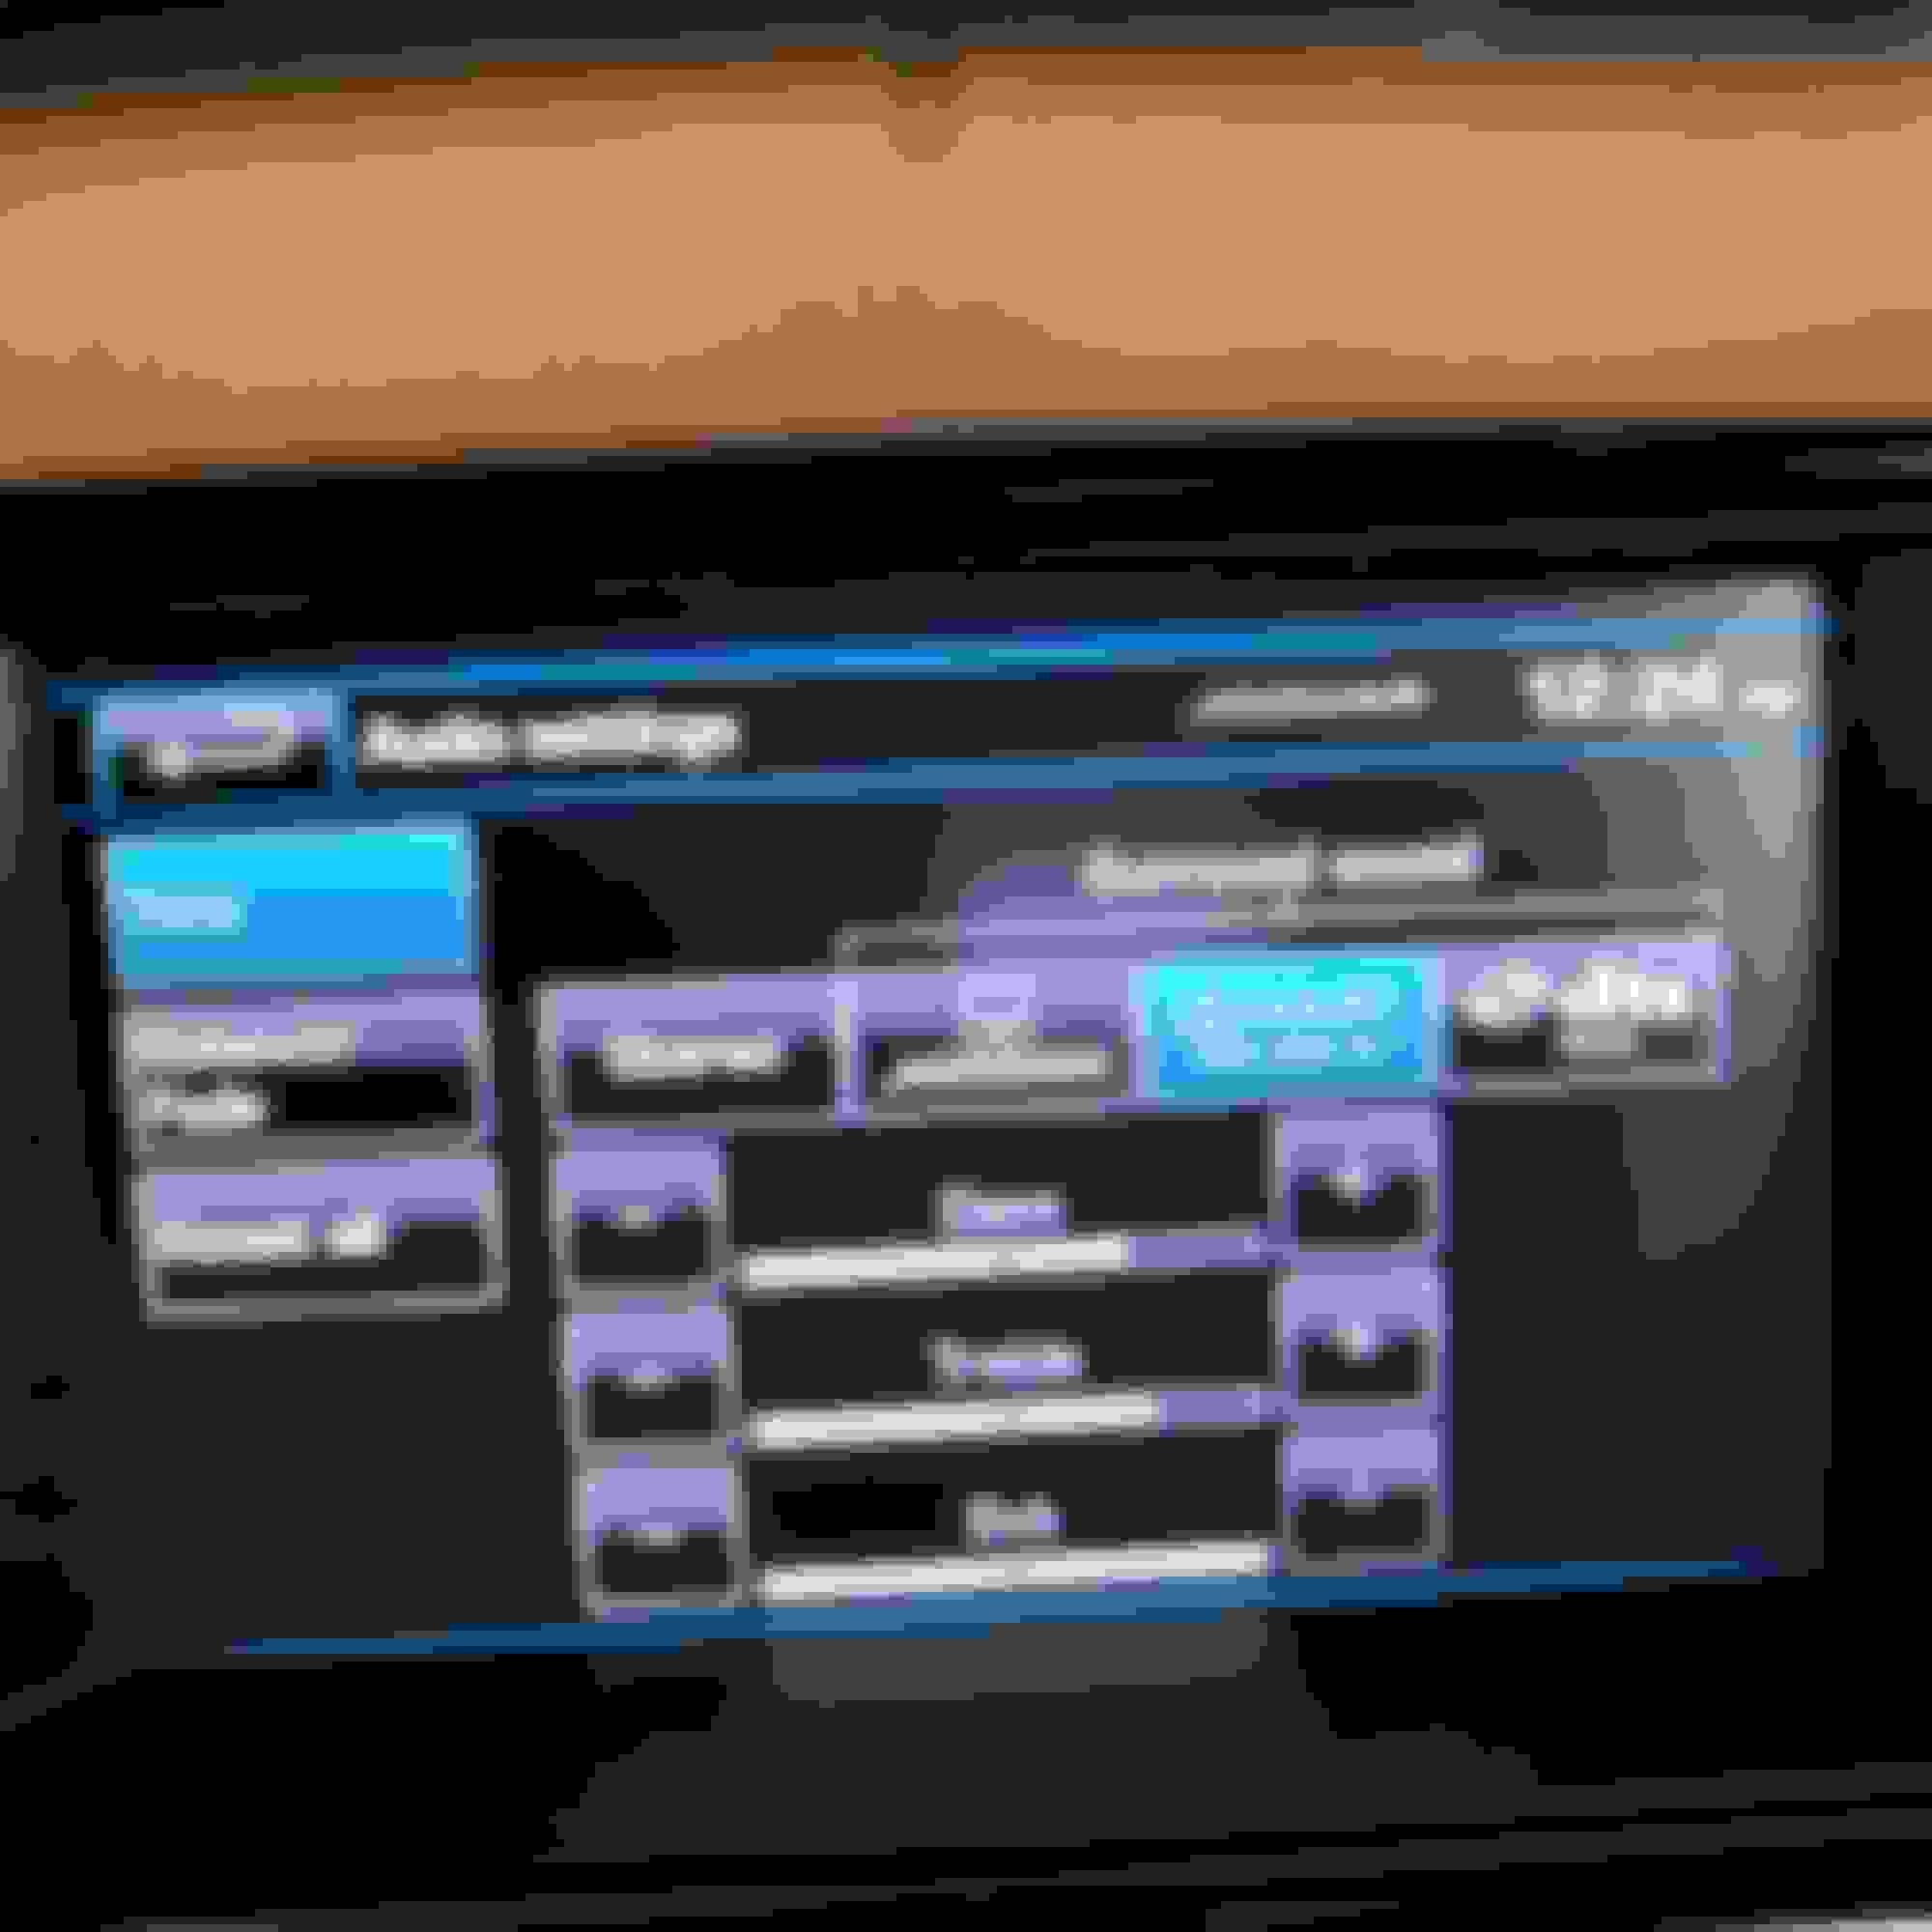
New sub speaker with not paper bag cone material. The specs on new sub Old sub wiring More old sub wiring. Side by side comparison. After fitting into old frame. Note, keep the foam inner plastic ring inside and just cut out old speaker. This helps keep strength to to bracket for the new heavier sub. Yes, i know its ghetto but I was tired and needed this done before my high blood pressure killed me. This is the setting i found worked best after the swap. Pandora played surprizingly good. I switched to my USB drive of music and it seemed every song needed adjustment. My guess is the head unit software is just not a very good equalizer.
Last edited by BudgetBiker; 09-05-2022 at 05:58 PM.
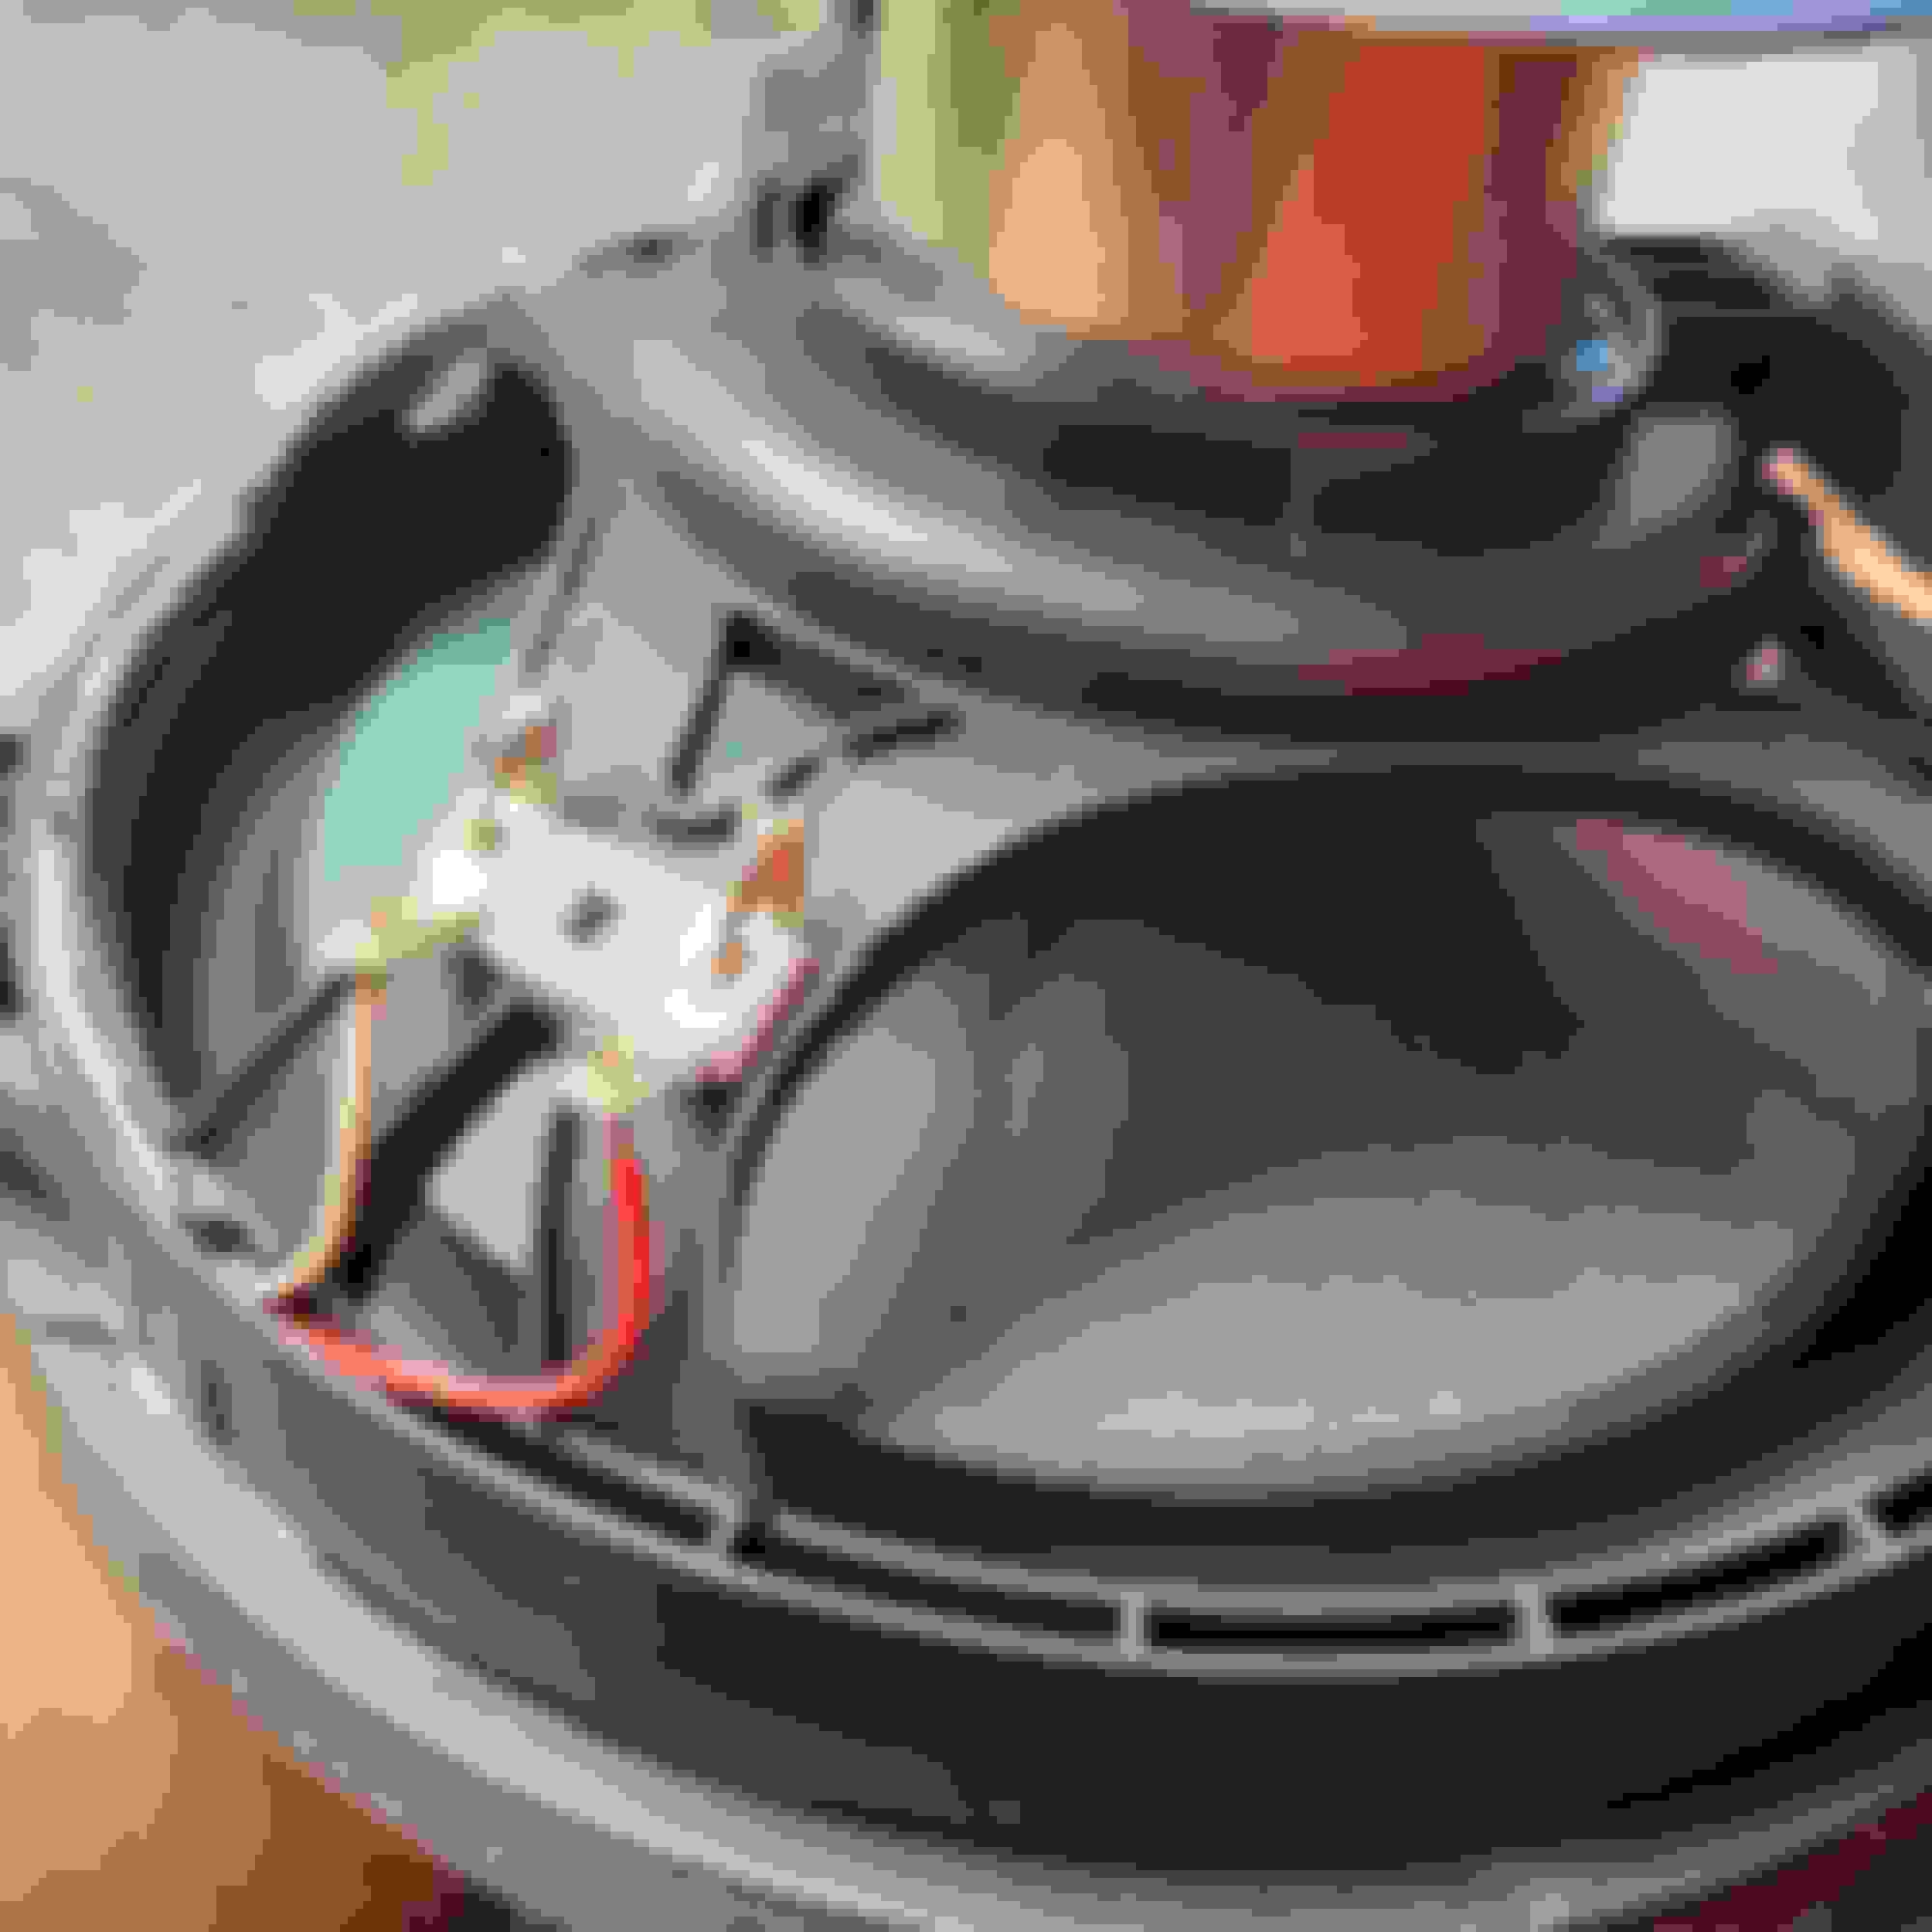
Hey BudgetBiker, I want to thank you for posting your upgrade to the rear subs. I decided to go the same route as the muddy flat sounding rear speakers are the main thing that bothers me about the 770W Meridian system. I wanted to post some pics of how I mounted the Skar Audio subs into the factory frames.
Once removed I de-soldered the connections and cut the speaker frame flush with the outer surround.
Next once the speaker was cut free at the rubber suspension ring I noticed the nice flange that was left behind that an adaptor ring could sit up against.
I then measured the inside diameter of the factory housing (7 5/8"), the Skar sub mounts in a hole measuring 5 3/4". So using some acrylic material I had sitting around I made adapter rings 7 5/8" outside diameter with a 5 3/4" inside diameter, the material is approximately 3/8" thick.
I fastened the rings to the factory frame with some simple zip screws (predrilling the holes), every 90 degrees seems to be sufficient.
The speaker was then mounted to the ring with machine screws and nylock nuts, making sure the speaker terminals were in close proximity to the factory wiring so they could be soldered back on.
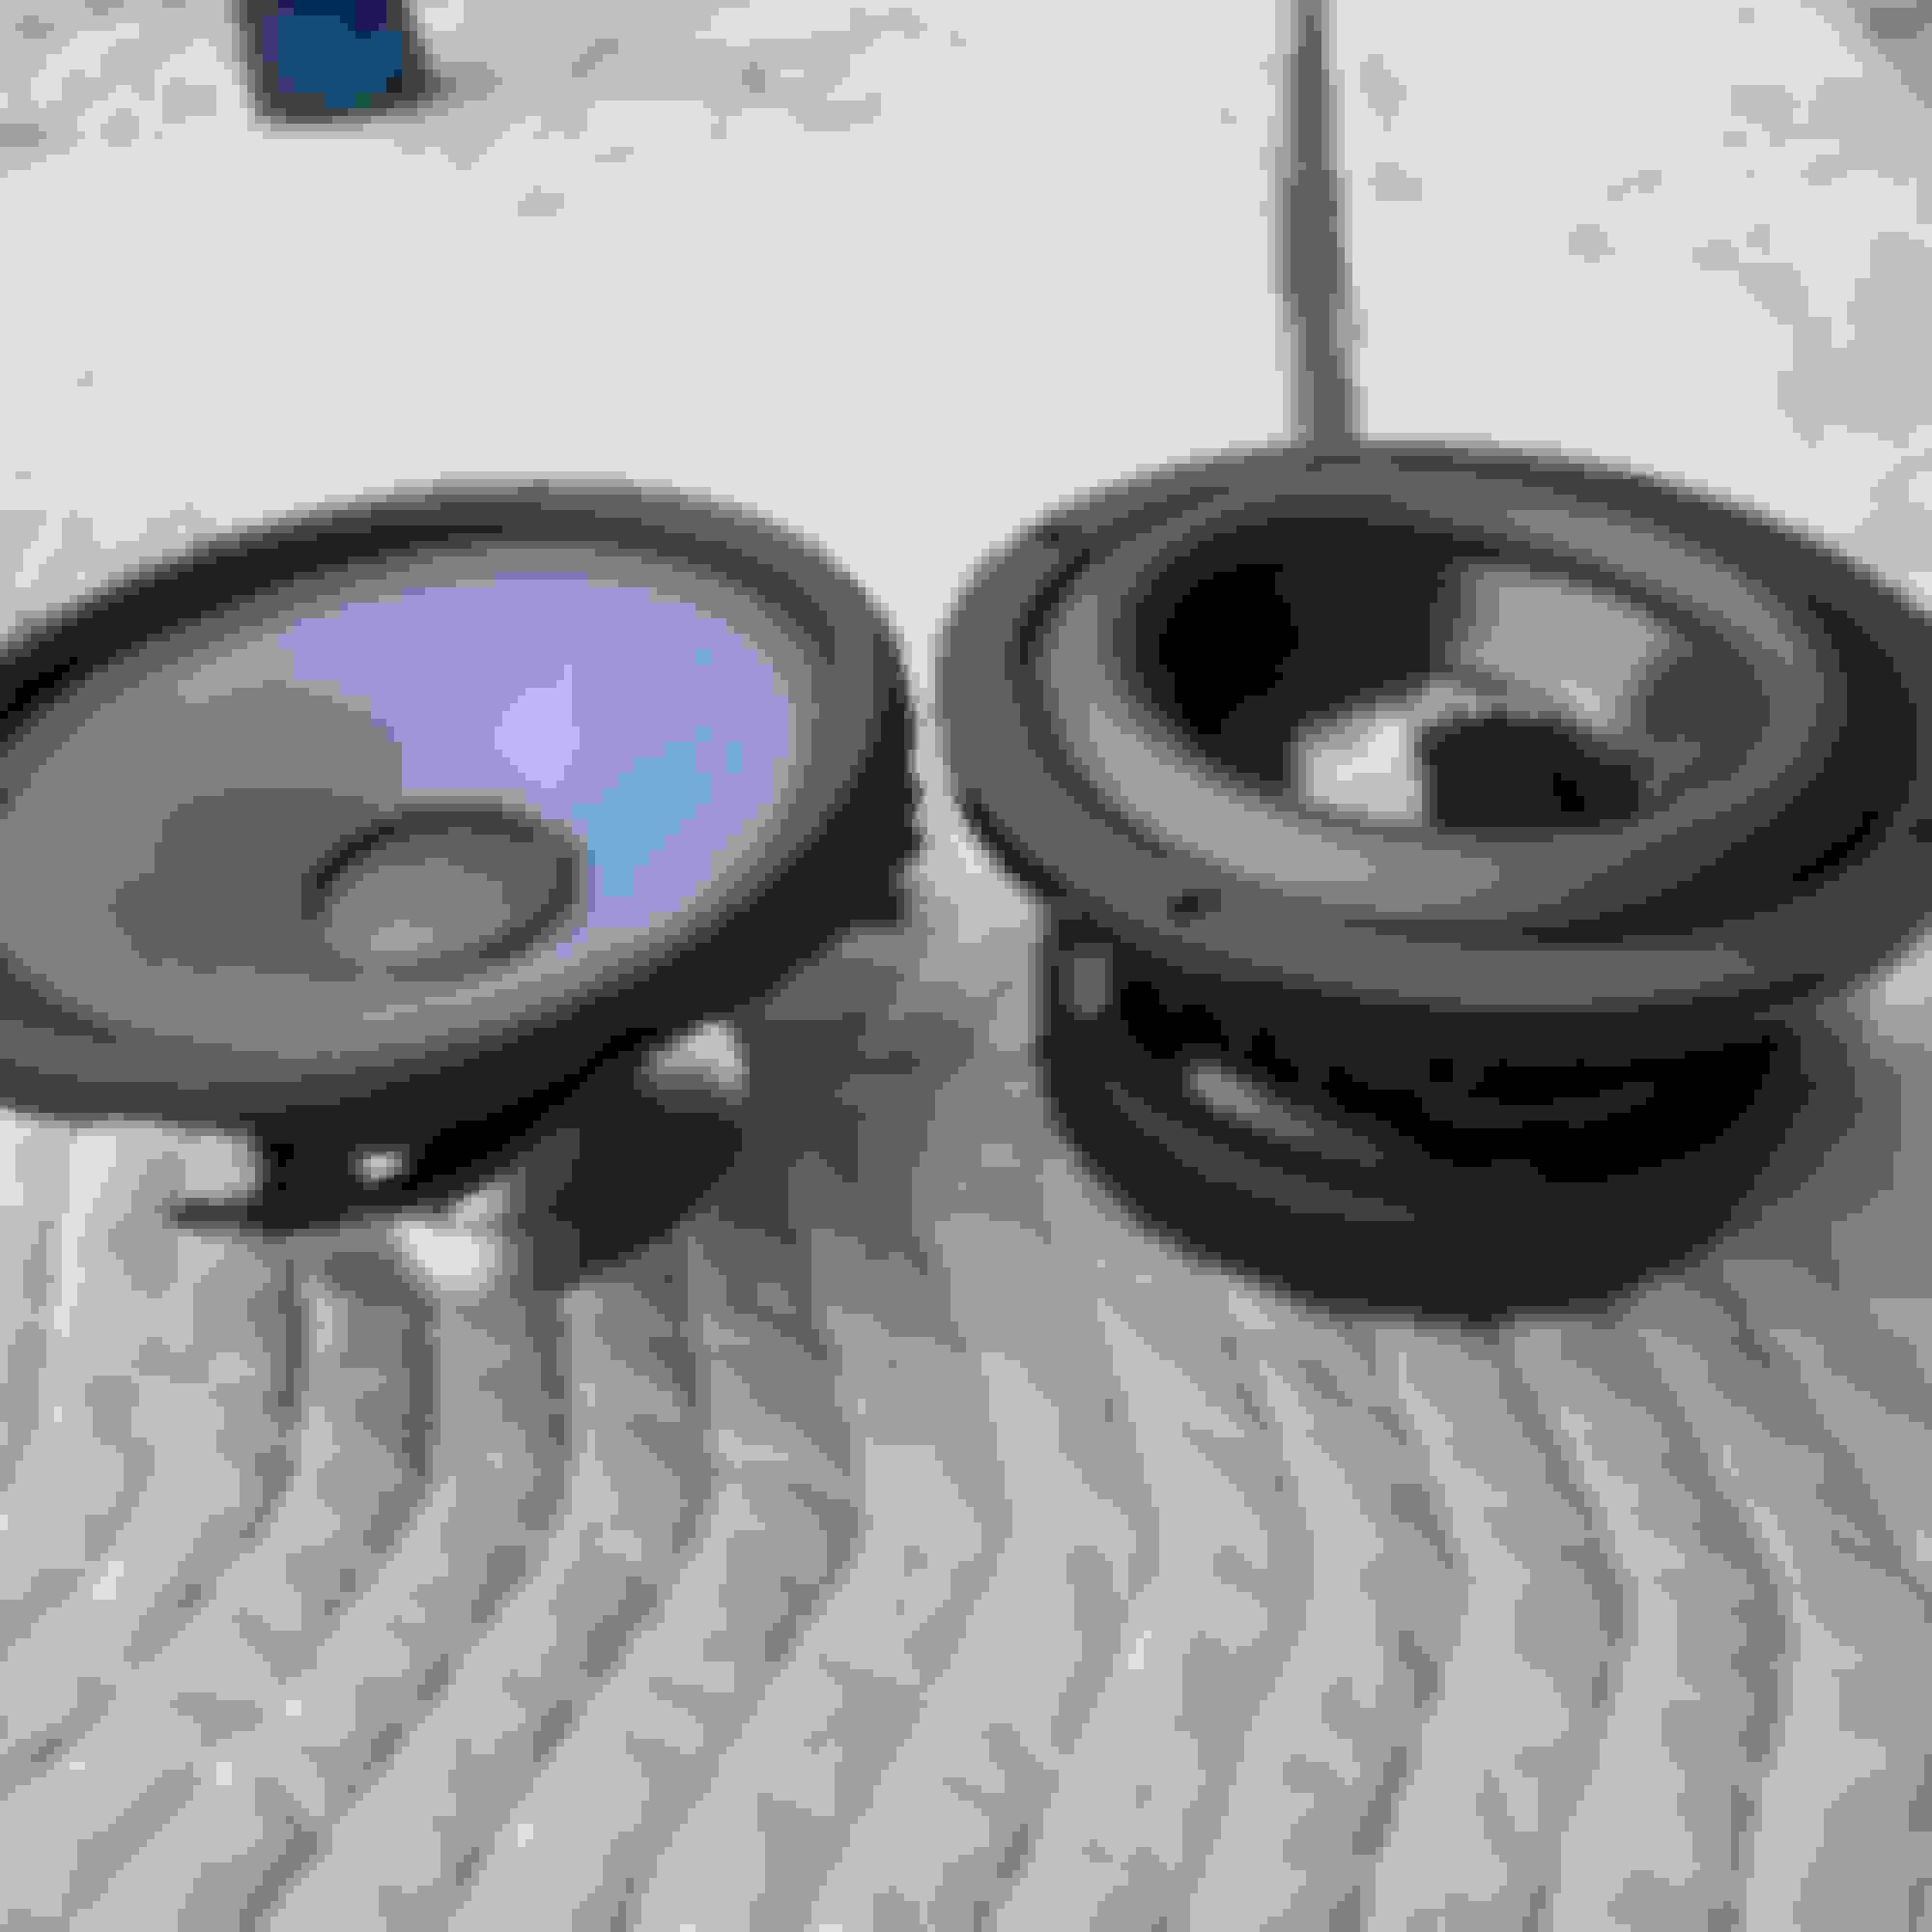
The factory subs are not marked as to what is + or - as far as the coil connections. To be absolutely positive that the polarity was correct I used a 9v battery to apply voltage to the factory connections and took note of which direction the driver was thrust when power was applied, then carried this over to the new sub. The color coding in the above pictures are correct for those that intend to perform this modification.
Here is a side by side of the new sub next to the factory sub.
Speakers are resting in place for now, waiting on sound deadening material to arrive so that I can finish the install.
 01-28-2019, 03:16 AM