When you click on links to various merchants on this site and make a purchase, this can result in this site earning a commission. Affiliate programs and affiliations include, but are not limited to, the eBay Partner Network.
A very difficult looking but simple repair for modern Jaguars is Turn Signal Switch Replacement.
The turn signal switch for XJ (2008+), XF, XK, F-Type (presently 68 applications) is the same part. Earlier cars may call for a similar part minus chrome rings.
The following photos and instructions refer to a 2011 XK but others are similar.
It is not necessary to remove the steering wheel/air bag, the under-cover above the pedals or anything else.
Tools required: a T20 Torx driver.
Part Required: C2D53495
The key to success on with this replacement is: Take your time. You've GOT this.
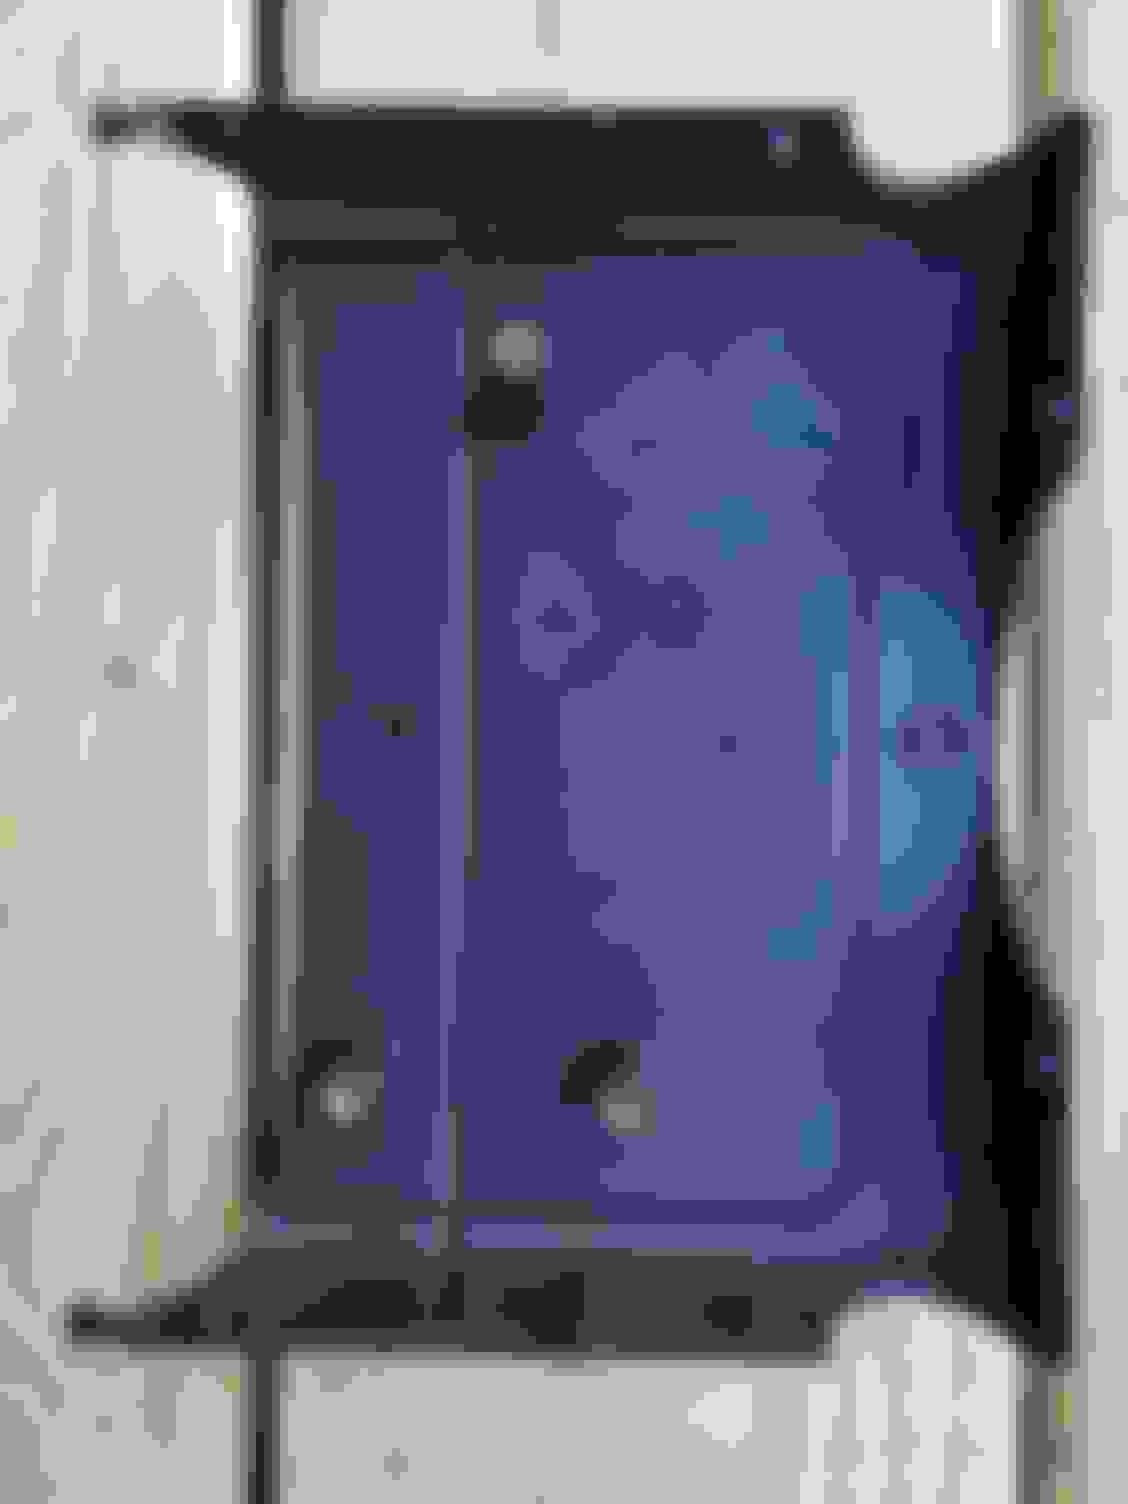
The direction switch. No screws, attachment is slide track and integral plastic clips.
The direction switch showing integral female connector. A plastic spring clip is visible on the LHS.
The Lower steering cover viewed from below. One of the two T20 torx fasteners is visible in this photo. Remove both screws and gently disengage bottom cover from the top.
Steering column, viewed from below, bottom cover removed. Torx screws (3 ea. T20) are removed from here.
Steering top cover showing screw locations.
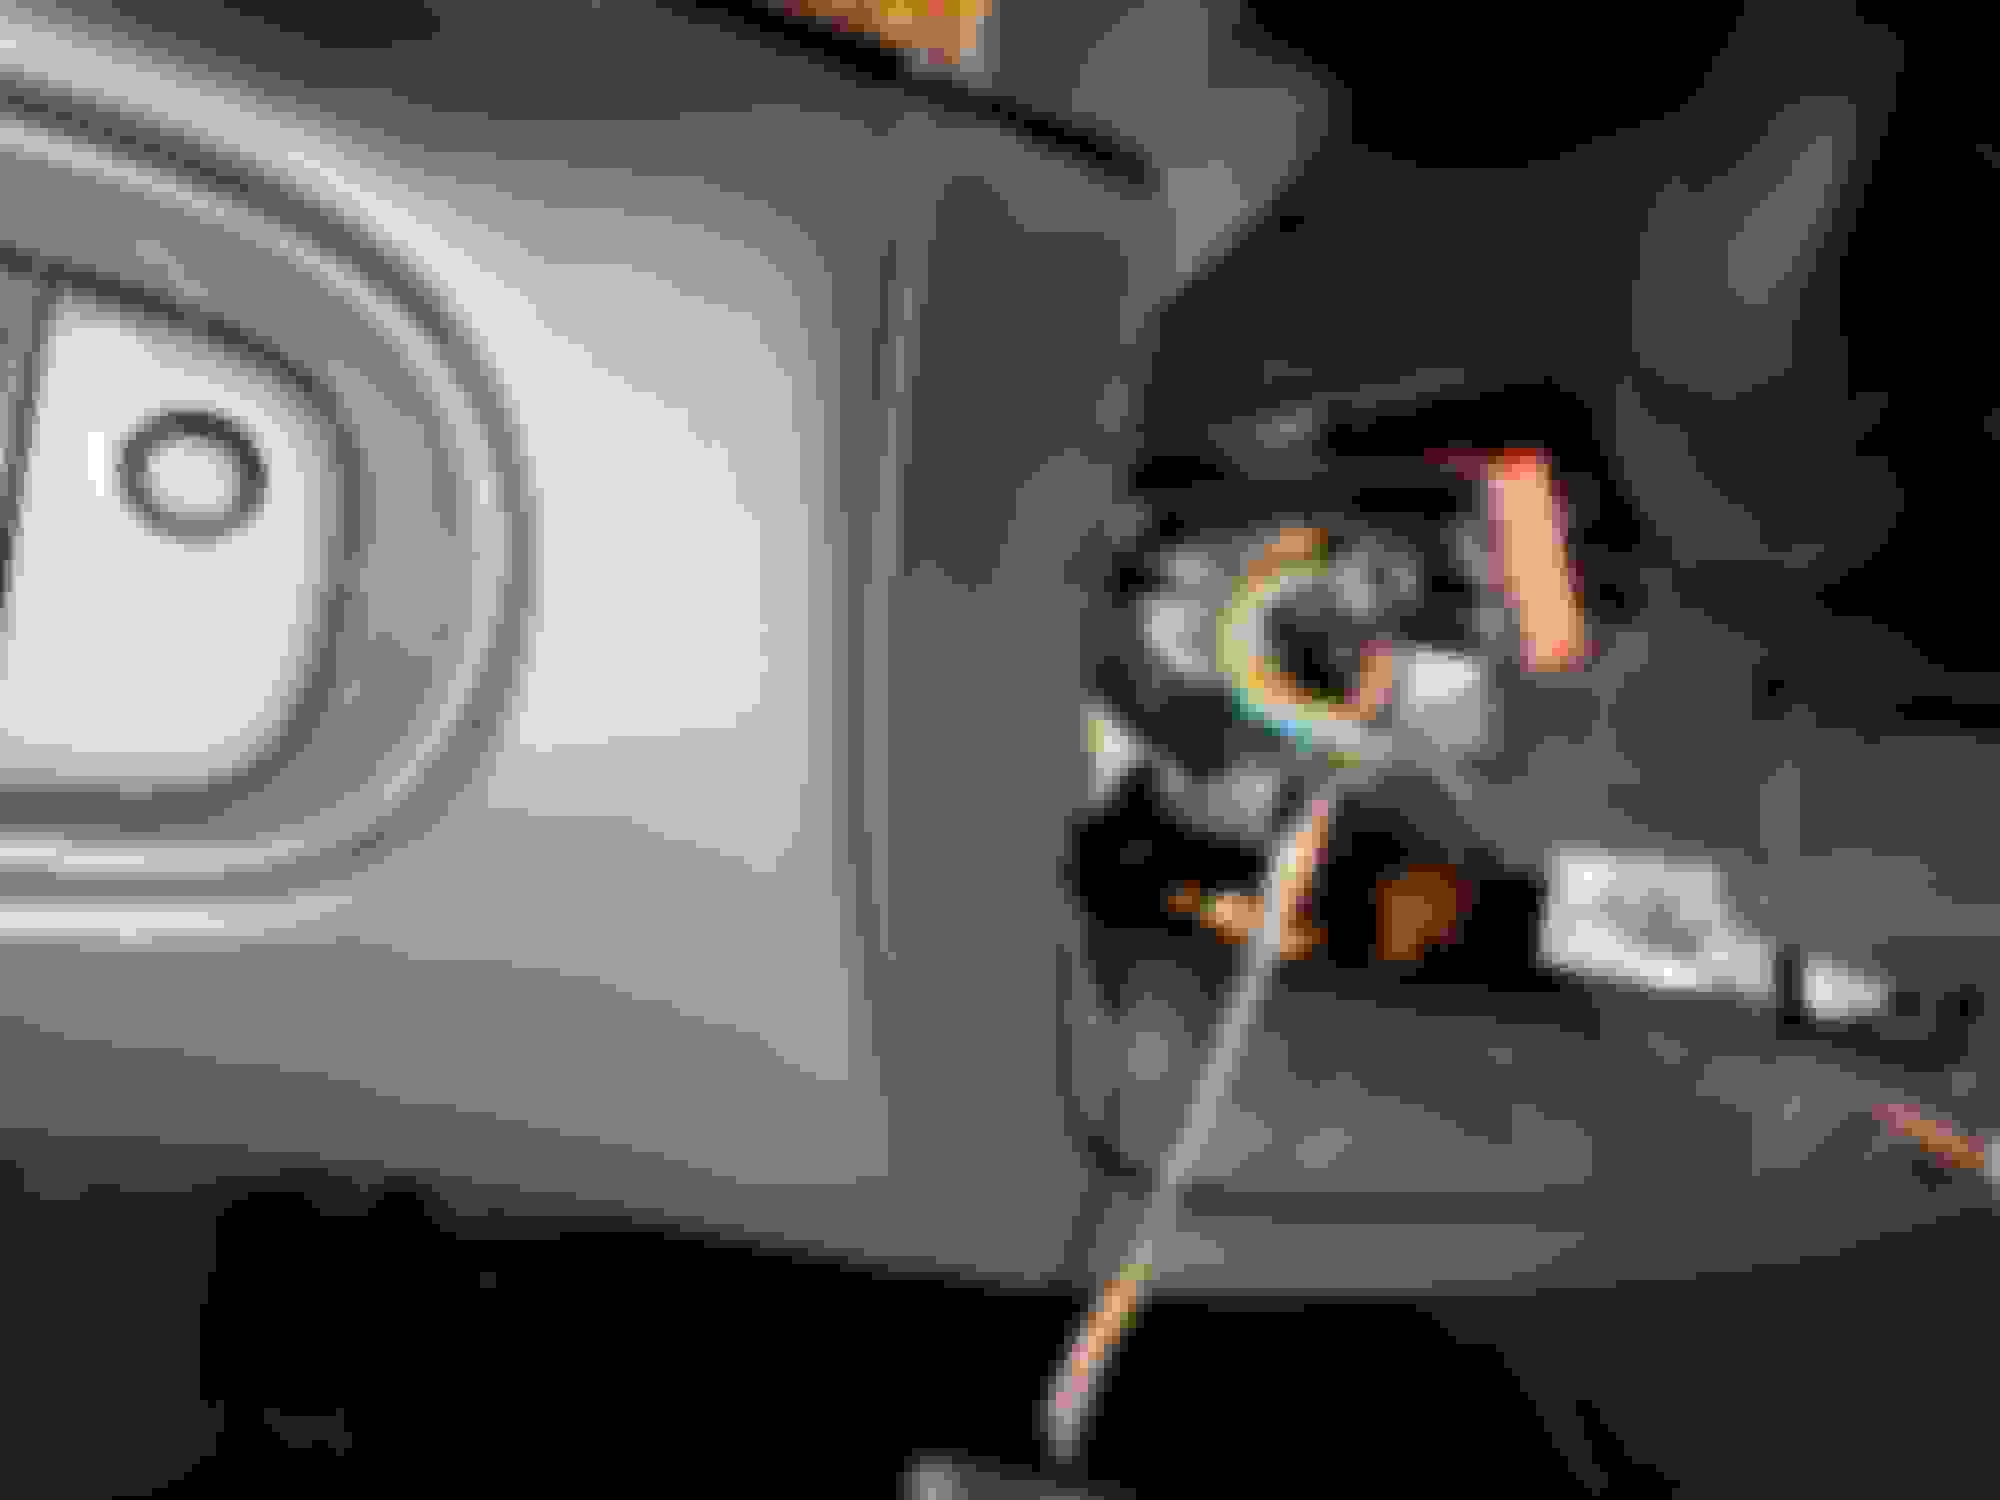
Electrical connector. Note the small push tab on the left as seen in the photo. Plug is shown properly oriented.
Directions:
1 Gather tool and replacement part.
2. Raise steering column to upper height.
3. Remove the two T20 screws from lower column cover.
4. Disengage cover (but not the adjustment switch) and move aside.
5. Remove three T20 screws from the top cover.
6. Lower the steering column to the lowest position.
7. Remove top column cover and set aside.
8. Depress electrical connector tab (on exposed side) and slide toward front of the car.
9. Depress the flat plastic surface (top and bottom simultaneously) to disengage the clips on the direction switch.
10. While depressing the clips, pull the switch to the left and away from the steering column.
11. Reverse order to replace.
Note: a. Install the electrical connector (click!) then gently insert the switch in its track and snap the switch into place.
b. Patiently lift (front lower than rear) and guide the top cover into place.
c. The T20 screws stay in place on the driver by gravity. If not, consider a bit of tape or putty, etc.
The second time that you make this repair, it takes 10-15 minutes.
First times may vary.
Good luck and best regards,
Bill
This post was made possible because of the efforts of Gus Glikas of Jagrepair.com who helped kick-start my interest in a great hobby. Thank you Gus.
Last edited by Bill400; 03-05-2022 at 02:36 PM.
Reason: correct singular/plural.
I've been wondering if there's a way to change the stalk in my '07 so that it has the 'one-flick' that lights the turn signal three times.
Does the newer version's electronics have that built in?
I must have gotten too lazy with our Volvos to go back to having to hold the stalk while making a lane change.
So I was thumbing through the owners' manual yesterday and saw that the "3 light" option is available but has to be turned on or off by a dealer or shop. I assume that's using SDD.
I have an appointment next Tuesday at Renaissance Motor Cars in Sarasota to make it happen.
Last edited by Hockey_Steve; 03-15-2022 at 12:39 PM.
Steve,
You are correct! Page 69 of the XK Owner's Handbook addresses the three-flash lane change option as a dealer selectable option.
Likely similar across modern Jaguars from 2008 XJ and beyond. It will be in the handbook.
Thanks for the info, Steve.
Just goes to show that there are gems "hiding in plain sight" in the Owner's Handbook.
Best Regards
Bill
I have an appointment next Tuesday with Renaissance Motor Cars in Sarasota to get this and the aux output on the infotainment system activated.
I have an appointment next Tuesday with Renaissance Motor Cars in Sarasota to get this and the aux output on the infotainment system activated.
I'll let you know how it turns out.
I finally got the XK to Renaissance Motors and now have the aux output available.
Bryan was not able to find the one touch turn signal option anywhere in the SDD software categories. Trying to speak to a service tech at the dealers in Tampa and Sarasota for assistance has been next to impossible.
Does anyone have an idea of if/where the option is in SDD?
I'm also considering ordering the Kahltech one touch module along with the Smart Stop Flasher for both the Jag and our Volvo V60.
So with no luck with changing the flasher using SDD I purchased the lane change flasher module from Kahtec.
Now, I need to find a switched circuit to connect to the module, which I've mounted in the trunk.
Is there a switched circuit wire in the trunk, or is there an easy way to connect to a fuse in the rear seat fuse panel and route the wire into the trunk?
I've also added the Kahtec upper level brake light flasher to the XK and our Volvo V60.
Steve,
Look in the left rear corner of the trunk.
There is an unused plug with switched 12V mounted adjacent to the taillight.
Mine even had an unused connector attached.
Waking up an old thread to give a shout out to Bill400 for his clear and concise directions. Swapped out my rattly old turn signal stalk that had a fault in the "Auto" settings for a new one that works much better. Thanks!

 03-05-2022 | 02:09 PM