When you click on links to various merchants on this site and make a purchase, this can result in this site earning a commission. Affiliate programs and affiliations include, but are not limited to, the eBay Partner Network.
I didn't know we had a specific MKX/420G board, I don't think we do.
Otherwise stay here.
Just stay here.
Your car is similar to the 3.8s type, except for the different front and the larger 4.2 litre engine.
I believe you car is unusual with a manual and not an auto, others will chime in about that.
I would say you are in the right place. As Jeff has said the back end of your car is identical to my S type and the major components on the front half are almost the same with some minor styling tweaks, a larger engine, negative earth and some brake upgrades.
Welcome to the forum.
Does anyone else buy a car and start taking it apart in the first 24 hours to see what they bought, or is that just me?
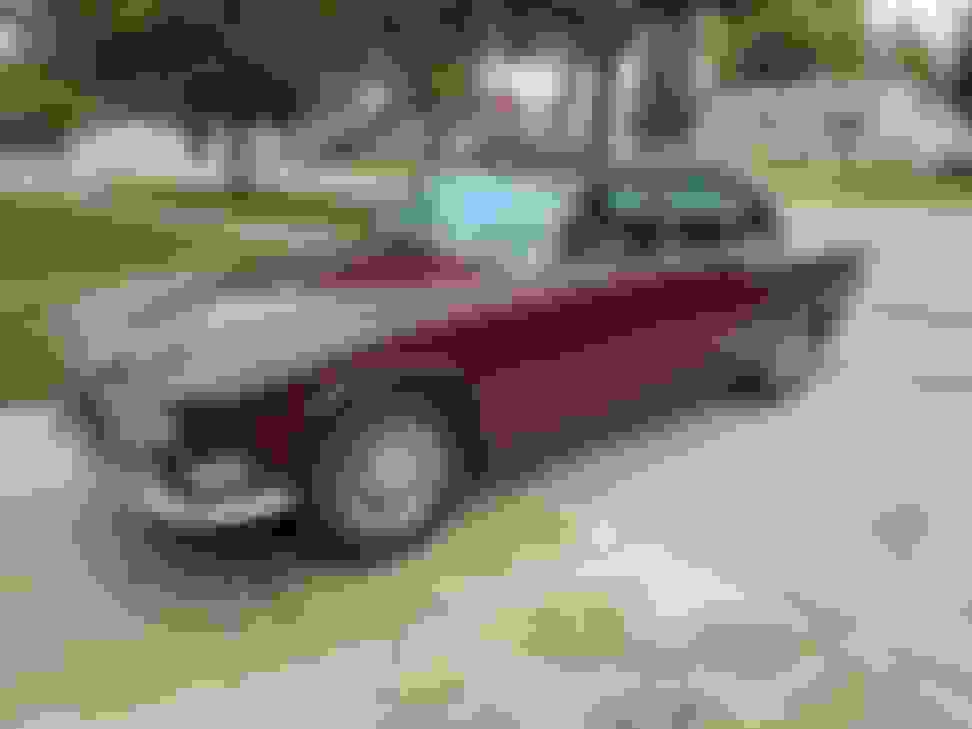
I was very happy with the underside of this car. There's no rust and it's incredibly clean. It's very solid.
First things first - the headlights have to go. They are pretty nice LEDS and have a really low amp draw but they just look wrong on the front of the Jaguar. Plus they have a very white color which looks out of place on a vintage car.
Holley has their Retrobright LED lamps that have the correct "yellow" color but I don't feel like spending $800 on headlights. So I am going to put it back to halogen lights.
Years ago I had a 1972 Jaguar XJ6 that I did the 7" outboard light conversion and I loved the way it made the car look. I see the conversion kits for the XJ6/12 but nothing for the 420. Does anyone know if the XJ6 kit will fit? I'm guessing not but thought I would ask.
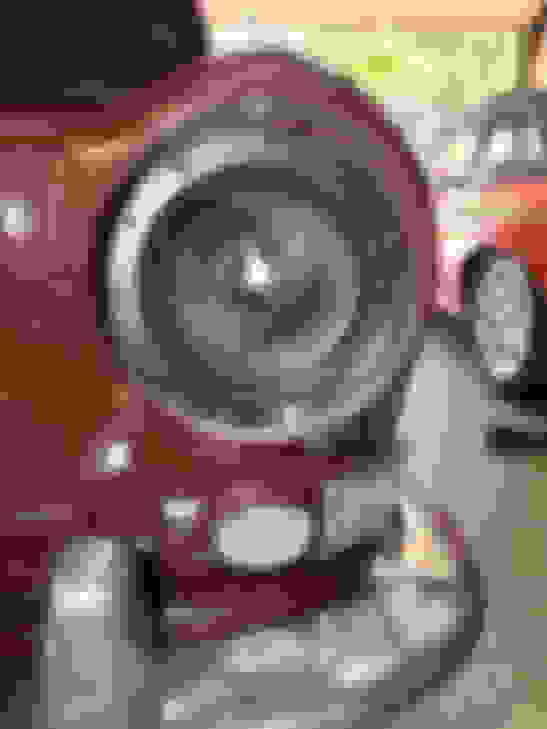
I stuck a 7" headlight in the outer position to see what it looks like. The 7" bucket is easy to find, it's the outer trim ring that is challenging to match.
I don't think I'm going to put it back to an automatic transmission. The 4 speed/OD is great fun and I think it's a perfect match for the car. I put a 700r4 in my XJS and it was a great upgrade, but I think taking out the 4 speed in this would be doing this car a dis-service.
What was the blue car? I don't think I ever had a blue car.
Ah, that one was out of my price range. I looked at another blue one in Atlanta that didn't have a title so I passed. I also looked at a black Mk I in Milwaukee but passed on that one too. This one had everything I was looking for and was in the right condition.
American cars had a special filler made to meet your headlamp requirements; Not the same as the S Type which had 7" outer lamps for which the body was pressed as was the 420 body but in a different shape.
European 7" outers.
Last edited by Glyn M Ruck; 07-13-2022 at 05:06 PM.
This week I replaced the LED headlights with halogen units and re-aimed thee head lights.
I also replaced the tires to a larger size to fill out the wheel wells a little more.
Saturday morning I broke out the buffer and the wax and got her shined up.
The most constructive thing I did this weekend was to pop out the clock and send it to JaguarClock.com for refurbishment. There wasn't a battery in the holder and I decided I'd rather have it hooked up to the car battery. It should get to Mike later this week.
I lied. The most productive thing I did was a Sunday morning run to Wisconsin to pick up some Spotted Cow beer. This car really loves the highway and eats up the miles with ease.
Last weekend I went around and hit all the grease zerks and noticed the u-joints on the right drive axle didn't have any zerks, and there was a very mild case of slop in the joints. The left axle had zerks and was fine, but the right axle had some issues. I also noticed when I turned to the right I was getting a clicking noise that sounded like a bad wheel bearing - but the bearing was tight with no slop. So I ordered some u-joints and tore into it tonight.
Here's the right rear hub nut after I removed the cotter pin. I think I used a 28mm socket to take the nut off. My impact wrench took it off on the lowest setting.
The splines were not rusted to the wheel hub and I didn't have to fight this one.
Removing the front shock was easy enough...
...and it gave me plenty of room to slide the u-joint cover back to get to the 4 bolts.
Make sure you don't lose any shims when you remove the axles and now the real fun can begin.
The clips holding the u-joint caps in have to come out. The right tool here helps.
I invested in a shop press during my XJS project and it makes removing u-joints much easier. If you don't have a press a bench vise works too.
Either way - don't force it. If something doesn't feel right stop and look. Less is more here.
I often think removing u-joints is a great intelligence test. If I had removed the grease zerk first, I would have been able to remove this cap all in one go.
The old u-joints - the inner is on the left and the outer is on the right. I've seen u-joints that looked much worse but it was time to replace them.
Close-up view of one of the journals on the outer u-joint. There is some light pitting on the surface and it looks like this u-joint has seen some heat.
Putting everything back together is a continuation of the intelligence test. Did you orient the u-joints so you can get your grease gun on the zerks? This is definitely a "think twice, press once" deal. Here's the axle shaft after both u-joints have been replaced.
I told myself I wasn't going to over-restore this one, so I fought the urge to sand-blast and powder-coat the axle shafts and u-joint shields. But I really really wanted to.
Total time from getting the rear on jack stands to the wheels returning to the ground was 3 hours. That included a break too eat dinner and talking to neighbors who walked by. After I cleaned up I took it for a drive and no more clicking from the rear.
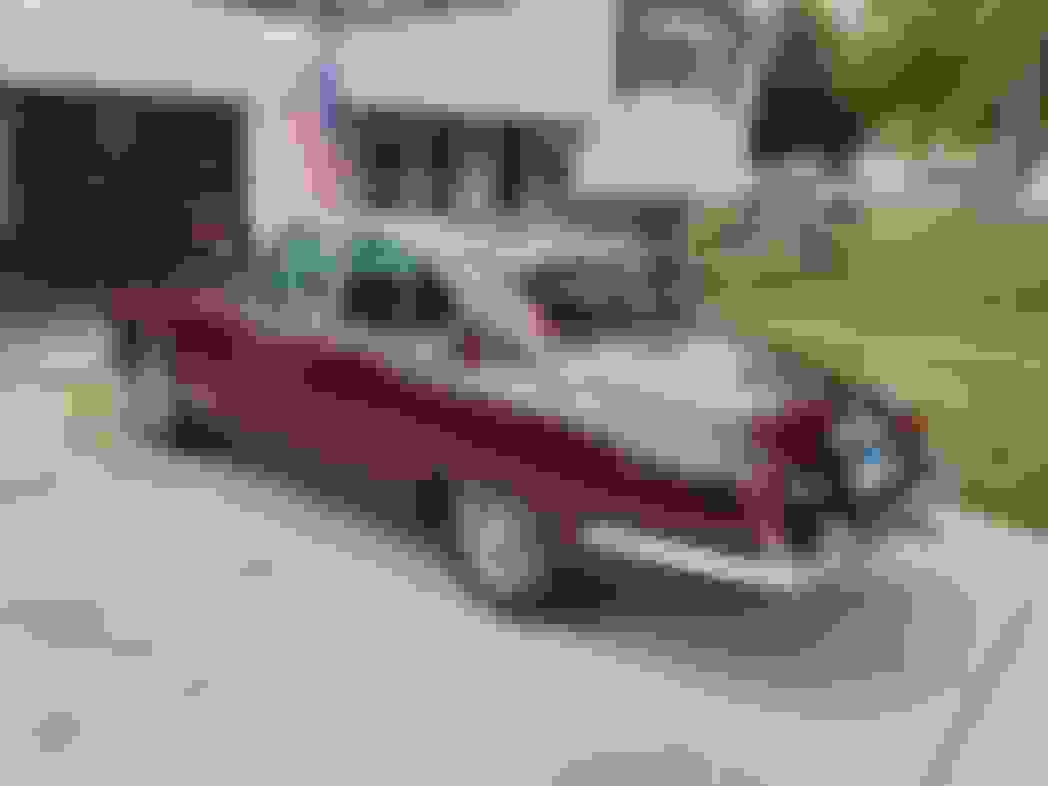
I had a long weekend with the family and decided to take the 420 from Chicago to the St Louis area to see my sisters and nephews/nieces. The car cruised well on the highway and I managed to get a calculated 23mpg on the way home courtesy of a nice tailwind.
My nephews both loved the car. My oldest nephew thought this was a better car than my V-12 XJS I sold a few months ago.
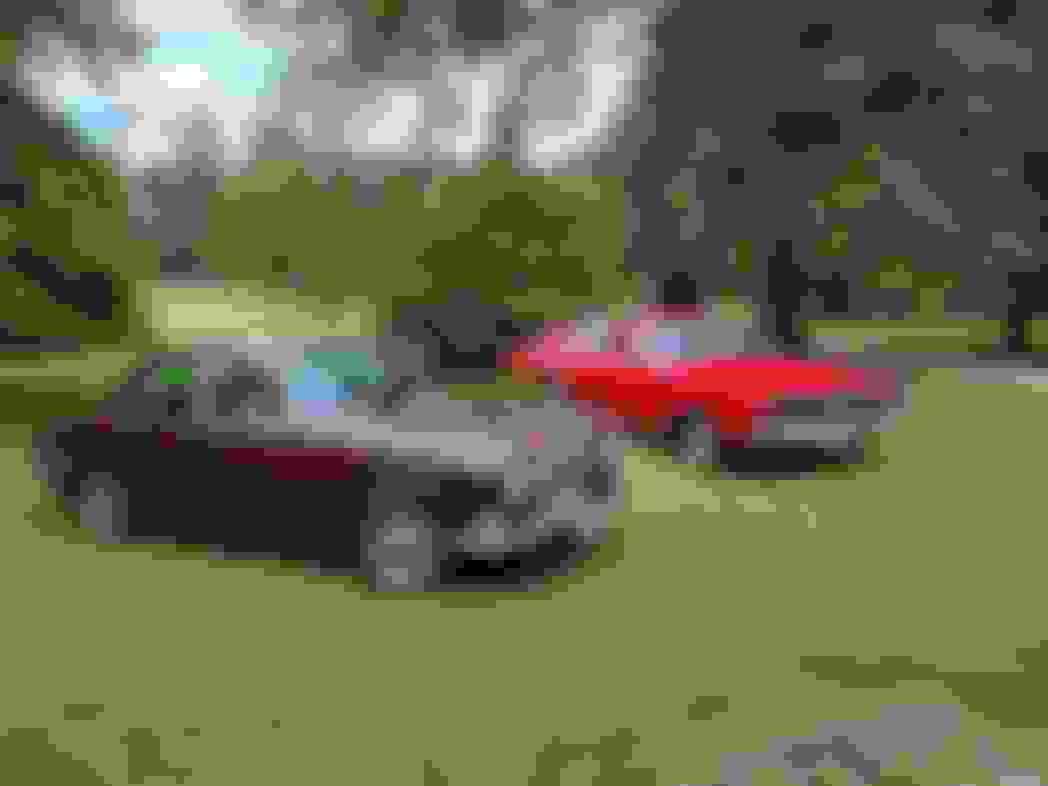
As is tradition, we had a car show with Dad's 1966 Charger...
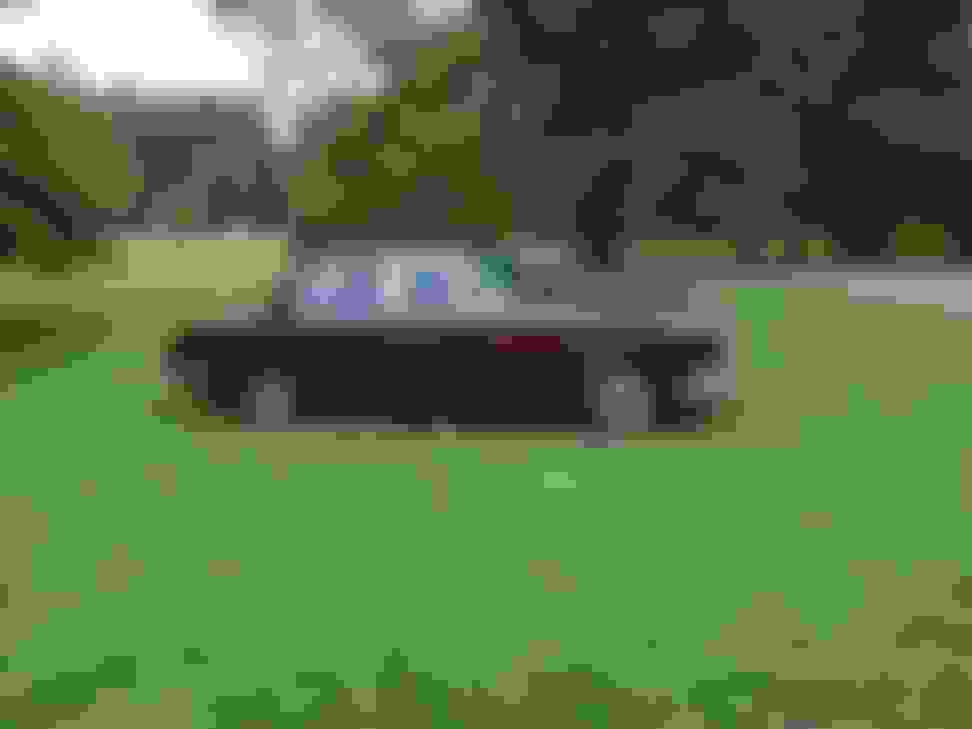
Solo picture or my 420
We went on an ice cream run and my nephew had trouble keeping up in the Charger when the road got twisty.
All in all it was a great trip. I'm definitely installing AC in the car this winter when I take it off the road. The temps weren't super hot but the humidity was high enough to make things uncomfortable.
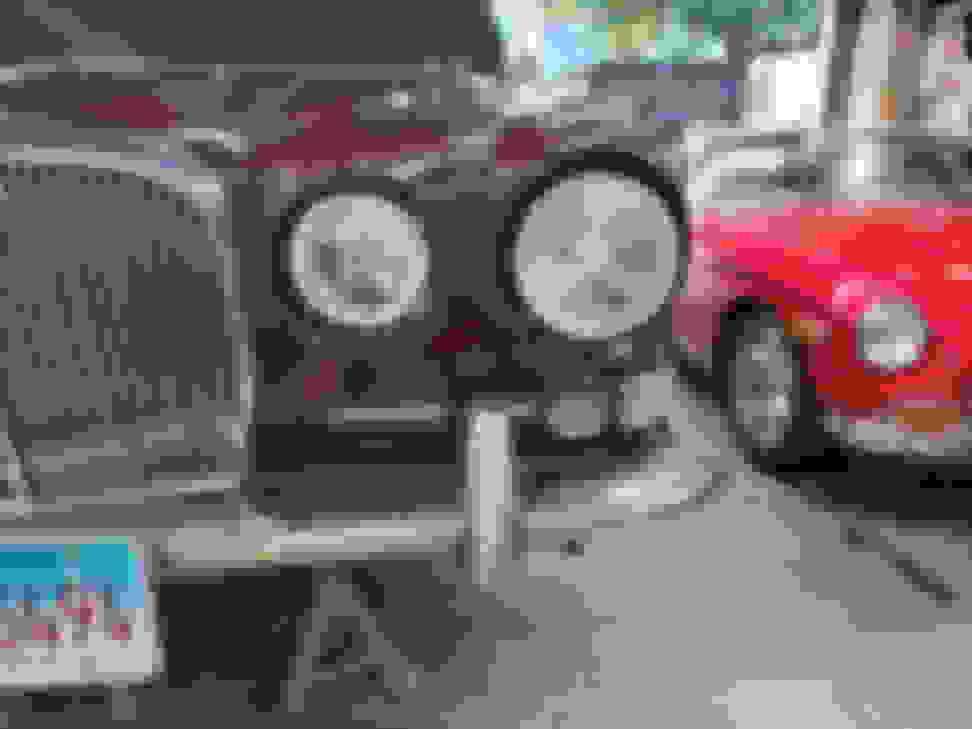
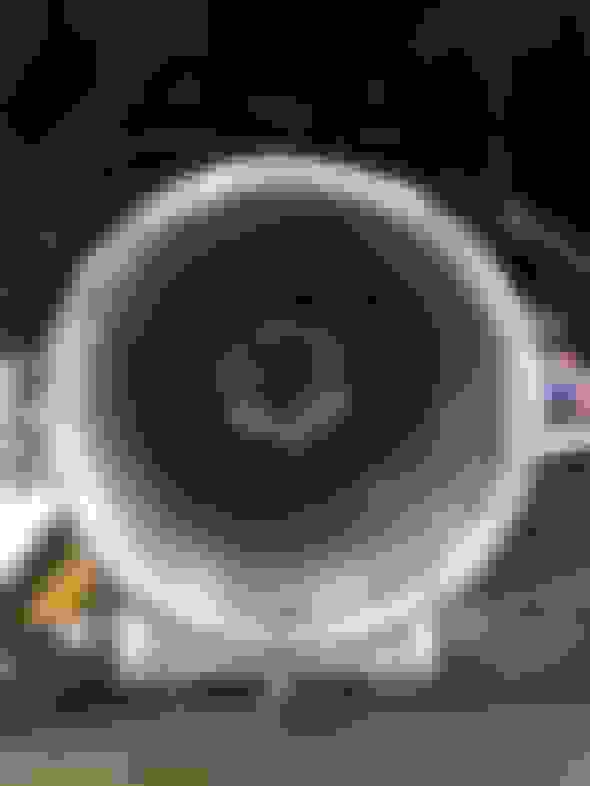
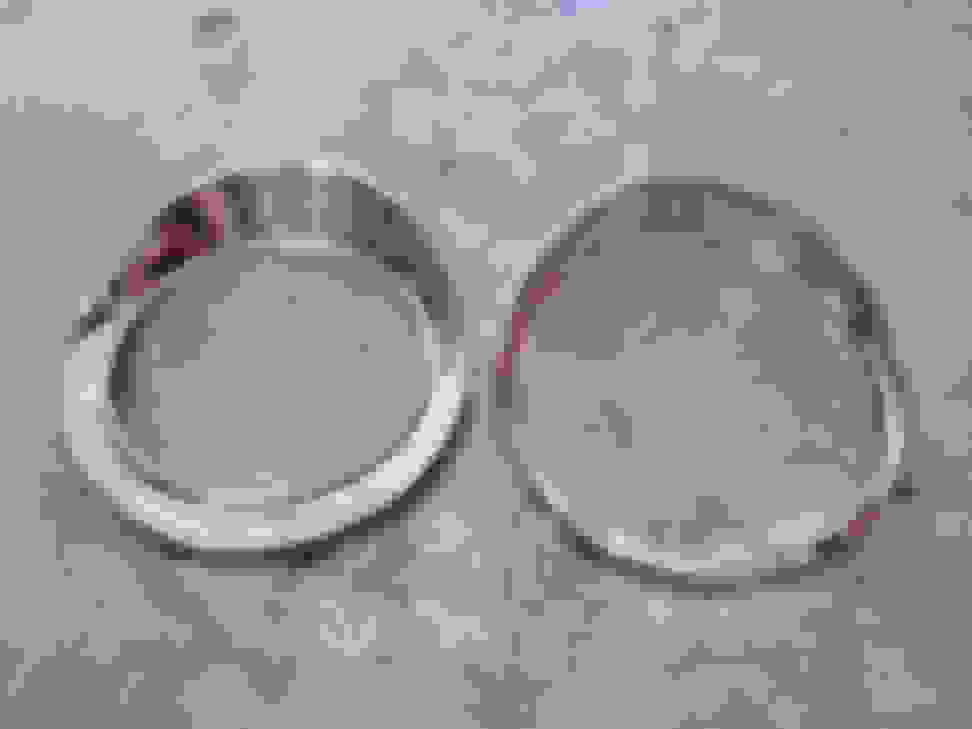
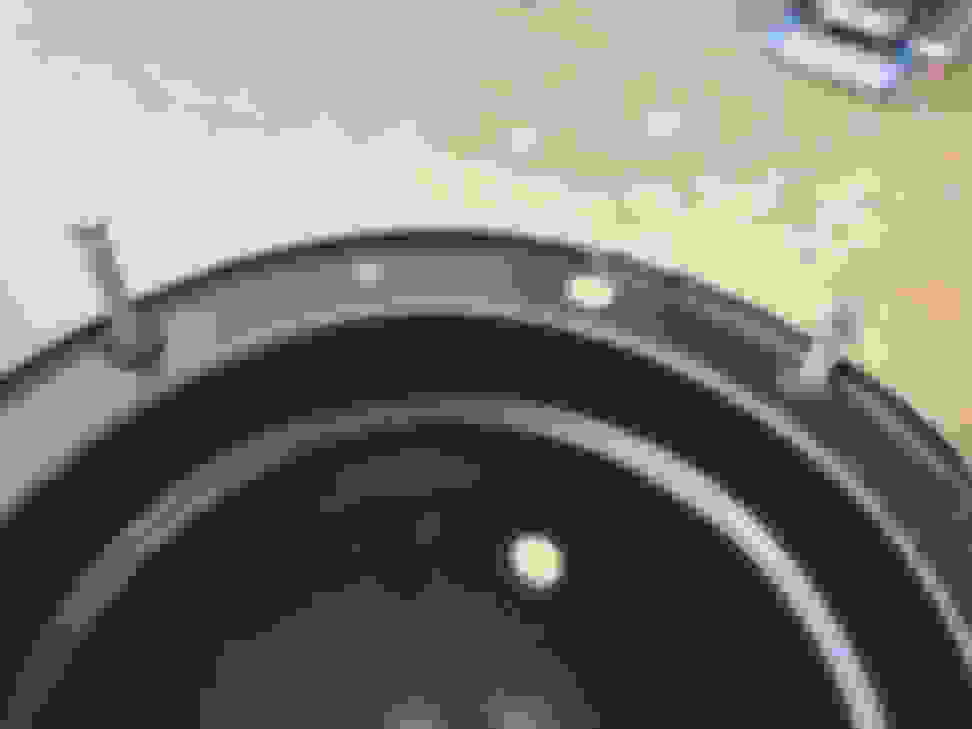
It's time to work on the 7" outer head lights. While I was out of town the kit for the later XJ6's came in and I was curious to see if they would fit. I'm not a fan of the outer head light treatment on this car.
The stock headlight ring on the left, and the 7" XJ6 headlight ring on the right.
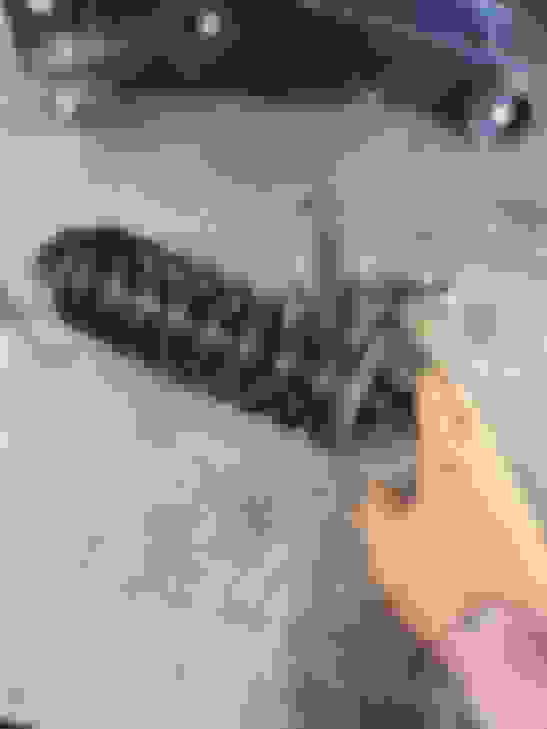
The 7" headlight bucket fits easily; I only had to massage two small crimps as shown on the next picture. This is the same style bucket on my MGB - those crimps help hold the trim ring in place.
You can see where I massaged one of the crimps down in this picture.
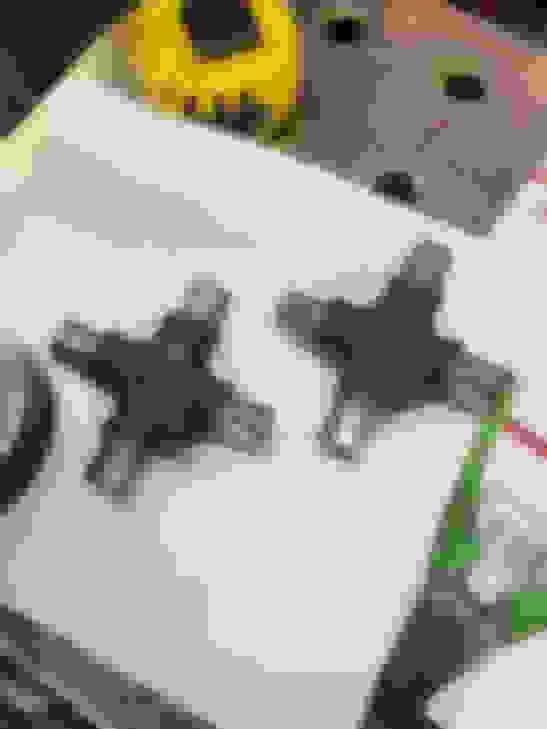
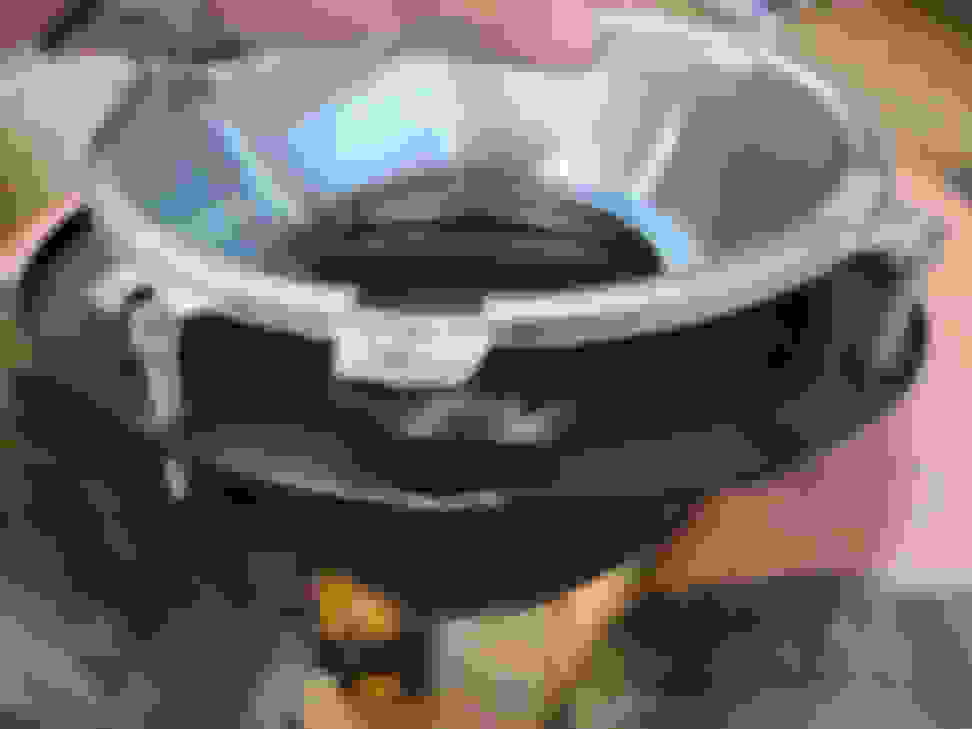
This is also where I need some help. I put the two threaded adjusters into the outer ring - easy enough.
The two threaded adjusters slot into the inner headlight bucket and provide up/down and left/right adjustment.
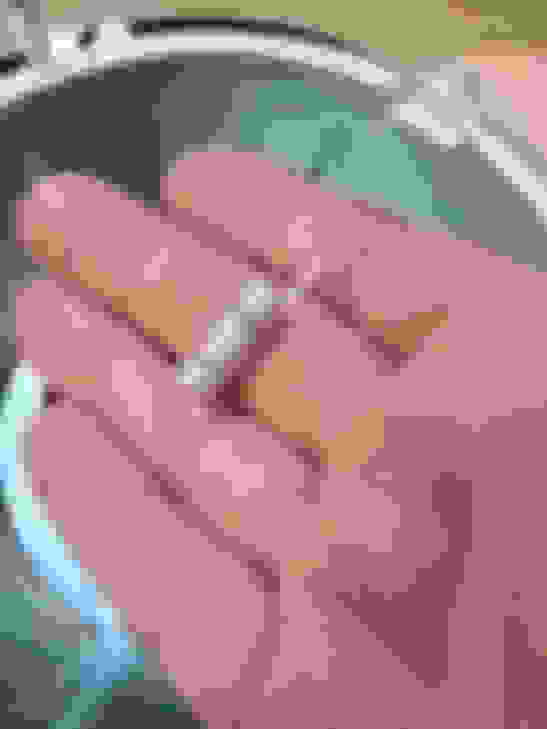
This spring is included in the kit but I can't figure out where it should go. It's definitely needed - I just can't figure out how it should attach. I looked online but couldn't figure it out. Does anyone have any suggestions?
 07-12-2022, 01:23 PM