When you click on links to various merchants on this site and make a purchase, this can result in this site earning a commission. Affiliate programs and affiliations include, but are not limited to, the eBay Partner Network.
Once mine was fitted I found I was still getting a leak from between the rubber seal and the body work. Water running down the bulkhead in to the carpet especially on the passengers side. I cured it by injecting some rubber gasket sealant under the rubber seal in the lower corners just to fill the gaps. Glyn would not have this problem as it hardly ever rains in SA where he is and even if it did he would not take his car out. lol.
It should be made to seat perfectly like it does on the rest of the screen ~ zero pull away at the lower corners. Jaguar in the Service Manual suggest injecting sealant under the rubber both glass & body side. I did this.
Sorry this is a clip from a much larger pic with buffing compound still around.
This is how the bottom corners should look when finished. No pull away & following the body line. Sun is reflecting off the rubber so look closely ~ no gap whatsoever.
After cleaning & on her way to Cape Town.
Last edited by Glyn M Ruck; 09-28-2022 at 07:30 AM.
I decided to check out the seal-to-windshield fit today. I was working solo but it's pretty easy to get the seal to fit the windshield.
I was happy with the fit. Sometimes you don't know what you're getting with rubber parts but this seal fit well and was very pliable.
Since the seal fit, I might as well take out the old one, right? I like to cut the old rubber seal with a box cutter to make it easier to remove.
A few minutes of cutting and the old windshield came out fine.
I also ran some paracord in the body groove of the new seal. You can see how pulling the paracord opens the seal and lets it pop onto the body flange.
Tomorrow I have to pull the dash surround which looks fairly involved but doable. I also need to get the wood pieces off that are next to the windshield. Any idea how to remove them?
The Wood piece has its screws behind the door seal rubbers apart from the bottom which I don't know on the 420 because it does not have a removeable dash top. Suspect they are all behind the door rubber ~ otherwise its dash out.or at least loosened. They simplified the wood inside the 420 for US safety reasons. Hence Rexine padded surround.
Your rubber looks good and properly moulded/shaped. It should not pucker on the insides of the bottom corners either. Did you cut your screen out??
To remove the glass first pull the centre expander strip out. Then sit in the front seats with your feet against the glass & push it out. Obviously have help on the outside to grab it.
The 2 outers are from an S Type A post. This is prior to final coats and polishing on the buff. As you can see there are 2 internal screws at the bottom inside.
After final coats & buffing.
Last edited by Glyn M Ruck; 10-01-2022 at 02:57 PM.
Thank you @Glyn M Ruck - those pictures are super helpful! It gives me an idea of what I need to do. And I love how that wood turned out. Do you have instructions on what you did?
I was working solo so it was easiest to use a box cutter to slice the seal and remove the old windshield. It also made it easier to preserve the chrome trim. I could have pulled the lock strip but since I wasn't reusing it I didn't spend the time.
Shout-out to Glyn - the screw was hiding under the door seal and well-camouflaged by several coats of adhesive, but after digging around I found it.
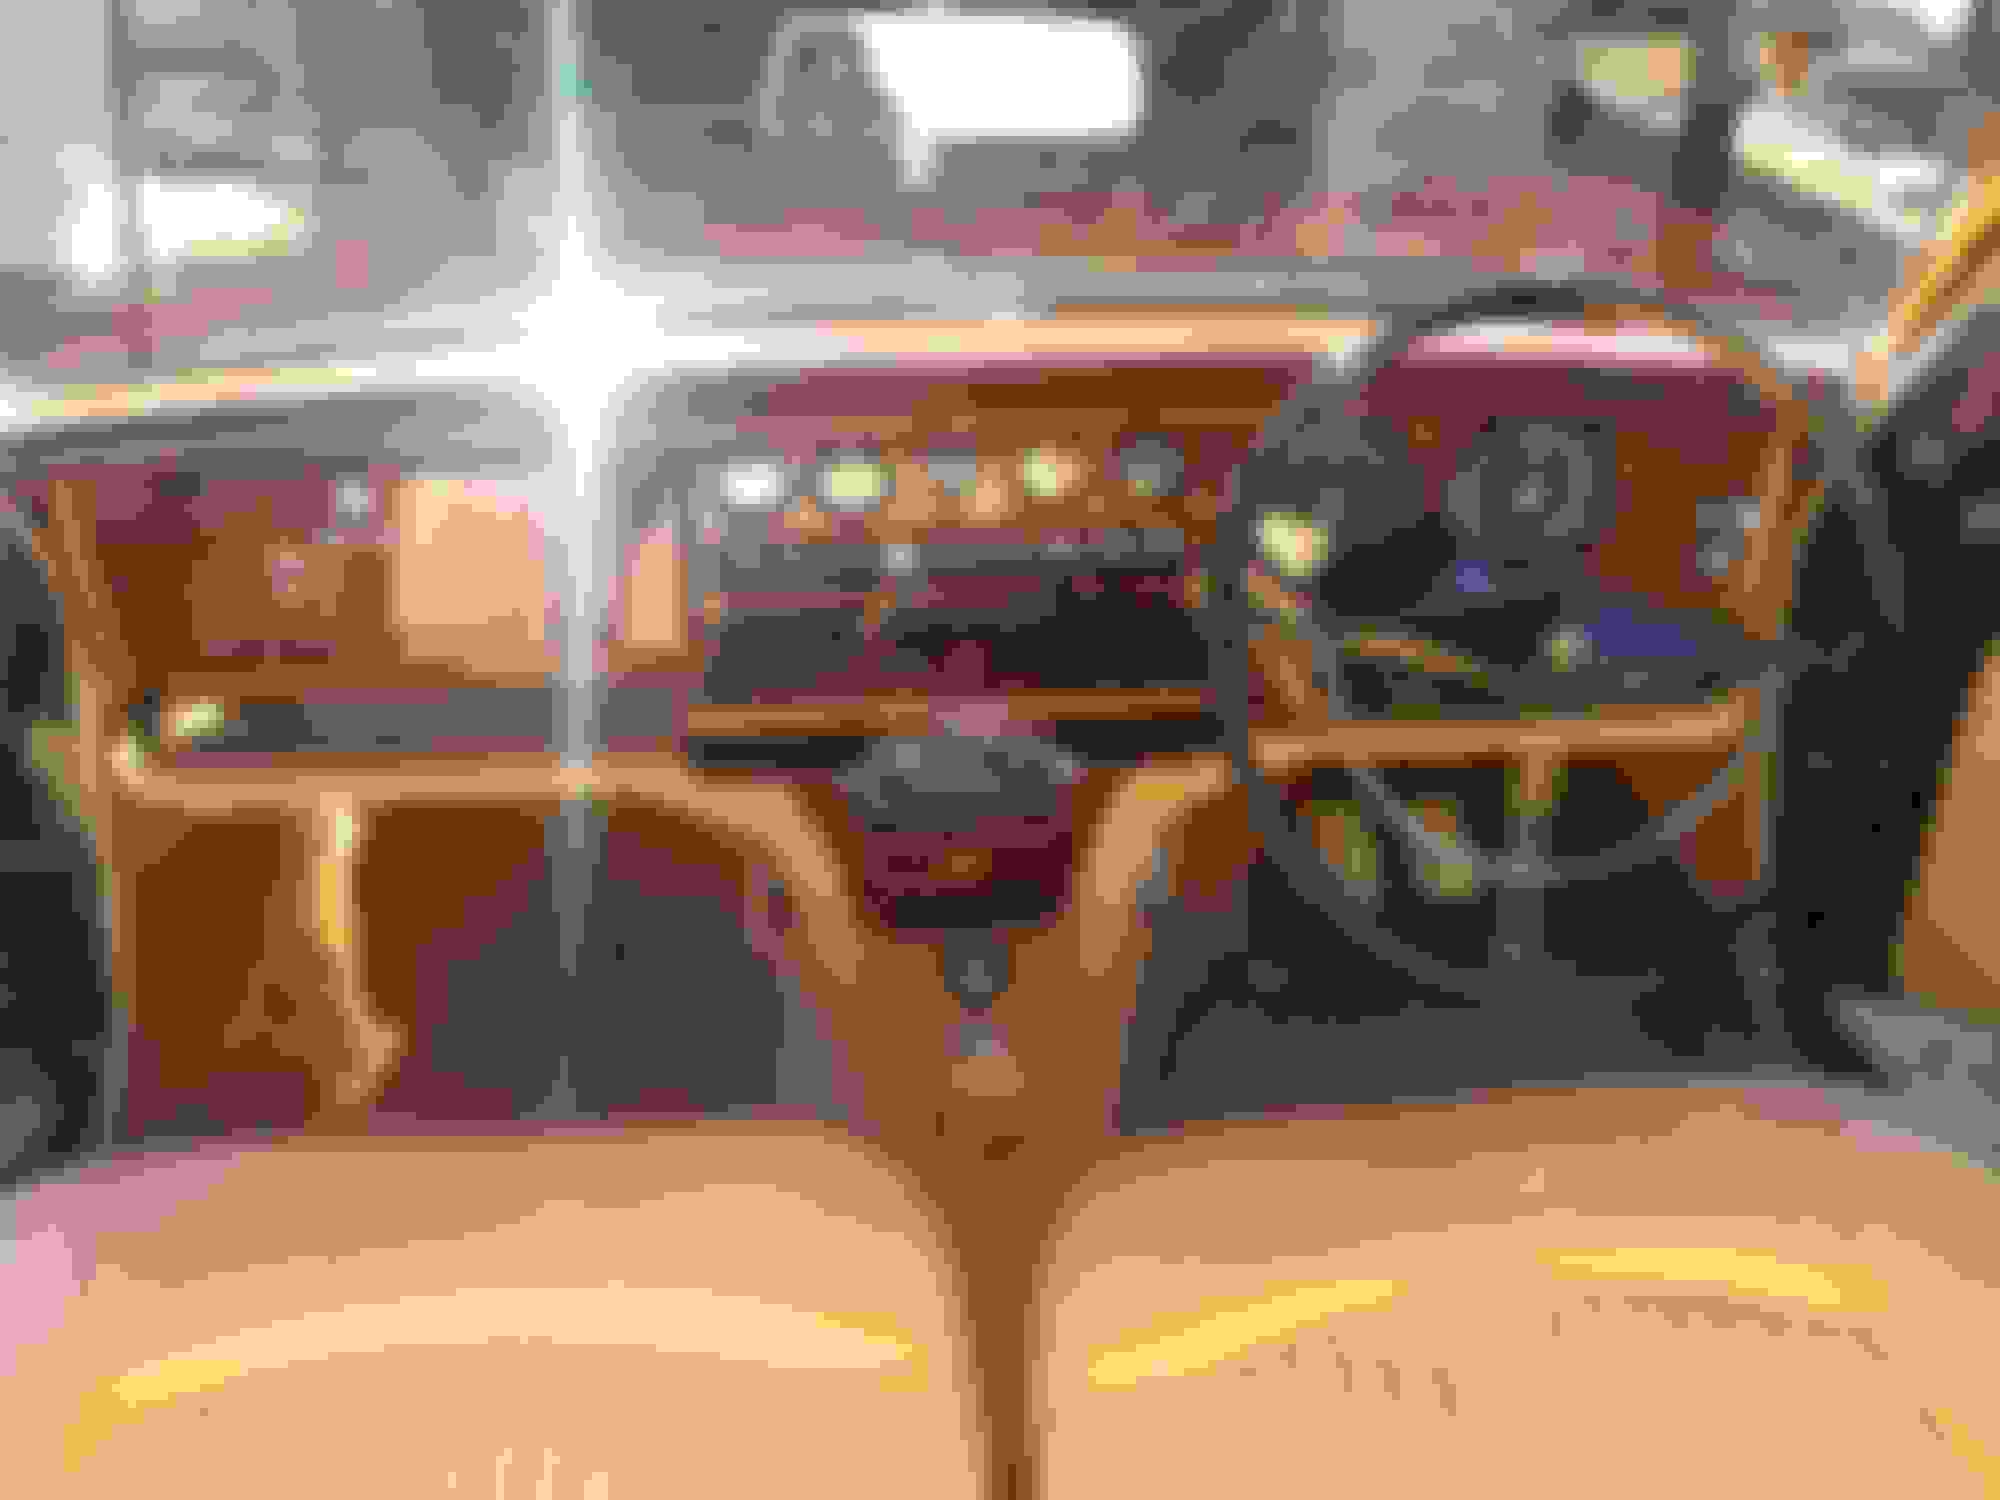
Since this was my first time working in/around the dash, I generally followed the manual about what needed to be removed. I'm thinking that removing the center console and the lower parcel tray was overkill, but it was fairly easy to get out.
I didn't totally remove the dash but pulled it back far enough to be able to install the new windshield.
Inside view.
My helper will be here later this afternoon and I should be able to get the new windshield installed.
[QUOTE=Thorsen;2572122]Thank you @Glyn M Ruck - those pictures are super helpful! It gives me an idea of what I need to do. And I love how that wood turned out. Do you have instructions on what you did?
QUOTE]
Read my thread in my signature re wood. Final polish done with AutoArmor.
They are basically long life nano polymer sealants. On my Merc daily drivers I find that water still pebbles at about 5 years. So I do them new & then every 4 to 5 years. My cars are garaged.
Last edited by Glyn M Ruck; 10-01-2022 at 04:14 PM.
The windshield is in. I didn't get any pictures of the actual install because that's a two person job and my long-suffering wife got pressed into duty today.
Getting the lock strip in was a bit of a challenge but I used a little dash soap as lube and it went in without too much of a fight.
Working the lock strip in. Here I am about 1/2 way up the right side A pillar.
Here I am after working the end of the lockstrip in next to the starting point.
The glass is dirty from the installation process but it will clean up. Tomorrow I attach the chrome strip and start putting the interior back together.
I did decide that while I had the center console out I was going to put in a stereo, but I'm not going overboard. Just a non-modern head unit in the center console and two speakers on either side of the console.
there are great speaker openings that fit 7.5" Clarion Marine speakers behind each kick panel. Just remove the upholstery kick panels and there will be round covers held by 8mm bolts. Remove the covers and the holes are already factory cut.
Excellent for bass frequencies.
The glass is dirty from the installation process but it will clean up. Tomorrow I attach the chrome strip and start putting the interior back together.
.
You have pull back on your bottom corners. You are going to have to fix that before you do anything. I warned of this error earlier in the thread. Filling it up with black sealant is not the answer. You might have to take the screen out again and seat the bottom corners first. I can see daylight between the rubber & the body on that bottom corner.
Last edited by Glyn M Ruck; 10-02-2022 at 05:20 AM.
Looking at the various photos and comments, 'pull back' in the bottom corners is a major problem. Are the replacement screens the right shape? Is it possible they are excessively rounded, given too large a radius?
I'd be careful with washing up liquid anywhere there might be exposed steel. What comes out of the refinery is detergent. What reaches the consumer generally has salt (and fat and other dubious stuff) added to make it feel 'more rich.' Trapping salt next to steel body panels is better avoided.
I keep detecting some hesitancy to use sealing materials in conjunction with new rubber seals around windscreens and rear windows.
In all of my early Jaguar MK1 and 2 manuals there is definitely advice on using sealing materials in conjunction with new glass and/or rubber in those areas.
They refer to a copper nozzle on the gun used to insert the sealing material. I haven't seen one of those nozzles for over 50 years
In addition, I have had numerous windscreens in Fords GM Holdens, and Toyotas replaced by experts, and they all used sealing materials.
I personally use butyl mastic as a sealant in my Jags as well as my aeroplanes. Aeroplane windscreens will leak at 140 knots or 160 MPH or 260 KPH if the seals are not watertight.
I don't use silicone-based sealants as i have found they will not adhere correctly and become too rigid.
The corners are tight with no gapping. I took an extreme close up of the right side lower corner and I think that's either old glue or paint showing through. I tested it by spraying a soap solution on the outside of the glass/seal and running my compressed air gun around the seal on the inside - and there were no bubbles. A stream of bubbles means there is a leak and I had none.
Here's the extreme close up showing the old sealant/paint/primer. There's no day light.
Here's the left side lower corner.
@Bill Mac I think he consensus is that you shouldn't use sealant to fill any gaps with the seal doesn't fit correctly - ie if there is a large enough gap to see daylight you shouldn't fill it up with sealant and hope for the best.
No ~ those corners are not properly fitted . See mine. I guarantee they will give you trouble. Take it out & fit properly as they are on my car. The rubber must fit flush with the body curve. Both your corners are a disaster. RHS the worst.
Excuse the buffing compound in this pic.
Last edited by Glyn M Ruck; 10-02-2022 at 01:44 PM.
I keep detecting some hesitancy to use sealing materials in conjunction with new rubber seals around windscreens and rear windows.
In all of my early Jaguar MK1 and 2 manuals there is definitely advice on using sealing materials in conjunction with new glass and/or rubber in those areas.
See my comment further back in the thread Bill. The screens should be sealed both body & glass side. I used Den Braven. Made for the job. Cures slowly (24 hours) & ensures no leaks. Comes with the correct nozzles. All you need is a standard grease cartridge gun. I have an electric gun that makes even application easier,
Silicone sealer is the wrong product & will let go given time & sun. It doesn't even work in my bathrooms & slowly shrinks.
Last edited by Glyn M Ruck; 10-02-2022 at 04:14 PM.
Looking at the various photos and comments, 'pull back' in the bottom corners is a major problem. Are the replacement screens the right shape? Is it possible they are excessively rounded, given too large a radius?
The Pilkingtons Triplex screens are absolutely correct. Checked vs my original that had never been changed. Mine was a 1 owner car from new that kept immaculate records ~ a Medical Doctor.
There are bad rubbers out there. I used COH Baines seals on recommendation in the end. As I said further back in the thread, ~ they seem a little too large but are spot on once fitted. The screens feel slightly loose in the cavity until the chrome strips are glued in & wired together on later cars under the centre clip/cover. If you don't do this they blow off at speed.
But mainly it's all in the correct method of fitting. Seat the bottom corners first & correctly. Even if you have to stretch the rubber slightly across the top of the screen. With Baines seals as I say they seem too large but are not & are correctly moulded/shaped so this was not necessary.
Last edited by Glyn M Ruck; 10-02-2022 at 03:56 PM.
This is an example of a screw up. I threw these rubbers straight in the bin and did some more research. And no the chrome trim does not fix the problem. It just does not fit.
You passed the comment "This sounds like the voice of personal experience speaking "
Yes it was. VVVV
Last edited by Glyn M Ruck; 10-02-2022 at 03:09 PM.
Makes sense. If the rubber is tight on the perimeter of the glass, it will pull in where the curvature is greatest. That's the bottom corners, which are also the most vulnerable points for leaks.
 09-27-2022, 08:21 PM


 "
"
