When you click on links to various merchants on this site and make a purchase, this can result in this site earning a commission. Affiliate programs and affiliations include, but are not limited to, the eBay Partner Network.
We had to try several LS shorty headers and if I recall we ended up keeping the Headman, shorty headers that were polished, yet we still had to notch the driver side to clear the steering...
Originally I upgraded the stock brakes to the Wilwood 4 piston brake upgrade and they were better than the stock but not ideal. The problem was they were solid rotors so they cannot handle a lot of continual braking if you are racing the car. I went on a drive with a fast pace car group with my brakes at about 50% in the front and after 2 hours of hard mountain cornering I vaporized the brake fluid and lost most of the braking. The problem is that the Jaguar is an automatic so to keep up I had plenty of power to accelerate the car to 60 mph into a 30 mph curve but then I had to slam the brakes to corner into it at about 40 or so. After lunch I regained the brakes but wasted the brakes down to no pads and the rotors were wasted.
Now I upgraded the front to Fosseway 6 piston 302 mm vented rotors. These work fantastic! and work with the stock brake system; the only thing needed was a proportioning valve to adjust the front to back correctly. I have not had a chance to take many good photos and will update later but these brakes are the way to go for the old Jaguar saloons!
does it have power brakes? if so what booster and master cylinder are you using with the LS?
I don't think that a front brake upgrade will gain much performance without switching to vented discs. If the stopping power actually increases, there will be more heat to dissipate.
does it have power brakes? if so what booster and master cylinder are you using with the LS?
The beauty of the Fosseway kit is that it is designed to use the stock booster/master setup and the only thing needed was a proportioning valve to tweak the amount of front vs rear braking. They work great!
I don't think that a front brake upgrade will gain much performance without switching to vented discs. If the stopping power actually increases, there will be more heat to dissipate.
The Fosseway brake kits work very well as they are fully vented disc and much larger than stock. My car stops much better with these large 6 piston calipers and larger vented discs and I have driven on those same roads hard with no fade and just a dramatic difference in brake performance.
I can only imagine what that bat is doing in your car Primaz, (is that what it is ?) today's society is in a sorry state where one has to carry such a thing in their car, if that's what it's for.
Thankfully I don't feel that threatened where I live.
with over 220,000 miles, it's time for a refresh...
The Jaguar is a daily driver and has been a reliable blast to drive. I probably have put more miles than most in a fraction of the time with over 220,000 miles in less than 5 years. While I could stretch the miles for another 50,000 miles I have opted to rebuild the engine. The engine was a refreshed LS1 aluminum block, which served me well. Now it will be completely new high quality build with all forged internals, ported heads with larger intake/exhaust, and should put out about 500 HP and last even longer.
With the engine out, I decided it was the perfect time to rework the body/paint. The car was more of a 70% paint job and not fully taken down; this time it is being done right with all of the doors, gaskets, hood, trunk, trim, etc. removed so that we can get all of the gaps perfect and do a quality prep, blocking, and paint that is all new. Here are some pictures of the progress. I have planned this so I hope to have her back on the road in a month....
It is nice to see the difference taking all of the doors, hood, trunk, seals, windows, etc. are enabling us to get the gaps uniform and the attention to detail on the blocking is transforming it from average to more show quality. While I am not one to baby the car, I will as always try to park on the end spaces and away from other cars when in parking lots to avoid the people with no disregard whom can door ding your car....
I'm pleased to see that I'm not alone in paying attention to door gaps. More than anything else in our cars, they distinguish a very good body restoration from the rest. It seems to be a bigger problem with the Mk2 than the rest of the family. I got the gaps on the right side of my car to acceptable. With the car on several axle stands, adjusted such that the suspension and subframe take off points were left to right level, I did some careful jacking (more or less following Geoff Maycock's scheme in the old Practical Classics resto) prior to repairs to the spring hanger, sill and sill to door post connections and things turned out OK. When I started on the left side of the car, it was soon clear that method wasn't going to work. With all the chassis points level, there was no way some gentle local jacking would correct the gaps, especially around the back door. Careful level checks showed the left side C post and rear wheel arch are 4 or 5 mm higher than the the right side of the car. My first thought was accident damage, but inspection of joints on the inner wheel arch and rear bulkhead shows that it's how the Pressed Steel Company welded the car together. Their jig must have been out of line on that corner and instead of correcting it, they twisted and strained flanges to make the panels meet.
I was tempted to give up (or take the body back to the Pressed Steel factory and complain about poor workmanship, though I doubt BMW would want to accept responsibility). However, jacking under the A and B posts on the other (right) side of the car, the A post on the left (problem) side and cutting slits and opening joints between the problem left C post and the rest of the car seems to be bringing things into line. Fortunately, I do this for fun ...
Gaps and surface alignment look spectacular. I understand that some of more dedicated and upmarket restorers, like Vicarage, use body jigs. That can make the gapping easier, but the continuity of the surfaces along the side of this car requires very careful assembly and adjustment. I wonder if they modified the door hinges, at least opened out the holes in the body to improve the range of adjustment? Or is it experience and a big hammer?
That's for sure. I did a bit of a clean up on mine but nowhere near this standard which is remarkable.
As Jagboi64 said, they never looked that good out of the factory, which is very true. Glyn, your too modest as your car is show quality. For me I am happy how it is turning out and I am not a perfectionist, but just want it to be more to my personal idea of a clean body. I am still going to daily drive it so if and when it gets chipped, etc. I'll just refresh it again but hopefully it will just be paint on the next refresh I should have more pics to share later this week. Then the fun really begins to get the heart of the sleeper to another level and then back on the roads....
Thanks Primaz. But that German car is remarkable. I know it took hours of hammer work by a real pro (quite small hammer actually & dolly). Some door edges are actually built up to maintain the gap. Some form of brazing.
BTW ~ That is not a scratch around the fuel door area. It's a reflection.
Last edited by Glyn M Ruck; 01-17-2022 at 05:56 AM.
All your cars look outstanding to me. I've heard of people brazing welding rod to door edges to adjust gaps. The big hammer I mentioned is to fine tune the position and overall curve of the B-post.
I've read that in the 1960s Jaguar returned a lot of bodies to Pressed Steel. Restoration might be easier if they'd rejected more or done like Rolls-Royce and used Pressed Steel Company only to make the pressings and then assembled the bodies themselves in-house.
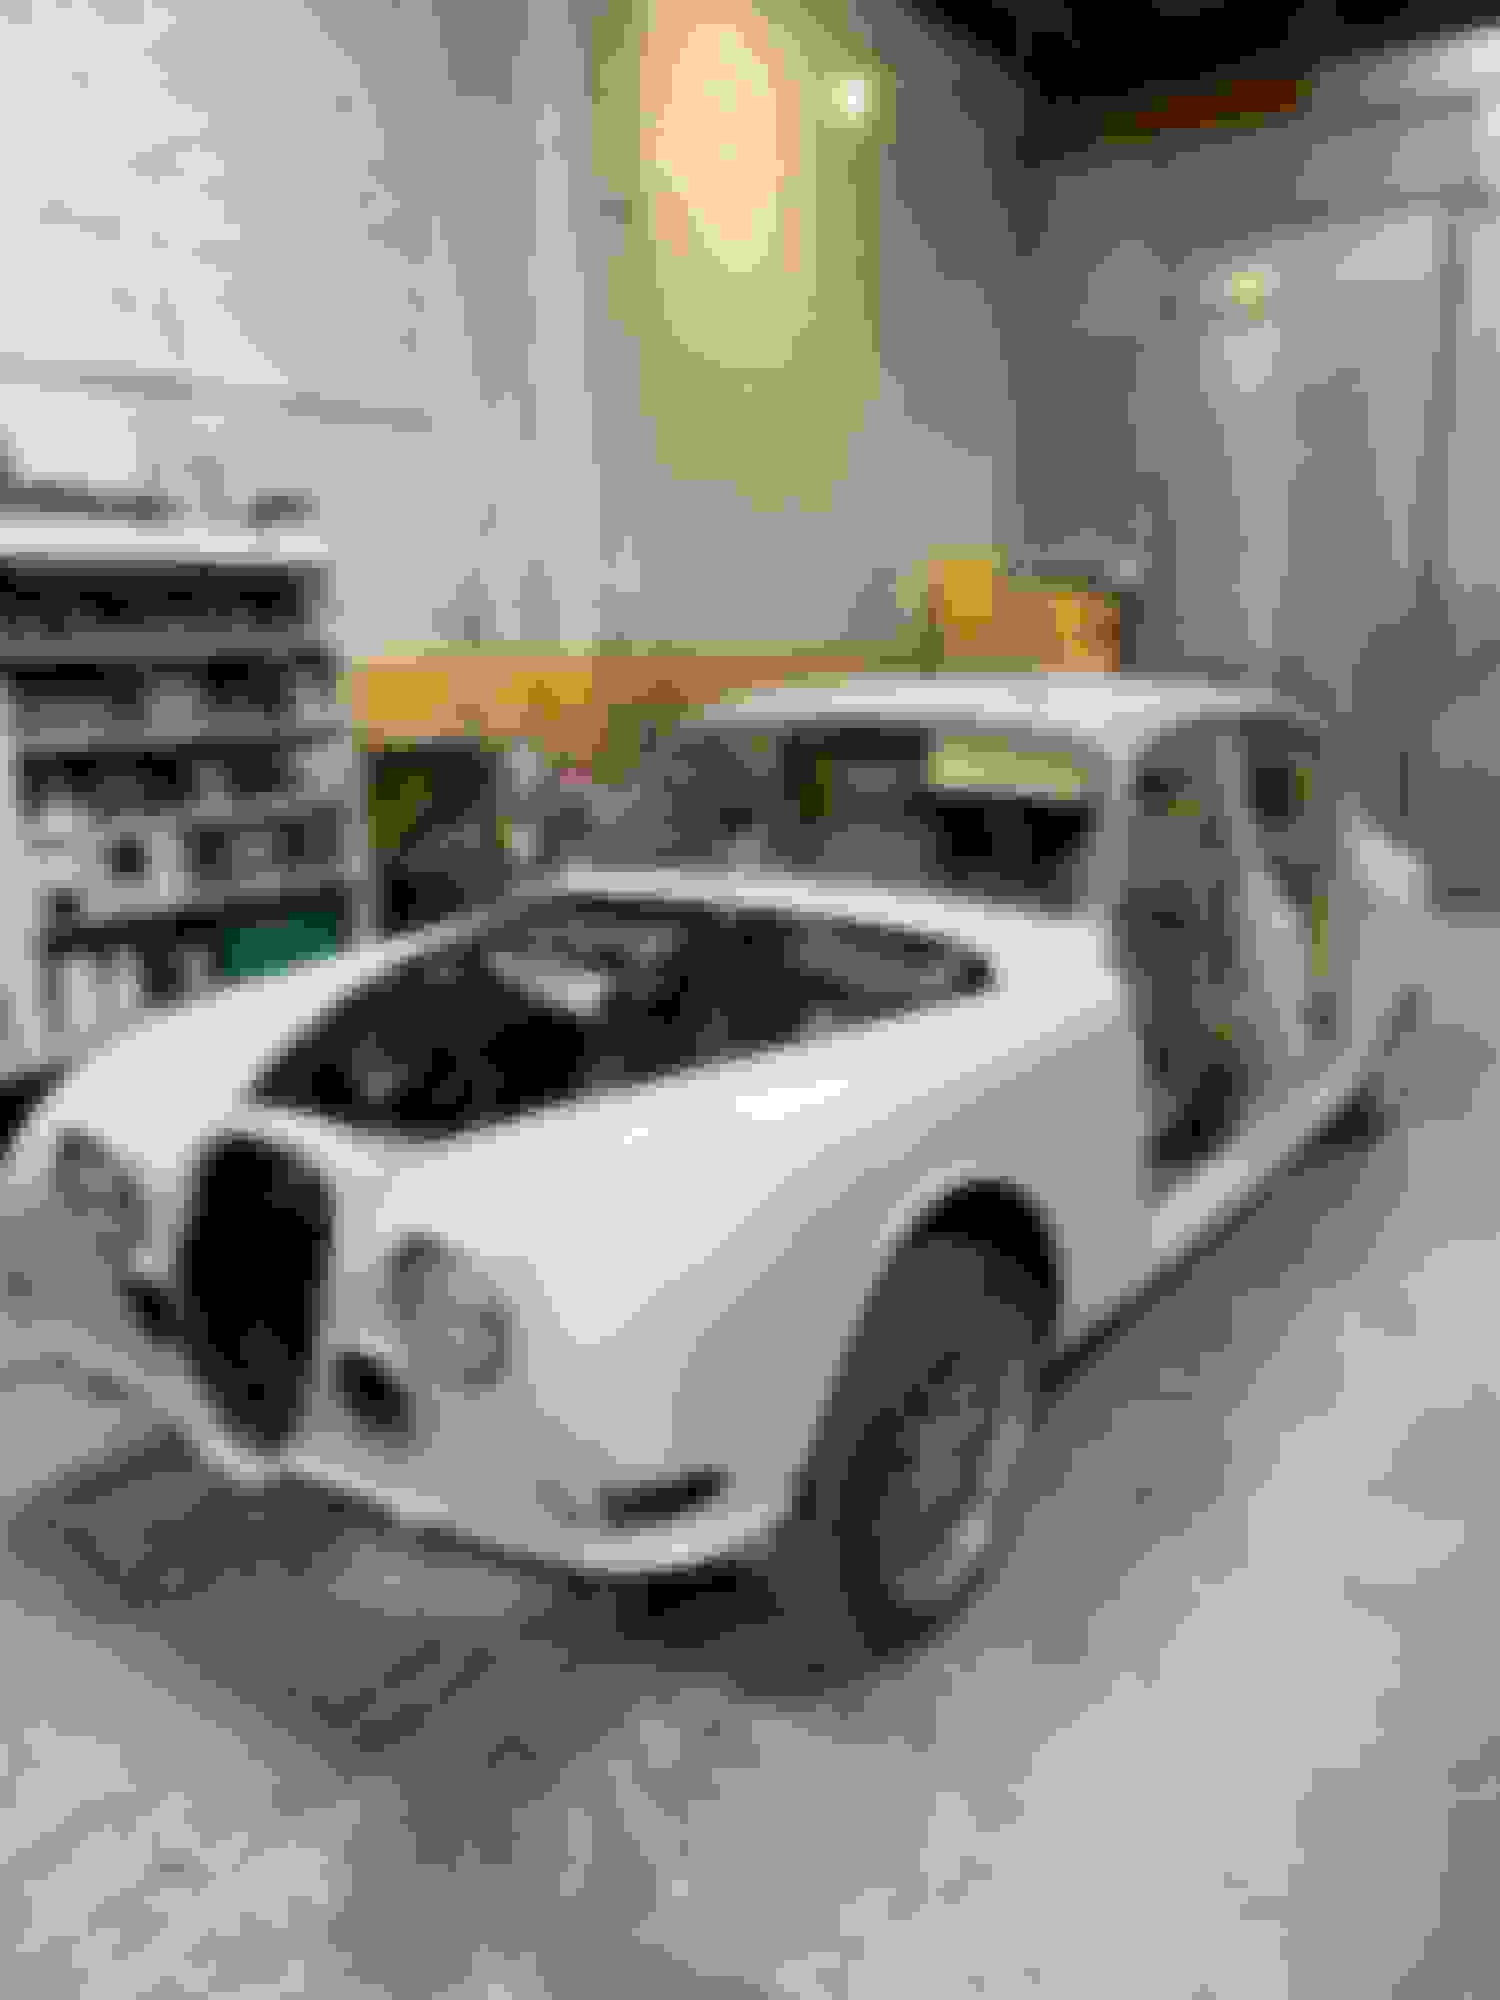
I ordered the wrong front fender mirrors but am getting the correct ones shortly, the engine is not in so the stance is off, I have to remount the bumper guards as the body shop assembled it wrong, but the body has never looked this good! I cannot wait to get her back on the road again. I really like how the rear tint came out as well it looks dark but easily visible in the shade but in sun it is very mild and not too dark. I put the Avalon ceramic coating and really like how that product has performed on this and other cars....
 12-07-2021, 08:45 AM


 I should have more pics to share later this week. Then the fun really begins to get the heart of the sleeper to another level and then back on the roads....