When you click on links to various merchants on this site and make a purchase, this can result in this site earning a commission. Affiliate programs and affiliations include, but are not limited to, the eBay Partner Network.
Get yourself some "Guide Coat" , this is a black dry film, wiped all over the car then block sand back to the primer, it will show up all the minor imperfections. You can Google using guide coat and will see how it's done. It's the easiest way to identify those little imperfections.
The circled areas are small depressions. The grey epoxy shows I have sanded the primer as far as I can go. I can use glazing putty to fill the indentations and spray another coat of primer.
It does work pretty well, but the dry guide coat will show up the tiniest imperfection that you can easily miss with the primer, I would still recommend the dry guide coat once you think you have got everything, it gives peace of mind that nothing will show on final coats.
It's real easy to use, as it's a dry film, you can just do a panel or the whole car, you apply it after the primer, and then sand it off completely, if there are any bits left they are low, simply fill, sand, prime the area and guide it again, when no black areas get left it's ready to paint.
The black stands out like a sore thumb, so you can't overlook any tiny imperfections that will show up later on the final coat.
With all the curves on these cars it's not an easy job to block sand as there are very few flat areas, a 14" long bed flexi block is a very useful tool too.
Day 100 of sanding. OK, perhaps that is exaggeration, but it sure feels like it! As I was planning out the sequence of this project, I wasn�t sure when I would actually paint the car- before I put the suspension and engine in and got it running, or afterwords. I finally decided to paint it before I start the re-assembly as it is ready, and up where I plan on painting it. I think the main reason I was going to wait was that I am a chicken about actually painting it, but it has to be done.
You�re probably wondering why I don�t just take it to a paint shop and have it done perfectly- -
There are two reasons: in the process of doing the bodywork there is great satisfaction in doing something yourself; and I have already spent more money on parts and rebuilt components than the car is ever going to be worth so it doesn�t make sense to spend another $3 or $4K on something I really should do myself. Besides, if I�m not happy with the results there is always the option of taking it and having it painted professionally. In the meantime I�m learning a lot and building up some awesome arm muscles from sanding.
I have been spraying a lot of primer- a gallon and a half at this point in addition to the half gallon of epoxy put on first. With each coat, I sand it, and fix imperfections as I find them. I started using metal for the repairs, then moved to fixing minor indentations with body putty, and am now using glazing putty on the small scratches or pits that inevitably show up. With this last coat of primer, I am using 600 grit wet/dry sand paper. It is so smooth now, it is almost glossy, which of course shows up any imperfections, so more sanding, primer as needed. I did use a guide coat on the last coat of primer- it is a powered product by Blackjack that you smear on with a pad. Wet sanding over it shows all the fine scratches which I one reason I went to the 600 grit paper.
But man I just want to paint something at this point
Perhaps if the weather cooperates I can paint the interior and the inside of the trunk, doors and hood but I�ve asked a friend come over next week to check my work on the exterior panels so it forces me to wait and in the process obsess over the smallest details. It is amazing that no matter how many times you look at the panel you go back and he find something else that needs repair.
At this point, fortunately, almost everything can be dealt with by little fine sanding, but it gets frustrating because I want to be done with the bodywork!
So patience patience and more patience, or more specifically sanding, sanding and more sanding.
Guide coat on on the right side, sanded off on the left
There are just a ton of parts and surfaces to sand when painting the inside and outside of the caq! Any time I sand down to the epoxy or metal in the process of getting everything smooth, I re-spray with primer and sand until smooth.
Yes, thanks. I did fit the doors and fender skirts. Made the necessary corrections to get the panels and gaps correct. I had to make some minor corrections around where I replaced some panels.
I also had to weld along the edge of one door because the gap was a little too wide.
I then took the doors back off to facilitate painting.
If you are painting metallic or opalescent, you should paint the doors on the car, the paint will lay down differently on a horizontal panel and will look different when it's on the car.
The doors were originally painted on the car, I am painting all the inside areas including the door shuts before final paint, so I will mask up and paint the entire exterior with the doors, boot and bonnet on the car as I am going with a gunmetal gray with a pearl in the clearcoat.
Good to know about the metallic paints. They are kind of tricky and I am not sure I would attempt it. Metallics really show the skill of the painter. Non-metallics are a lot more forgiving as if you blob too much paint in one area it is thicker, but doesn’t affect the color. Also- if you ever wondered what the difference was between the $200 spray gun and the $700 spray gun, you would definitely want to use the better one for metallics as they put out a much more forgiving spray pattern.
I am painting a single stage eurathane paint in Old English White. About as easy of a paint to put on as you can get. Using a two stage (base, clear) paint without a paint booth could really be a challenge, and I am trying to avoid taking the car over to a paint booth. The Gunmetal Gray with the pearl in the clear coat sounds like it is going to be very pretty!
I took the doors back off to paint the hinges and sills. I’ll leave them off for painting because I can get a better finish having them lay out flat- less chance for drips. Also, I believe we discussed previously that it was easier to install the rubber trim and such with the doors off. So i will do all that before they go back on.
You have a good game plan Chuck, the Old English White looks great, and yes the single stage is a little more forgiving.
I used to have a cheaper gun, now only use that for primer, I have a top of the line Devilbiss for basecoat and clears as I too learned that when it comes to sprays guns you definitely need to put your hand in your pocket if you want half a chance of doing a good job.
Finished color sanding the body today. That was an excuse to buy a new tool- a large DeWalt variable speed buffer polisher. Sanded down the body with 1500 and 2000 grit sandpaper, then used a cutting compound with a wool wheel and polishing compound with a foam pad. The only cars I had previously painted were were acrylic enamel- and you are stuck with what you spray. But with Eurathane paints, you can sand them smooth and buff them out if you mess up on the spraying or get dust and bugs in the paint while drying.
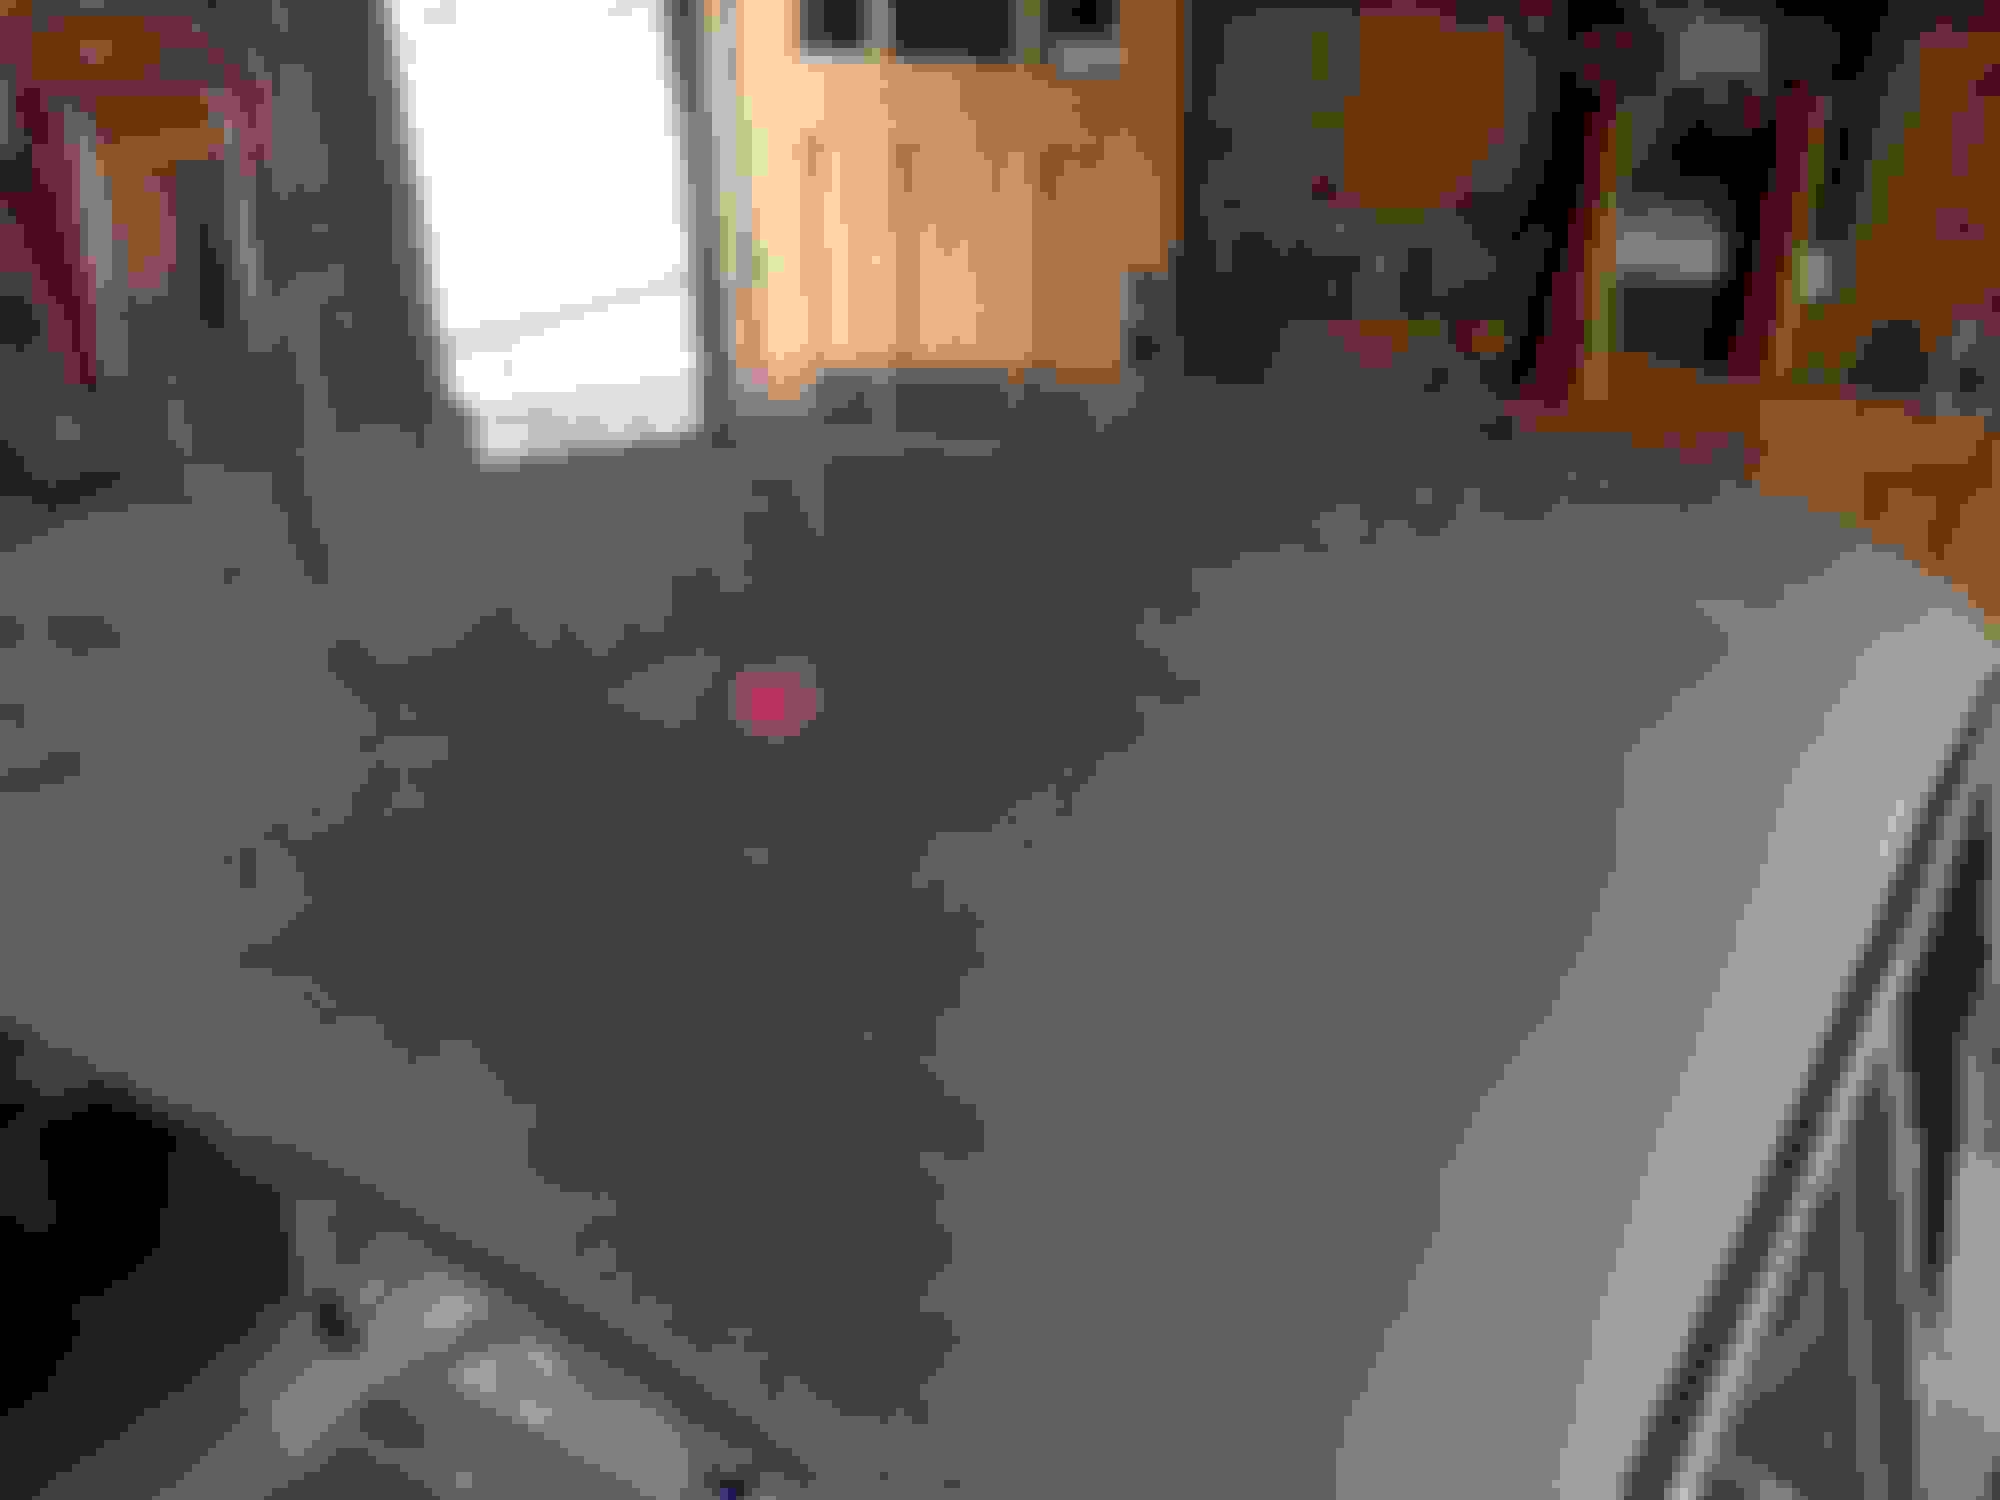
The car came out very nice- the one area I was most concerned about getting smooth was the roof because it had quite a few dents in it- but it came out as nice as the rest of the car. Still working on a few doors and the hood- had some issues with my prep and painting so I am going to respray them when the weather warms up a little. Being in Texas, we should get some warmer weather off and on over the next month.
In the meantime, I am working on re-assembly. Got the rear end in yesterday. Took 6 hours of fiddling, but I am all set now. Working on re-installing sound proofing pads, and sorting out the electrical bits. Next big projects are to finish re-assembling the engine and get it and the front end back in the car.
Shiny roof after color sanding. Red dot is a reflection of an exit light.


 12-02-2017, 02:21 AM