Dipstick
#1
#2
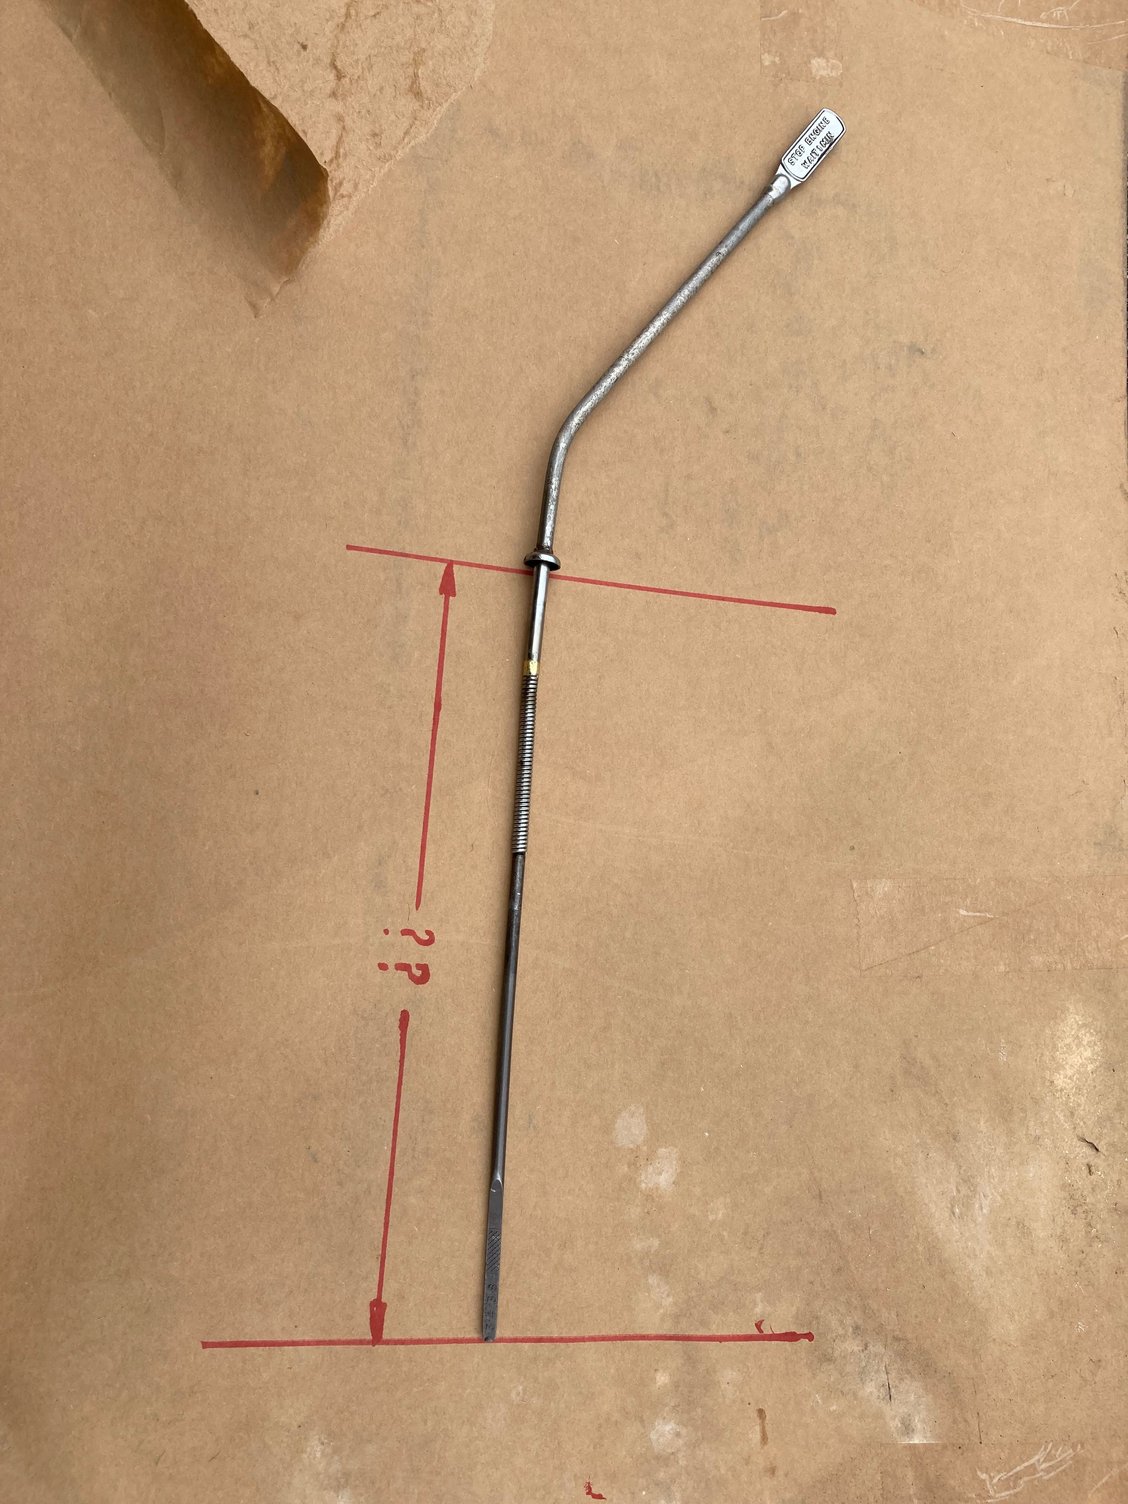
The tube is difficult to get to and measure but from what I could do it is 5 inches long from the block to open end. Having removed the tube previously due to a snapped dipstick I remember the tube goes into the block by at least another inch.
The length of the dip stick on mine which is a 3.4s is 14 inches from end to flange where the felt washer sits. The dip stick is marked up 3.4, 3.8, 4.2 so one would assume it is the same length for all the engines as it is an interchangeable part.
The length of the dip stick on mine which is a 3.4s is 14 inches from end to flange where the felt washer sits. The dip stick is marked up 3.4, 3.8, 4.2 so one would assume it is the same length for all the engines as it is an interchangeable part.
The following users liked this post:
MK2 1962 (08-21-2021)
#3
Join Date: Jul 2012
Location: Llandudno, Cape Town, South Africa
Posts: 5,511
Received 1,476 Likes
on
1,147 Posts
The following users liked this post:
MK2 1962 (08-21-2021)
#4
The following 2 users liked this post by paddyx350:
Glyn M Ruck (08-19-2021),
MK2 1962 (08-21-2021)
#5
I've a slight concern that dipstick arrangements might vary since Jaguar list a lot of different parts numbers for different models. There are two listed for the Mk2 and a different number for the S type, which seems odd.
This is what I've measure from my 3.4 Mk2, first registered January 1963. It has a steel sump.. The distance from the flange to the tip is 351 mm (13.8 in). The length of the tube is difficult to measure but seems to be 125 mm (5 in). The shaded area the oil should reach is from 25 to 45 mm from the tip.
As a comparison, I also measured my spare engine which is 4.2 from a series 3 XJ with an aluminium sump. The dipstick is slightly longer, about 1 to 2 mm, but the shaded area is about the same distance further from the tip to exactly compensate. The tube length is 125 mm.
My suspicion is that the different part numbers may arise more from changes to the handle part of the dipstick presumably to facilitate access and burning our hands on the exhaust manifold.
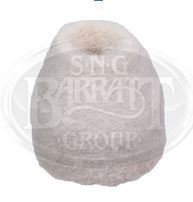
It's difficult to measure the tube on the car. There's not much access and it's hard to tell whether the end of the ruler/tape is on the flat top of the boss on the engine block or somewhere past it. The felt washer that Glyn has shown has long disappeared from most cars including my Mk2. The XJ engine has a rubber one of a similar cone shape.
I think that E-types and classic XK sports cars have significantly shorter dipsticks.
The following users liked this post:
MK2 1962 (08-21-2021)
#6
Join Date: Jul 2012
Location: Llandudno, Cape Town, South Africa
Posts: 5,511
Received 1,476 Likes
on
1,147 Posts
Three points. Early XK engines had no tube at all. The felt cone is still available and was still fitted as late as 66 ~ can't talk later than that. (Cass' 67 build still has however, sold 68). In November 1963 ~ "the dipstick gained a longer handle to reduce the risk of burning hands on the hot exhaust manifold," (in support of Peter's comment) credit Taylor & other scribes. Mk2.
All S Types had the same aluminium sump.
All S Types had the same aluminium sump.
Last edited by Glyn M Ruck; 08-21-2021 at 08:17 AM.
The following users liked this post:
MK2 1962 (08-21-2021)
#7
Thanks Everyone,
I wasn't sure if I had the right dipstick because when I put the engine in I filled it with the recommended volume of oil (I cant remember what that was now !) It was no where near the marks on the dipstick so I topped it up to the marks. I now have oil pissing out from the back of the engine, I suspect main seal. I didn't realise that there was a felt seal on the stick (now ordered) but I don't think that would bring it up much higher. I guess I will have to drain it off and start again, hopefully I get away with it otherwise the g/box will have to come out.
The measurement's tally but I wanted to make sure as the dipstick was broken and I had to braze it together
Cheers
Ray
Last edited by MK2 1962; 08-21-2021 at 03:54 AM.
Trending Topics
#8
Join Date: Jul 2012
Location: Llandudno, Cape Town, South Africa
Posts: 5,511
Received 1,476 Likes
on
1,147 Posts
#9
The following users liked this post:
Glyn M Ruck (08-21-2021)
#10
#11
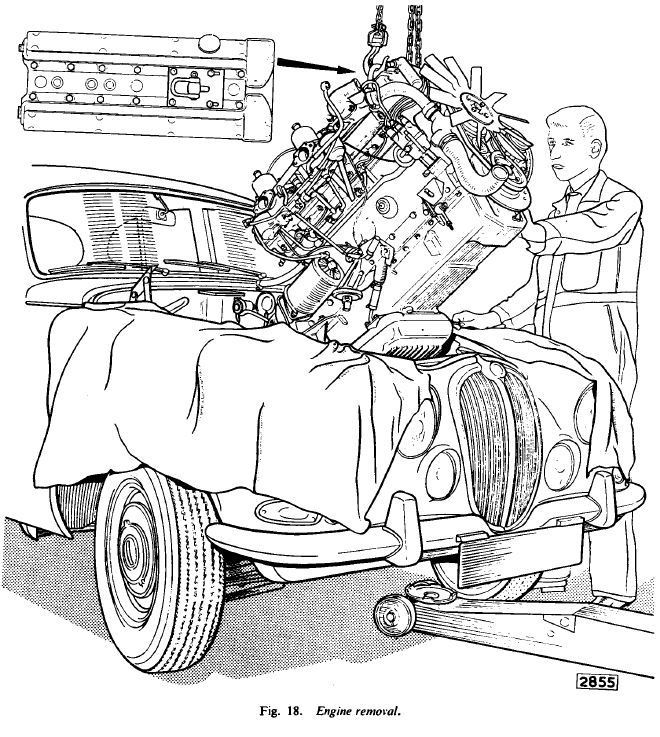
Ray it depends on the setup you have to take the engine out. From the factory they used to put the engine in from the bottom. Drop the subframe support the body. Then support engine and lift the body off the top as you drop the engine down. When I took mine out and put it back I went in from the top. I found going in from the top with the car still on its wheels allowed you to roll the car out from under the suspended engine rather than trying to pull the engine out over the front of the car on a hoist with tiny metal wheels but it all depends on how much space you have. (Height as well as around the car.) I pushed the car backwards out of the garage away from the engine once I had lifted it high enough and reversed this by lifting the engine up then rolling the car under the suspended engine. All the normal bits have to be detached whether you go top or bottom. Going out the bottom is tight and many require removal of the carbs to do so but getting the carbs off with the engine in situ is very hard. Carbs can be left on the car if going in the top but I had mine removed so it gave me more wiggle room and less danger of scratching the new paint work.
#12
Ray it depends on the setup you have to take the engine out. From the factory they used to put the engine in from the bottom. Drop the subframe support the body. Then support engine and lift the body off the top as you drop the engine down. When I took mine out and put it back I went in from the top. I found going in from the top with the car still on its wheels allowed you to roll the car out from under the suspended engine rather than trying to pull the engine out over the front of the car on a hoist with tiny metal wheels but it all depends on how much space you have. (Height as well as around the car.) I pushed the car backwards out of the garage away from the engine once I had lifted it high enough and reversed this by lifting the engine up then rolling the car under the suspended engine. All the normal bits have to be detached whether you go top or bottom. Going out the bottom is tight and many require removal of the carbs to do so but getting the carbs off with the engine in situ is very hard. Carbs can be left on the car if going in the top but I had mine removed so it gave me more wiggle room and less danger of scratching the new paint work.
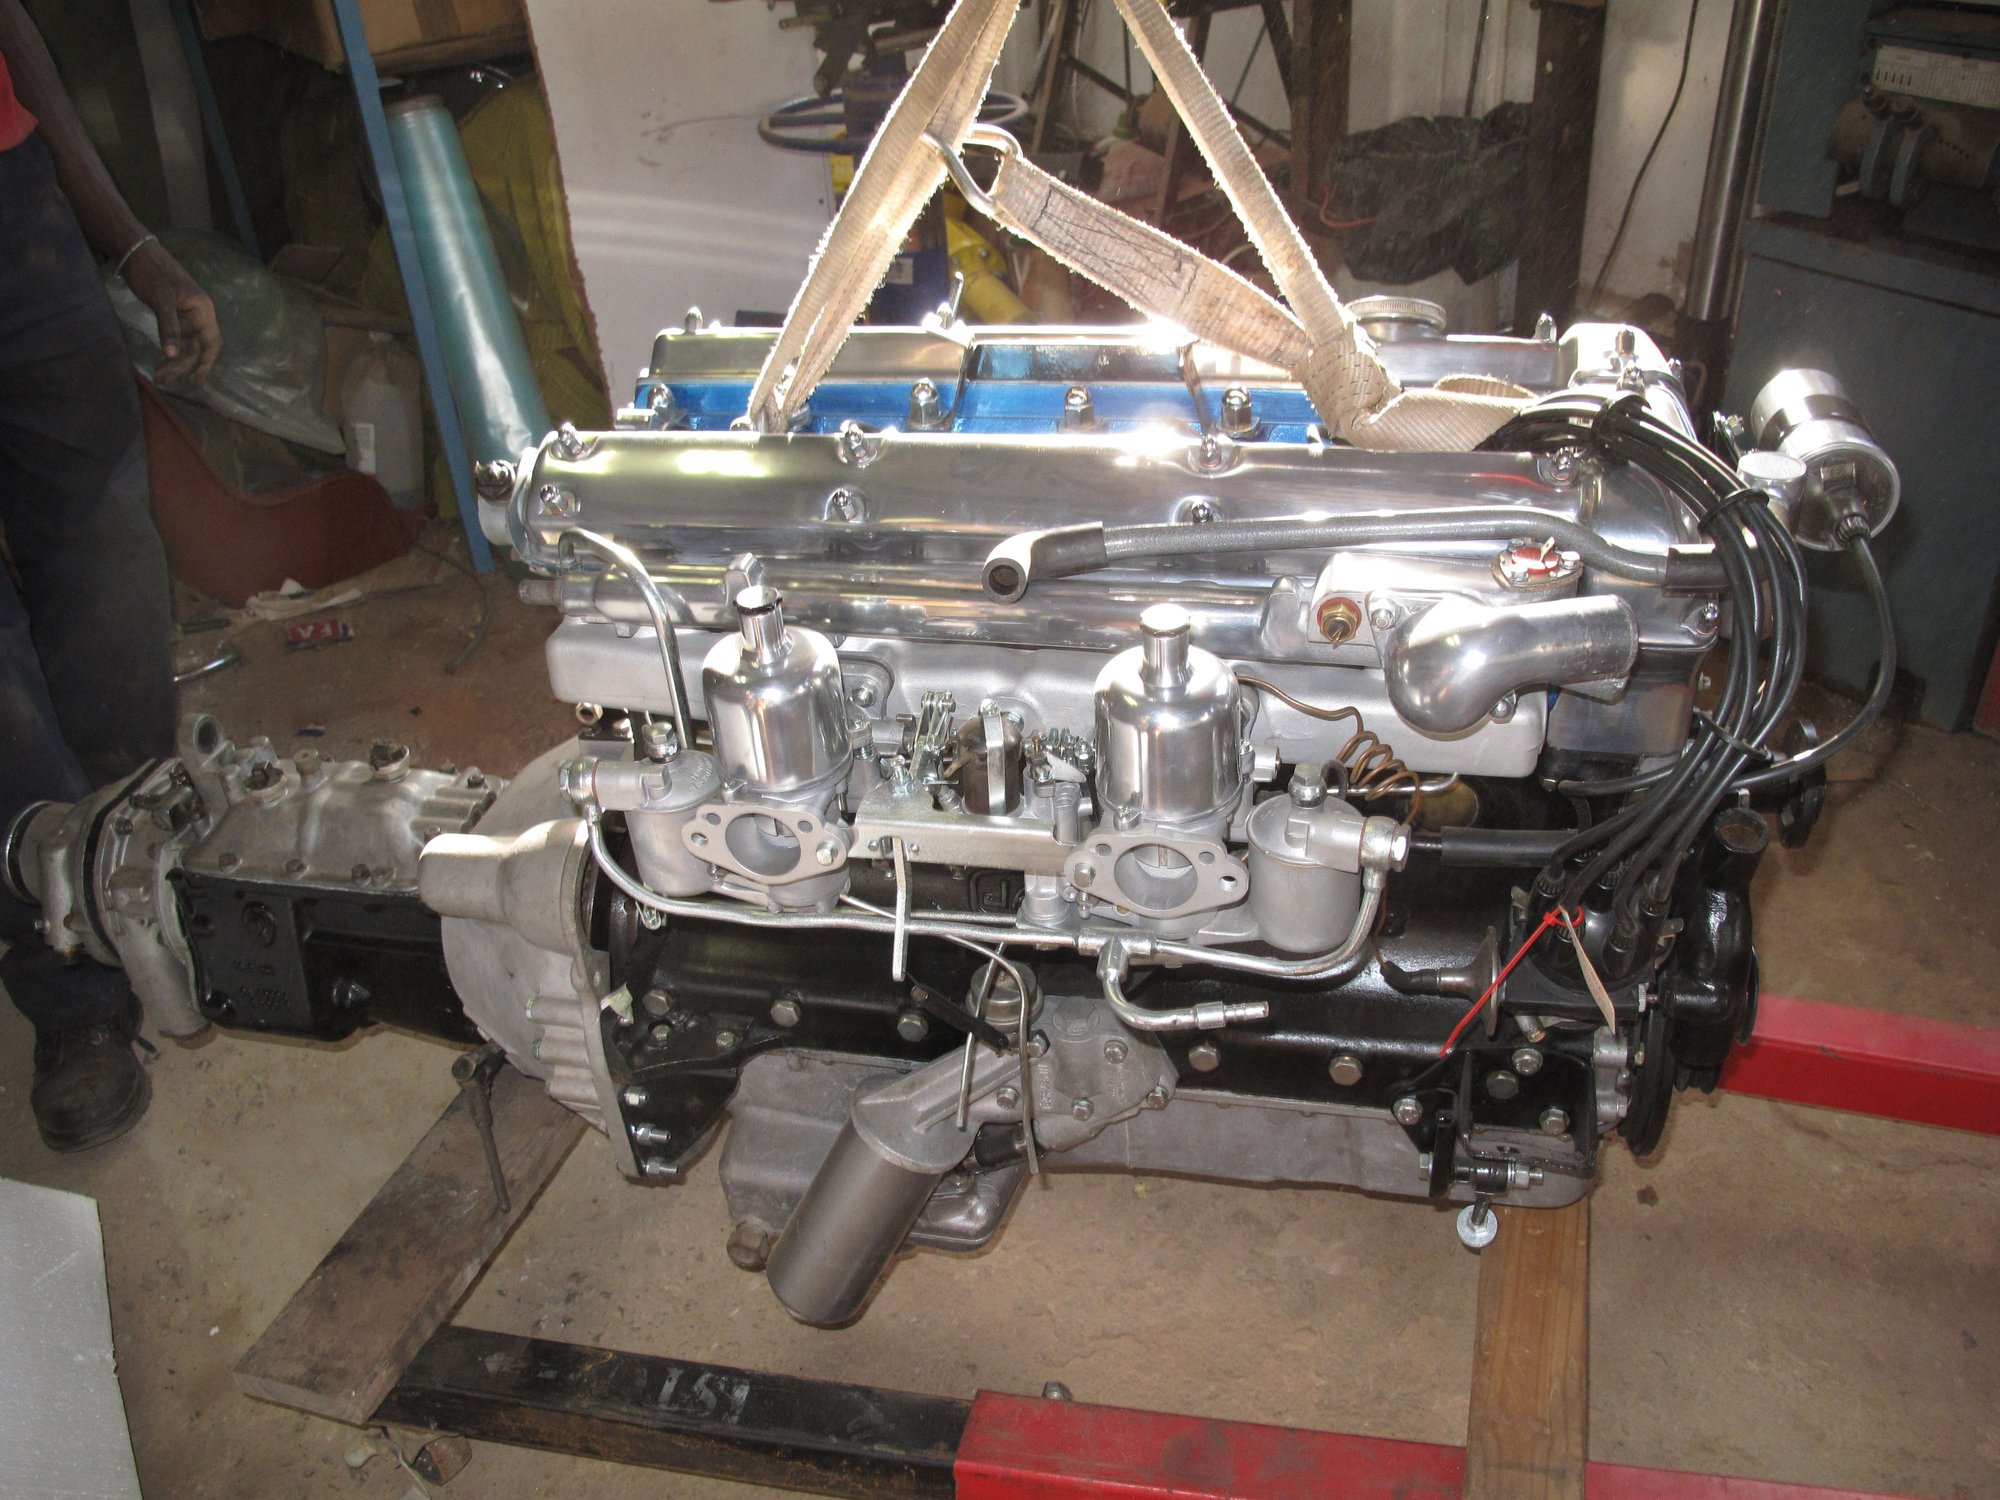
When I put it together I brought it up from the bottom and then fitted the subframe the carbs were off, The guys that built the engine are doing it as its down to them, but I said I would help (In reality they will probably help me!) we will be doing it at their premises as they have all the gear. Thanks for the input
Cheers Ray
#13
Join Date: Jul 2012
Location: Llandudno, Cape Town, South Africa
Posts: 5,511
Received 1,476 Likes
on
1,147 Posts
#14
#15
Join Date: Jul 2012
Location: Llandudno, Cape Town, South Africa
Posts: 5,511
Received 1,476 Likes
on
1,147 Posts
That is good news! The plate is a PIA when changing angle of lift in & out. Be careful not to bang the tailshaft of the OD/Transmission into the firewall/scuttle. I always had someone under the car to guide things.
BTW ~ make sure that the workshop sticks to exact procedure fitting the asbestos rope seal into it's respective grooves. It needs to be oiled & worked into the groves with the correct tool or the crankshaft. There must be zero trimming of the seal length. Then you will achieve a bone dry seal like I have. We cover it in another thread here. The WSM covers in detail.
BTW ~ make sure that the workshop sticks to exact procedure fitting the asbestos rope seal into it's respective grooves. It needs to be oiled & worked into the groves with the correct tool or the crankshaft. There must be zero trimming of the seal length. Then you will achieve a bone dry seal like I have. We cover it in another thread here. The WSM covers in detail.
Last edited by Glyn M Ruck; 08-26-2021 at 11:01 AM.
#16
That is good news! The plate is a PIA when changing angle of lift in & out. Be careful not to bang the tailshaft of the OD/Transmission into the firewall/scuttle. I always had someone under the car to guide things.
BTW ~ make sure that the workshop sticks to exact procedure fitting the asbestos rope seal into it's respective grooves. It needs to be oiled & worked into the groves with the correct tool or the crankshaft. There must be zero trimming of the seal length. Then you will achieve a bone dry seal like I have. We cover it in another thread here. The WSM covers in detail.
BTW ~ make sure that the workshop sticks to exact procedure fitting the asbestos rope seal into it's respective grooves. It needs to be oiled & worked into the groves with the correct tool or the crankshaft. There must be zero trimming of the seal length. Then you will achieve a bone dry seal like I have. We cover it in another thread here. The WSM covers in detail.
The following users liked this post:
Glyn M Ruck (08-26-2021)
#17
Hi All,
Sorry not been here for a while, Engine didn't need to come out as the leak was from the back of the tacho drive Phew! It was running down the back and appeared to be coming from the bell housing, All fixed in less than an hour. Next job replace the rear axle for one that came from a 3.8, (as the car was originally a 2.4) I managed to find a good one that was stored for around 60 years, It doesn't have a powerlock but for a monkey (£500) it'll do! We opened it up and its in great condition but Ill fitting new seals and gaskets. Anyone want to buy a 2.4 axle that's only done 25,000 miles from new?
Cheers
Ray
Thread
Thread Starter
Forum
Replies
Last Post
Currently Active Users Viewing This Thread: 1 (0 members and 1 guests)


