When you click on links to various merchants on this site and make a purchase, this can result in this site earning a commission. Affiliate programs and affiliations include, but are not limited to, the eBay Partner Network.
the po left me with a chinese puzzle. the glove box latch is disassembled, and no matter how i try to reinstall it i fail. if i leave out the spring i can easily manipulate the other parts to function as intended but i can figure out no way to install the spring and make it work. Any help would be appreciated.
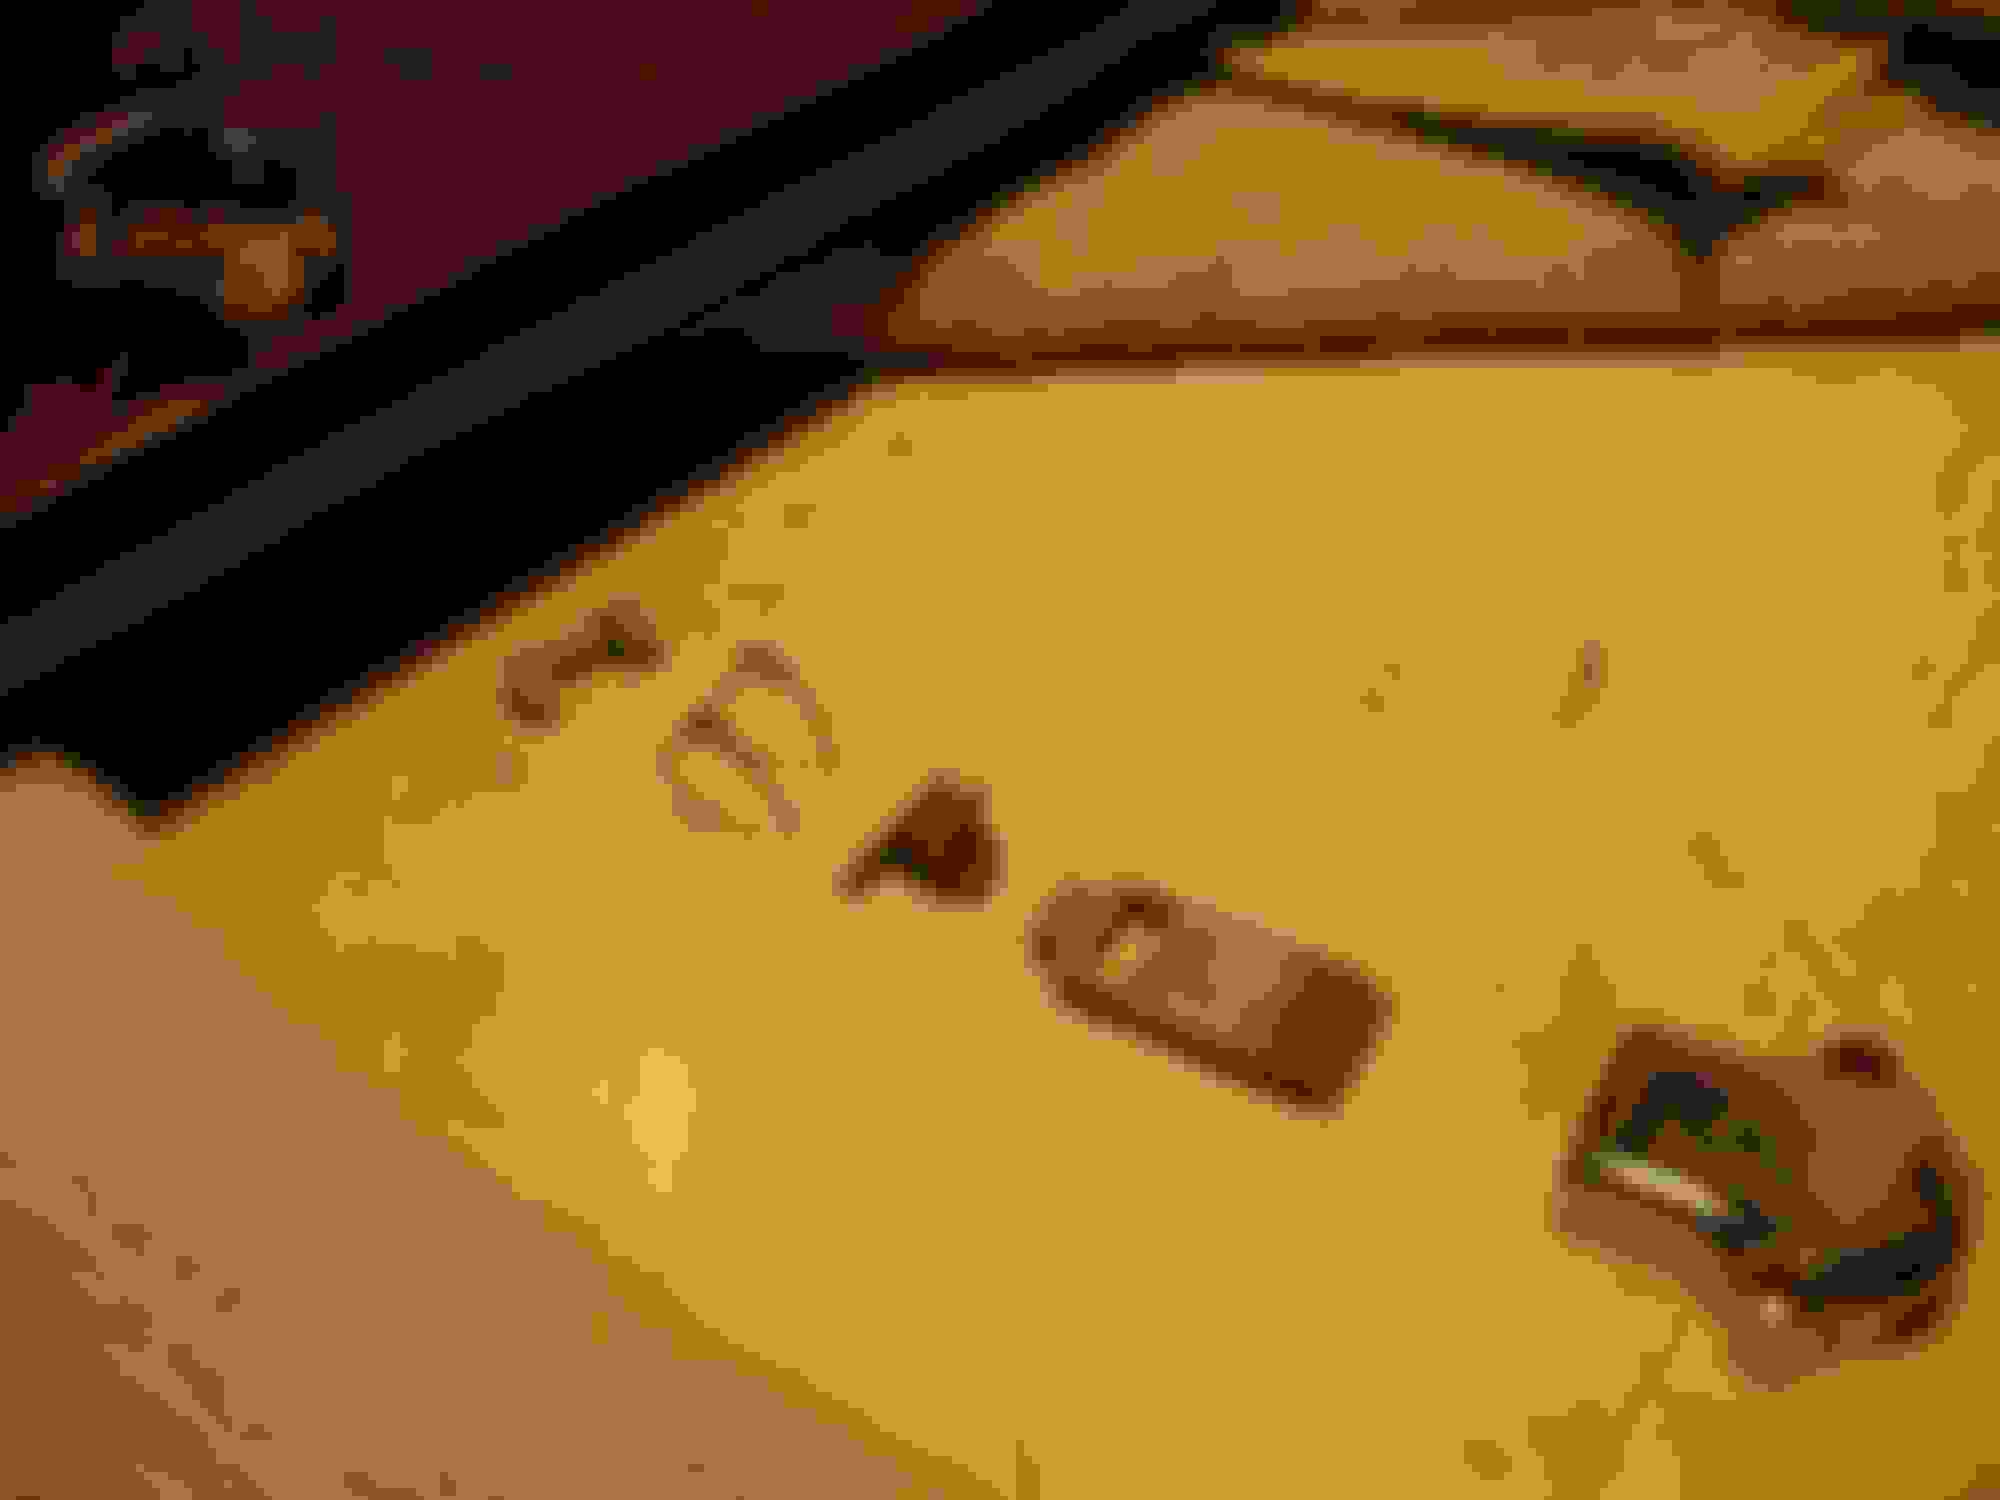
housing, u shaped key, tension spring, fulcrum with two lobes, latch and housing cap
I figured it out! haha! Not very logical but it makes sense after it is solved.
picture 1:
observe the angled / slanted part of Latch is oriented towards the inside of the glovebox, towards the Catch. The flat part goes towards the outside or "front" of glovebox door.
picture 2:
with cover removed, pressing the Latch down, you can see all the parts in their correct
position. The Spring and the thinner part of the Latch's "puller-pusher", (I don't know the names of the parts inside, so I made my own), go through the Latch's square opening. Keeping the Spring and the puller-pusher in situ is the trick.
picture 3:
with Latch lifted and removed, you can see the correct position of the "Bridge",
which goes over and holds down the two rear legs of the Spring.
picture 4:
the "Bridge" is removed showing the semi-circular "feet" at the bottom.
picture 5:
the semi-circular "feet" of the "Bridge" rest over the pins on which the Spring is
rolled over.
picture 6:
shows the orientation of the "pusher-puller" piece. This piece has a thicker and a thinner
"foot". The thinner foot goes to the top through the latch's square opening. The thicker
"foot" touches the bottom of the lock's case.
Again, the trick is to keep the squared part of the Spring and the thinner foot of the puller-pusher inside the squared opening of the Latch. This is difficult. I managed to raise the spring and keep it bent upwards using my thumb's nail, in order to allow it to snap into the squared opening of the Latch along with the puller-pusher's thinner part. So you are dealing with keeping two and then inmediately three different parts together through the Latch's squared hole. I suppose they used tiny clamps to keep the parts together before putting the cover on.
I won't be trying to do this tonight, Just got done renewing my USPS contract and they have fried my brain. BUT . . . holy cow Jose! I owe you a bottle of wine or a brewer's sixer. Where the heck did you find the last pic in your post? This forum (read: you guys) are in-dispensable!!!
Stuart, glad I could help, do you mean picture no. 6? I took it this morning, all of them, except for the last one I placed the parts over a white paper for contrast, then I added the text and arrows.
you will need to have patience, it will take a while to try to assemble it, mistakes will happen, the fight will be trying to force the front part of the spring and the puller-pusher piece under the Latch cutout and keeping it there when it will want to go the opposite way.
I learned something doing this. The lesson is: They don't make stuff like this anymore, it's a lost art, miniature pieces that are still good 50 years later. I was amazed that the spring is still strong, and little if any wear on the metal parts.
Built in obsolescence, throw away mentality and plastic did 'em in. Remember "Mr. Fixit's Shop" on Main St. The "kids" (thirty and under) can't believe the grill is made of metal!
Jose - Once again thanks. Hard to admit, but I spent 3 hours on Sunday trying to get this right. Worked 'til I had a knot in my back that I can still feel. In 2 minutes this morning the job was done. HAPPY DANCE! They don't make 'em like they used to.
Great job Jose!..That little bugger had me at sea for hours when I was reassembling the dash. Might as well clean it upp and lube it right. Seemed so innocent LOL
Hoping you guys are still active. Trying to get the last part of the body out of my 1971 Series 1 XJ6 glove box cover so I can refinish. The rear portion is set into the wood. the front " bezel" has two small holes at 3 and 9 oclock. How do I get it out?!!

 02-27-2018, 08:44 AM