Got the head off.
#1
So, I've been working on getting the head off of the car in brief periods of good weather and finally got her out this morning by using a couple of bottle jacks.
The head gasket was split on each side of number five cylinder. There looks to be tiny cracks in the head on each side of it as well. Some of those waterways look pretty bad too
The head gasket was split on each side of number five cylinder. There looks to be tiny cracks in the head on each side of it as well. Some of those waterways look pretty bad too

#2
#4
As others have said, pretty normal for a car of this year (1966) when people were not so diligent in replacing the anti-freeze at the correct intervals. It is the inhibitors in anti-freeze that prevent corrosion in the water passages. And it looks repairable too. It might need some aluminium welding around some passages, followed by a head skim.
What does the block face look like ? It'll be well worth while flushing out the coolant passages in the block, especially towards the rear of the engine where most crud accumulates. You'll be amazed at what comes out !
What does the block face look like ? It'll be well worth while flushing out the coolant passages in the block, especially towards the rear of the engine where most crud accumulates. You'll be amazed at what comes out !
#5
Well, I ran the head and the radiator down to Jon yesterday and he's started looking at it, hadn't noticed before but one of the valves in number 6 was cracked pretty badly.
He also pointed out that the new radiator cap I had bought from SNG Barratt was wrong and wasn't sealing at all So I guess in future I have learnt not to trust their online parts catalogue. I also know where all the coolant went
He also pointed out that the new radiator cap I had bought from SNG Barratt was wrong and wasn't sealing at all
 So I guess in future I have learnt not to trust their online parts catalogue. I also know where all the coolant went
#6
#7
Trending Topics
#8
Chuck, what is your chassis number, I will look it up, the caps went from 4lb to 7lb, I am pretty sure they were then backdated as such, but I will check.
#9
Brent's head is on the bench -- well the one off the S-type anyway.
Some pics, one of the cam bearing shells which appear to have a small manufacturing defect, the cracked valve which would have made a lovely mess if that decided to break !
The valve stem seals are shot and I found a nice piece of old rusty wire in the waterways, found a similar piece in my head, possibly left behind at the time of manufacture?
Valves are all out, and other than the overheating and corrosion around the waterways, the head is in pretty good shape.
Need to strip out the studs and will get it to the machine shop tomorrow.
#10
There was an old issue around the depth of the housing for the pressure cap sealing face on the radiator. I ran up against this when I rebuilt my Mark 2 in the 80s.
The projection of the spring and sealing washer needs to be correct, or it won't contact the sealing face. To make sure, you need to measure the depth to the sealing face, and then check that against the depth of the pressure cap sealing washer down from from the securing flange. If you have one that's too short, the radiator is open to atmosphere and no pressure can build. Coolant can then flow out the little overflow pipe and nobody may notice.
The projection of the spring and sealing washer needs to be correct, or it won't contact the sealing face. To make sure, you need to measure the depth to the sealing face, and then check that against the depth of the pressure cap sealing washer down from from the securing flange. If you have one that's too short, the radiator is open to atmosphere and no pressure can build. Coolant can then flow out the little overflow pipe and nobody may notice.
#11
#12
#13
Is your fuel gauge accurate ? The fuel gauge and temp gauge are both fed from the 10v regulator, if you filled the tank did it read full ?
You can check the earths are clean and that you have 10v from the regulator to start with, if all good, the sender maybe inaccurate, crud build up where the sender goes can slow down readings if it acts as an insulator (this one is a bit of a long shot but possible) or a problem with the gauge itself.
Oil pressure, take off the lead to the oil pressure sender and short it to the engine, the oil pressure should read high, if it does, the sender is dead, if it doesn't, you need to check the wiring to the gauge, if that's all good, the gauge is duff. The gauges may not be the most accurate of creatures, but they don't generally fail completely.
Is the car negative ground or positive ground ? This will make a difference in how you connect a test meter and/or the readings you get.
Last edited by TilleyJon; 02-20-2018 at 02:41 PM.
#14
yes, I would replace the Senders with new, they're not expensive. The gauges aren't the most accurate but they're good enough if calibrated properly.
in the UK Speedy Cables is one of many companies that specialize in gauge repair and calibration:
https://speedycables.com/
in the UK Speedy Cables is one of many companies that specialize in gauge repair and calibration:
https://speedycables.com/
#15
You can check the earths are clean and that you have 10v from the regulator to start with, if all good, the sender maybe inaccurate, crud build up where the sender goes can slow down readings if it acts as an insulator (this one is a bit of a long shot but possible) or a problem with the gauge itself.
Oil pressure, take off the lead to the oil pressure sender and short it to the engine, the oil pressure should read high, if it does, the sender is dead, if it doesn't, you need to check the wiring to the gauge, if that's all good, the gauge is duff. The gauges may not be the most accurate of creatures, but they don't generally fail completely.
It was positive but is now negative, same behaviour from the gauges when it was positive though
#18
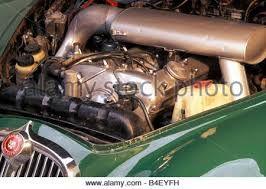
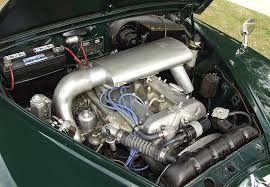
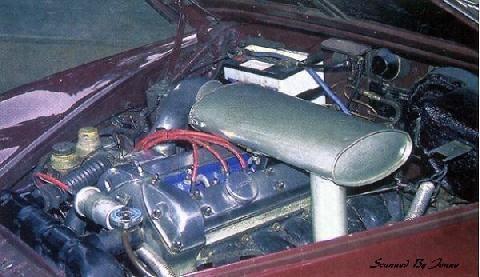
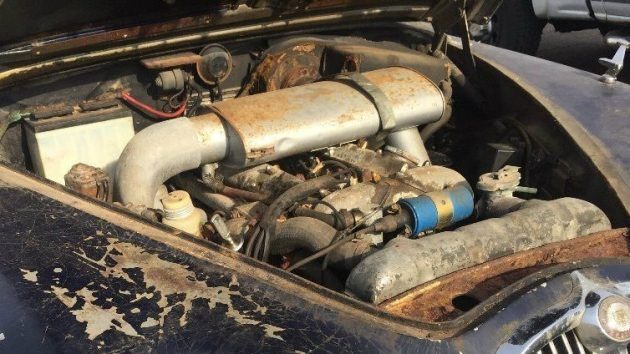
Another thought while I have a heap of bits removed from the engine bay, I need some advice on what colours various bits should be. A previous owner basically painted absolutely everything gold. I want to undo this, so what colour should the air filter assembly be? the heater box? etc etc etc, anyone got a really good link to some pictures?


