When you click on links to various merchants on this site and make a purchase, this can result in this site earning a commission. Affiliate programs and affiliations include, but are not limited to, the eBay Partner Network.
After getting the underside coated with Schutz/Stonechip & body colour & interior with body colour. Getting the all important engine compartment looking pristine. Paint used. Glasurit Porsche self healing primer. Final coats Spies Hecker.
First respray.
Second Respray (due to first & ultimately fired restorer allowing the shell to deteriorate without progress)
Last edited by Glyn M Ruck; 10-25-2018 at 01:33 PM.
Huh! My non concours 15" bespoke shallow dish steering wheel arrived from Italy. Understand just 4 of these made. For everyday use. (excuse rotten pic ~ the anodising is perfect)
Will fit with Moto Lita hub ~ Might substitute Jaguar Coventry horn push.
Last edited by Glyn M Ruck; 10-29-2018 at 08:10 AM.
other than the front tops of the seats and the two front "kick" panels, the 1964 upholstery in my 1965 S type is still intact, I imagine it must have something to do with the weather in which the car has lived. Too hot or too humid.
other than the front tops of the seats and the two front "kick" panels, the 1964 upholstery in my 1965 S type is still intact, I imagine it must have something to do with the weather in which the car has lived. Too hot or too humid.
Probably ~ I had 3 sets of rear door cards & armrests & none of them were worth re-covering from exposure to the African sun. That cardboard like press board that Jaguar used for parts like this & the glovebox was junk. I did manage to find a decent glove box & have it re-flocked. I'm also a fussy pain in the butt! LOL!
Last edited by Glyn M Ruck; 11-03-2018 at 10:18 AM.
Electrostatic flocking is quite an art, especially when doing 3 dimensional objects & getting all the electrodes in the right place. You need the right equipment to achieve flock alignment. They built a model of my glovebox & practiced on that first. The flock itself is hand applied to 3D objects with a fancy charged spray gun. Flock fibre length & colour is your choice.
Last edited by Glyn M Ruck; 11-03-2018 at 11:00 AM.
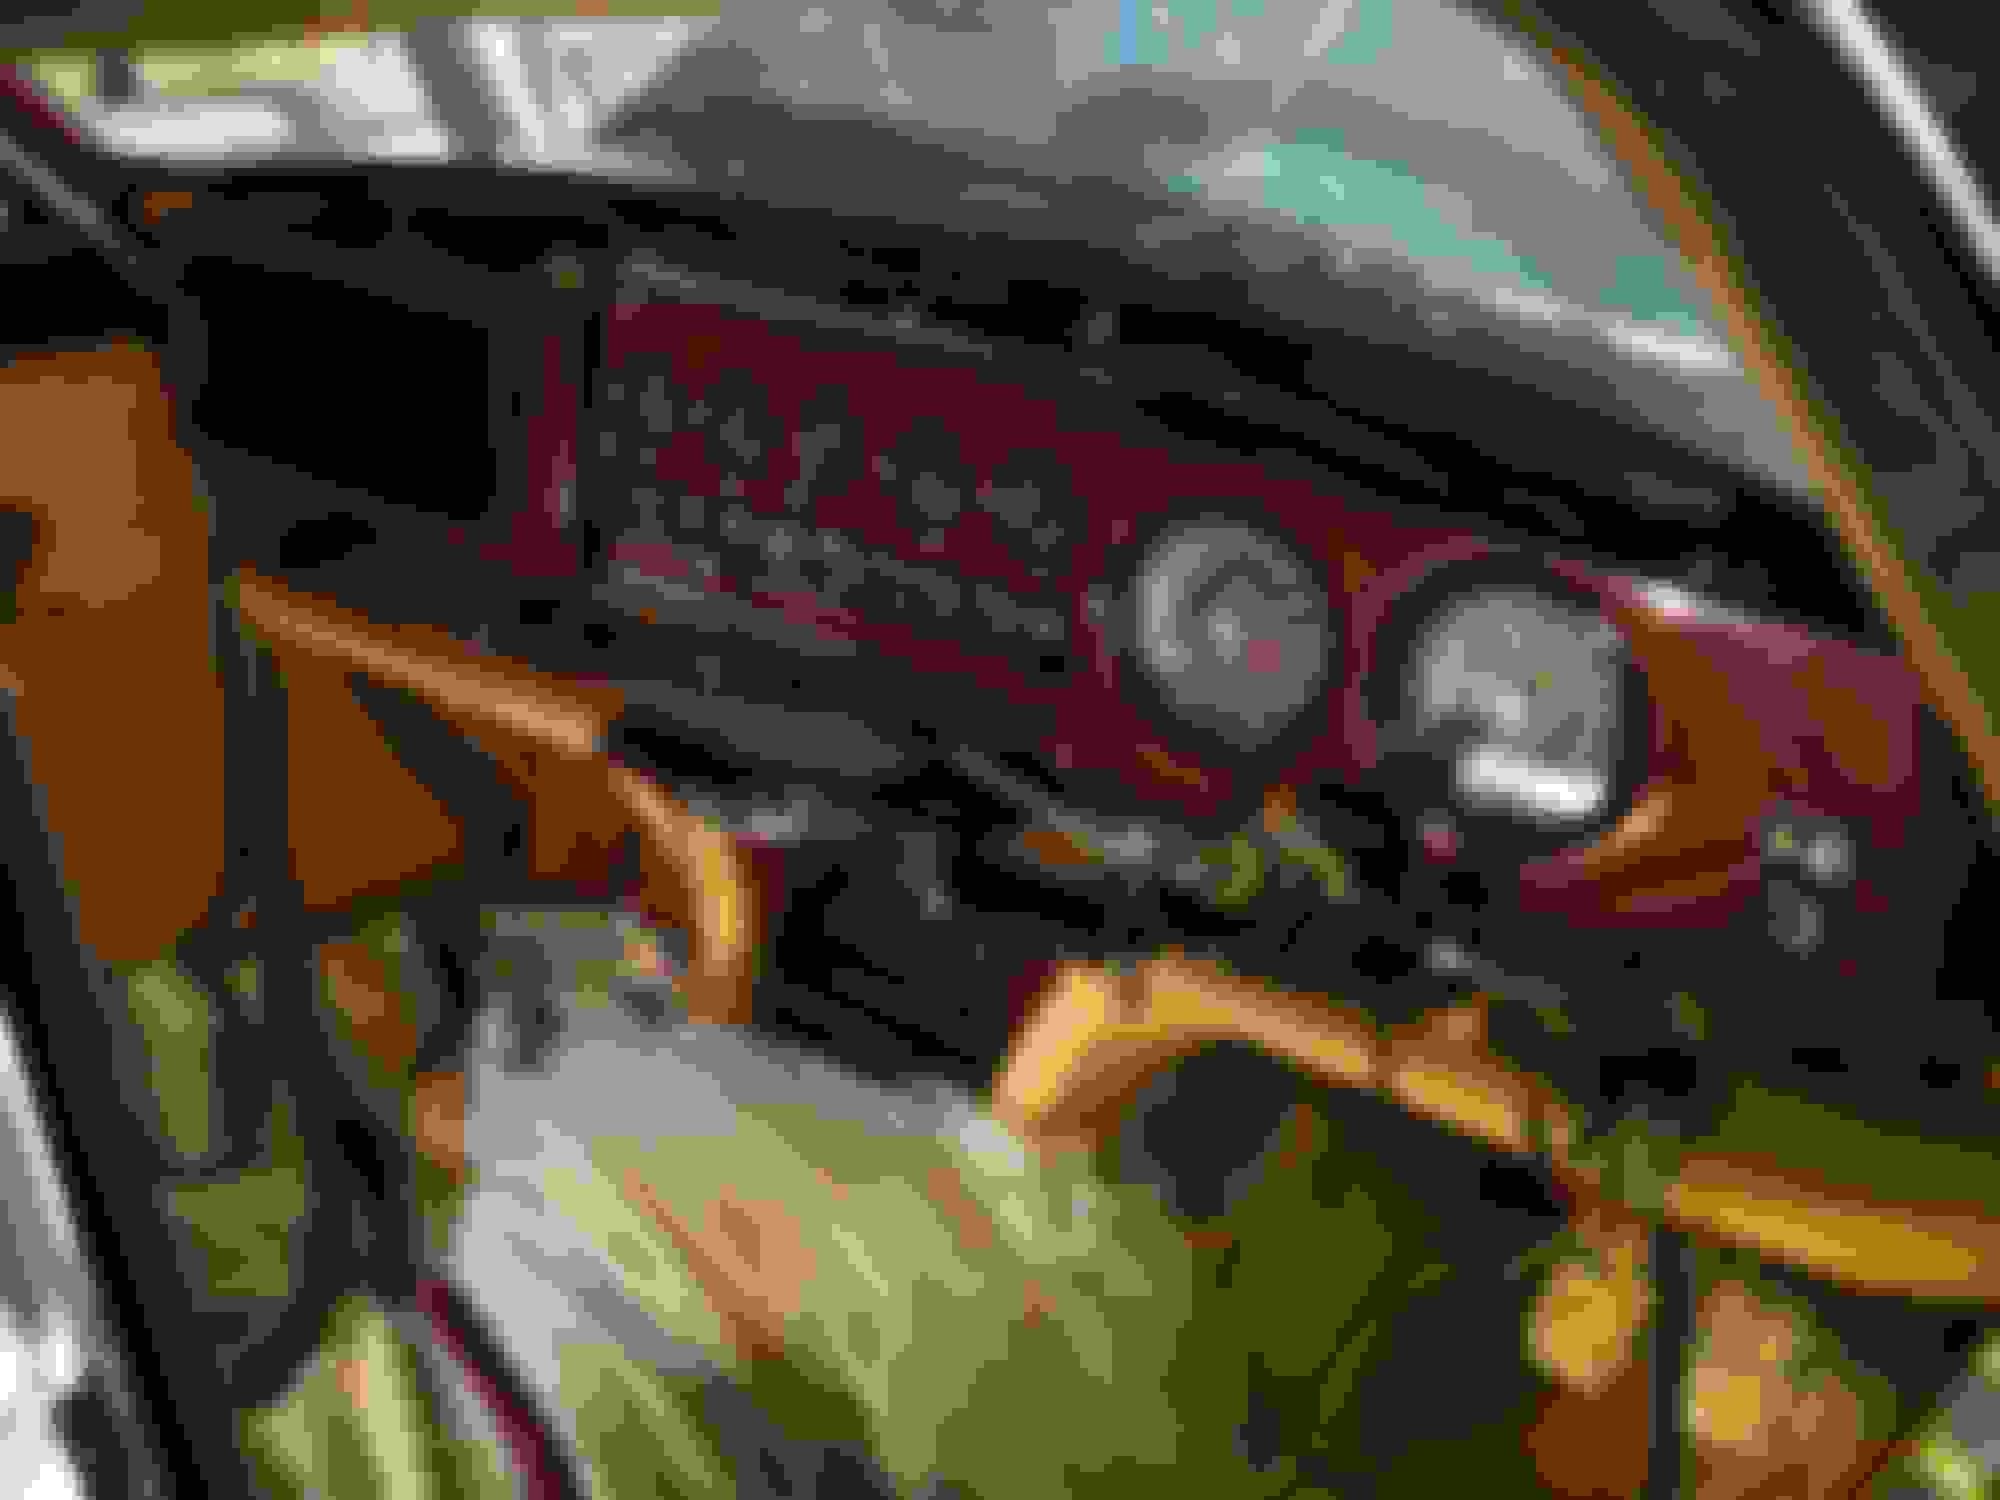
Many restorations are spoiled IMHO by the fitting of tired old gauges to a beautifully restored dash. I decided I would refurbish mine
This is a set of refurbished E Type gauges that inspired me.
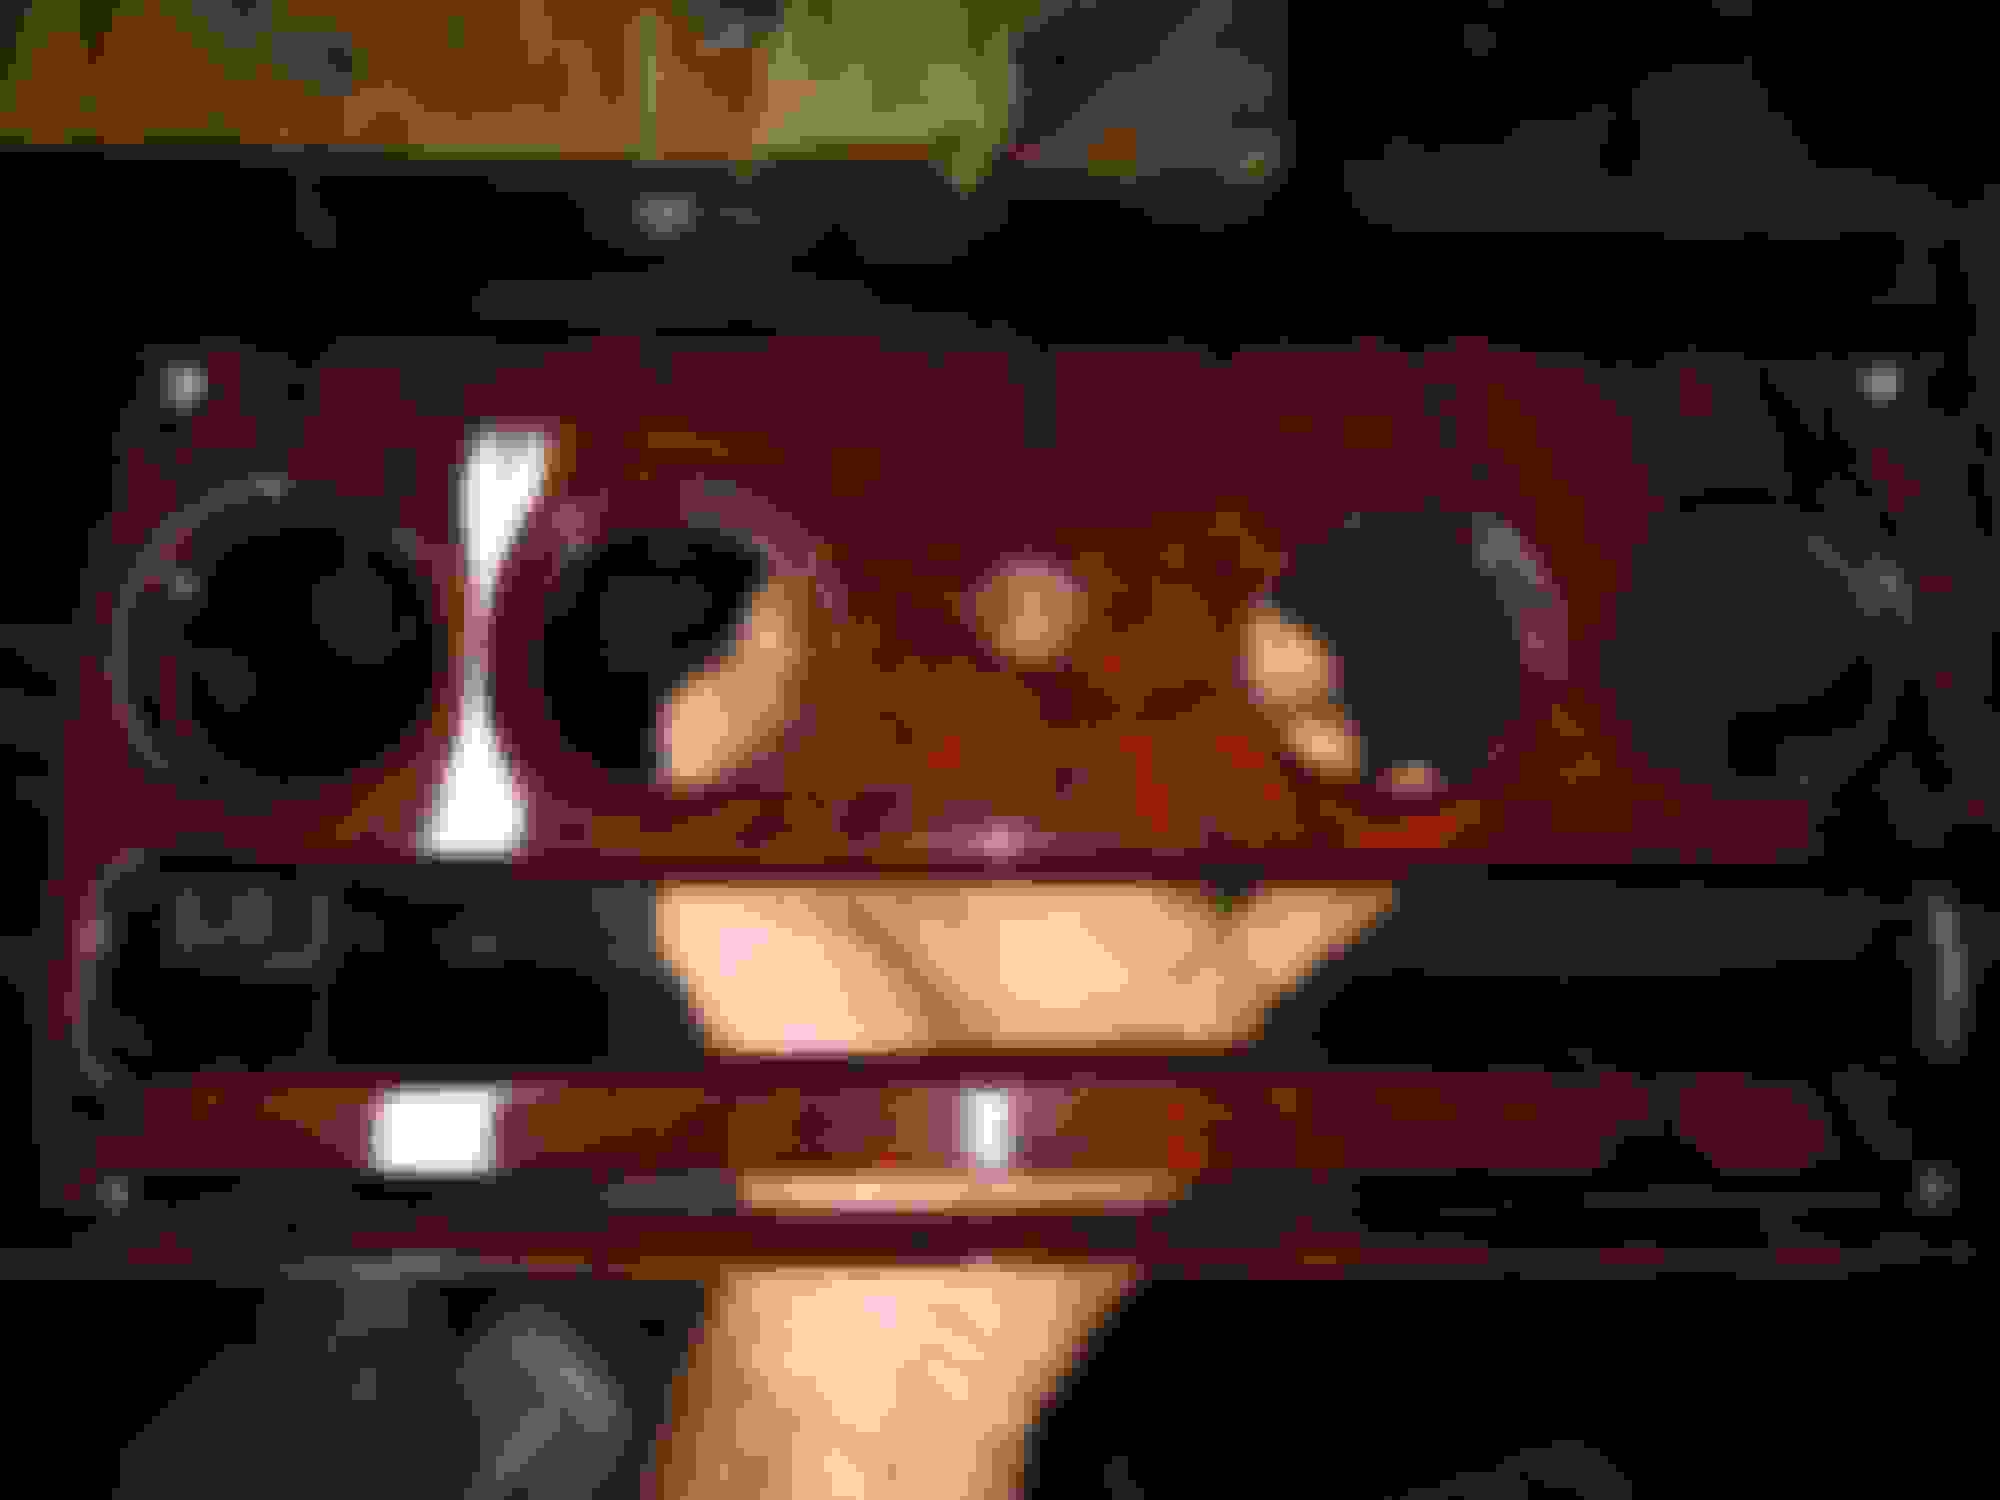
1) Clean exterior of gauges with Autosol
2) Bayonet glass retaining rings from gauge body
3) Glass anti-rattle "rubber" seal will have deteriorated.
4) Remove remains of the seal & clean up remaining black residue
5) I got a medical "rubber" company to extrude 5 metres of 2.5mm OD x 1mm ID black silicone tubing (perfect replacement seal)
6) Clean up metal rings and respray in matched satin black
7) Clean the gauge faces & hands with a photographic puffer brush, cotton or foam buds & a mild alcohol water solution. Be careful with white screening on face & hands. It must be clean but is fragile.
8) Clean glass to a spotless shine both sides. You do not want a fingerprint or dust inside your gauge. Especially when lit.
9) Cut the new pipe seal to desired length.
10) Reassemble the gauges in a dust free environment & fit a suitable new O Ring to each before remounting.
Sit back & admire your handy-work ~ It can be most rewarding.
Last edited by Glyn M Ruck; 11-26-2018 at 01:52 AM.
1) Old Sonicare toothbrush helps with Autosol
2) Isopropyl Alcohol & Acetone are your friend cleaning up black residue. Just be careful working with them. They are not friendly to all surfaces.
3) Slight warming with a hairdryer helps un-bayoneting rings & maybe a slight nudge with a small flat tipped screwdriver. (tip covered with masking tape). No bending required.
4) I suppose something like WD40 could be used to aid the turning of a stubborn ring to line up the tabs with the slots but then you are going to have to clean off the oily residue afterwards.
Also replated the metal backing plate like this. Sorry I can't find my S Type picture. It is somewhere. You can see it peeping above the wood in one of the above pictures.
Last edited by Glyn M Ruck; 11-27-2018 at 10:54 PM.
The shattering amount of internal chromework these cars have & this excludes some of the wood attachment pieces such as dash top, glove box, tray, vent window levers, gear lever & handbrake lever etc.
First let me state that we were novices to refinishing of the car's interior woodwork. I consider British Autowood to be the gold standard in this art.
So we asked a lot of questions & did a lot of research, took a lot of advice & got on with the job. I was worried about yellowing & durability that led us to a locally made product by Chem Spec that came highly regarded by Rolls & Bentley wood refinishers in SA.
All woodwork was hand sanded back to base. Lightly stained to the desired colour & many layers of lacquer applied with sanding in between layers. We had no curing acceleration/baking facility available to us so we used good old sunlight. Sinking or slumping into the soft grain is a common problem with Jaguar woodwork so we sun exposed all the lacquered wood for 6 months prior to doing final lacquer coats, sanding & polishing.
We made a conscious decision not to use stripper on the wood. Business friends from BASF/Glasurit warned us that it is very difficult to fully neutralise it in this application & can cause issues down the line.
Excuse the severe red push on my restorer's camera/cellphone. It isn't that red.
After polishing ~ I think we did OK ~ I'm not going to repeat pics at beginning of the thread. See there for finished job.
Fantastic news! After jumping through all the hoops ~ Police clearance, weighbridge, data dotting, endless paperwork etc. etc. my car is now registered and back on the system after 30 years. Temporary permit will be issued next Tuesday. Booked for roadworthy next Friday. Then period metal number plates will be fitted instead of modern plastic jobs & she is back on the road. Phew
I will then be fitting final Decals, Stickers & Plates. We have been discussing this issue here.
Then long leisurely, and not so leisurely, drives to run her/break her in. Studiously ignoring Jaguar's suggested mileages & methods on antiquated oil formulations.
Thanks TJ. Of course the horns have just ceased to operate. Sod's law. Flapped down the centre dash & the 50 amp horn fuse (old British 1 second blow rating reproductions) has fallen apart ~ not blown. Badly made glass tube that is thick one side & wafer thin the other.
Now to find my spares after moving them from Johannesburg to Cape Town. Or fit a modern day carry-current rated fuse for now. (Sorry ~ me being an **** Virgo)
Last edited by Glyn M Ruck; 02-03-2019 at 02:47 AM.

 10-25-2018, 07:46 AM