When you click on links to various merchants on this site and make a purchase, this can result in this site earning a commission. Affiliate programs and affiliations include, but are not limited to, the eBay Partner Network.
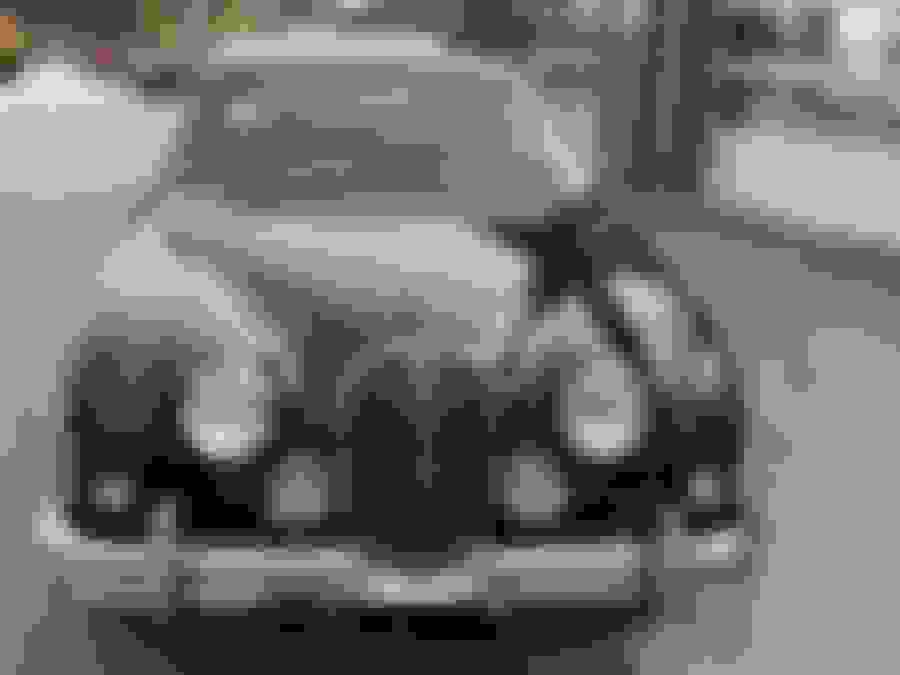
Can't find the paint code for my 1967 Jaguar MkII-340. The car is dark blue, almost black. Some receipts from an earlier restoration call for JAG 706-a metallic silver. A paint can that came with the car, with the correct color drips, is marked "99N-20978". None of my resources can identify this paint code. Help appreciated.
I'm not sure how useful the codes really are for our old cars. Paint chemistry has evolved over the years and nowadays there are devices that can identify the colour and probably give a better match than using a code. In the day, I don't know if Jaguar used more than the names. The exact colour associated with a name may have changed with time as no doubt did the names used for the colours.
Congratulations on your car. It looks splendid in what I believe to be Jaguar Dark Blue.
I would use a Car Paint Scanner Colour Matching Spectrophotometer to establish the colour of the car.
I would paint the car using PPG or BASF Glasurit water based, base coat and finish with their Low VOC Ceramiclear top coat/ topcoats.
Nano Ceramic containing clear coats are less inclined to scratch and won't mark from a carwash brush etc.. All modern Mercedes, BMW. VAG group cars etc. etc. are painted with this system
You can patch/spot repair using the Glasurit system & you won't see a sign of it. Even Metallic Green. The most difficult colour they inform me. You could do a spot repair in the middle of a door without painting to the edges.
I've had it done 4 times on various vehicles. All metallic and challenged friends to tell me where the respective car has been touched. All have failed.
These paints are also benign to lead wiping, body solder etc. on older car's bodies. Isocyanate curing or so called 2K refinishing paints can cause major issues of bubbling/separation in this area.
Last edited by Glyn M Ruck; 02-05-2022 at 07:58 AM.
This website has all the classic Jaguar colours and codes with the added advantage of clicking on the hand pointer and it shows a picture of a car in that colour. Jaguar Paint Codes
Your problem is that if the car was showing as being metallic silver at one point it might have been re painted in a paint that is not a Jaguar colour.
For the Dark Blue it shows an E Type in dark blue.
Thank you Peter and Glyn for the paint advice. My local supplier has a color match machine.
You can see my car in my signature. I did it in Spies Hecker because I had started it in Spies Hecker all those years back pre the Glasurit water based system.
Today I would use the Glasurit water based system in a heartbeat. Now that I have experience of it I love it. It is compatible with any filler & a pleasure to work with. The ease of minor invisible spot repair is another big plus. If you clout a corner of a bumper or whatever using lights to accelerate drying/curing they will turn your repair around in an hour at Dent Magic in Cape Town. Complex repair 2 hours.
They have such confidence in the system you get a lifetime warranty. Spies Hecker gives you 25 years on fading, delaminating etc. Frankly the warrantees are so long as not to be realistic. But they do honour them.
Last edited by Glyn M Ruck; 02-04-2022 at 04:53 PM.
A few other things to consider:
- If you want to paint only part of the car, the question of blending in may arise. Some types of paint make work better than others. And the possibility of doing it well will depend on the skill and experience of the operator with the particular type of paint as well as the paint itself.
- There's something to be said for letting the paint shop use the type that they are familiar with, basically because they (hopefully) know how to work with it. If you want them to use something different, it may be better to go elsewhere rather than push them.
You could sum those two points as talk to local car clubs, restorers etc to identify some good paint re-finishers and then discuss the whole subject with them. If there's one that does good work with the Glasurit 90 and offers a fair price, the choice might be easy.
There are three blisters about the size of a fingernail at the leading lower corner of the rear left door. When the car gets back to me from the shop that is servicing the car I'll get some pictures. When I figure out how to get the door cards off I plan to check all of the drains and spray oil inside, as recommended in some other posts. The car was restored in 1992, i.e. painted and bodywork. I have a handy-dandy ceramic magnet to map out the filler. Otherwise, the paint is in great shape. The car was in heated storage for the last thirty years. My paint supplier used his magic machine to determine that the color is Carendon Blue. Today I am picking up a touchup sample to try on the drips on the old paint can that came with the car. It won't take much paint to heal the blisters, once I figure out the best way to remove them. Thank you for your time! Regards, Morgan
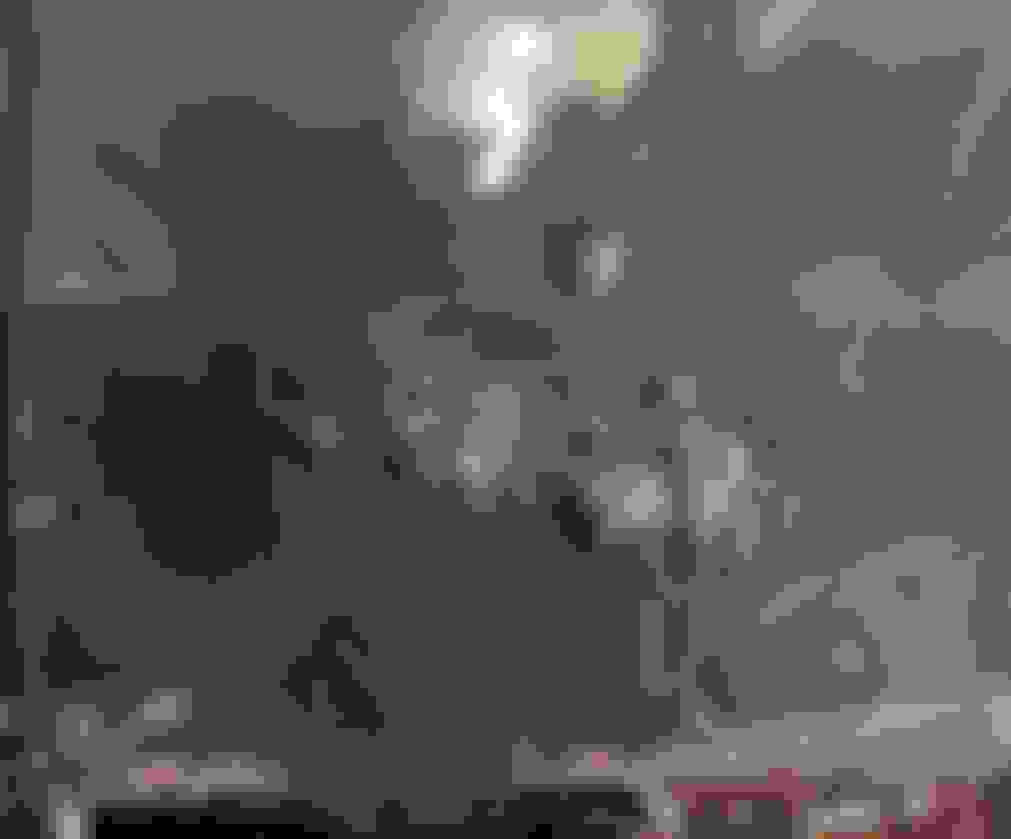
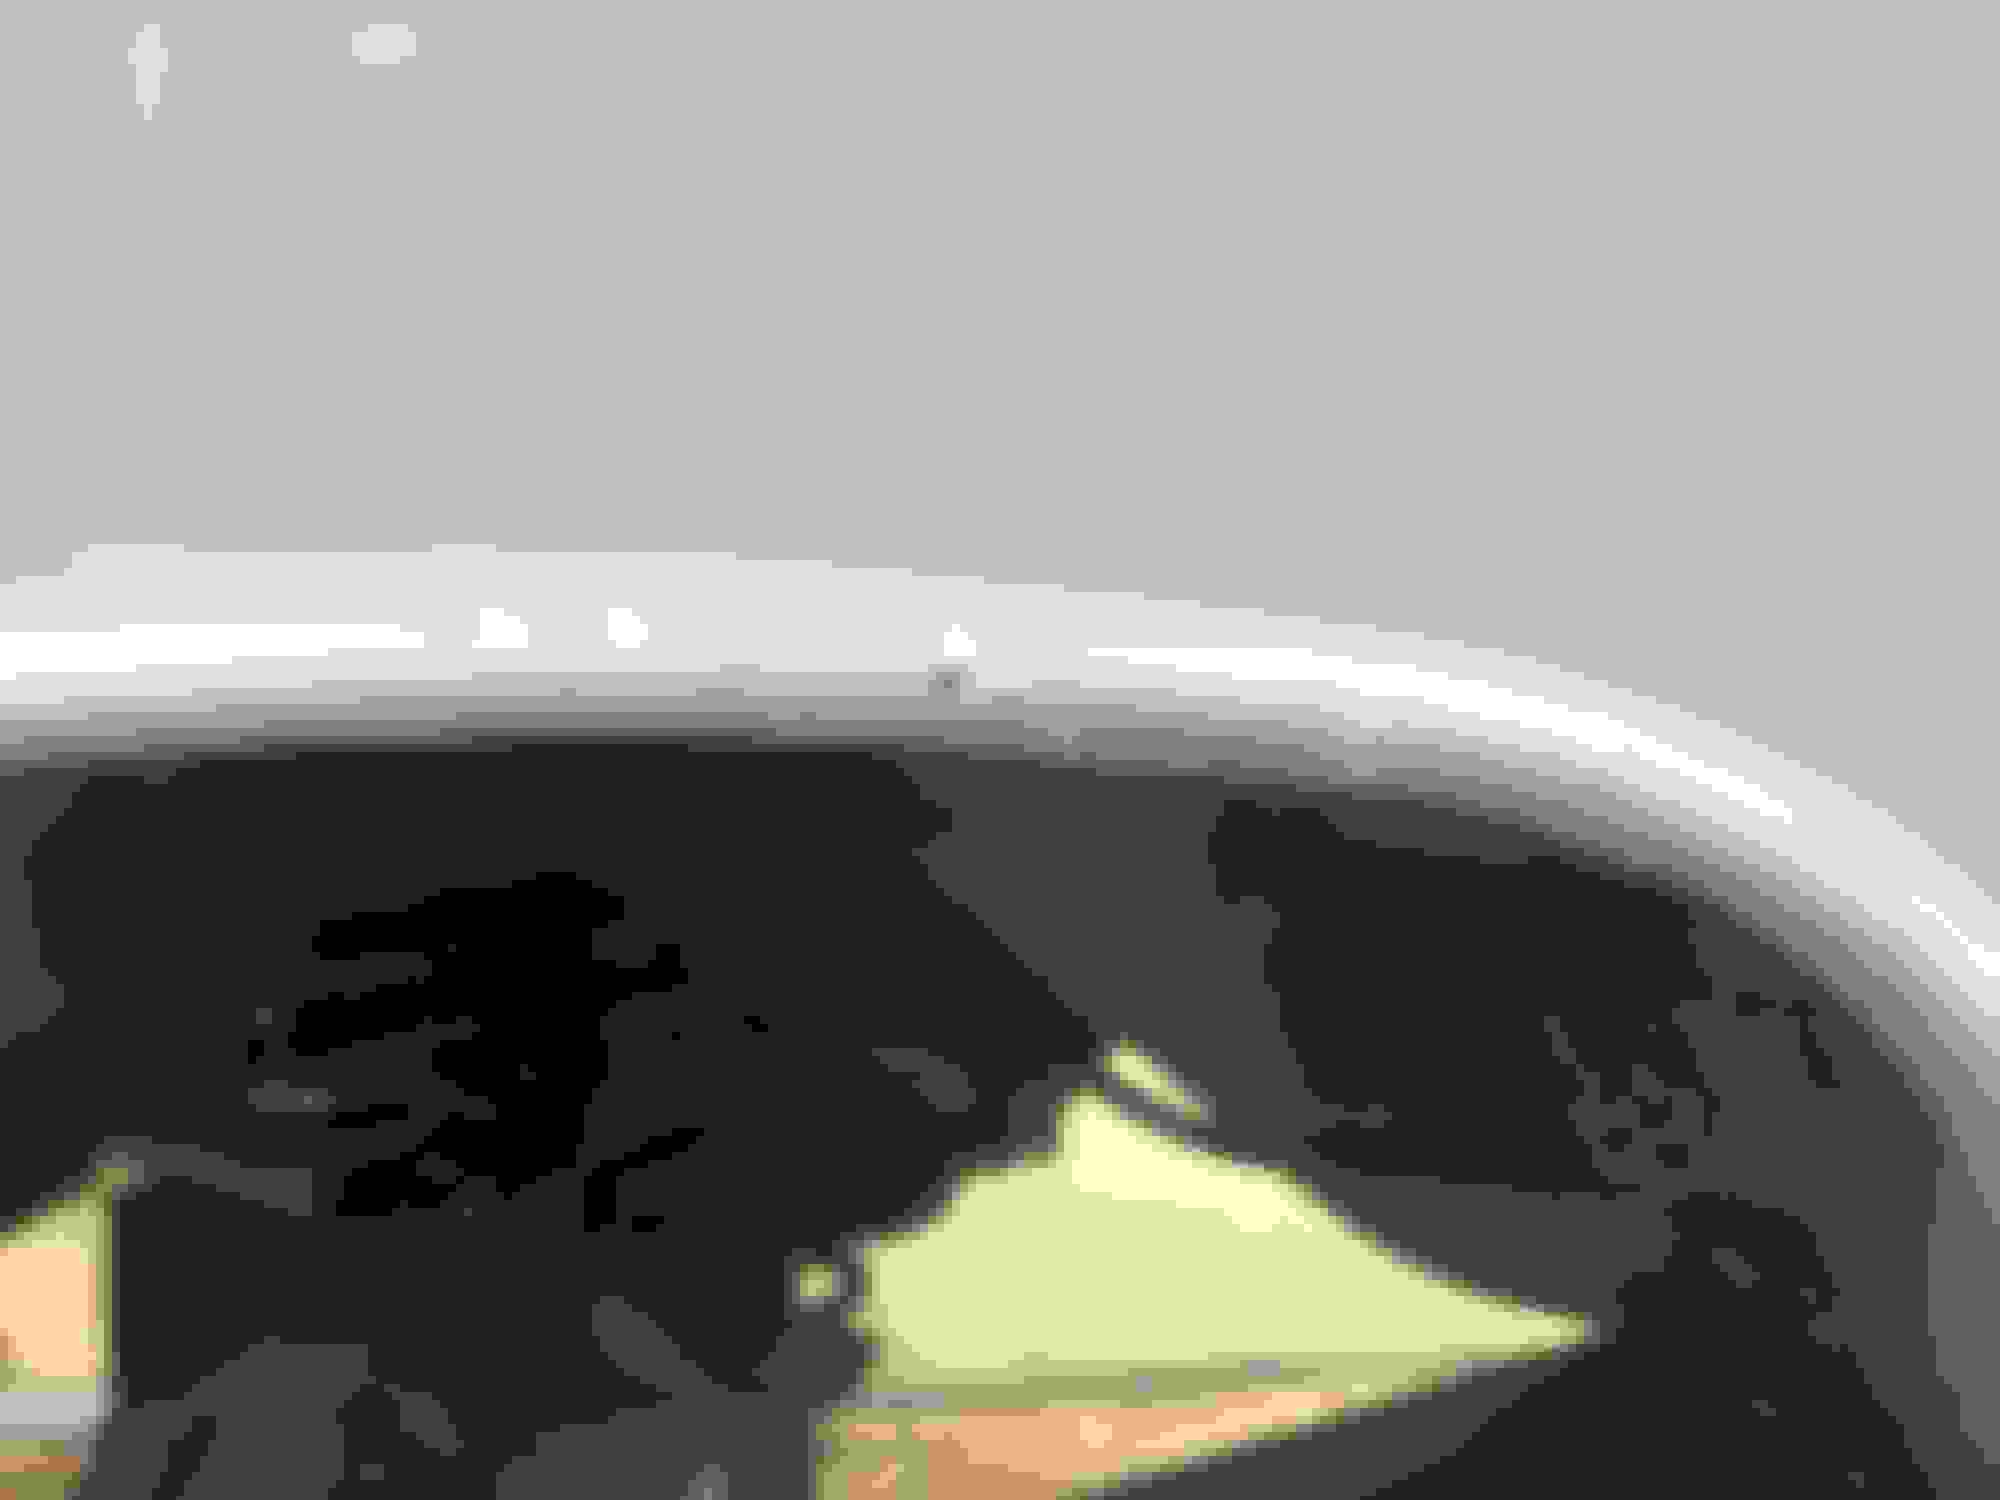
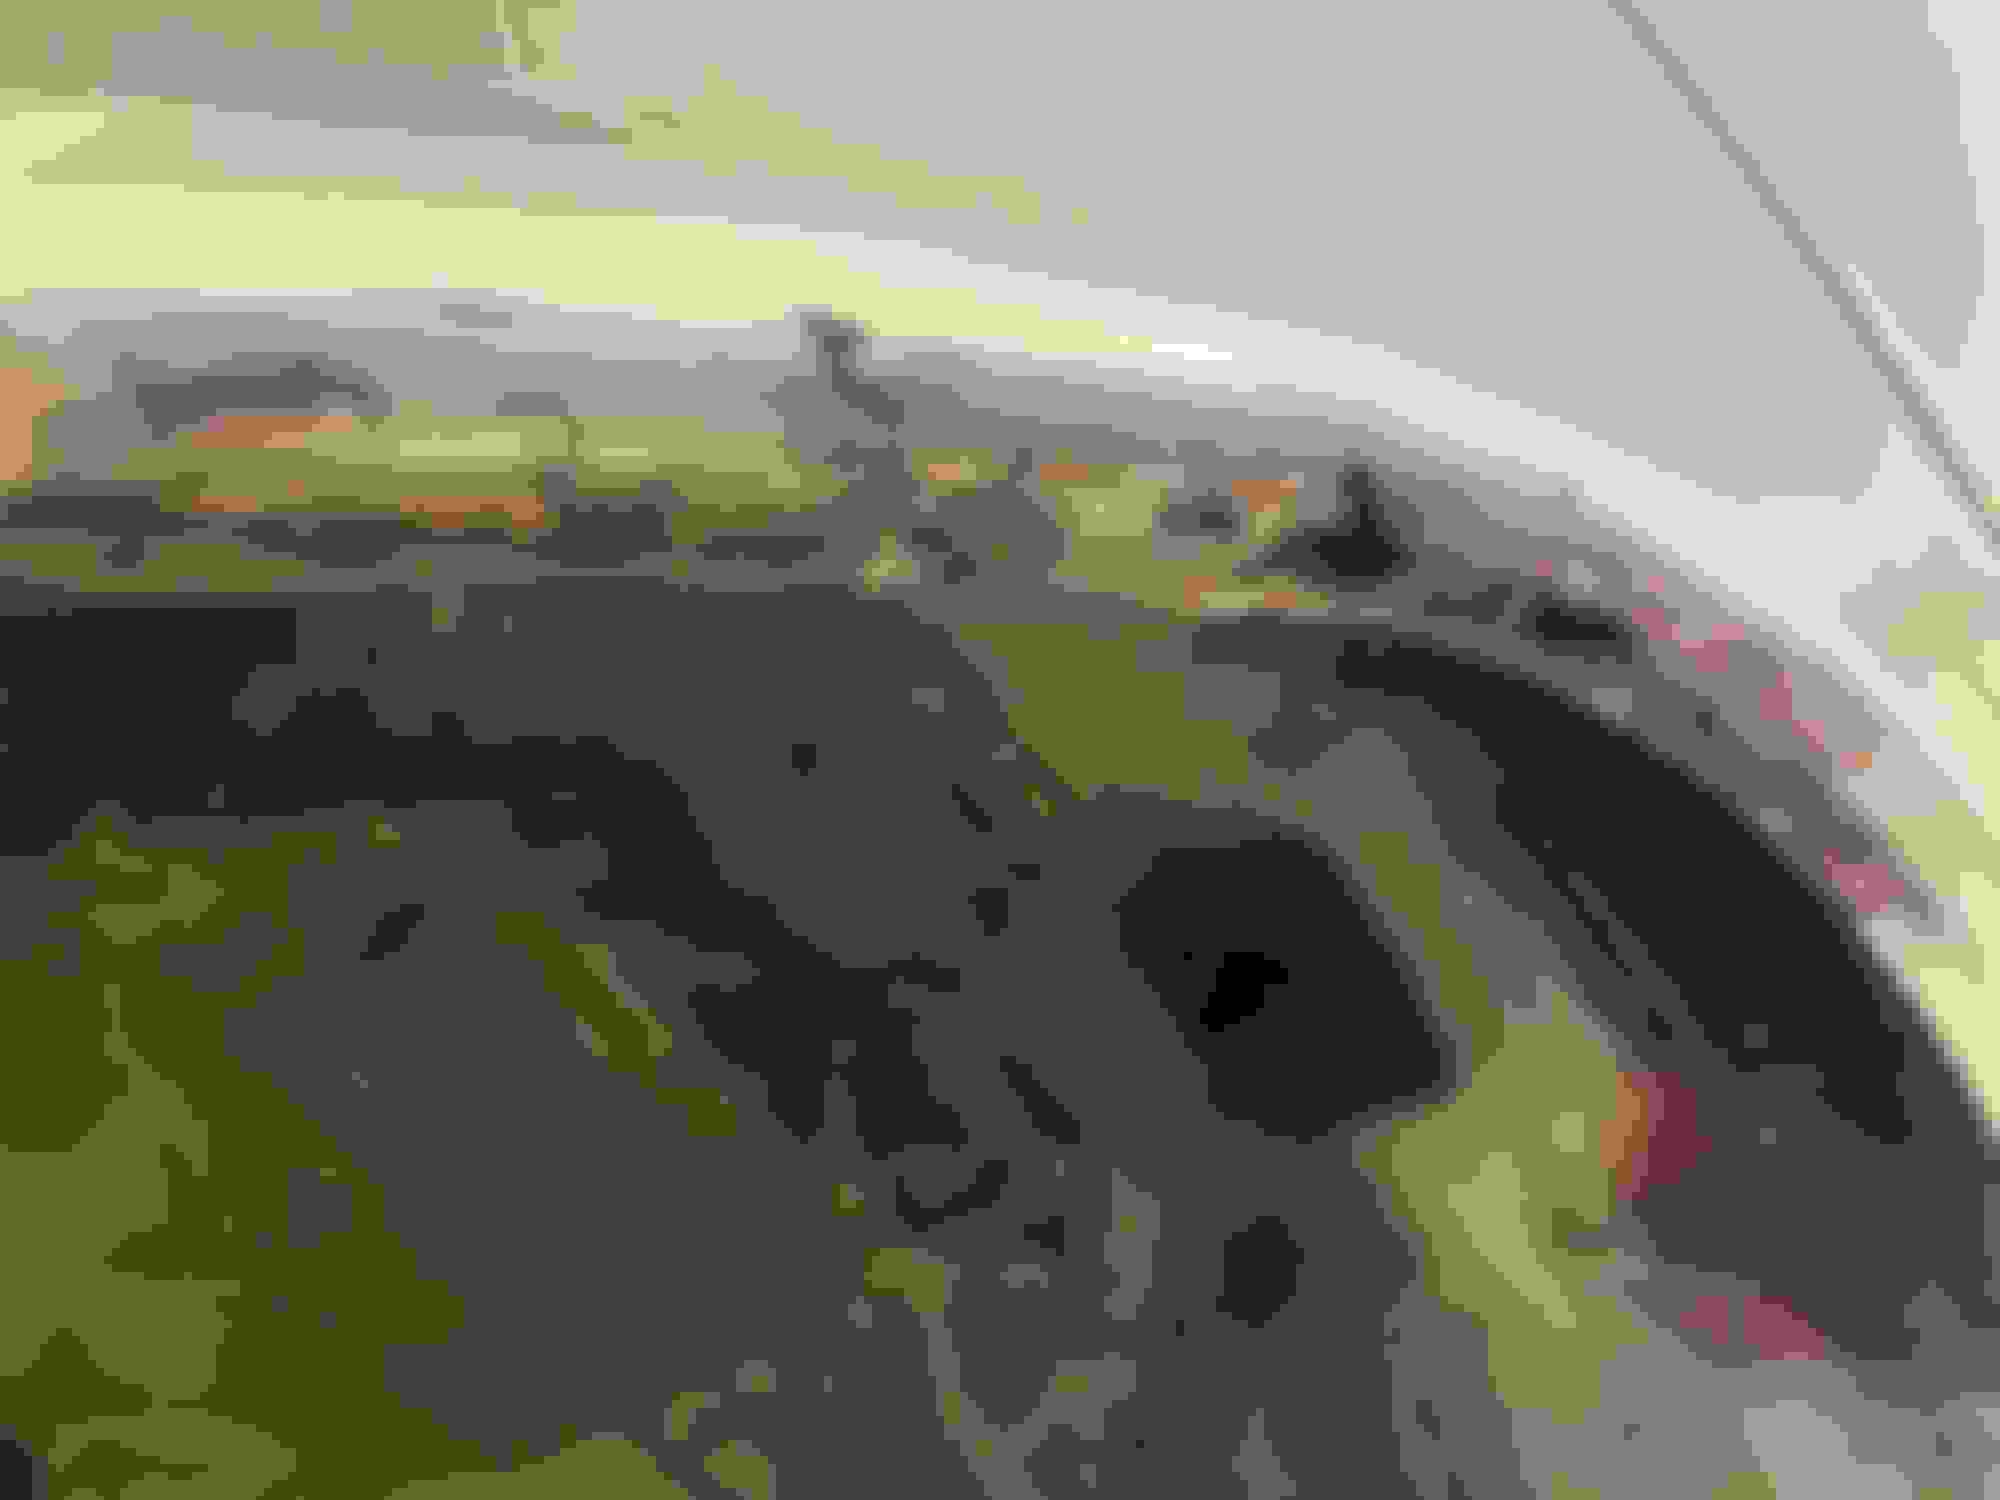
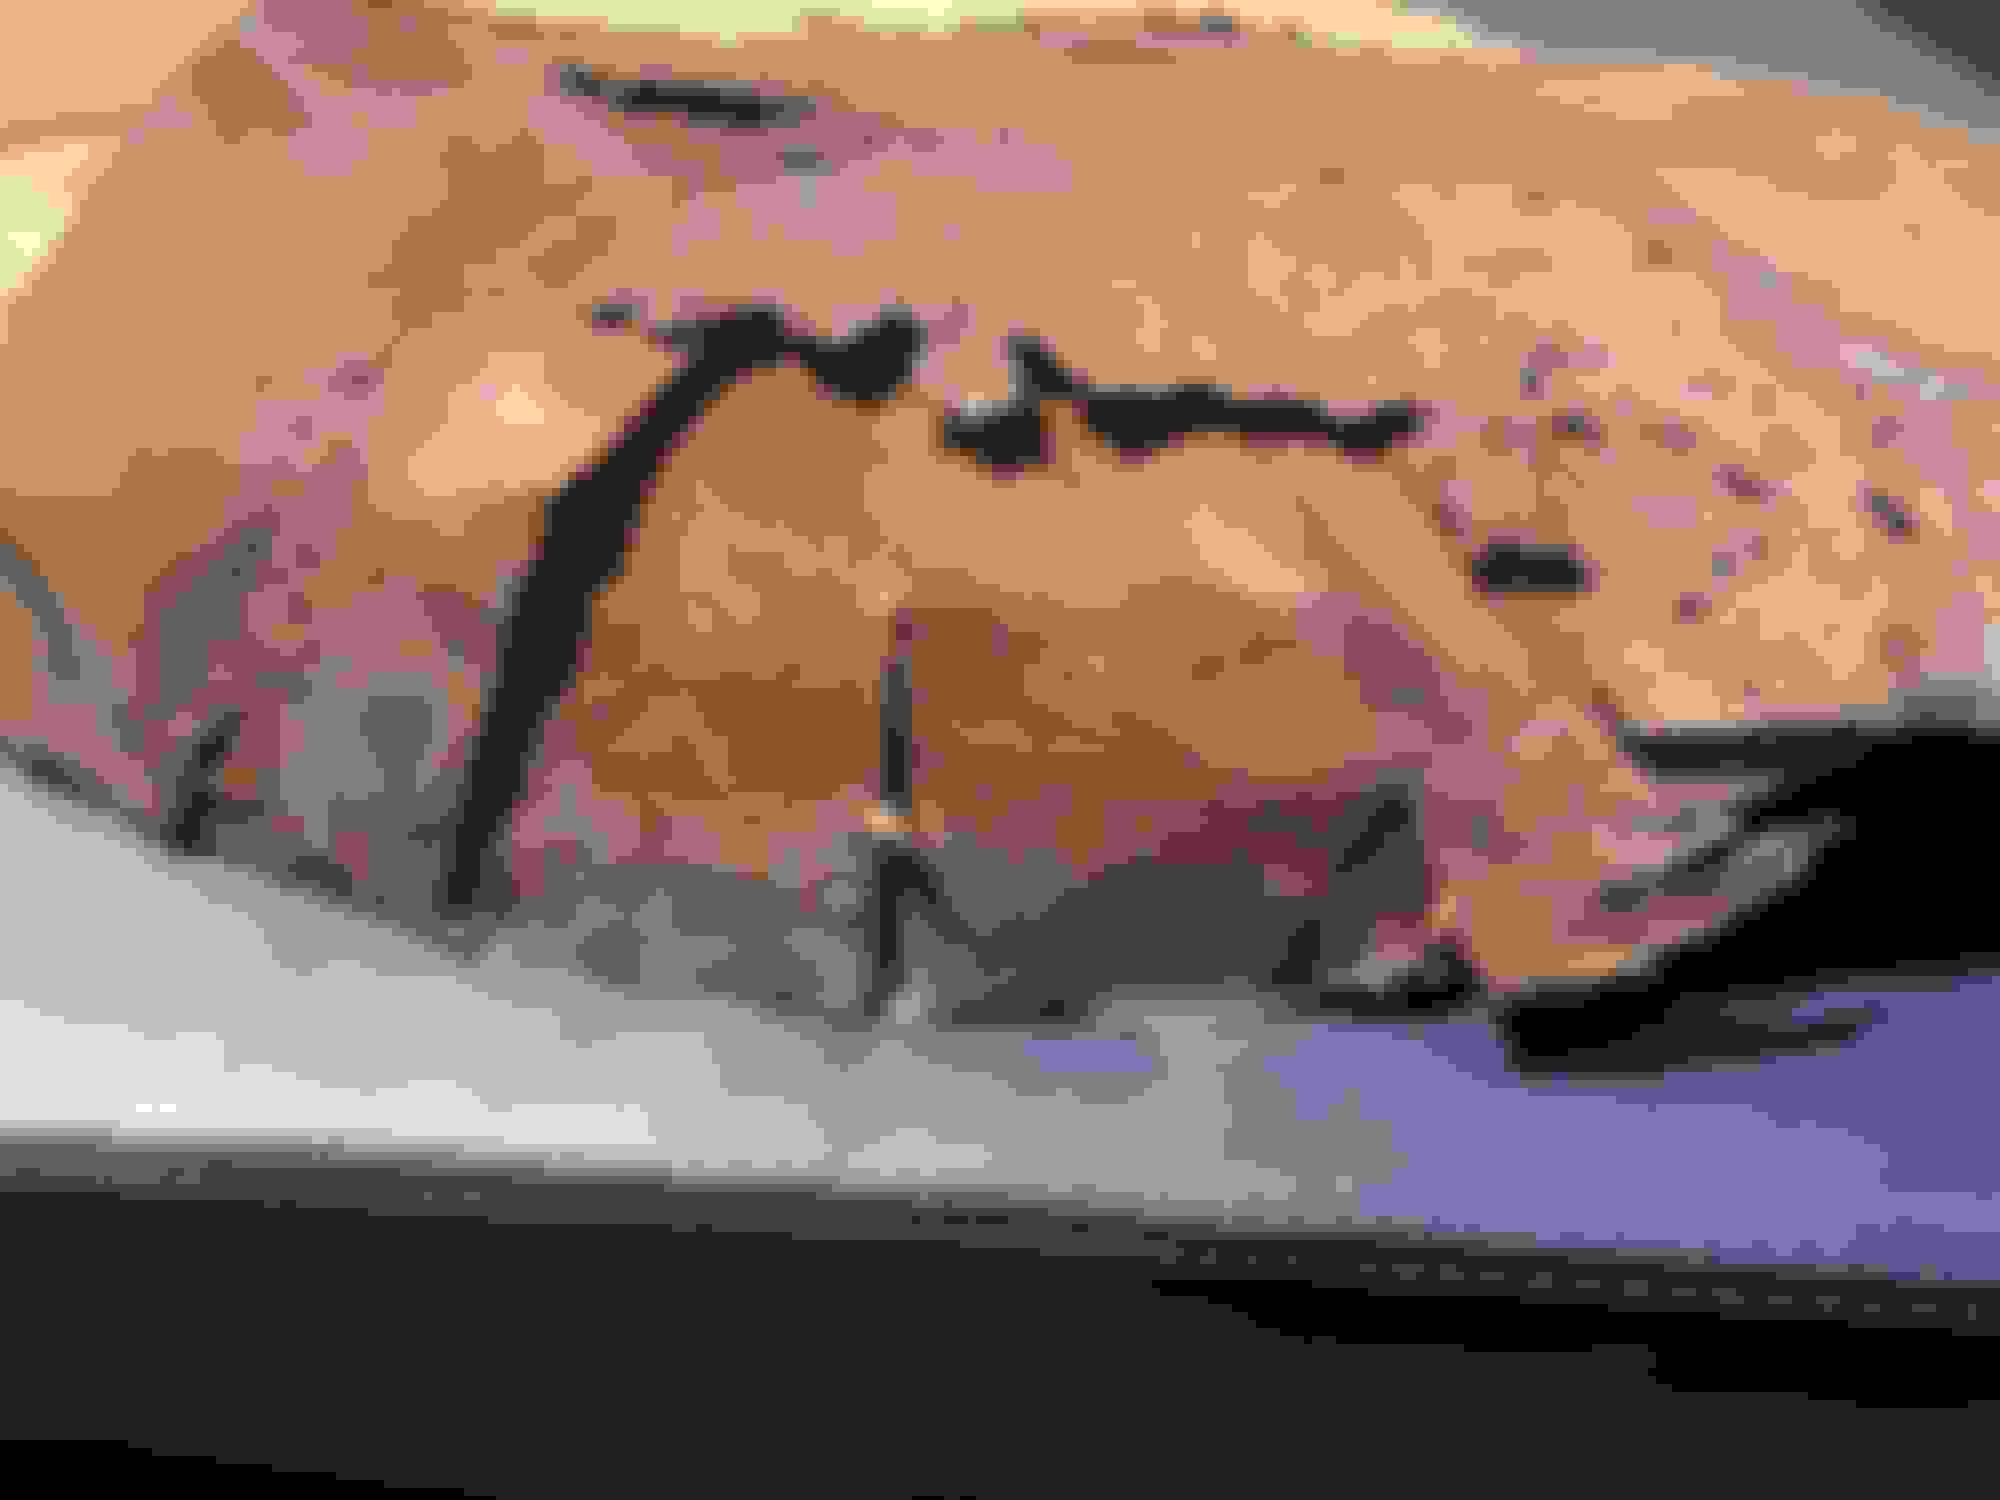
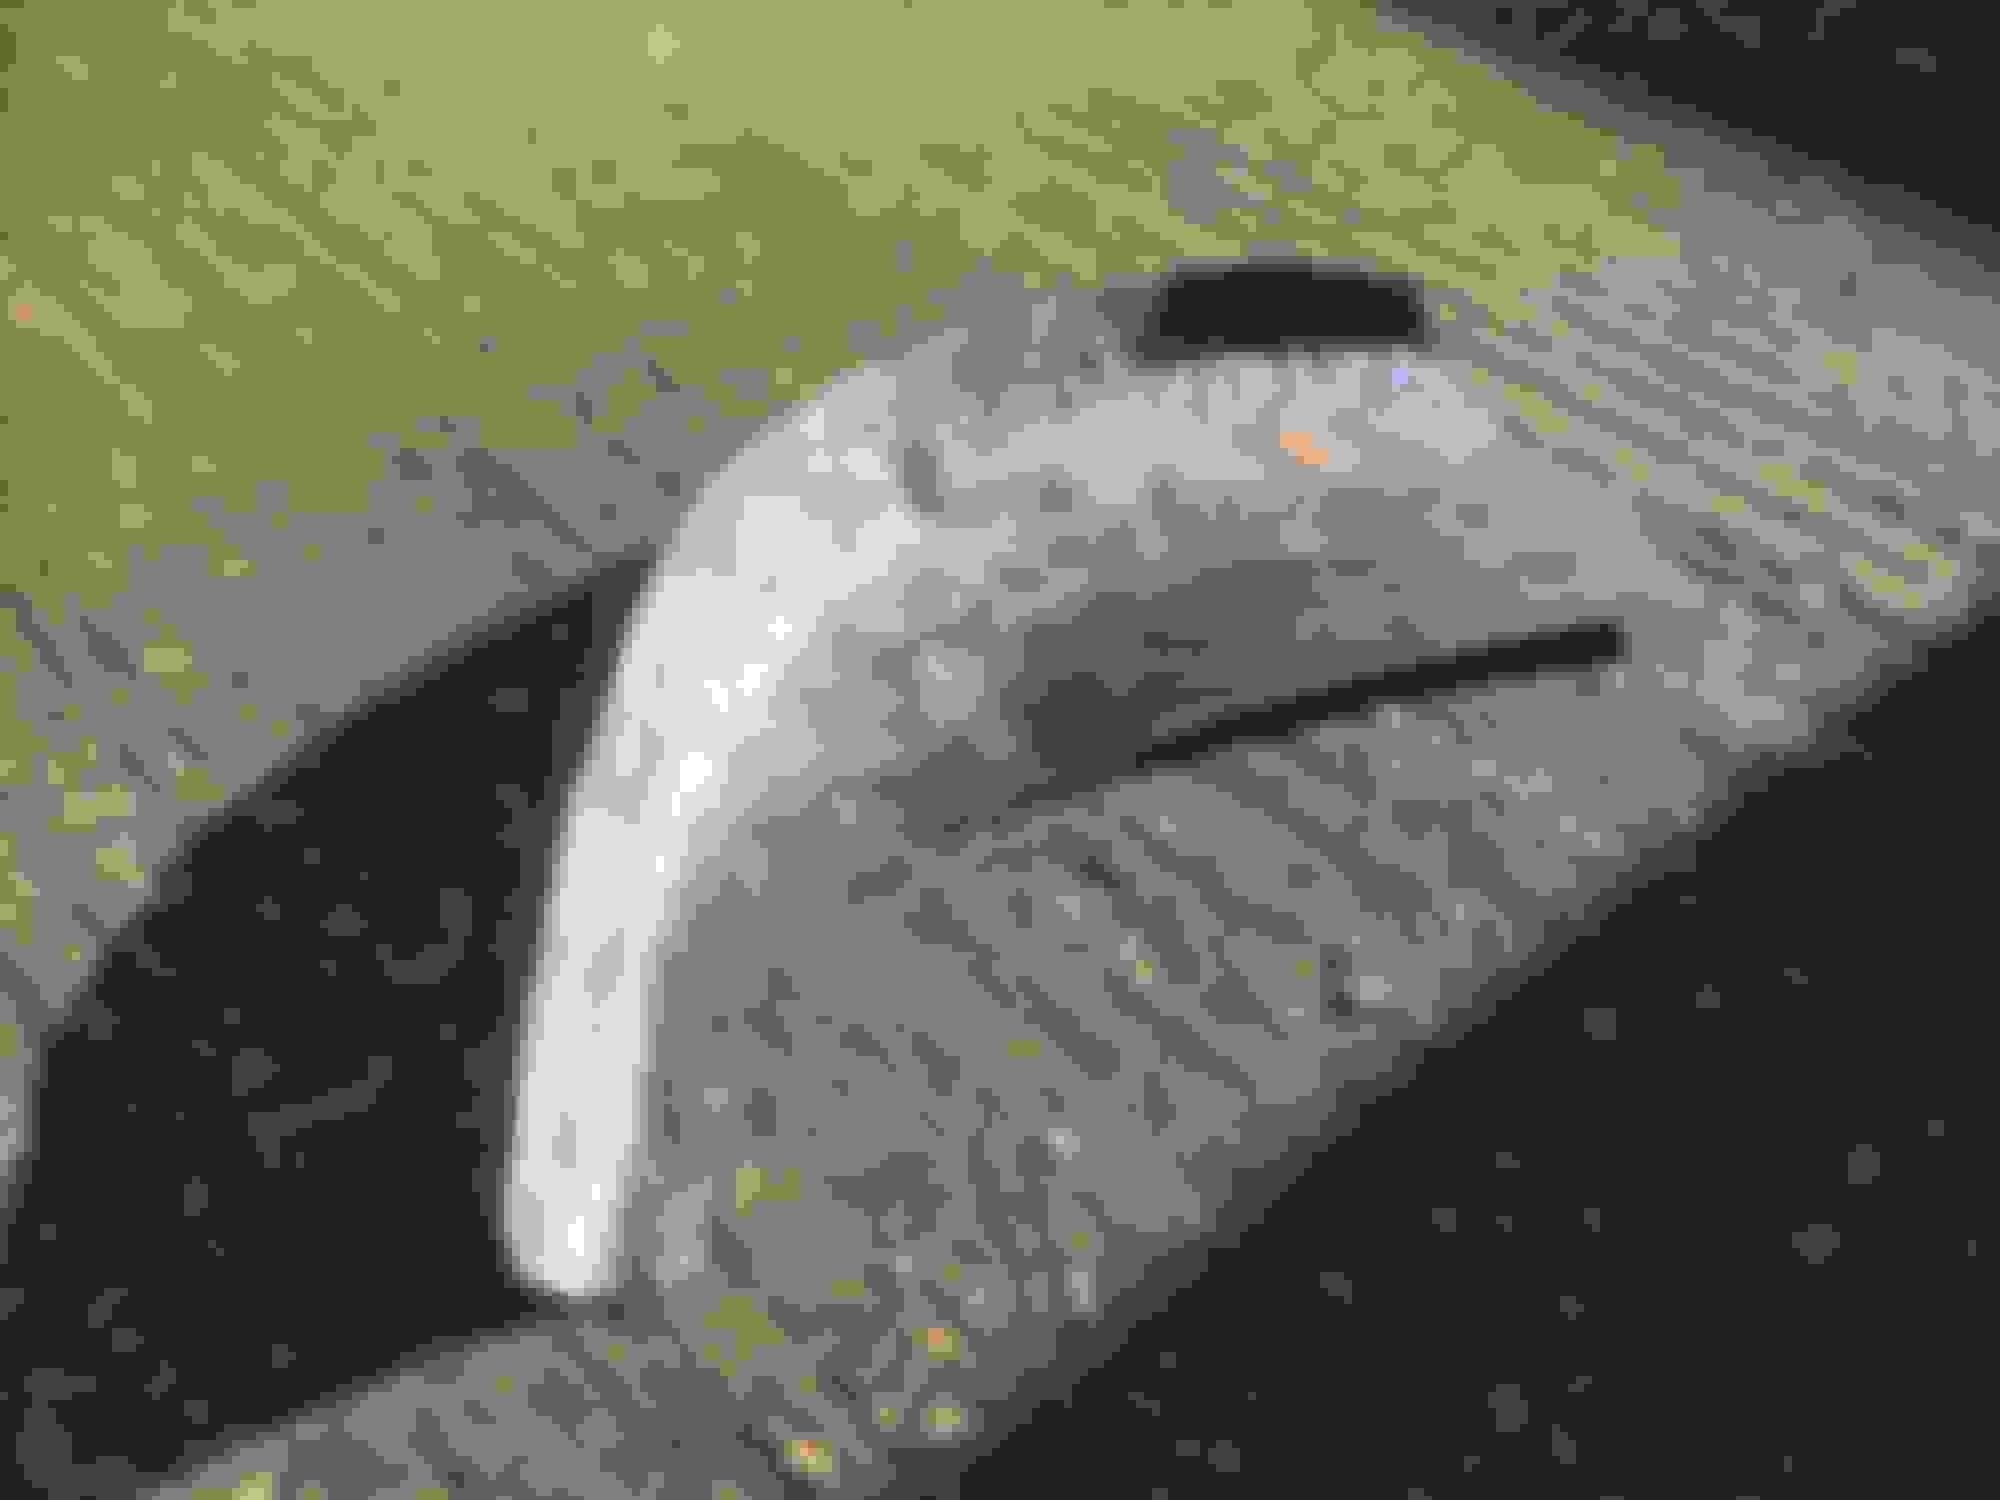
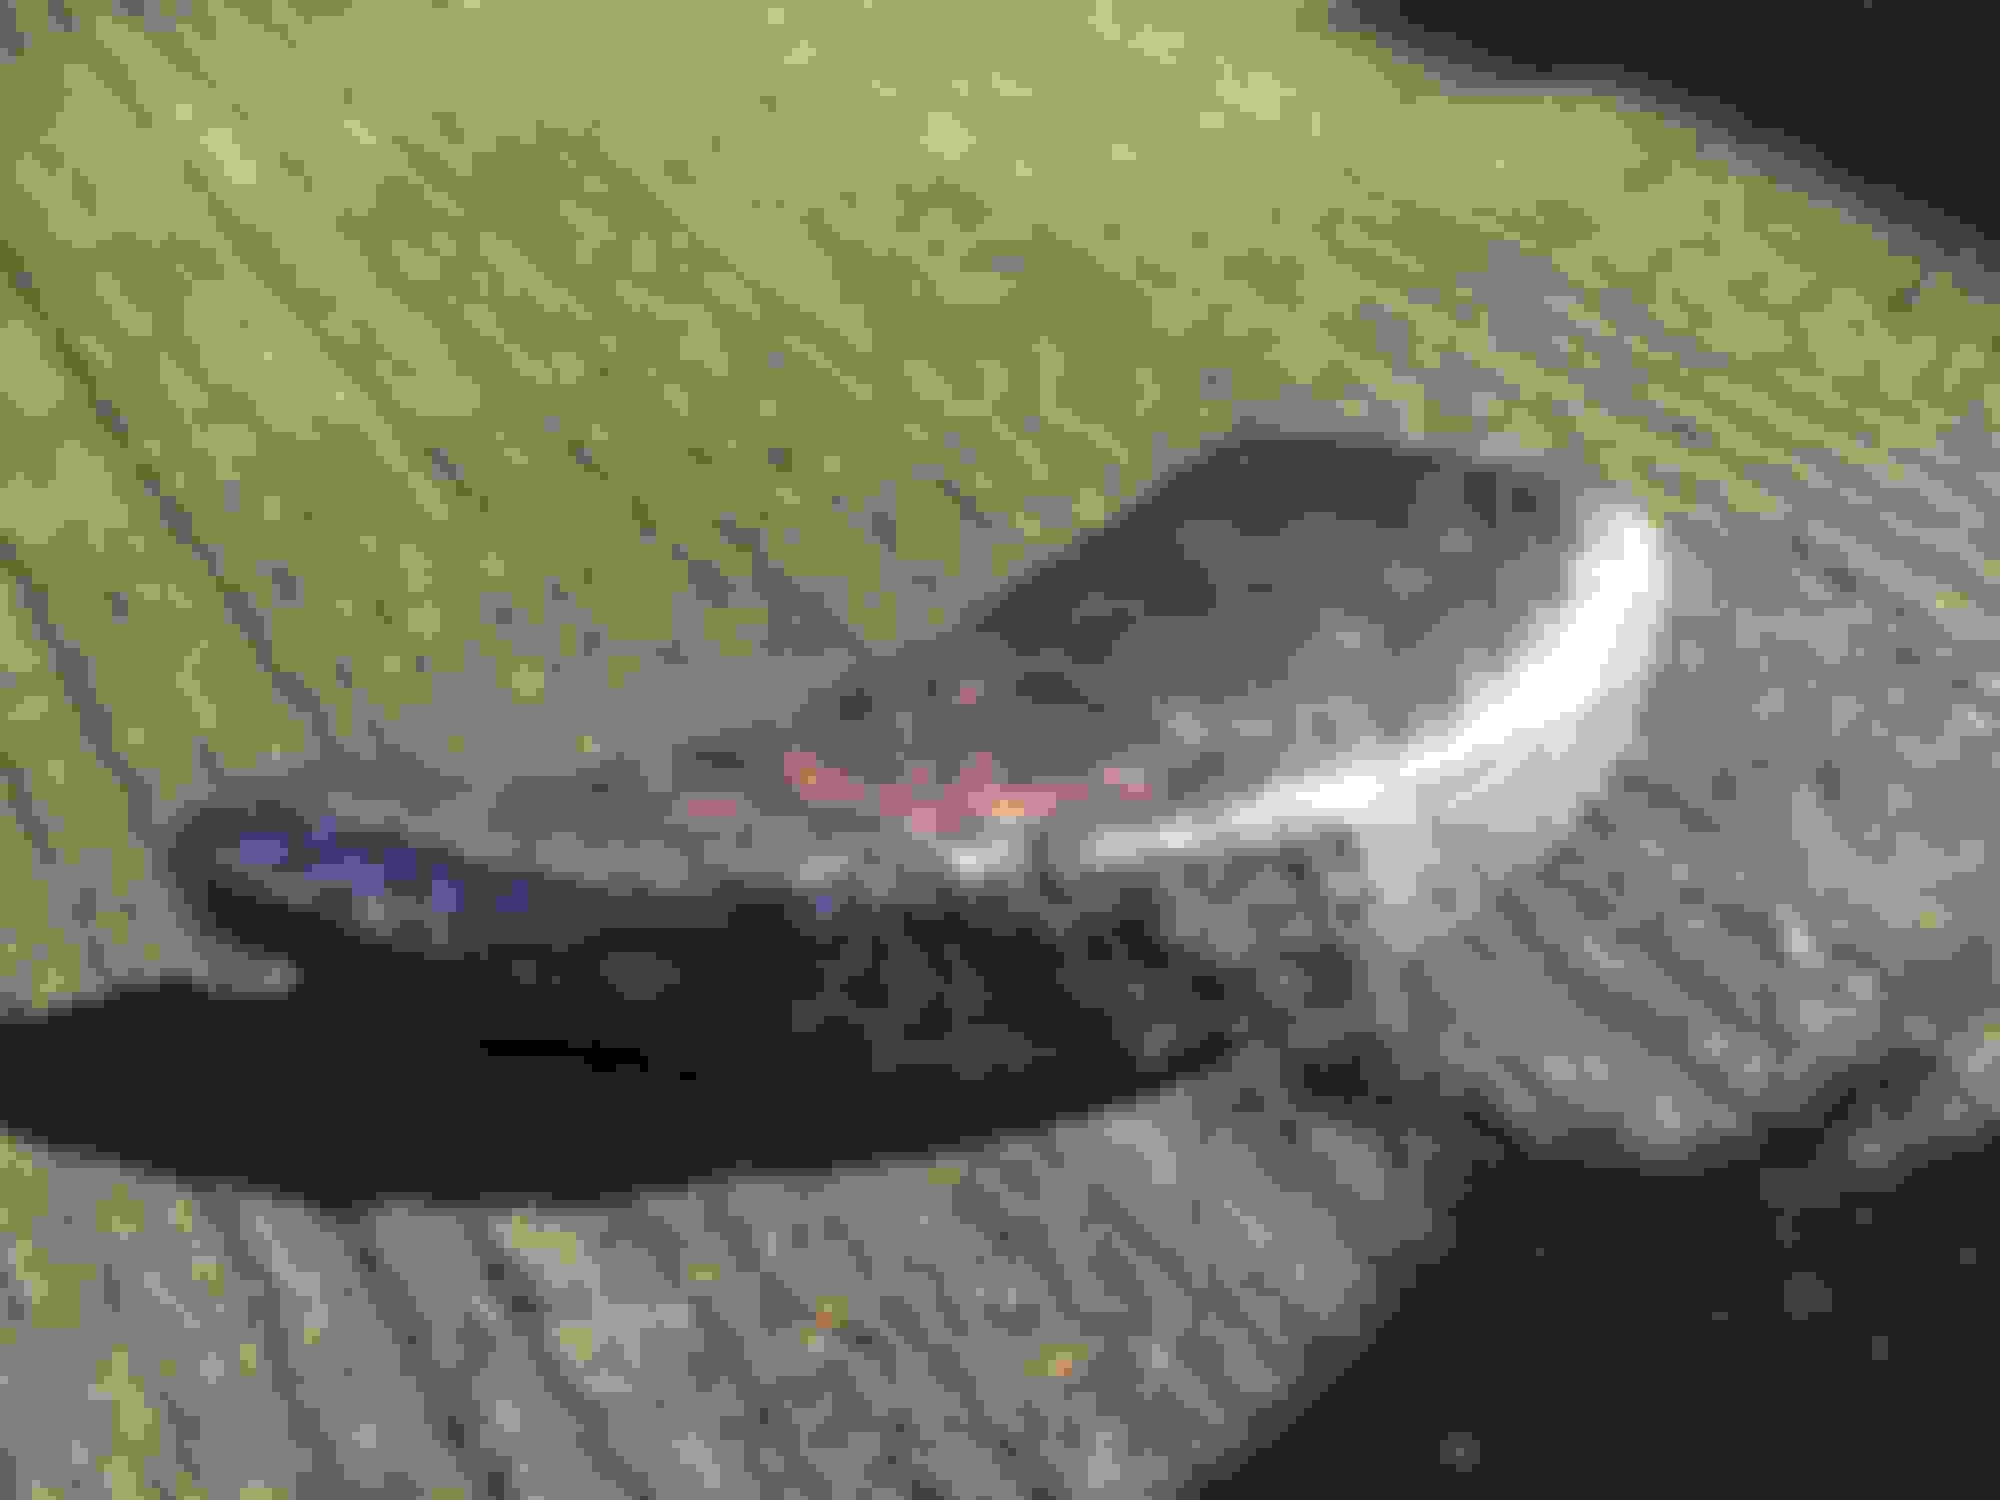
The pictures below show the lower rear corner of a Mk2 front door.
This example is probably much worse than yours but shows what to expect under the paint. Note the 'threads' of rust wandering away from the bubble. You will almost certainly have some of those under the paint even though you can't see them now. They make the area requiring repair bigger than you might first expect. If you poke at the centre of the rust patch with a small screwdriver or similar, it will almost certainly go through the panel as in the lower picture below. Almost invariably, the corrosion starts on the back of the door skin, comes through at a point and then spreads out from there.
The only solution is to cut away the section of door skin affected and replace it. Quite often that's the bottom 15 cm of the door skin. It may well be necessary to replace some of the inner structure of the door as well. Certainly it will need to have surface rust ground off. It isn't a huge problem for a good body shop to do such work quite well. If you do it yourself, welding the the inner structure of the door is straightforward, but the skin needs some care to avoid distortion. Personally (and this might horrify some), I'd have no objection to the (correct) use of structural adhesive to attach sections to the door skin. After all many modern cars have the door skins joined to the inner structure by adhesive.
It's not as bad as mine! You may well get away with replacing a triangle in the corner. Much depends on what's been done in the past. A few body shops (and at least one of them worked on my car) can produce impressive results with filler. Unfortunately, it doesn't last very long and awful things go on underneath it. The only way to find out is, when you're ready and feeling brave, to start scraping and digging. It's not urgent to start now; I'm sure that you could leave it for a year. But, the longer you wait, the worse it gets.
Certainly, no stage of this sort of door repair is difficult - or shouldn't be.
Grinding off the existing paint and any filler is easy. For DIY, it takes a little courage removing nice looking paint.
Deciding how much steel to replace and making a cardboard pattern for the replacement is very easy.
Cut and shape the repair section - I find it simple for the bottom of a door skin
Attaching the repair: if it's the whole length of the door, welding requires some experience and skill to avoid distortion with either a butt or joddled joint and some careful dressing afterwards - a good body shop should have no problem. I can manage it if I first practise a few times on scrap. It should be easy for anyone if they use structural adhesive and a suitably joddled joint. I'm not sure if it's legal?
Finally, a very thin skim of filler and paint - I'd not attempt the final paint job, but, again, it's easy for a good paint shop.
So, why have supposedly good restorers skipped almost every step, plastered cars with a ton of filler, spent days or weeks rubbbing it down and hidden it all under an excellent paint job, excellent until the bubbles and cracks start to appear?
The problem with doing a job like this is finding a place to stop. One small rust bubble when rubbed down can expose many more along the same line waiting to break the paint. You have to do them all so expect the repair to be quite a bit larger than just a 2 inch square. If it is just local then that is a bonus.
Two years ago I had a small rust bubble on a rear wing. My car had been stripped to bare metal, grit blasted and painted in 2014. Prior to my purchase of the car in 2013 a company in Hertfordshire UK who were supposed to be Jaguar rebuild specialists had welded in new lower rear wing repair panels so at the time of the rebuild all the metal was new.
When I removed the paint I found rust coming through the wing and after digging it all out I found the garage had not removed the rusty old inner wing panel. just beaten it back.and welded the new panel over the top so the rusty old panel was touching the new outer wing repair panel and the rust had migrated. I had to cut out the inner wheel arch and make a new panel. This was planished with a large hammer on a sand bag for many hours to get the complex curves as I did not have an English wheel and no one sells an inner wing repair panel.
So if you are doing the job do it properly and do it all or you will only have to do it again in a couple of years.
This is what I started with. A couple of rust bubbles. This is what I found under the paint. This is the inner rear wheel arch repair that the garage had done which I had to removed and make a new one. New inner wing repair panel made by hand. .
 02-04-2022, 09:31 AM