When you click on links to various merchants on this site and make a purchase, this can result in this site earning a commission. Affiliate programs and affiliations include, but are not limited to, the eBay Partner Network.
Thanks Glyn - you're a star, that'll be a great help. Looks like the pump is orientated exactly the same as I did mine earlier today. Have a good day !!
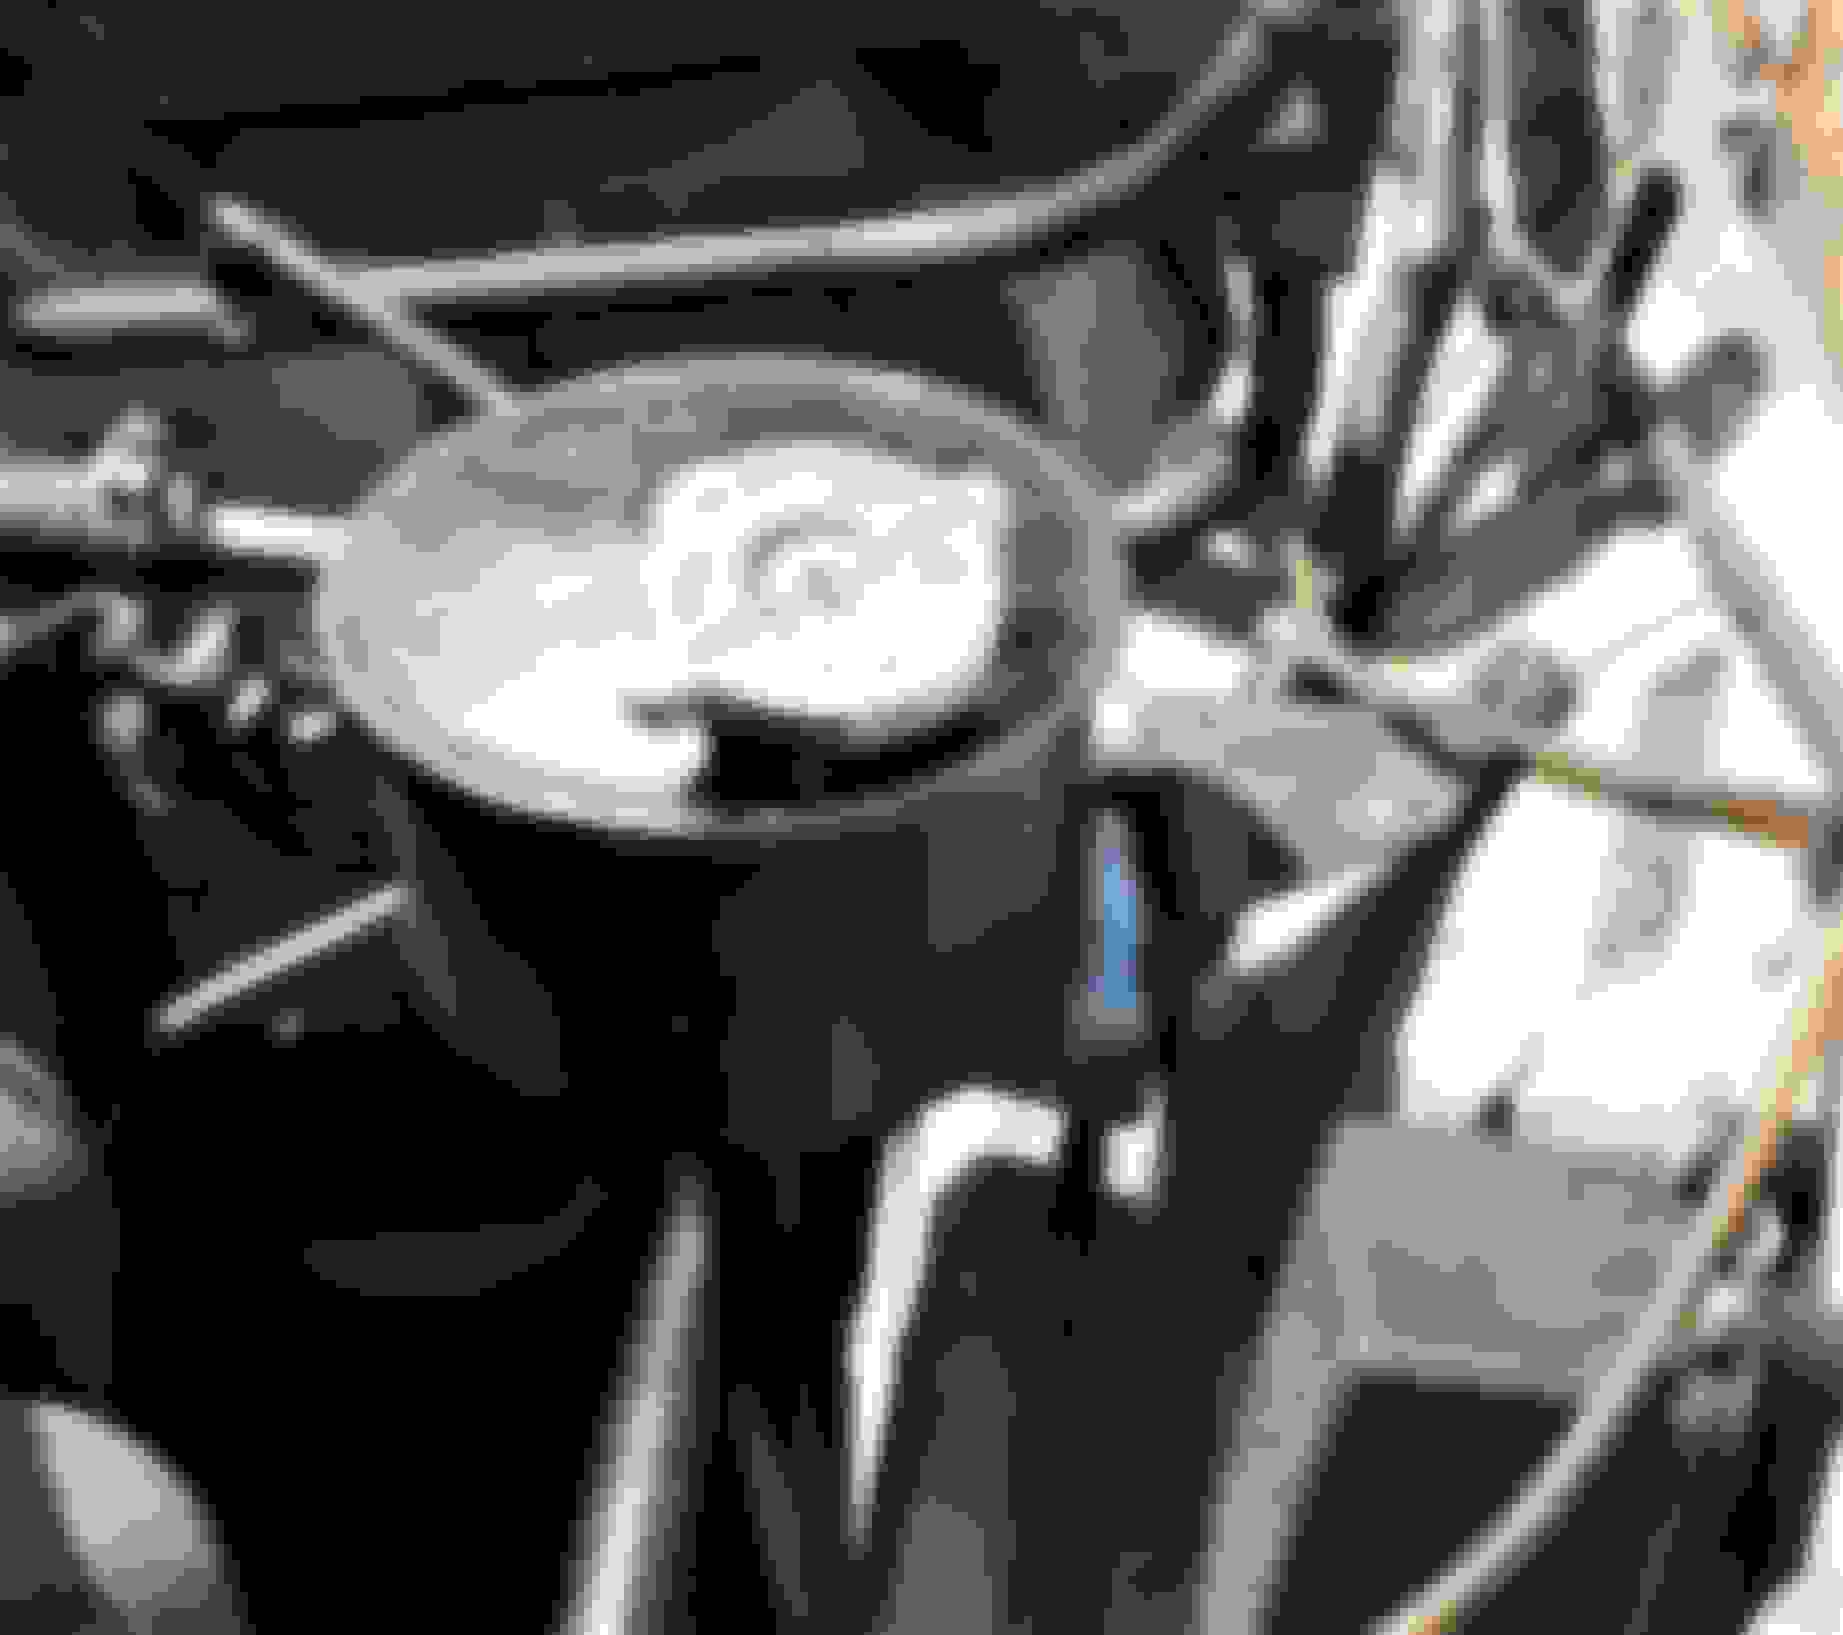
Here are a couple of photos showing my reservoir in position. I have a different bracket to Glyn's again possibly due to mine being a later car but it gives you an idea of where the bracket goes and an alternative if you are making it yourself.
The last photo not only shows the top of the bracket but also shows the orientation of the PAS pump. Over the top of the PAS pump is the heat shield which was only on later cars ie 1967 on.
Many thanks - that's really helpful. Due to the rarity of the aluminium brackets, which is obviously angled to keep the reservoir upright, I attempted to make one out of wood earlier - not succesful. I think I'll make a bracket similar
to yours ( I could probably use the one that I made for the Vauxhall pump, with a few alterations of course). With regards the heat shield - I must admit that crossed my mind - being so close to the exhaust manifolds would likely bake the pump seals. I'll make something similar as well. Thanks again
Despite a thorough search of the Jaguar Parts manual I couldn't find any reference to a later mounting bracket, although I have no doubt it's original. Seems much simpler to make that a shaped aluminium block.
Despite a thorough search of the Jaguar Parts manual I couldn't find any reference to a later mounting bracket, although I have no doubt it's original. Seems much simpler to make that a shaped aluminium block.
I am sure I have an alloy block for the reservoir in my boxes of many things. I am busy all day tomorrow but on Tuesday I will search for it and if found will PM you. Better to have an original than trying to make one up.
Thanks Glyn - sounds all too familiar with Jaguar back in the day (can't imagine that being accepted these days - lol !). Thanks again Rob - you're a lightsabre - sorry, that should be 'Life-saver' !
Rob (Cass) is one of the stalwarts of the Register. He will not send you junk. I just wanted to warn you that they are not perfect by any means. I had a number of them & being an **** Virgo wanted a perfect one. They were all identical. I contemplated trying to refinish the thing but decided that's how they were so I cleaned & fitted it. Had others waiting for my spares. People forever lose them.
Last edited by Glyn M Ruck; 04-15-2021 at 09:35 AM.
Thanks Glyn (fellow Virgoan !). Had a good chat with Rob yesterday - really nice bloke with, as you say, a wealth of knowledge. Looking forward to finally getting this power steering done (finger crossed).
Hello again fellow masochists. I recd the rebuilt steering box back and fitted it up. Have taken the old girl for a bit of a run and it feels good. No leaks so far. I need to get the wheel alignment correct but thats not a major issue. Anyway she felt good up to 70mph.
No news as yet - I'm awaiting the return of the HP hose (with replaced connector) so in the meantime I've cleaned & painted the reservoir unit and am in the process of marking its correct position on the left hand inner wing. I used to wonder why the parts manual showed two alloy brackets (inner & outer). I now realise that the outer one fits under the wheelarch and enables the three retaining bolts to tighten up against a flat surface. In the absence of this outer bracket I had two options (well three actually) - make one from alloy, make one from acrylic or use three pieces of aluminium/steel tube and angle the ends to sit against the under inner wing. In the end I decided to make one from acrylic (black) and so will use the existing inner wing one to make its opposite number. A UK company are supplying the acrylic block (15mm x 80mm x 50mm) for �9.00 GBP so when it arrives I'll attack same with a junior hacksaw and file (watch this space).
One query I do have is the routing of the return hose from the steering box back to the reservoir. Am I correct in saying that it goes to the rear of the subframe (I know the HP hose TO the box goes in front). Any advice gratefully received..
Thanks everyone.
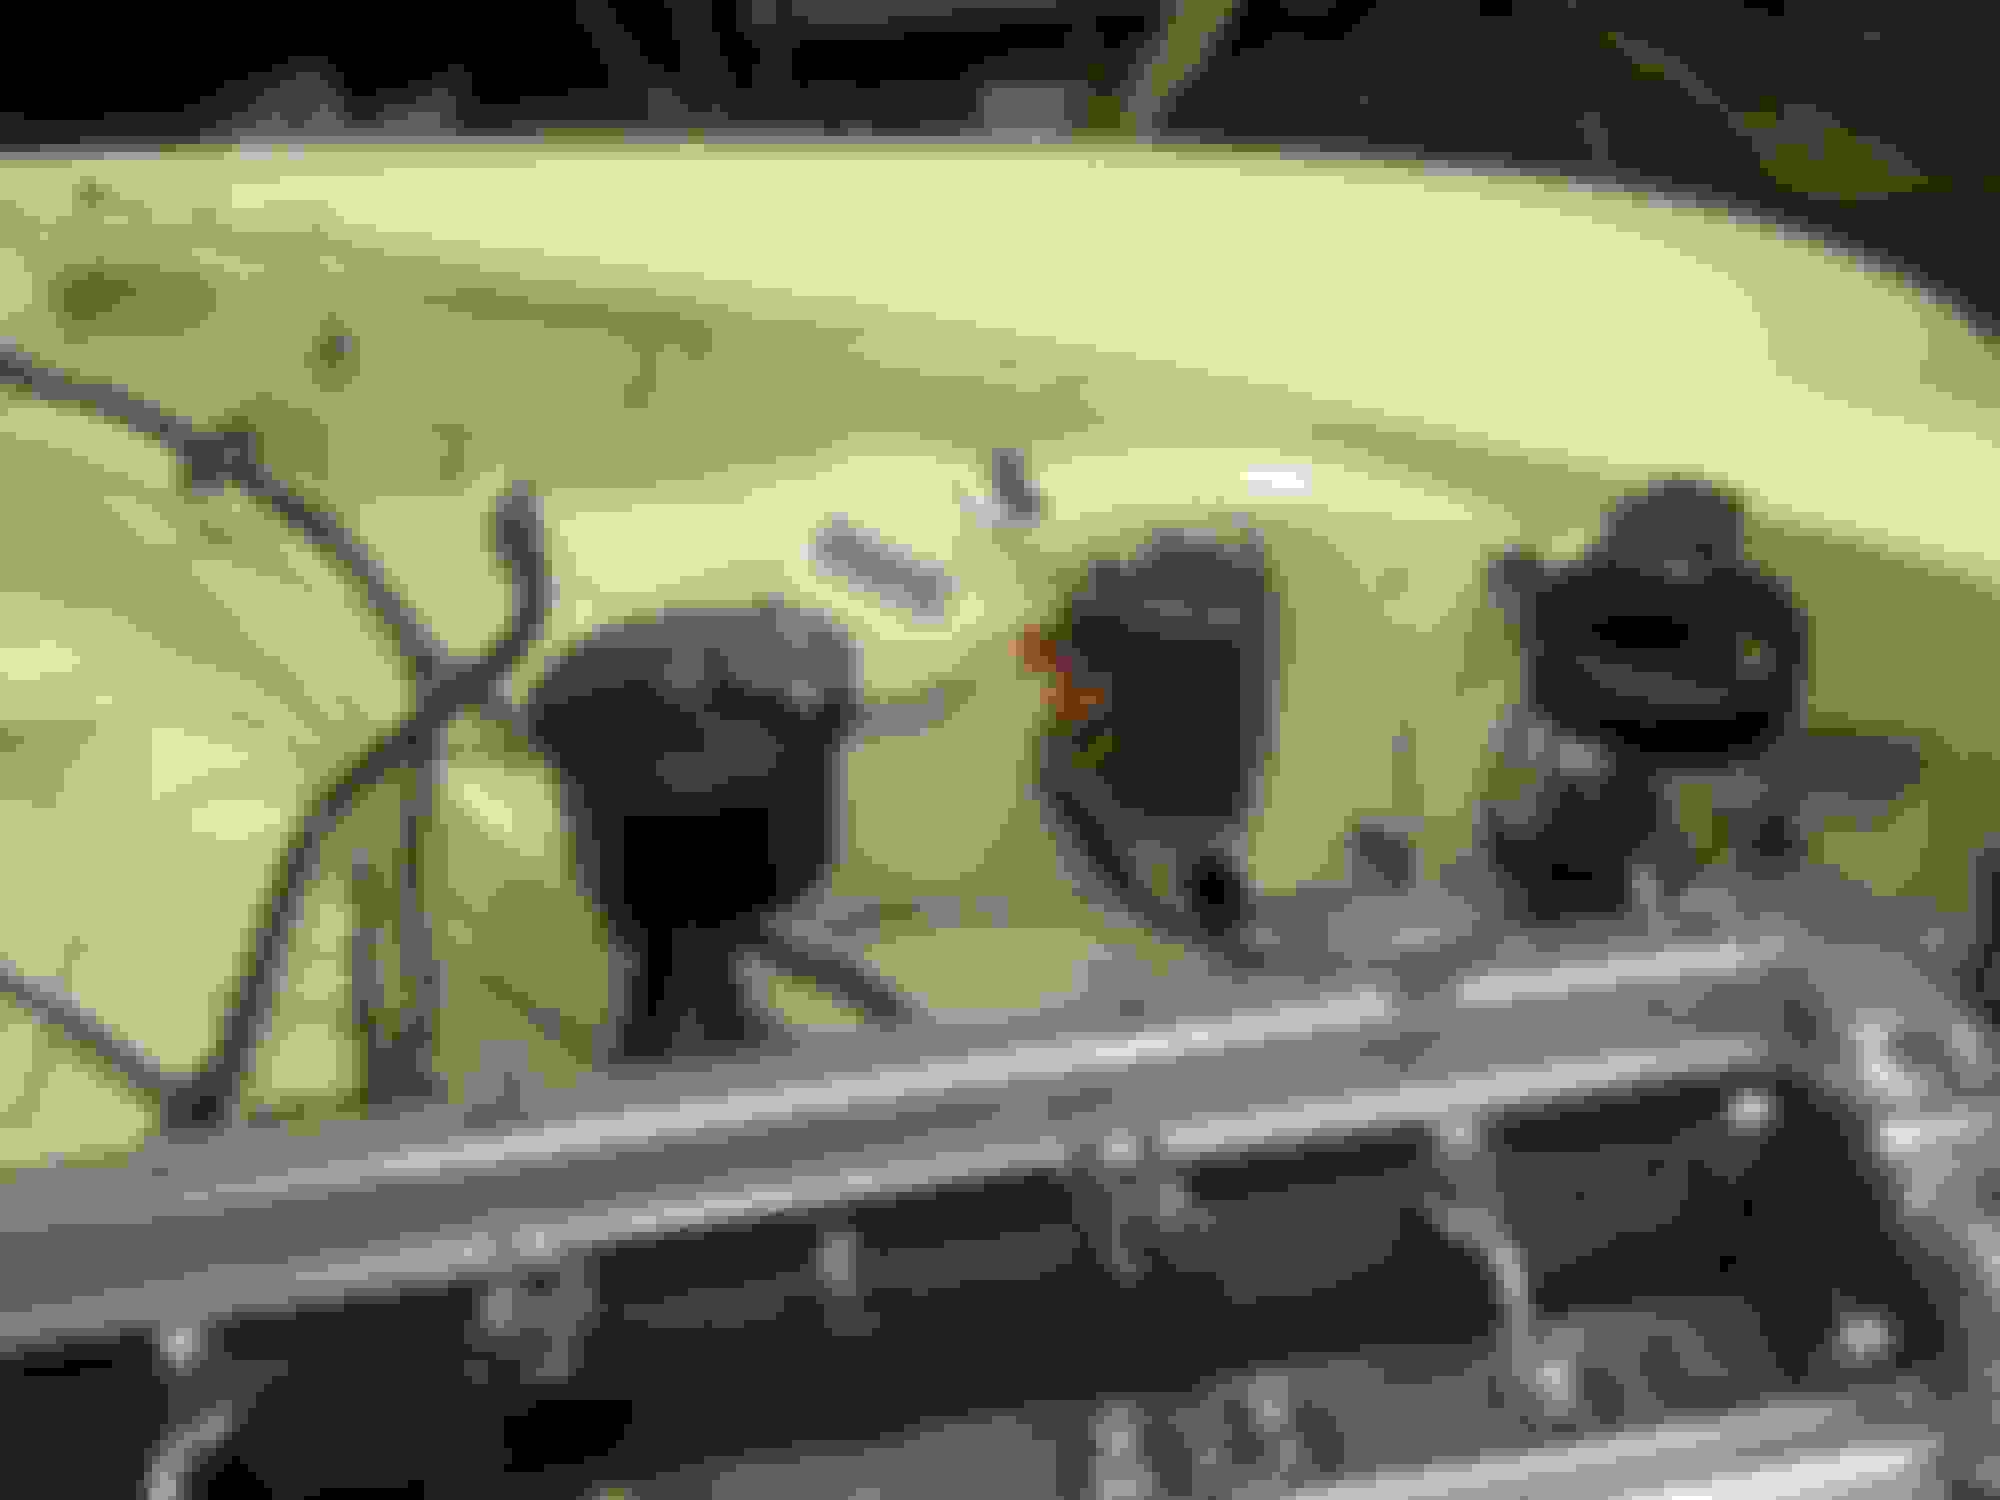
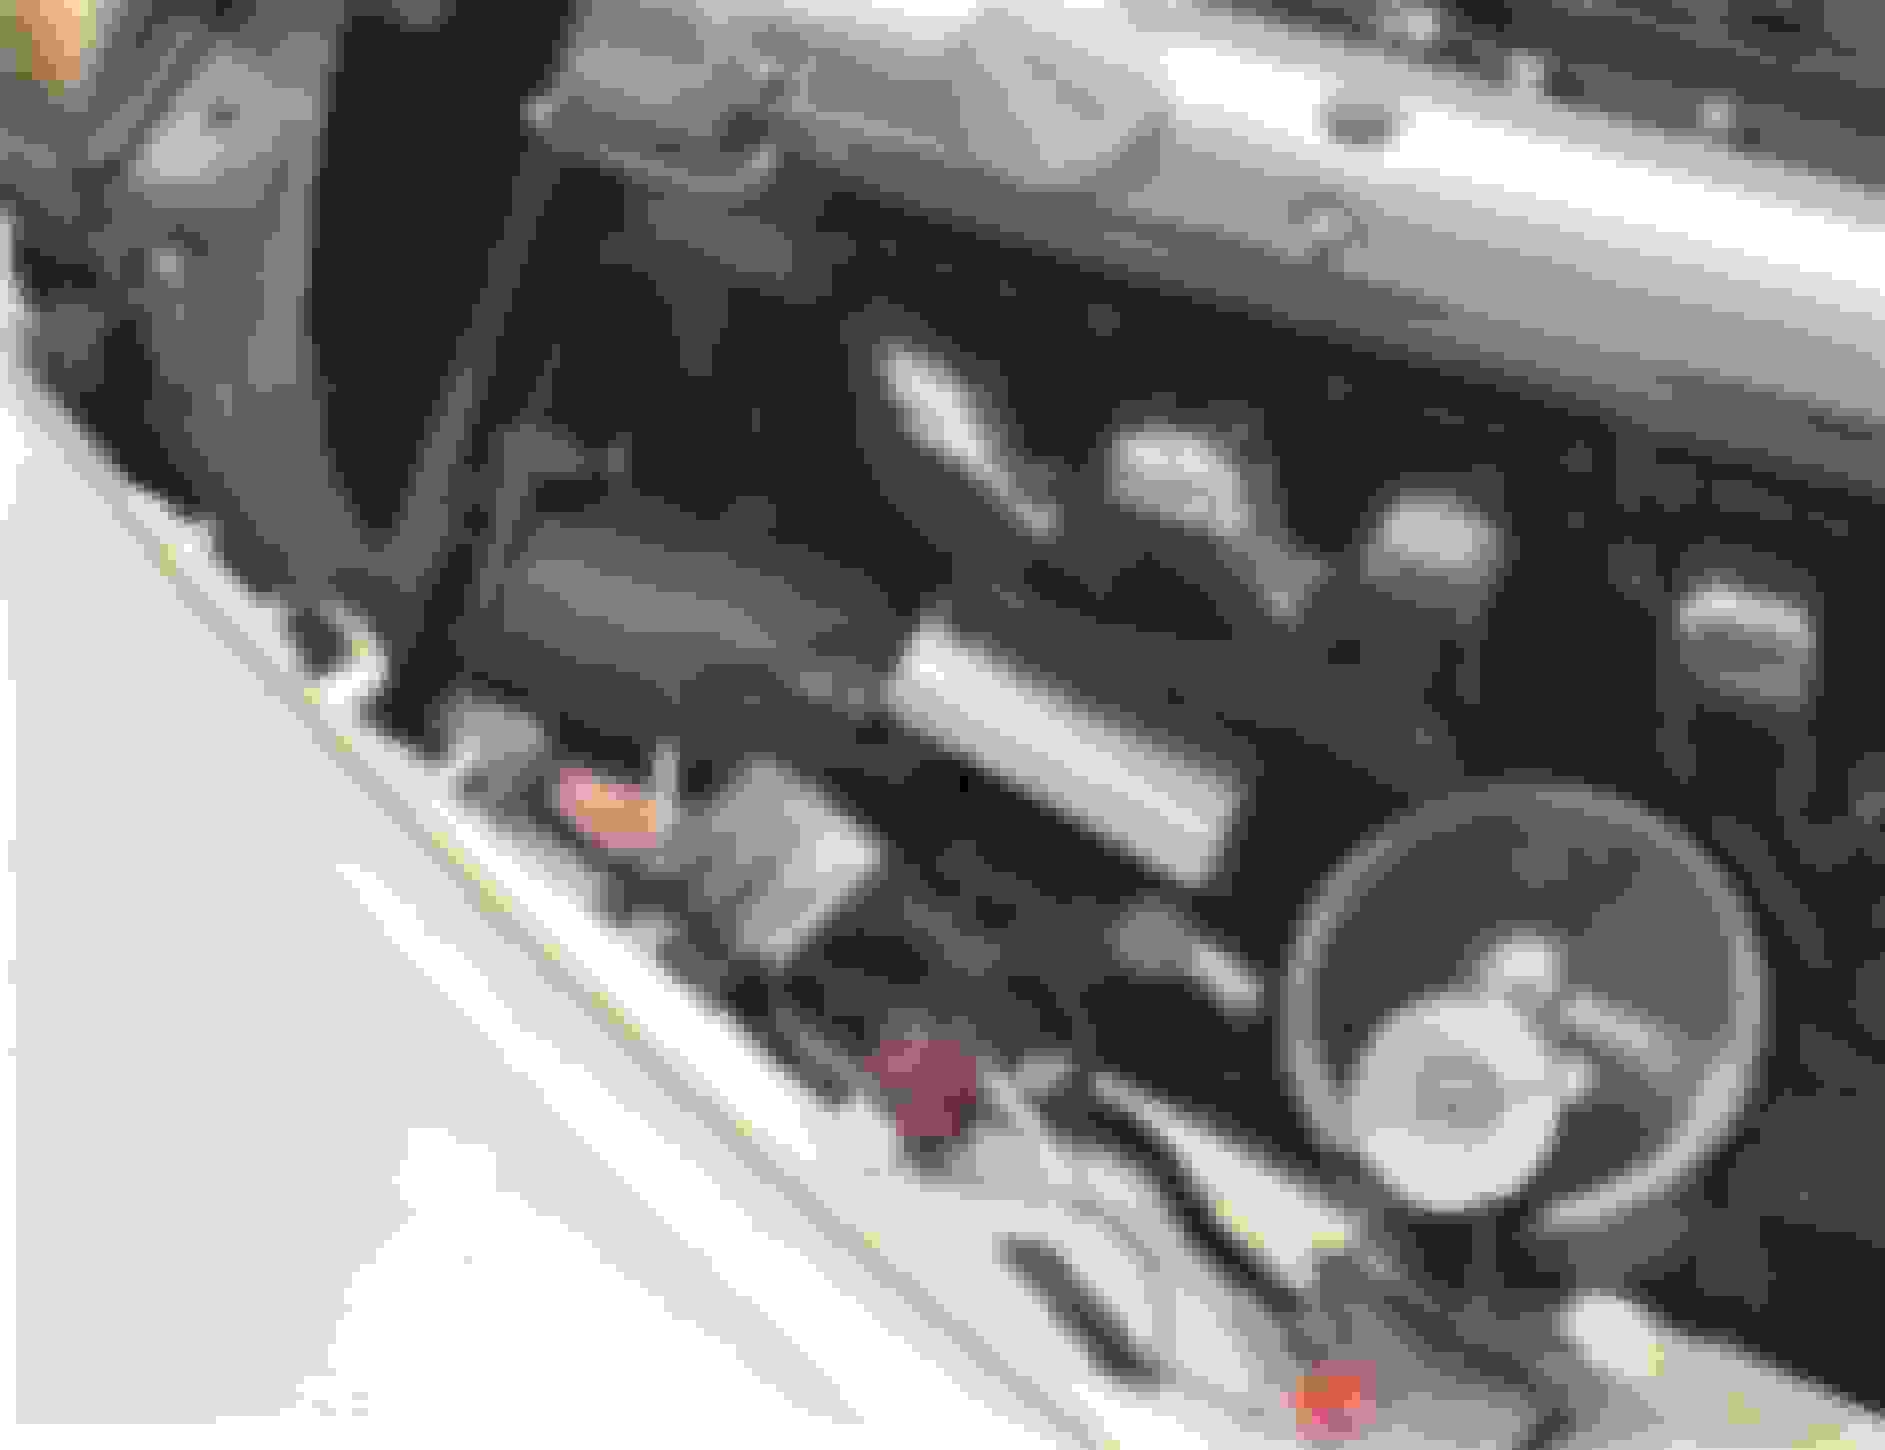
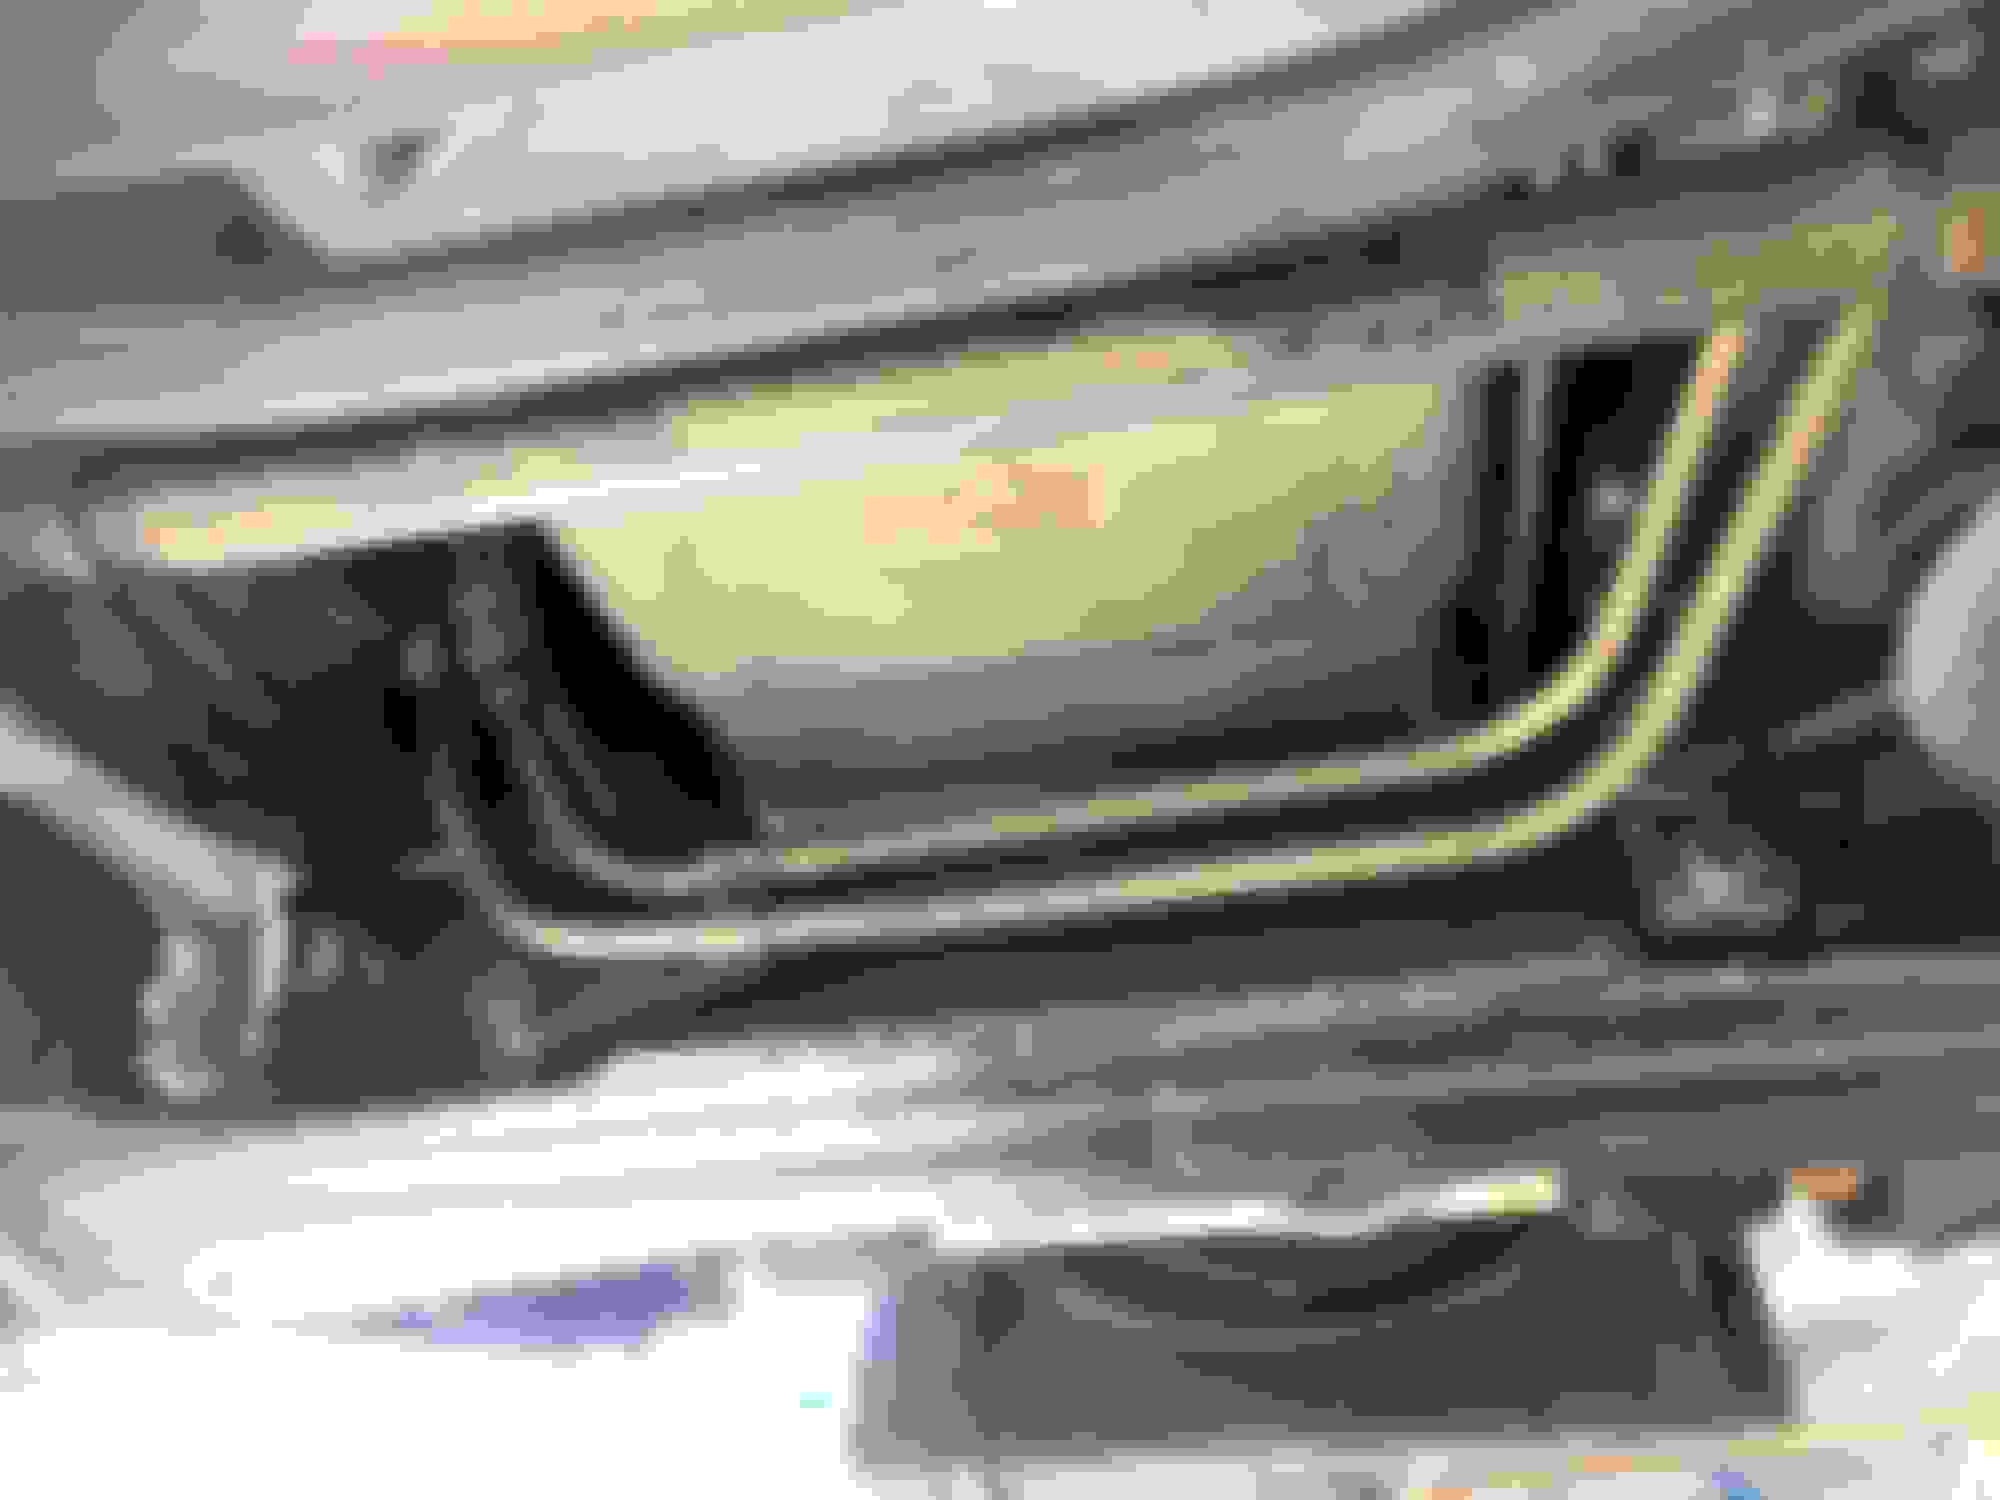
Glyn here are some photos of the pipes for the Marles Adwest setup. On mine I have two hoses on the pump, one from the reservoir to the pump which is the feed pipe. From the pump there is a pressurised rubber hose but before going under the car it is joined to a copper pipe that runs to the steering box. From the steering box I have a second return copper pipe running under the car, both running along the back of the subframe, which is joined to a steel braided rubber hose that runs to the front of the car, through an oil cooler made of copper pipe and some fins, before returning to the reservoir.
Thank you both - that's a great help. I've fitted a Burman steering box so, as shown by Glyn, will be routing the return hose around the back of the subframe. The Marles Adwest is a different beast.
 04-11-2021, 09:37 AM