When you click on links to various merchants on this site and make a purchase, this can result in this site earning a commission. Affiliate programs and affiliations include, but are not limited to, the eBay Partner Network.
Has anyone removed the throttle linkage shaft that runs across the front of the firewall and is actuated by the accelerator pedal? Is it one piece with the bearings held in place by pop rivets?
My shaft was binding on the back of the engine _ I put a bend in it for clearance.
I drilled out the rivets and used stainless 6/32 round head screws with stainless lock nuts later.
It has to be removed so the engine bay can be properly painted upon restoration.
Thanks Jeff but did you have to remove the rivets on the bearings to remove the shaft? Is there room to get it past the steering column on the inside as well or does the column have to be moved also?
I'm going to restore the engine bay but want to remove the shaft to straighten since the engine got hung up on it and put a small bend in it when we removed the engine and trans.
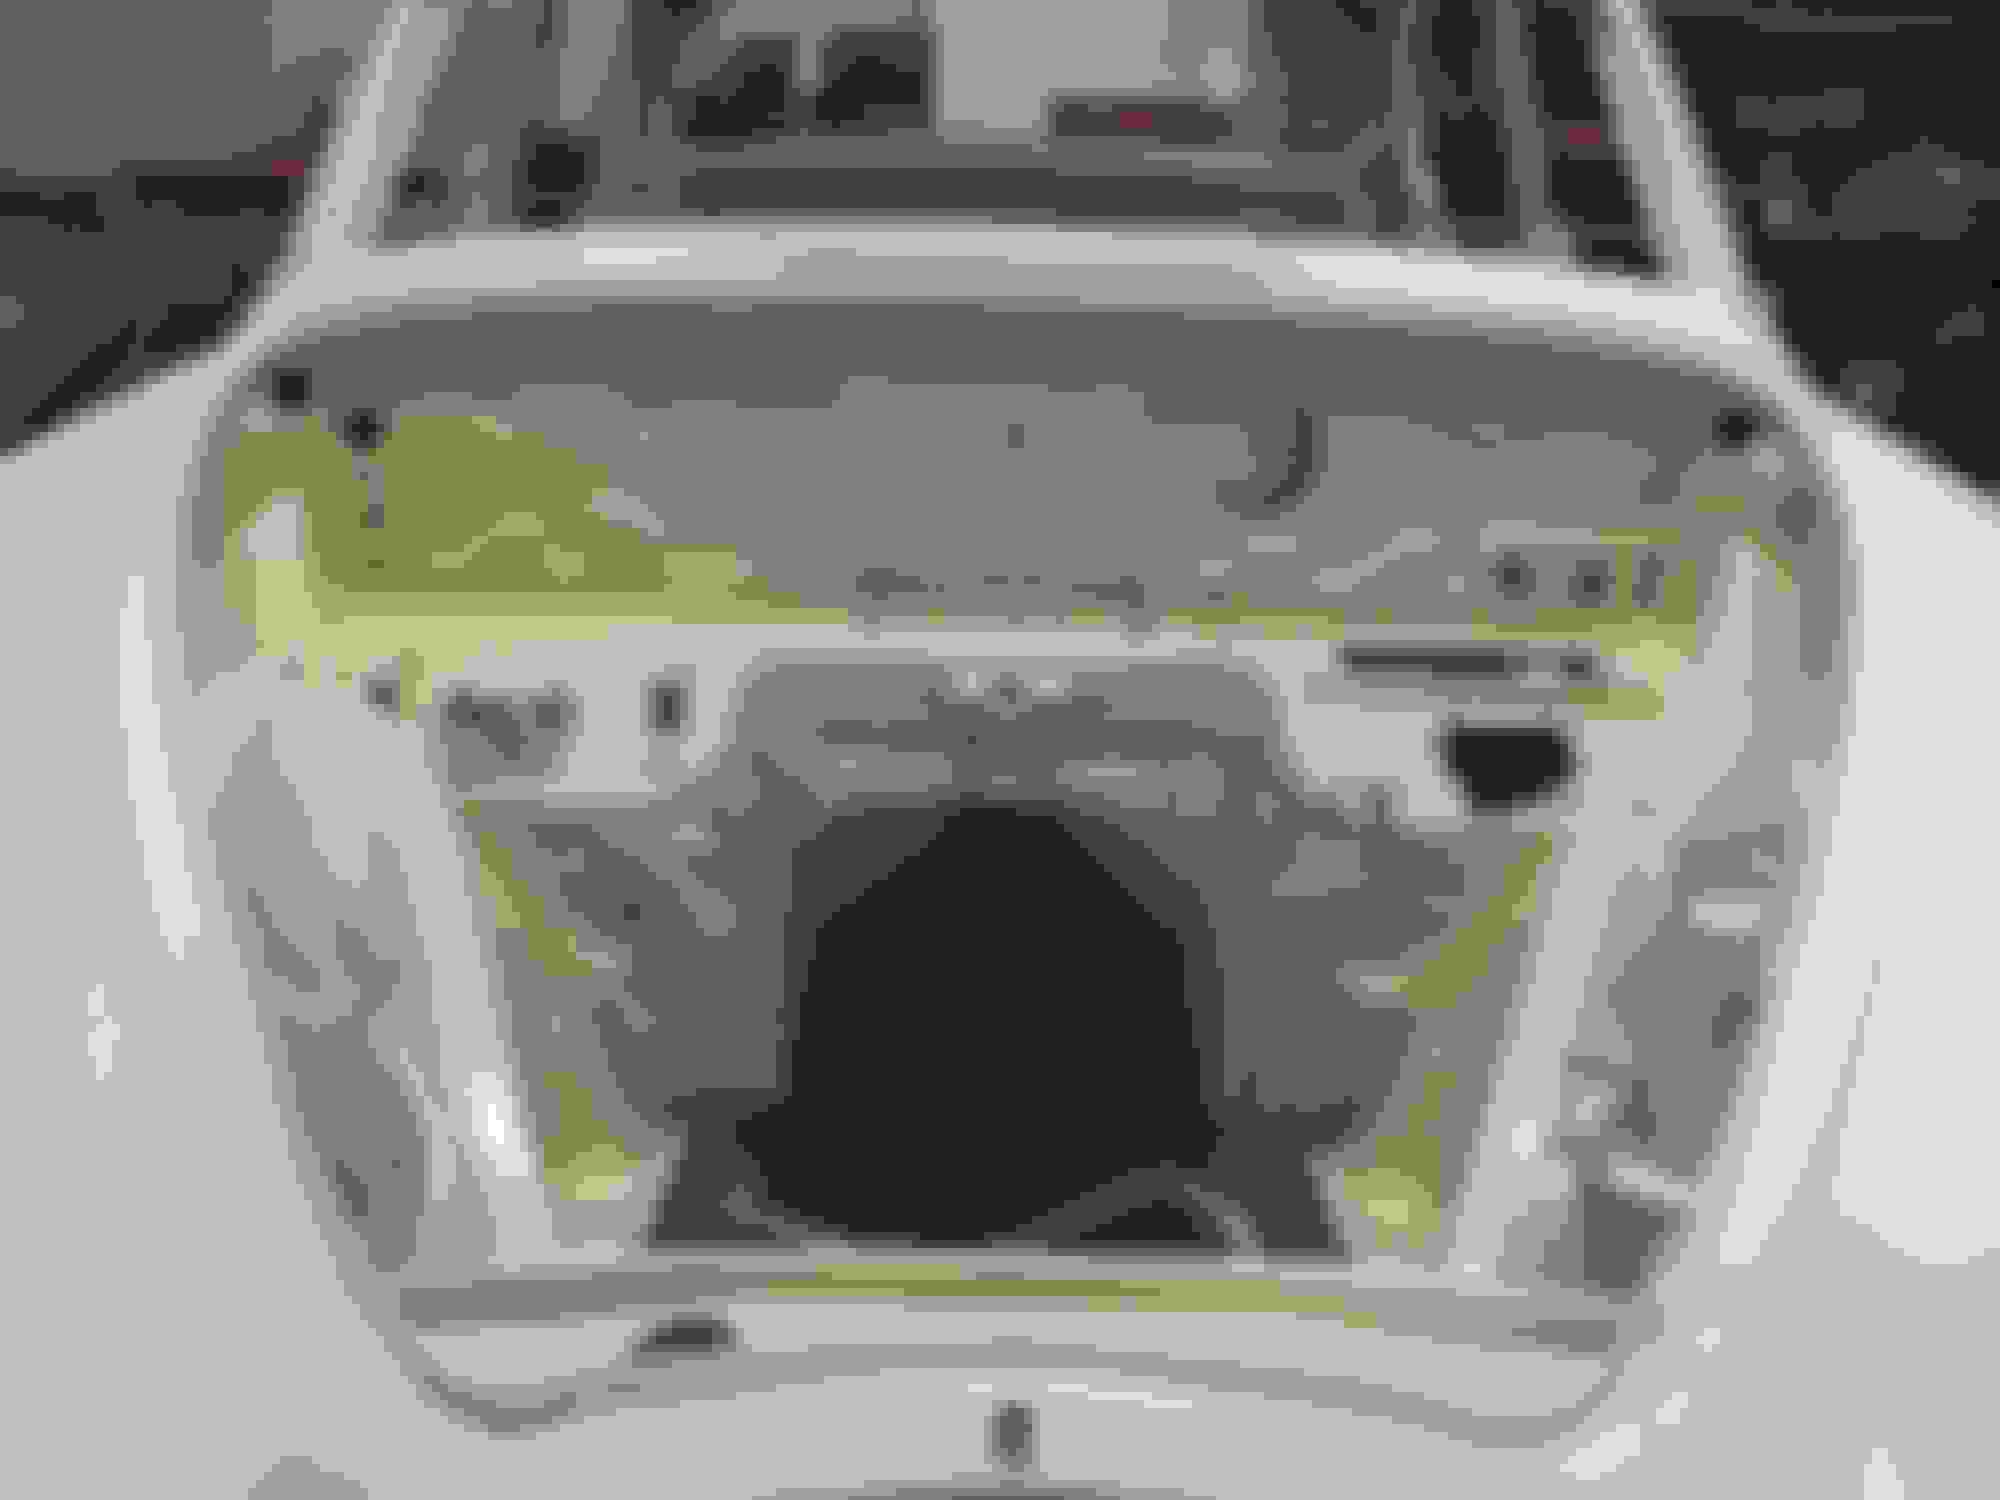
Early coats ~ all cavities fully sprayed finally with BASF Glasurit Porsche self healing primer and then finished with Spies Hecker colour & clear coat. Cavities then sprayed with Tectyl. All pics work in progress. The entire inside of the car was properly sprayed as well. From floor to dash to dome. Nothing that should be sprayed not spayed e.g. behind door cards. This car was Old English White. You won't find any evidence that it ever existed. Started from a media blasted shell inside & out. The white you see is the German equivalent of PPG surface skim. This was the second respray. The restorer that I fired let the project languish while I was on extended expat assignment.
Yes you have to remove the rivets and column to do correctly & easily. Every wiring harness was replaced on my car. Even restored the gauges. Everything restored whether you can see it or not.
Dark colours require extra attention or minor blemishes show.
The rest can be seen in my signature thread.
Last edited by Glyn M Ruck; 06-04-2023 at 07:21 AM.
Doing this from memory:
The red arrows pop rivets have to be removed.
The green arrow end has a washer or maybe more, and a cotter pin that has to be removed so it can be slipped out.
The washer(s) and cotter pin are on the inside of the car.
This should enable enough clearance to turn the shaft and clear the steering column.
The accelerator pedal may have to be removed, there is a single bolt that holds it in place or 4 bolts on the floor where the entire mount is attached.
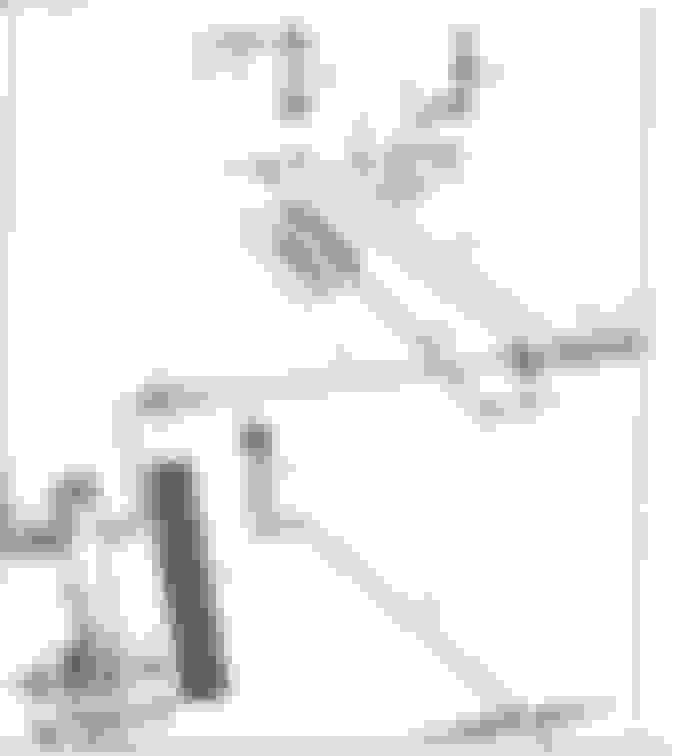
According to the diagram, it looks like there may be a Thackery washer in use as well, mine was missing so I just made up a custom washer so there was about 2 thou. clearance.
As Glyn stated everything out for an engine respray. Mine was Warwick grey before I changed the colour to Old English White / Ivory. Every panel grit blasted inside and out then re painted so not a spot of Warwick grey to be found on the car. If you are going to paint the engine bay make sure it is the same colour as the car and the detailing, ie rubbing down, flatting off is done as well on the inner wing panels and the bulkhead as the outer body panels. It makes cleaning the inside of the engine bay so much easier with flat polished paint than lumpy paint work that collects all the dirt. Ten years on and my engine bay still looks like the outside of the car. Please don't just paint it black. Looks horrible unless the outside of your car is going to be black.
This was the final coat in the engine bay with the outer body in a white high build primer waiting it's final coats.
On the subject of the throttle arm though my late 1967 S type RHD has a different throttle set up. It only has a short arm coming through the side of the bulkhead which protrudes as far as the carbs and does not have the bar across the top of the gearbox tunnel. It does have the holes for the bearings but these are covered with rubber grommets.I was able to pull the shaft out from the foot well and I think from memory it had a nylon bearing which popped out with a couple of knocks rather than a metal roller bearing.
Thanks Jeff but did you have to remove the rivets on the bearings to remove the shaft? Is there room to get it past the steering column on the inside as well or does the column have to be moved also?
I'm going to restore the engine bay but want to remove the shaft to straighten since the engine got hung up on it and put a small bend in it when we removed the engine and trans.
To remove the shaft you have to drill out the pop rivets, then you can move it one way (notice how one bearing is in the car and one in the engine bay). You can then remove the bearing from the end of the shaft (I recall it has a spring washer and split pin) and then slide it out into the car.
The difference with your car is that being LHD the column might be in the way and i'm not sure what happens inside the car as presumably there is some form of linkage that links it to the accelerator pedal, the RHD is different as the linkage to the pedal is inside the engine bay.
Its probably possible to remove as it is depending on if you can get the bearing out inside the car.
 06-03-2023, 06:01 PM