
Aftermarket Radio and Running Wires
#1
 01-14-2014, 11:57 AM

So I just bought a 2003 Jaguar S-Type 3.0 with 84,000 miles two weeks ago and I decided to replace the factory head unit with an aftermarket DVD player. I also added a sub woofer and amp to the trunk and I have wired up the car for a backup camera that displays on the DVD player. I installed a control module to make the steering wheel controls work with the aftermarket radio and I detailed that process in the article titled Installing Steering Wheel Control Module Aftermarket Stereo.
So I thought I would do a write-up for the system upgrade.
I started with removing the old system by taking the center console apart. You can find more detailed instructions in the article above. It is a fairly simple task to remove the old and start installing the new. I removed the panel underneath the steering wheel to provide access to running wires for the new system. I believe this is done with a size 35 Torx driver.

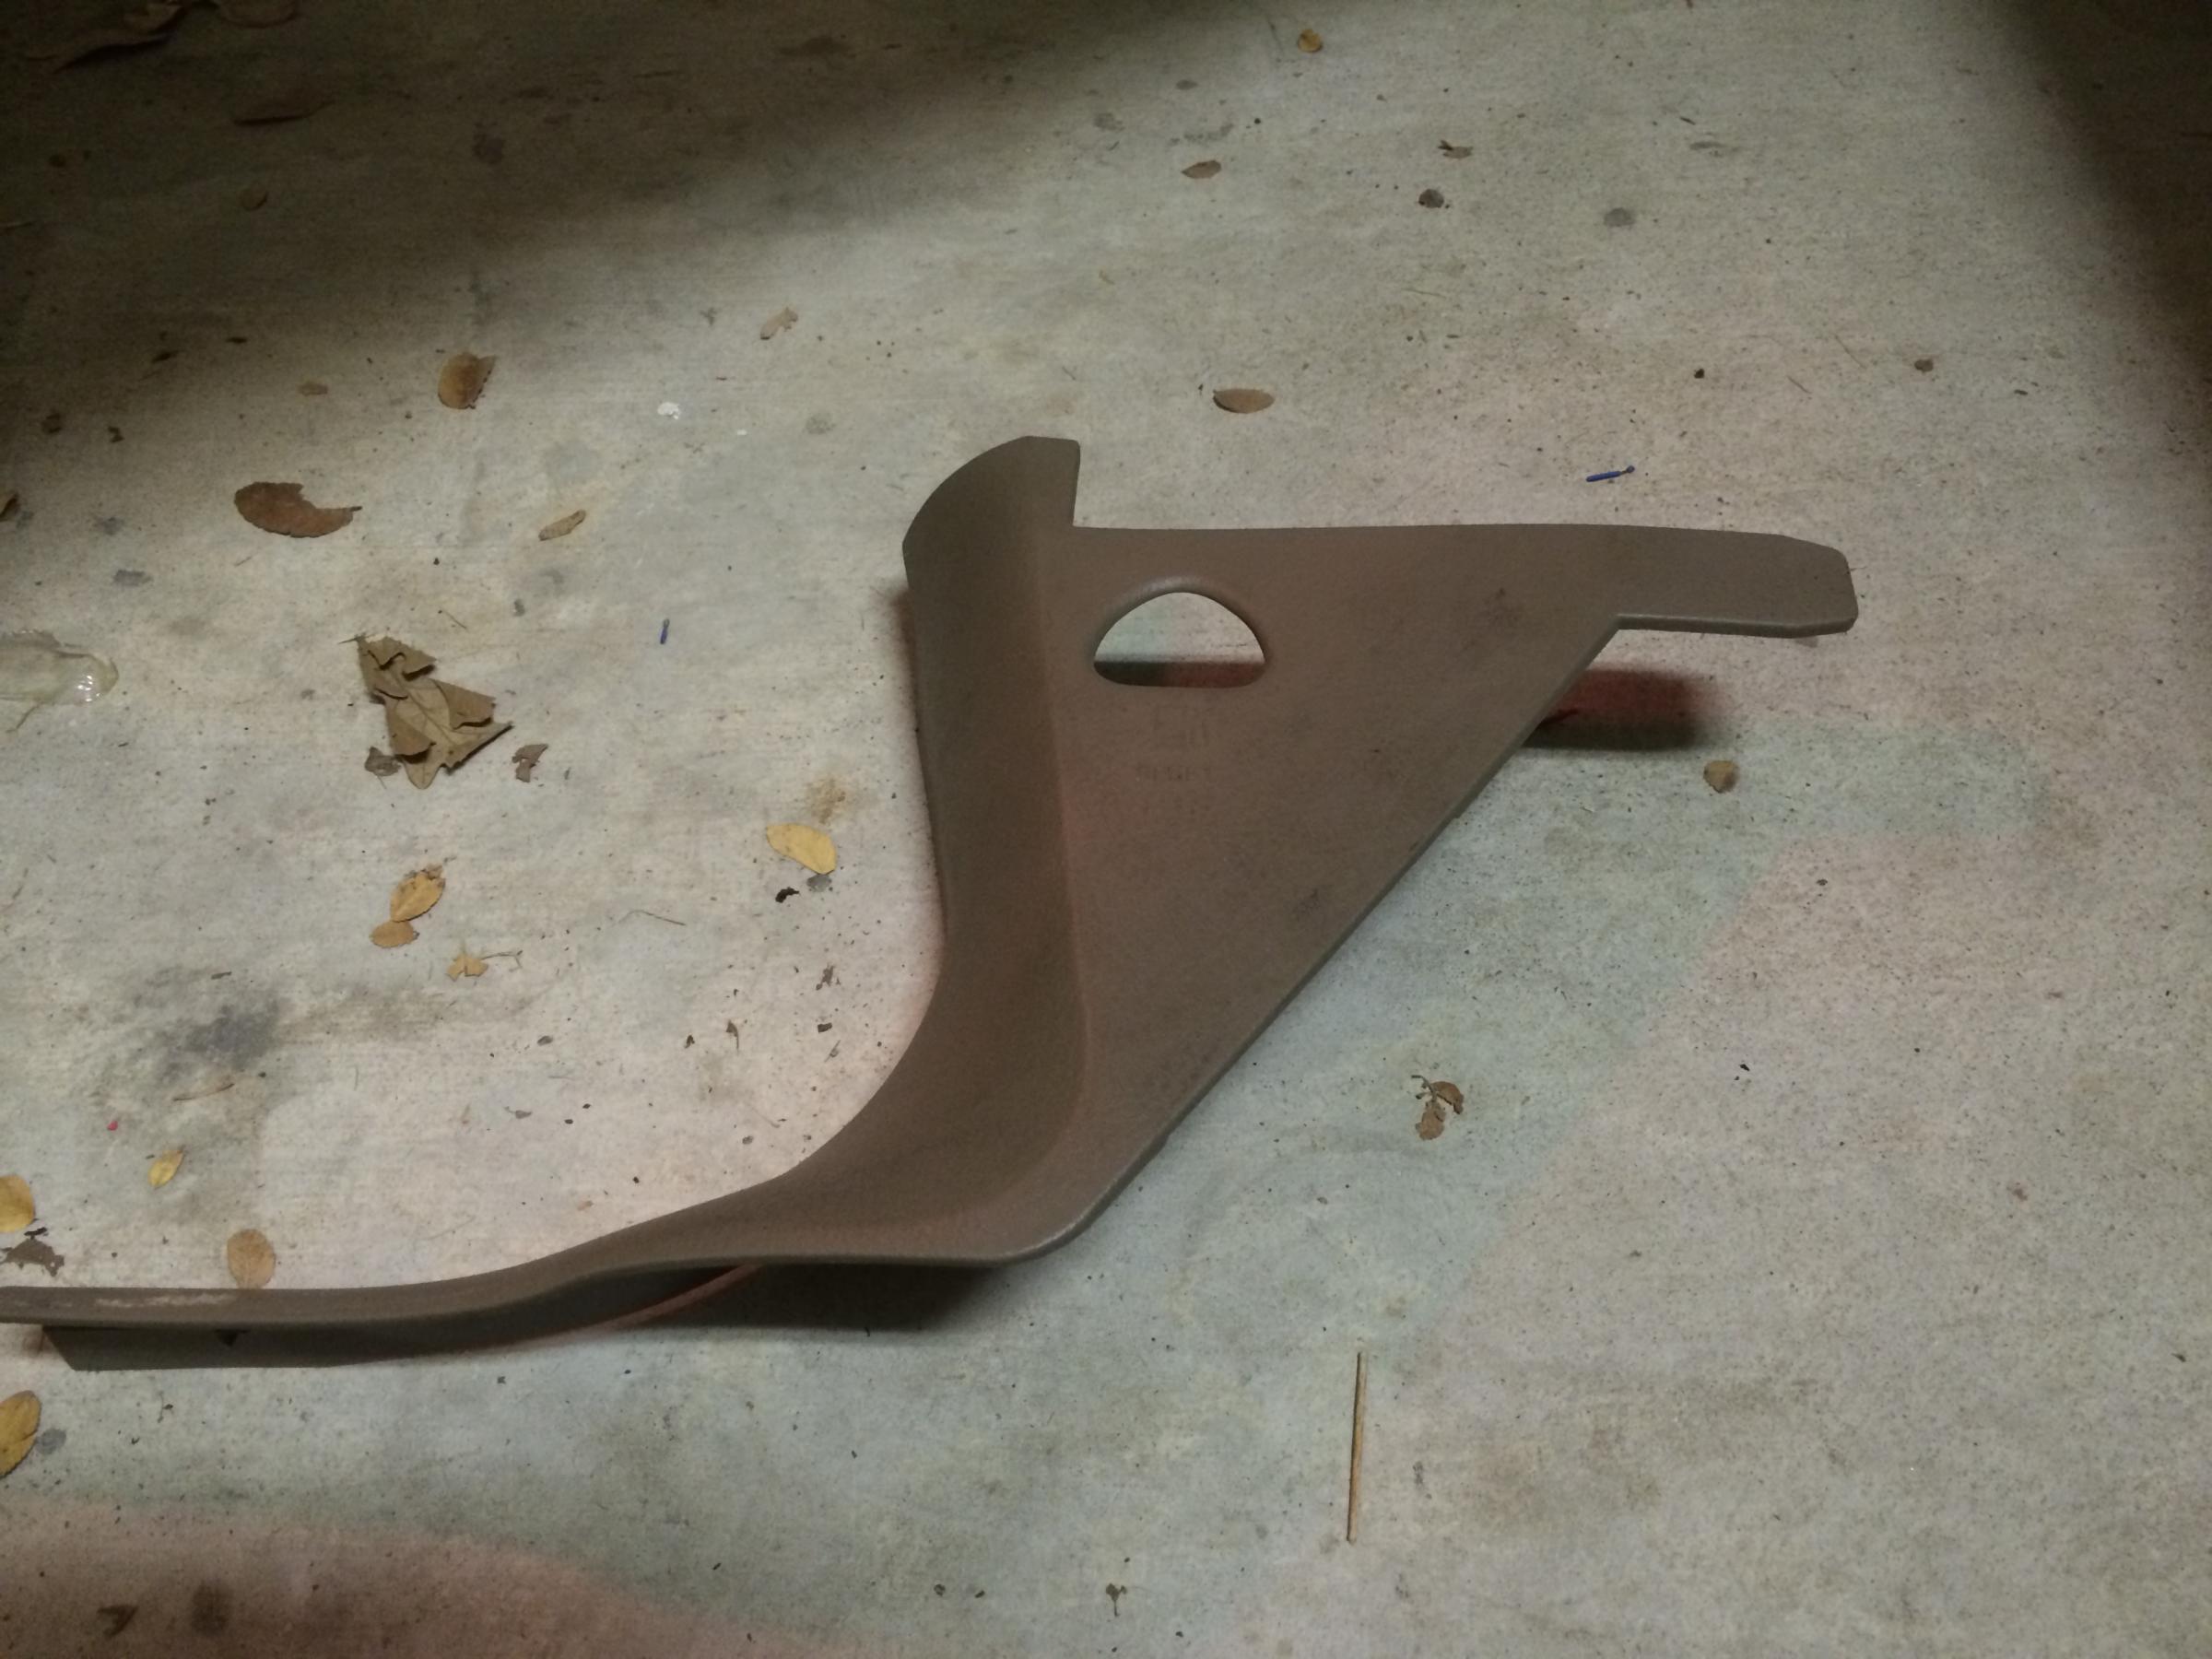
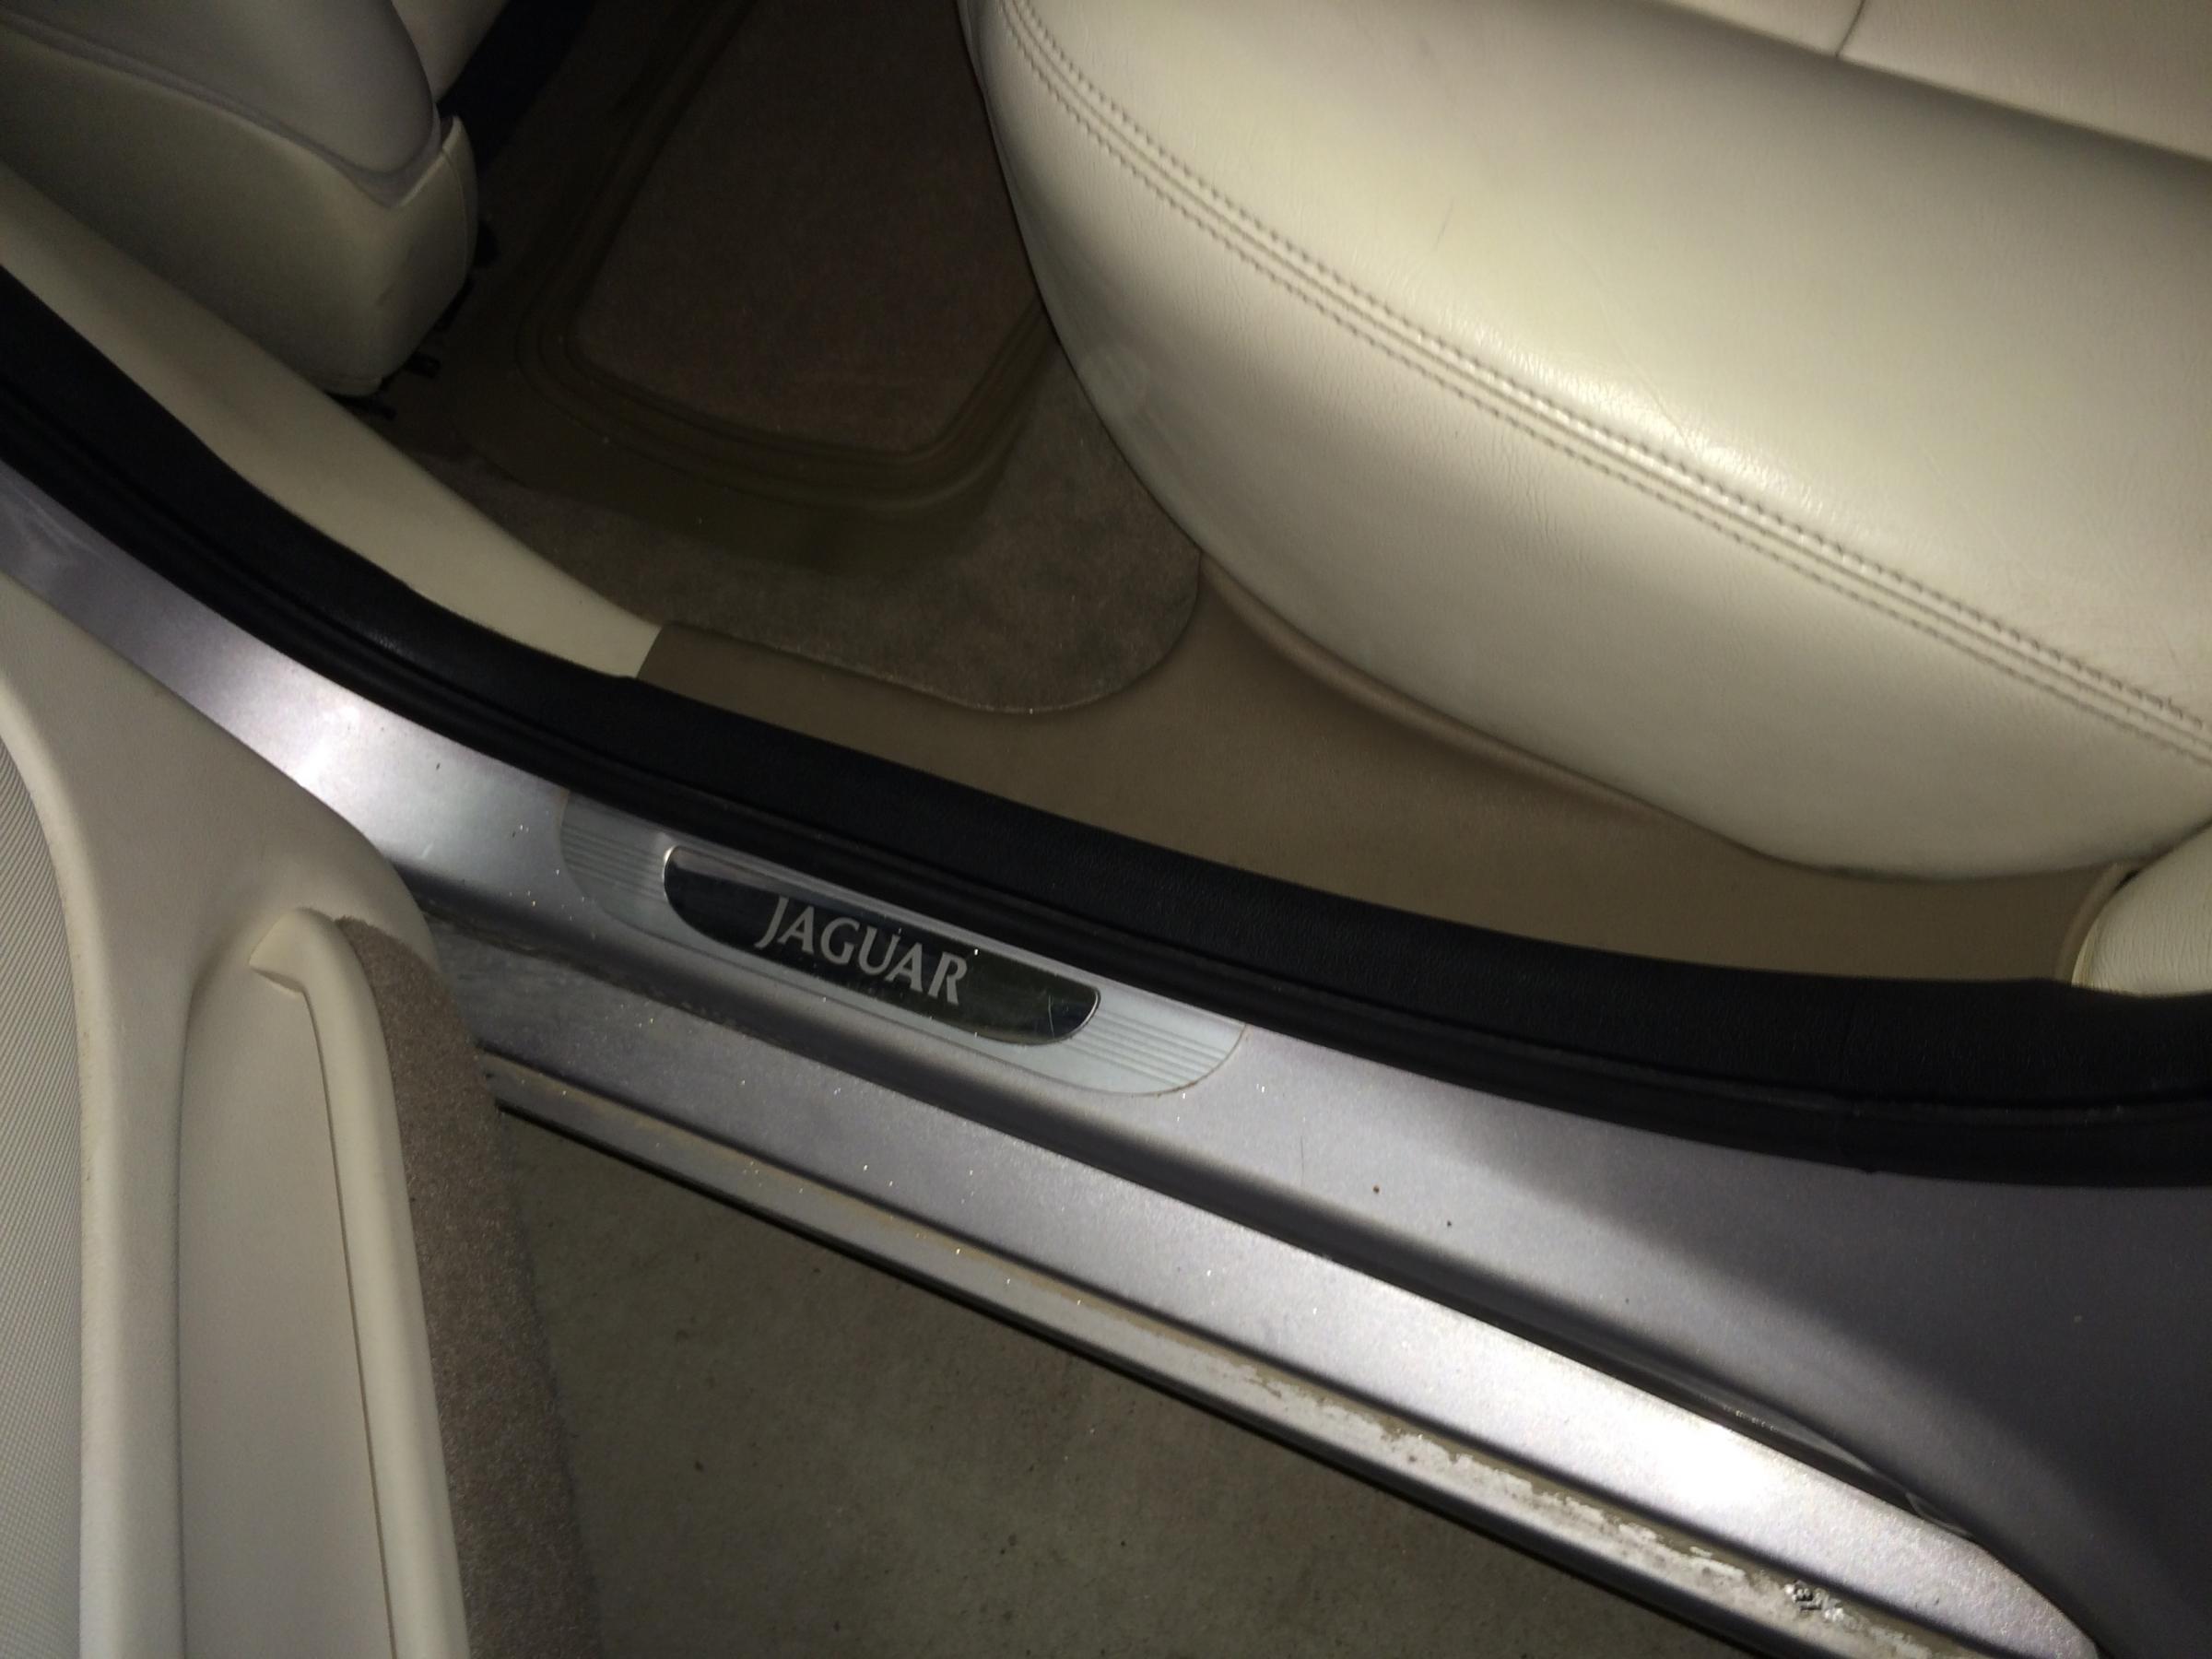
I then removed the threshold cover from the drivers door area to gain access to remove the footwell trim cover and the side pillar trim cover.


You can then remove the weather stripping from the bottom and sides of the door to make removing the trim panels easier. The weather stripping simply pulls off of the metal door frame.

Then you can pull out the footwell trim panel which has two clips on the door frame and it comes off by pulling it back towards the rear of the car.


Next comes the trim and weather stripping from the back door. You pull the weather stripping off the door and then pull the rear trim panel that goes next to the seat. This trim piece has three clips that attach to the floor and a pin between the seat and door frame that it will slide forward off of. You pull the front clips out of the floor catch and then forward off of the pin in the rear.


Then the center pillar trim pulls off. There are two clips near the bottom and then two more at the top.


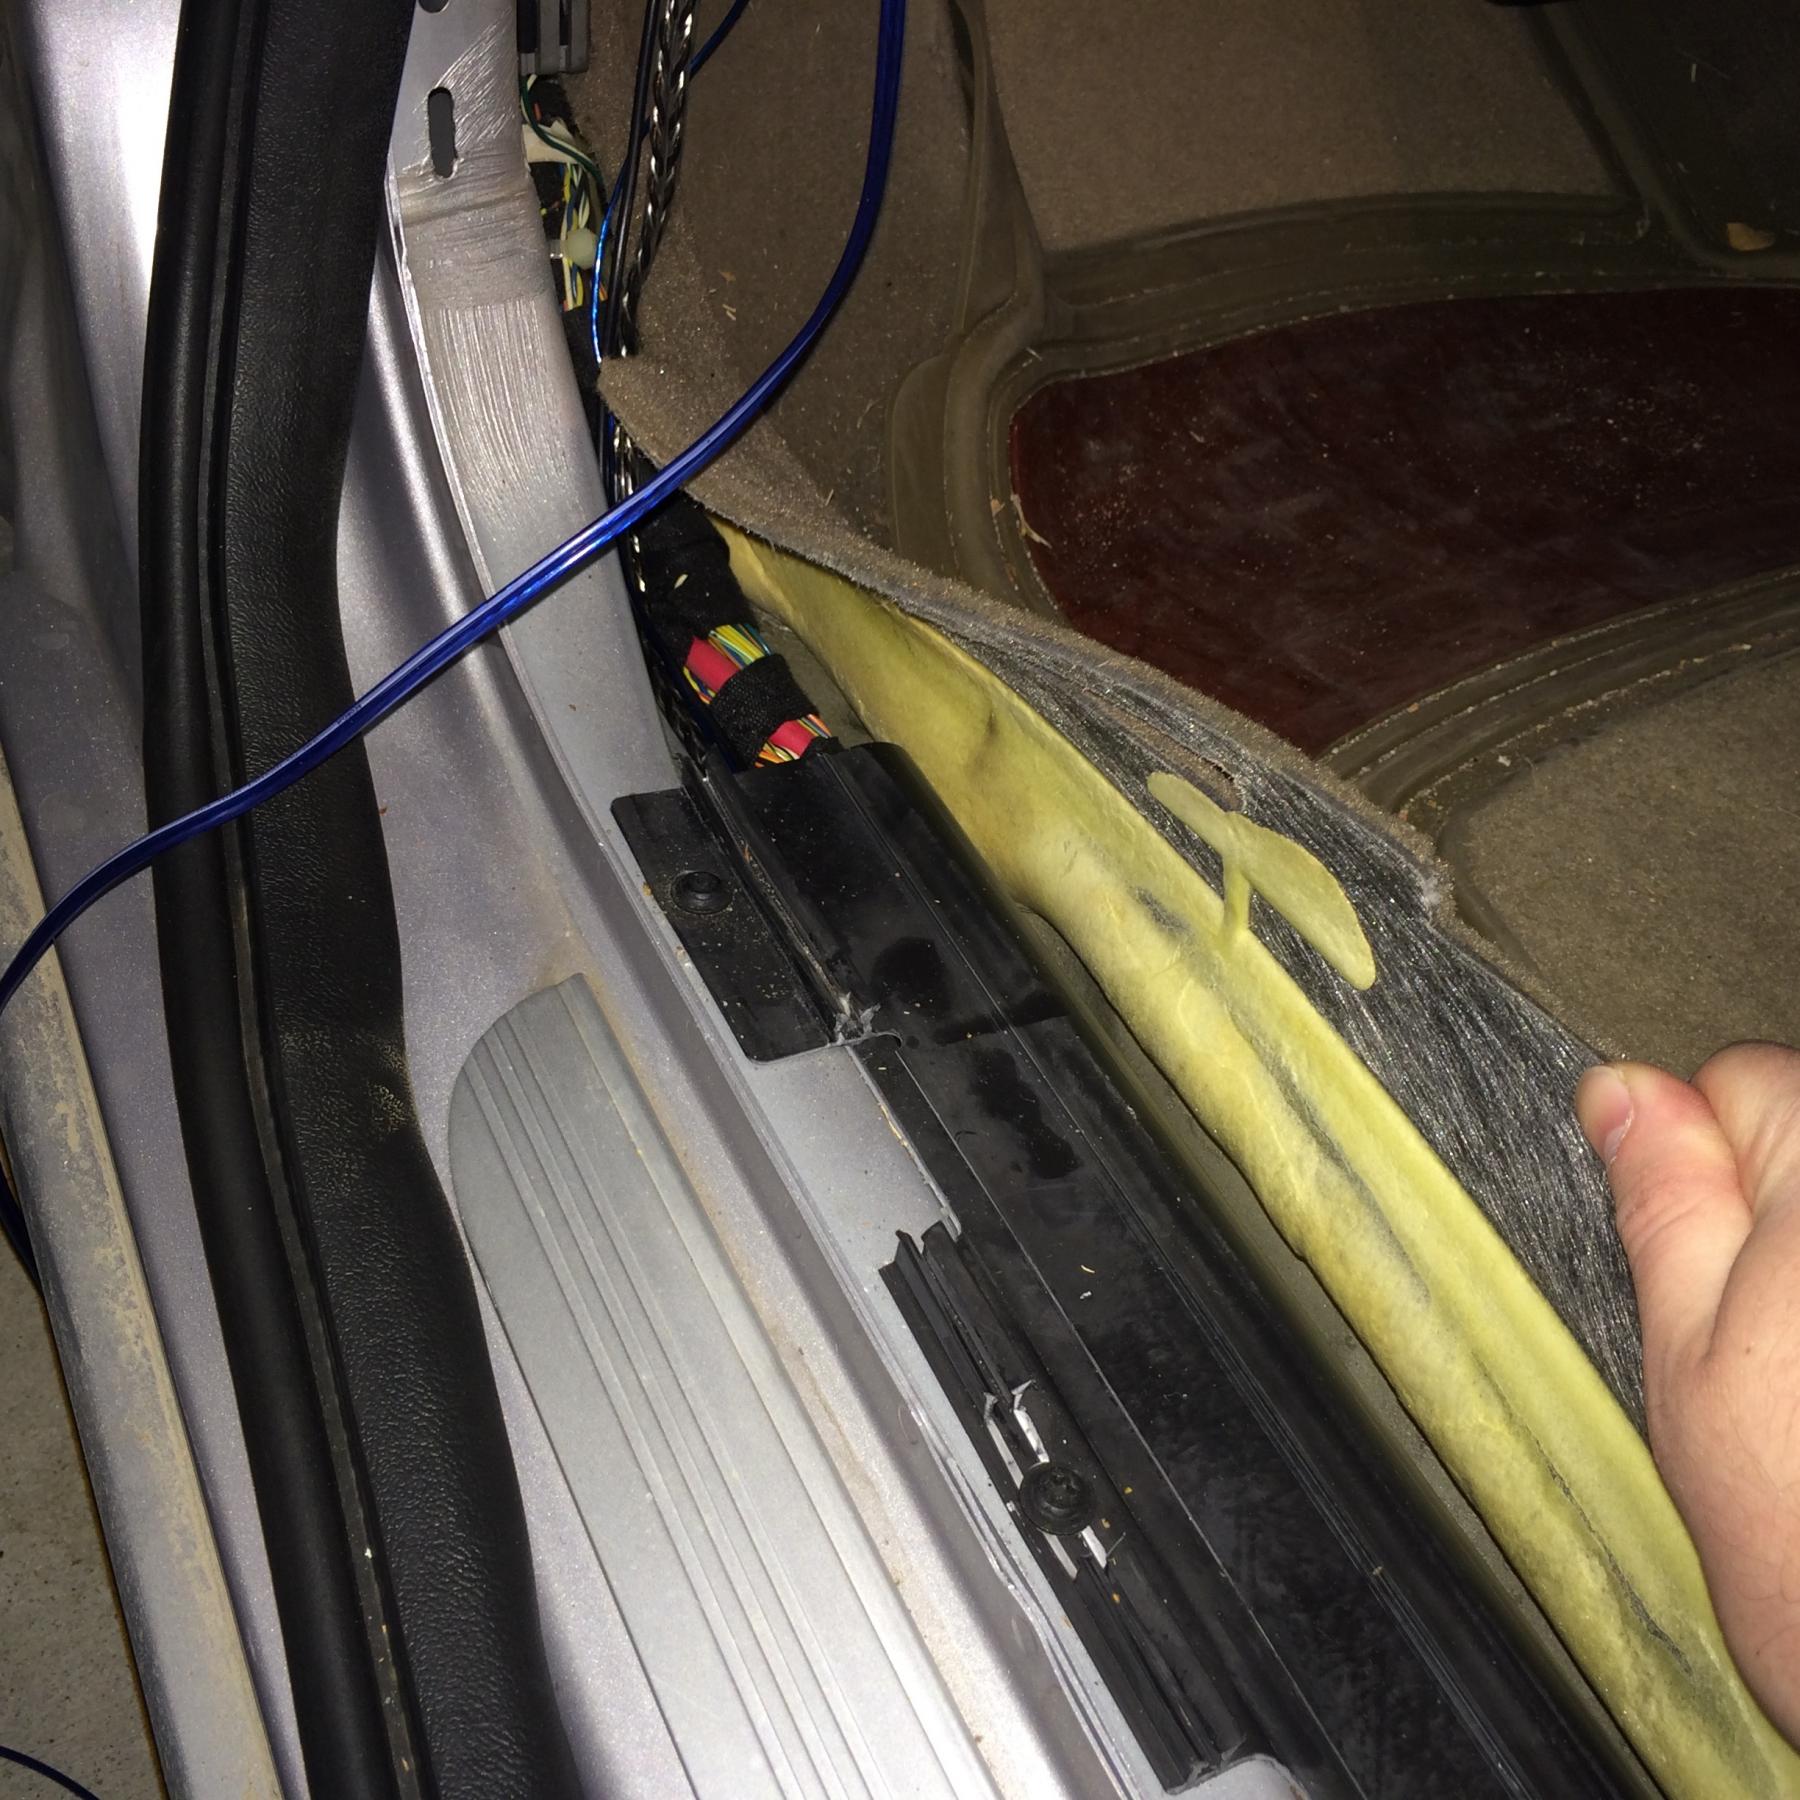
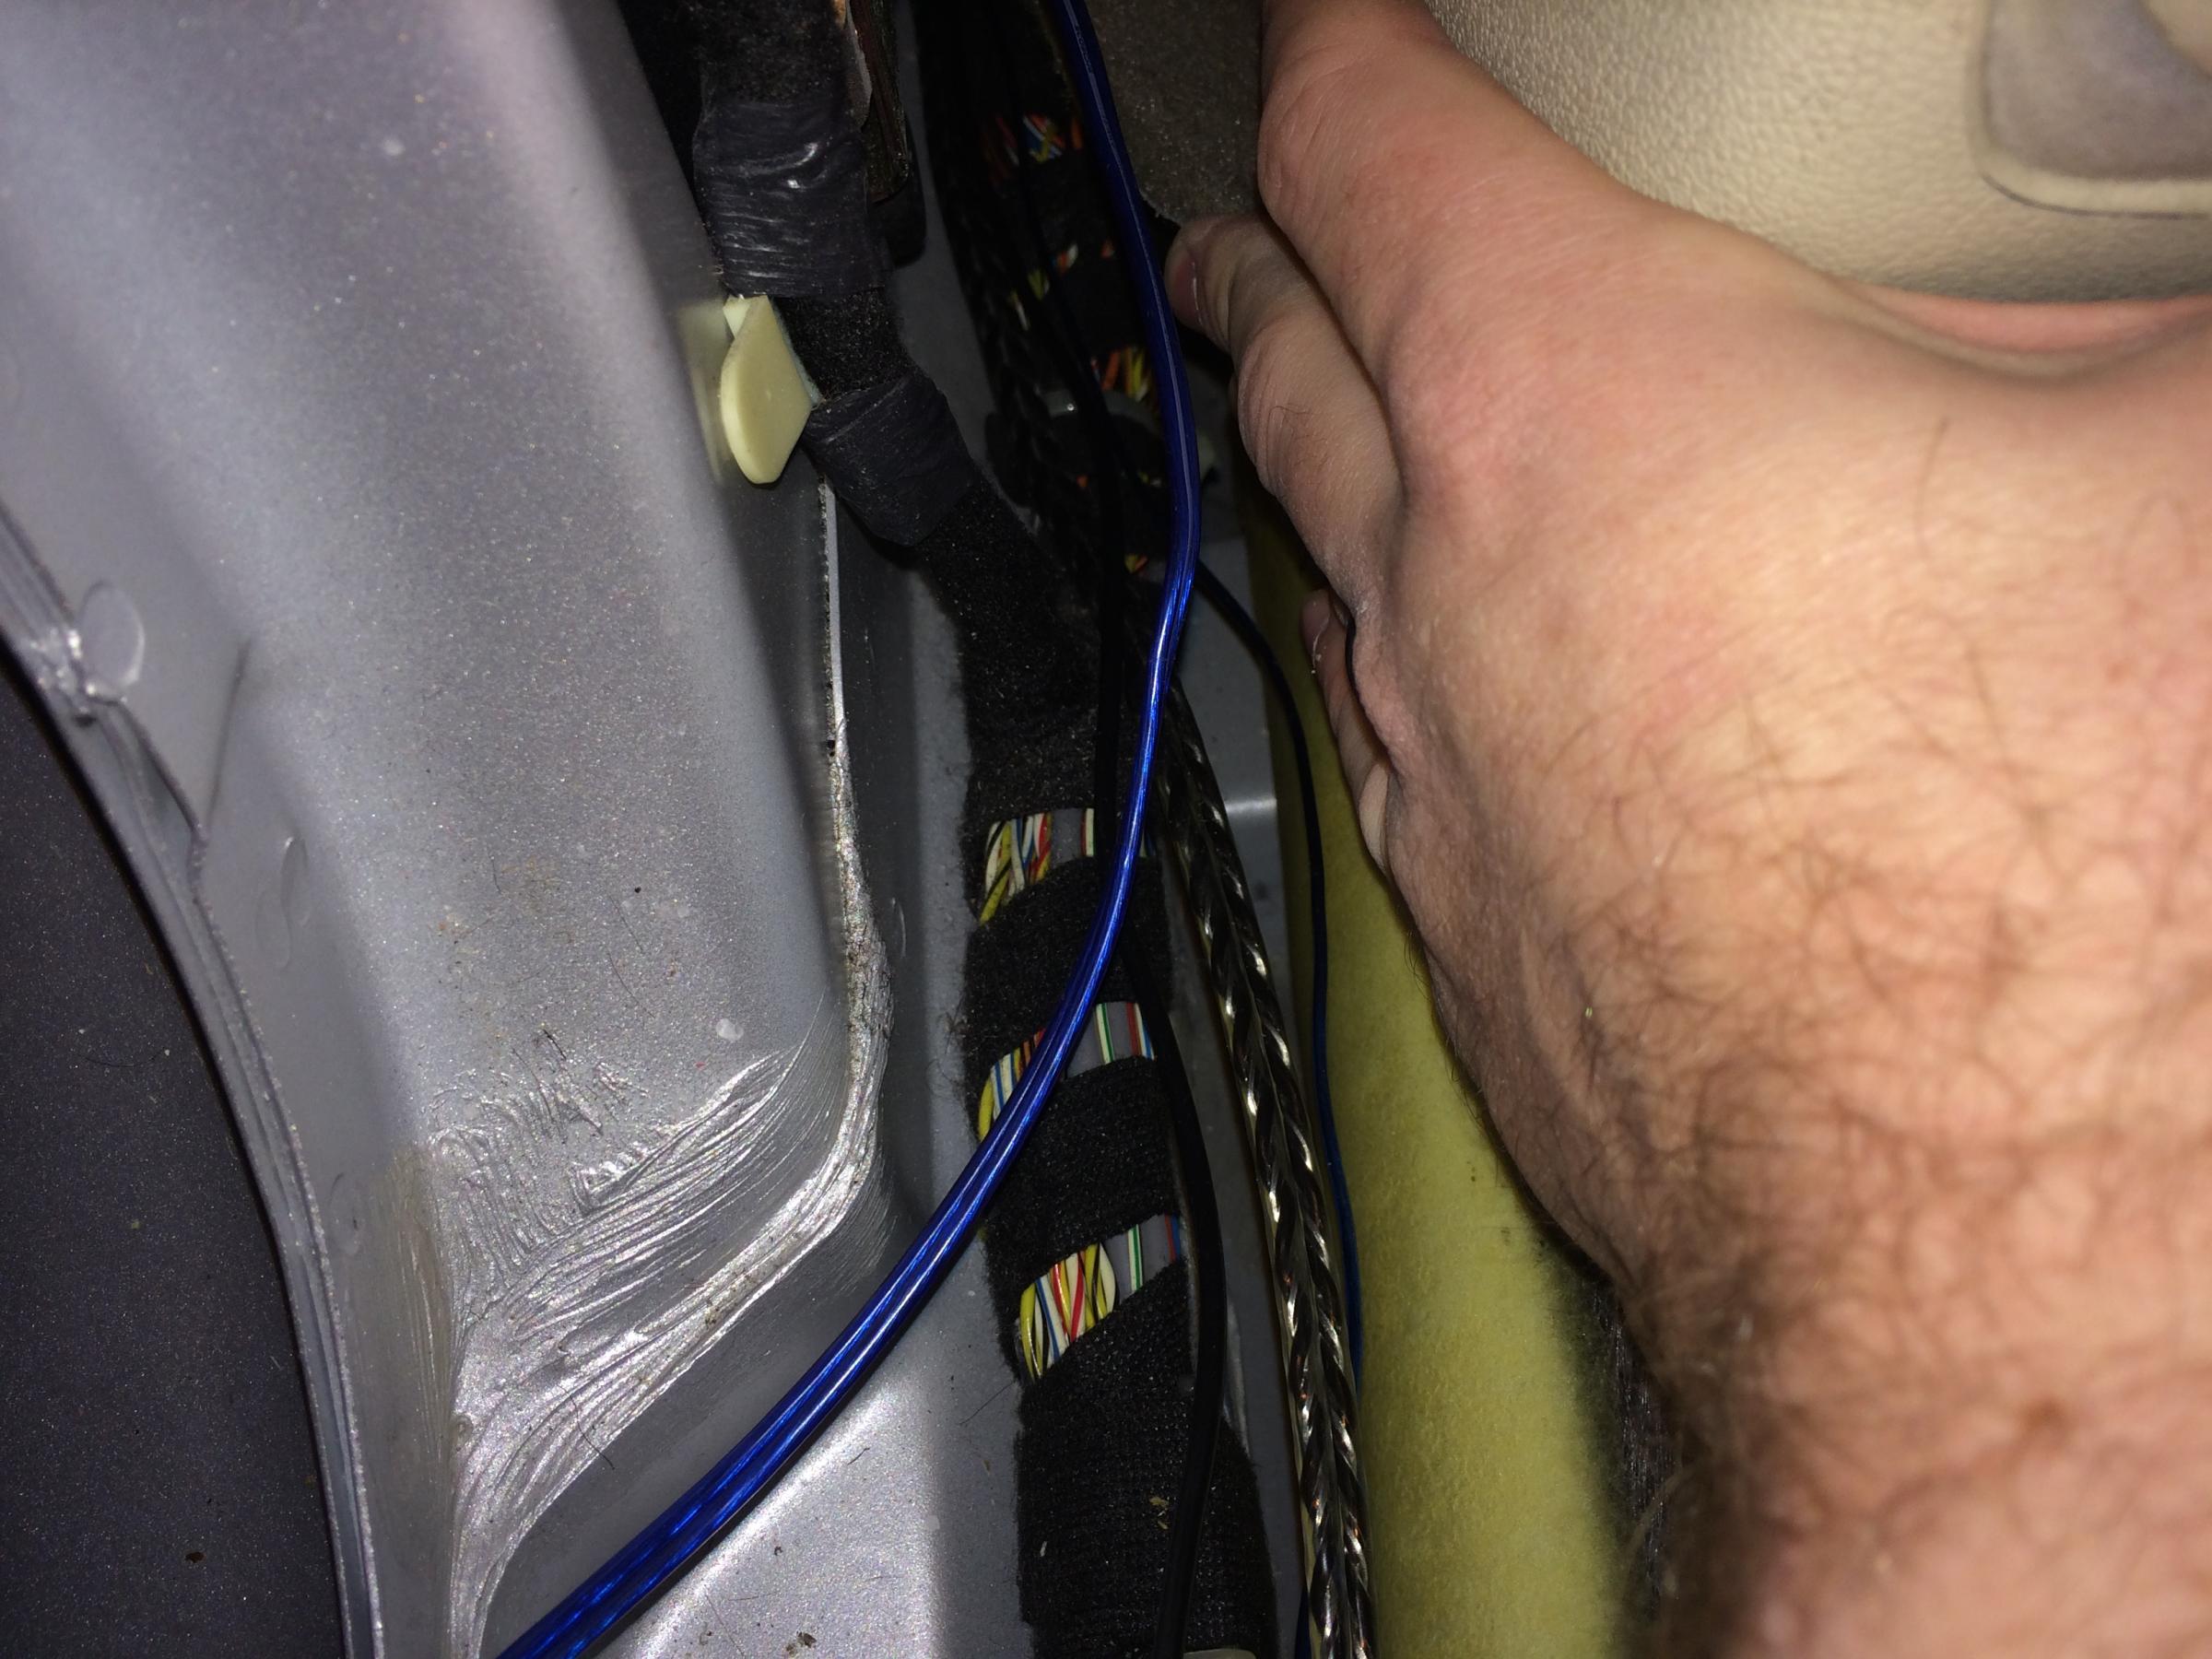
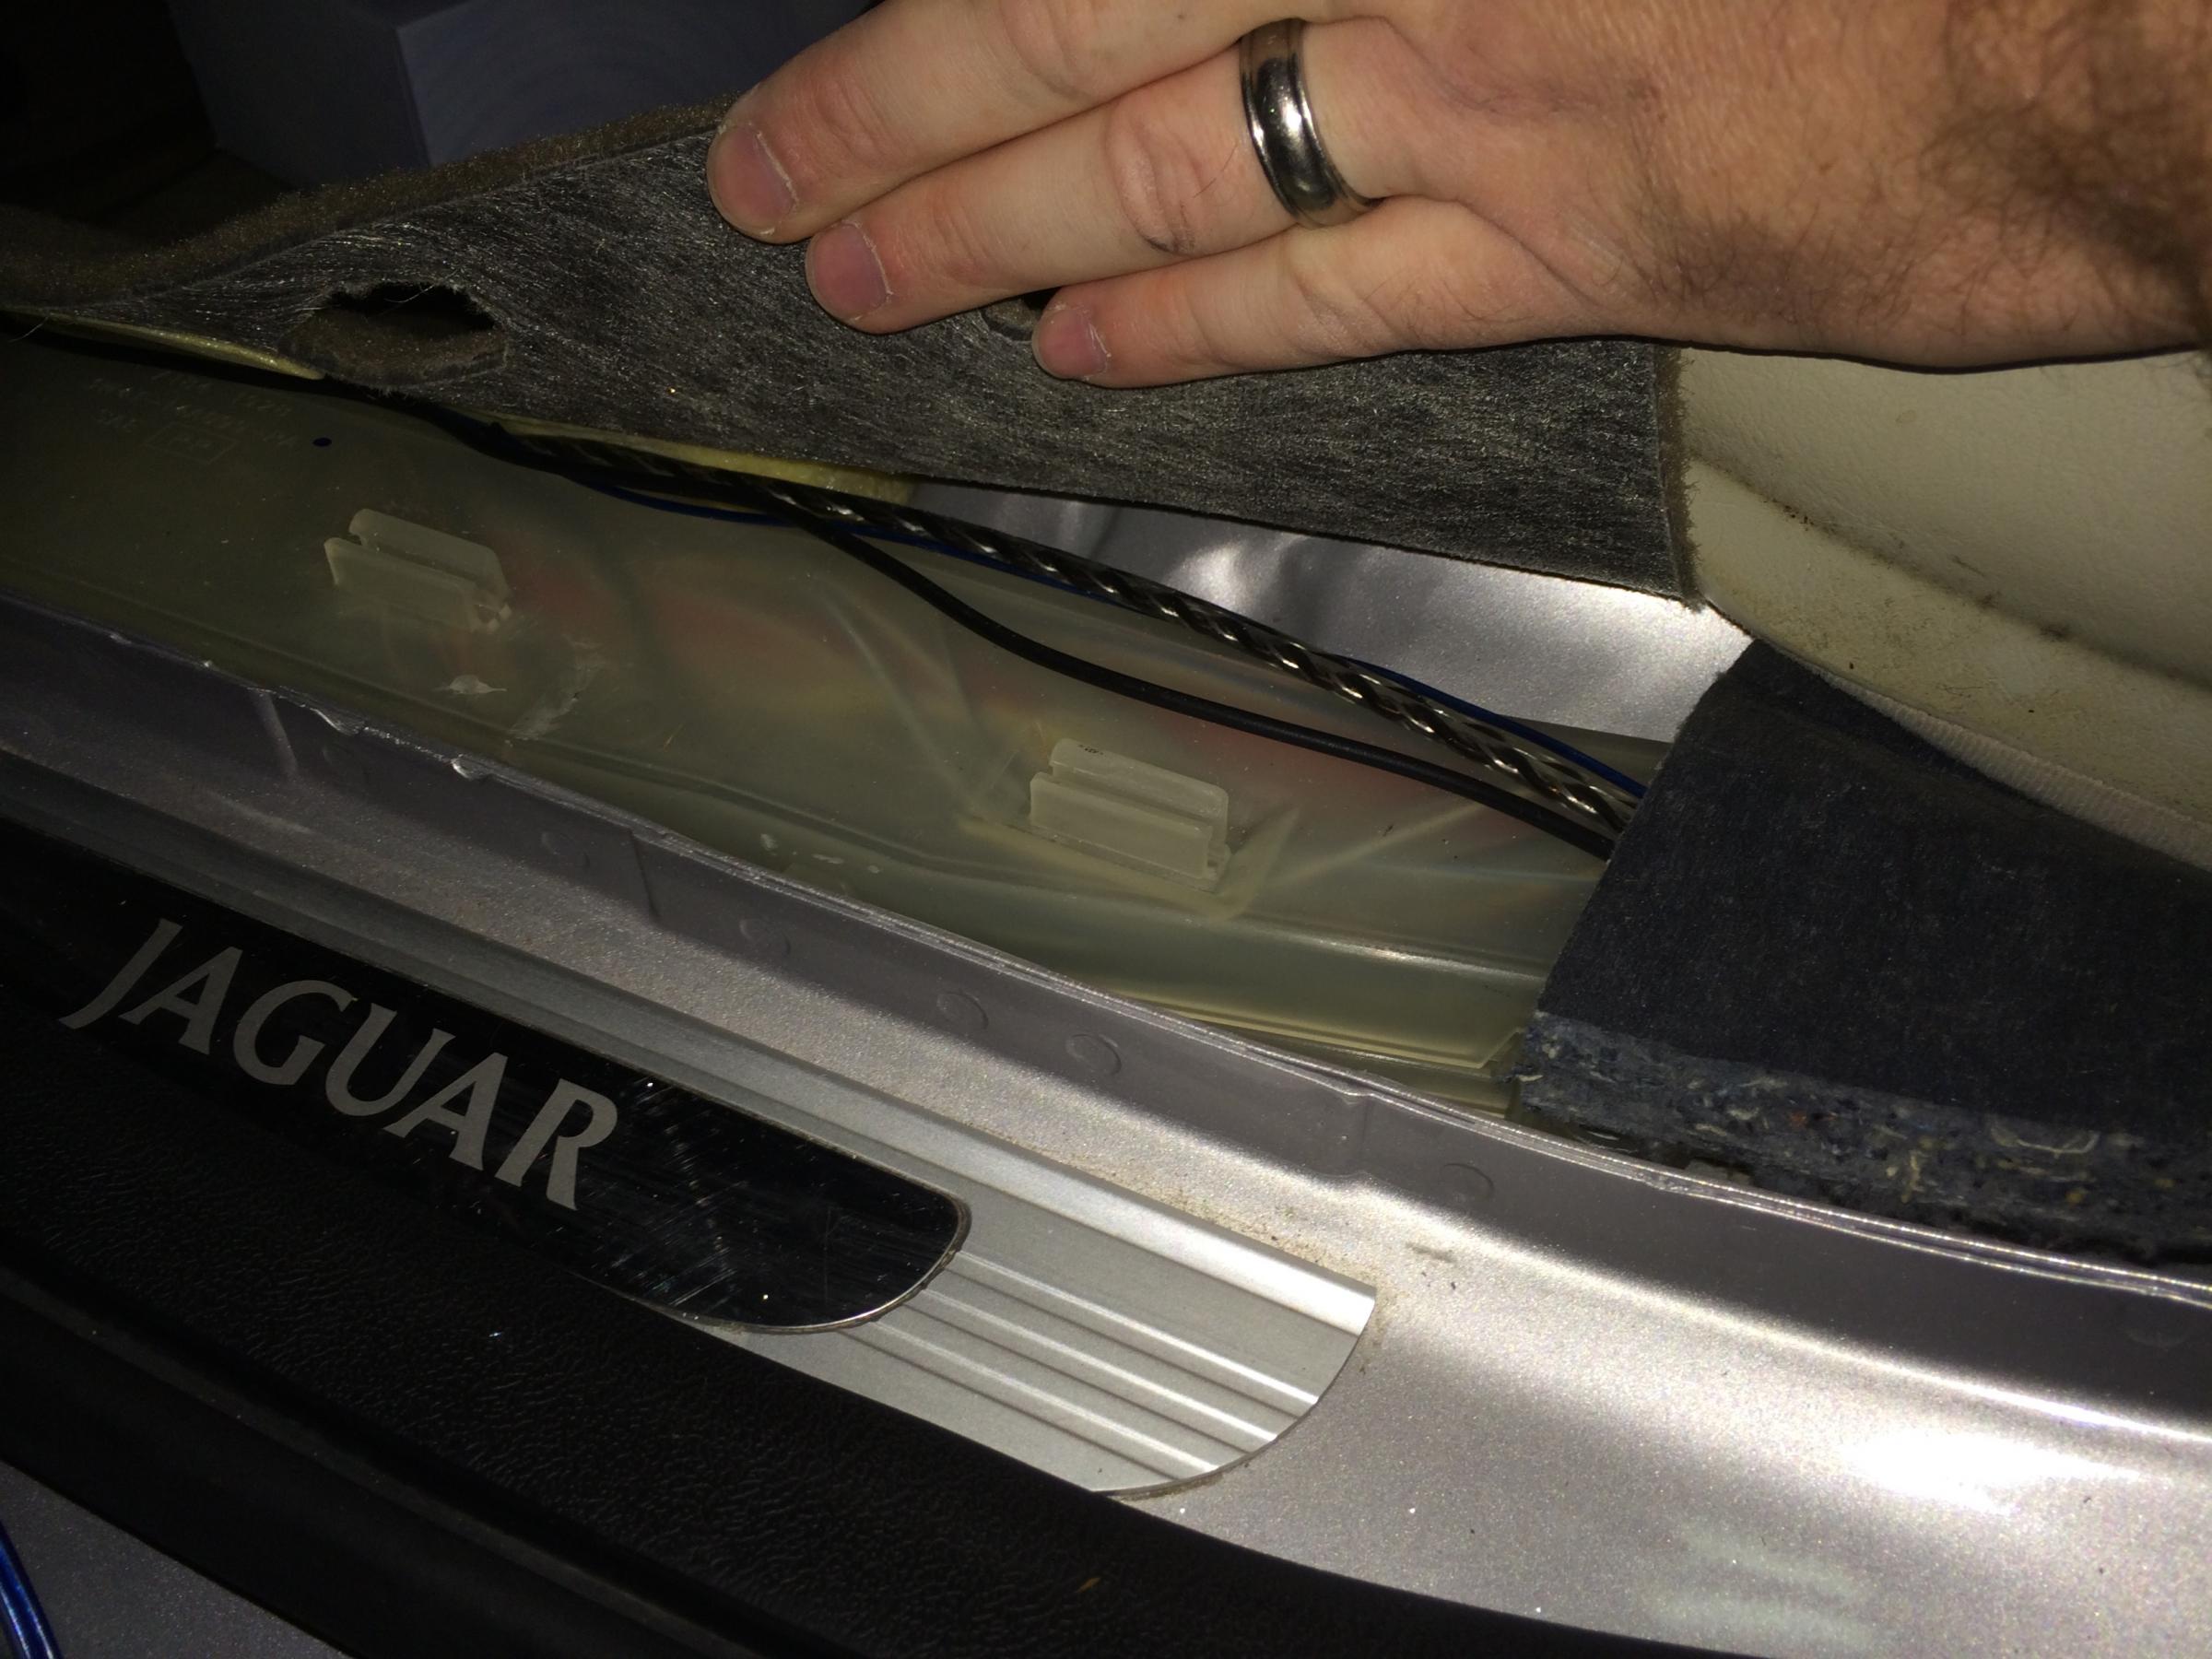
Next, comes running the wires needed to work and power the sub woofer, amp, and backup camera. This can be accomplished by running the wires from the opened console, under the steering wheel, down the side of the foot well and into the wire management conduit that runs right next to the door frame under the carpet. This will get you to the center pillar between the doors.
From the center pillar I decided to run the wires under the rear carpet and up between the seats and into the trunk. All of the wires I needed (remote turn on for the amp, sub woofer dual RCA speaker wire, single RCA video feed for backup camera, and a power switch from the backup camera power relay up to the head unit to let it know when to automatically switch to the backup view) fit between the seat and the back hidden out of view. I ran the wires behind the seatbelt and up into the trunk behind the folding seat. It takes a little maneuvering to get it just right, but it is clean and less destructive than other methods.
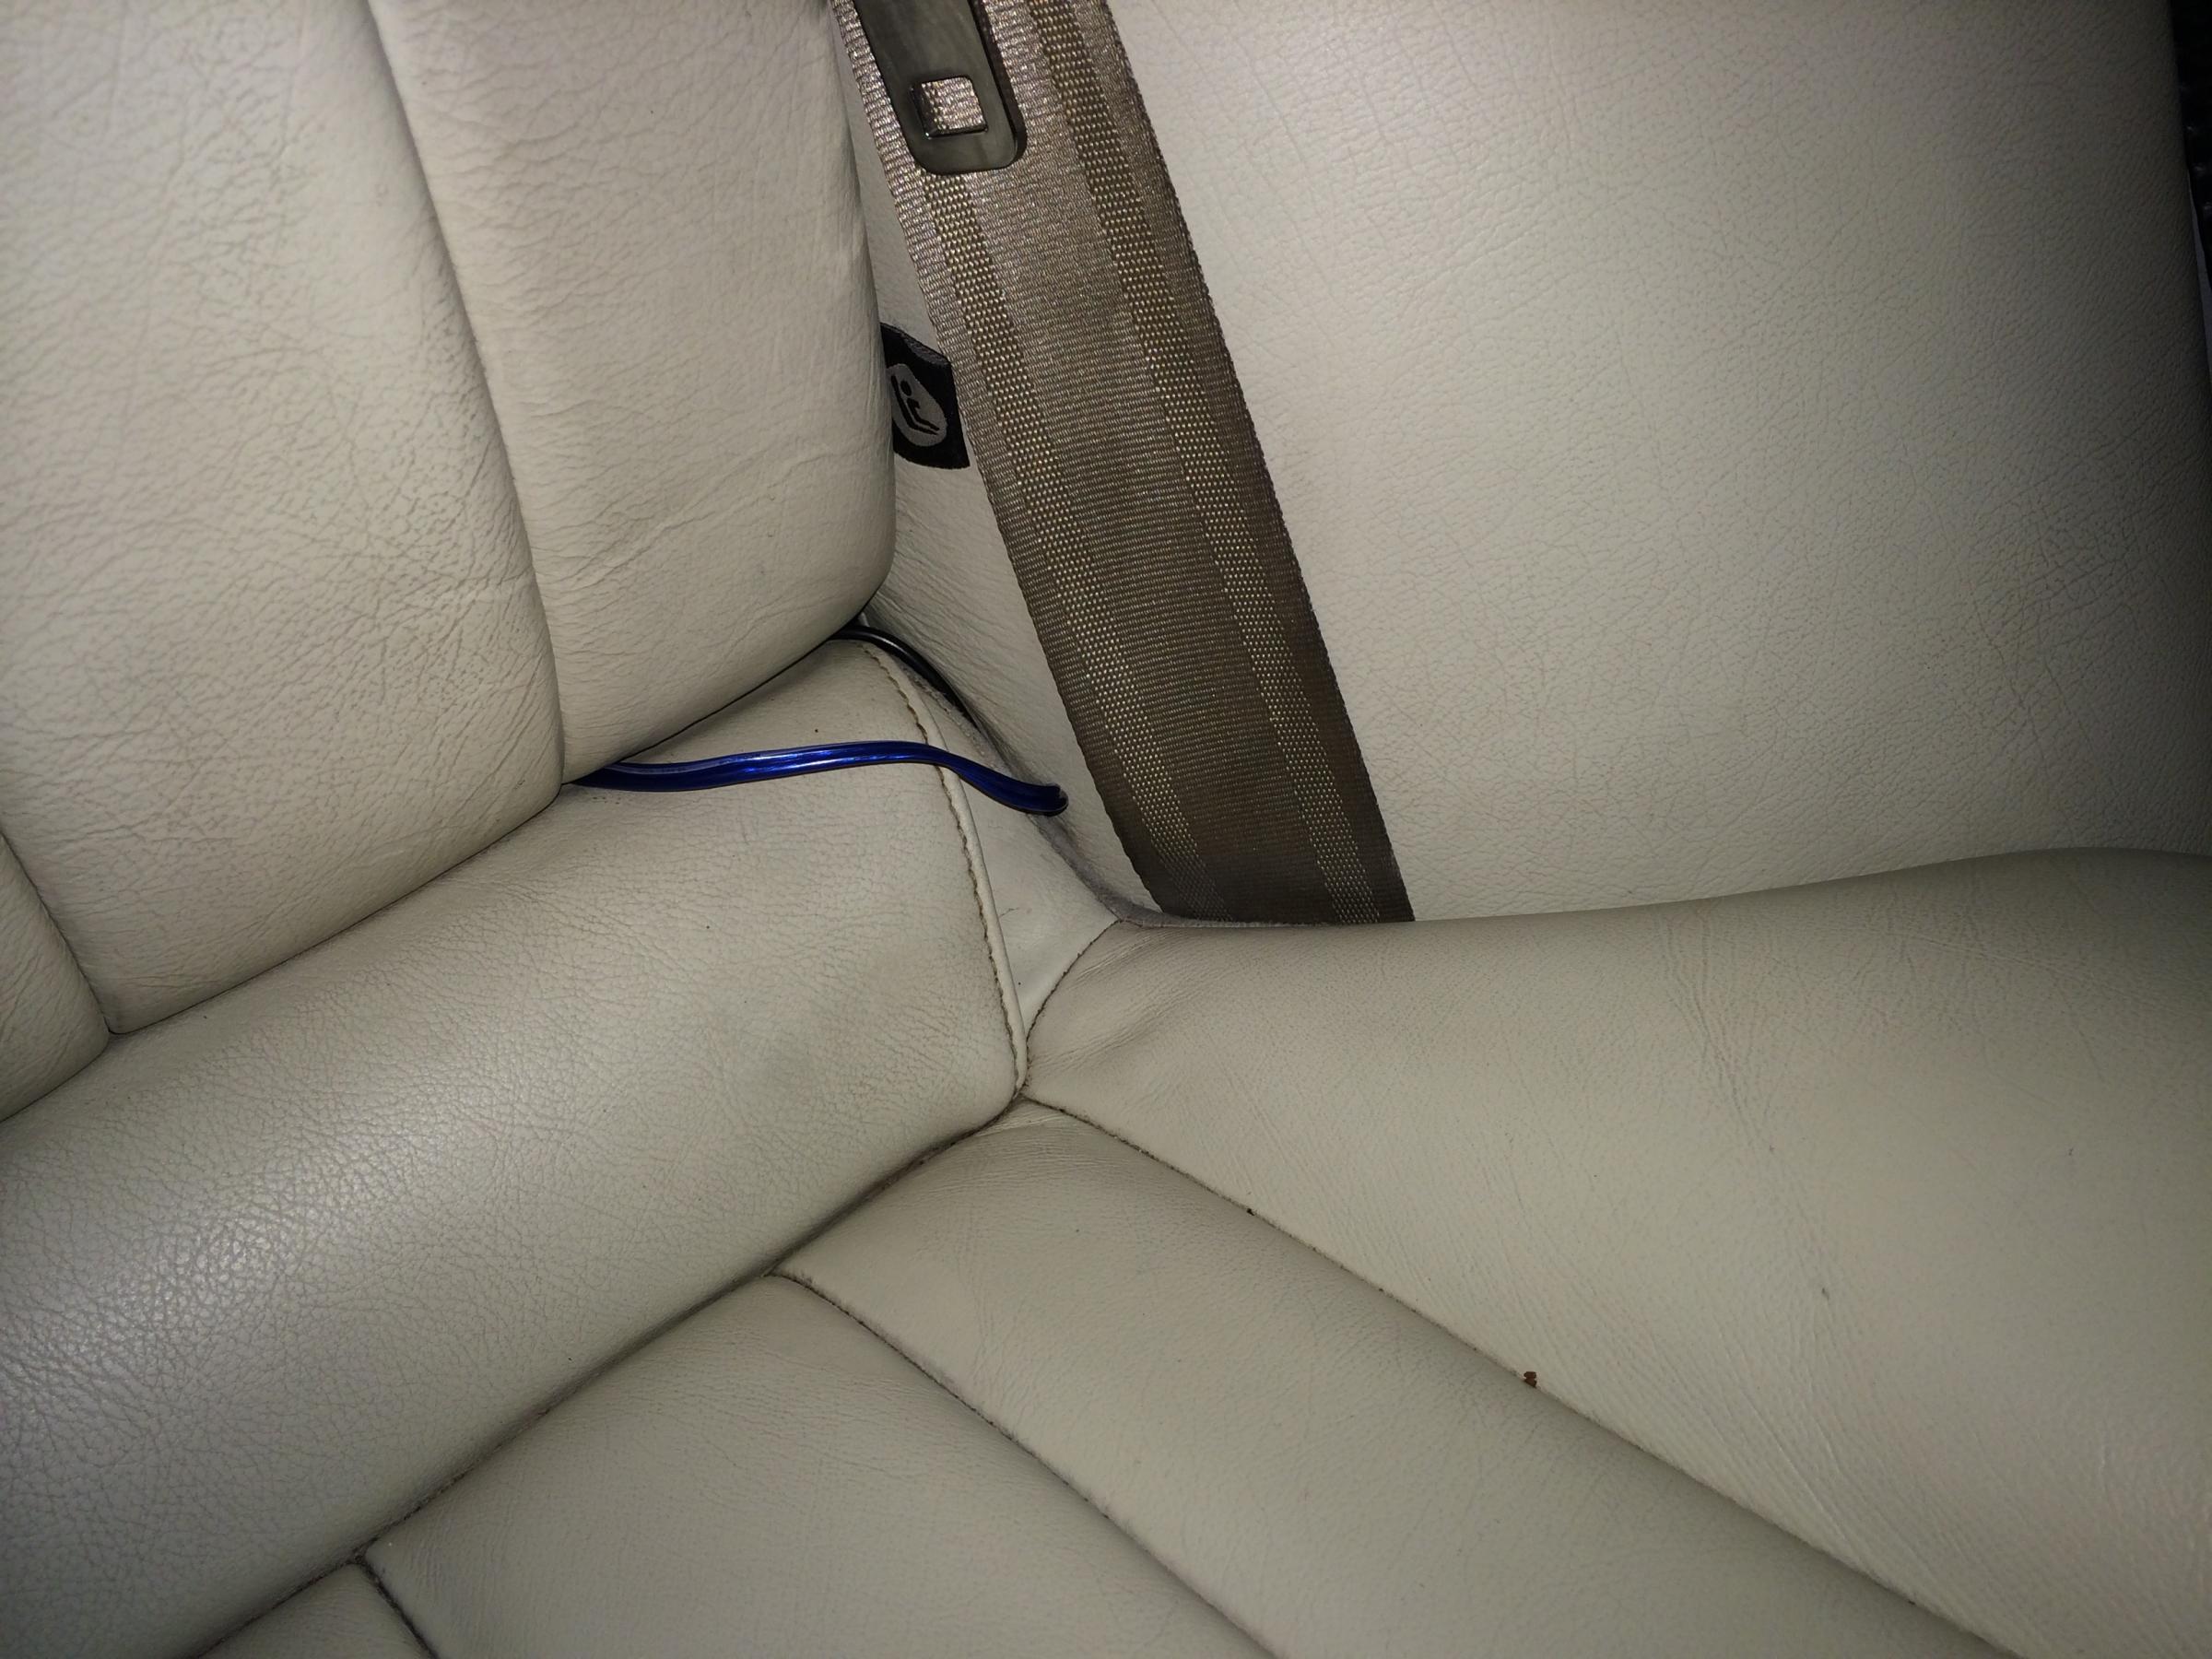

Pushing the wires between the seat and the back was much easier over near the center of the car and then they slid right over to the edge where I wanted them. Just some tucking between the seat and the side and all of the wires are hidden out of sight without having to drill holes.
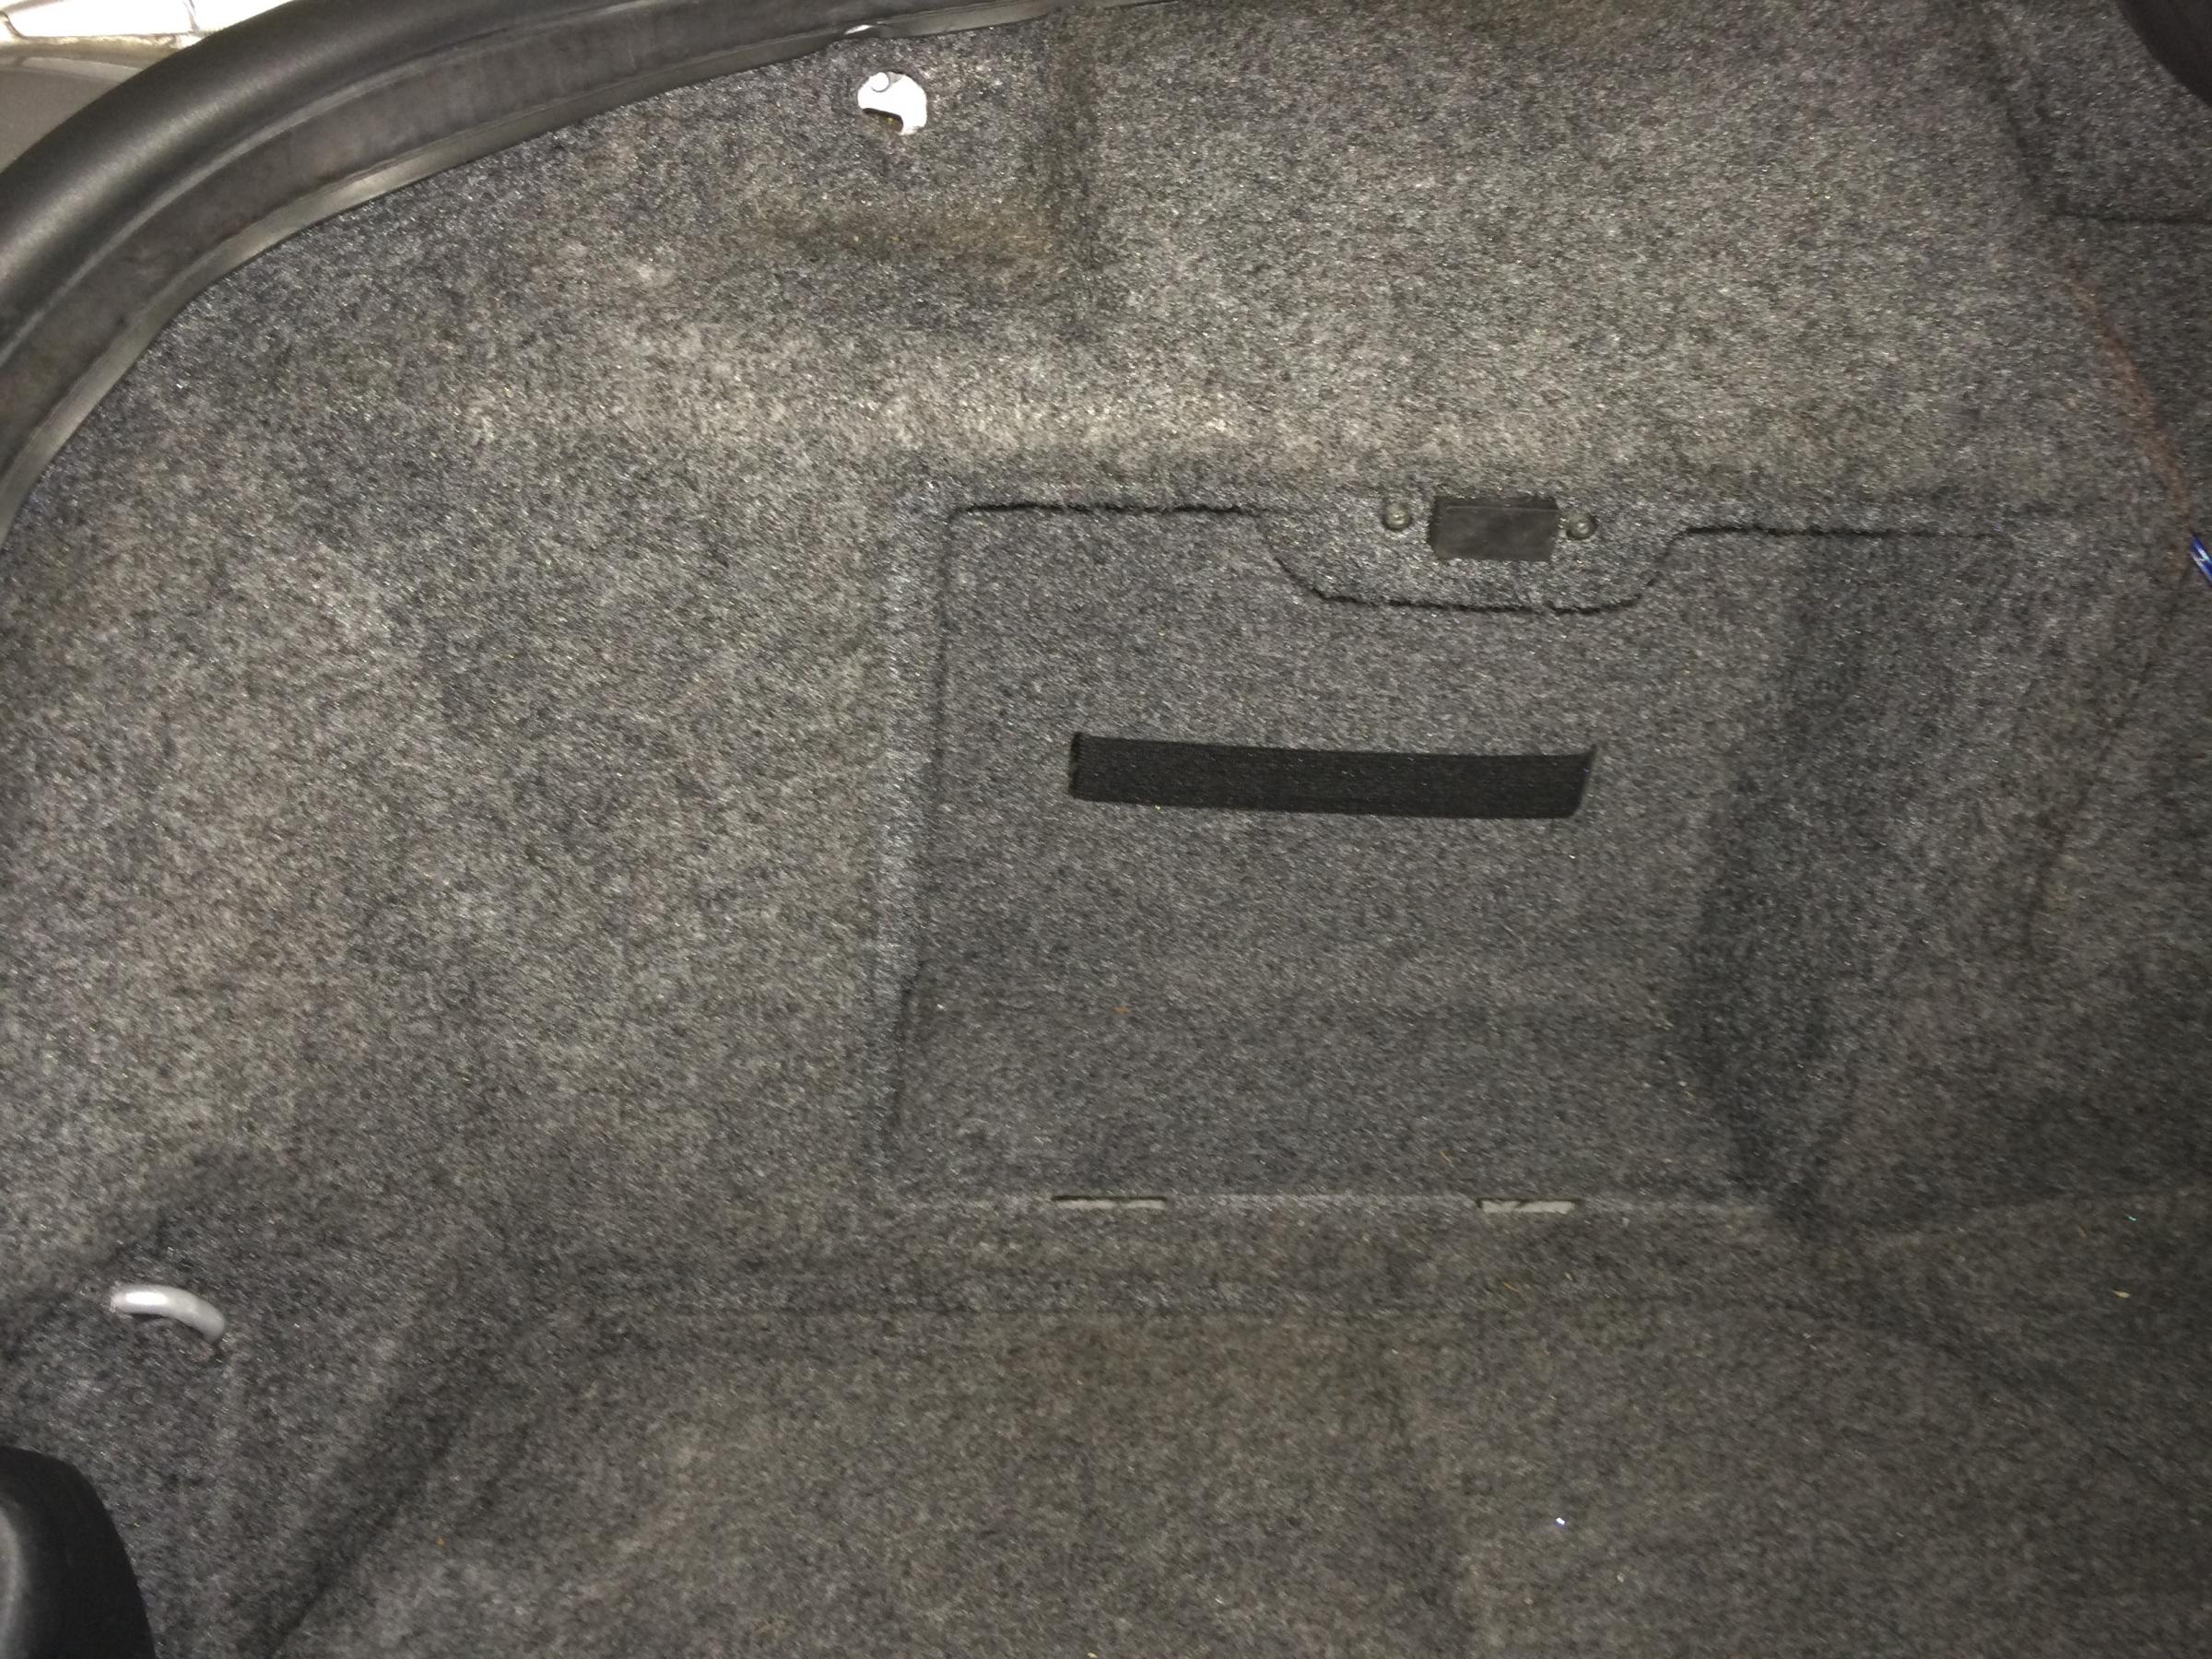
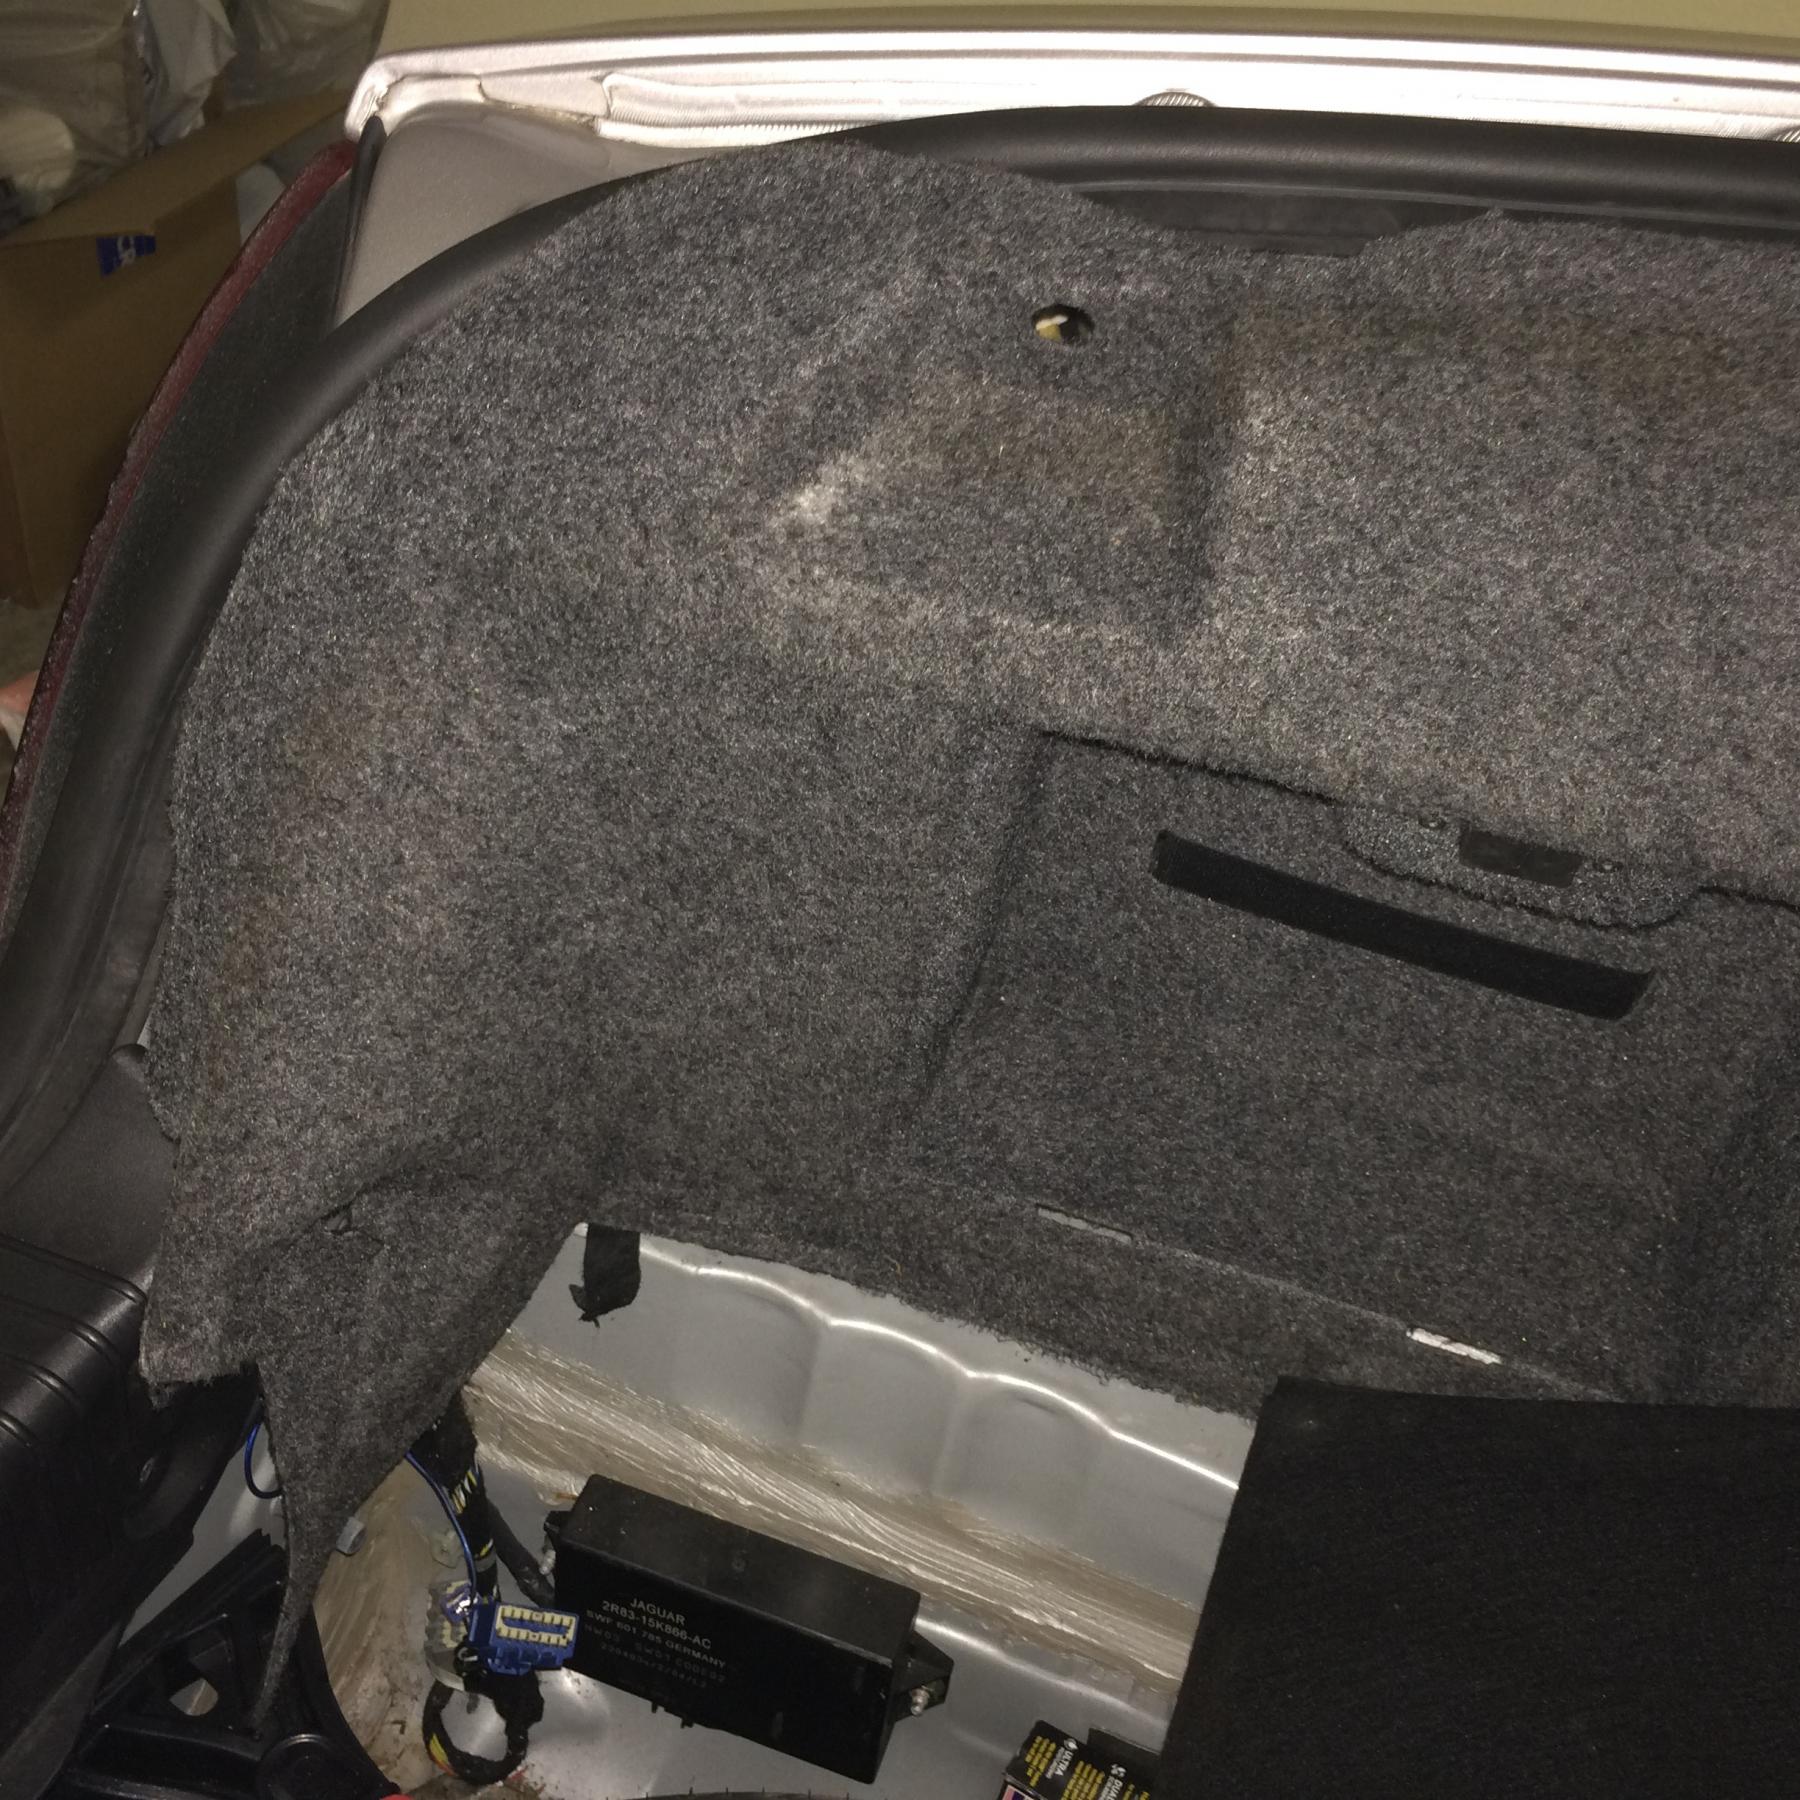
Getting to where the wires are that are needed to hook up the backup camera is pretty easy. Unscrew the black cargo tie on the driver's side of the trunk and pull the molded carpet away to reveal the rear light assembly.


Hooking up the backup camera was a bit of a pain. There is some weirdness with the reverse lights which is usually where you tap in to get power for the backup camera. To put it simply you can't really do that with the Jaguar. I went and bought a relay switch from AutoZone to wire everything up to work correctly.
You find a wire that is hot when the car is on and wire that up to the poles labeled 30 and 86. Then find the wire on the reverse light that changes from a hot to a ground when in reverse and wire that up to the pole labeled 85. Then on the pole labeled 87 your wire up the positive power to the camera and to the wire on the back of the head unit that senses when the car is in reverse so it knows to switch to that input so you can see the camera output on screen. Just find a ground for the negative on the camera and you are done.
Then it was a simple matter of hooking everything up, testing, and then putting the trim back where it goes.
Once it was all hooked up and tested it turned out looking like this:
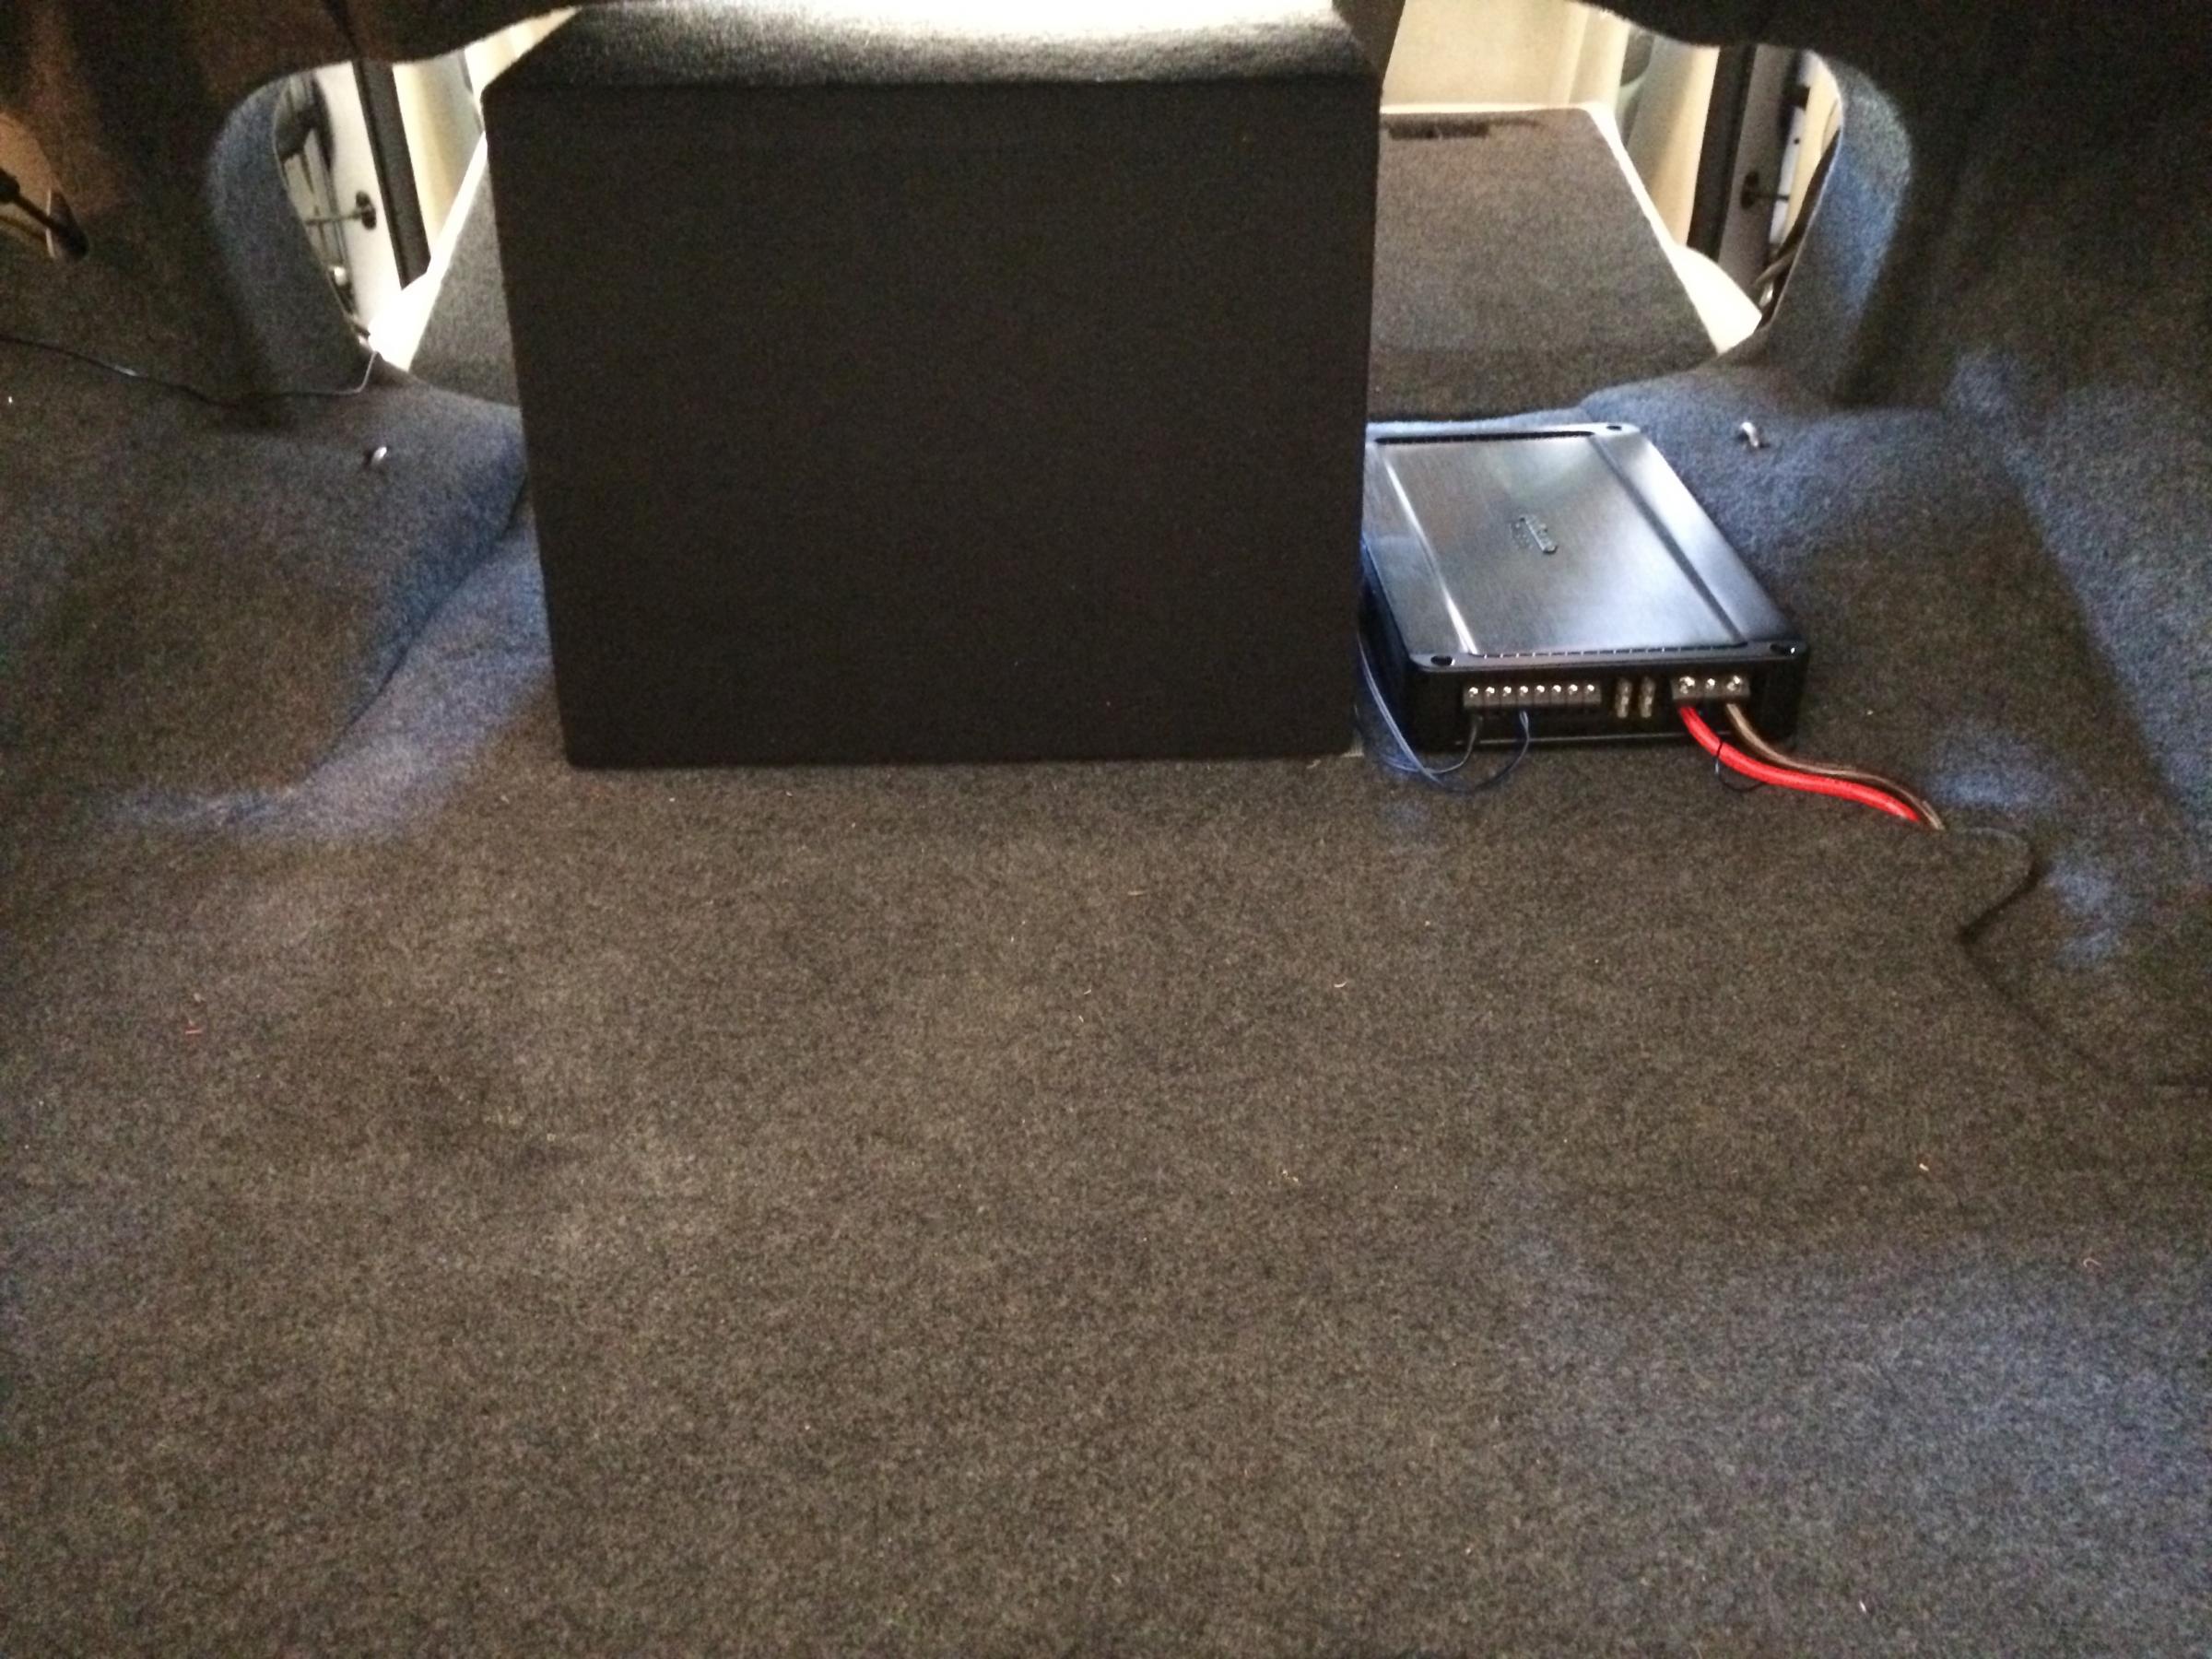
A view from the rear where the power lines go down to the battery and the remote turn on is fed from the head unit. The other side is the speaker wire that runs over to the sub woofer.
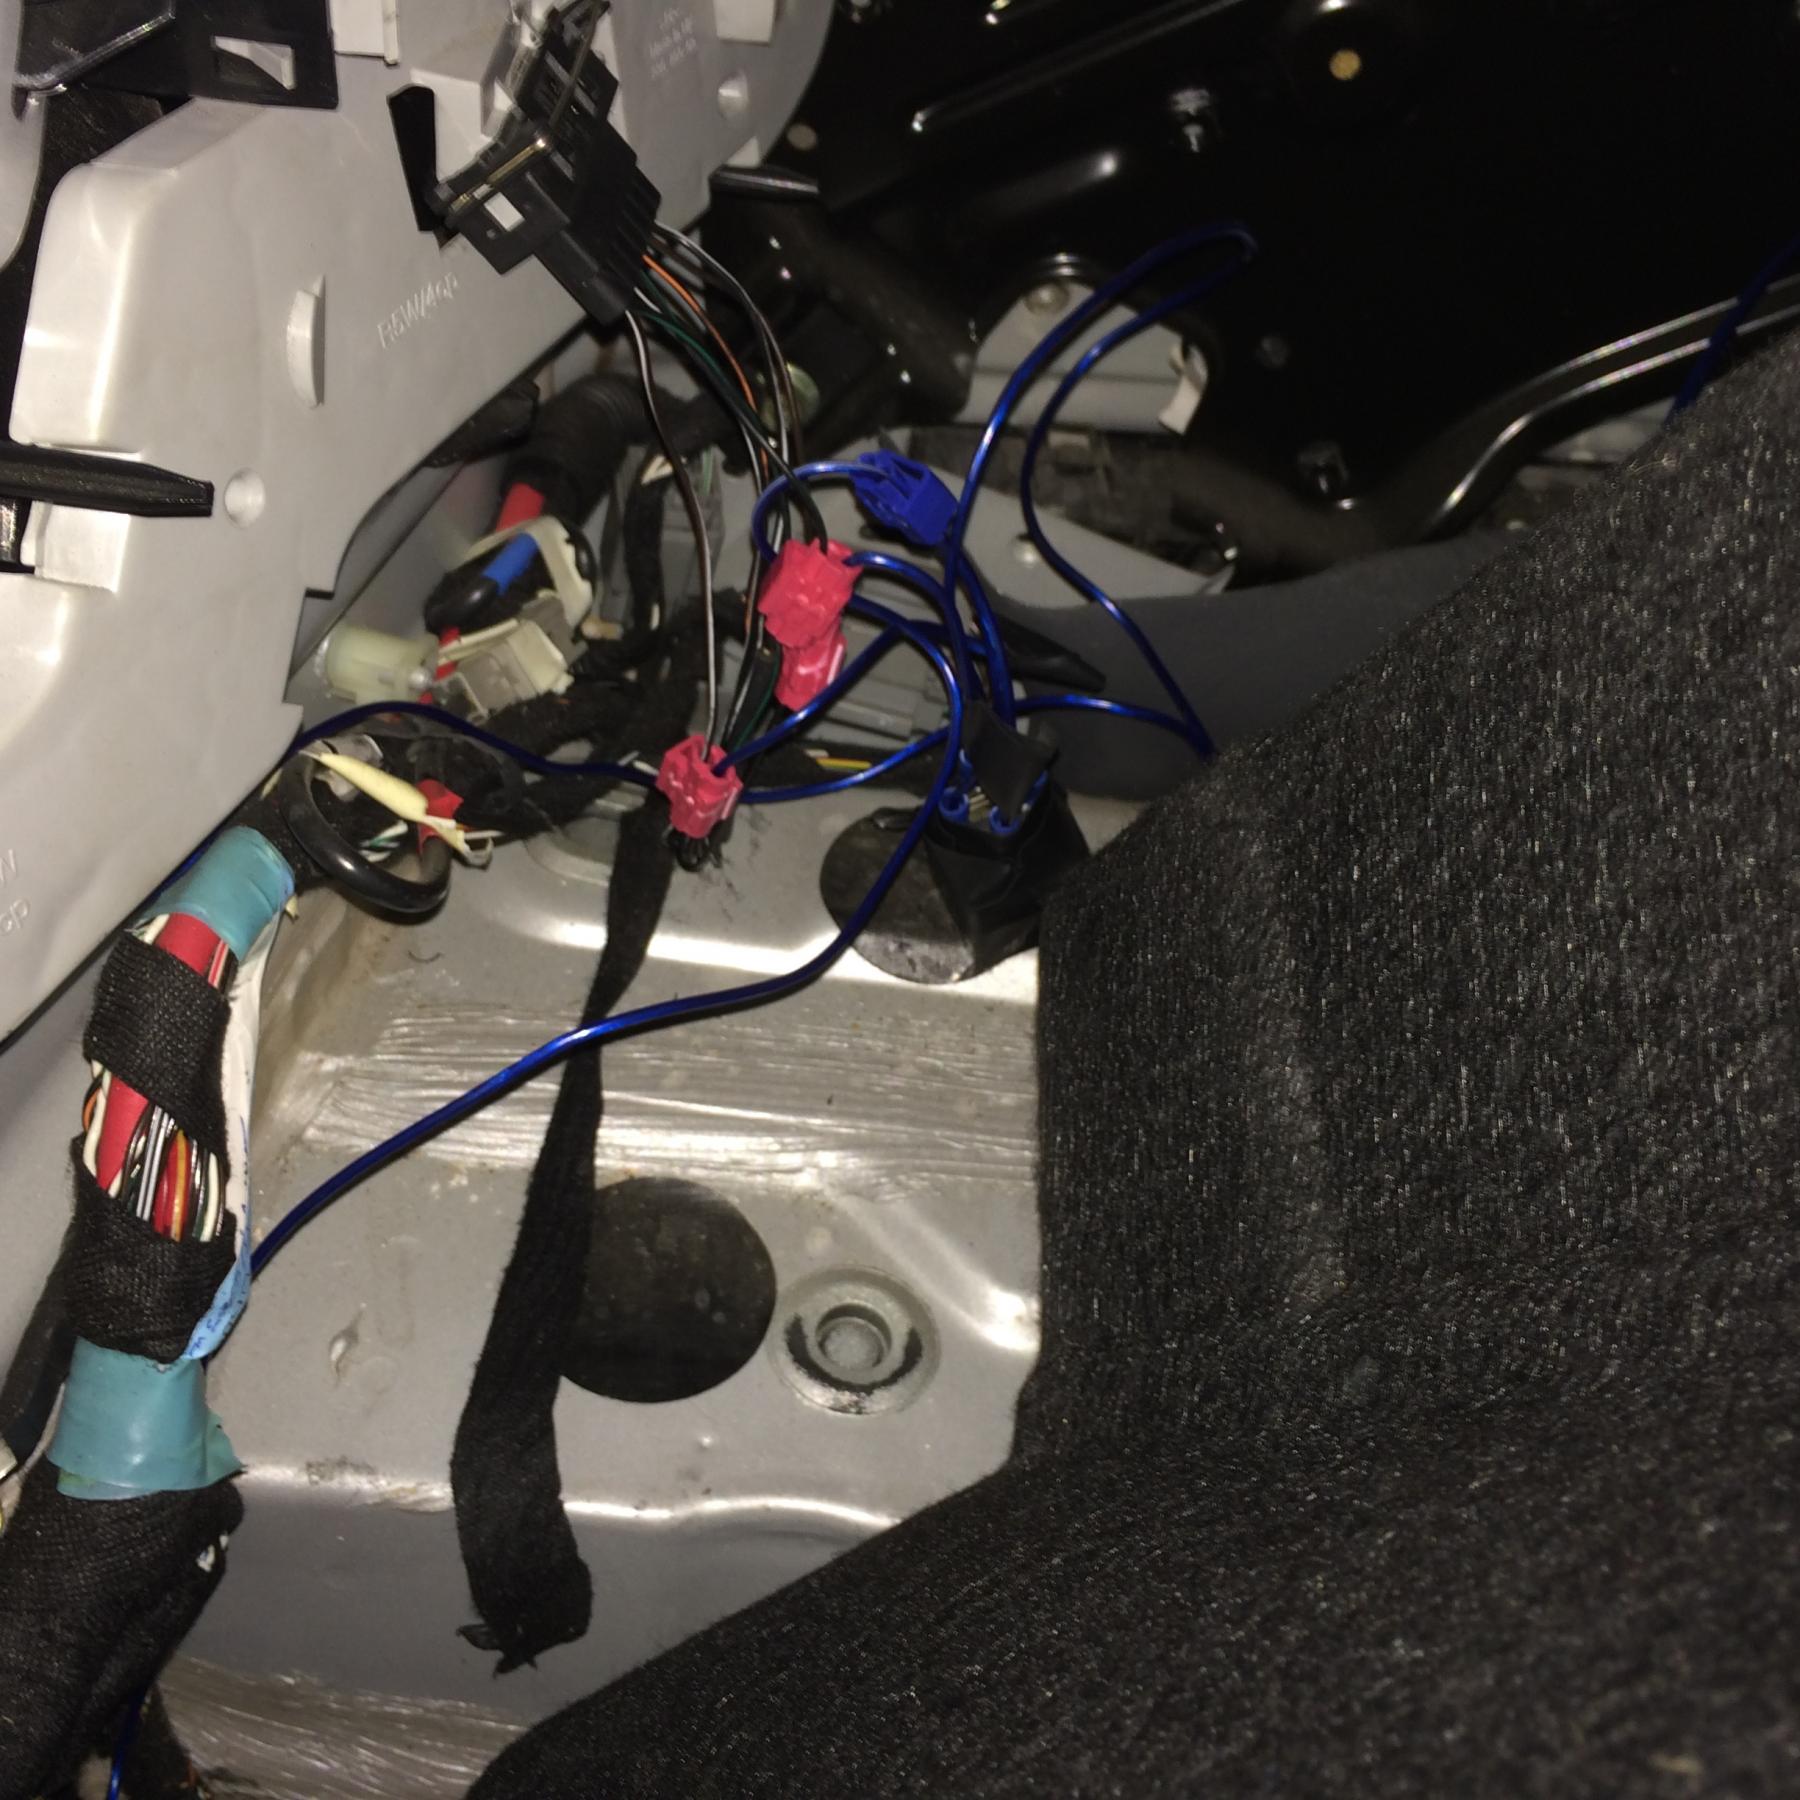
This is the view from inside the car with the rear seats down. You'll notice the wires are hidden under the carpets and only pop out right where they are needed.

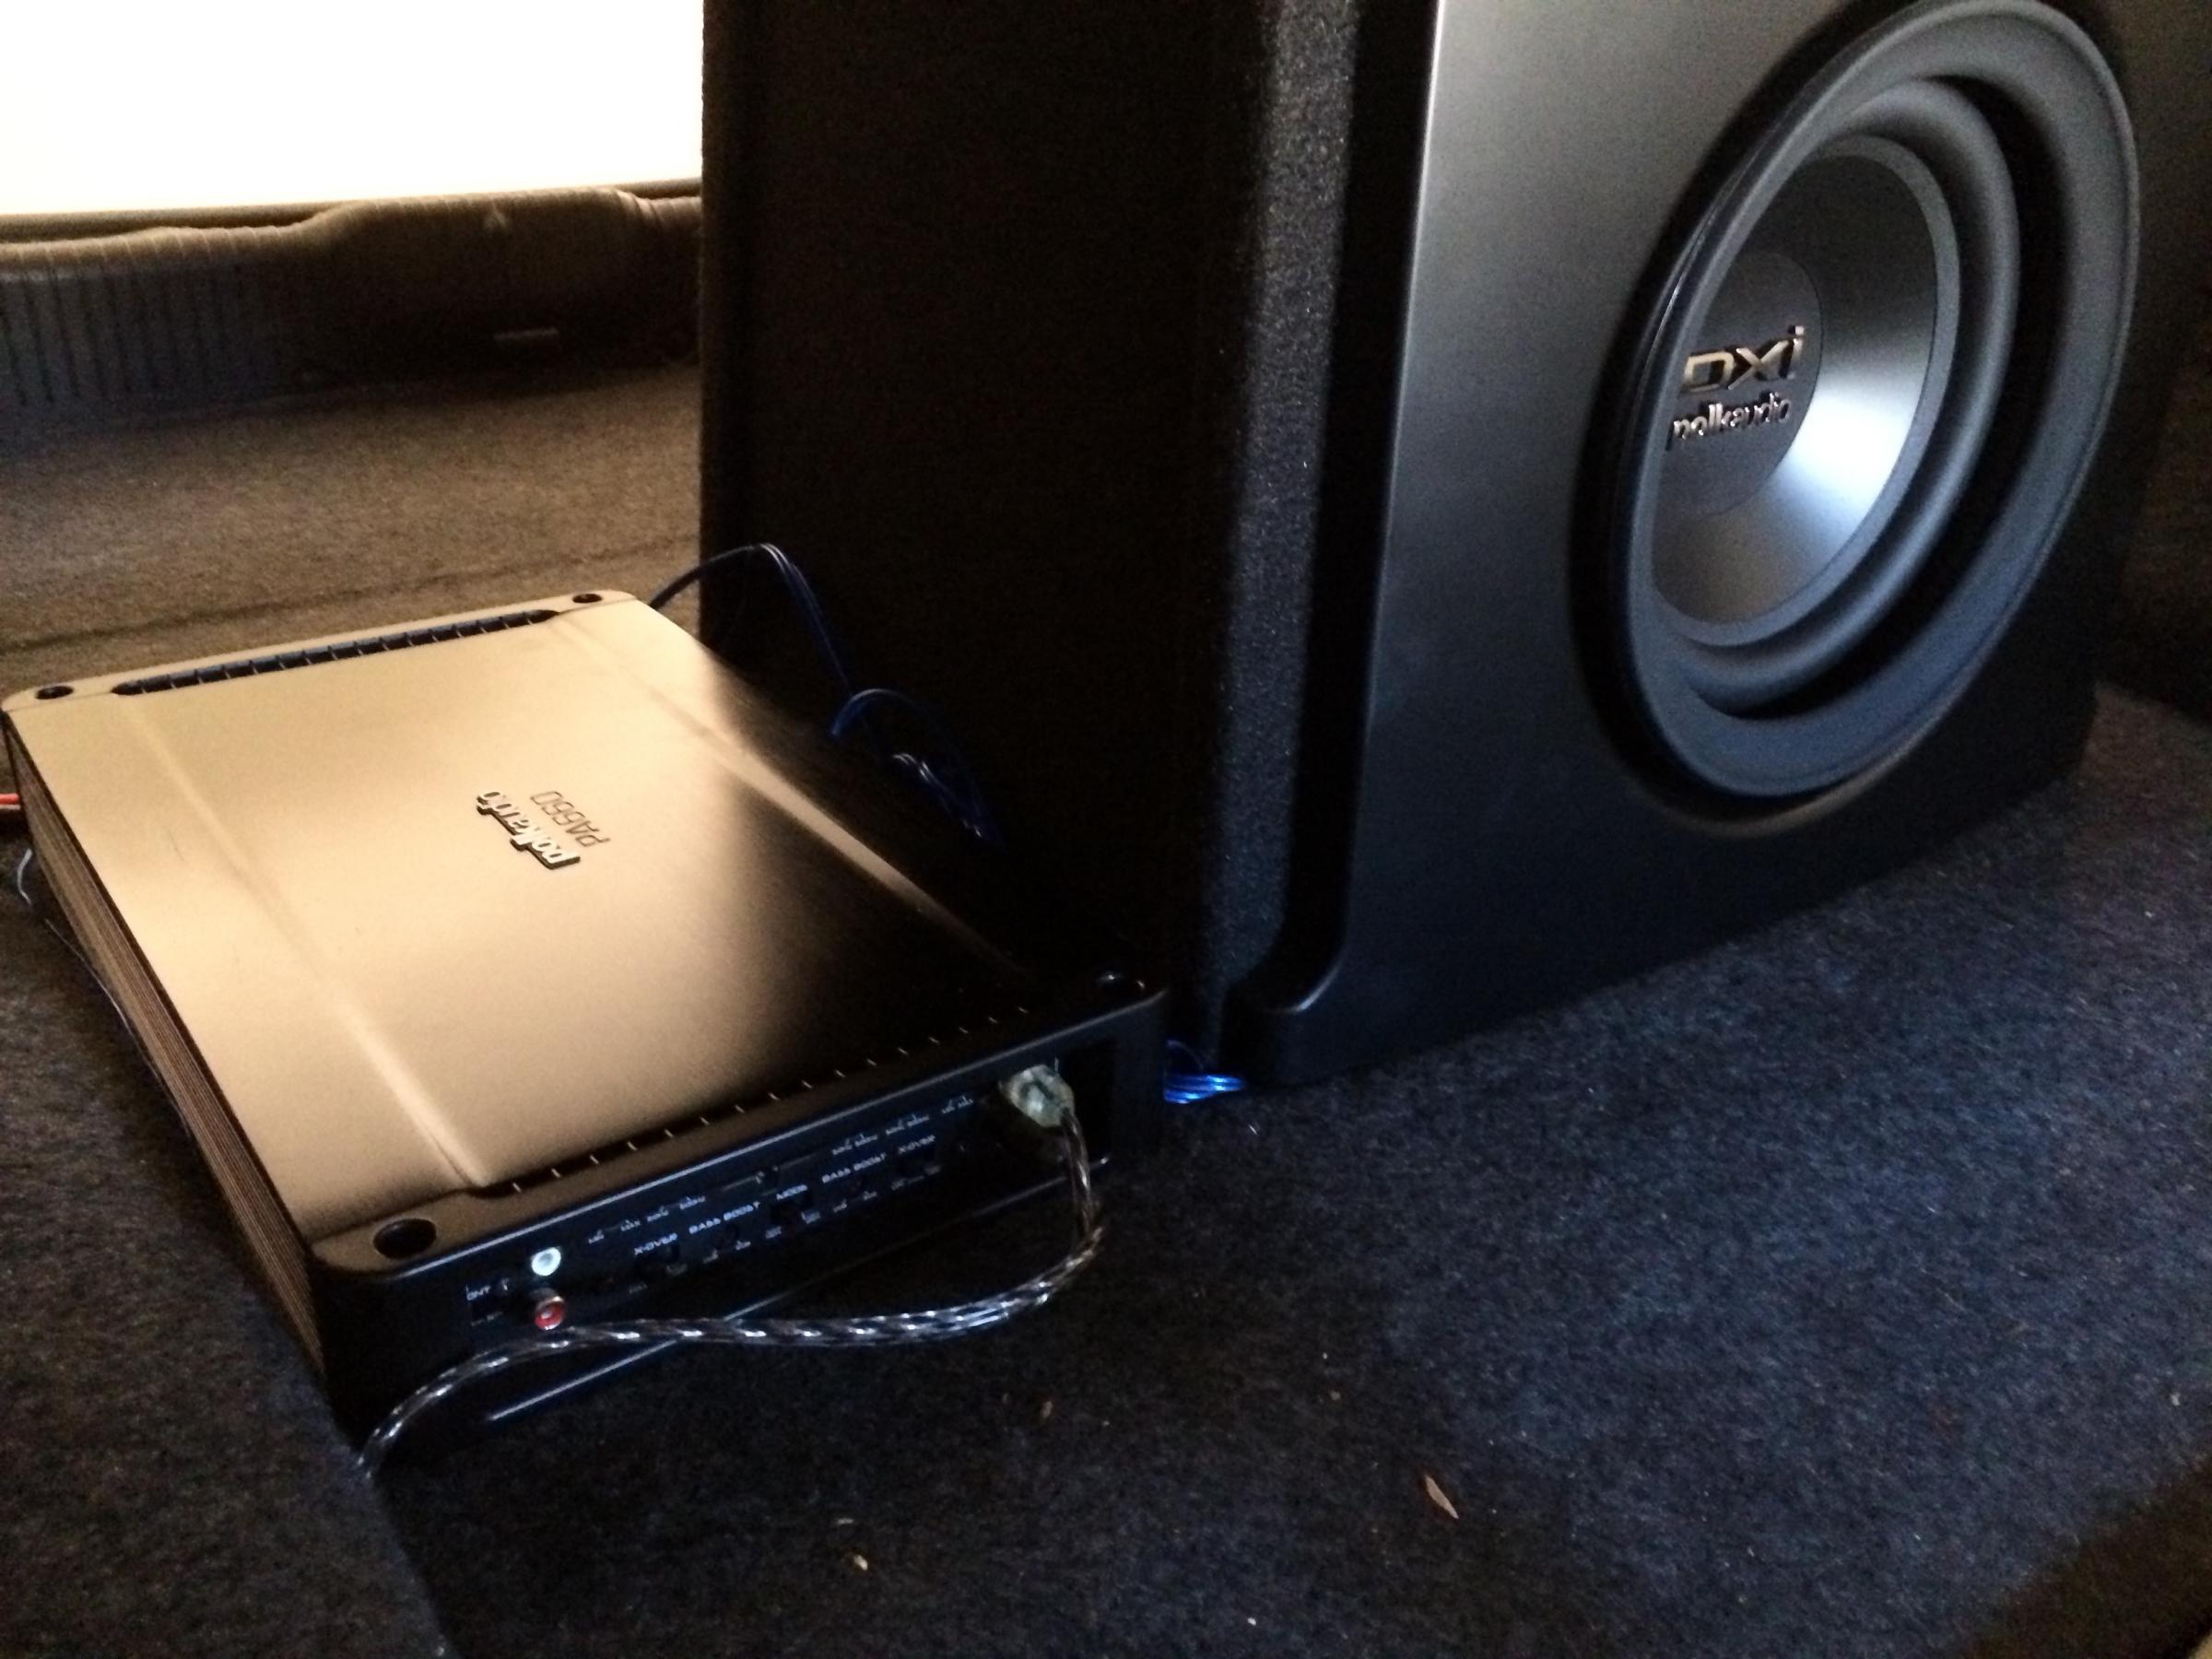
The sub and amplifier are positioned right up next to the rear seats with just a little space between. This leaves most of the trunk open for hauling groceries or luggage as needed. I also have attached the sub woofer and the amp to the floor with extra strong Velcro. I made four pieces of double-sided hooks Velcro by sticking two pieces of the glue backed Velcro hooks together. These were used to attach the carpeted sub box to the carpet of the trunk. I then put four pieces of Velcro hooks on the bottom of the amp and just stuck that to the carpet of the trunk next to the sub woofer. This makes for quick disconnects and removal if the need arises.
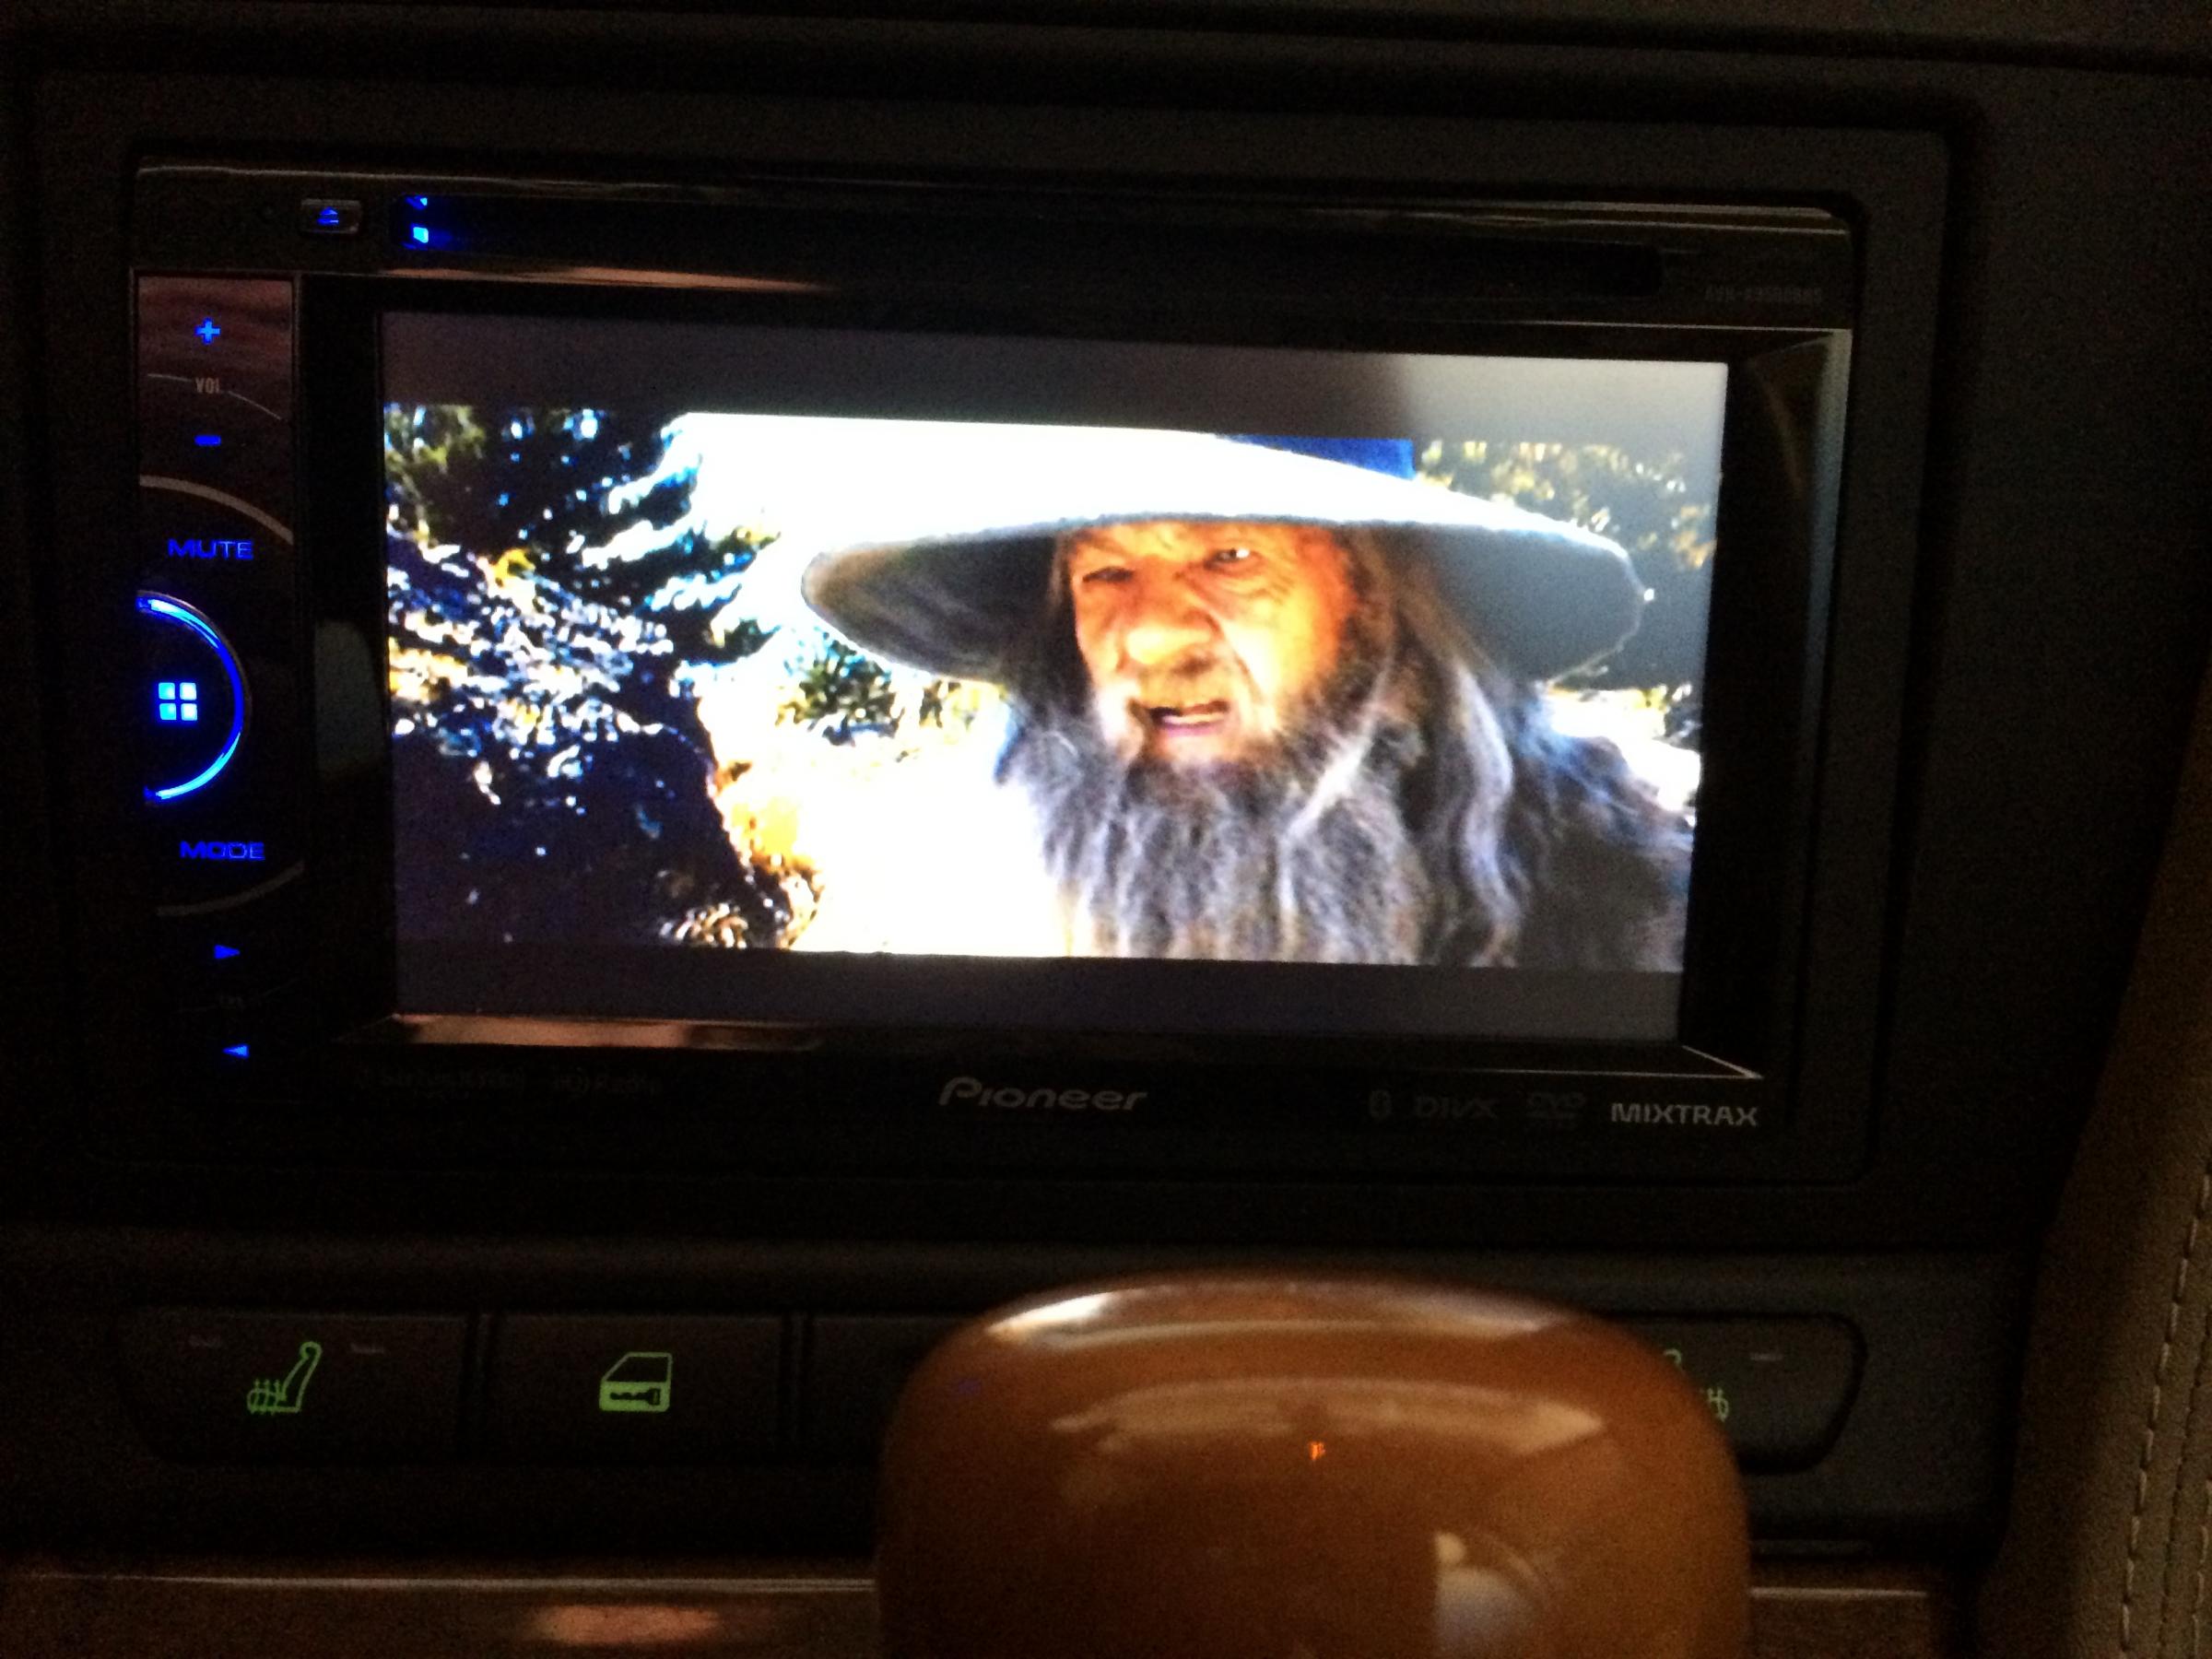
Here is the new head unit in place.
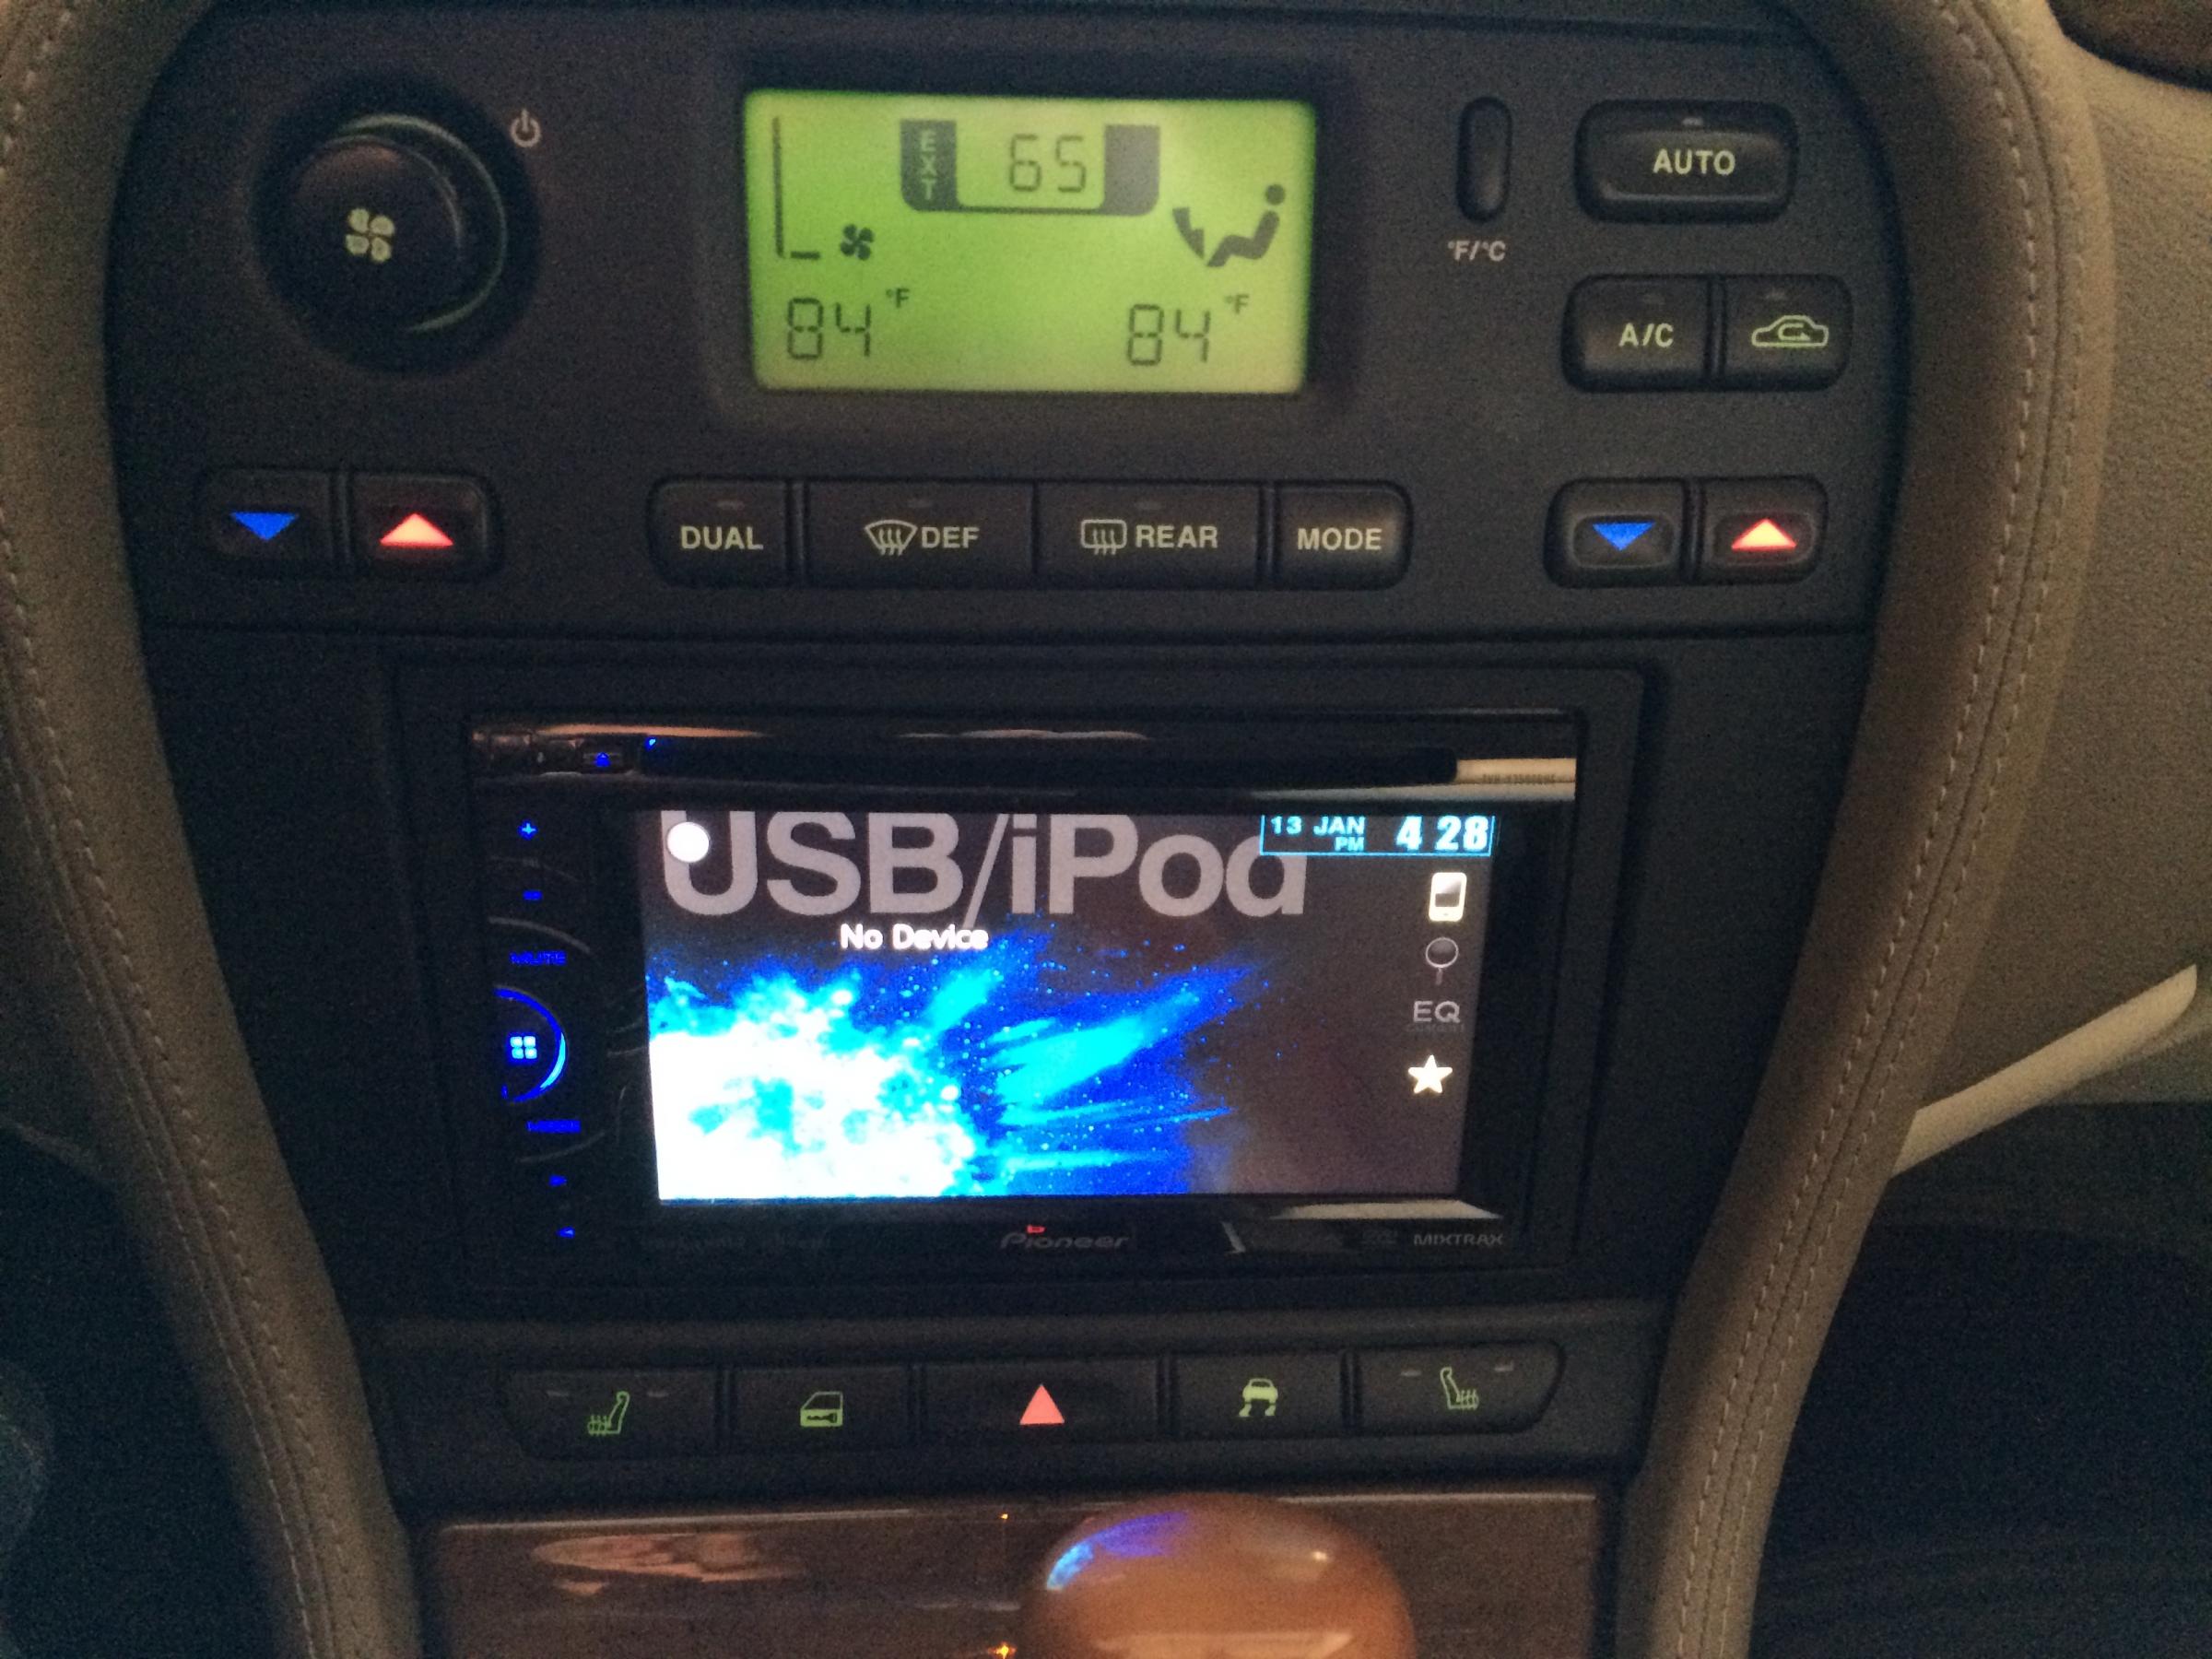
Watching The Hobbit...
The head unit was purchased from Crutchfield.com.
The amp and sub woofer were both purchased from BestBuy.com.
I got the so you don't have to have the vehicle in park to watch video on the screen of the DVD player from Amazon.com. I also got an and the from Amazon.
So I thought I would do a write-up for the system upgrade.
I started with removing the old system by taking the center console apart. You can find more detailed instructions in the article above. It is a fairly simple task to remove the old and start installing the new. I removed the panel underneath the steering wheel to provide access to running wires for the new system. I believe this is done with a size 35 Torx driver.
I then removed the threshold cover from the drivers door area to gain access to remove the footwell trim cover and the side pillar trim cover.
You can then remove the weather stripping from the bottom and sides of the door to make removing the trim panels easier. The weather stripping simply pulls off of the metal door frame.
Then you can pull out the footwell trim panel which has two clips on the door frame and it comes off by pulling it back towards the rear of the car.
Next comes the trim and weather stripping from the back door. You pull the weather stripping off the door and then pull the rear trim panel that goes next to the seat. This trim piece has three clips that attach to the floor and a pin between the seat and door frame that it will slide forward off of. You pull the front clips out of the floor catch and then forward off of the pin in the rear.
Then the center pillar trim pulls off. There are two clips near the bottom and then two more at the top.
Next, comes running the wires needed to work and power the sub woofer, amp, and backup camera. This can be accomplished by running the wires from the opened console, under the steering wheel, down the side of the foot well and into the wire management conduit that runs right next to the door frame under the carpet. This will get you to the center pillar between the doors.
From the center pillar I decided to run the wires under the rear carpet and up between the seats and into the trunk. All of the wires I needed (remote turn on for the amp, sub woofer dual RCA speaker wire, single RCA video feed for backup camera, and a power switch from the backup camera power relay up to the head unit to let it know when to automatically switch to the backup view) fit between the seat and the back hidden out of view. I ran the wires behind the seatbelt and up into the trunk behind the folding seat. It takes a little maneuvering to get it just right, but it is clean and less destructive than other methods.
Pushing the wires between the seat and the back was much easier over near the center of the car and then they slid right over to the edge where I wanted them. Just some tucking between the seat and the side and all of the wires are hidden out of sight without having to drill holes.
Getting to where the wires are that are needed to hook up the backup camera is pretty easy. Unscrew the black cargo tie on the driver's side of the trunk and pull the molded carpet away to reveal the rear light assembly.
Hooking up the backup camera was a bit of a pain. There is some weirdness with the reverse lights which is usually where you tap in to get power for the backup camera. To put it simply you can't really do that with the Jaguar. I went and bought a relay switch from AutoZone to wire everything up to work correctly.
You find a wire that is hot when the car is on and wire that up to the poles labeled 30 and 86. Then find the wire on the reverse light that changes from a hot to a ground when in reverse and wire that up to the pole labeled 85. Then on the pole labeled 87 your wire up the positive power to the camera and to the wire on the back of the head unit that senses when the car is in reverse so it knows to switch to that input so you can see the camera output on screen. Just find a ground for the negative on the camera and you are done.
Then it was a simple matter of hooking everything up, testing, and then putting the trim back where it goes.
Once it was all hooked up and tested it turned out looking like this:
A view from the rear where the power lines go down to the battery and the remote turn on is fed from the head unit. The other side is the speaker wire that runs over to the sub woofer.
This is the view from inside the car with the rear seats down. You'll notice the wires are hidden under the carpets and only pop out right where they are needed.
The sub and amplifier are positioned right up next to the rear seats with just a little space between. This leaves most of the trunk open for hauling groceries or luggage as needed. I also have attached the sub woofer and the amp to the floor with extra strong Velcro. I made four pieces of double-sided hooks Velcro by sticking two pieces of the glue backed Velcro hooks together. These were used to attach the carpeted sub box to the carpet of the trunk. I then put four pieces of Velcro hooks on the bottom of the amp and just stuck that to the carpet of the trunk next to the sub woofer. This makes for quick disconnects and removal if the need arises.
Here is the new head unit in place.
Watching The Hobbit...
The head unit was purchased from Crutchfield.com.
The amp and sub woofer were both purchased from BestBuy.com.
I got the so you don't have to have the vehicle in park to watch video on the screen of the DVD player from Amazon.com. I also got an and the from Amazon.
Last edited by coreytrice; 01-20-2014 at 09:43 AM. Reason: Link fix
The following 3 users liked this post by coreytrice:

Thread
Thread Starter
Forum
Replies
Last Post
philwarner
XJ6 & XJ12 Series I, II & III
16
09-05-2015 10:05 AM
2003, amp, backup camera, door, jaguar, remote, reverse, running, stereo upgrade, sub woofer, type, weatherstrip, wire, wiring
Currently Active Users Viewing This Thread: 1 (0 members and 1 guests)