When you click on links to various merchants on this site and make a purchase, this can result in this site earning a commission. Affiliate programs and affiliations include, but are not limited to, the eBay Partner Network.
After work today, I'm planning to replace the oil pressure switch on my '02 S-Type V6. I've seen plenty in the archives about the switch itself and how to diagnose oil pressure problems, but nothing about the best way to reach the switch. Access from the top looks very tight. Is it better to raise the front end and crawl underneath?
Thanks for any suggestions to make the task easier.
I've had the low oil pressure light illuminate a couple of times this week. Both times, this was at idle with the engine fully warm. A slight increase in RPM quickly extinguished the light. Oil level was at the top of the band, and was checked immediately and then again after letting the engine sit for about 20 minutes, to ensure complete drainback, with no difference noted. The oil (10W-40) and filter was changed about 2 months/2000 miles ago. The engine has about 180,000 miles on it.
There was no abnormal noise or any other symptoms to indicate an actual low pressure condition, but the light wasn't on more than 5 seconds each time. I'm not getting any codes. From what I understand (please correct me if I'm wrong), codes such as P1388 or P1389 can be a canary in the coal mine, so to speak, to indicate oil pressure that is creeping downward but isn't yet low enough to turn on the idiot light. This past spring, I had tried 5W-20 oil but soon started getting those two codes, but never the low oil pressure light. I quickly changed back to 10W-40 and the codes never returned. Everything was fine again until the low oil pressure light came on twice this past week.
Before I rig up a test gauge to confirm the actual oil pressure, I'm willing to gamble on a new pressure switch and see what happens. I've had a similar situaton on another vehicle and the pressure switch was at fault, so I'm hopeful.
No joy on any easy access. From the top, the switch is not even visible. It looks like either the power steering pump or exhaust manifold (or both)would have to come off. My best bet looks to be from the bottom, after loosening the serpentine belt and unbolting the AC compressor and swinging it out of the way. Even then, there'd be very limited room to swing a wrench.
Anybody here ever tackle one of these? I was sure hoping my 20/20 ($20 switch and 20 minutes) gamble would pay off, but now it looks like it would take several hours, at least. Even if the switch wasn't a likely fix, I'll still need access to connect a mechanical test gauge.
I did do an oil pressure test on a V6 Jag. Unfortunately, I can't remeber what year. It was to diagnose a "VVT over retarded" code. I remember that it was out of the question for me from underneath with the car on the rack. I removed the switch and guage several times from the top. I had to unbolt and flop over, what I seem to remember was, the power steering fliud reservoir.
It was a tight fit, but, it was possible. I don't think you can see what you're working on. An inspection mirror and a good imagination was required. I did not have to remove any major components and it took about 15-20 minutes to remove one and install the other.
As a side note; the threshold for the VVT code to set was about 20-21 psi. I ran it on the dyno and watched the oil pressure and VVT command and feedback.
No wrenches.Sockets, extensions and universal joints worked for me.
Good luck.
Last edited by jchavez76; 10-26-2012 at 12:40 AM.
Reason: more info
Success! Thanks for the suggestion. After loosening the serpentine belt and unbolting the power steering pump, there was just enough room for my giant mitts. I didn't touch the power steering reservoir, working more from the front instead. Turns out I misread your instructions and removed the pump, not the reservoir, but it all worked out fine. I also removed the tube between the air filter and the throttle body. From start to finish, it took a little over an hour. So far, no light at idle so I'm happy. The only downside is I'm now constantly watching for the light and listening for any little clatter that could still indicate low oil pressure...
Some quick tips regarding the power steering pump: Three bolts secure it to the block. A 10mm offset ratcheting dogbone wrench would be really handy, especially for the upper aft bolt. Make sure the dogbone is the type with a reversing lever, not the type you have to flip over, because otherwise there may not be enough room to remove the wrench.
Remove the upper forward bolt last and install it first, because once last bolt is loosened and the pump sags away from the block, that puts a lot of side load on that bolt. Until then, it was possible to spin the bolts out by hand, but not so with the last one. You might as well make that "tough" bolt the easiest one to reach. Also, the upper aft bolt is too long to remove completely. It has to stay trapped in the pump body. Put a rubber band over the bolt head to keep it from migrating partway out and jamming against the fender well.
I forgot to mention one last thing. If you're wondering exactly where that pesky switch is located, sight down the upper portion of the dipstick tube. This top portion, above the upper bend, points almost directly at the switch. Doesn't make it any easier to reach, though...
That's for an '05 V6. I don't think there are any significant changes in the procedure for an earlier model like mine. Also note he drained and moved the power steering reservoir for access. I did it the hard way by removing the pump.
Karl, as mentioned in Donna's thread, I had occasion to go back in a couple more times after switch renewal. The last time (and the next, as I still need to remove the mech. gauge and associated apparatus) id did not drain the ps res, but just displaced it out of the way. I do always pull the air box out, though.
The switch I installed 12 years ago sprung a leak. I had a copious oil leak somewhere in the general area of the dipstick tube, but couldn't track it down. Turns out at idle, the pressure wasn't high enough for the switch to leak. I never thought to test at higher RPM, but that's when the leak occurred. The switch was leaking internally, into the electrical connector, and not around the threads or body. I got lucky one day and just happened to see a drop come from the connector.
Replacement went a lot easier this time. Make sure the engine is cool, as you'll be working in close vicinity to the exhaust manifold. Following the advice of others, I removed the intake duct between the air cleaner and throttle body. Next, remove the air cleaner housing. There's one bolt on the aft side, and then just pull straight up. A prong on the bottom of the housing snaps into a receptacle underneath, at the inboard end. The red arrow shows the prong:
With the housing out of the way, you now have room to swing the power steering reservoir forward for access. Others have drained the reservoir, but I did not. I made sure the cap was secure and wrapped it in an old towel in case of leakage, but not a drop was spilled. Simply undo the two bolts and swing the reservoir out of the way. Access to the low oil pressure switch is still not great, but is now workable.
I didn't notice this the first time, but two components are located in this area. You've got a low oil pressure switch (on/off) and an oil temperature sensor (variable output). The oil pressure switch is located higher and slightly aft:
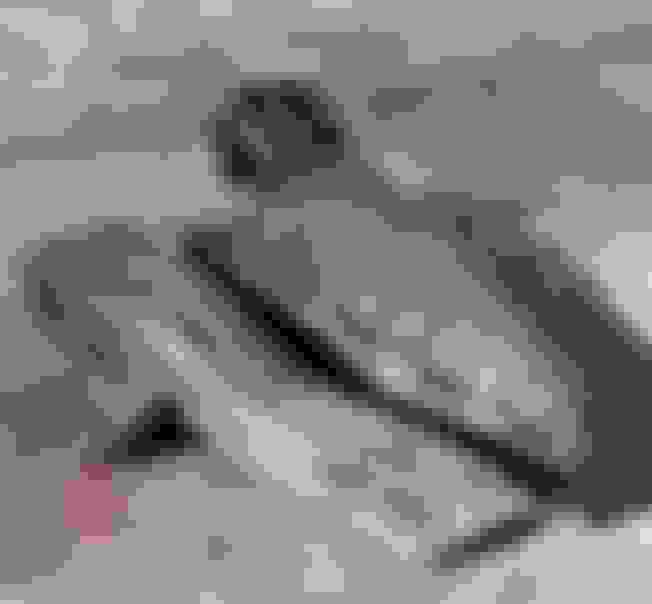
Look closely and you'll see the connector was wet with oil but the switch body was dry. This was certainly an oddball failure. Here's the post-mortem of old switch, being leak tested with compressed air and soapy water. It's always nice to be able to confirm a suspected fault. It leaked like crazy above 20PSI or so, but nothing much below that:
The only issue I encountered was the new switch required a 24mm deep socket, which I did not have. The old switch was 21mm, and I didn't notice the difference until trying to install the replacement.
Start to finish was only about 90 minutes, including some grumbling about not having the correct socket. Swinging the power steering reservoir out of the way is definitely the way to go.
The new switch came from NAPA, part number ATM1431303 :
The box was marked Altrom 1431303, but it also had a FACET logo:
Other than the different hex size (21 vs 24mm), it fit perfectly.
I gave this link in an earlier message, but it's worth repeating as it has more pics and details. I wish I had paid more attention and had the suggested 24mm socket on hand:

 10-25-2012, 12:27 PM