When you click on links to various merchants on this site and make a purchase, this can result in this site earning a commission. Affiliate programs and affiliations include, but are not limited to, the eBay Partner Network.
Yes that dang wire retainer on the top tank is bad for springing off into the great wide open!
Do spend some time making sure that retainer is on properly! We had a member who did thousands of dollars of work and on the first test drive that hose blew off because the wire retainer was not seated properly. Well that was such a huge leak that he roasted the engine in short order and soon left the forum.
Not easy to install and not easy to tell if connected properly either.
Your wise to replace the hoses too. On my old 2005 STR I replaced them as they failed and I think that car had 23 hoses?? When the under SC hose let go I did finally replace ALL the rubber hoses and had zero problems after that. I also did what Karl did and removed the DCCV hoses from the other end when possible.
.
.
.
what is the best way to ensure that the clip is on properly? I do not want to mess up the engine because of a cheap clip that isn’t properly secured to the coolant reservoir. Certainly understand the importance of this.
what is the best way to ensure that the clip is on properly? I do not want to mess up the engine because of a cheap clip that isn’t properly secured to the coolant reservoir. Certainly understand the importance of this.
when i did my 06 str i removed the plastic air scoop on top of the radiator. With the tank in its normal postion you can reach in and push the hose onto the tank. Preload the clip before you push the hose on. I used a 24 inch prybar to hold a little pressure on the hose and snapped the clip on. The hose lines up nicely because of its shape. Then tug the hose a couple times to make sure. Make sure the tank tangs are in the slots to hold it square. A little lithium grease on the inside of the plastic hose fitting helps a lot. Since you have the coolant drained you can take the hose off of the water x over by the thermostat housing for more room. I am not sure if your str has the same x over or not but the trick is to come in with your hands from the drivers side
Good advice!
I always fought with that wire retainer and it also appears that it's not available separately from Jaguar. At least when mine was temporarily missing in action.
.
.
.
Starting to work on the STR tonight with a good friend of mine Jose who has a beautiful 1980 XJ6 Series 3 Jaguar. Hope to have the DCCV at least replaced tonight.
On another note, I noticed that a person had commented this possible solution to the clip on the Facebook group and I found it rather interesting. I wonder how difficult this would be to replicate?
We managed remove the DCCV from the bottom on my STR, thanks to the ingenuity of Jose Guillen. Watch the little video and he explains essentially how he did it. There were some bolts that I believe connects the auxiliary coolant pump to the fan shroud that we removed to make for easier access before this to move things around.
I was sure to take lots of pictures of how we got it out and removed. First picture you can see the fan shroud as well as other bits.
After we removed the DCCV I decided to take it apart and inspect the insides. I used a T9 Craftsman Torx to completely disassemble the bad unit. You can see where the coolant was leaking from on the bad DCCV.
When completely disassembled interestingly enough the rubber around the right valve was completely deteriorated, meanwhile on the left side was completely fine. Not sure if this is a coincidence but it could be what contributed to the failure of the valve.
Last but not least I cleaned out the Coolant Reservoir with some low pressure water as there was a lot of sediment and crud inside that could’ve been from the bad DCCV rubber possibly. Got everything looking good and plan on installing the new DCCV this Sunday with my friend Jose as I should have some more free time this week.
Something I’d definitely like to recommend is be sure to have several drain pans for this job. There was still coolant coming out of different spots even after the car has been sitting for several days. I wish anyone doing this luck as it’s not the easiest job in the world, but removing it from the bottom might just be slightly easier than from the top side.
DO NOT use jubilee or worm type clamps on hose connections to plastic fittings as they cause the plastic to crack. Use constant tension clamps on hoses when connecting to plastic pipes or fittings.
this what happens when you work at a dealer for too long
look at any bmw ever norma hex drive worm clamps are on all types of plastic stuff from the factory
this what happens when you work at a dealer for too long
look at any bmw ever norma hex drive worm clamps are on all types of plastic stuff from the factory
Perhaps BMW have different specifications, but this isn't a BMW being discussed. There's a reason why Jaguar use constant tension clamps instead of the Norma ones used by other manufacturers.
If the OP feels comfortable using the jubilee or worm clamps, that is their decision for their vehicle. I would personally not use anything other than the factory-type clamps on plastic fittings.
I plan on using the factory-type clamps on my STR. Might eventually use the suggested metal U looking solution that was commented & I posted about.
NBCat do you happen to be in the Houston Area? Could always use more S Type friends.
I don't have my S-Type R anymore but I live in the Houston area (North in Magnolia).
Great pictures and I only posted as I am currently working on my 2014 Jag XJR. Believe it or not Jaguar continues to use these worm drive clamps BUT only in certain area's?
I can't figure out why they use constant tension clamps 95% of the time but they still used 2 of the worm style clamps in the thermostat area? And on plastic pipes too?
I know this is all factory. So a bit of a mystery for sure.
.
.
.
I think the constant tenson clamps are way quicker to install. When i have bought genuine jag hoses they always come with a plastic gizmo holding the clamp open. You just put the hose on and pull it off. Bingo all done. At the factory it is probably even easier because they build in stages for ease of access
I don't have my S-Type R anymore but I live in the Houston area (North in Magnolia).
Great pictures and I only posted as I am currently working on my 2014 Jag XJR. Believe it or not Jaguar continues to use these worm drive clamps BUT only in certain area's?
I can't figure out why they use constant tension clamps 95% of the time but they still used 2 of the worm style clamps in the thermostat area? And on plastic pipes too?
I know this is all factory. So a bit of a mystery for sure.
.
.
.
Well then you are quite close to me. I’m in the Cypress area so not too far away at all!
Part 3
Ended up getting the new DCCV installed, now just am in the process of getting the coolant reservoir installed, and the top radiator hose connected to the thermostat housing. Having a little trouble with the constant tension style clamp, so I’ll see if I can pick up the tool suggested in this thread earlier at Harbor Freight.
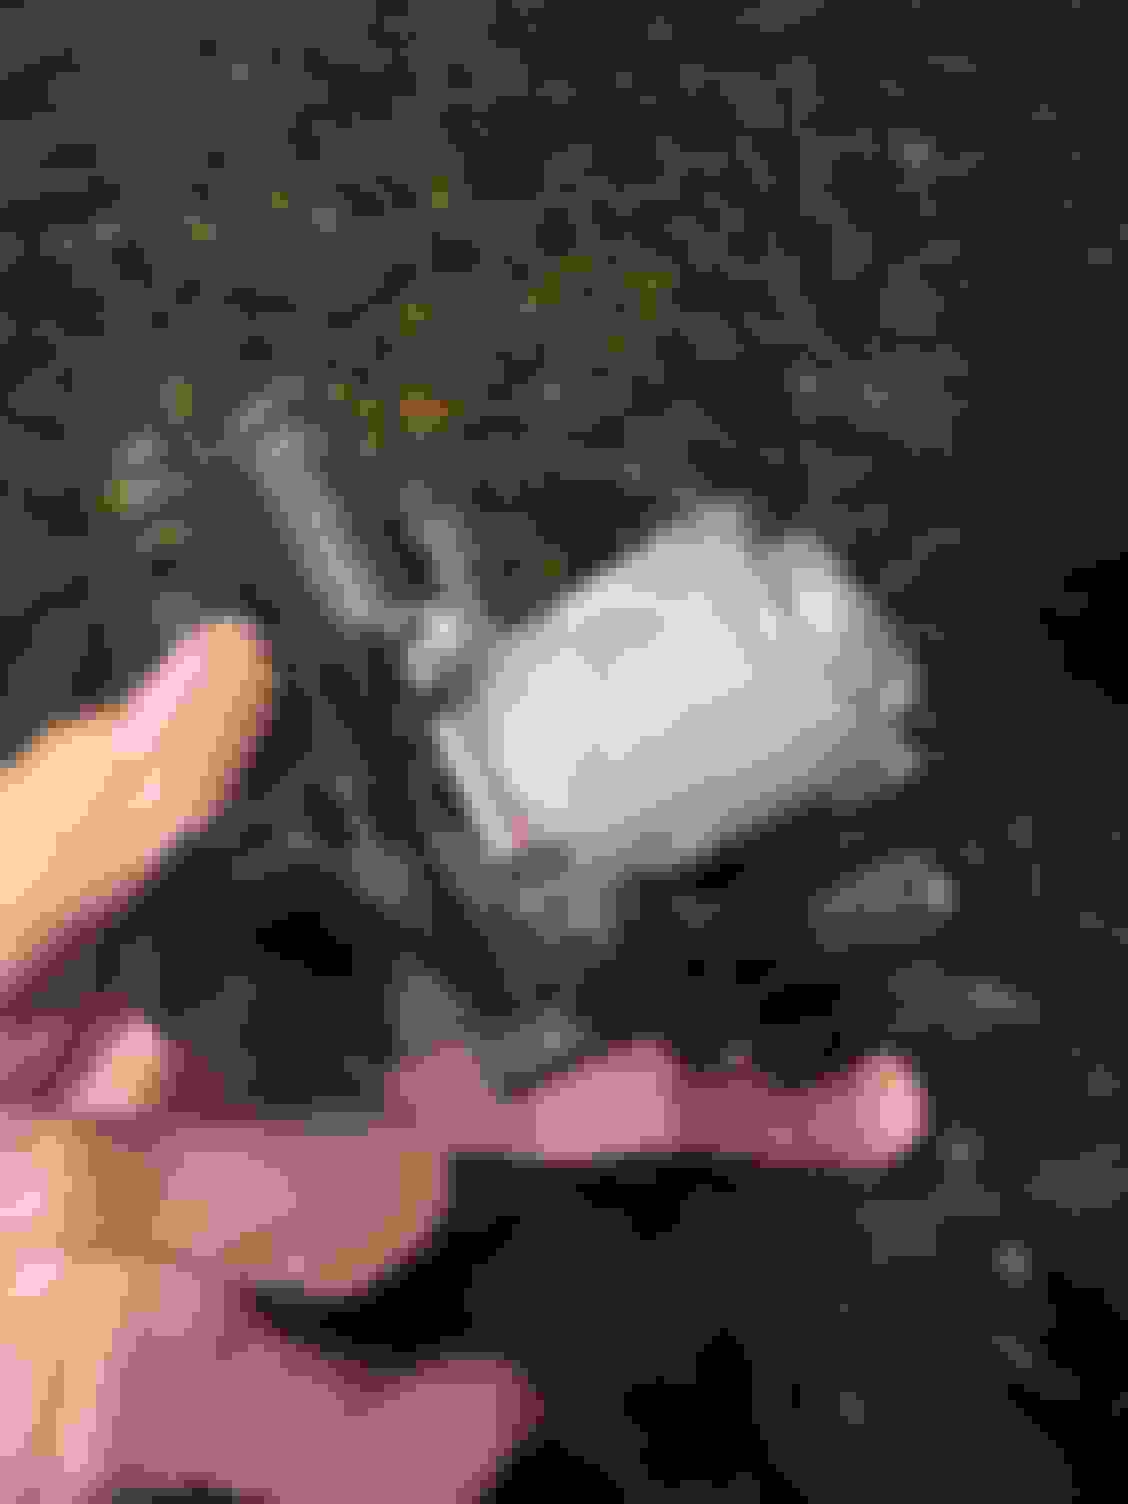
You can see where the clamp is stuck before the housing where it is supposed to sit
Clip oriented in the correct manner Basic hand tools I’ve used so far along with a few others
Used some electrical cleaner in the picture below to help clean the connections from the coolant.
Part 4 of DCCV install. Topped off the Jag on coolant before, and attempted to purge the cooling system of any air in the system.
Went for a quick drive around the block and as luck wouldn’t have it the temp gauge spiked after struggling to climb initially almost to the red. Keep in mind I also had a device plugged into the obd2 to monitor coolant temps and they were steady for 5-10 minutes before I drove. Before I drove even I let the car idle for some time to let it sort itself out and it was still cold.
Highest I saw the temp get to before I shut the engine off while rolling was 245 and I cut the engine off and coasted into my driveway. Checked everything on the car and it seems okay, but I’ll let it cool off and try and purge the cooling system again. Guess I got lucky, but I’d rather that than an engine with a warped block.
So far since having let it cool down for a few hours, it’s been topped off twice so it seems there was a lot of air in the system.
Really baffles me as I even removed the Hex bit on top by the supercharger to get all the air out before I drove the car, and topped off the reservoir of course, and it was fine..
Also will be interesting to see how this Walmart AGM battery holds up.
O Riley batteries I’ve had haven’t been the best to me. Last one leaked battery acid which I had to neutralize with vinegar, and the one before that only lasted a few months before it simply tested bad. Alternator has tested fine, and of course orileys didn’t warranty the last battery even with a receipt so I let them keep the leaky battery.
Was extra careful to ensure the little clip to the reservoir was on properly. Had to do some maneuvering around to ensure so, but it seems it’s keeping coolant.
Seems as though she is all good to go after double checking everything, and checking coolant for the 3rd time once cooled off. Drove the car to my Black Rifle coffee shop after taking it around the block with no trouble unlike the last time. Coolant temps were perfect “195” while moving and then just over 200 when idling in the drive through.
Granted my temps are lower now than they would be with a stock thermostat & programming, but that’s good. Look forward to enjoying the Jag more and catching up on lost time with it!
Hello neighbor!
Glad to see it all working and running fine.
You mentioned using vinegar on the battery terminals? I have always used baking soda as it's a base and neutralizes the battery acid. Vinegar is another acid so not sure how that would work?
.
.
.
Hello neighbor!
Glad to see it all working and running fine.
You mentioned using vinegar on the battery terminals? I have always used baking soda as it's a base and neutralizes the battery acid. Vinegar is another acid so not sure how that would work?
.
.
.
Hello indeed! Thank you, it’s certainly been a trying few days getting everything squared away on it.
My understanding is you can use either, as vinegar while it is another acid it’s much lower in PH so it neutralizes the battery acid. I didn’t use it on the terminals, should’ve clarified, but the battery acid leaked onto the trunk liner itself and part of the battery holder. Was leaking from the bottom so you can imagine the mess I had to clean up.
Baking soda also works as well though, just couldn’t find it as fast.
Thankfully got it all squared away and the Jag is good to go.
Part 4 of DCCV install. Topped off the Jag on coolant before, and attempted to purge the cooling system of any air in the system.
Went for a quick drive around the block and as luck wouldn’t have it the temp gauge spiked after struggling to climb initially almost to the red. Keep in mind I also had a device plugged into the obd2 to monitor coolant temps and they were steady for 5-10 minutes before I drove. Before I drove even I let the car idle for some time to let it sort itself out and it was still cold.
Highest I saw the temp get to before I shut the engine off while rolling was 245 and I cut the engine off and coasted into my driveway. Checked everything on the car and it seems okay, but I’ll let it cool off and try and purge the cooling system again. Guess I got lucky, but I’d rather that than an engine with a warped block.
So far since having let it cool down for a few hours, it’s been topped off twice so it seems there was a lot of air in the system.
Really baffles me as I even removed the Hex bit on top by the supercharger to get all the air out before I drove the car, and topped off the reservoir of course, and it was fine..
Also will be interesting to see how this Walmart AGM battery holds up.
O Riley batteries I’ve had haven’t been the best to me. Last one leaked battery acid which I had to neutralize with vinegar, and the one before that only lasted a few months before it simply tested bad. Alternator has tested fine, and of course orileys didn’t warranty the last battery even with a receipt so I let them keep the leaky battery.
Was extra careful to ensure the little clip to the reservoir was on properly. Had to do some maneuvering around to ensure so, but it seems it’s keeping coolant.
Might want to get a pressure clamp on that top radiator hose, as opposed to screw clamp. It will back off over time.


 09-25-2023 | 11:38 AM