When you click on links to various merchants on this site and make a purchase, this can result in this site earning a commission. Affiliate programs and affiliations include, but are not limited to, the eBay Partner Network.
When I got my ‘06 STR the driver side headlight had been already been replaced after an accident
but the little corner light, the turn signal and low beam lights didnt work. After troubleshooting I found the headlight connector wasnt snapped in to its mate. I used pliers to squeeze the connectors together and the turn signal, corner light and lowbeam were working (yesterday)
I did the drooping headlight fix but noticed this morning the lights needed adjustment.
As I adjusted it, I saw the low beam go out and no amount of wiggle helped.
Think the bulb burned out?
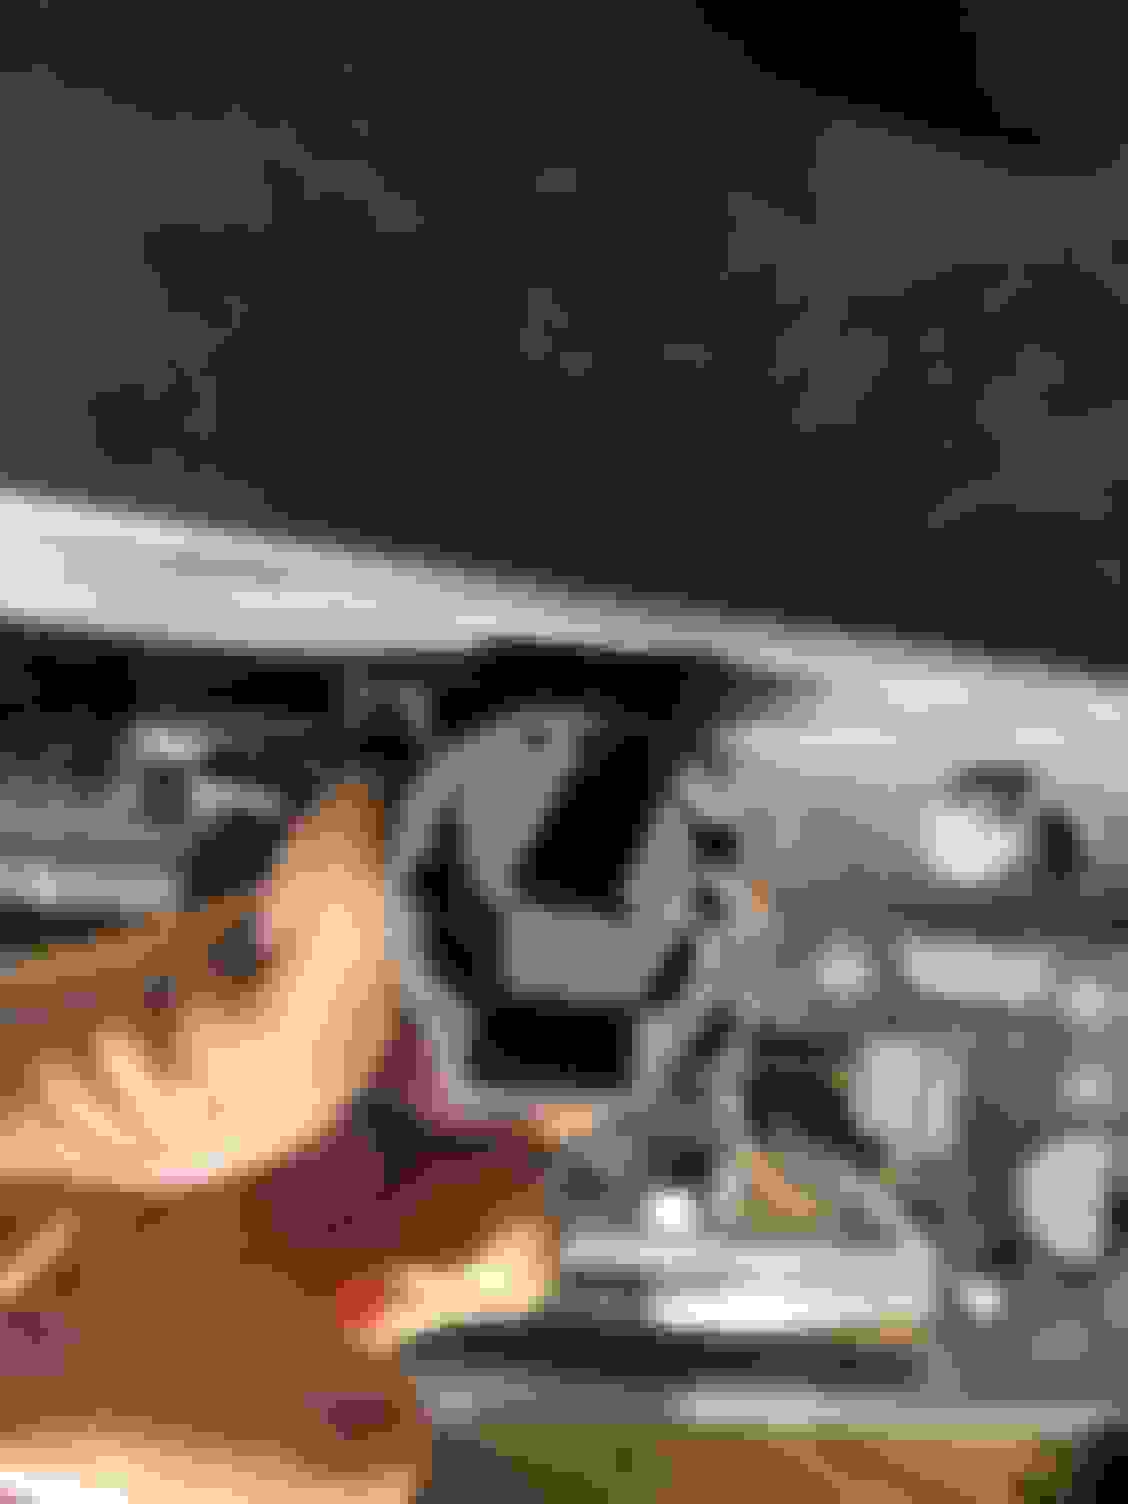
Anyone have clear photos of the back side of the headlight assemblies? I need to troubleshoot more.
Anyone have clear photos of the back side of the headlight assemblies?
eBay is your friend. Lots of pictures there if you search for “Jaguar S-Type headlight” or similar. From those results, you’ll have to look for the correct year and type. Here’s one example:
More than likely bulb or ballast...... unfortunately the headlight assembly has to be removed .... unfortunately again, the bumper cover has to be be tilted forward ....not too bad a job, just a lot of fasteners.....i had the same issue, then the wiggle no longer worked.....
Well apparently it’s intermittent. It was working yesterday but this morning it went out as I adjusted it before work. But I went out at lunch and IT WAS WORKING AGAIN!
I turned it on and off several times while driving home and it worked!
I will wait until I replace the bulbs. I just ordered a set as one was yellow and one was white
If i remember right, i think the chassis ground for each headlight is visible when the headlight assembly is removed
If i remember right, i think the chassis ground for each headlight is visible when the headlight assembly is removed
That is correct and I can see them attached. Im thinking the ballast might be going out as it heats up. Today the bulb was lit when I started it but it was out by the time I got to work. I ordered new bulbs and a new ballast. Will replace them this weekend
Wish I had better news for you. The replacement of these is a real SOB on this car, especially fitting the bulb. Even with the entire assembly out on the bench I had to bust off one tabs on the bulb assembly and then it fit fit just fine. Two years and no issues. Some people file them to fit. Others claim they can remove and replace them WO pulling the front bumper cover but suspect those folks landed in Roswell in 1947 ...
A few nights ago I noticed my passenger side low beam was out. Read the threads here and found that the fuses were ok. And the pass side ballast was buzzing... but it was buzzing at about 1/2 the speed as the drivers that was working ok.
I decided to pull the bumper and try switching parts. It was my first time pulling the bumper cover and its not too bad. But it takes time.
I switch both bulbs and ballasts and I was surprised that every combination worked on the drivers side. So.... I tried swapping relays.... that was it. The pass side relay was allowing some power to get the the ballast but not enough.
Put in a new relay and everything is working well and both ballasts sound identical now.
Wish I had better news for you. The replacement of these is a real SOB on this car, especially fitting the bulb. Even with the entire assembly out on the bench I had to bust off one tabs on the bulb assembly and then it fit fit just fine. Two years and no issues. Some people file them to fit. Others claim they can remove and replace them WO pulling the front bumper cover but suspect those folks landed in Roswell in 1947 ...
I greatly struggled with fitting the ballasts on the bulbs too. What I did to make it work was use a little Vaseline on the bulbs pins and work them into the ballasts a few times. After I cycled them both a few times they seemed to go on and twist a bit easier.
Make no mistake... changing the bulbs on an S-type is not done quickly. It's not too hard.. but its frustrating.
Last edited by wydopnthrtl; 09-28-2019 at 08:29 PM.
I greatly struggled with fitting the ballasts on the bulbs too. What I did to make it work was use a little Vaseline on the bulbs pins and work them into the ballasts a few times. After I cycled them both a few times they seemed to go on and twist a bit easier.
Make no mistake... changing the bulbs on an S-type is not done quickly. It's not too hard.. but its frustrating.
Sorry to be the bearer of even more bad news but THAT was a huge mistake. I did the same thing using a little little silicone grease and not long afterwards the grease liquefied and took out the bulb. I thought I had posted that warning on here somewhere. I hope you are luckier than I was but it's noty good idea in any event. In the end I had one that was stubborn that I had to break off one of the tabs and then it went in just fine and has been great for well over a year now. Some people file things to fit better.
These are truly awful light fixtures but from talking to my mechanic about some other vehicles none of them are good, this one is just vile.
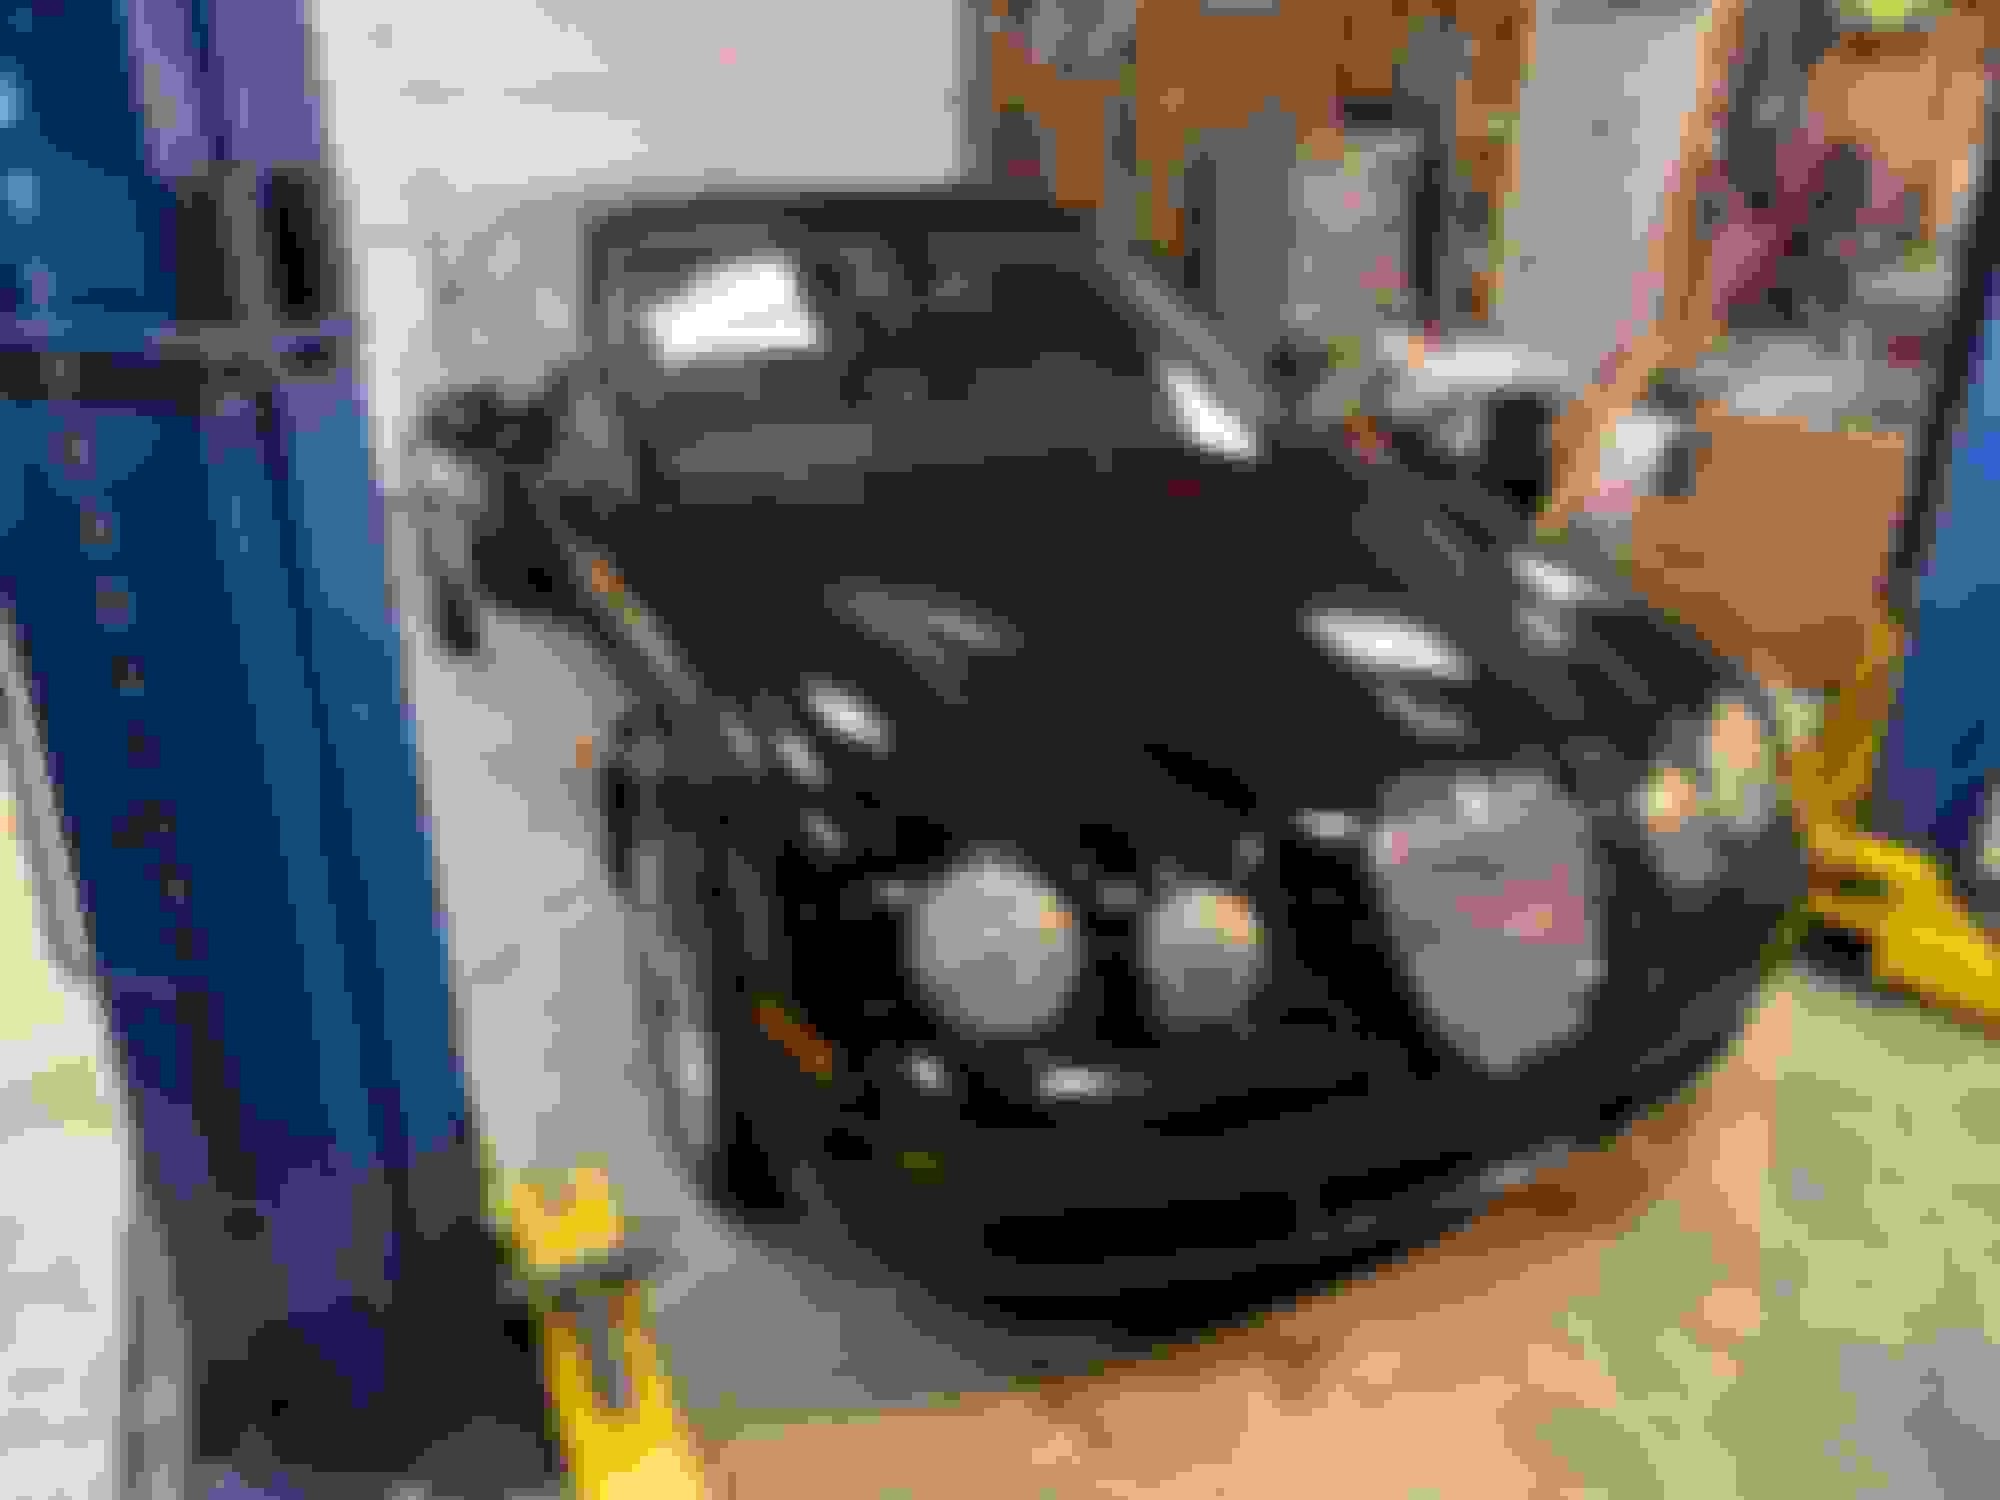
ok so a quick up date and then I'll load a shitload of pictures.
Tackled the HID issue last weekend. learned a lot.
I learned how to take the front bumper off. piece of cake. ) learned the previous owners mechanic is an idiot and left the bumper bracket bolts loose except for one. The front bumper support was changed (I can see the old red paint)
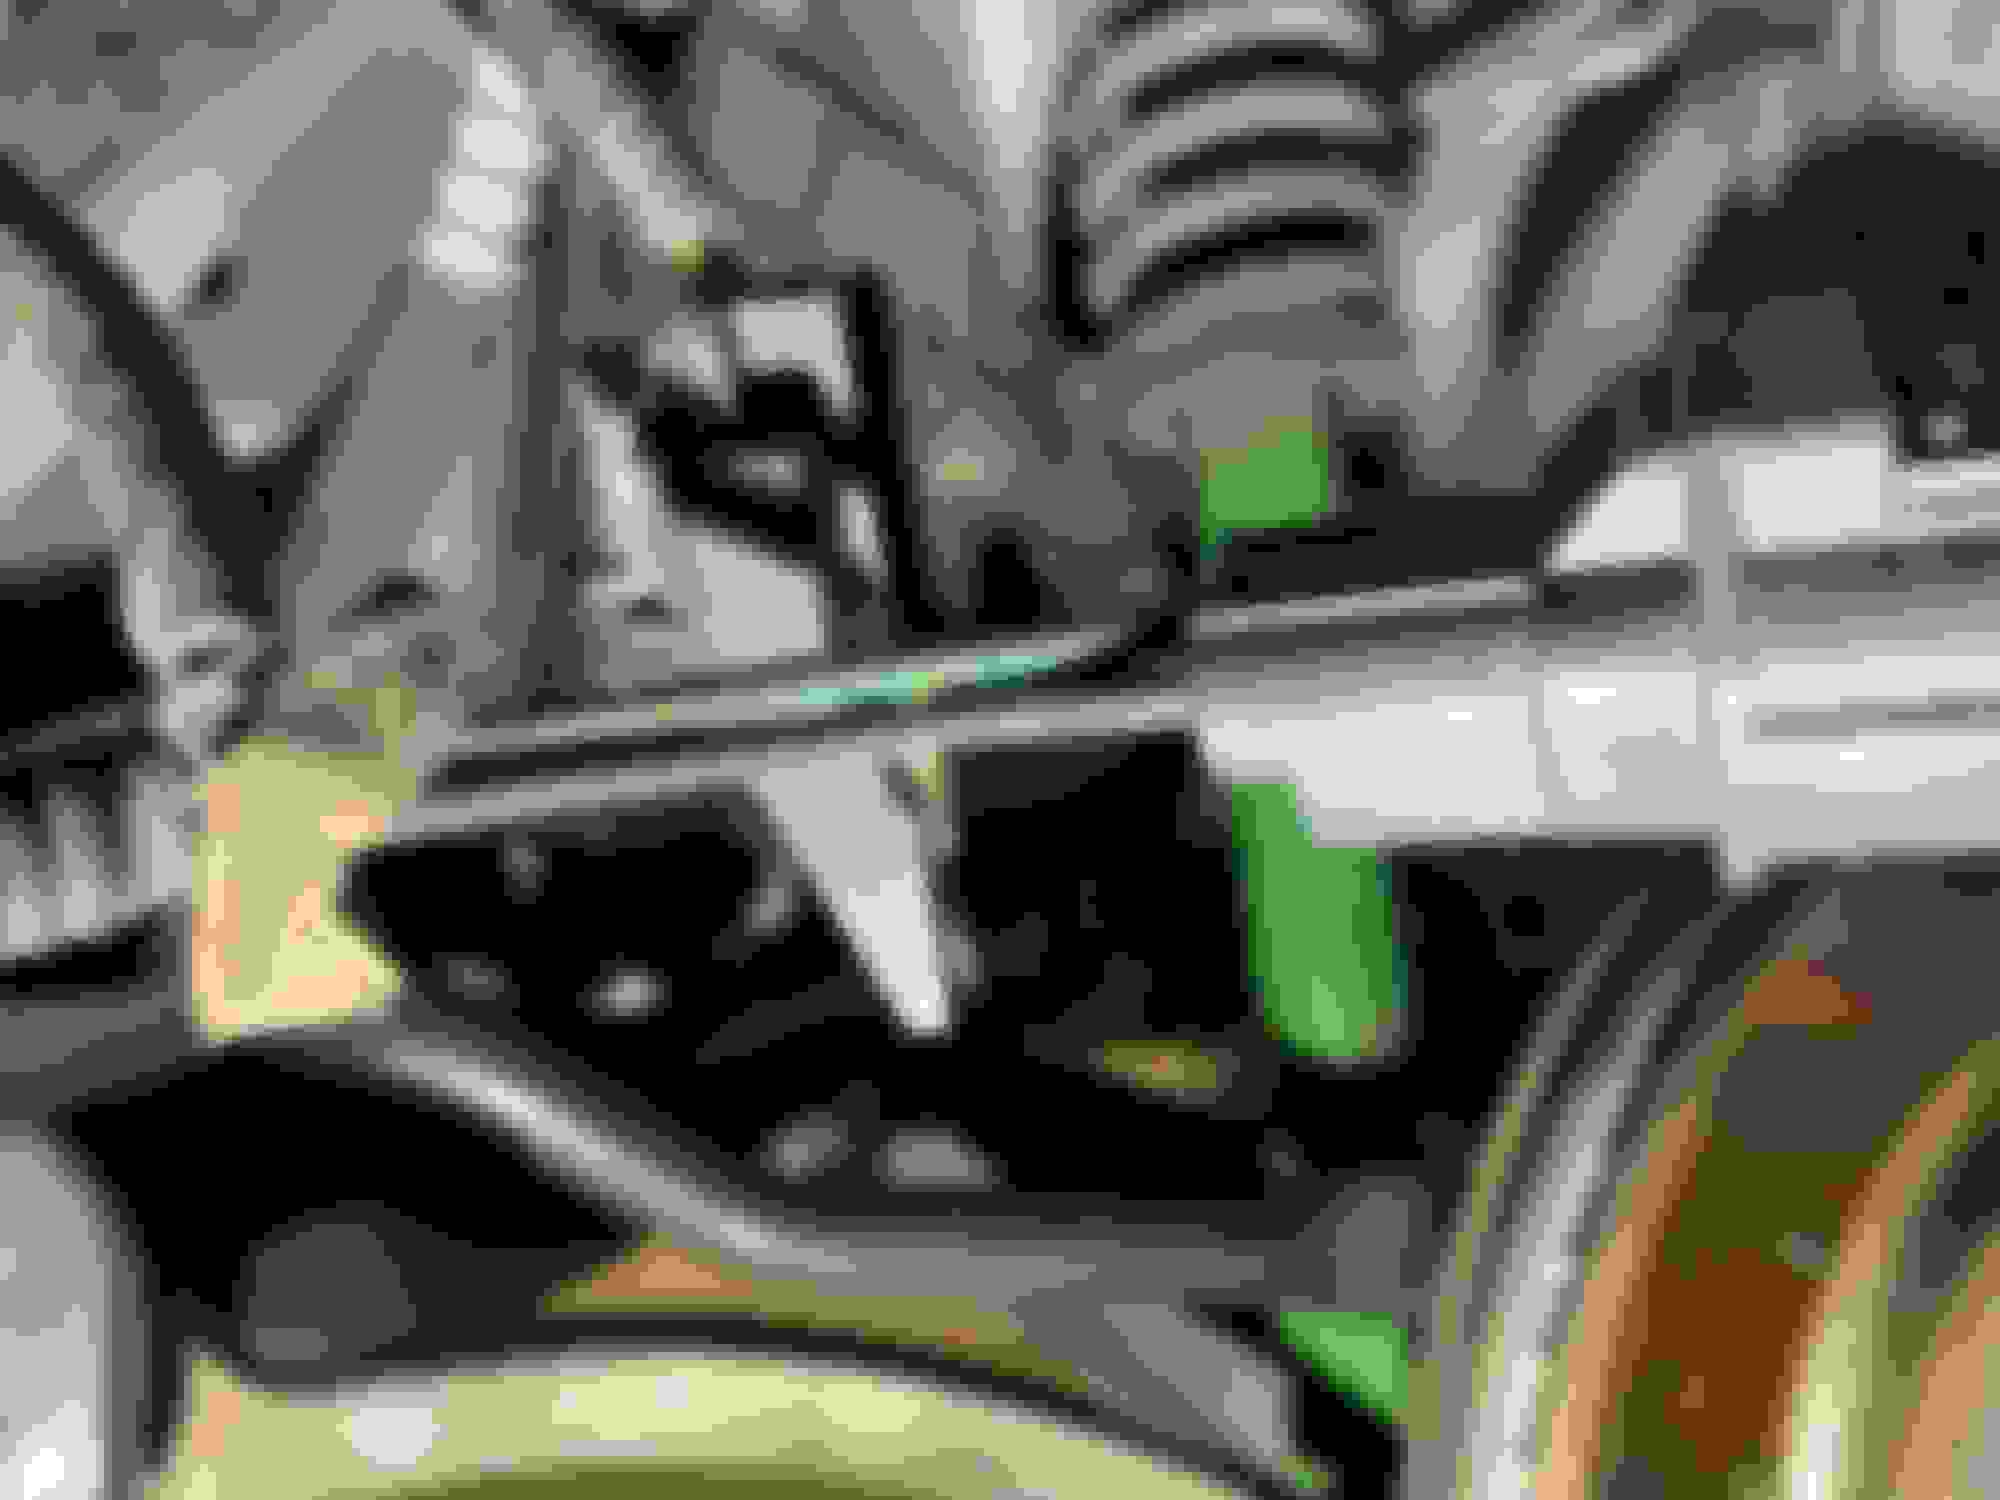
I learned I am missing the left (driver side) bracket that attaches to the headlight support and bolts to the fron end bumper trim between the hi and low beam. I need that Y shaped bracket for the drivers side (left). I have the one for the right.
I learned the previous mechanic is an idiot and put the HID bulb in wrong and thats why the low beam HID bulb was flopping around inside the headlight assembly.
I learned the incorrect HID replacement/assembly (from the previous mechanic) overheated the bulb and it caused the HID bulb mount and the igniter to melt
I learned the odd looking bulb I posted above was from my challenger and not for the STR. I found the correct bulbs I bought for the STR in the glovebox
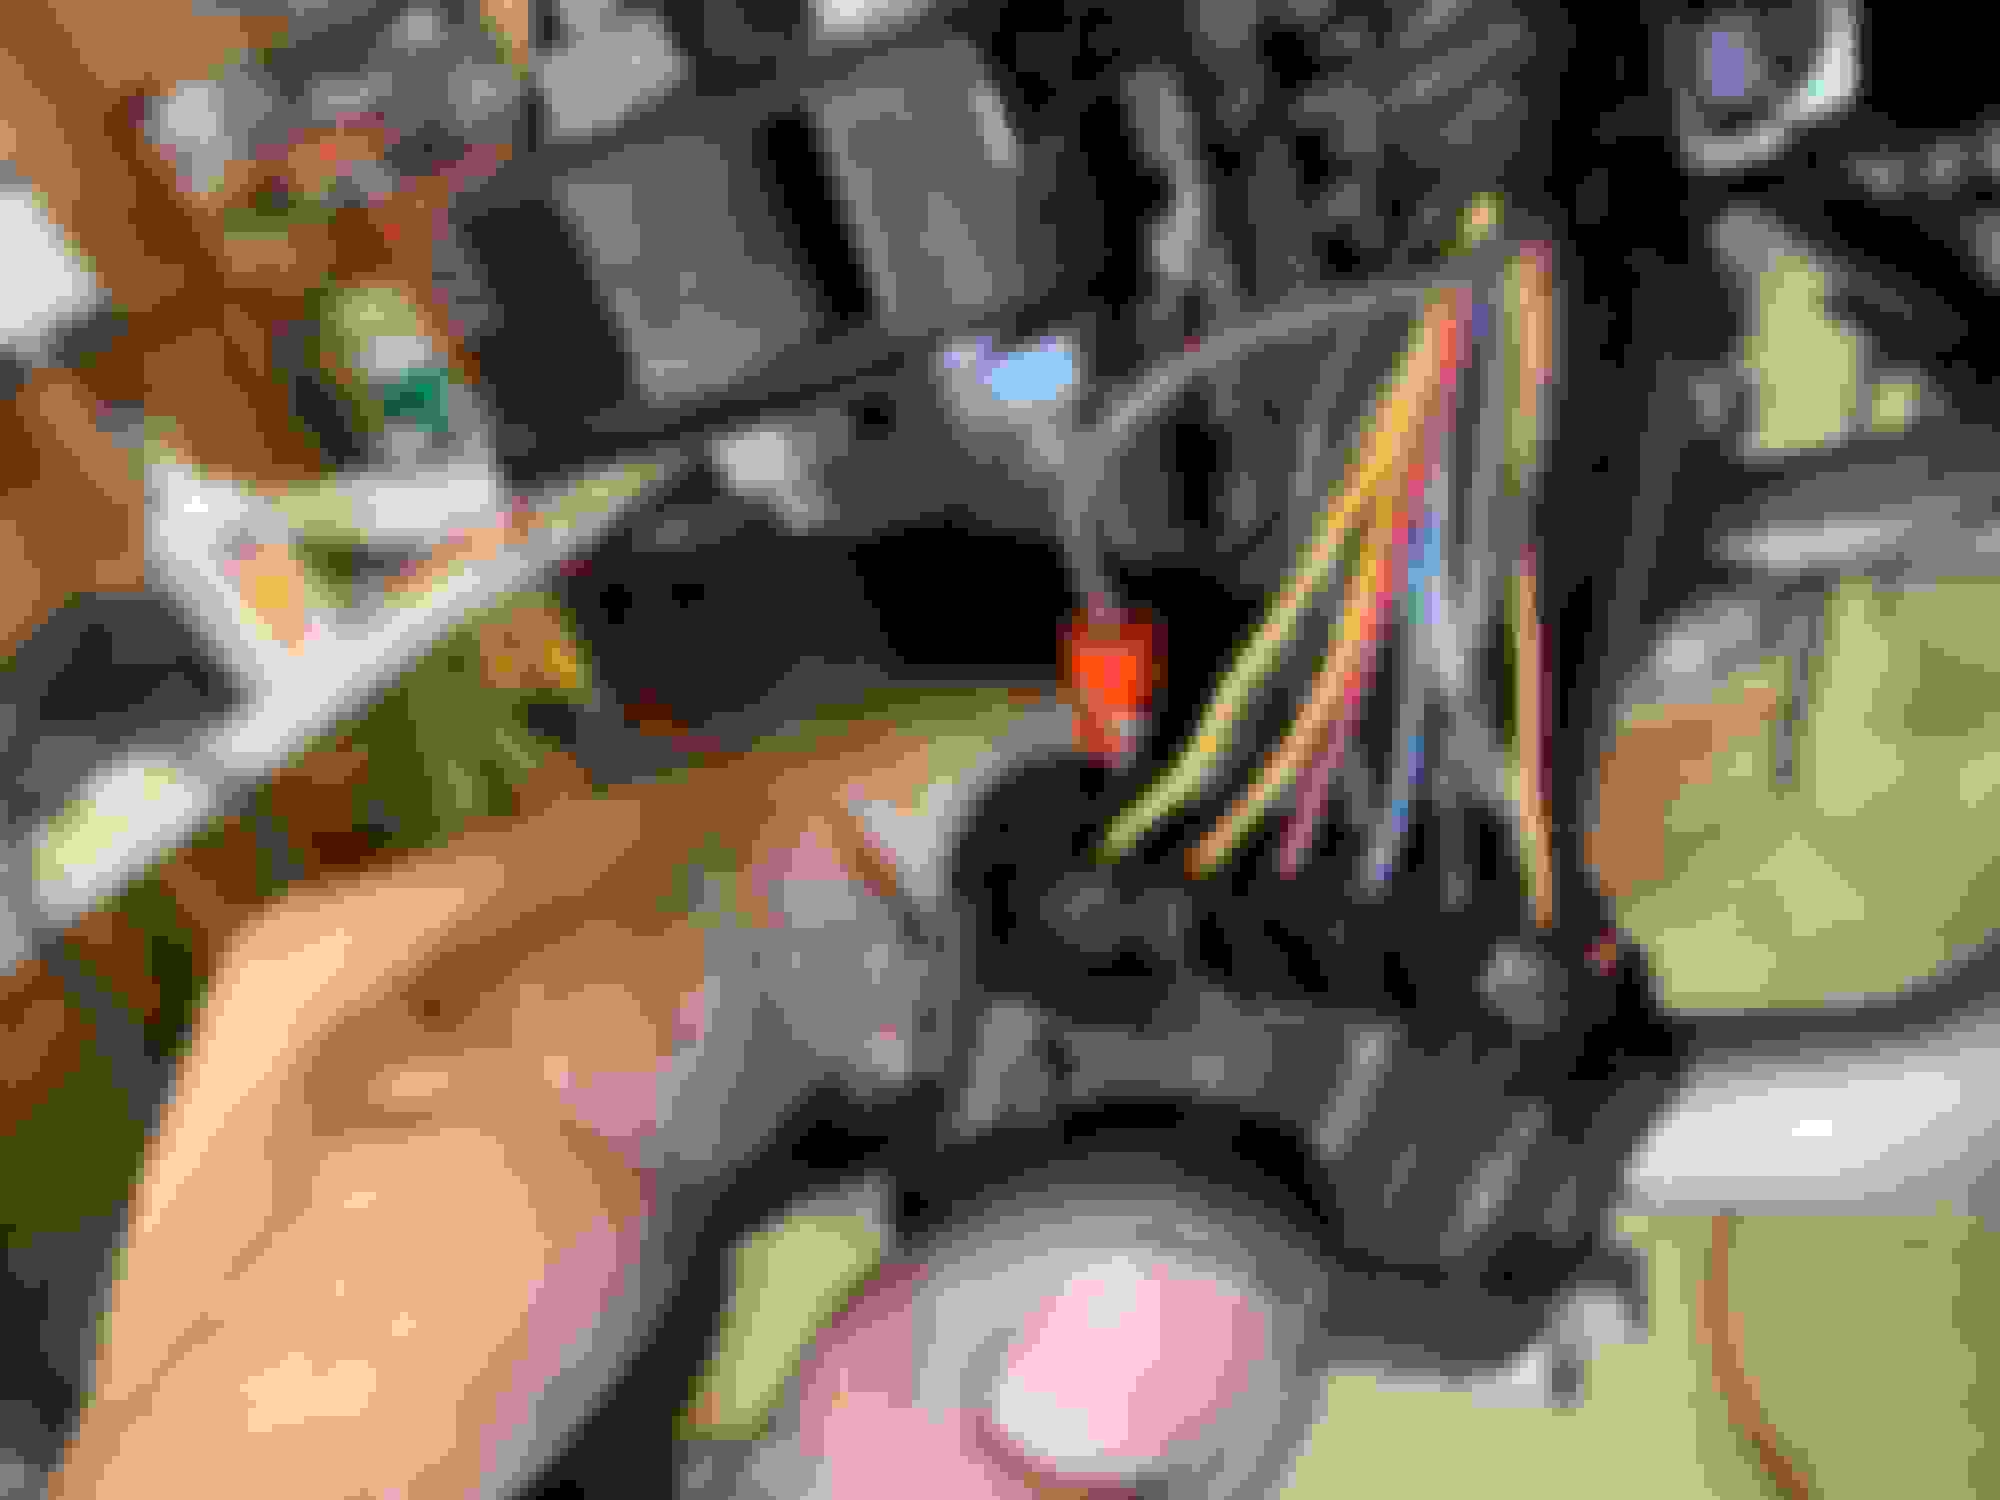
I learned the box on the back end of the HID is an Ignbiter and not part of the bulb and its not the ballast (the ballast is the big silver box on the outside of the headlight assembly)
I learned how to properly change the HID bulb and how to get the metal clip on between the igniter and the bulb- you put the bulb in headlight assembly first, then clip it with the metal spring clip thingy over the bulb's flange (the bulb goes straight in with the alignment tabs properly oriented and IT DOESNT TWIST). After the clip is installed THEN you install the igniter by aligning the 4 tabs on the igniter with the openings in the bulb mount and push and twist to CLOSE. In my case, the previous mechanic put the bulb on the igniter and tried to install it as an assembly and that wont ever work,
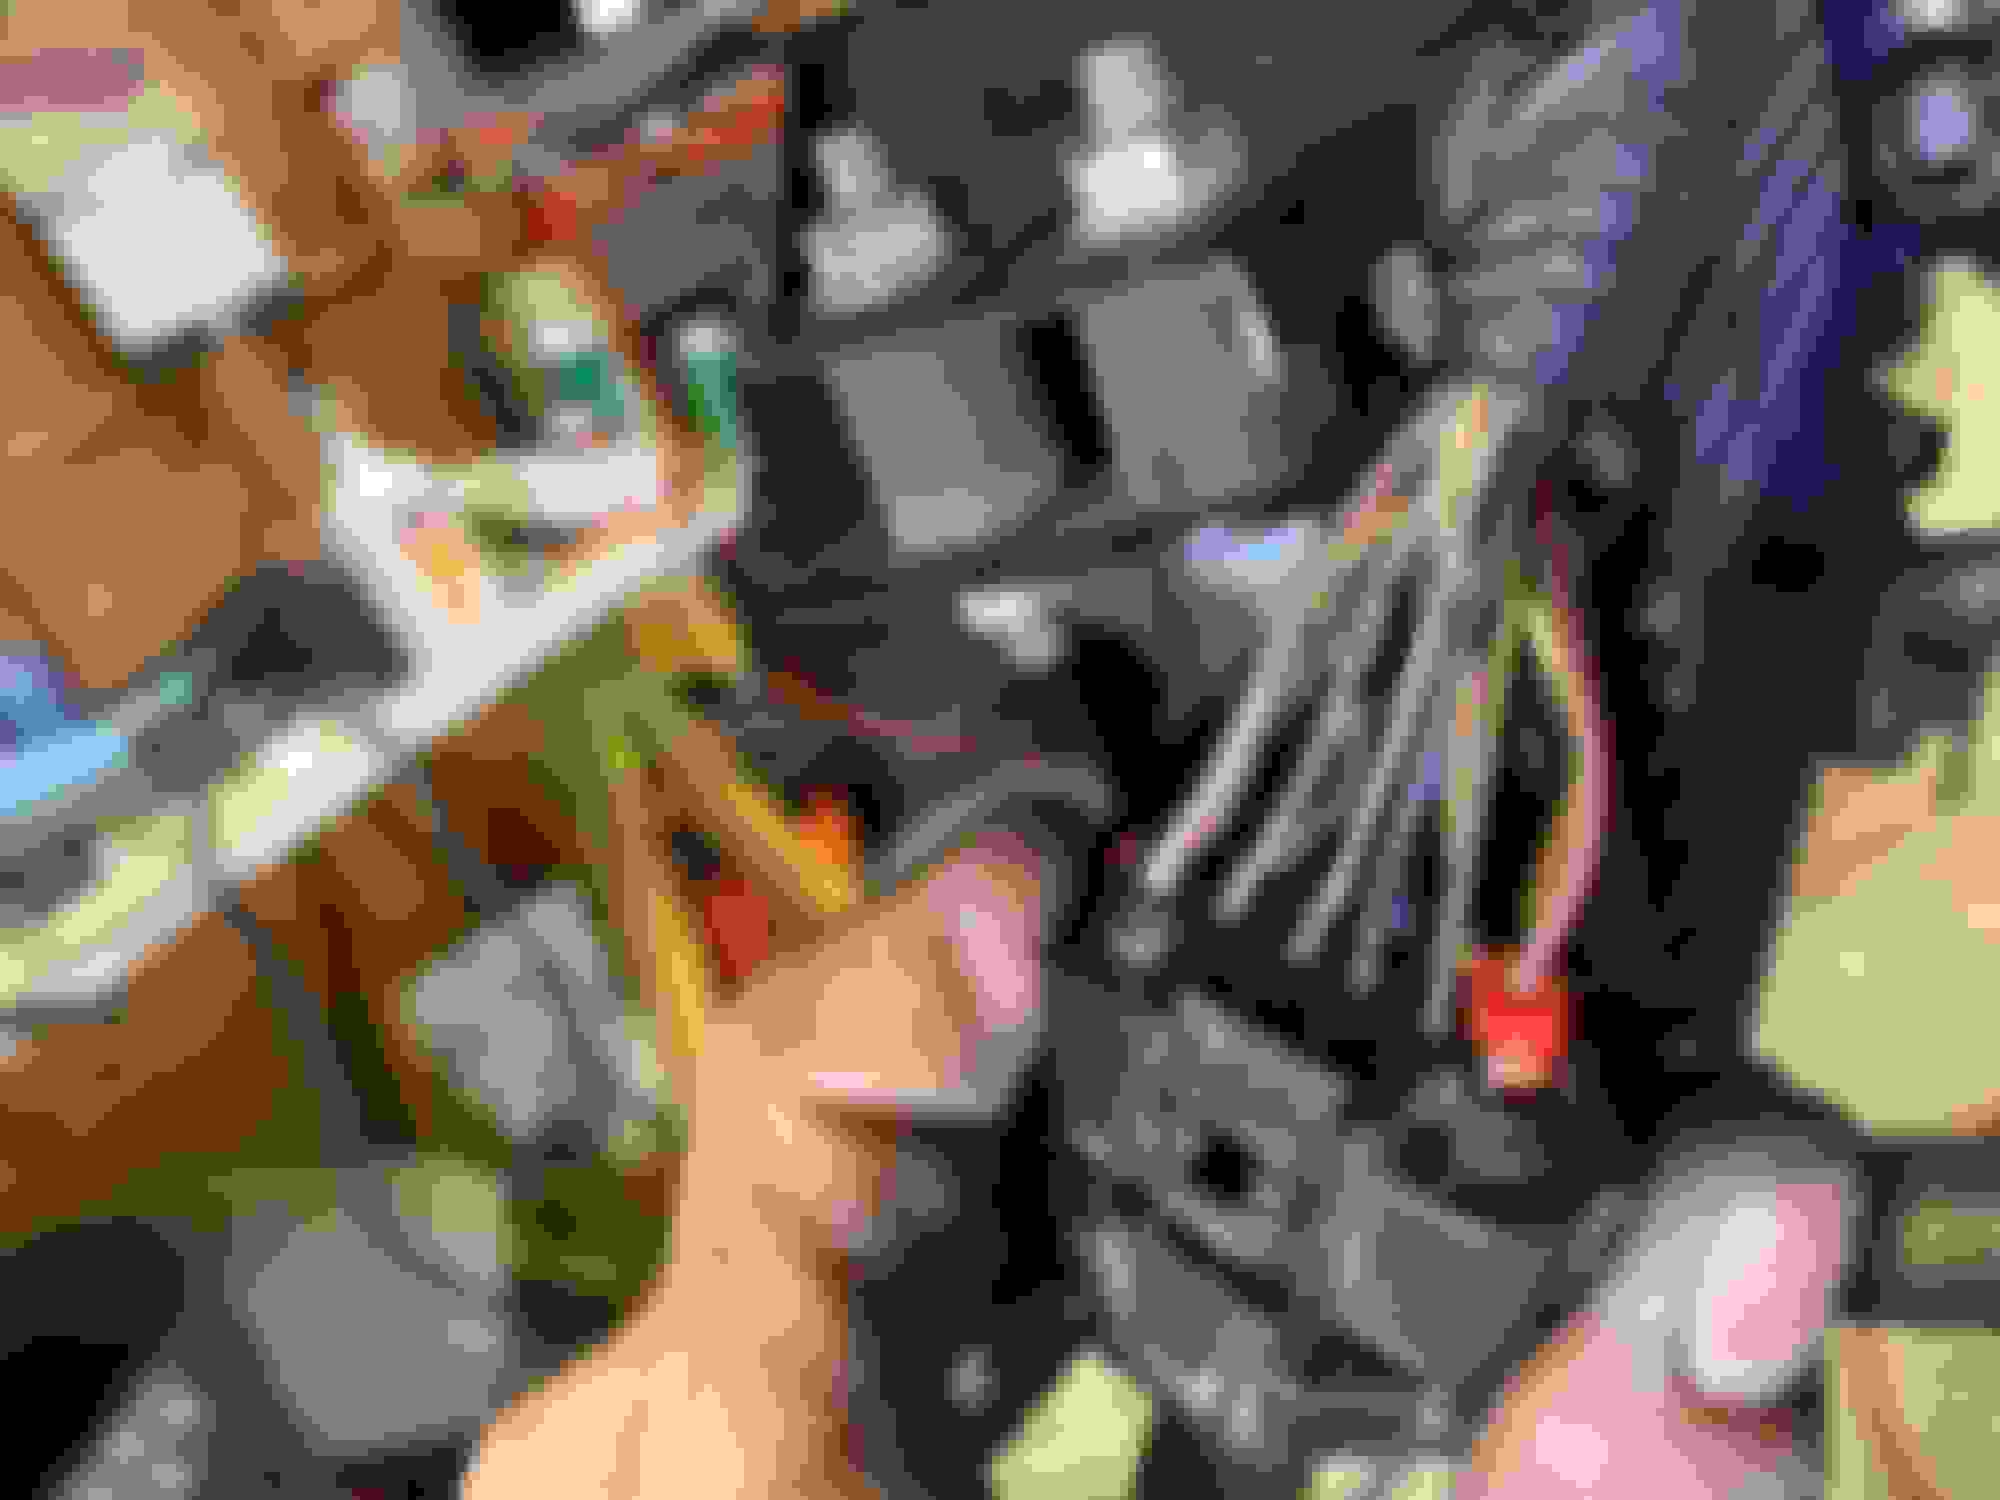
I also found that due to water ingress from the rain, the 12 pin connector that is under the front drivers side (left) fender that comes off the bundle of wires that go across the bumper support from the passenger side is NOT the FC40 connector I saw in the wiring schematics and thats why the colors didnt match!. But this 12 pin connector under the drivers side fender that feeds the Left headlight FH40 connector was totally corroded and even after cleaning it well, it only partially worked and the corrosion was back in a week. so i bought a new 12 pin connector and repinned all the wires using a crimper I bought (the connector I used was a different aftermarket automotive waterproof connector with different pins and keying from amazon).
I used liberal amounts of dielectric grease on the new 12 pin connector to seal out the water and tucked the connector up under the fender away from road splash. If anyone has detailed pictures of HOW all the connectors under the drivers side fender are mounted and routed, I would appreciate it as mine were all just floating around in there and not clipped in to various mounting holes. there were a couple of unused (capped) connectors under there for other otions and they were just hanging there too. I'd like to figure out what they were for though.
I also learned its real easy to break the mounting tabs for the side marker and repeater lights and now need a new front passenger (right) side marker light and the drivers side middle repeater right behind the front wheel. anyone have a good source for these?
I also learned why the wire colors on the the wires on what I originally thought was my FH40 connector for the Left HID headlight assembly underneath the drivers side fender did not match the colors stated on the electrical schematic (also missing some wires). It was because that corroded connector under the fender behind the wheel well liner wasnt the FH40 connector (not sure which one it is yet but I know the FH40 12 pin connector is up IN the engine compartment in front of the air cleaner box. The corroded connector I found under the fender behind the wheel well liner was a different one)
More Harness is unwrapped. Missing from bumper cover bracket that bolts on the center of light. More loose bumper bolts Connector after cleaning Air temp sensor zip tied to harness and not in air flow
More Corroded socket. Harness side. Even pin is populated. But the headlight side (the other mating connector) is missing wires on pins 9 and 12 Possible damaged wires on harness that crosses over the bumper from right to left Corroded socket Notice the thick brown/white with efor pin 12 and sold black for pin 9? Theres no corresponding wires on the mating connector Remounted ambient air temp sensor to bottom of bumper Some random unused connectors. Wheres it supposed to go? It was just hanging here Another random unused connector. Probably for adaptive cruise.
One of the random connections goes to a headlight washer pump if fitted..,..there is also one plug each in vicinty of the oil coolers that would be for foglights on a non supercharged car. ..there should have been a crash sensor hidden underneath the top radiator rail, right behind the grill......were you lucky in not having the upper grill mount tabs broken....the missing Y piece is integrel to headlight and upper bumper cover stability.....i have the exact same car and have been where you have....where no man has gone before.....as captain Kirk used to say.....you really get a good view of things with the cover off....great repair and write up my friend
Just remember you got the car for damn near free right?
That poor beast must have been maintained by the mechanics from the gorilla exhibit in the San Diego Wildlife Park ...
Don't forget to shorten those bolts that hold the front lip of the belly pan on. Otherwise it flexes up and down and rubs on the engine oil cooling pipe.
Yes, the car really only cost me $600 for a loan that'll never be paid back plus shipping $900 and then cost of repairs. Still a bargain since the car is in great shape for a car that age. Interior is damn near perfect except for headliner.
As for the bolts hitting the oil coolers, there is no belly pan on the car. I need one but dont want to pay $400 for it. so right now there arent any bolts from the front pan to belly pan


 08-26-2019 | 08:35 AM