When you click on links to various merchants on this site and make a purchase, this can result in this site earning a commission. Affiliate programs and affiliations include, but are not limited to, the eBay Partner Network.
Wow this end of this repair nightmare looks like a piece of cake by comparison! Yes to the brass nuts. I've used them on all my Italian cars when it comes to the exhaust manifolds. Huge help later on but ... do you really think you'll ever be back this way again? GOD FORBID!
JagV8 good to remember the differences in sockets.
Aarcouda, your torque table will come in very useful if I can read your writing lol! Thanks for the advice on the importance of ensuring the correct torque on these type of engines. I will wrap valley hose of course but I will look at that type of material to place within the valley or under the supercharger as you did.
kr98864, on first attempt I did actually manage to get a 1/2" ring spanner on the nut (cant remember which one) with an excellent grip and with enough room and in a good position to get a good hard pull but absolutely no way was it going to move. That's good advice using the Permatex anti-seize and I think you make a valid point about the nuts in steel and I would love to find them in a copper plating. I have yet to look, are they an M4? And is there a name for this type?
Managed to remove the EGR valve (horizontal bolts) with the limited tools I had. I will go to the engineering supplies tomorrow and buy a 3/8" and 1/4" UV joint as well as a variety of extension bars in all sizes which I think I might need to get to the rear and remove the air intake elbow.
Managed to get the large air intake plastic elbow off but was too afraid to force the more stubborn smaller plastic pipe off. Does this just clip off?
**** weak effort of Jaguar to have used a plastic tube out of the EGR valve, that was obviously loose in my case as per photo. I will have to tap an elbow in as Aarcouda did.. Where can I find one like you used Aarcouda?
Would also be pleased to have some advice on how best way to clean corrosion on one of the water pipes on EGR.
Degree of difficulty thus far for a home mechanic is a piece of cake if you have extreme patience, are not rushed whatsoever, only do small segments at a time and can spread the task over many days. I don't know anyone like that lol!
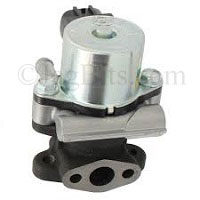
Why use plastic here? EGR tube looks like its in brass. Got bolts out. Correct 8mm socket still stuck on second bolt as I initially used an inappropriate (cr-v 5/16") socket first! I had an amateur brain moment.. Top gasket (on EGR valve) on left.
I'm still stuck on the other end of this repair and have decided that I just cannot get this valve off in the manner described so I'm looking at cutting it off.
It looks like if I were to remove the solenoid and cut those two water nipples then perhaps I could get at the those two nasty bolts from above?
Just get a new valve. That one looks very groady. Otherwise paper towel soaked in vinegar applied and the entire thing sealed in plastic wrap to keep it moist. Aluminum Jelly after that.
I was preparing a post with some photos of my experience of changing the EGR coolant hose on a RHD vehicle. I have yet to finish the post as I have only just managed to remove the hose without any huge drama but I haven’t got it all back together yet!
I managed to get half way with a basic tool kit, am not associated with any workshops and unfortunately none of my financial planning colleagues or peers or any of my friends would know what a breaker bar is lol..
Initially my problem was with a ruptured short thermostat hose. This had gone soft which had then caused it to bulge which then caused it to chaff on the supercharger snout rib….. Replacing the small thermostat elbow hose, I figured would be about a quarter of the way to the EGR coolant hose. The other posts on this great forum from the many talented experts which had already done this gave me the confidence.
The supercharger has never given me any problem but I plan to at least pay for some professional help and have it checked over and have them change the oil. I’m sure I would be able to do this but I will likely also get them to clean and check the throttle body and the air intake elbow as well.
The Jaguar instructions to remove the supercharger covers the removal of the EGR valve which of course gives you have access to the EGR coolant hose. Parts it states to ‘remove and discard’ are:
1.Supercharger outlet pipe gasket.
2.Supercharger outlet pipe retaining bolt seals
3.Supercharger air cooler ducts
4.Thermostat housing O ring seals
5.Exhaust manifold to EGR valve tube gasket
6.EGR valve to air intake elbow gasket
7.Air intake elbow gasket
8.Air intake elbow retaining bolt seals
A few that have done this have reused some of the main gaskets but to memory none have reused the two EGR pipe gaskets. I noticed in one of Aarcuda’s posts he had a problem with the Jaguar part numbers to his EGR valve pipe base to exhaust manifold (lower) gasket. I noticed the base of his EGR valve pipe was different to mine. His looked like a flush base and mine is not. So, I assume that’s where the confusion was. I have ordered both part numbers of this gasket and will use the one that looks like my old gasket.
Curiously the Jaguar instructions do not mention to change the steel throttle body gasket? Unless it’s nice and firm I would change the thermostat elbow hose. A good or bad thing, the knock sensors sitting in the valley either side of the insulation pad I did not bother changing. The air intake elbow has an outlet that connects a tube to the brake booster which of course runs to the other side of a RHD vehicle. Much has been written up about it. It’s a plastic clip fitting, O ring and a non-rubber (nylon?) small hose. This needs to be modified to a more robust heat durable probably brass elbow/fitting. I have pm’ed Aarcuda to see exactly what he ended up using here in the end. As he did, I think the best modification is to tap this hole out and screw in a brass elbow and then connect the hose to this. Also the thread by ‘Muddybear’ in the X350 section looks like a cheap easy fix: https://www.jaguarforums.com/forum/x...ng-fix-105997/
The biggest problems I had which may (or may not) only be for RHD early vehicles like mine:
*Removing the small ‘air intake elbow’ plastic pipe without breaking it. Not much room for leverage in there and maybe there was a trick to squeezing the plastic I did not know. Got it off in the end in one piece.
*Removing the air intake elbow lower LHS retaining bolt. Can’t see it, I just went in blind. This will no doubt be fun to refit?
*Air intake elbow manifold pressure sensor plastic switch. One of the switches that the lug snapped just by touching it. Very close to the firewall so no room to hold and remove it, you need to first remove the air intake elbow it attaches to.
*I had planned to replace both the serpentine drive belts which made perfect sense while I was there. They are both incredibly difficult to pass through behind their tensioners. I could have just cut them both but I wanted to see how hard they were to replace. The supercharger belt being the hardest one. It has another pulley directly behind its tensioner with less room available than the thickness of the belt. The other longer main belt also has little clearance behind its tensioner and the engine chain cover. Around half an hour later I managed to get both of them out. Perhaps I was doing something wrong and I couldn’t be bothered removing the tensioners themselves. Without the excellent leverage of a serpentine belt removal tool, I don’t think I could have done it.
Post #19 kr98664 suggested I go for the copper plated steel nuts. I don’t want to use Chinese parts and I thought I may try my friendly local BMW/Mercedes or VW dealer and buy two of these: https://www.ebay.com.au/itm/SWAG-Nut...1/163782140356
*Oh, did I mention that the central interconnecting bonnet release cables snapped locking the bonnet? Perfect timing for this to happen. I will cover how I managed to reopen the bonnet in another post.
Many other posts on part numbers, below is my list. Approximate prices in AUD:
AJ82190x2. EGR valve retaining (horizontal) bolts. No crucial need to change them if you find these easy to get to and they came out well but nice to buy the ones with the larger heads than the standard original 8mm head, making things easier next time around; M6x45mm. $8.00 each
AJ82340x1. EGR valve pipe lower gasket. Probably the correct one for my early STR. $18.00
AJ83292x1. Air inlet elbow gasket to supercharger back end. $8.00
AJ83445x1. Throttle body to air intake elbow metal gasket. Couldn’t see anywhere that I had to discard the old one as mentioned. $20.
AJ88560x1. EGR valve to air intake elbow gasket (upper gasket). Probably the correct one for my early STR. $6.00.
C2C11477010x2. Water outlet seal thermostat assembly. $5.00 each.
NCC7735BAx1. Supercharger outlet gasket. Non genuine here was okay for me. $15.00.
AJ86892x2. Supercharger outlet pipe to charge air cooler ducts seal. Expensive at $60.00 each.
AJ811368x1. Small elbow hose to thermostat. $12.00.
C2C37063x1. Engine drive belt. Genuine Jaguar $80. The Dayco brand made in Italy was fine for me $30.
C2C37055x1. Supercharger drive belt. Genuine Jaguar $112. Dayco brand made in Italy as well was okay for me. Is ribbed on both sides $42.
I do usually buy from Rimmer Brothers as well but their postage has been getting a bit ridiculous lately and unlike many of the other international suppliers, they have been stupid enough to start collecting a 10% sales tax for the rip off Australian Government. May not be the case for USA buyers: https://rimmerbros.com/SubCategory--...-Type--m-13173
Last edited by jya; 12-09-2019 at 01:17 AM.
Reason: Forgot to add hose details/part number.
In my case it sits till spring. It has gotten far too cold to work on outdoors. The car is under a good cover so it should be OK till then. Then I'll see if I can try something more aggressive as I cannot reliably reach the bolt heads from the side and underneath.
I was preparing a post with some photos of my experience of changing the EGR coolant hose on a RHD vehicle. I have yet to finish the post as I have only just managed to remove the hose without any huge drama but I haven�t got it all back together yet!
I managed to get half way with a basic tool kit, am not associated with any workshops and unfortunately none of my financial planning colleagues or peers or any of my friends would know what a breaker bar is lol..
Initially my problem was with a ruptured short thermostat hose. This had gone soft which had then caused it to bulge which then caused it to chaff on the supercharger snout rib�.. Replacing the small thermostat elbow hose, I figured would be about a quarter of the way to the EGR coolant hose. The other posts on this great forum from the many talented experts which had already done this gave me the confidence.
The supercharger has never given me any problem but I plan to at least pay for some professional help and have it checked over and have them change the oil. I�m sure I would be able to do this but I will likely also get them to clean and check the throttle body and the air intake elbow as well.
The Jaguar instructions to remove the supercharger covers the removal of the EGR valve which of course gives you have access to the EGR coolant hose. Parts it states to �remove and discard� are:
1.Supercharger outlet pipe gasket.
2.Supercharger outlet pipe retaining bolt seals
3.Supercharger air cooler ducts
4.Thermostat housing O ring seals
5.Exhaust manifold to EGR valve tube gasket
6.EGR valve to air intake elbow gasket
7.Air intake elbow gasket
8.Air intake elbow retaining bolt seals
A few that have done this have reused some of the main gaskets but to memory none have reused the two EGR pipe gaskets. I noticed in one of Aarcuda�s posts he had a problem with the Jaguar part numbers to his EGR valve pipe base to exhaust manifold (lower) gasket. I noticed the base of his EGR valve pipe was different to mine. His looked like a flush base and mine is not. So, I assume that�s where the confusion was. I have ordered both part numbers of this gasket and will use the one that looks like my old gasket.
Curiously the Jaguar instructions do not mention to change the steel throttle body gasket? Unless it�s nice and firm I would change the thermostat elbow hose. A good or bad thing, the knock sensors sitting in the valley either side of the insulation pad I did not bother changing. The air intake elbow has an outlet that connects a tube to the brake booster which of course runs to the other side of a RHD vehicle. Much has been written up about it. It�s a plastic clip fitting, O ring and a non-rubber (nylon?) small hose. This needs to be modified to a more robust heat durable probably brass elbow/fitting. I have pm�ed Aarcuda to see exactly what he ended up using here in the end. As he did, I think the best modification is to tap this hole out and screw in a brass elbow and then connect the hose to this. Also the thread by �Muddybear� in the X350 section looks like a cheap easy fix: https://www.jaguarforums.com/forum/x...ng-fix-105997/
The biggest problems I had which may (or may not) only be for RHD early vehicles like mine:
*Removing the small �air intake elbow� plastic pipe without breaking it. Not much room for leverage in there and maybe there was a trick to squeezing the plastic I did not know. Got it off in the end in one piece.
*Removing the air intake elbow lower LHS retaining bolt. Can�t see it, I just went in blind. This will no doubt be fun to refit?
*Air intake elbow manifold pressure sensor plastic switch. One of the switches that the lug snapped just by touching it. Very close to the firewall so no room to hold and remove it, you need to first remove the air intake elbow it attaches to.
*I had planned to replace both the serpentine drive belts which made perfect sense while I was there. They are both incredibly difficult to pass through behind their tensioners. I could have just cut them both but I wanted to see how hard they were to replace. The supercharger belt being the hardest one. It has another pulley directly behind its tensioner with less room available than the thickness of the belt. The other longer main belt also has little clearance behind its tensioner and the engine chain cover. Around half an hour later I managed to get both of them out. Perhaps I was doing something wrong and I couldn�t be bothered removing the tensioners themselves. Without the excellent leverage of a serpentine belt removal tool, I don�t think I could have done it.
Post #19 kr98664 suggested I go for the copper plated steel nuts. I don�t want to use Chinese parts and I thought I may try my friendly local BMW/Mercedes or VW dealer and buy two of these: https://www.ebay.com.au/itm/SWAG-Nut...1/163782140356
*Oh, did I mention that the central interconnecting bonnet release cables snapped locking the bonnet? Perfect timing for this to happen. I will cover how I managed to reopen the bonnet in another post.
Many other posts on part numbers, below is my list. Approximate prices in AUD:
AJ82190x2. EGR valve retaining (horizontal) bolts. No crucial need to change them if you find these easy to get to and they came out well but nice to buy the ones with the larger heads than the standard original 8mm head, making things easier next time around; M6x45mm. $8.00 each
AJ82340x1. EGR valve pipe lower gasket. Probably the correct one for my early STR. $18.00
AJ83292x1. Air inlet elbow gasket to supercharger back end. $8.00
AJ83445x1. Throttle body to air intake elbow metal gasket. Couldn�t see anywhere that I had to discard the old one as mentioned. $20.
AJ88560x1. EGR valve to air intake elbow gasket (upper gasket). Probably the correct one for my early STR. $6.00.
C2C11477010x2. Water outlet seal thermostat assembly. $5.00 each.
NCC7735BAx1. Supercharger outlet gasket. Non genuine here was okay for me. $15.00.
AJ86892x2. Supercharger outlet pipe to charge air cooler ducts seal. Expensive at $60.00 each.
AJ811368x1. Small elbow hose to thermostat. $12.00.
C2C37063x1. Engine drive belt. Genuine Jaguar $80. The Dayco brand made in Italy was fine for me $30.
C2C37055x1. Supercharger drive belt. Genuine Jaguar $112. Dayco brand made in Italy as well was okay for me. Is ribbed on both sides $42.
I do usually buy from Rimmer Brothers as well but their postage has been getting a bit ridiculous lately and unlike many of the other international suppliers, they have been stupid enough to start collecting a 10% sales tax for the rip off Australian Government. May not be the case for USA buyers: https://rimmerbros.com/SubCategory--...-Type--m-13173
Thanks jya-
You mentioned the R&R procedure in the "instructions" Could I please get a link to that? I did download a 1300 page plus or minus manual when I first joined..very confusing and it doesn't index like a PDF.
You would think?..Since any long term owner of an S Type R will have to do the hose plus maybe an EGR that one of these sources would build a part number on their page with everything included to do this procedure.
I.E. If I have a parts person working for me that sells a water pump..they better ask if they need the gaskets or coolant.
Staatsof, I do recall a post with someone having a similar issue with removing the bolts. I believe in the end they got the Dremel out with some sort of a chisel. They popped open the EGR and broke up its casting, from above which worked for them in the end. Sorry I don't have the link, you may have seen it. Also what you mentioned about removing the protruding pipes may be worth a go as well. At least the car is covered.
I did all the work in a private car park, outside as well. Not sure if the heat or cold is better? Just clocked over 100 degrees here today and its only 2.00 pm! Looks like we may be having a very hot Christmas here this year..
Mark, I will try and find an electronic copy of the supercharger removal procedure which I have had for ages and cant remember wher I stored it.. For some reason at the time I only managed to get it for an 04 STR. Minor differences. If I cant find it mate I will scan and send you the hard copy I used.
Thanks Karl, I managed to find the first link but did it with some stiff wire and a nail. The second link you put up made for some interesting reading!
Some photos below which may be of interest.
Some I have some questions for that I would welcome some feedback on.
I have also attached a report from the very highly regarded 'Harrop Engineering' here in Melbourne who I believe are an official distributor of Eaton USA products and sell and engineer a myriad of after market supercharger kits, brakes etc. They have a lovely professional set up and I had them test and clean everything and change the oil.
Many thanks!
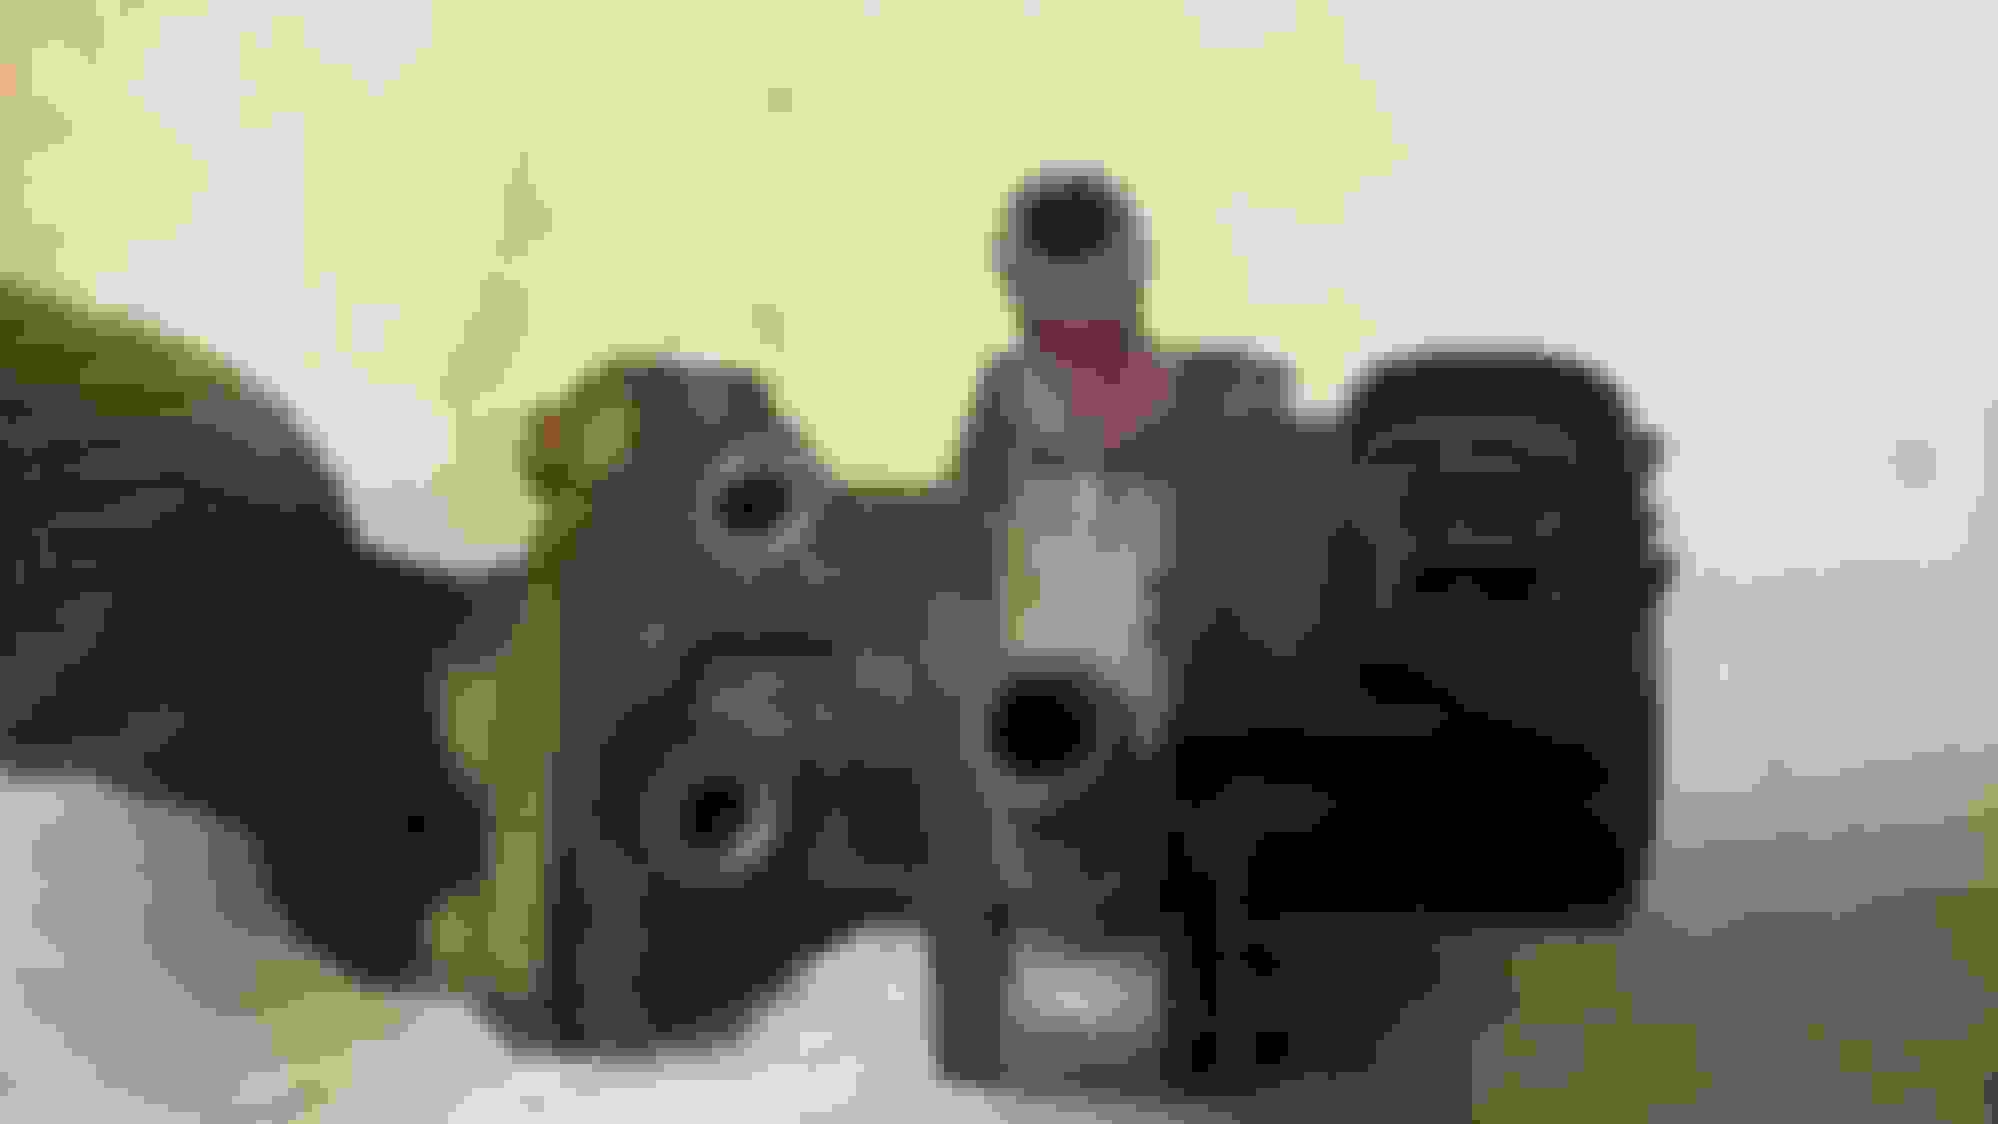
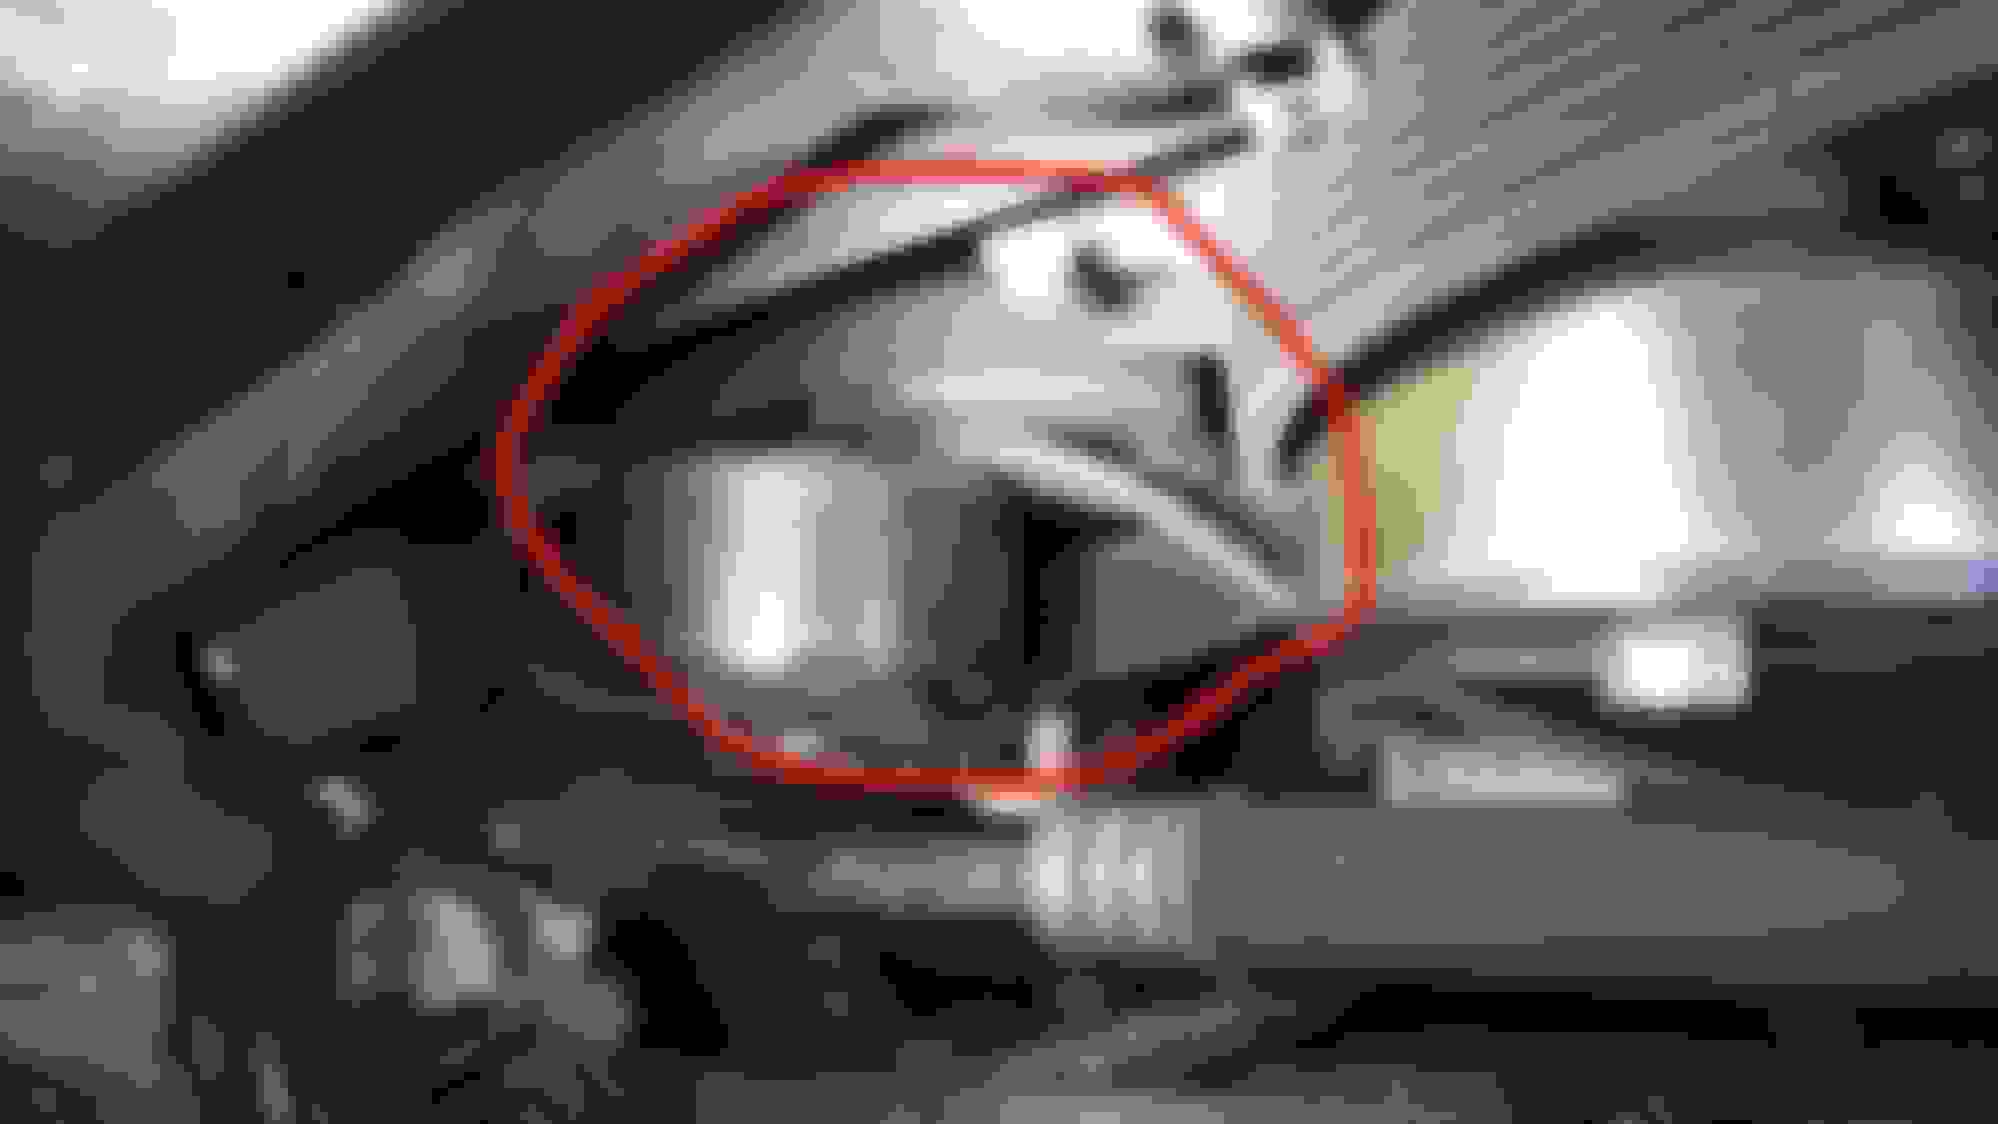
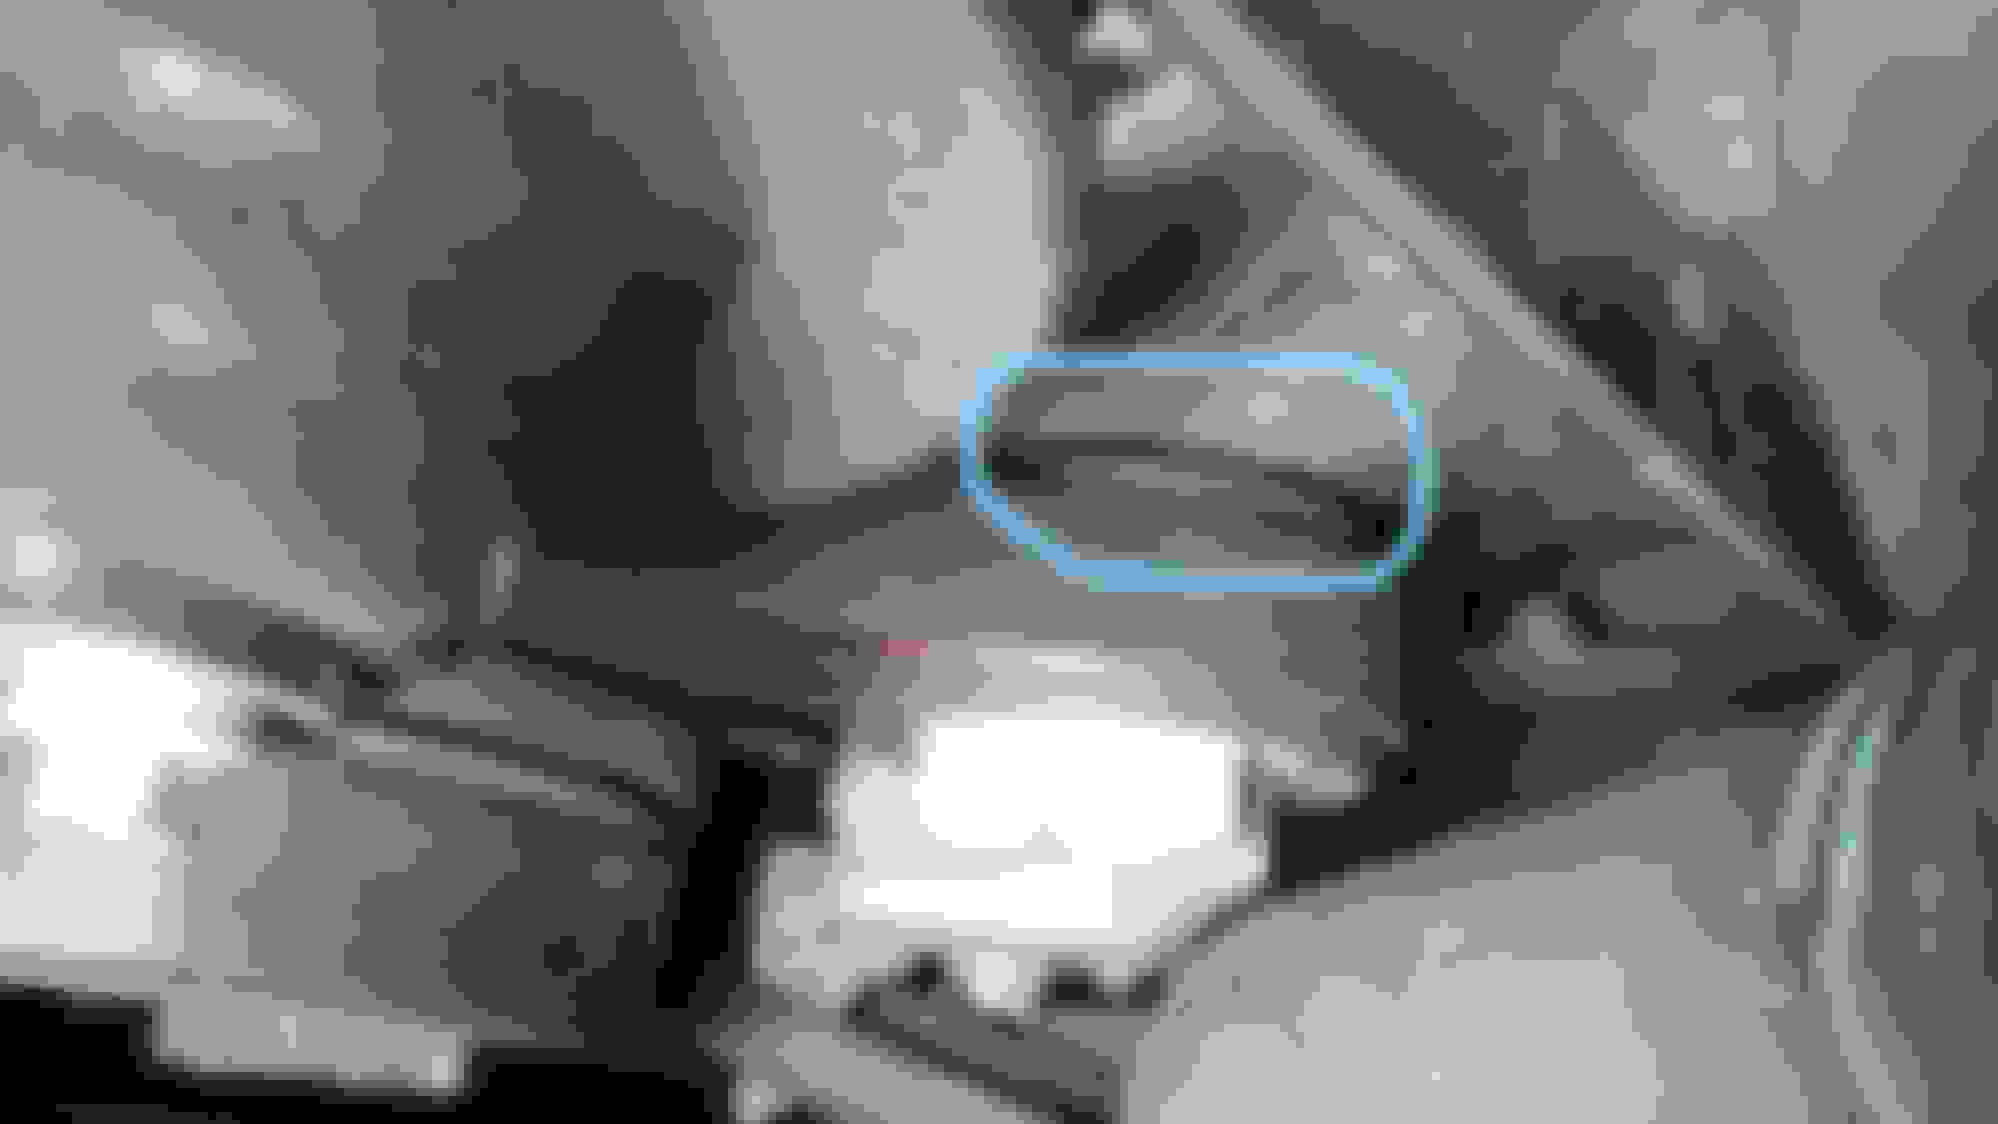
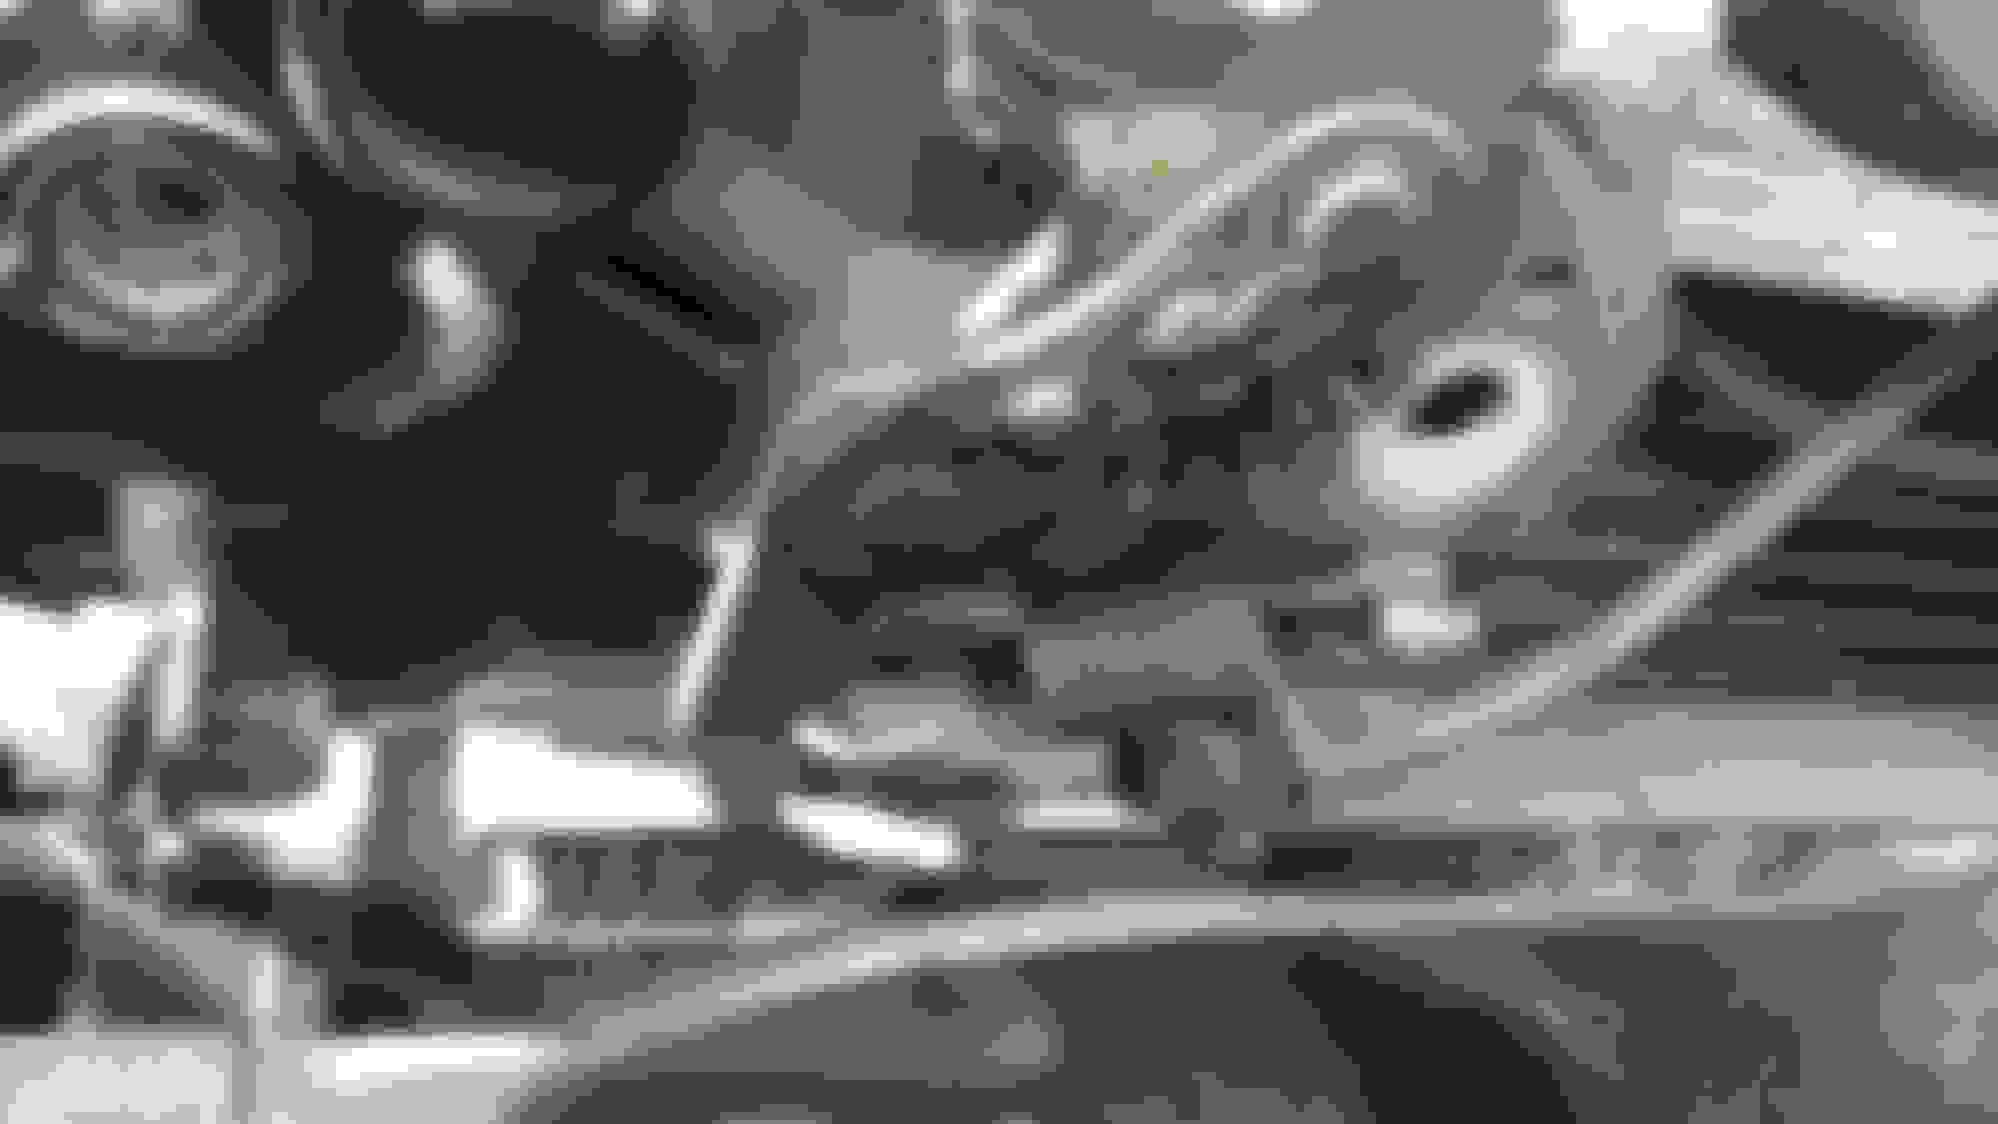
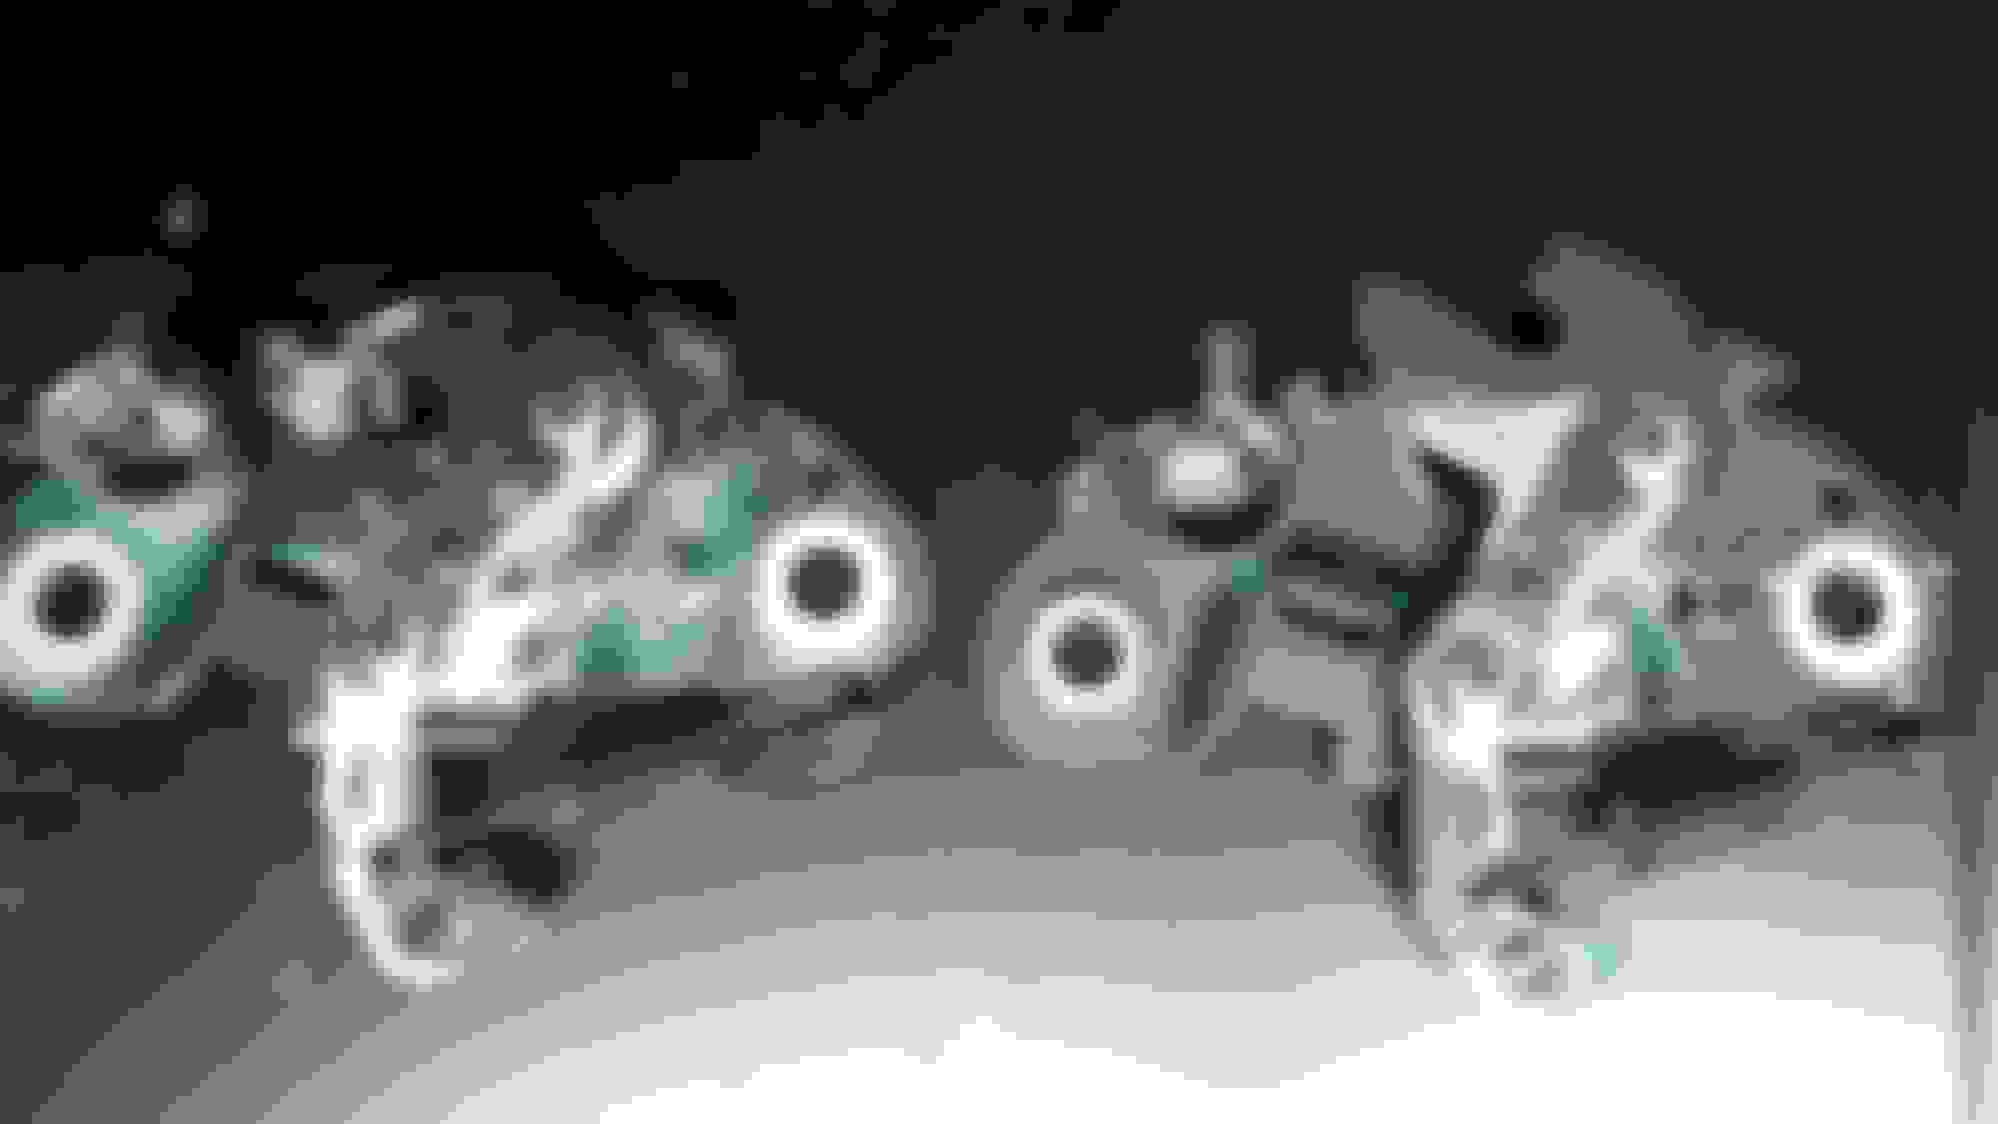
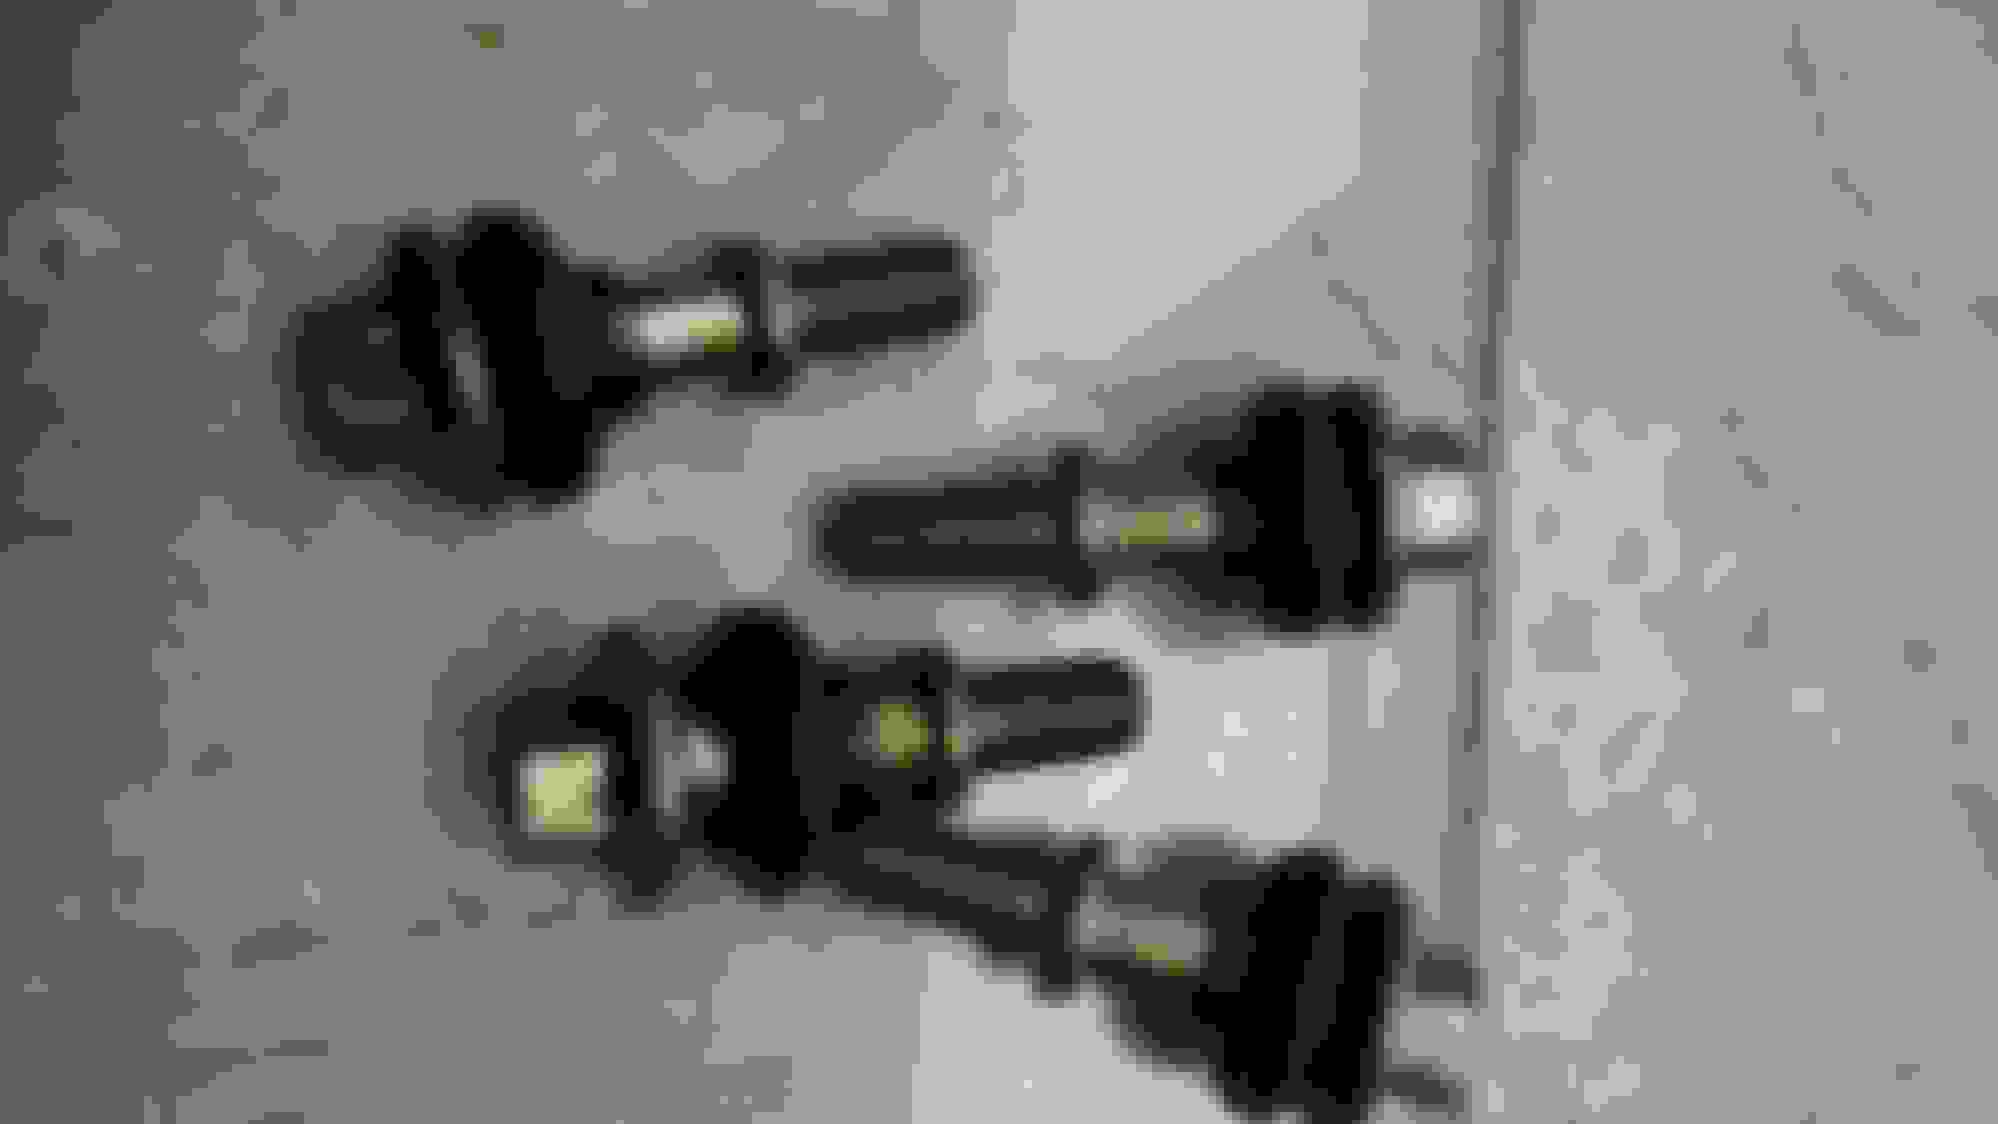
Supercharger tensioner pulley sits right in front (alternator?) pulley. Poor room for belt removal. Same with main belt tensioner pulley above, sits very close to timing chain engine cover. New vs Old. EGR hose looks like it still had a bit of life in it. 17 years and around 70 thousand miles later ... Factory belts after same mileage. No rib bits flaking off yet. Bonnet catch condition which probably caused central cable to snap. In this state the cable sure had it's task cut out for it. Should have kept it far cleaner! After a clean up. Will probably only use a dry lube now. Would I be able to use just a standard high tensile bolt and machine washer on the EGR valve? As shown on replacement bolt on LH of above photo, has a larger head than factory originals on RH of photo. "Air Intake Elbow" bolts shown with their rubber seals. The rubber seals on these bolts look like they are only a single use as they appear to be in an expanded state; the sheath part of the rubber over the bolt shaft shows signs of cracking away from the head part of the rubber. The book says to discard these seals. Not sure if anyone has reused them, and as yet if they are available as a separate part? As I had mentioned the lower of the 4 bolts on the LHS I had to remove 'blind'. Again going to be lots of fun to bolt bac
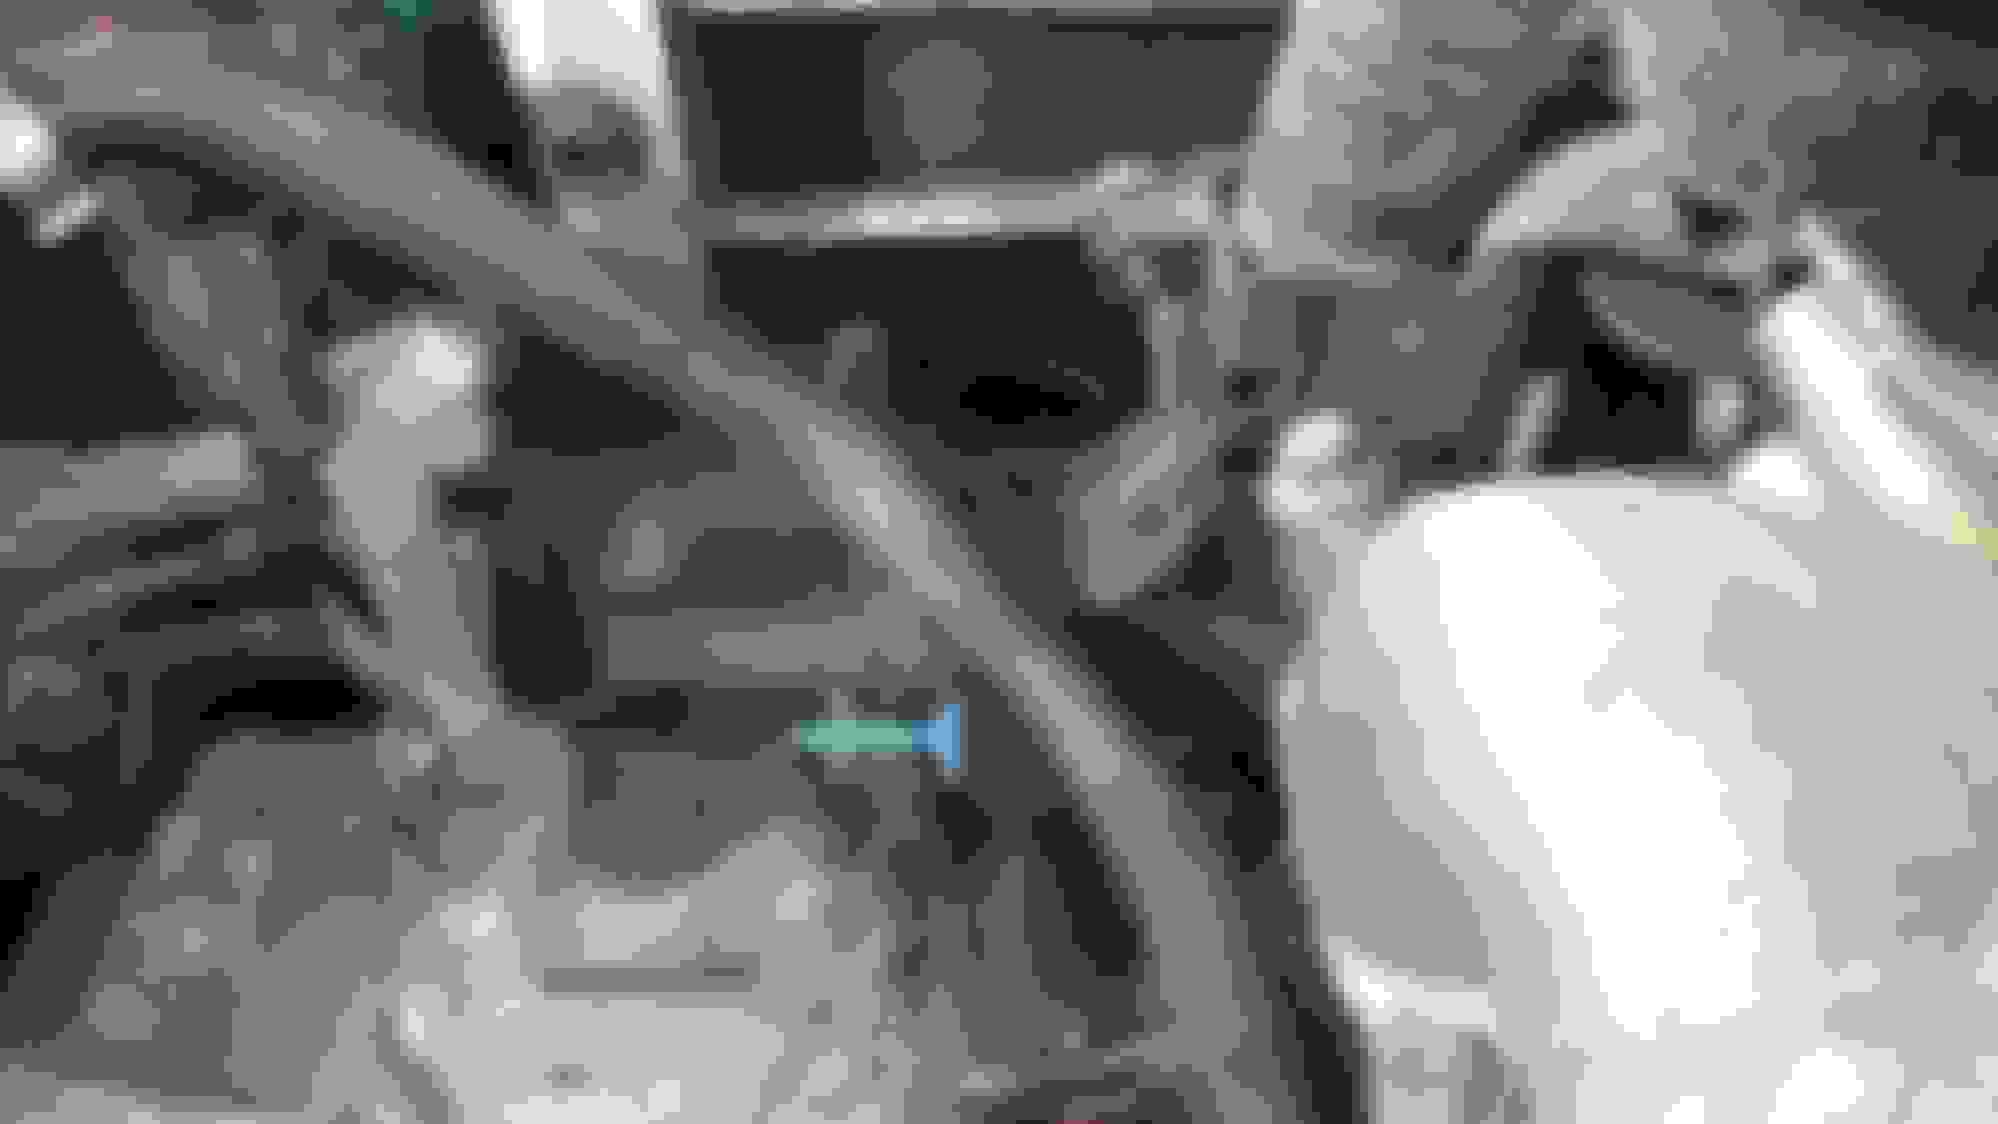
Belt part numbers above. Nice to see they are made in a fine country. This bolt was a pain in the rear to remove; "Air Intake Elbow Bracket Lower Retaining Bolts". Going to be lots of fun trying to put it back.. Photo after supercharger removed. Showing limited room available as LHS loom plastic cradle blocking bolt removal. Drawing showing where bolt sits
I have also attached a report from the very highly regarded 'Harrop Engineering' here in Melbourne...
I was looking over the invoice you had posted. Parts of the scan were a bit hard to read, especially your credit card number. Would you mind posting that? And maybe the 3 digit security code on the back of your card, too?
So as I look at the EGR valve it looks like if you remove the bolts that hold the solenoid on the top the entire valve comes apart and you're left with the cast iron base still bolted to the engine but you can now actually see everything well? I guess it ruins the valve? No replacement gaskets available for that? But at least then I might be able to get it all removed?
I don't think you are going wrong. That idea has merit. I have looked as many posts lately and I forget which ones are which now but I remember seeing one where they had the solenoid top off. Once the top is off it actually leaves you with the alloy base first that a post mentioned they hacked away and then you have the cast iron. Which you probably cant hack away but you have much clearer access to those bolts.
Aarcuda I think was going to try and repair his at one stage once he had it apart but I don't know if he did so.
Look at post #10 https://www.jaguarforums.com/forum/s...solved-224034/
From reading that thread it looks like this isn't going get me what I want. But reading all the other issues Aarcuda is having maybe I should just send this one to the wreckers. He has almost 40K more miles but what a can of worms he opened up fixing this issue. Not sure I want to go there. That's what concerns me, a lot of stuff gets disturbed doing this repair.
True about that thread. But I would urge you to attempt to dismantle the solenoid, chip away at the allow base below which should give you the required access to those bolts. I think it was Aarcuda who placed a bit of paper over one of the bolts and forced a socket over the bolt in a successful attempt to get it to turn. He is set up in a garage by the looks of it so all this is much easier for him.
Your'e right about a lot of stuff getting disturbed. That's been my main concern thus far as I have yet to put it all back together. As an amateur that's the main reason why I did get the pros to clean and check all my bits as I didn't want to break anything. But I keep thinking about the saving I have made and the care that I have gone to which would not have happened from my local butchers and the fixing up of other minor issues like lots of rubbing pieces that unless I had have gone in there and done this would not have been addressed until it was too late.
I think the only issue I had prior to disassembly was the loose TB hose to the brake booster, which looks like an easy fix. And my main concern is air leaks after I finally put it all back together.


 11-28-2019 | 04:16 AM