When you click on links to various merchants on this site and make a purchase, this can result in this site earning a commission. Affiliate programs and affiliations include, but are not limited to, the eBay Partner Network.
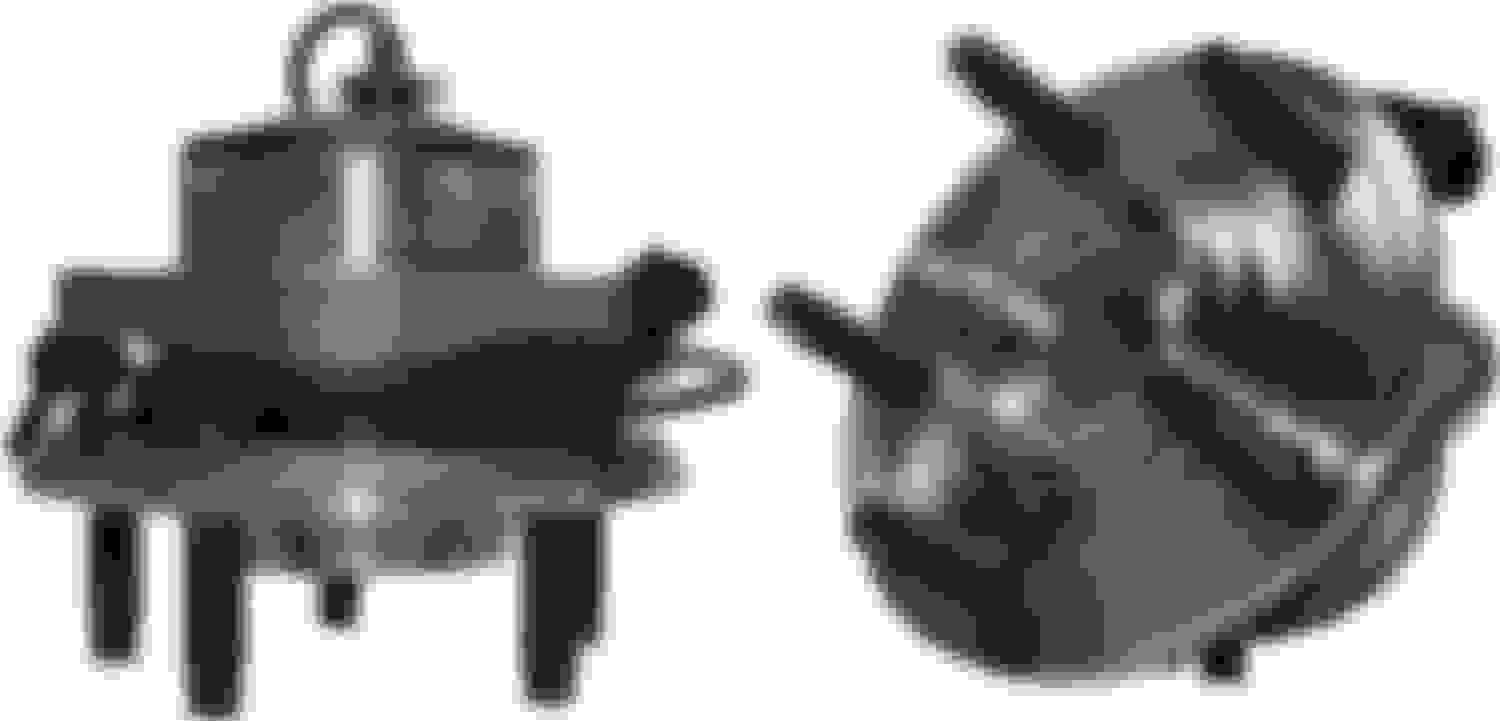
Gus mentioned that my old verticals may have some oil on them from a leaking hub bearing seal. It didn't look like it, but Gus knows things!! I got them both out to look at them again...Looked like dirt, but if you heat the area, oil will get slick again. Drivers side good, Passenger side bad. I had ordered hubs just to have them instock and they were a good price. So time to put on the new Detroit Axle Hubs...Price for BOTH with anitlock unit attached? $80. Came from amazon.
Jack car and block with 3 ton stands on each side of the cross member. Put 2 ton stand back on the subframe but leave a inch or less. Just extra safety. Remove tires. Remove antilock brake cable at hub. Remove two 15mm bolts on brake caliper bracket and hang it on the upper arm with a zip tie, but not too tight. Remove brake rotor. Remove 4 15mm bolts on the hub. If stuck, lightly tap it out and clean the vertical receptacle. Once all that is done, remove the bottom inner fender plastic retainers. There are three plastic nuts on the inner fender. One the side and two on the top. Remove and be careful, the nuts are plastic. While grasping the inner fender, use your other hand to swing the caliper out of the way and peel it back just enough to see the anti-lock plug. SQUEEZE the side toward the front and remove. Clean the part left on the car. This cable is attached to the brakeline with some loose fitting clips...DO NOT BREAK OR CUT THE CLIPS. Ease the line out.
Tip: you can turn the steering when both wheels are off the ground to make it easier.
Assembly. the new hub comes with everything attached so ease the cable through the hole and be careful not to damage it. Ease the hub in and attach the four 15mm bolts. Go around and tighten the new hub gradually. Torque to 66 ft. lbs. Replace the rotor and put two lugnuts on hand tight to hold it straight. Cut the zip tie and put the caliper bracket back on and tighten down both 15mm bolts evenly and torque to 76 ft. lbs. Cut the zip tie on the antilock cable and feed it into the clips and plug it into the plug on the body (I use a dab of electric grease to seal it from water). Once plugged in, insert the plastic retainer in the proper hole. Just remember where the old one was or mark it with a marker. Remount the inner fender and don't go crazy on those wonderful plastic nuts. For the bottom fasteners, new is correct. I used Dorman 454620BP Universal panel retainers and they fit exactly. 2 each side available at any auto parts store.
Since these are NEW metal, I used a bit of anti seize on the studs and then put the wheels back on. Torque to 96ft.lbs.
All done. Work time including coffee break, talking to nosey neighbor, and eating pop tarts....2 hours.
Tools: I use an electric impace tool to remove things like lugnuts, but handtools for everything else and for assembly, ONLY handtools.
List: One 1/2 inch drive ratchet. One 15mm long 6 sided socket and one 15mm 12 pt short socket. Two extentions. 4 inch and 8 inch. Zip tie cutters. One 1/4 drive ratchet, 12 inch extension and deep 10mm socket. Anti-seize, black gasket silicone for a touch on the plastic inner liner nuts to secure them. Plastic retainer removal tool. One 1/2 drive torque wrench. Correct tire socket (my lugs are 21mm or 13/16.)
Last edited by davidladewig; 02-08-2017 at 07:11 PM.
I should mention that the replacement I received had only a squirt of grease in the ball joint. Before installing it I pulled the boot back and could hardly see any grease so I packed the boot and installed it. However, I will be keeping an eye on it. I called Moog who makes ball joints and they no longer install grease fittings on the ball joints for my car.
I should mention that the replacement I received had only a squirt of grease in the ball joint. Before installing it I pulled the boot back and could hardly see any grease so I packed the boot and installed it. However, I will be keeping an eye on it. I called Moog who makes ball joints and they no longer install grease fittings on the ball joints for my car.
No grease means no longevity. Some bean counter is in the middle of this shining light of genius.
I see what you are talking about. I don't know how to pack a sealed joint. Does the cover come off? Why can't a grease fitting be installed. Drilling a shallow hole and threading wouldn't be difficult. My tie rod ends have grease fittings.
I never had a reason to drill and tap one but looking at the arm it would be difficult to do. That is why I took the retaining ring off on the new balljoint boot and pulled it back and packed it that way. You do have another option and that is to use a grease needle but that means putting a hole in the boot. I had to do that so I could get the car home to replace it. If you end up using the needle you should clean the area of the puncture and seal it with a rubber compound to keep moisture out.


 02-08-2017 | 04:57 PM