When you click on links to various merchants on this site and make a purchase, this can result in this site earning a commission. Affiliate programs and affiliations include, but are not limited to, the eBay Partner Network.
I could not find much in the S-Type section on post x202 headliner replacement. As per usual lots of generic content on YouTube which gives you a basic idea of where to start. But nice to see what is going on from x202 and I will attempt to bypass the removal basics here and comment on some of the challenges. Unfortunately not a short post but read on if you can be bothered.
For my car it was at the 15 year mark when I noticed the lining starting to sag. It was the actual fabric that came away from the foam. Several experts gave me their opinion as to why; one said the glue ultimately kills the foam, another mentioned that glue or not these type of foams all have a use by date and a trimmer said that if you get 10+ years out of a modern roof you are doing well. Maybe a foam engineer may know the real answer and whether the modern foams are going to have any longer staying power. I suppose we will see in 15 years time where the F Type's roof is at.
My foam was still in place but had deteriorated and turned orange from its original yellowy colour. My car has seen most of the UV rays from the rear and the foam in this section of the board brushed off like powder but towards the front of the roof the foam was a deteriorated oily mess that required constant cleaning of the removal brushes as they would get readily clogged. Looks like the sun visors are heading that way as well.
Probably easier to remove the roof out of the larger and bigger doored x350 (XJ) but our cars require a lot more work with it being virtually impossible not to bend or break the extremely fragile board, unless of course a windscreen is removed. Also the rear profile has two protruding fins that I ended up bending but they have stuck back well with some 'vertical' application contact adhesive. The rear seats do really need to come out as well as the front passengers; even then it is a real challenge!
Warning also that the board consists of a top and bottom fibreglass matting with a solid breakable foam sandwiched in between and unless you like feeling pins and needles for the next week plastic gloves are a must.
Once the fabric is pulled away from the board it is even more fragile so extreme care is needed in handling.
Another problem is where do you find a good match for the fabric? Should you use leather like in the Bentley's roof? Should you try a non foam backed material? These questions all ran through my head but I figured leather would be glorious (I have a few hides lying around) but the board is not designed to take the weight. A non foam backed material may be okay but the glue may seep through and the boards imperfections would show through.. On one of my other classic cars (different roof lining structure) I used a similar colour ridiculously expensive Alacantara brand material but this material is much thicker. So it was all a bit too hard.
Therefore off to finding a good fabric match I went as I figured it would be impossible to get the same fabric. A couple of sellers out of the UK claimed they had a very close match to the original 'oatmeal' 'sand' 'champagne' Jaguar/Land Rover colour but the cost per yard was something around $60 plus delivery, and you need at least 2 yards. Lots of cheap fleabay sellers but all sourced out of countries that I rater not buy anything from. Plenty of the USA sellers but again even though I frequent there I don't live there so I cant see and touch the material easily question the seller and couldn't be bothered to ask for samples etc.
On the phone the local trimmers wanted either $50 per yard to just sell the fabric or around $300 to supply and glue the fabric; with the problem there that I would need to take them the board which would need a car with a very large cabin and the thing would further bend for sure..
Anyhow a few days later after quite some research I found a local seller (with great customer skills and service) of automotive and marine linings who kindly went through and explained his range of imported products including their respective countries of origin. He also sent me three samples as well which he mentioned were all high quality products. A 'felt' style out of China, a 'velour' style from the good old US of A and what he called a 'lovely' 'flat knit' style used in all the newest cars out of all places Greece.
They are all excellent quality and I was incredibly surprised that the velour out of USA was an exact pattern match! He even had a roll of the right shade as well!
So originality can be kept but the velour style has the same yellowy foam as the original as compared to the thicker white foam of the latest flat knit products out there. If there are any foam expert out there I would love to hear from you!
Rear fin crack has since glued up well. Dry foam area
Factory sticker
Greasy wet foam front area
Board profile
Felt, velour, flat knit pile sitting over original fabric
Loom stuck on board and needs to be unplugged from rear C pillar first
This thread has some details of how to get the headliner out of the vehicle. Note he removed the front passenger seat to let it drop down, and then removed it through the back door:
This thread has some details of how to get the headliner out of the vehicle. Note he removed the front passenger seat to let it drop down, and then removed it through the back door:
Thats too funny kr98664! Yes you need a good orthopedic surgeon in close proximity for sure!! Not for the rough at hand too... Need a good dermatologist as well as I started working without gloves and soon realised that it was fibreglass...
I did previously notice that post and had a good look at it, which was for an x200. Quite informative and a lot of similarities but no curtain airbags on the x200 so no A and C pillar cover retaining clips to worry about; stopping them becoming projectiles if airbags activated. Different OH grab handles and rear lights. Headlining board must have a different profile also, doesn't look like it has the rear fins to bend of the x202. Plus of course the different OH console which is a PITA to remove on the x202 and very easy to break!
Hi Aarcuda (In case you don't know that's the Greek word for Bear),
The correct fabric/weave I was able to finally find here in Australia as part of Daley's 'Mustang' Headlining range, link above. For my Australian colleges on this forum Daley's are located in most states of the country.
Amazing that it is still made and great for those that want originality. I cannot pick the difference from the original and its been a bonus to be able to find out what it is.
We feel colour code MH13 in their range is very close to the Jaguar original colour known as 'Sand' for the x202. Even though my board is stamped as 'Oatmeal' I think its the same Jaguar colour as 'Sand' and maybe the same as the Jaguar colour 'Champagne' as well. Looks like Jaguar liked to keep renaming the same shade.
As mentioned this stuff surprisingly comes out of the USA so perhaps it may have been imported to the UK originally? Manufactured there as well at the time? Perhaps even used in other PA/ Ford vehicles? Anyhow as I discovered it here it should be everywhere in the USA.
Do note it does crease if folded so only way to post it is on a roll. Those that find it out of the US may want to contribute here.
Norri, I intend to keep updating the thread with a lot more detail for the benefit of others. Can I just go and add if its in the 'How To' section?
I can see why the windscreen removal would be listed as the official way. Maybe great for those to also do the headlining at the same time while they are removing or replacing a windscreen.
Yes you can, but if you are adding similar posts for other parts of the vehicle it may be better to have separate threads or people will have a hard time finding the info.
Thw "How To" tag just means there is a link in the sticky thread.
I removed passenger front seat from vehicle. Headliner easily slid out passenger rear door with rear bench pulled up and out towards drivers rear door. No need to remove rear bench entirely.
I'm going to tack on this thread as it seems to be the best at highlighting potential problems.
I had mine replaced while my under supercharger repair was being completed. The shop had a contractor come in.
Well it's something of a mess. Behind the sunroof towards the rear there's a connector of some sort that shows. I can see glue around this. Also in this area there are several dimples in the foam. The fiberglass shell also seems to flop up & down. That can't be right. My mechanic said he had trouble getting the new Velcro to stick to roof and had to use some epoxy to glue the Velcro base to the roof. Clearly something went wrong. At the rear over the window it doesn't seem attached.
Along the opening edge of the sunroof he apparently didn't fit the material quite right and used a sticky tape to secure the fabric to the edge. It shows.
In short it's a crappy job. So I took it to an interior trimming shop. They were fitting a new interior in a 1935 Mercedes 500K roadster which is a big time collector car.
He looked at the job and told me I should just live with it because he thought another attempt might even look worse!
After looking at how cheaply this headliner was originally constructed, that fiberglass panel looks way too fragile, I'm concerned as to this can ever be properly fixed.
They also broke my intermittent wiper function and cracked the overhead console panel!
I had the headliner sag in my 85 Maserati a lot of years ago and on that car they utilized foam that was 1/2 to 1" thick which was glued to the roof and alcantara was installed over that. That worked just fine. Perhaps I'll need to do that here?
What a GD mess!
So I'm trying to get an understanding as to how this is supposed to work.
So far my impression is that the fiberglass shell has channels for wiring and sunroof drains, cutouts for the overhead console , sunroof and that it's secured to the roof AFTER the new foam backed fabric is glued to the interior side of the panel.
Then there are double sticky backed Velcro holders to secure the panel at various locations to the roof in addition to support from the various pillars and passenger pull handles.
But it's fragility of that fiberglass panel that concerns me.
I don't know that the dimples can be rectified. When I mentioned steaming he said it might work but it could also cause staining, glue coming through. He was also concerned if He could get the newest fabric off WO destroying the fiberglass shell.
You don't install headliners using Velco? Or does he mean after the new foam has been installed and attaching it to the roof of the car?
The entire backer board MUST be removed to clean and install the new headliner. If these guys are doing it without removing the entire head liner they don't know what they are doing. This needs to done on the bench out of the car.
If the backer board has not been properly cleaned of ALL the old material and foam as JYA posted in his great tutorial it won't stay together. Your dimples are due to damage they caused when cleaning the backer board. They either gouged holes or left patches of the old stuff in place. It takes some time and effort to clean this properly. It's the worst part of the repair because the old stuff has turned to dust. It has to be smooth and clean BEFORE you start gluing the foam back on. You can try steaming but that is for wrinkles and I don't see how that will fix a hole/damage in the backer board?
The proper method is to use spray glue. All the pro's use this;
I have used spray cans before and they will work but not with the strength and durability of spray contact cement.
All cars us the same style of headliner and they work fine but are NOT of the highest quality for sure!
The guy at the upholstery shop does not want that job. Go find another shop. I always recommend to find someone who does headliners. If they advertise that they will know all the tricks.
Can you post some pictures? It's all cosmetics and fiddly to do.
.
.
.
Perhaps I was a bit too terse in my explanation or you read it too quickly, I believe it's the later.
Where did I say he attempted to replace the fabric WO removing the shell?
I've seen the pix of the fiberglass shell.
What I was told was that there were several places where the shell affixes to the steel roof with Velcro. Is that not true then how does it attach at the rear across the rear window?
At the windshield it just seems to hang there?
I was told that he couldn't get the middle of the headliner assembly to stay up and that probably it WAS due to his not cleaning it off well enough but that's on the backside of the shell not the side the foam backed fabric IS glues to with spray adhesive.
One other thing, I had asked the garage, not the person doing the work, to check all the drain hoses and make sure they were secure. He had forgotten about that and so the liner got partially removed, he secured the lines with hose clamps and the liner was reinstalled. That maybe what caused some of this though the garage said the installed told them dimpling would disappear after a while. Now if inadequately cleaned the old foam off then the entire job is crap.
Another thing I don't understand and the 2nd guy who looked at this wondered this as well. The fabric folds over the sunroof opening but there's no molding that covers/conceals the unfinished nature of that. I that correct or did he leave something off?
I have pieces of sticky tape at the edge and doesn't seem correct.
This isn't just about spray adhesive so start over and read my post again.
Perhaps I was a bit too terse in my explanation or you read it too quickly, I believe it's the later.
Where did I say he attempted to replace the fabric WO removing the shell?
I've seen the pix of the fiberglass shell.
What I was told was that there were several places where the shell affixes to the steel roof with Velcro. Is that not true then how does it attach at the rear across the rear window?
At the windshield it just seems to hang there?
I was told that he couldn't get the middle of the headliner assembly to stay up and that probably it WAS due to his not cleaning it off well enough but that's on the backside of the shell not the side the foam backed fabric IS glues to with spray adhesive.
One other thing, I had asked the garage, not the person doing the work, to check all the drain hoses and make sure they were secure. He had forgotten about that and so the liner got partially removed, he secured the lines with hose clamps and the liner was reinstalled. That's maybe what caused some of this though the garage said the installer told him the dimpling would disappear after a while. Now if he inadequately cleaned the old foam off or damaged the tray surface then the entire job is crap.
Another thing I don't understand and the 2nd guy who looked at this wondered this as well. The fabric folds over the sunroof opening but there's no molding that covers/conceals the unfinished nature of that. Is that correct or did he leave something off?
I have pieces of sticky tape at the edge and that doesn't seem correct.
This isn't just about spray adhesive so start over and read my post again.
So, should one need a complete replacement I found this place in the UK. It's half the price Jag charges. I'm not sure that there's enough material in the cutout for the sunroof to cover the sliding panel.
Speaking of that cover panel. My sunroof appears to work properly and fully retracts that panel except if you just want the cover panel retracted manually then it goes a bit father thsn half way.
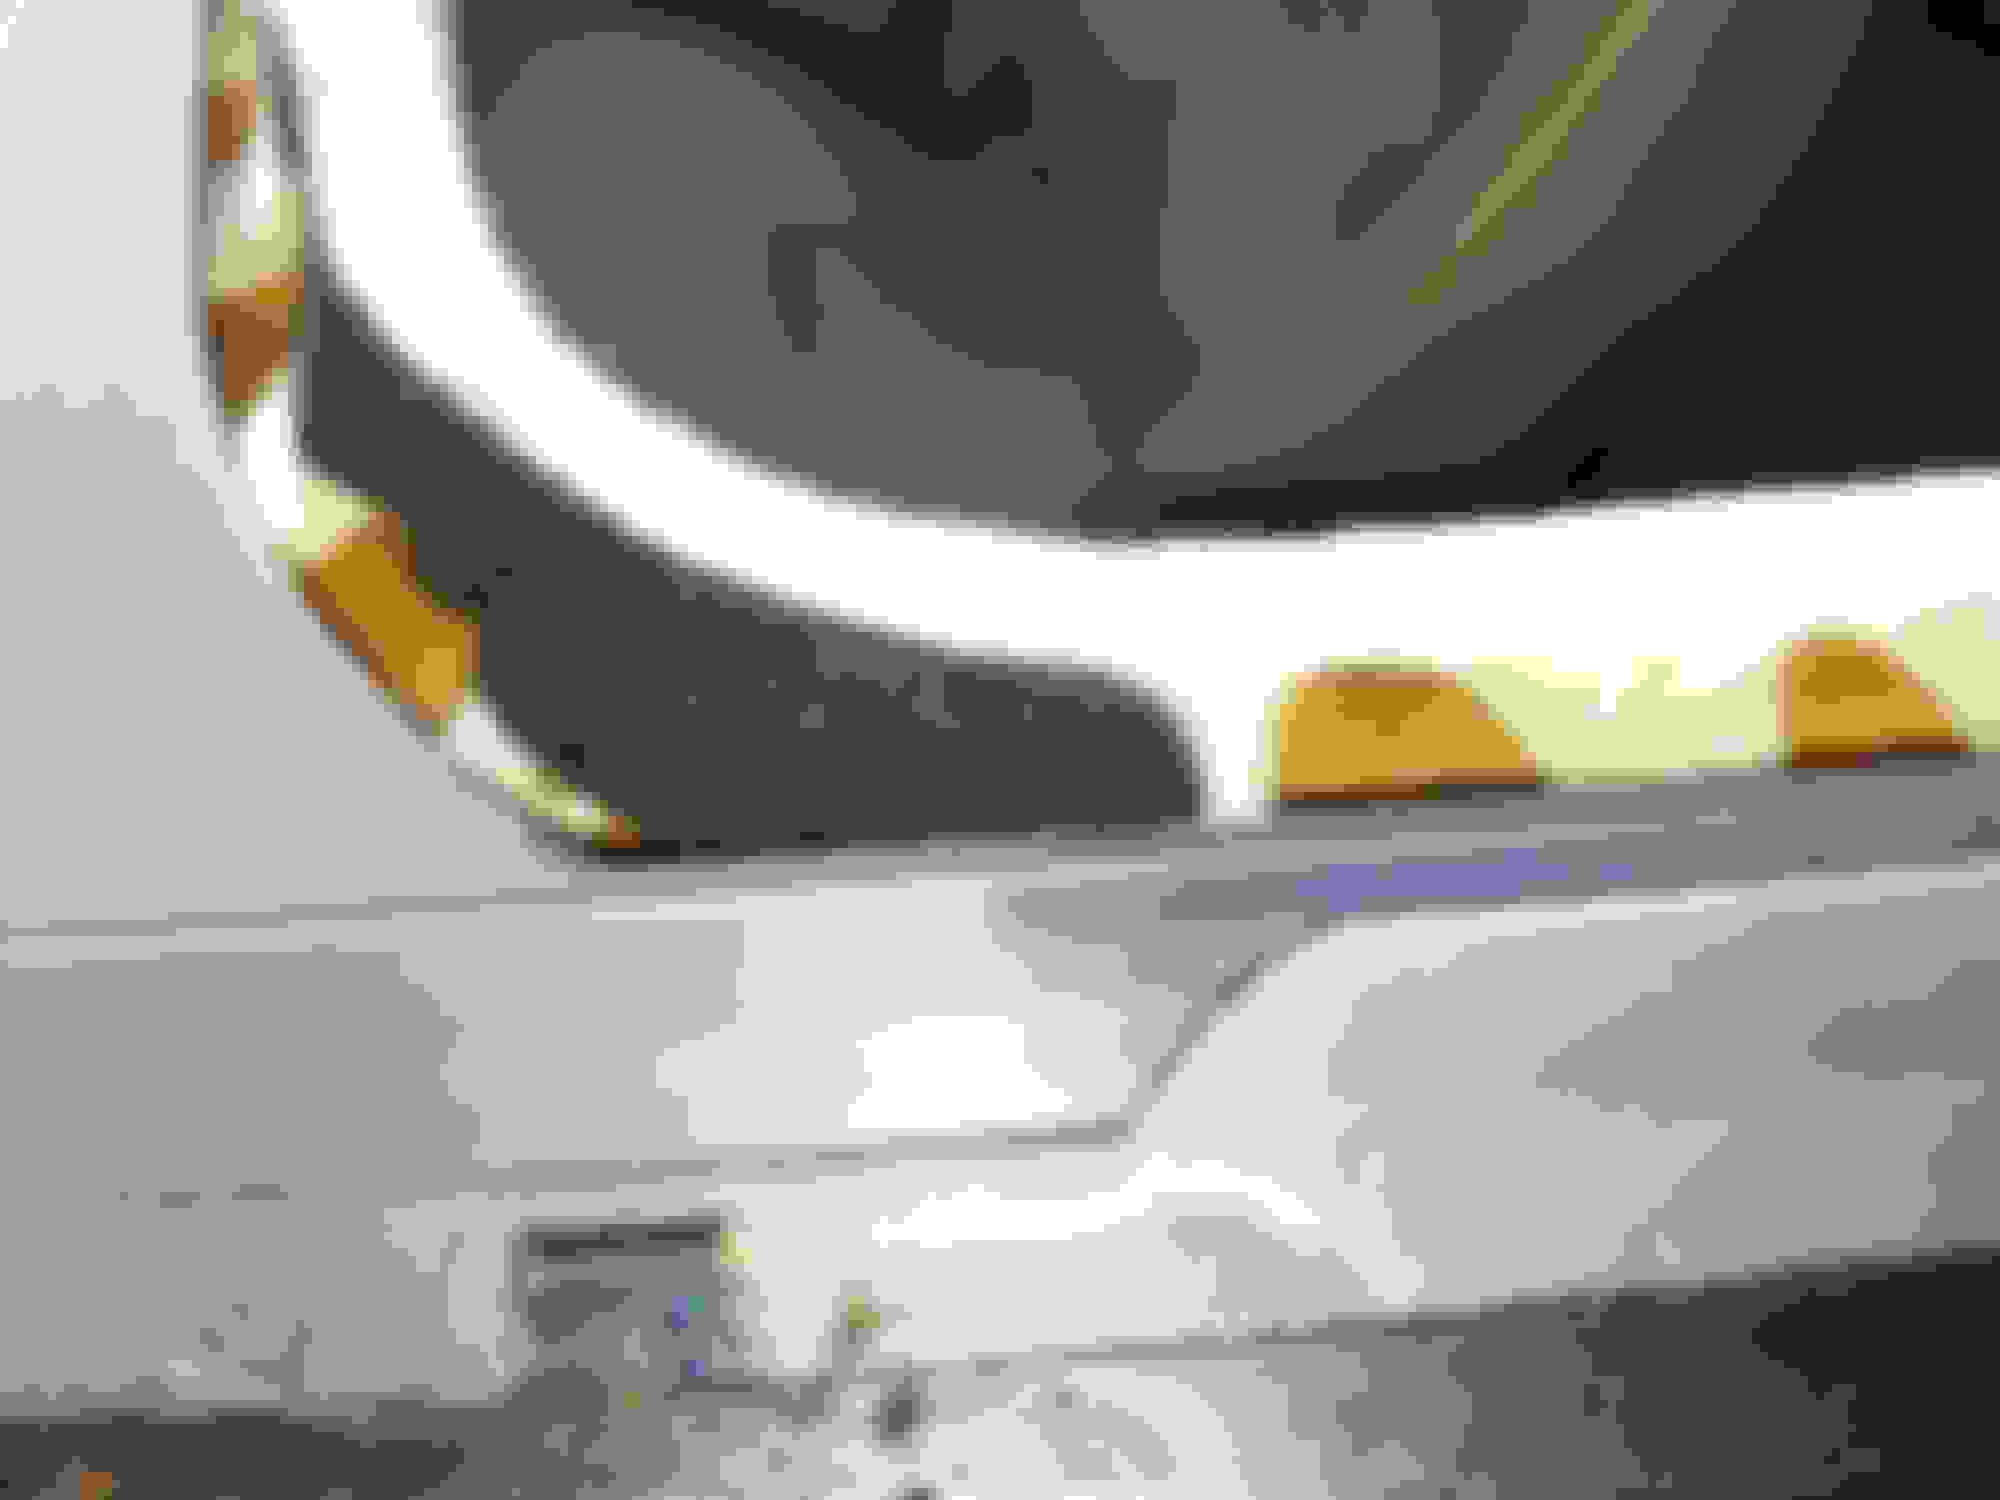
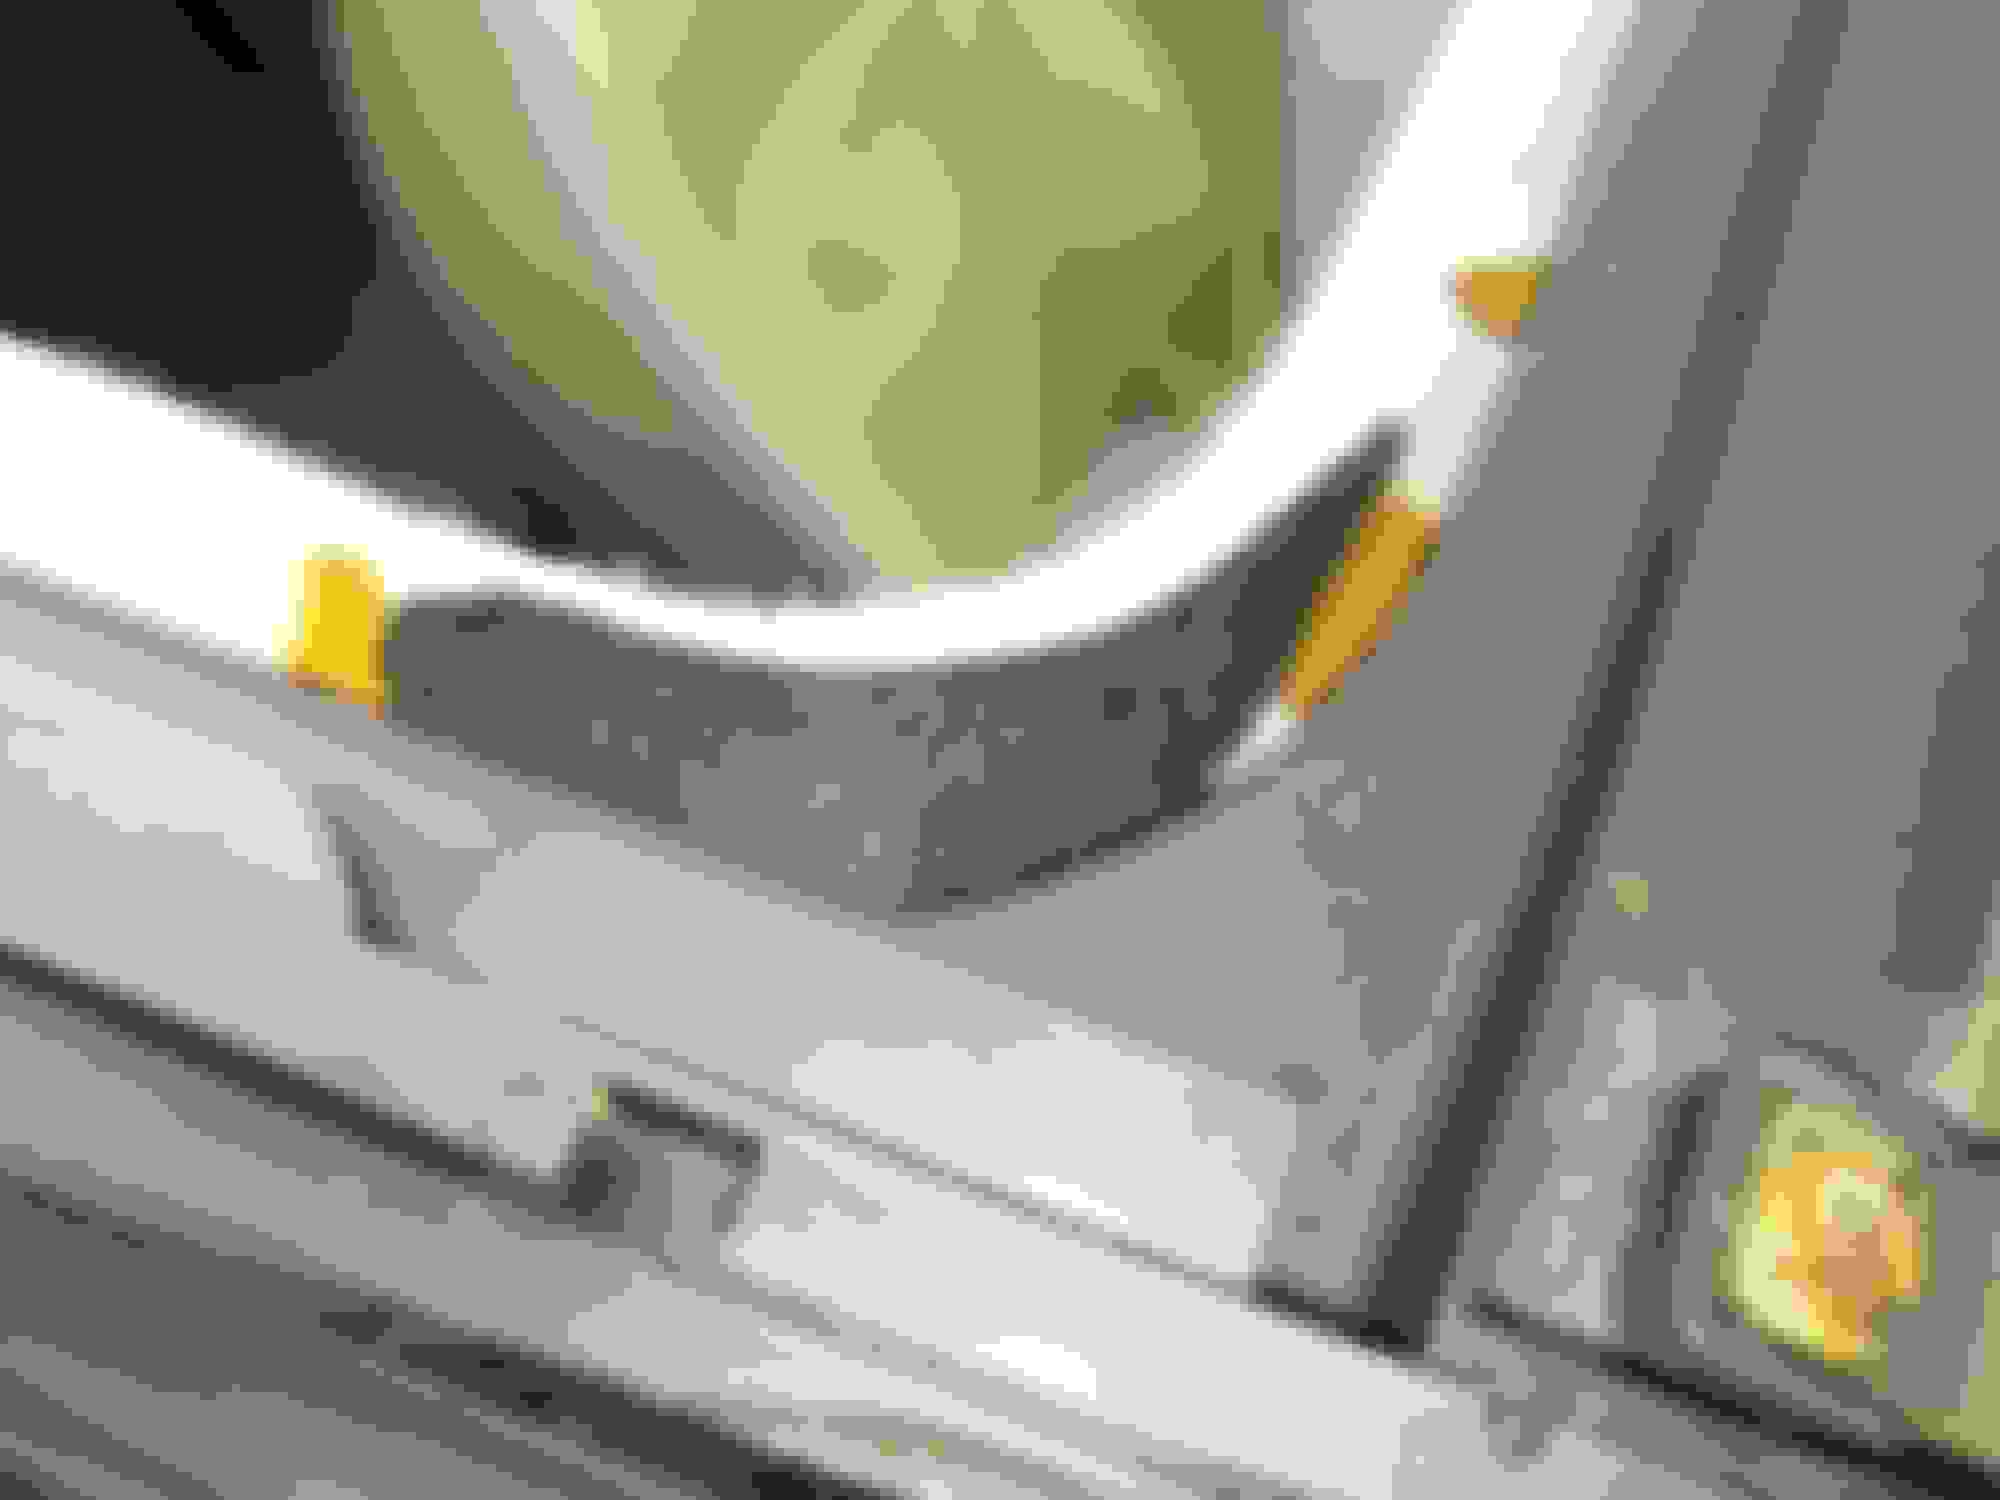
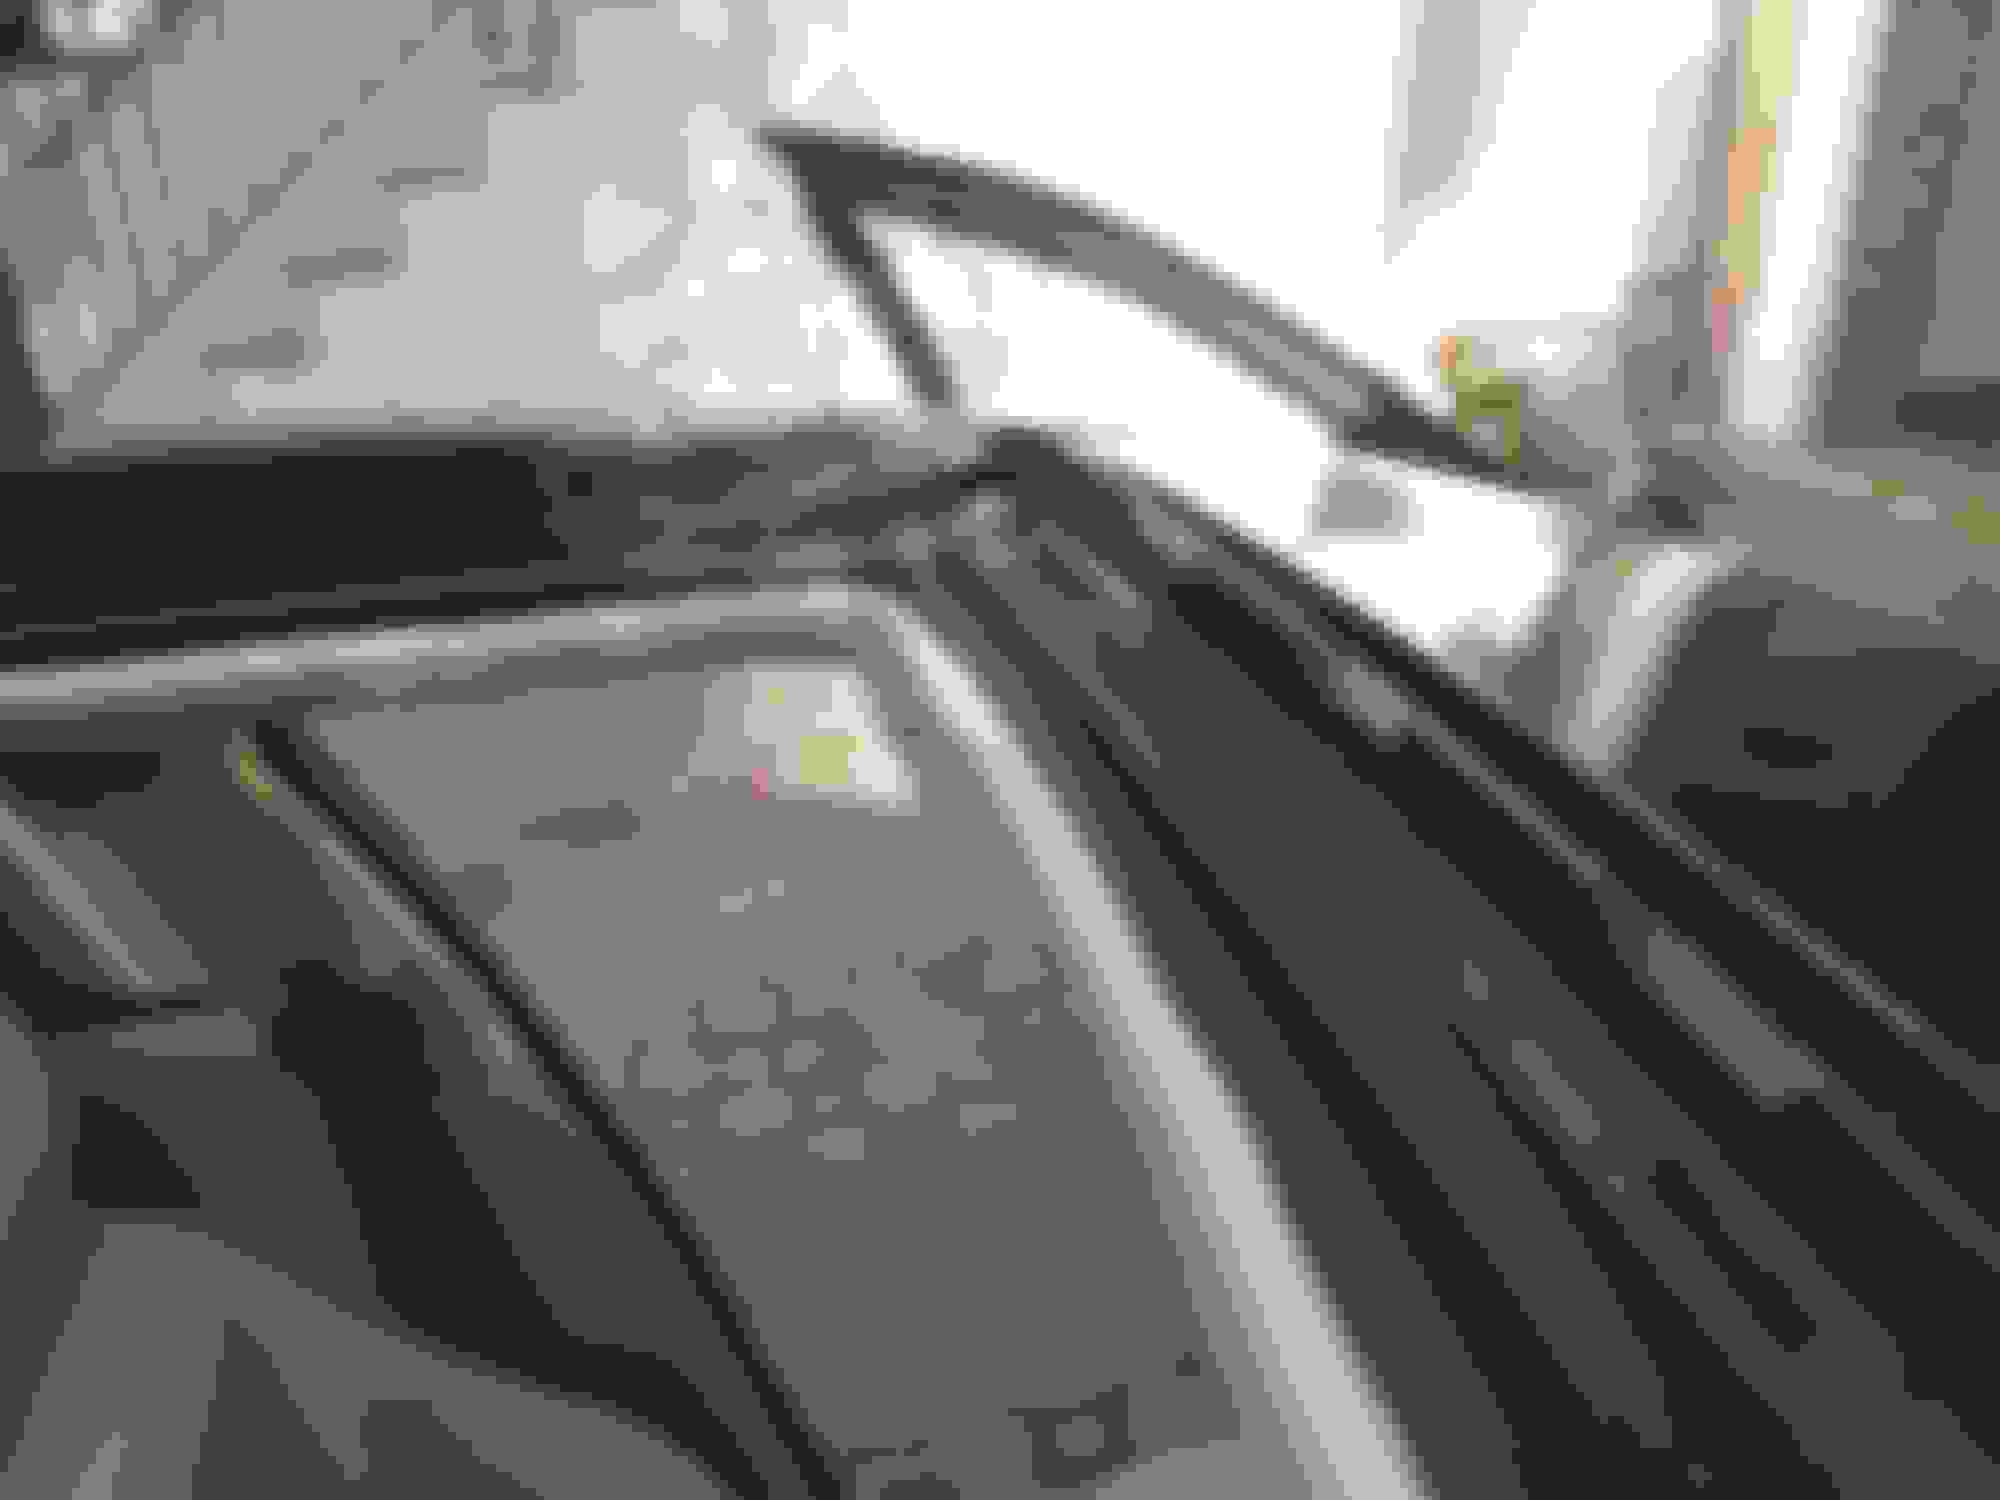
So here are some photos of my botched headliner replacement. These photos focus on the sunroof and how this "craftsman" pulled the fabric over the edge of the opening and secured it. The black tape was a nice touch. You can see that from inside of the car. The last two photos are of the back edge with the sunroof tilted open so that you can see how he dealt with that part. There's also damage inside where the foam has crushed under the fabric and yesterday I performed a comprehensive test of the intermittent wipers feature. It doesn't work and the fuse is just fine so I suspect they damaged the wiring harness or didn't get it connected properly.
So here are some photos of my botched headliner replacement.
Dude, I’d be losing it. I’m really sorry that happened to you, that’s TRASH work.
A thought…what if you went to a pick a part and pulled another headliner….then find a highly rated shop, have them do the work then reinstall.
At the pick a part, you could remove it the “correct” way and first remove the windshield. (See my feelings on that above…) You also might be able to snag a replacement overhead console.
Well removing the windshield is a whole other can of worms.
At this point I'm hoping that the automatic wiper function can be fixed WO involving a new windshield. That would be the only reason to do that . I had the windshield replaced once and that was for a bad and unrepairable crack. That replacement left my automatic wiper function intact. This botched headliner replacement has not. I'm still hoping it's a harness issue but I can't see anything and haven't been able to se where the that harness runs. I'm guessing it runs in a channel of the headliner shell over to one of the A pillars and then down into the dash. So that means it needs to have a connector that could just be disconnected right now.
That said I don't believe that removal of the windshield is necessary. Neither of the two shops I been to since this "repair" was inflicted upon my car said anything about that. The shop I went to last Friday said the same thing the first said. He was worried about getting the new liner and it's fresh foam/glue removed from the almost 20 YO fiberglass shell and that a lot of time would be involved. He was concerned about not damaging the surface and getting smooth enough so that it didn't show. He also said the the dimples at the rear of the sunroof were from installing the liner before the glue was set and aged enough.
So I'm thinking of get an entire new liner from the UK however it's the shipping that concerns me, both price and the potential damage. If I an get it here undamaged this latest shop said they could install it for $200 - $300. If ...
That sounds like the nest prospect for a quality installation and that company in the UK has a video of how easy it is to get the liner into the car. There's is not fiberglass. It's a two layer bendable plastic. See here:
But if I could find a junk yard liner expecting to remove the old foam/fabric, that might work as well. It looks as though the expense would be similar. I'd have to source the champagne liner from the UK to insure a match.

 08-15-2019, 05:04 AM


")