When you click on links to various merchants on this site and make a purchase, this can result in this site earning a commission. Affiliate programs and affiliations include, but are not limited to, the eBay Partner Network.
That brake booster line where it goes into the tb elbow is the number one cause of vacuum leaks on lean engines by far. The egr port is right by it so it gets nice hot exhuast to cook the o ring and lock ring for that tube. I have several different new tb elbows i need to get on ebay and am in the middle of cleaning out my collection of new and used parts in my shop. I usually put 3m silicone paste on this pipe to easy entry and help provide a little better sealing
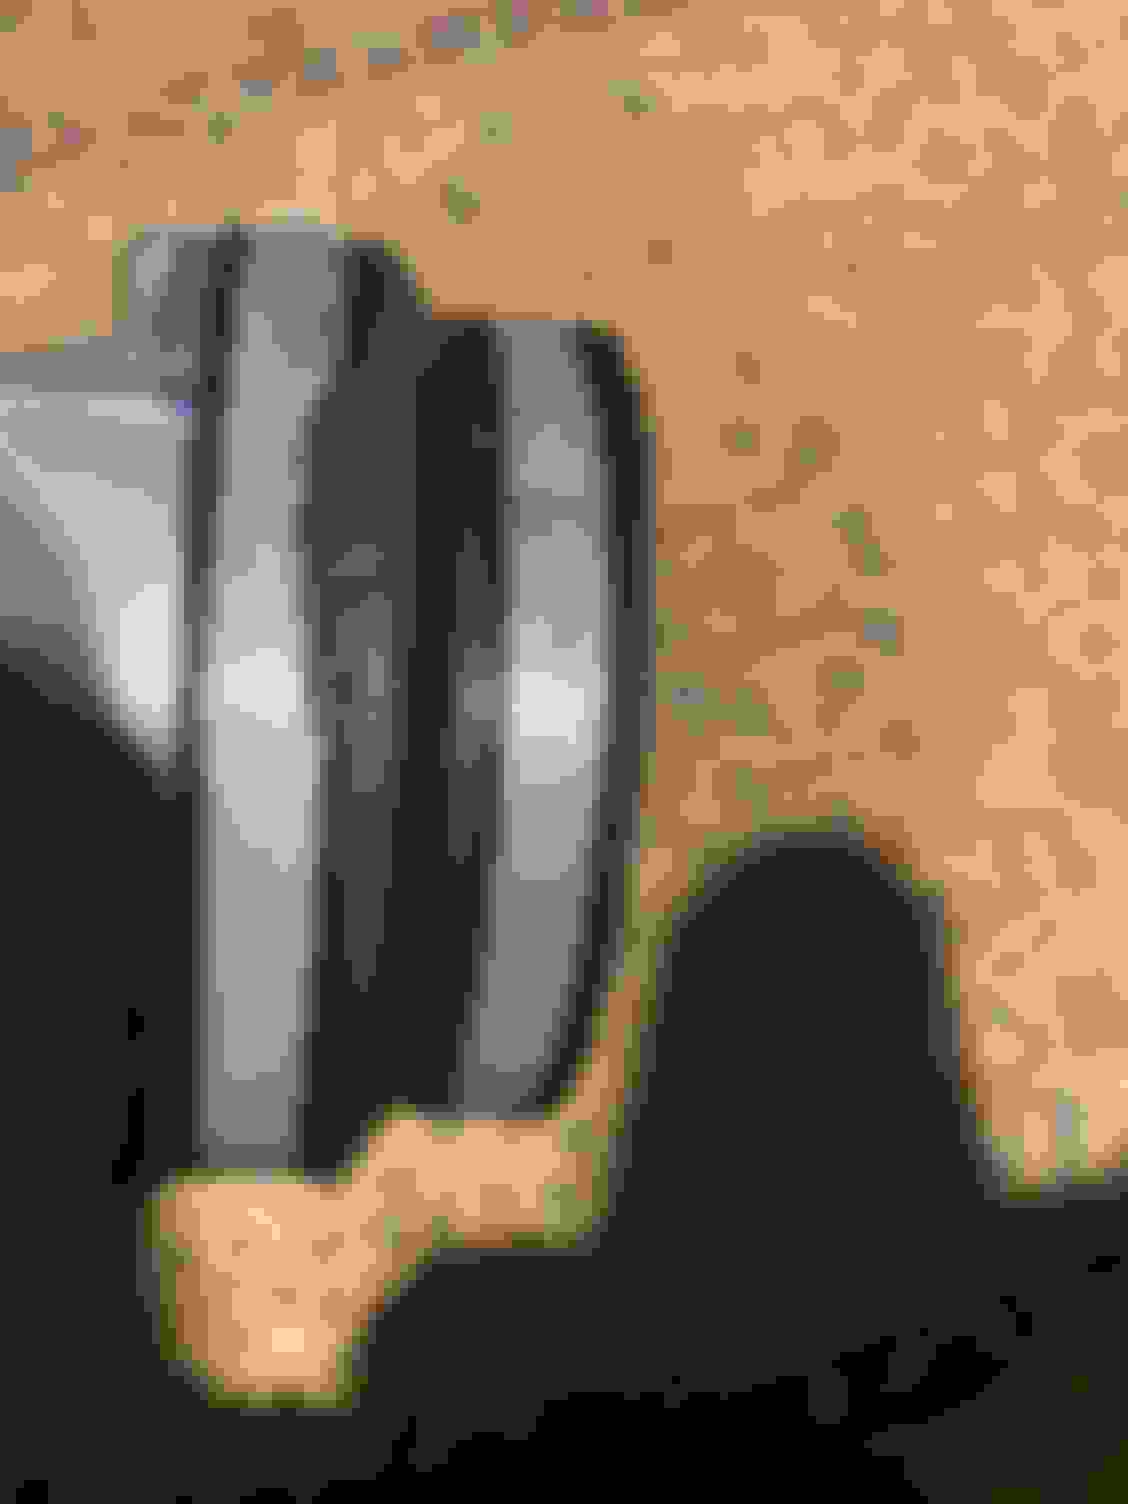
Yup! Totally agree and you can see why from my photo above. The tube gets baked and scored. I had bought a whole new fitting but I didnt punch out the old one. I left the brass shell and just replaced the o-ring and retainer.
when the original o-ring came out, it cracked in two because it was baked brittle!
I was using engine oil but here at work we have some really good hi-vacuum grease we use on our TVAC chambers. I should try that stuff!
yup! Totally agree and you can see why from my photo above. The tube gets baked and scored. I had bought a whole new fitting but i didnt punch out the old one. I left the brass shell and just replaced the o-ribg and retainer.
When the original o-ring came out, it cracked in two because it was baked brittle!
yeah if you have the snall tube you can use the intake repair kit for the x type for the same brake booster line. And yes you just use the new lock and oring. Have never seen a kit for the large tube fittings
yeah if you have the snall tube you can use the intake repair kit for the x type for the same brake booster line. And yes you just use the new lock and oring. Have never seen a kit for the large tube fittings
Well I might be looking at doing that if I still have problems after this go around. Is there a pn for the kit? Or maybe I just to search it????
in any event I discovered a couple of potential issues for all of us. I got the new egr in today. I see the new egr has sealant around top solenoid cover where it meets rhe black rubberized seal and around the connector. See the pics.
New EGR with sealant around cover Wrong gasket AJ82340. Right gasket AJ87246
I also got new gaskets. I bought the lower egr tube gasket pn AJ82340 that is designated as the correct lower tube gasket for my ‘06 STR (vinN54100) but like before, the center hole is much larger than the hole in the tube and exhaust manifold. But I bought another gasket for the NA 4.2 pn AJ87246 and its a perfect match. So heads up! I noticed the Tube had shifted due to the elongated holes in it and with the tube all the way to one side, the AJ82340 big hole gasket was on the hairy edge and offset from the hole and was leaking! He pic above shows the carbon evidence from the leak
and finally, one more major issue (at least for me). My tube glanges were NOT FLAT! The ends by the bolt holes were higher than the center portion and that causes the edges to hit first leaving a small gap around the center passage. This will also contribute to a leak! I sanded both flanges flat using 320 and 600 grit on a plate of 4”thick glass window I have (its a flat piece of glass. Dont try to sand it flat by hand or youll fark it up).
Top tube flange after sanding a lil. You can see the high spots (shiney) outside the bolt holes Lower flange after sanding a bit Still more needed And more And flat Flat
Oh isnt this great? This rubber piece is not sold separately (unless someone else is). Jaguar only sells the aluminum tube WITH the rubber joiner tube AJ811625 for $600 !!!
Oh isnt this great? This rubber piece is not sold separately (unless someone else is). Jaguar only sells the aluminum tube WITH the rubber joiner tube AJ811625 for $600 !!!
im gonna superglue and Ultra black it!
I think you would be good with that approach, there aren't any chunks missing.....maybe something hi heat..... depending on the 2 diameters, you might find a similar size in silicone intake hose used for the custom intakes
I think you would be good with that approach, there aren't any chunks missing.....maybe something hi heat..... depending on the 2 diameters, you might find a similar size in silicone intake hose used for the custom intakes
More boring info.
the flange on the aluminum intake is special. The edge of the flange has a raised bead that fits into a pocket in the rubber coupling. The hose clamp is asymmetrical and one side has a rolled sheet metal lip. I put the clamp one with the lip towards that flange bead where the rubber couple expands at the bead. That rolled clamp piece cut the coupling. I also am know for overtightening hose clamps so ya, it was me.
I steel wooled the flange and bead surfaces to get rid of gouges and burrs. Coated it high temp oil resistant Ultra Black gasket stuff. So the superglued repair was sufficient but this is backup. I also ran a bead over the clamp where the cut was to make a plug as a double safety precaution. Moved the clamp. Rotated the coupling. Polished the mating surface. Added gasket sealant in and out Also added some rubber padding under the clamp body because the backside has sharp edges
Yeah, forgot about the bead....i had mine off once for throttle body fittings inspection.....repair looks great....besides, should be minimal vibration if any in that area.....just found this just in case...ebay item 292881991701....i have bought from these guys before....really good used parts if you need anything else
Last edited by scottjh9; 10-12-2019 at 09:55 PM.
Reason: Addition
That rolled clamp piece cut the coupling. I also am know for overtightening hose clamps so ya, it was me.
Whoa! Whoa I say! Accepting blame for a problem, whether you caused it or not? That's crazy talk!
From Blameshifting 101, total time in possession is critical. Leave the blame in your name for too long, and it becomes yours, deserved or not. How about blaming a previous owner? That's always a good one to use, and typically can't be verified. So get up, dust yourself off, and blame somebody else.
lol! ok I can buy that!
But instead of accepting blame for the cut coupler, should i confess about a recurring problem I have?
The medical term is Premature Explanation. Ya, seems I have been been suffering from several rounds of P E by claiming success over the lean bank 1 & 2 problem only to find I cant get it up shortly thereafter. By it, I mean fuel mixture.
After repairing the coupler, I measured the Short term fuel trims and they looked awesome. All around -.5% meaning its no longer adding gas but instead subtracting a little. YAY! Success i thought! Posted to the forums.and then when back to look at the fuel trims. It was changing as it warms up. It was slightly positive at -1%. then -3% and then -4% and then -5%..... -6%..... -7% all the way back to -12% on bank1 and -7% on bank 2.
took it for a test drive and it was driving awesome but then the Check Engine Light lit.
awesome. I was getting bored thinking I had solved it. I didnt.
So it must have been in prewarm up mode but why wasnt it lean until warmed up? That means something.
I did another smoke test and saw just vague amounts of smoke from down between the fuel injector manifold and the supercharger base but its so hard to see in that area because its buried and not too many gaps to get a good view.
So back to the drawing board. so if I had a leak, would it always be messing with the mixture? or maybe it was but the open loop mode during warm up masked it? Maybe it was supposed to be richer?
I dont know but at least I am getting near the end of the leaks...... I do know that I bought new fuel injectors and was worried they might be the wrong ones since the originals were orange and the replacements were green. Both Denso.
The original orangey red fuel injectors were stamped DENSO 5cv on one side and FoMoCo 0490 584 14 and 6R83-BC on the other.
The replacement Fuel Injectors from EBAY and the seller claims they are for the Jag 4.2l Supercharged cars but these fuel injectors are Green and marked DENSO but claim to be PN 2W93-BA which the seller (ebay) claims is also a PN 4650544, and J811177 and AJ82532 and AJ88900. I am thinking maybe some other reason is causing the lean condition (or contributing it to.
Anyone know what DENSO 2W93-BA fuel injectors go to?
The flange on the aluminum intake is special. The edge of the flange has a raised bead that fits into a pocket in the rubber coupling. The hose clamp is asymmetrical and one side has a rolled sheet metal lip. I put the clamp one with the lip towards that flange bead where the rubber couple expands at the bead. That rolled clamp piece cut the coupling. I also am know for overtightening hose clamps so ya, it was me.
I steel wooled the flange and bead surfaces to get rid of gouges and burrs. Coated it high temp oil resistant ultra black gasket stuff. So the superglued repair was sufficient but this is backup. I also ran a bead over the clamp where the cut was to make a plug as a double safety precaution. moved the clamp. Rotated the coupling. Polished the mating surface. Added gasket sealant in and out also added some rubber padding under the clamp body because the backside has sharp edges
i replace those here all the time because they rot and split the factory only sell with the laminum hat so its expensive!. I use justintakes.com just get a coupler of the appriate sixe and you have to trim maybe 3/4" to shorten
i replace those here all the time because they rot and split the factory only sell with the laminum hat so its expensive!. I use justintakes.com just get a coupler of the appriate sixe and you have to trim maybe 3/4" to shorten
Thanks for the link! I will definitely check them out.
Back to the fuel injectors, heeres a link to the injectors I bought and installed. They may be a different color, but they have the same connector plug and the same shape and the same 12 hole nozzles so I am inclined to think they are correct and not my problem (although the smoke from down in the gulley make indicate I messed up an o-ring.
AARcuda.. Did you ever get this resolved. Started chasing 171/174 codes this afternoon. Set both of those and a P0400 this afternoon. Reading up on this forum these seem to be related. I havent monitored the EGR duty cycle to see if it effects LFT and SFT.
Last edited by Catfan01; 11-02-2019 at 09:32 AM.
Reason: spelling
I believe I did. Part was my fault in overtorquing the intake gaskets and flattening them out. I believe my replacement injectors were too small and several vacuum leaks in different places.
drove about 30 miles over several trips and no codes yet!
I believe I did. Part was my fault in overtorquing the intake gaskets and flattening them out. I believe my replacement injectors were too small and several vacuum leaks in different places.
drove about 30 miles over several trips and no codes yet!
Great news....now, how does it accelerate and run....like a rocket i bet


 10-10-2019 | 08:32 AM