When you click on links to various merchants on this site and make a purchase, this can result in this site earning a commission. Affiliate programs and affiliations include, but are not limited to, the eBay Partner Network.
Absolutely fantastic. I plan on doing an upper pulley mod myself just the first stage though. I did get a nice tip from avos about the intake pipe going into the throttle body to use one off a Land Rover and it will increase flow through the whole intake system I am looking into that right now.if you want to check out the thread it is titled intake mod by AlexJag about modifying the air filter in the x 150 forum I believe
That brake booster line where it goes into the tb elbow is the number one cause of vacuum leaks on lean engines by far. The egr port is right by it so it gets nice hot exhuast to cook the o ring and lock ring for that tube. I have several different new tb elbows i need to get on ebay and am in the middle of cleaning out my collection of new and used parts in my shop. I usually put 3m silicone paste on this pipe to easy entry and help provide a little better sealing
I tapped mine and put a hose on it to get rid of the oring
Absolutely fantastic. I plan on doing an upper pulley mod myself just the first stage though. I did get a nice tip from avos about the intake pipe going into the throttle body to use one off a Land Rover and it will increase flow through the whole intake system I am looking into that right now.if you want to check out the thread it is titled intake mod by AlexJag about modifying the air filter in the x 150 forum I believe
the one i am talking about is the intake scoop from the caldoofy pipe to throttle body.... apparently it is larger internally and has a better angle into the throttle body for increased air flow
the one i am talking about is the intake scoop from the caldoofy pipe to throttle body.... apparently it is larger internally and has a better angle into the throttle body for increased air flow
Oh I didnt know about this. I will check it out. So it fits and all?
Oh I didnt know about this. I will check it out. So it fits and all?
Check out the 2ńd or 3rd page of a thread on the x150 forum by alexjag titled intake air filter retrofit....avos linked a picture of it.....and has answered my question about it
Last edited by scottjh9; 11-08-2019 at 07:39 PM.
Reason: Correction
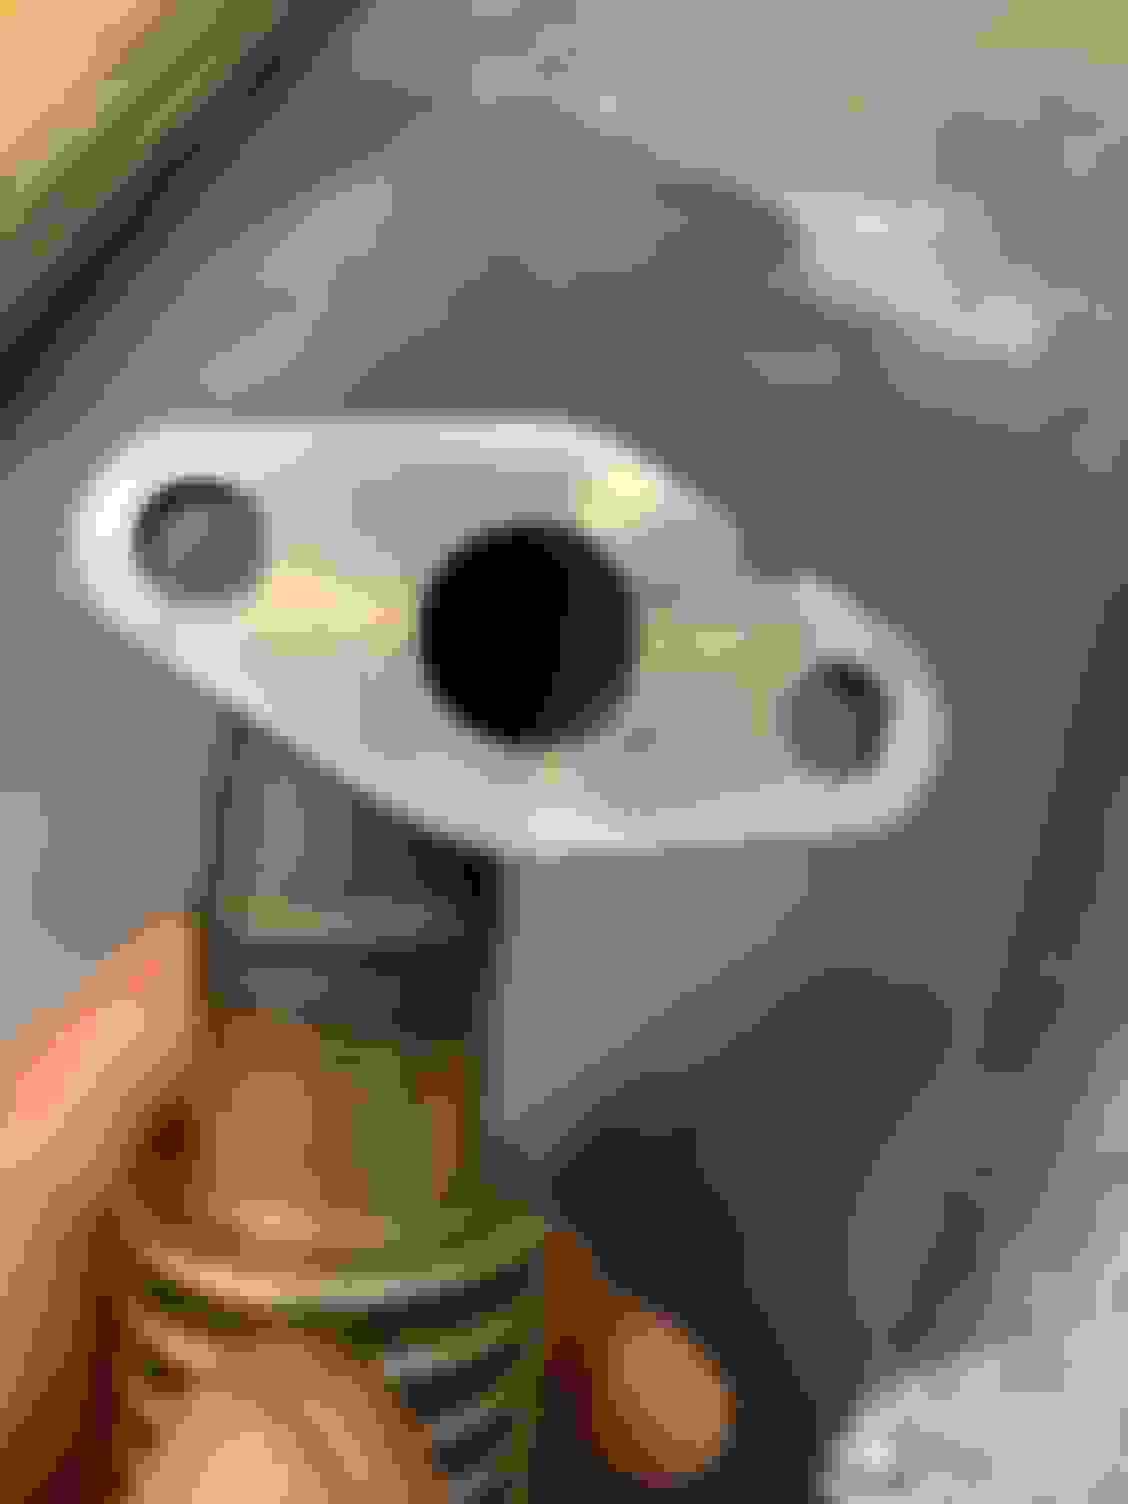
Btw I noticed many of my flanges werent flat. Typically if the part of the flange had a hole for the bolt and the area was narrow or unsupported like the corners, I found the flange warped and the bolt areas higher than the rest of the sealing surface. I carefully sanded them flat with 400 or 800 grit on a super flat sanding surface trying to be as flat and even as possible. These intake egr and throttle body gaskets seal by slightly Slightly crushing a raised mound around the port its sealing. I found my gasket had flattened areas and a lot of misalignments which cut down on air flow, and caused slight leaks.
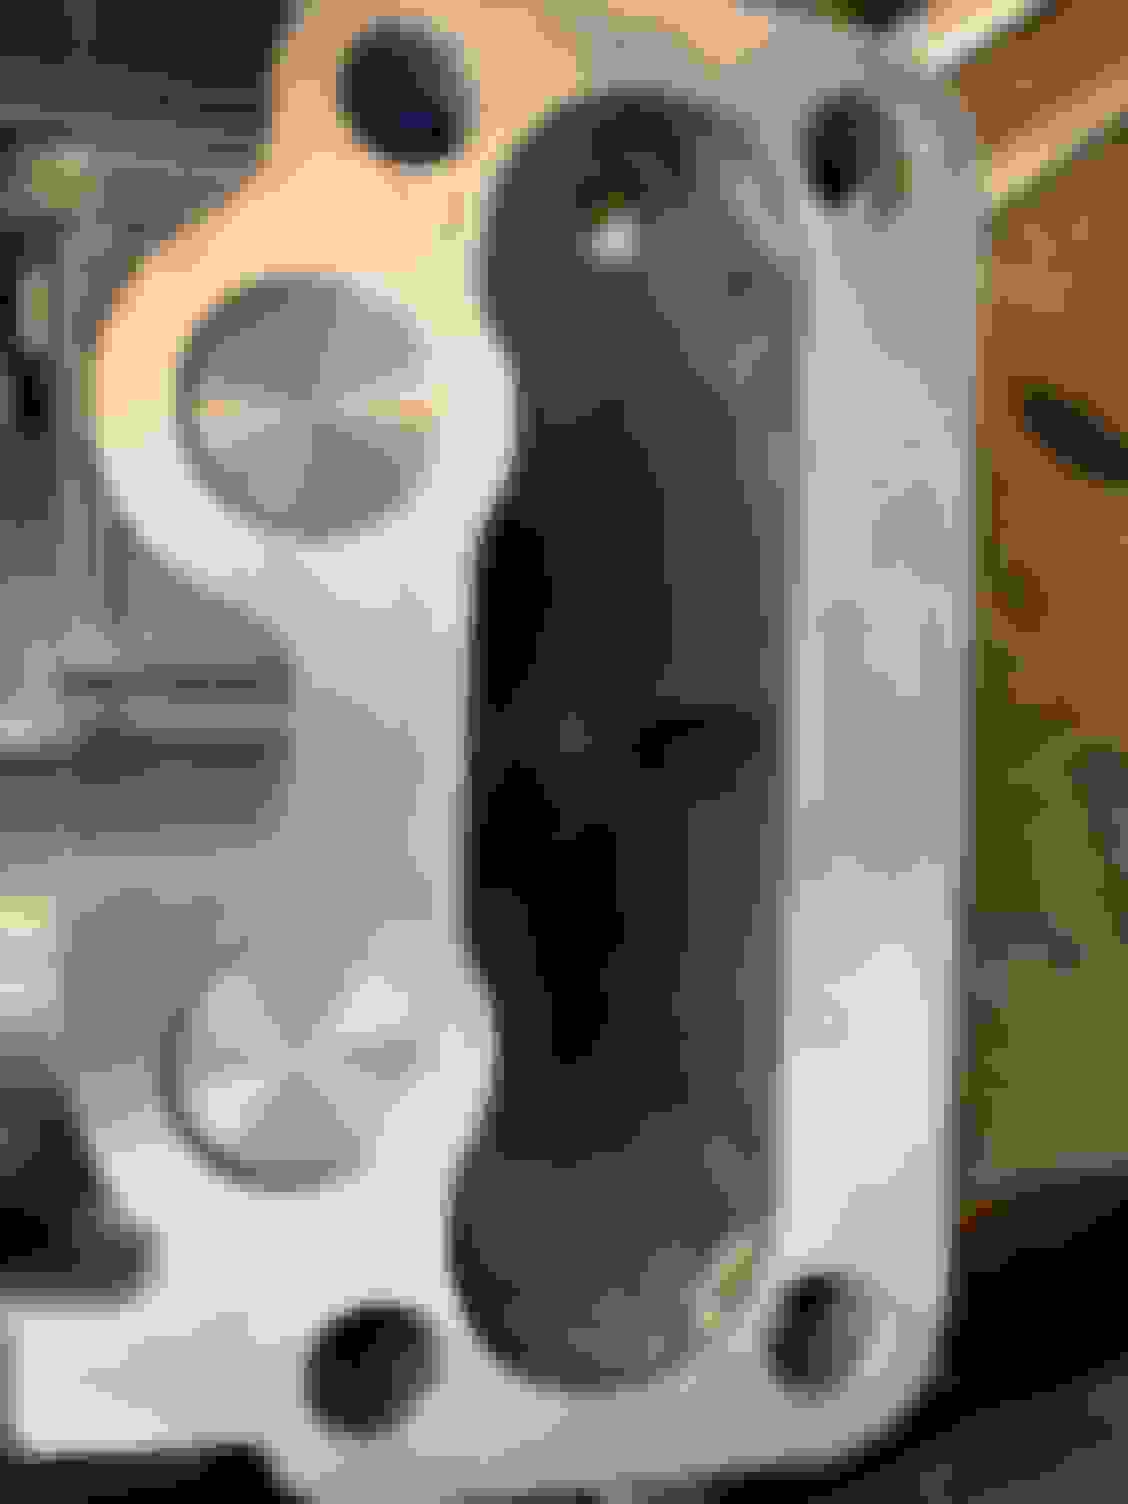
also I semi ported (gasket matched) a few surfaces like the throttle body to elbow (big lip in there but now as big and smooth as the gast opening. Also around the intake ports. It could use a good head porting bc it leaves a lot of metal there and each dual port is one big and one small port separated by a thin divider. That could be ported really nice IF the head was off. But im not going there.
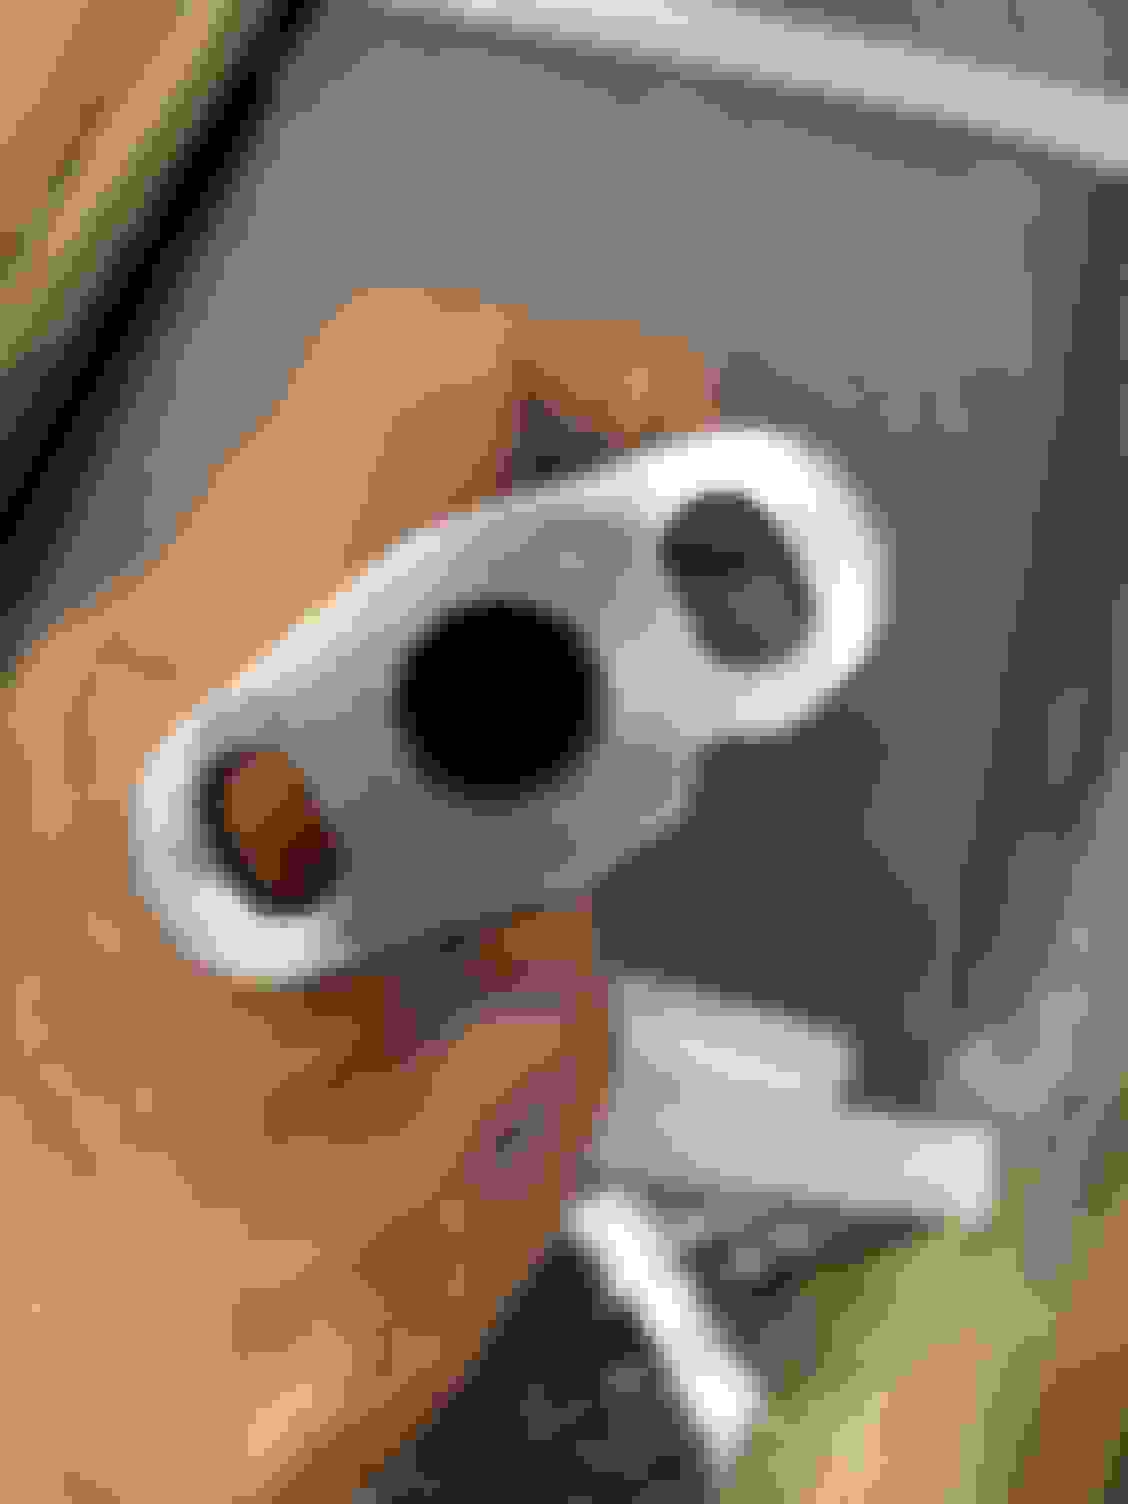
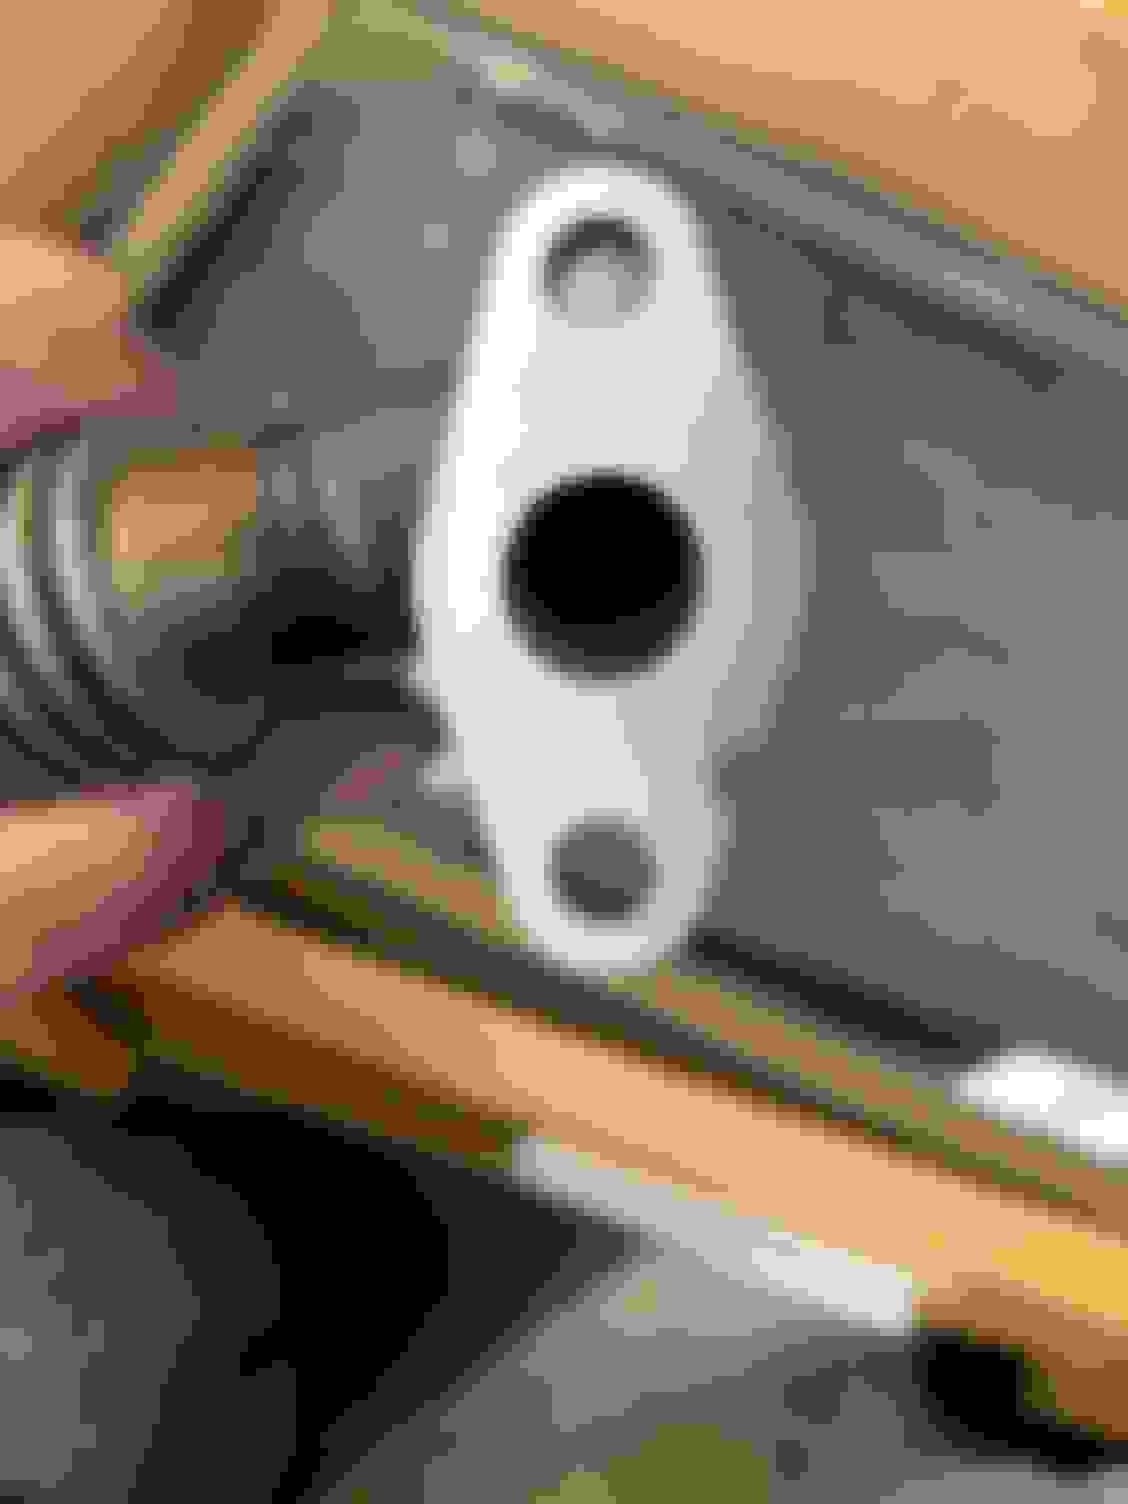
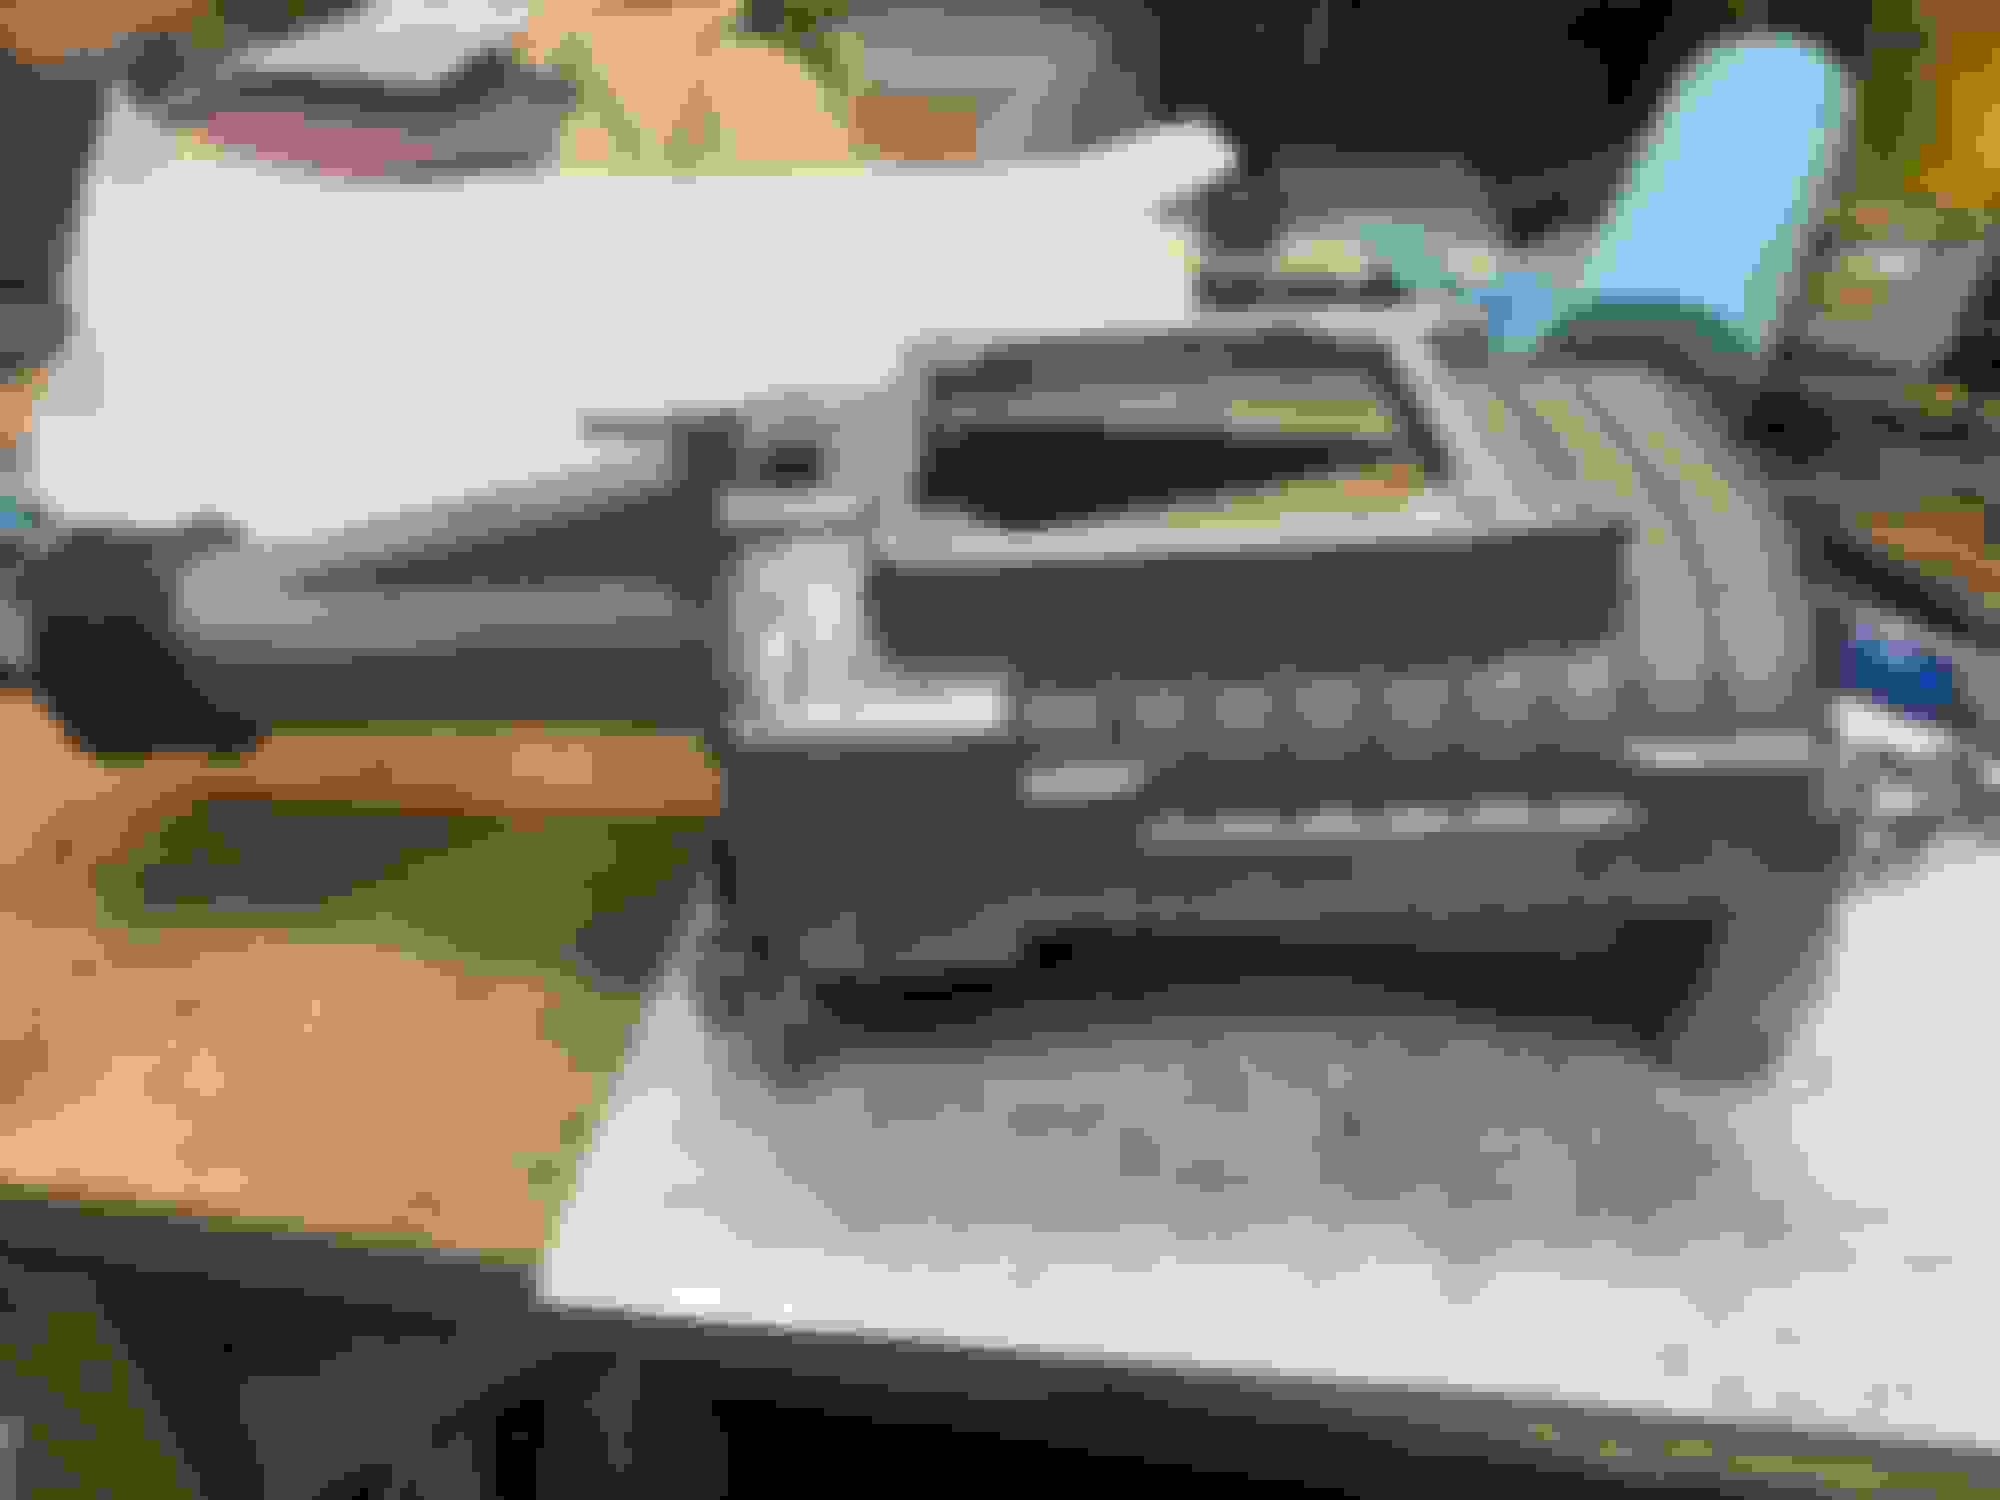
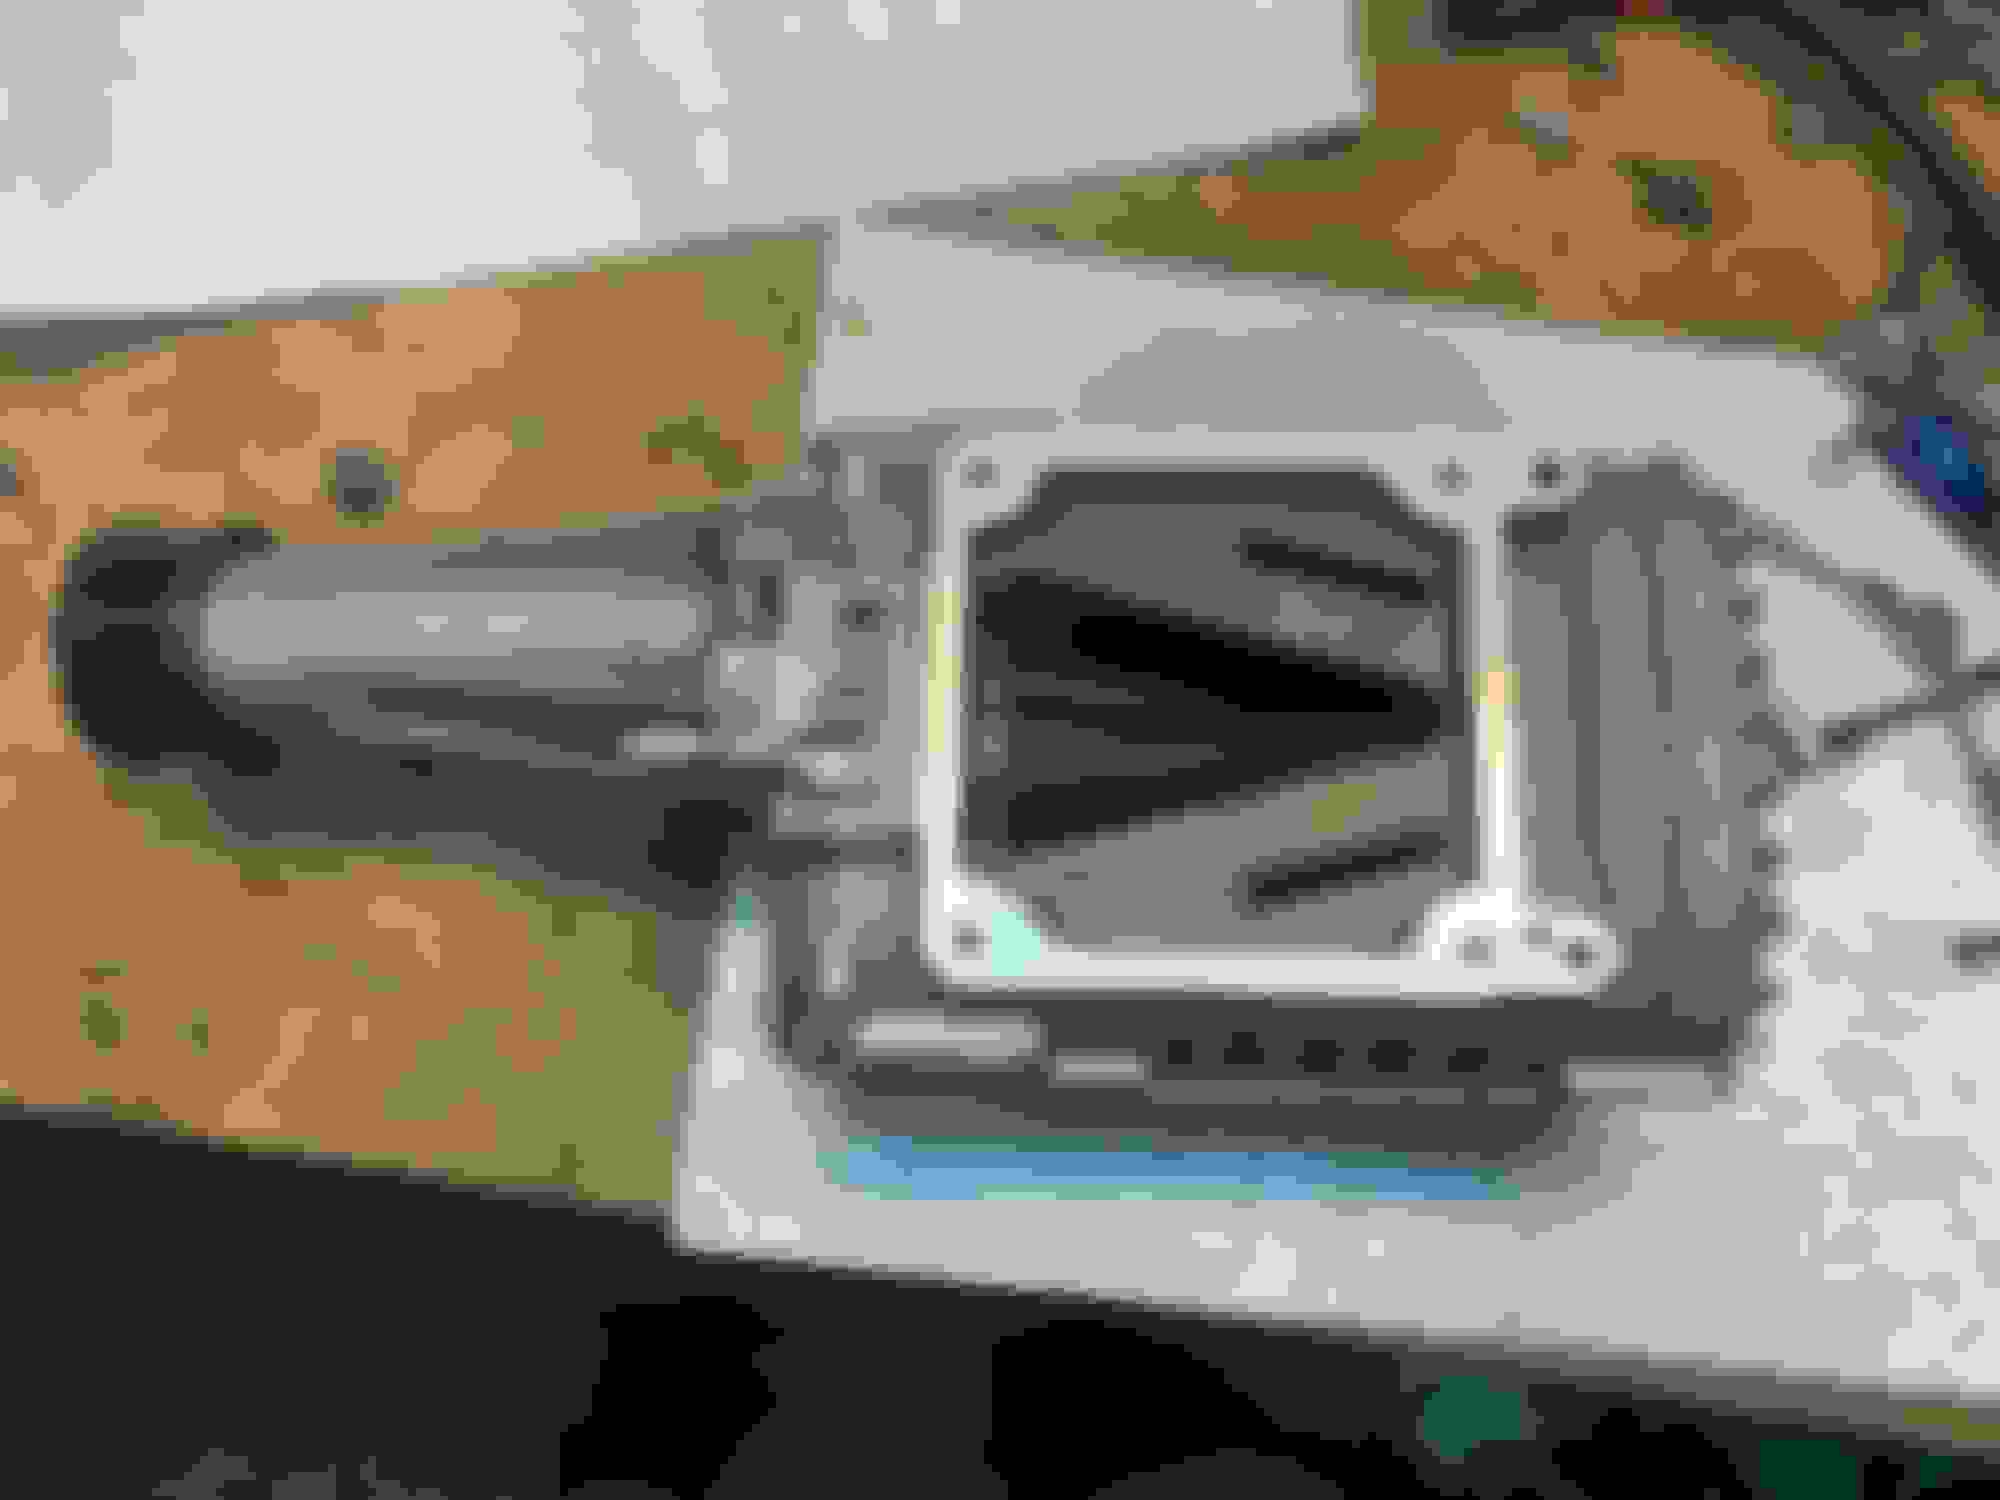
heres some pics You can see the edges are high after a few swipes on the EGR tube Other end of egr tube is just as bad After finishing its flat You can see the big lip in this before pic Hers the elbow with an old gasket showing how much meat is in the way This too got some filing
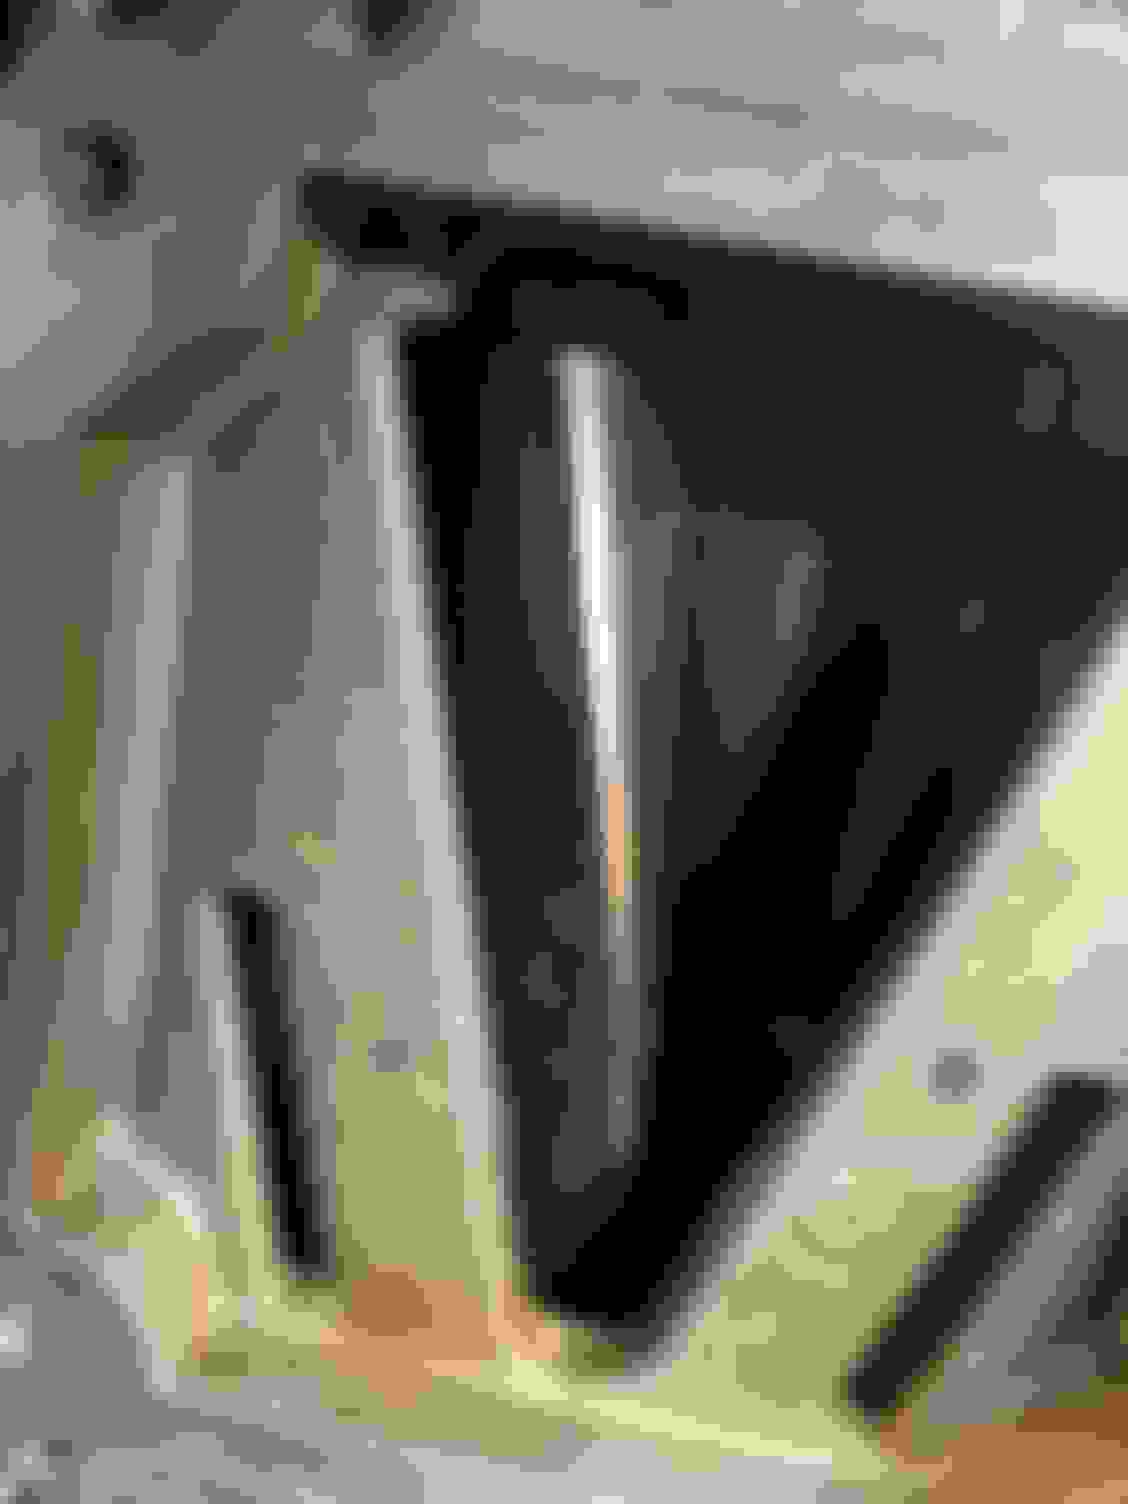
More Its much better. All matched. Be careful when installing the gaskets and take time to center the gasket on the bolt holes or else the gasket sticks into the opening and the sealing bump on the gasket makes the edge of the gasket kind of flare up and not seal well Wide open More flattening and slight porting These ports look cracked to me. I can see a line down the center divider and in the edges aligned with the bolt holes. Do you see it? I sanded these surfaces on the intake but not the head due to debris Looks cracked to me More crackalacka My blower might need repair. I saw some section of smooth shiney vane edge. 😬 Think I flattened this. I know I did the other piece Got a new radiator cover. Mine was missing. I had to cut out this section to clear the overflow tank.
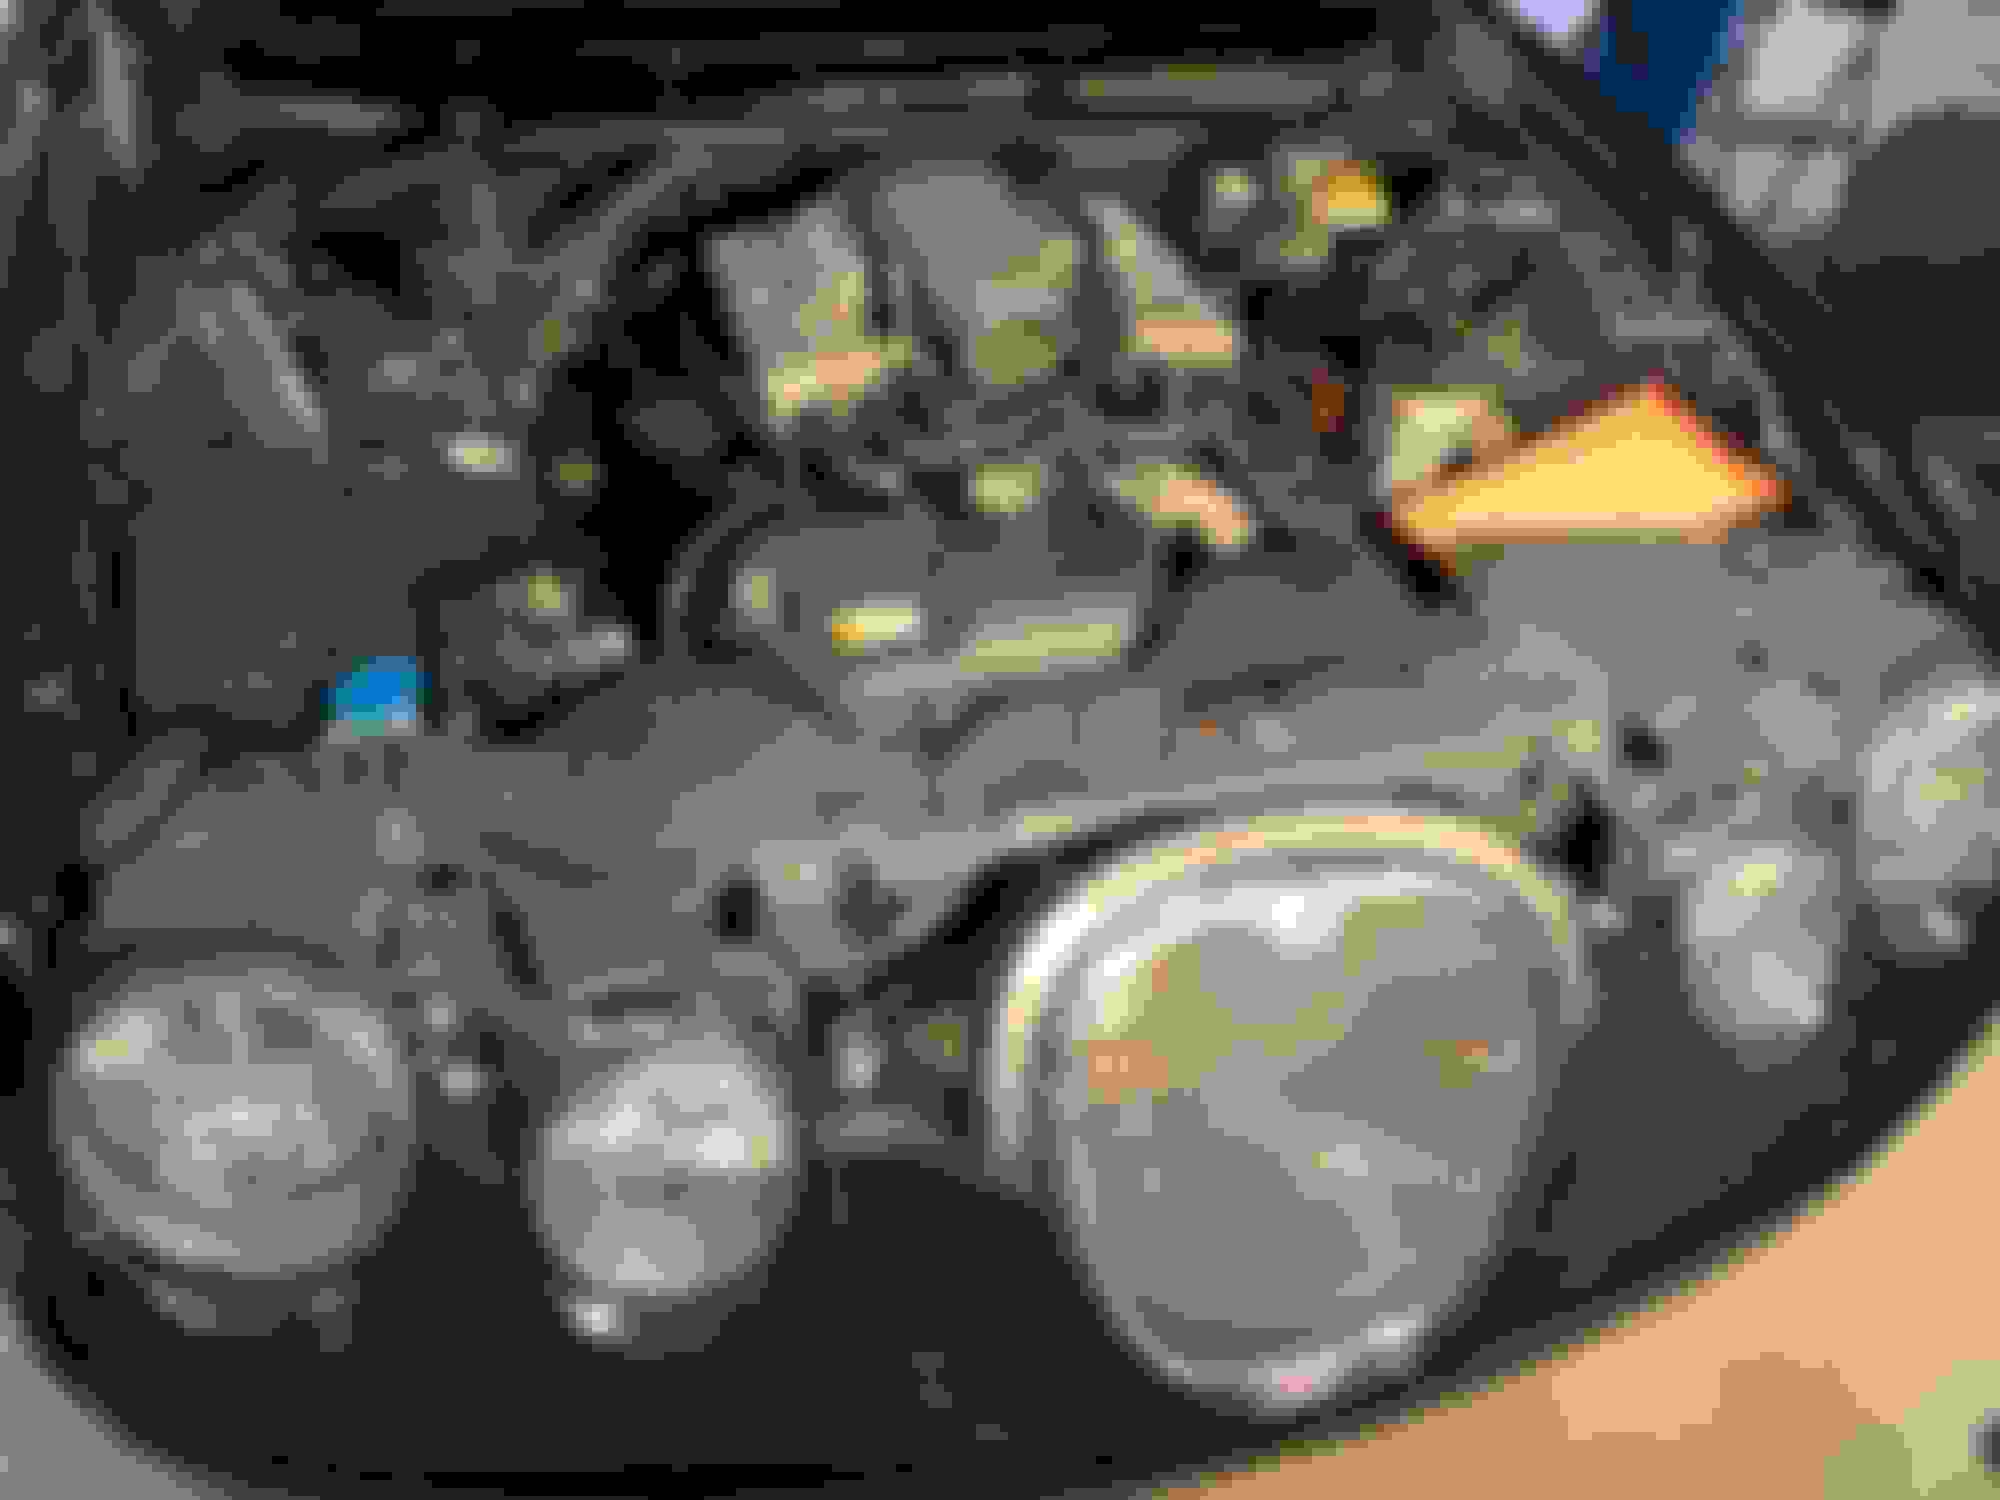
More Ported elbow with vacuum fitting tapped in place. Ended up changing the fitting to a different style for better clearsnce Flaking rotor coating. I wish this were all it was More. Worst is to come Not sure how bad this is but ive always been told this should never look like this Final rad cover mods And back together


 11-04-2019, 08:39 PM