When you click on links to various merchants on this site and make a purchase, this can result in this site earning a commission. Affiliate programs and affiliations include, but are not limited to, the eBay Partner Network.
What about the crankcase breather (aka PCV) system? The car is still at the transmission shop, but I am working on a plan of attack when I get it back. Quick recap, after replacing all six coils (Denso) and plugs, I'm getting an occasionally erratic idle and light surging at low throttle settings. This is a new problem, so am revisiting all recent work.
One thing I discovered was the plastic lines in the crankcase breather system cracked when I touched them. OEM replacements were VERY spendy, so I fabricated replacements with steel tubing and flexible fuel line. I gave them a good smoke test after installation, with no leaks at the time. Doesn't mean they stayed leak-free, but they were good at one time.
This excerpt from the training manual shows the system for the early V6 (AJ60), but there appears to be an error with the location of the PCV valve (more later). The plumbing is broken down into two systems, a Full Load Ventilation system and a PCV system, on pages 4-47 and -48:
The Full Load Ventilation System (why no acronym?) is a tee-shaped pipe connecting both valve covers to the intake duct UPSTREAM of the throttle body. It's not clearly specified, but this appears to be the filtered air feed into the crankcase for the PCV system.
The PCV system (to extract crankcase fumes) is seen here:
Not that the location affects the operation, but the PCV is NOT at the location shown, at least on my engine. It threads into the aft side of oil separator box between the cylinder heads. This thread shows the location:
See post #5 for pics, including this one. The PCV is shown not fully installed. The blue O-ring will be inside the oil collector box when fully seated. The infamous elbow connects directly to the aft side of the PCV valve, where the photographer's gloved hand is holding the valve:
A day too late, I confirmed my engine has the same PCV arrangement. I thought it was simply a pipe fitting but it looks just like this critter, Jaguar #C2S51409. Had I realized what it was, I would have replaced it as a precaution:
Image stolen from Mossmotors.com
Where is this heartwarming story leading? Lots of tech details, but no conclusion yet. Back to page 4-47 of the training manual above:
"Under closed or near closed throttle conditions, crankcase breathing is mainly via the PCV system."
This dirty airflow enters the intake system at the throttle body, just DOWNSTREAM of the butterfly valve. To summarize Proust, here's my TheoryDuJour�, subject to wind direction and medication levels. The existing PCV valve is clogged, or at least partially restricted. However, the airflow is within a closed circuit. Filtered air is drawn from above the throttle body, passes through the crankcase and picks up fumes, and then enters the intake manifold after the throttle body. In effect, a small known quantity of air bypasses the throttle body. The quantity can change depending on the PCV valve, but it never fully shuts off. This air has already gone past the MAF, so it's not unmetered air.
Why wasn't I previously getting some fault code for the PCV system? I'm not seeing anything that specifically monitors it. And I know the plumbing was brittle, and quite possibly cracked. Could there have been a small crack letting in a little bit of air, mimicking what would have normally flown through the PCV valve? But now my new lines are sealing tight and the (potentially) clogged PCV valve suddenly becomes a problem? Best I can figure, a small quantity of air is supposed to bypass the throttle body, and if not doing so, it could throw things off.
I count six oval gaskets between the lower manifold and the cylinder heads. You don't have to disassemble this area if only replacing plugs and coils. Then there are an additional six gaskets between the lower manifold and the big swoopy intake plenum.
Full disclosure: I decided not to tear down below the plenum. I was satisfied the infamous elbow was not leaking (smoke test passed with flying colors) and it showed no signs of deterioration. I only had the plenum and valve covers off. All new gaskets there. As previously mentioned, I also had the IMT valves out for new O-rings.
If you disturb a gasket it is best replaced unless it almost new. Removing the plenum disturbs the upper AND lower manifold gaskets because you have removed the bolts that hold them in place. Therefore, unless the rubber is practically new, it will have lost some of its elasticity. In addition, the lower manifold is plastic and prone to serious warping.
I would never only replace the uppers. I know gaskets are expensive but why only do half the job?
Someone had only replaced the uppers when replacing the plugs on my Jag shortly before I bought it (despite charging the owner for both!). I had to do the job again because the bottom ones leaked.
I know gaskets are expensive but why only do half the job?
Cuz I'm lazy? Seems pretty obvious...
Actually, I made a deliberate decision not to dig any deeper than necessary for the repair at hand. I was taking care of an oil leak at the plug wells, causing a P0301 misfire. I know it's often tempting to replace all sorts of stuff "while you're in there", but I've had that bite me, too. Hence my personal motto to do as little as possible, for as long as it takes. Usually that serves me well, but maybe not in this case.
Based on your experience, I will do a good leak test on all gaskets in the area, with propane or similar, while watching fuel trims. Still compiling a game plan for when I get the car back from the transmission shop.
🤣🤣
If you do find a leak I suggest you try to level the warped lower manifold at the same time. It�s a terrible design fault. If they had made it from aluminium instead of plastic it would last a lot longer!
To replace this miserable rubber elbow, I suggest loosening the single fastener that secures the metal elbow just aft of the rubber elbow. See post #6 above for a picture and more details. The fastener threads into the back of the cylinder head on the US driver's side.
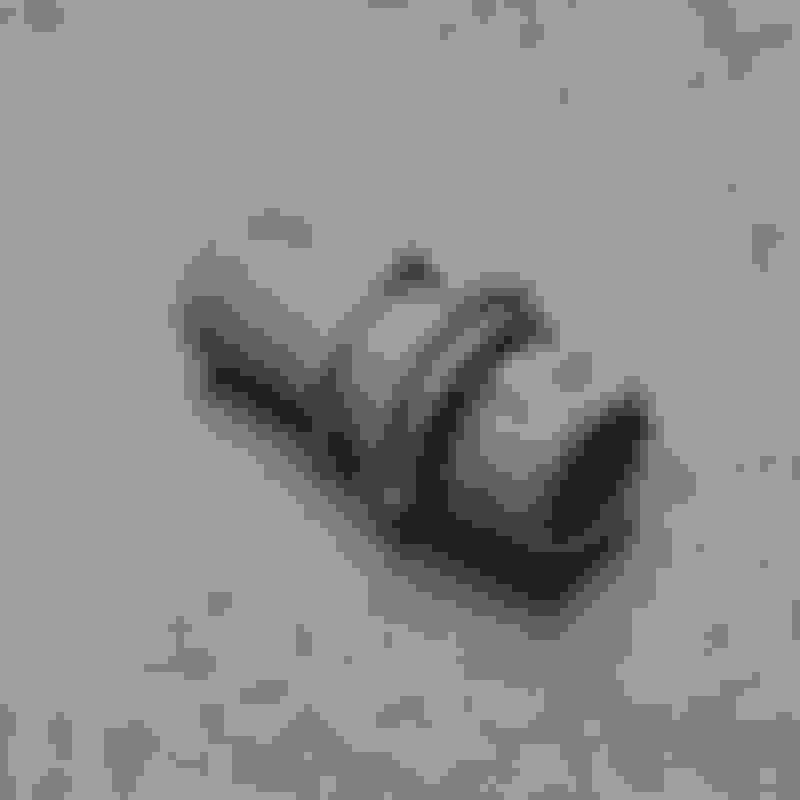
I had originally thought the fastener was a nut and stud. My bad. It's actually a one-piece bolt that looks similar to this:
You'll need a 13mm box end wrench. A ratcheting box end worked very nicely. Access is tight, but not impossible. Do yourself a favor and tie a string to the wrench in case you drop it. Back the fastener off 2 or 3 turns and that's all you'll need. Don't remove the fastener completely, because it would be difficult to get back in place. With this fastener loose, it was fairly easy to install each end of the rubber elbow separately, instead of trying to fit both ends at once.
Backtracking a bit more, see the PCV valve mentioned in post #21 above. The PCV valve is located between the rubber elbow and the oil separator box between the cylinder heads. I found this valve almost completely clogged. Unlike most engines, this valve is fully open at idle and bypasses a known amount of metered air around the closed throttle valve. If this flow is restricted, normal airflow will be out of whack and the throttle plate will need to open more to compensate at idle and low throttle settings.
This picture shows the new and old valves side by side:
To test my theory about restricted airflow, I rigged up a little test. I cobbled together some hoses and the new PCV valve. I connected the inlet side of the PCV valve upstream of the throttle plate. This mimics the normal metered air supply via a tee to both valve covers. I connected the outlet side of the PCV valve downstream of the throttle plate, to mimic the normal airflow via the rubber elbow. The two arrows show the normal airflow direction. I kept the hoses long to help duplicate the effects of the original long airflow path. Note this is NOT a permanent solution, as you'd have no removal of harmful fumes from the crankcase, and is for troubleshooting only:
Much to my delight, the erratic idle smoothed out somewhat, although some other factors were still at play. At least I knew it was worthwhile to replace the PCV valve while doing some other work with the inlet plenum removed.
Although many have reported the rubber elbow to have disintegrated, mine was perfectly fine. I replaced it anyway along with the PCV valve, but it wasn't causing any problems. Most of the failures seemed to be on the lower side of the elbow, facing the block. This side may be slightly hotter, but I think oil tends to collect there due to gravity and soften the rubber.
To replace this miserable rubber elbow, I suggest loosening the single fastener that secures the metal elbow just aft of the rubber elbow. See post #6 above for a picture and more details. The fastener threads into the back of the cylinder head on the US driver's side...
With this fastener loose, it was fairly easy to install each end of the rubber elbow separately, instead of trying to fit both ends at once.
A little update to an update. I came across a good picture on eBay, showing the location of this fastener securing the metal elbow. This is a view from the firewall area, looking forward. Remember, there's no need to remove the fastener. Loosening it a few turns is plenty:
Here's the previous picture of the metal elbow, rotated to more closely match the orientation when installed:
wow...that looks as tough to get to as the egr valve on the 4.2s
Nah, it wasn't that bad, at least to loosen the metal elbow. Half the battle is knowing where to find the fastener, as you are working by Braille. A ratcheting box-end made the job fairly easy.
Nah, it wasn't that bad, at least to loosen the metal elbow. Half the battle is knowing where to find the fastener, as you are working by Braille. A ratcheting box-end made the job fairly easy.
I am somewhat confused. Are you saying that it's possible to replace the rubber elbow (Jaguar name connector) without removing the plenum if you loosen the studnutbolt?
This would be huge if that's the case. In the 14 years of reading thousands of threads on this fine forum, this is a first!
I am somewhat confused. Are you saying that it's possible to replace the rubber elbow (Jaguar name connector) without removing the plenum if you loosen the studnutbolt?
No, I wish. Unfortunately, the plenum still has to come off.
Loosening the metal elbow just makes it easier to install the rubber elbow, that's all. Otherwise, you have to install both ends of the rubber elbow at the same time, which is kinda tricky in such tight quarters.
Many many moons ago, Jon89 will attest, there was a now long gone member that insisted that the #5 coil on a post face lift duratec v6 could be replaced without removing the plenum. I spent over 3 hours and mass quantities of Busch Light in my bathrobe attempting removal, no dice! I asked the former member to document, he disappeared shortly after.
Many many moons ago, Jon89 will attest, there was a now long gone member that insisted that the #5 coil on a post face lift duratec v6 could be replaced without removing the plenum. I spent over 3 hours and mass quantities of Busch Light in my bathrobe attempting removal, no dice! I asked the former member to document, he disappeared shortly after.
busch light. Now that puts me in the wayback machine. Ice cold with a pinch of salt. My mom thought my dad bought them as a 4 pack for years


 12-03-2022 | 11:28 AM