When you click on links to various merchants on this site and make a purchase, this can result in this site earning a commission. Affiliate programs and affiliations include, but are not limited to, the eBay Partner Network.
Hi, can you post some picture up "The voices", got one of these for mine
just want to see what it looks like,
have you drove it yet does it drive any better
thanks
Joe
I removed the windscreen cowl and this shed some light on things.
My 2006 STR has a strut brace that also bolts to the bulkhead (as well as the strut tops), it looks as though the ones for 'normal' S-TYPE's don't have this additional strengthening and therefore are either a different shape or thickness.
I removed the brace and ground down the welds where the bulkhead bracket is attached to the crossbar.
This gained me a little extra space but still looked tight, I considered using 2 mm washers under the ends of the brace to gain some height or perhaps bending the bulkhead bracket.
Bending the bracket seemed like a better option but would have required the use of a bench vice, I do have a vice but nowhere at the moment to put a work bench !
At this point, I retired to the drawing room for port and cigars (OK, the spare room for a cup of tea and a think !)
I considered the fine engineering ability and craftsmanship that had gone into the construction of my vehicle and contemplated the skills that I have seen utilised by our Jaguar trained technicians to overcome such tricky problems.
Thus, inspired by those who had gone before me, I went outside and stood on the f***er until it bent !
Problem solved, all reassembled and plenty of clearance !
Thank you again everyone.
great news....make sure to check your fuel trims after install to make sure all seals are tight ....any air leak will cause trims to rise to the positive side more than normal....mine was a little high until I put the t bolt clamps at the throttle body....engine torque can show up a loose seal
Hi, can you post some picture up "The voices", got one of these for mine
just want to see what it looks like,
have you drove it yet does it drive any better
thanks
Joe
Not driven it very far but seems to be a bit more responsive and slightly more induction noise (a good thing in my view !)
I presume that the ECU will need to adjust to the new parameters over time ?
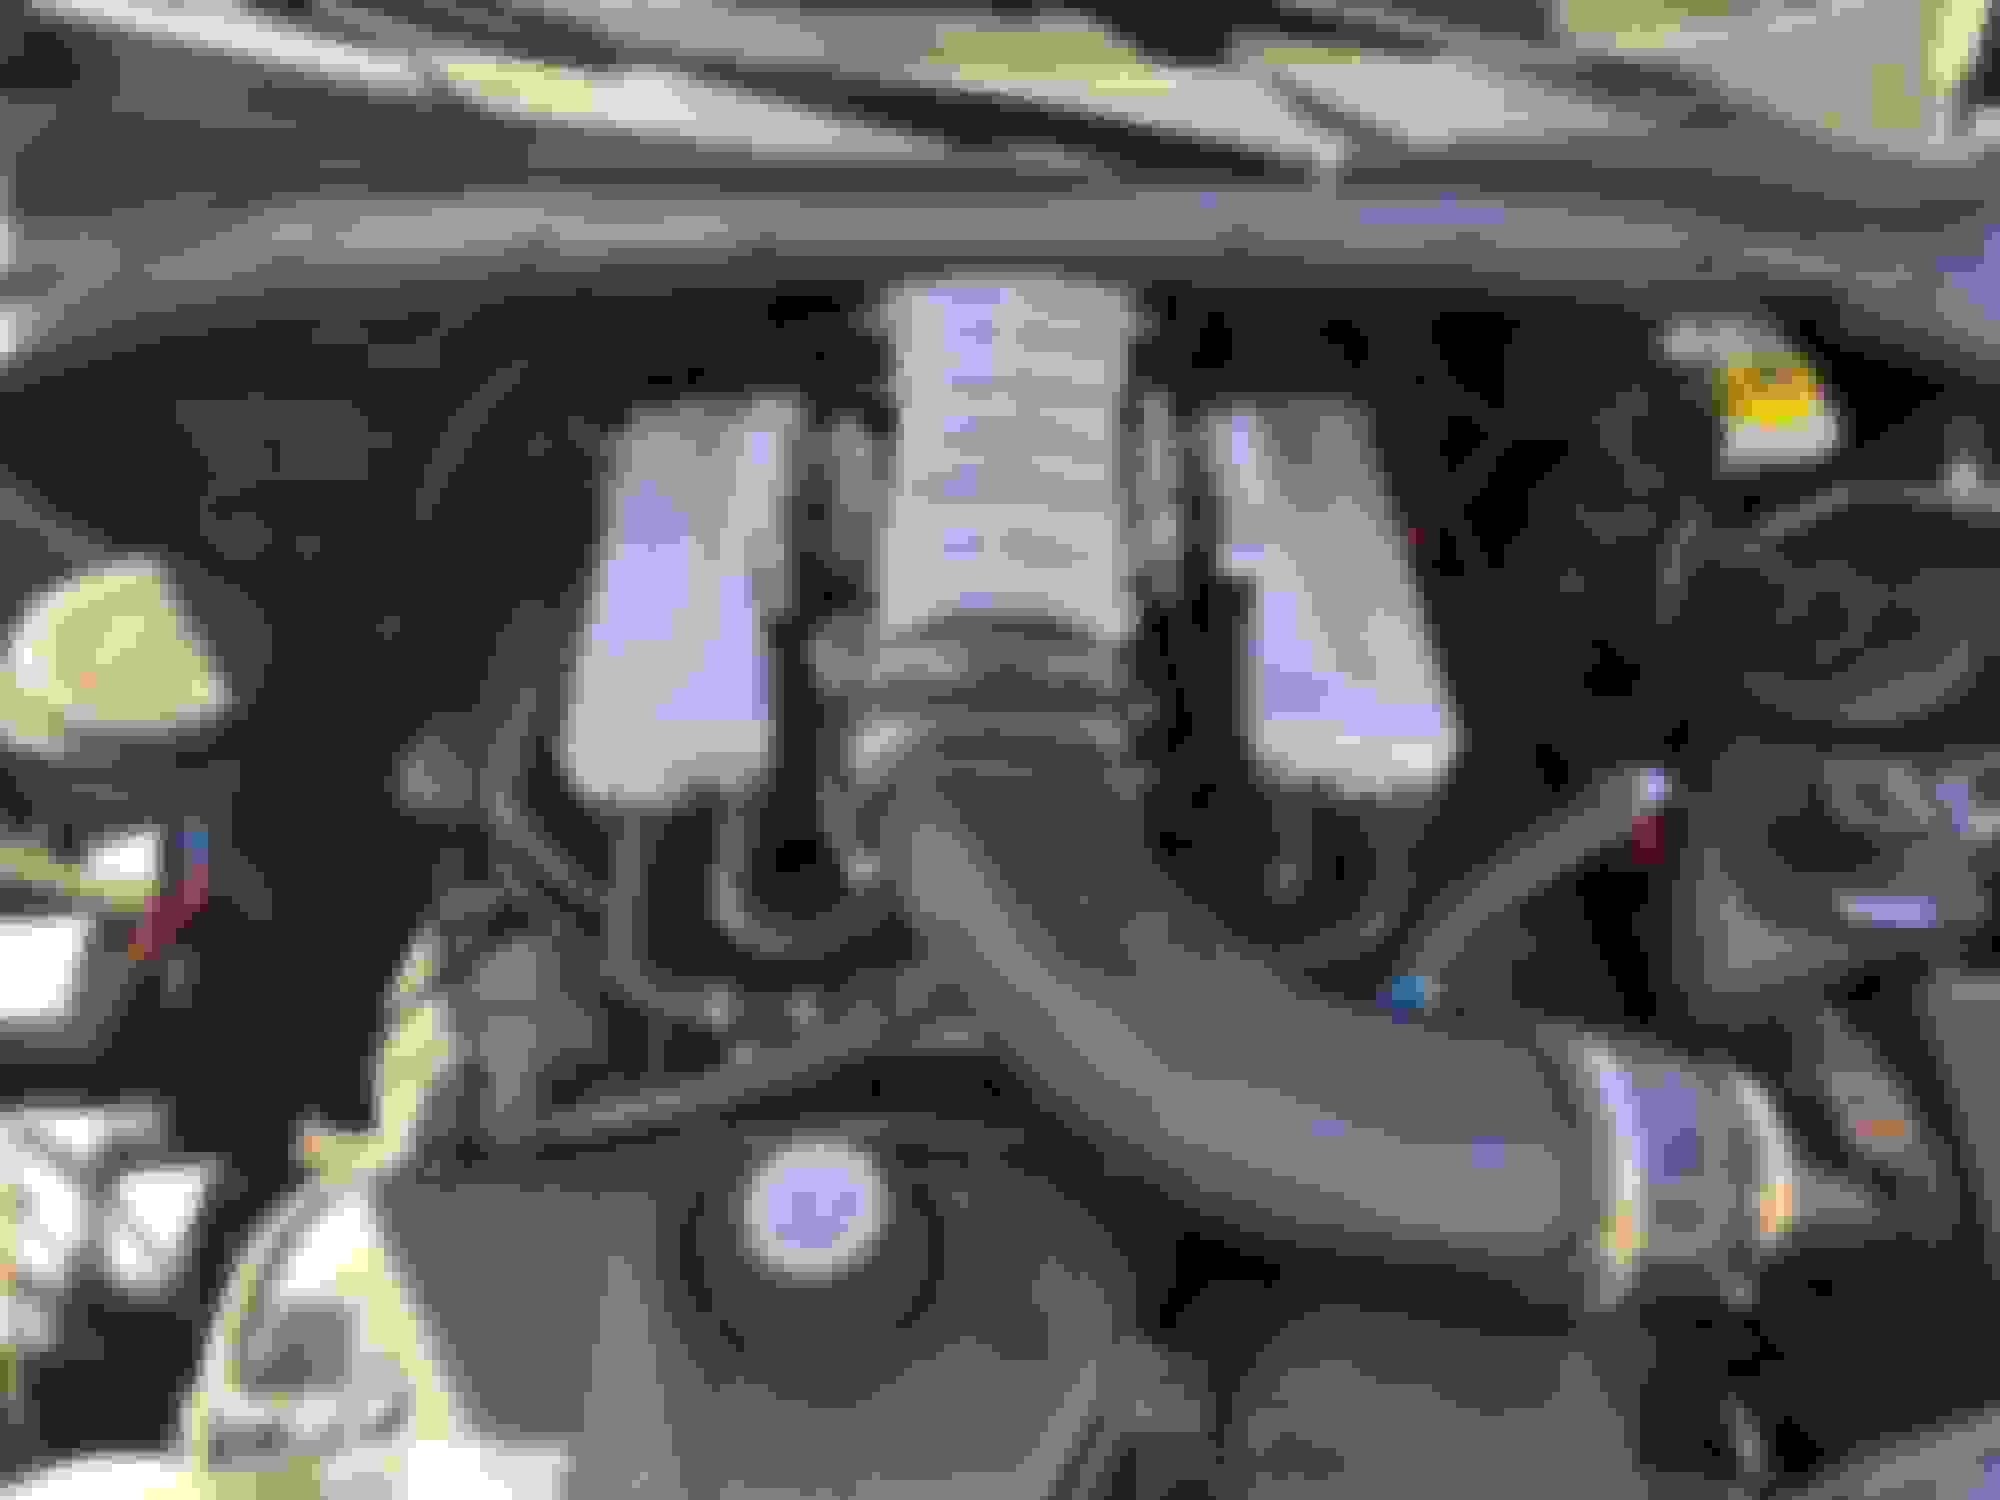
Hope the photos work !
I removed a lot more of the 'ribs' than I needed to as you can see from the pictures.
Currently waiting for a new, slightly longer silicone reducer (4 inch to 3 inch) the current one means that the stainless intake pipe is too close to the thermostat housing (hence the improvised protection held on with cable ties !),
Last edited by The Voices; 04-20-2020 at 08:37 AM.
great news....make sure to check your fuel trims after install to make sure all seals are tight ....any air leak will cause trims to rise to the positive side more than normal....mine was a little high until I put the t bolt clamps at the throttle body....engine torque can show up a loose seal
Thanks Scott, I have the iCarsoft LR V2 and a ODB2 bluetooth module that works with the 'Torque' APP, unfortunately I have no idea how to read and interpret the fuel trims !
I will need to have a read up on the forums to find out what I need to do.
Thanks for the heads up, the silicone hose is securely clamped onto the end of the metal intake pipe further down, closer to where it joins the MAF housing on the airbox.
Difficult to explain, but the 3 inches of silicone hose 'above' the clamp could simply be cut off, I just didn't want to shorten it until I was sure that this setup was staying on the car.
I will monitor it however just in case !
Thanks again.
I know what youre thinking. I thought the same thing- id be okay bc the clamp was on further down near the end of the tube.
I didnt realize I had a leak until the MIL! So be careful. It fooled me!
That came out very nice...i like the way you smoothed the ribs....looks factory.....if you have a leak, the trims will be plus 10 or higher after the ecm settles in...t bolt clamps will give you peace of mind.....just orient them with the bolt horizontal because of hood clearance.......i like the growl also....at first i thought i had a massive air leak, but then realized the amount of air and easier flow path was quite the upgrade so more noise....avos says there is a larger throttle body that can really take advantage of the increased airflow, but i will leave that alone for now
Thanks Scott, I cut the ribs off as best I could with a thin cutting disc, then used a grinding disc to get the surface level and finally moved onto abrasive pads fitted to the angle grinder to get in looking neater.
When I fitted it at first, there was a really weird 'metallic' noise, I guess that was from the cross bar touching the intake pipe, noise has now disappeared, so I hope I have solved the problem.
I will probably upgrade to better clamps when the new silicone reducer pipe arrives, hoping that the extra length will move the stainless intake pipe away from the thermostat housing.
The throttle body would be a nice upgrade but my car has currently done 172,000 miles so don't want to go crazy with it.
You have inspired me to do the same mod.
I found out however that because of the twinscrew my throttlebody sits a bit higher so I had to grind it down a lot and bend the piece on the strutbrace that connects below the windshield. There is about 1mm clearence with the strutbrace/cowl.
When I fired her up I had a massive noise that came from the intake clattering against the u-shaped induction outlet below it. I found out that the range rovers have a piece of plastic, like a bag of sorts, underneath the intake for noise and heat isolation. Part no. 4670343 I ordered one and in the meantime I've put a piece of sillicone instead. Problem solved.
That looks like it only just fits under the cowl / cross brace !
Your uprated supercharger should benefit more from the bigger inlet than my standard car.
I hadn't considered that the intake pipe might be touching the induction outlet and making the 'metallic' noise, the cross brace had left some scratches on the intake before I gained the extra clearance, so I think that was causing the noise that I had at first.
I refitted it today with the new 'longer' silicone connector, seems like a much better fit than my first attempt, not driven it yet but sounded fine when I started it after the refit.
PS. I don't mean to worry you, but it looks as though someone might have swapped your steering wheel onto the wrong side of the car ?

 04-19-2020, 05:30 PM