Rear Door Lock Actuator Fix W/Pics FAQ
#61
It was a long time ago. I thought if you manually locked each door they stayed locked.
You need to replace the bad lock actuator, that is the fix. I purchased a used one, it failed on me a few months later. I purchased a new one and haven't had any issues. If you DIY I would spend the big bucks the first time around.
You need to replace the bad lock actuator, that is the fix. I purchased a used one, it failed on me a few months later. I purchased a new one and haven't had any issues. If you DIY I would spend the big bucks the first time around.
#62
#63
#64
I think I need to do this project. How do I find out which door has the bad actuator?
Up until a day or so ago, the doors would lock and then unlock. Sometimes the locks sounded as though they were going thru multiple cycles, but never locking. Now non of the latches move, but I can hear all the actuator working.
Which door is the culprit?
Up until a day or so ago, the doors would lock and then unlock. Sometimes the locks sounded as though they were going thru multiple cycles, but never locking. Now non of the latches move, but I can hear all the actuator working.
Which door is the culprit?
#65
Very good description and love the pics. For anyone coming upon this thread I've just completed this job on the right rear actuator,there is no need to take out the quarter glass just undo and remove brace as shown, when you slide the actuator down the inside of the door make sure the internal door opening wire and mechanism slides to inside of the glass runner along with the wiring harness. You will have to man handle the runner a bit to slide it past, maybe a quarter to a half inch. And thankyou thankyou and thankyou again for this post that outside cover had me a little perplexed at the start. I used a kitchen knife to release that tag with a bit of tape over the paint work for protection. Anyone who scratches the door handle you can buy chrome covers of ebay for them. Sorry don't know what quality,might buy some to find out.
Cheers to all.
Cheers to all.
#66
#67
I managed to replace both passenger side door lock actuators and this post has been of great help, thank you OP.
A few comments:
- the rear door handle sorround has to be pushed just the opposite way i.e. towards the back of the car.
-I tried to be "smart" and complete the job without removing the quarter window. I managed to remove the actuator, then spent two hours trying to reinstall to no avail. Then I took the courage to remove the window. It is really no fun, but pretty straightforward.
- the front is much easier. JTIS says to remove the window but it is not necessary. The one screw that is behind the glass is accessible with a T30 bit driven by a wrench from the side.
Last edited by leaping cat; 04-24-2016 at 12:43 PM.
#68
#69
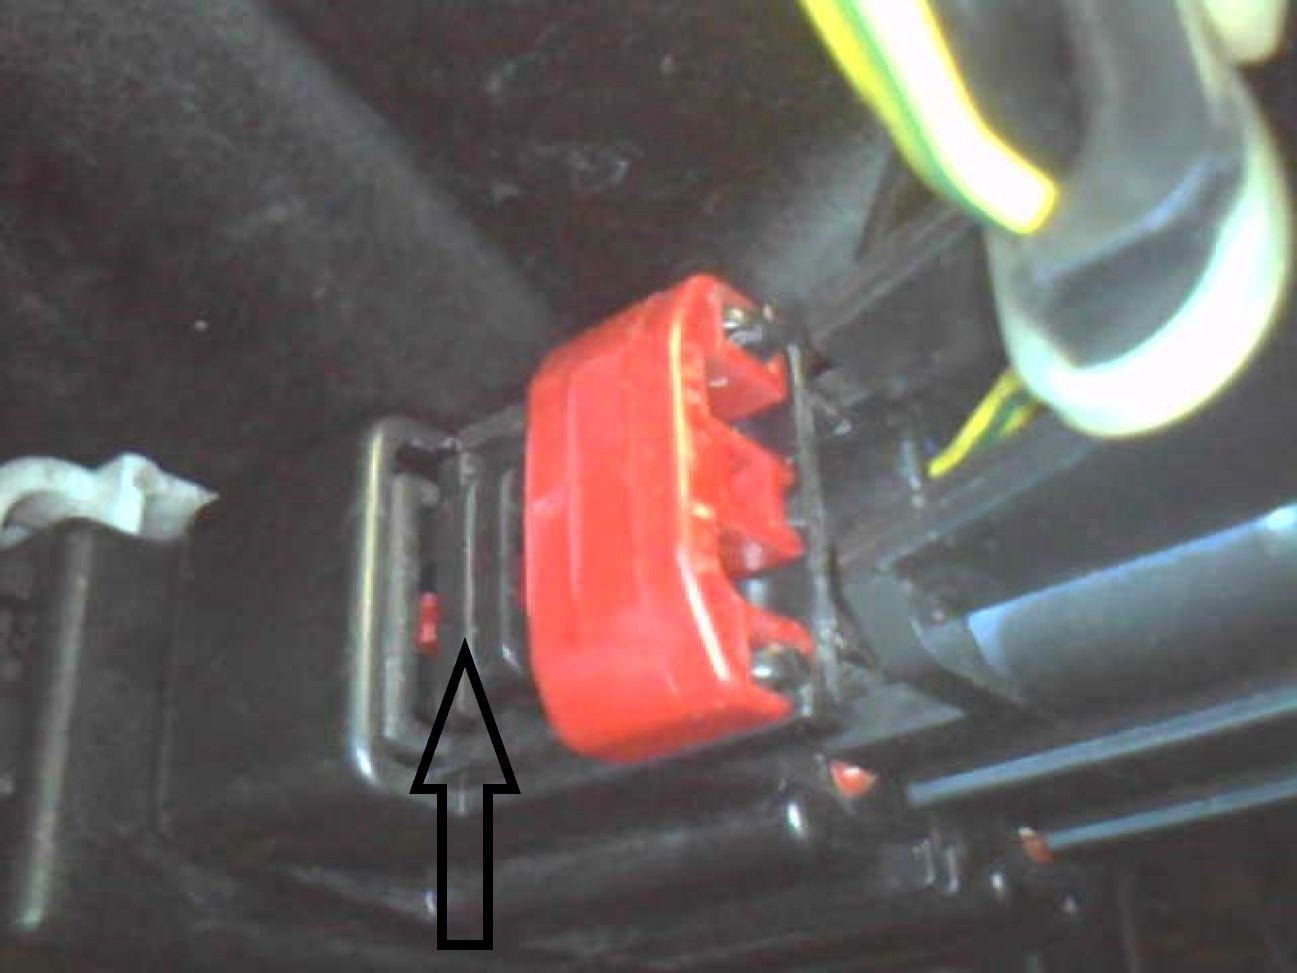
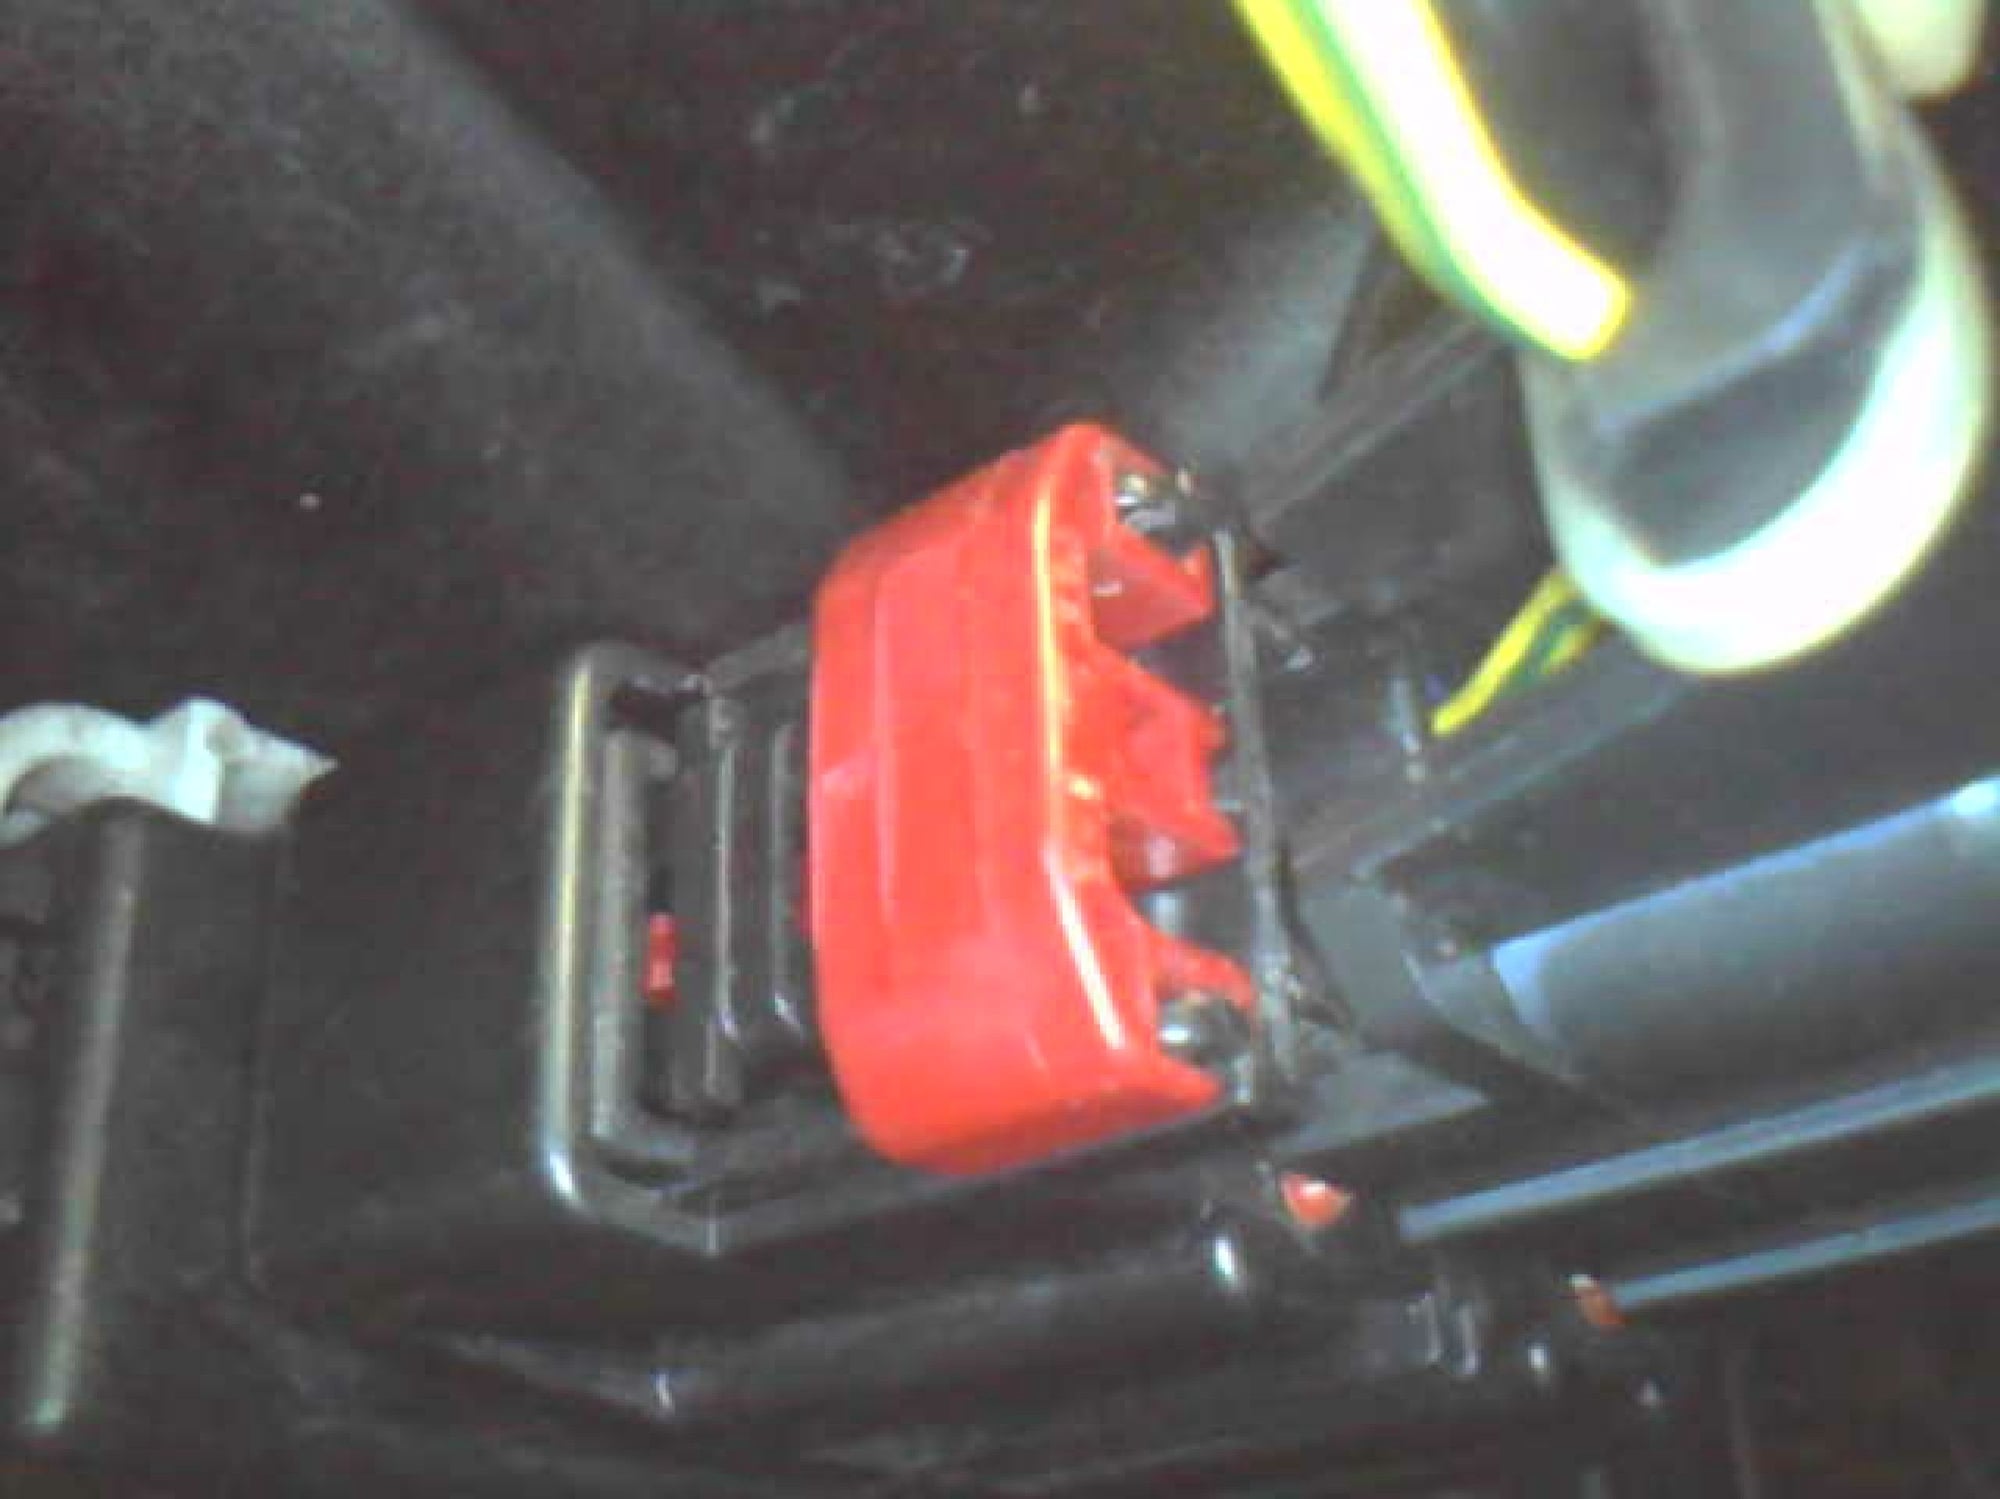
Don't mess with the red tab, you are already halfway home. Press down on the locking tab revealed by the red tab having been slid to it's present position. Then grit your teeth and hold your tongue just "so" and wiggle both sides of the connector whilst holding downward pressure on the black tab, pray hard and it will (maybe) eventually separate. Probably break a nail or skin a finger in the process, though. Upon re-assembly, push the red tab to the left until it seats against the black housing...as you are proposing in the preceding post.
(At least, that's my recollection of how those connectors work...)
(At least, that's my recollection of how those connectors work...)
The following users liked this post:
motorcarman (05-29-2018)
#70
very nice repair post my friend...I had the same issue with the passenger rear actuator...I did not feel like tackling the small window removal, so I took a shortcut by using heavy duct tape and taping the door handle then fishing it back inside through the cut out where I could now easily remove the connecting link, get the handle out of the way and replace the actuator...it scraps a bit but the tape protected it quite nicely....re-taped and put it back in when it was time...I think the actuators get damaged internally when the doors are repeatedly slammed...they just need a gentle push...at least on my car they do...if you ever have to do a front they are much,much easier...if one fails the control module does not think the door is locked even when locked manually and you get the message of that particular door being open
Last edited by scottjh9; 05-29-2018 at 10:29 PM.
#71
Don't mess with the red tab, you are already halfway home. Press down on the locking tab revealed by the red tab having been slid to it's present position. Then grit your teeth and hold your tongue just "so" and wiggle both sides of the connector whilst holding downward pressure on the black tab, pray hard and it will (maybe) eventually separate. Probably break a nail or skin a finger in the process, though. Upon re-assembly, push the red tab to the left until it seats against the black housing...as you are proposing in the preceding post.
(At least, that's my recollection of how those connectors work...)
(At least, that's my recollection of how those connectors work...)
Do you mean hold pressure on the bit I have arrowed below?
The reason I'm struggling is that I wanted to release the connection in situ rather than do more door dismantling. I am fitting a replacement door where the loom was cut but all internals are in place. I therefore need to release the connections in both doors and then use my existing door loom with the new door.

#72
Exactly! When the red tab is moved to the other side, it covers that bit and serves as a secondary lock. Why they perceived that as a necessary feature is beyond me...as you've already discovered, it remains quite well connected without that additional protection.
Although I've done a rear door lock actuator once on the 05, it was long ago...I don't remember that issue...but somewhere up front in the engine bay is a similar connector - I believe it is at the DCCV, which I unfortunately have much more experience with...and that's how it works, slide the red, push in on what was under it before you moved it....wiggle and hope.
Although I've done a rear door lock actuator once on the 05, it was long ago...I don't remember that issue...but somewhere up front in the engine bay is a similar connector - I believe it is at the DCCV, which I unfortunately have much more experience with...and that's how it works, slide the red, push in on what was under it before you moved it....wiggle and hope.
#73
#74
Thanks for the trouble you have gone to here joycesag.
I successfully completed this job yesterday with your guidance without breaking anything.
I found the Exterior Handle Bexel release clip easy to remove by -
Having first removed the torx from the inside,
Then using strong cord slipped behind the bezel from the rear, put the ends together and wrap around a tool and pulled to the front of the car.
This released the rear clip without any damage.
Regards
Steve
#75
#77
#78
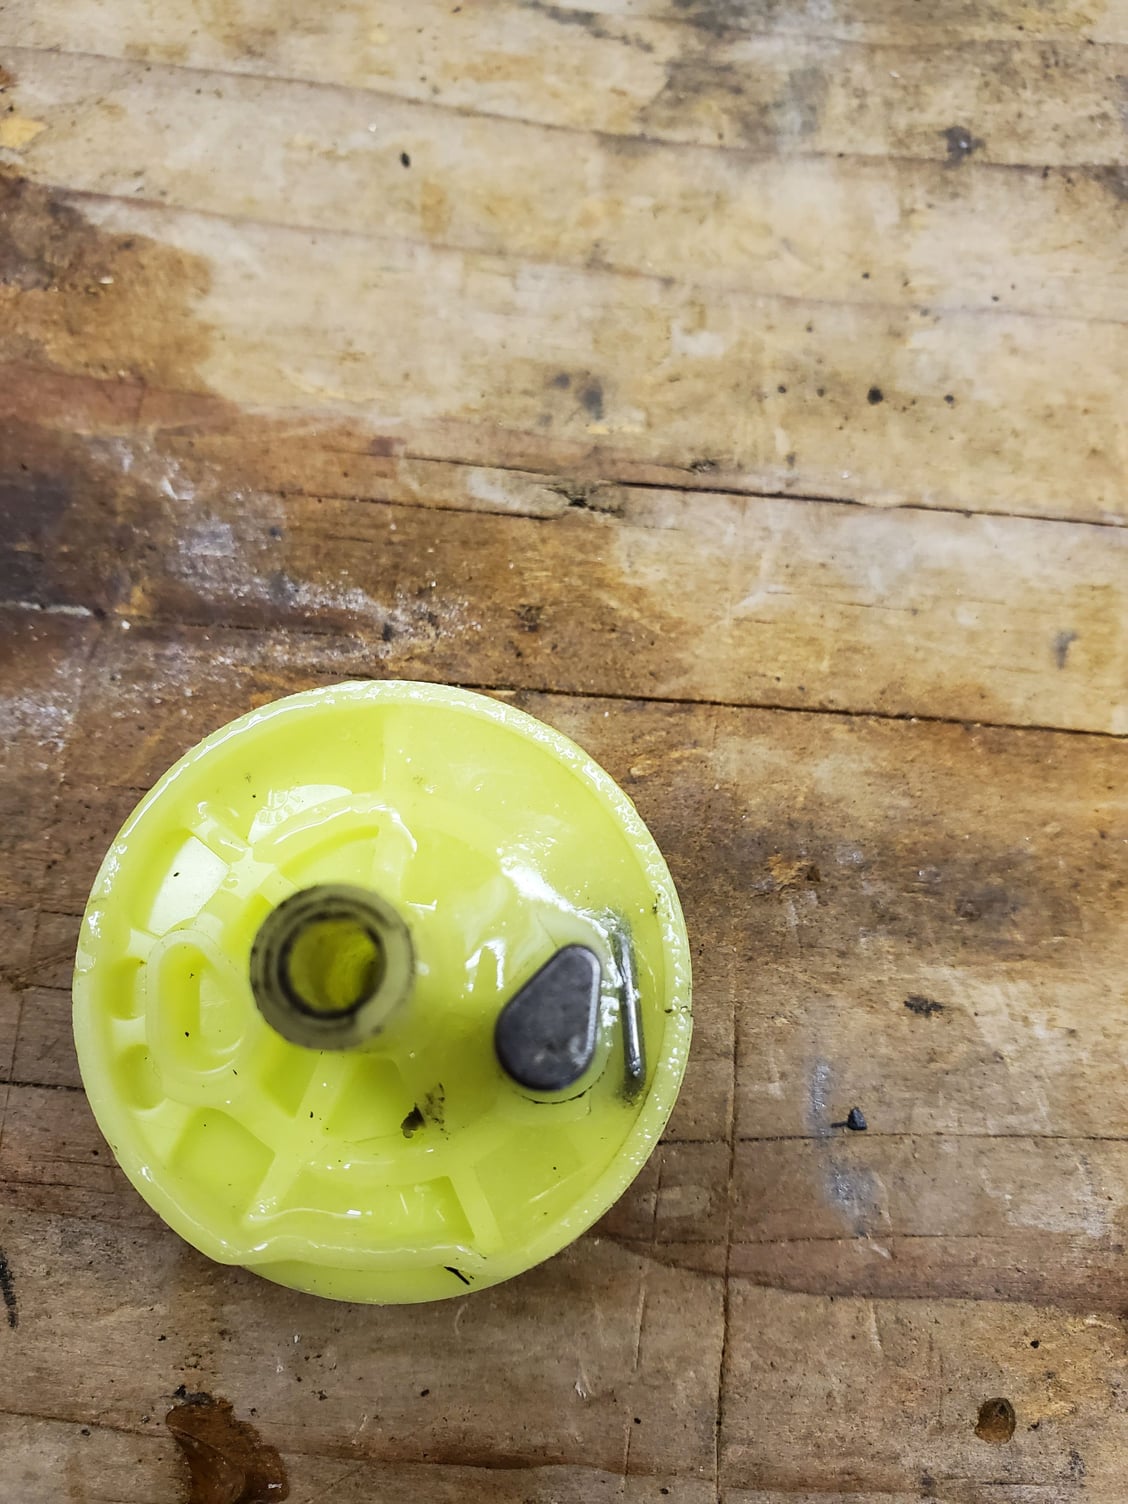
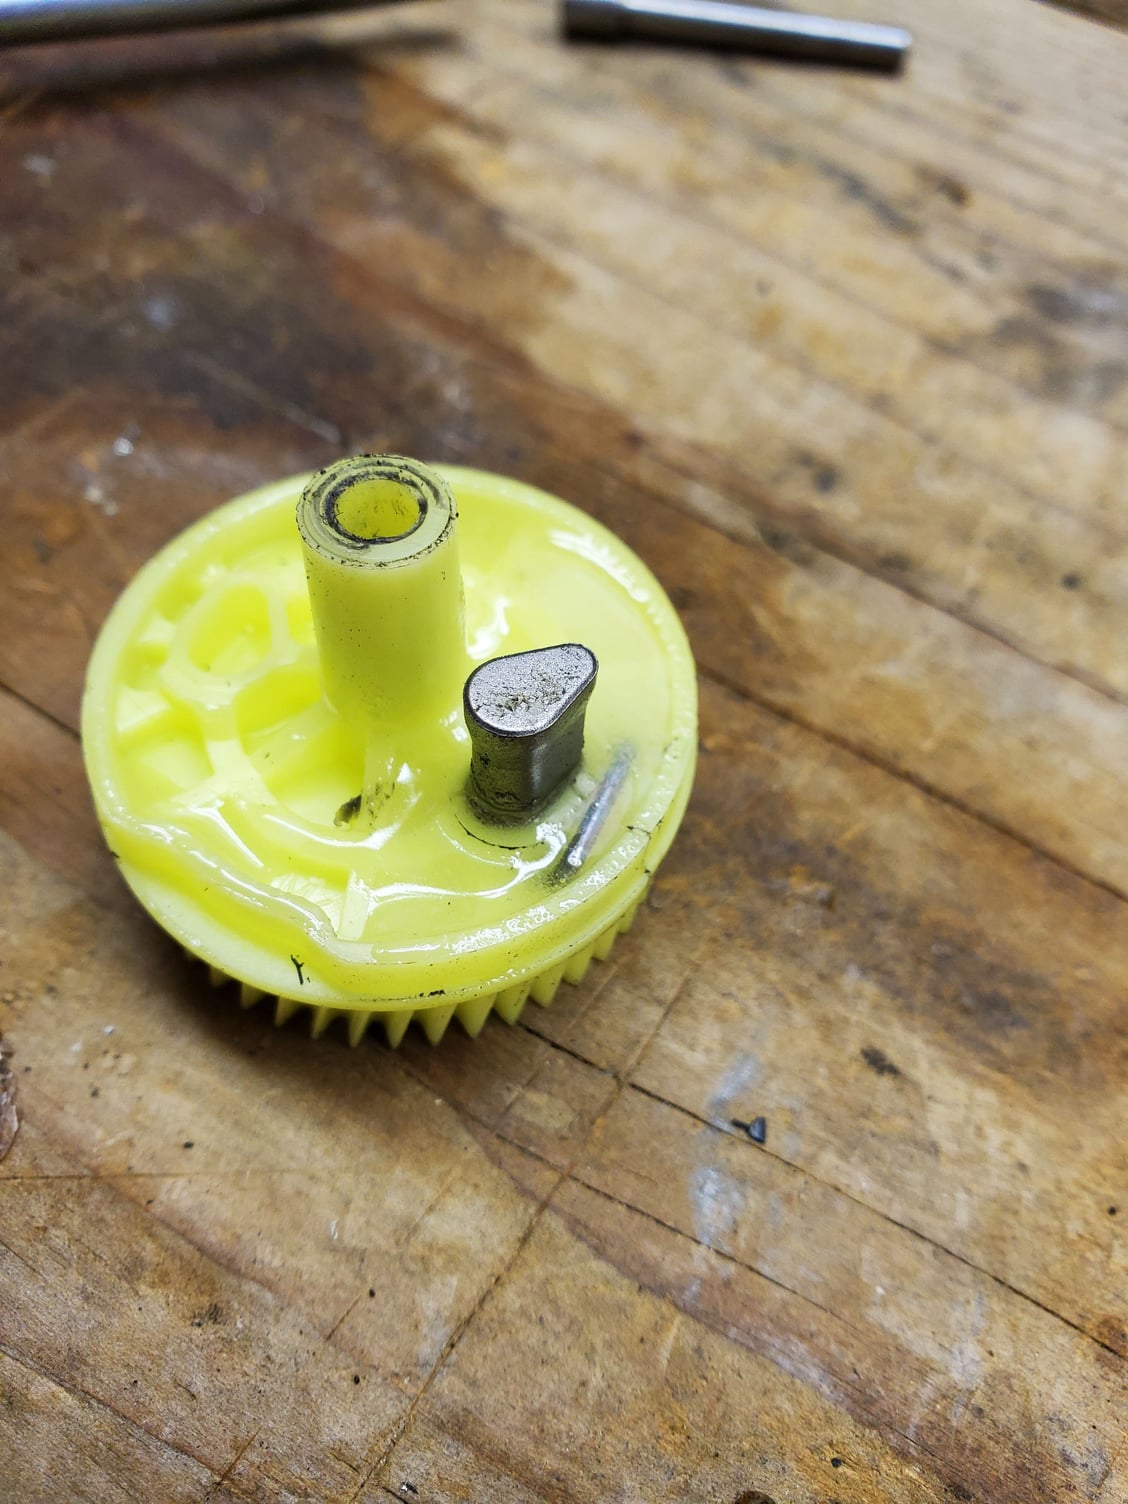
Well, all the little metal cams in the gear fell out, even though the crack repair held. Don't understand it. Does anyone know where I can get 2 new front door actuators, both, cheaper then around $250? Maybe there is a compatible
Ford model that would work? Out of all the cars I've owned, this has been the worst on designed parts.
Ford model that would work? Out of all the cars I've owned, this has been the worst on designed parts.
#79
#80


