When you click on links to various merchants on this site and make a purchase, this can result in this site earning a commission. Affiliate programs and affiliations include, but are not limited to, the eBay Partner Network.
I'll be back on my project once the heat breaks here. I'm curious about all the heat shielding on the hoses though. From what I've seen in all the other examples these hoses fail on that short stubby section and one did on one other spot where the OP thought it had rubbed.
I'm seriously considering changing out that short stubby piece with silicone hose (it seems to bulge and then burst). I wish the entire thing were silicone ... An actual pipe seems like a very hard fit even if you do use a nickle/copper alloy tubing. I can imagine all sorts of interferences which a hose can easily accommodate, for a while anyway ...
Is the heat making this hose fail ... external or internal from the coolant? I would think it's external but it's hard to know for sure. The part is crap for this location though.
The hose, you refer to, on my 2005 XJR was in fine shape after 99,000 miles when I replaced it.
The hose, you refer to, on my 2005 XJR was in fine shape after 99,000 miles when I replaced it.
I compleated a valley pipe job on my friends 02 STR on the weekend .
it was a 2 day job .
this car has only done 140000km and the valley pipe had burst .
I removed the valley pipe on my 03 STR a few years ago at 160000 kms and it had bulged and had very little life left in it .
this is the 02 valley pipe here
I've recently had the supercharger off so will add a few points that might help others in the future. I think there are a few ways to do this job/get round some hurdles and you need to be creative and prepared to deviate from what has worked for someone else.
I agree witj EVERYTHING you said. I just finished my car about 2 hours ago. Im beat. Its fixed. Every gasket, oright, bit of carbon was fixed. Did injectors and fuel filter which eas FILTHY. I NEEDED WAY MORE PICTURES. I couldnt figure how all the hoses were supposed to be routed and I had to try a bunch of different layouts. The heat insulation made it so much harder but I was trying to lower the supercharger temp. Good night
I'll be back on my project once the heat breaks here. I'm curious about all the heat shielding on the hoses though. From what I've seen in all the other examples these hoses fail on that short stubby section and one did on one other spot where the OP thought it had rubbed.
I'm seriously considering changing out that short stubby piece with silicone hose (it seems to bulge and then burst). I wish the entire thing were silicone ... An actual pipe seems like a very hard fit even if you do use a nickle/copper alloy tubing. I can imagine all sorts of interferences which a hose can easily accommodate, for a while anyway ...
Is the heat making this hose fail ... external or internal from the coolant? I would think it's external but it's hard to know for sure. The part is crap for this location though.
So today after a very long off period I'm back on this project. I'm at the point where I've removed the cabin filter shroud, heater hoses and the throttle body.
What's not clear is the next step? Mine is an 05 and not a 06 but this is what I'm looking at now. (not my car but close)
d photo of a removed EGR
Nothing looks terribly accessible and I'm confused as to whether one should try to take the throttle body housing off of the back of the SC before proceeding with the EGR removal and then remove the SC?
Is that even possible or does the EGR now have to come off come hell or high water before the throttle body housing can come off?
Does removing the blue circled bolts do any good?
It looks impossible to get to the red circled ones.
So I assume the orange circled ones need removing? I can't even see those as yet.
So the orange circled bolts and the ones on the exhaust flange are what need to come out.
I see no way to accomplish this WO cutting a lot of the main wiring harness for access and god knows what else.
This is the step that no one documents and it's the real SOB. I can't even see either end of the red circled bolts. The others I managed to get some Kroil onto but the red circled ones look really awful from the top (thread end side) which is the only part I can barely see.
Could I take the throttle body housing off of the back of the supercharger instead? Then wiggle it out of the way to get at that rear most SC bolt?
Unfortunately you have to get that EGR pipe out before you can access all the other bolts.
In the first pic above if you can see what is in that picture without the air box in the way you can access those bolts attaching the egr to the elbow. You can see the top bolt in the pic the bottom one is hidden under the pipe but is accessible. Make sure you do NOT round those heads!
In the 2nd pic you can see how much room I had at the back of the SC and elbow. Once the egr is out of the way you should be able to get at the bolts by feel with the correct flexible wrench/spanner.
your next step is to start undoing the connectors for all the sensors around the throttle body and move them out of the way. then remove the two nuts holding the EGR tube to the exhaust pipe. then remover the two bolts holding the EGR to the TB elbow and remove the EGR.
Then remove the two bolts holding the TB elbow to the bracket on the sides. then remove the 4 bolts from the elbow and remove elbow. get the vacuum lines out of the way first.
Any chance you could highlight the bolt heads or point to where they are in that first picture? I know where the ones attaching the flex tube to the exhaust manifold are.
I assume one needs to be very careful squeezing that connector to remove the electrical connector from the throttle manifold in the second photo.
Originally Posted by jackra_1
Unfortunately you have to get that EGR pipe out before you can access all the other bolts.
In the first pic above if you can see what is in that picture without the air box in the way you can access those bolts attaching the egr to the elbow. You can see the top bolt in the pic the bottom one is hidden under the pipe but is accessible. Make sure you do NOT round those heads!
In the 2nd pic you can see how much room I had at the back of the SC and elbow. Once the egr is out of the way you should be able to get at the bolts by feel with the correct flexible wrench/spanner.
I've removed the wiring harness bracket support on the RH side and today I'm going to disconnect the heater hose support bracket below that so that a bit more manipulation is possible but .... the massive wiring harness bundle directly over the area I need to work in is what concerns me. I may post a photo later. I do see an attachment wire tie I could cut but all of this is so stiff now after nights in the mid 40's that I wonder if I can get all of it pushed around enough to work on removal. And then assembly, always harder, OMFG. I am concerned about damaging the electrical harness and those wonderfully, well aged, fragile connectors.
I had already made sure I have all the suggested wrenches months ago. Maybe a wire or nylon tether attached to small ones is not such a bad idea. What a wondrous spot to drop crap!
Perhaps a tranquilizer as well ...
What did you guys damage doing this at this critical juncture ??? Could it have been prevented?
Thanks everyone.
More ether for the cat and the mechanic please ...
I've been going back over all the threads again. My lord I've been following this issue for over 10 years! I can't say I didn't know about it!
I noticed that one of the contributing techs Brutal, mentioned removing the two bolts from the EGR valve to the throttle boy manifold and then just leaving the rest of the assembly there. I surmised that means not disconnecting the other end on the exhaust manifold. Does that work or is it mandatory to snake this assembly out to be able to get to the rest of the SC retaining bolts?
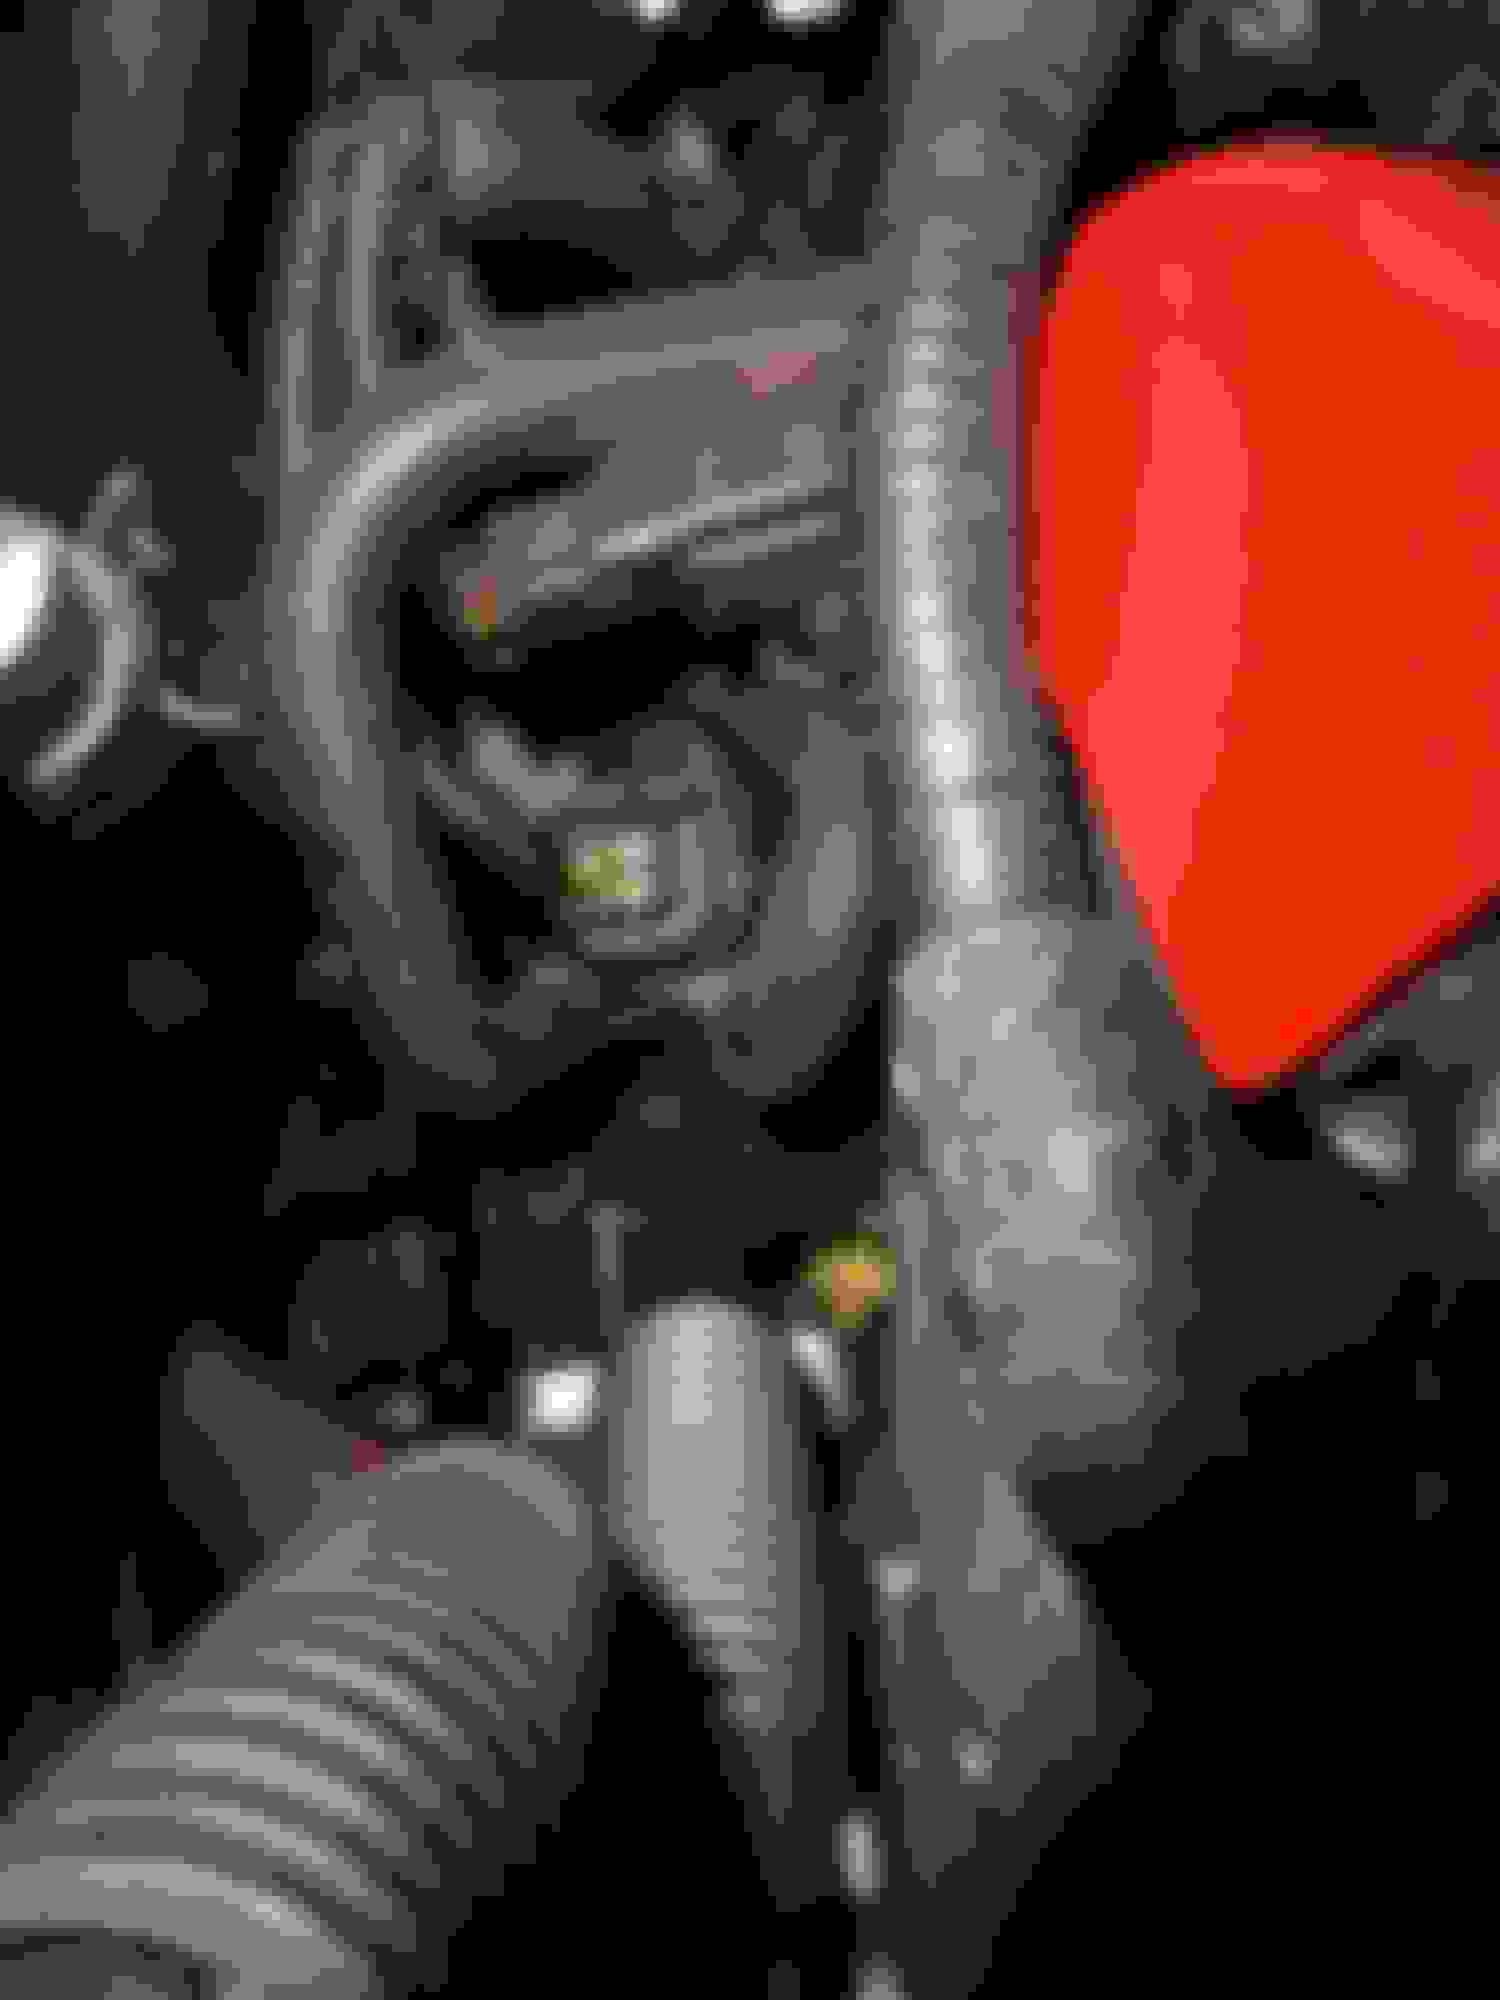
The blue arrow shows the top bolt head. There is one other directly below the egr pipe.
Make sure you use an exact fit socket as you do NOT want to round these heads. They happen to be the same size as those that hold the TB in place.
I did not cause damage to anything at all when removing the SC. Once you have done it once it gets so much easier and I have done this job 4 times for various reasons.
Once because on installation and start up I ingested a wad of paper towel into the SC which meant a bearing rebuild that I had to perform.
I used paper towels to block off all "holes" to stop dropping stuff in them. One piece of towel became hidden inside the elbow.


 07-29-2019, 12:11 PM