When you click on links to various merchants on this site and make a purchase, this can result in this site earning a commission. Affiliate programs and affiliations include, but are not limited to, the eBay Partner Network.
Replacing Upper control arms and lower ball joint/knuckle. Everything was pretty smooth until the uppers. The book says unbolt the ball joint, loosen the upper bolts, remove and replace the arm.
Issue: The bolts will not come out far enough to remove the arm. the bolts have backing plates on them and no matter where you jack the lower and spring, it still won't pull back enough. It isn't far from being enough.
Question? is there some trick to backing the bolts out far enought to replace the arm and then tighten the bolts?
Thank you so much. I thought this might be the step the manual I have left out. I'll have the strut out in 10 minutes. My joints look like yours....just plain awful.
Edit: I did unbolt the top bolts for the spring. Then I unbolted the bottom bolt. I felt tight, so I eased the bolt out but the strut and spring came out fast and the spring looks too long to put back with any ease. Should I go get a spring compressor to finish this job?
Last edited by davidladewig; 02-04-2017 at 12:24 AM.
David, if you just undid the 4 strut nuts shown in Gus' link, and the bottom bolt thru the strut, also as shown by Gus, then you shouldn't need a spring compressor. If you have somehow separated spring from strut, then yes, you will, but first I'd stop and spend at least 30 minutes in prayers of thanksgiving that I still have all my digits and appendages intact and am not otherwise maimed!
I've done this on both cars, and I wouldn't say the struts go back in with any amount of "ease." It's a bit of a battle, you need the car resting on a proper jacking point, and then you'll need to get a bit of leverage on the lower arm and move it down against it's considerable will to get the strut back in place and the lower bolt in place.
I won't swear to this, cause it has been awhile, but I know on the second car I attempted only undoing the 4 top nuts, then flexing the lower arm down and, once the studs were clear of the mount, sliding the top of the strut out of the way, so I could manipulate the upper arm fixing bolts. Best I recall, this worked and saved me the trouble of threading the lower bolt through the eye. It was only slightly easier...and due to memory loss...could be I ended up having to loose the lower bolt anyway.
I went back through my instructions Gus passed on and you are right. I took the 5th nut off...Oooops. I was in no danger as I use heavy zip ties for any backlash and they worked well. I'll put it all together today and it should be fine. But...you are right....it can be dangerous thing if you aren't ready for it. Thank you so much for your response. I do have a spring compressor so now it is back to it...
Wayne (cjd777), Rick (joycesjag), and I are planning to replace the front upper control arms in my 2005 S-Type 3.0 this coming Tuesday morning outside at Wayne's home shop, weather permitting. My guess is that the procedure for my 2005 car will be very similar to the procedure for your 2000 car. None of us have done this job on an S-Type before so any tips, tricks, or gotchas you can share will be much appreciated. And we'll be sure to raise a toast to you at the local BBQ joint we plan to visit after the job is completed....
Thanks to all for this valuable information. I am planning on going over my suspension when the weather warms up.
Just to clarify. If I were to leave the center nut on the top stud and remove the other 4 nuts that form a square, then the spring would be safely contained on the strut assembly. Correct??
That is correct! I went back on my directions in hopes that I did not say to remove that center but but I did not say to leave it alone. I will try to make that known on my post. I am so sorry to hear that was done. I try to provide accurate information for the DIY'r..
If I were to leave the center nut on the top stud and remove the other 4 nuts that form a square, then the spring would be safely contained on the strut assembly. Correct?? Bob
Correct, as Gus affirmed above. However, Bob (and Jon/Rick/Wayne) beware the four don't make a proper square! I mark the tops of the studs and the adjacent holes on at least 2 with different color paint to aid in line-up.(maybe I'm screwed-up and this bad memory is from my X300's, but no matter, marking two studs never hurt anyone...) And as I mentioned above, you may want to try only removing the top, since that's the bit that's in the way, sorry I simply can't recall if that was successful or if I ultimately had to remove the whole thing.
That is correct! I went back on my directions in hopes that I did not say to remove that center but but I did not say to leave it alone. I will try to make that known on my post. I am so sorry to hear that was done. I try to provide accurate information for the DIY'r..
It worked out just fine. I was able to put new dust covers on too by using the compressors. I'll post some good photos I took of the job tomorrow or Monday. I did leave the 5th nut on for the second side. lol Much easier. I figured out some ways to do this that make it faster and I'll share those too.
Once again Gus, thank you. What you showed me was spot on.
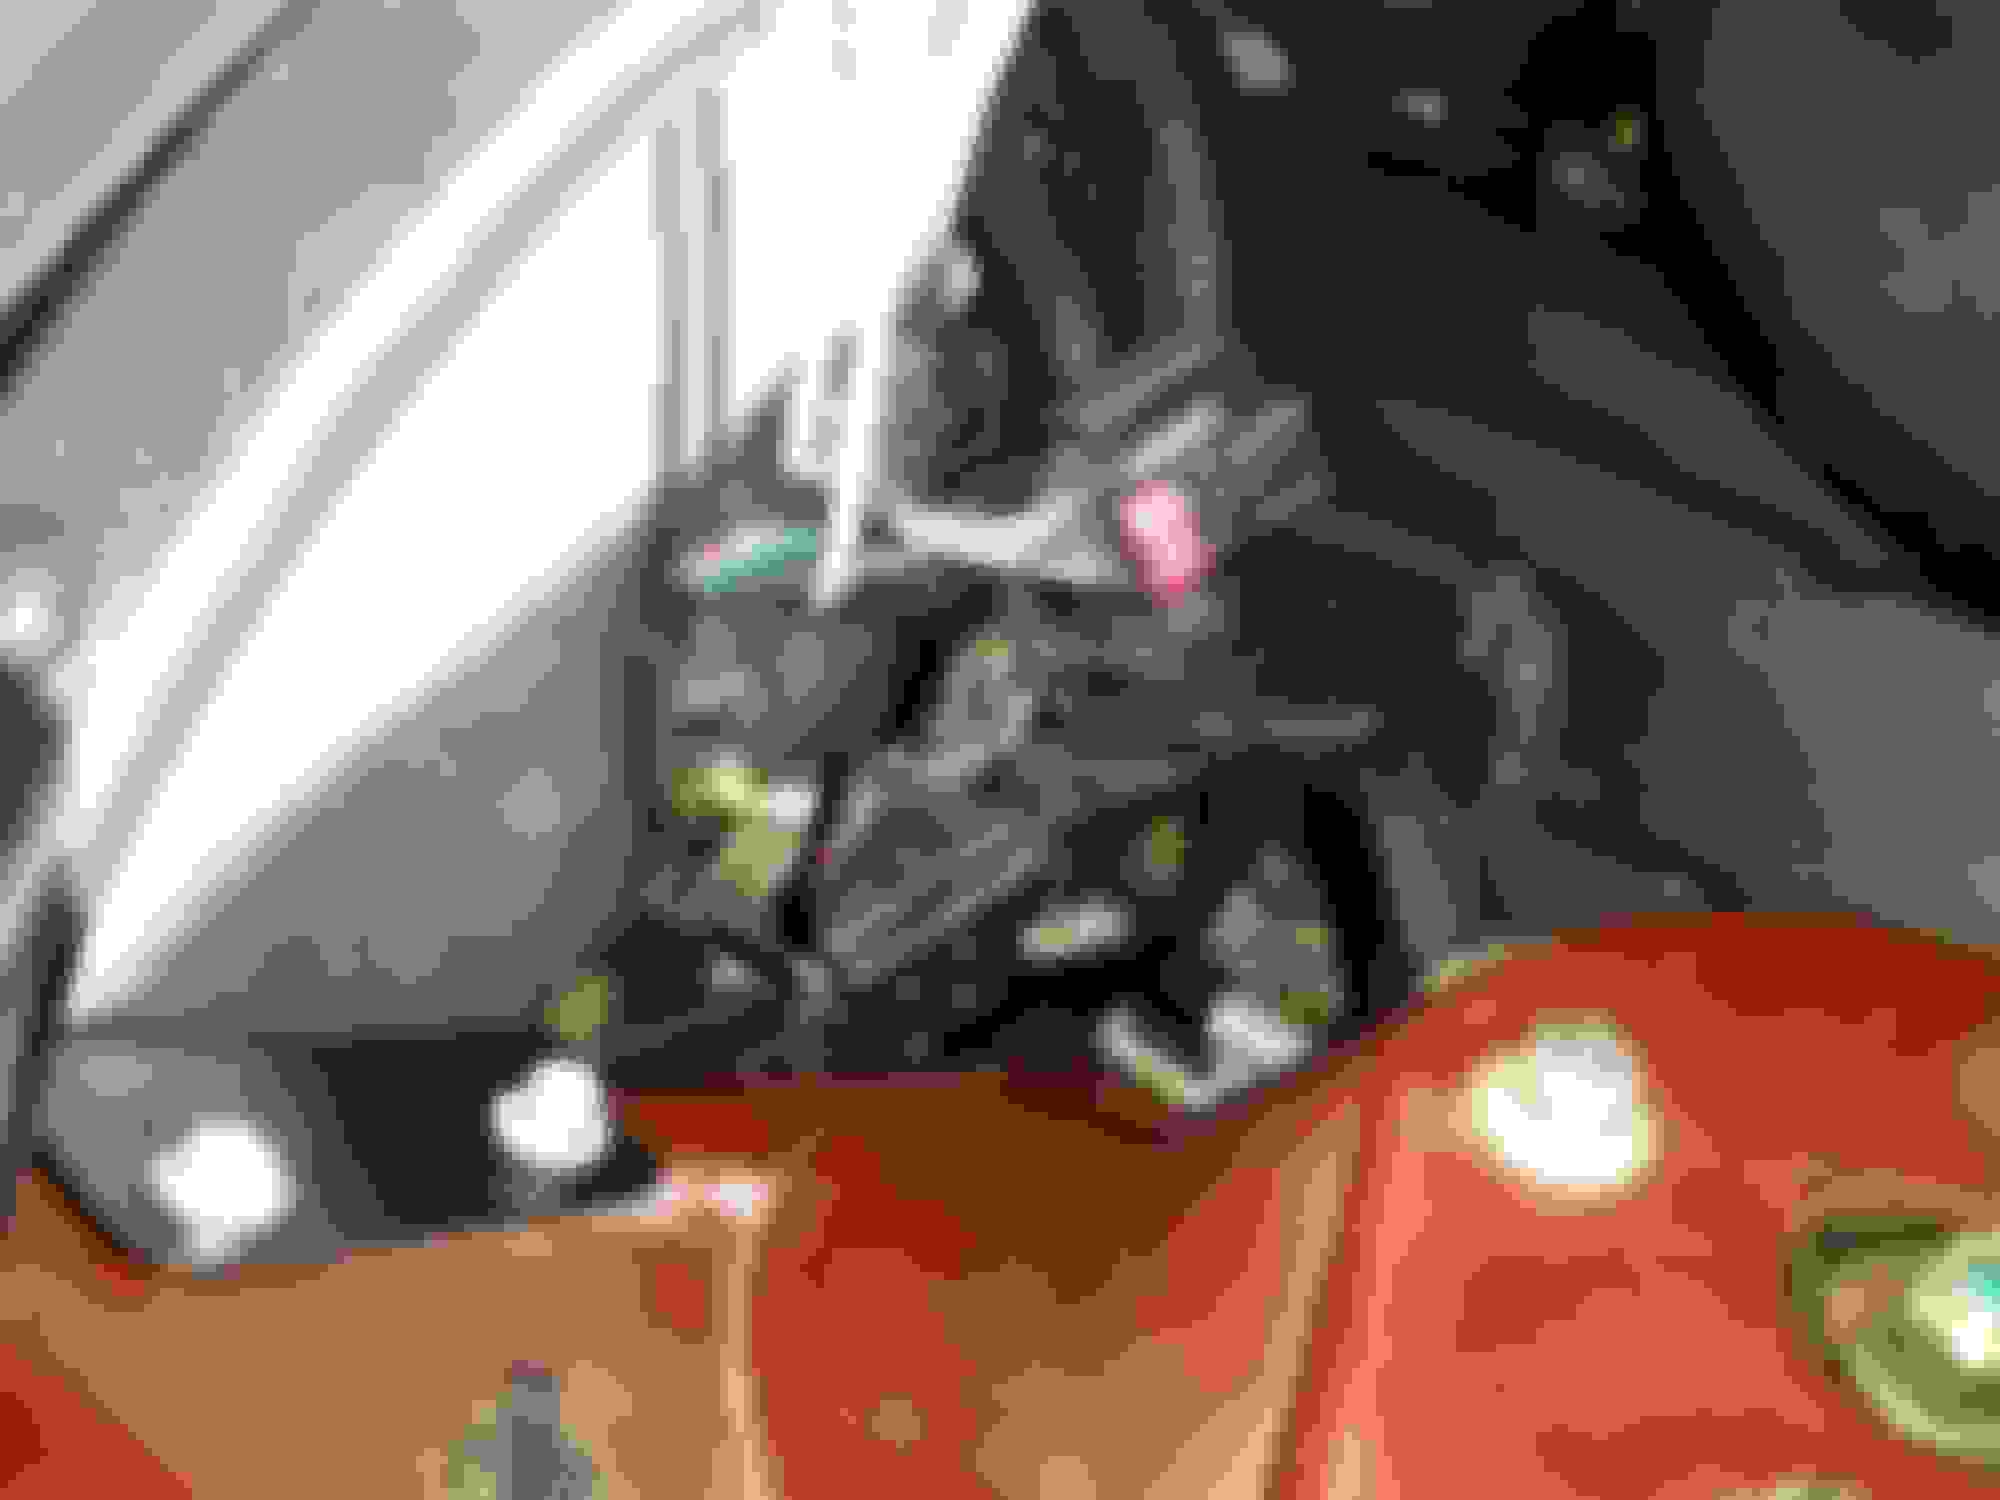
Jag front end repair....Upper control arms and Wheel knuckle.
Easiest part of the job....Jacking the car with my 3 ton floor jack
Worst part of the job...Removing the nuts on the upper control arm bolts nearest the firewall. What ever excuse for humanity designed that should be quartered and then tared and feathered.
Special Thanks: Gus for the Jag Repair guide and Maxthrottle for the video about suspension
Tools needed to complete this job.
New parts plus all new brakes since you already have to take them apart during this job
Old parts.
Opposite side of work area. Block this wheel with a 4x4 to prevent any movement of the steering system. Maintains your alignment
Double stantion your work area for safety.
Zip tie your upper brake caliper to avoid any line damage.
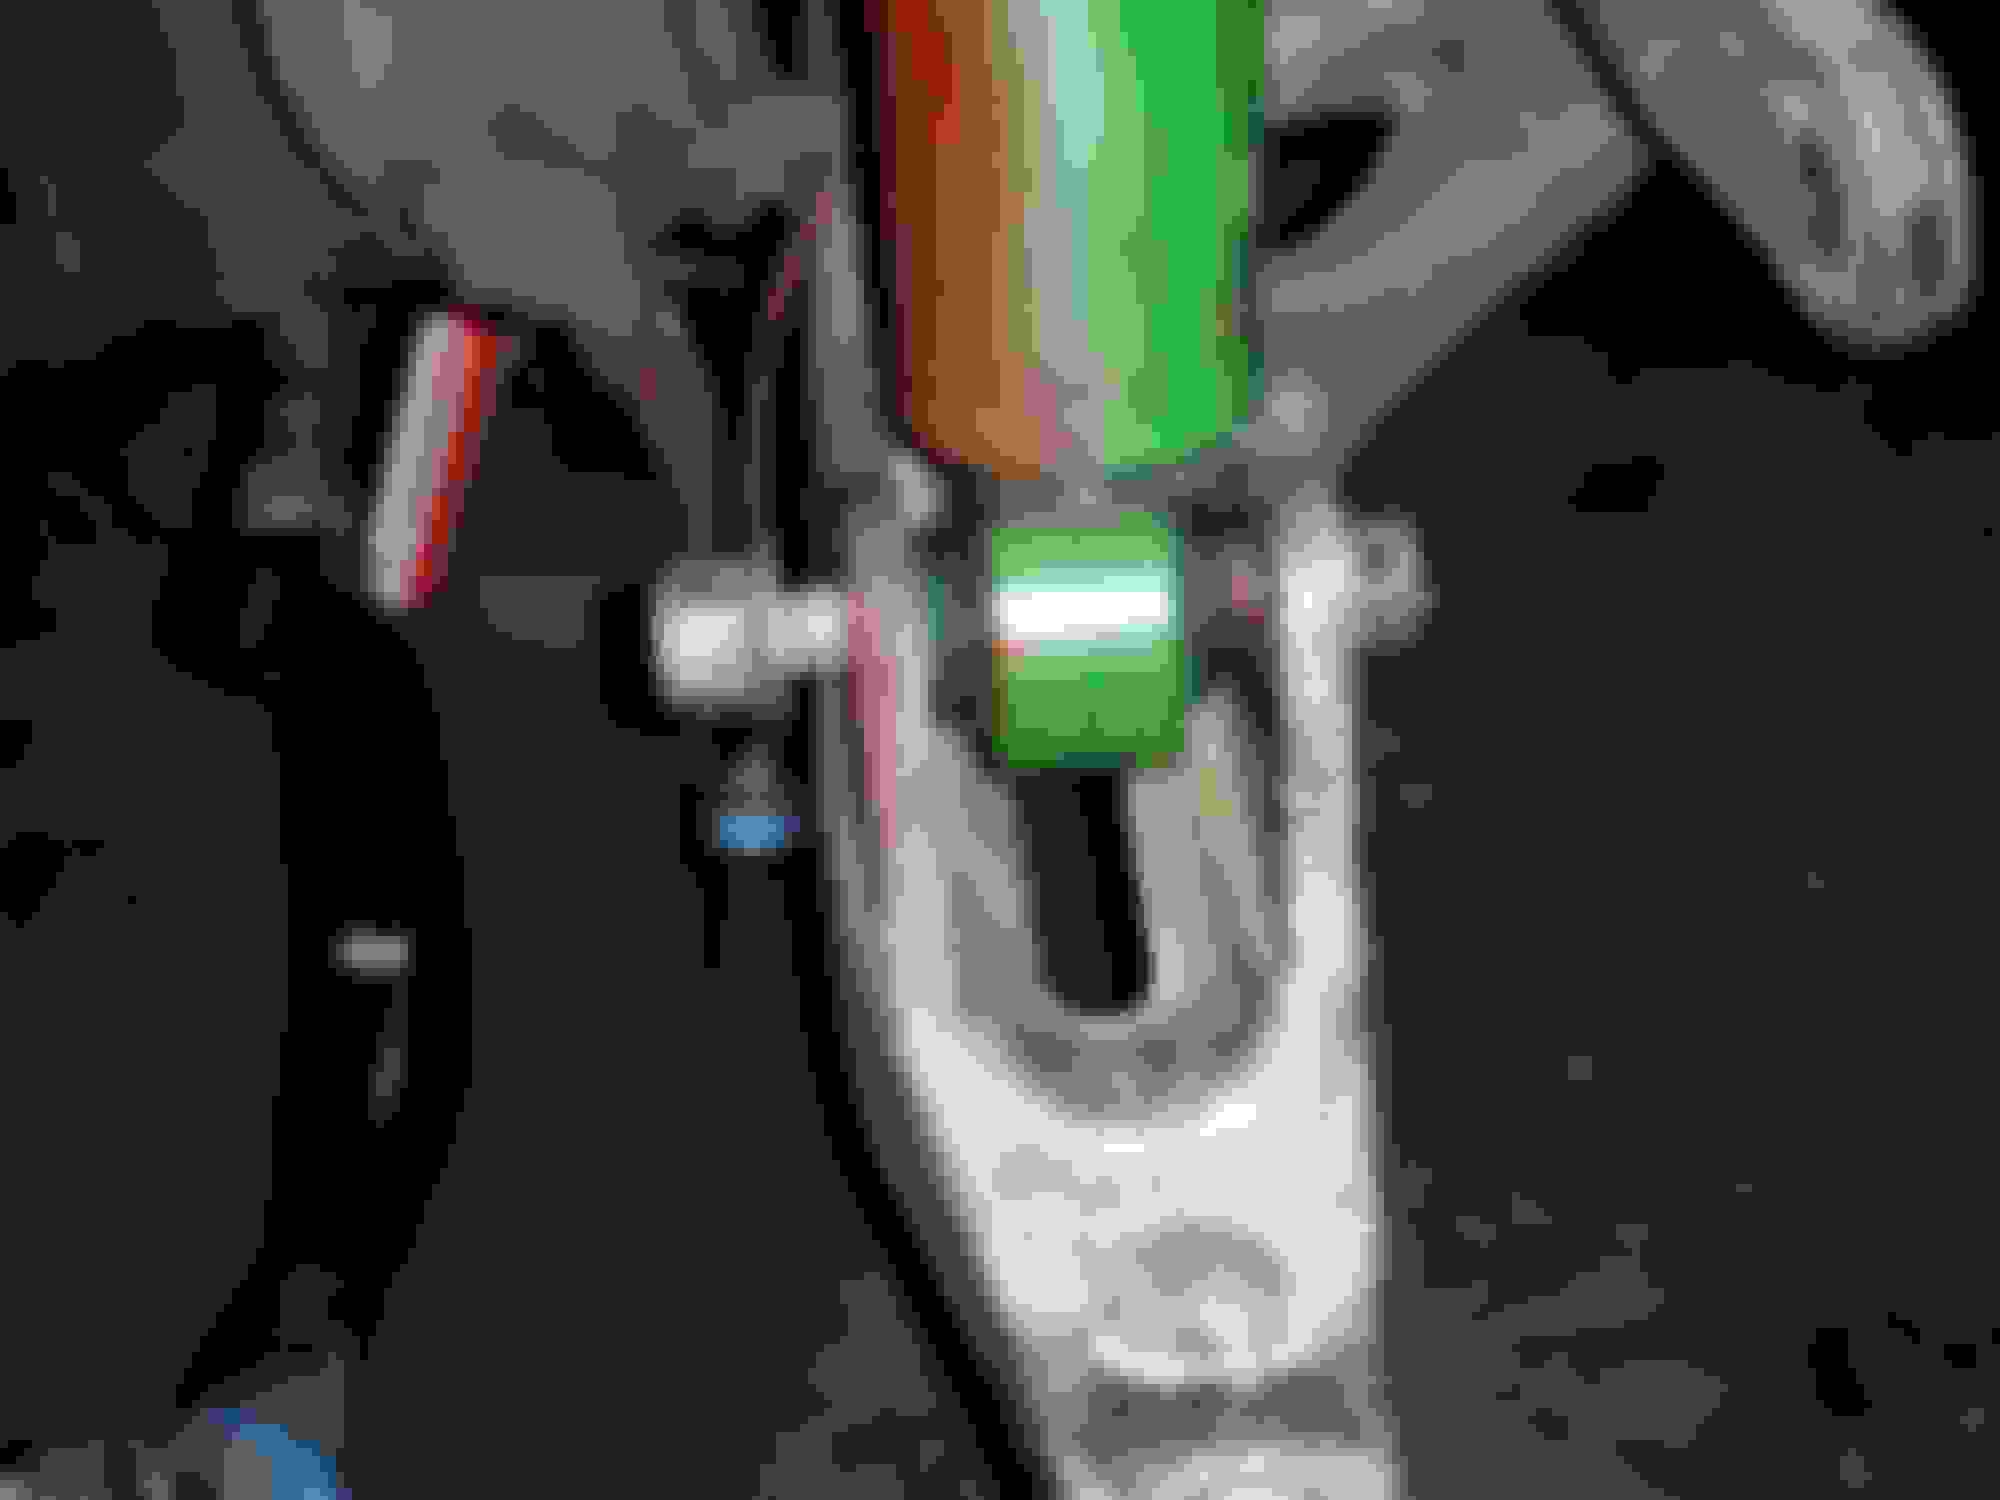
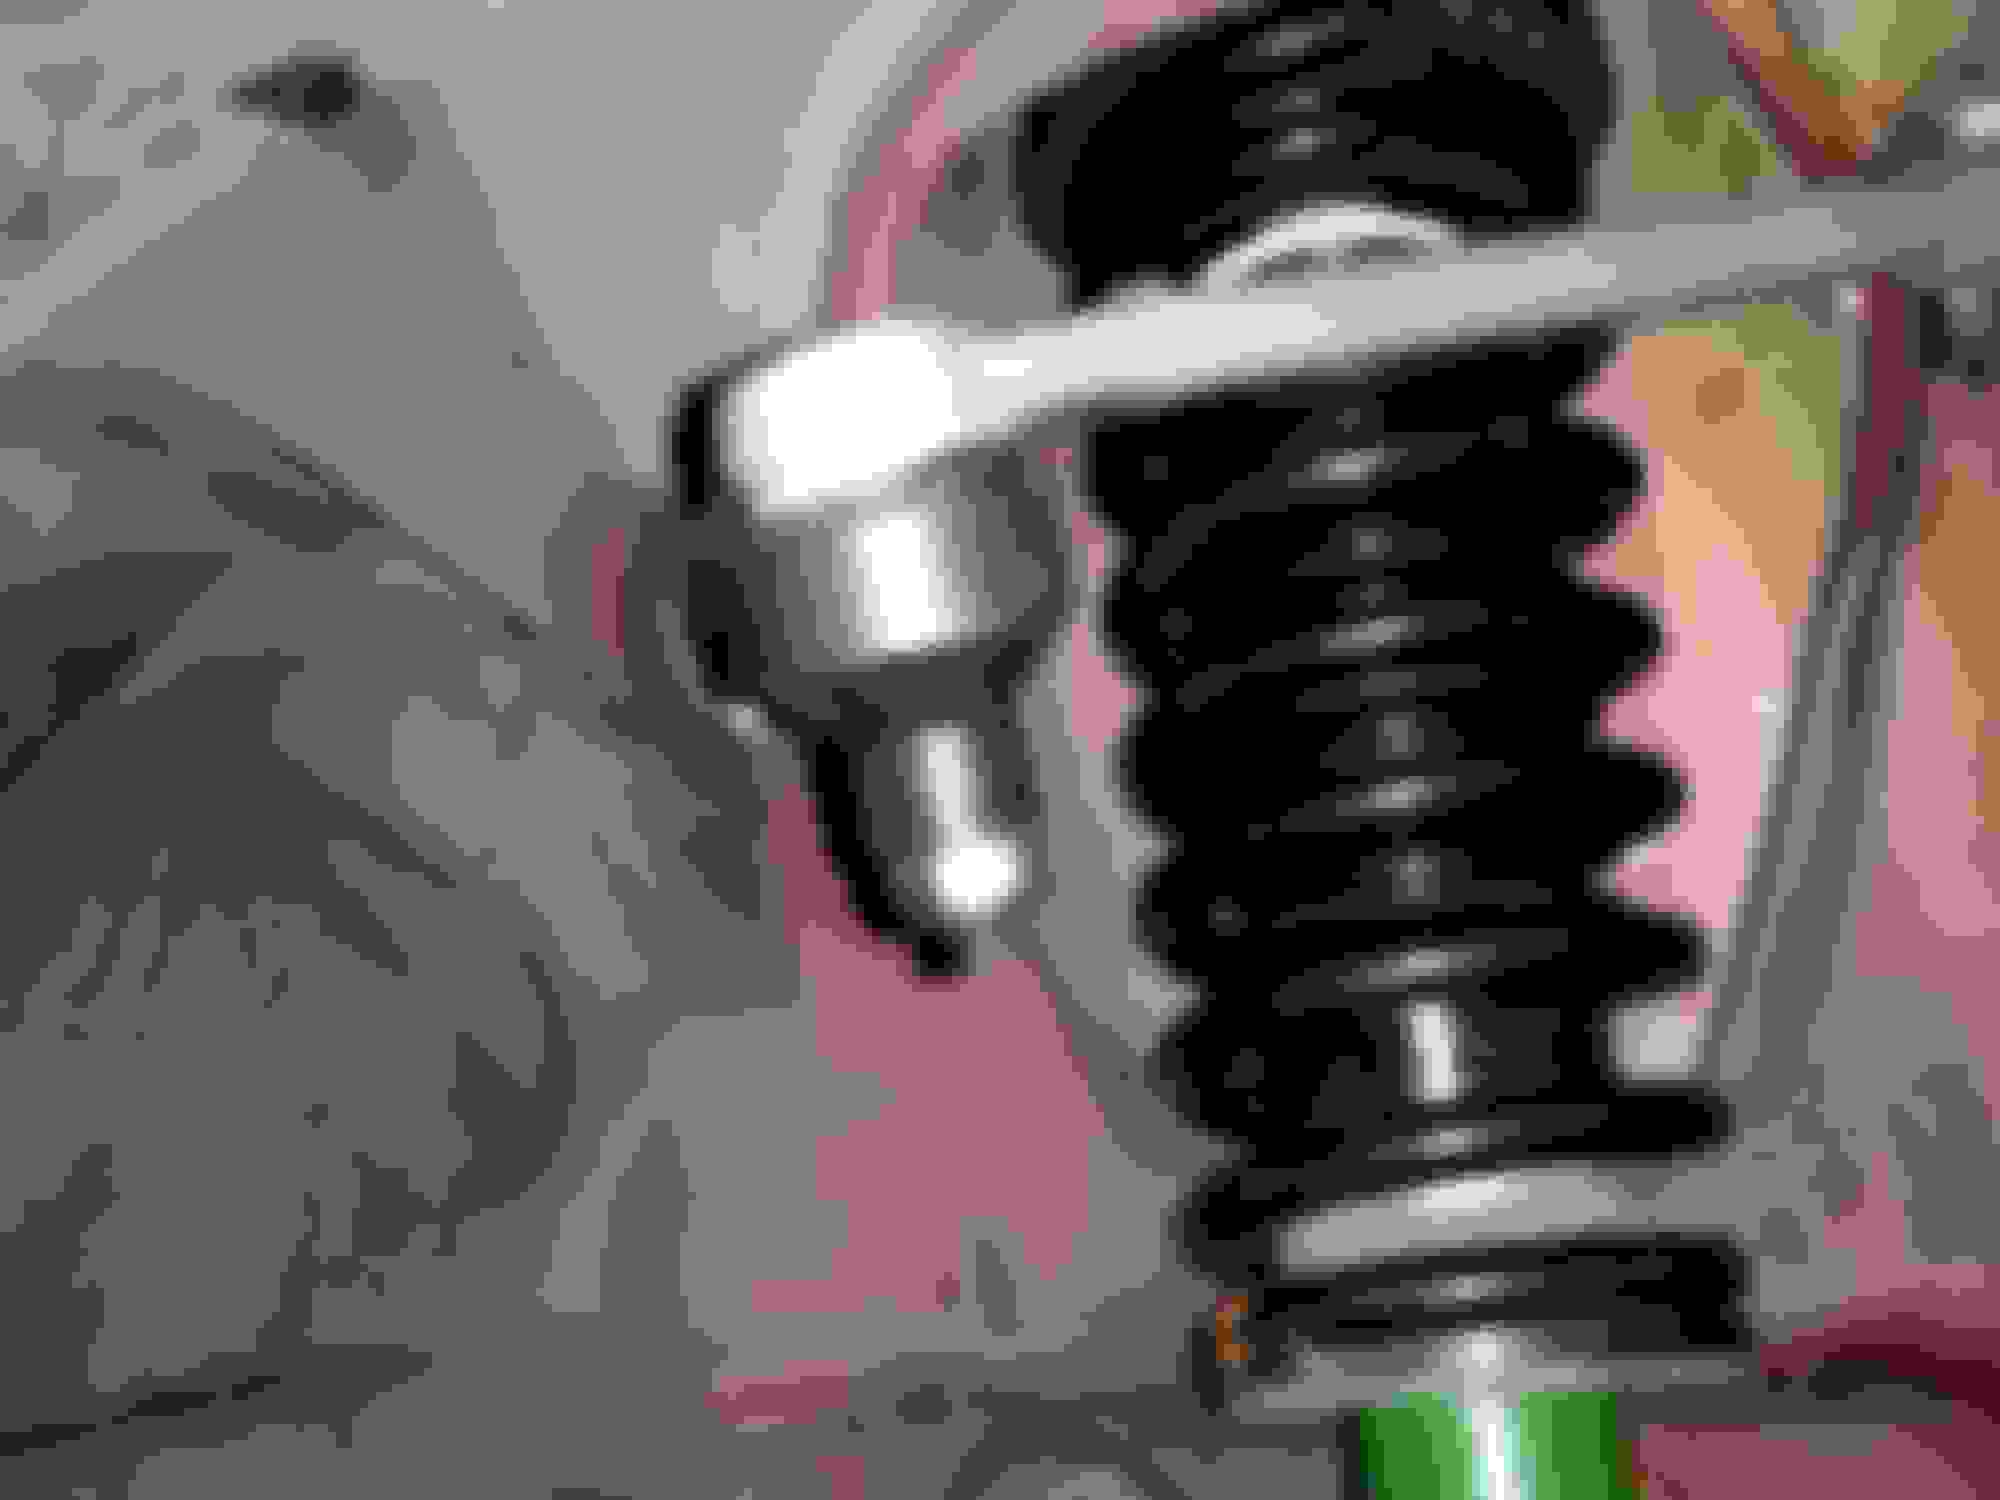
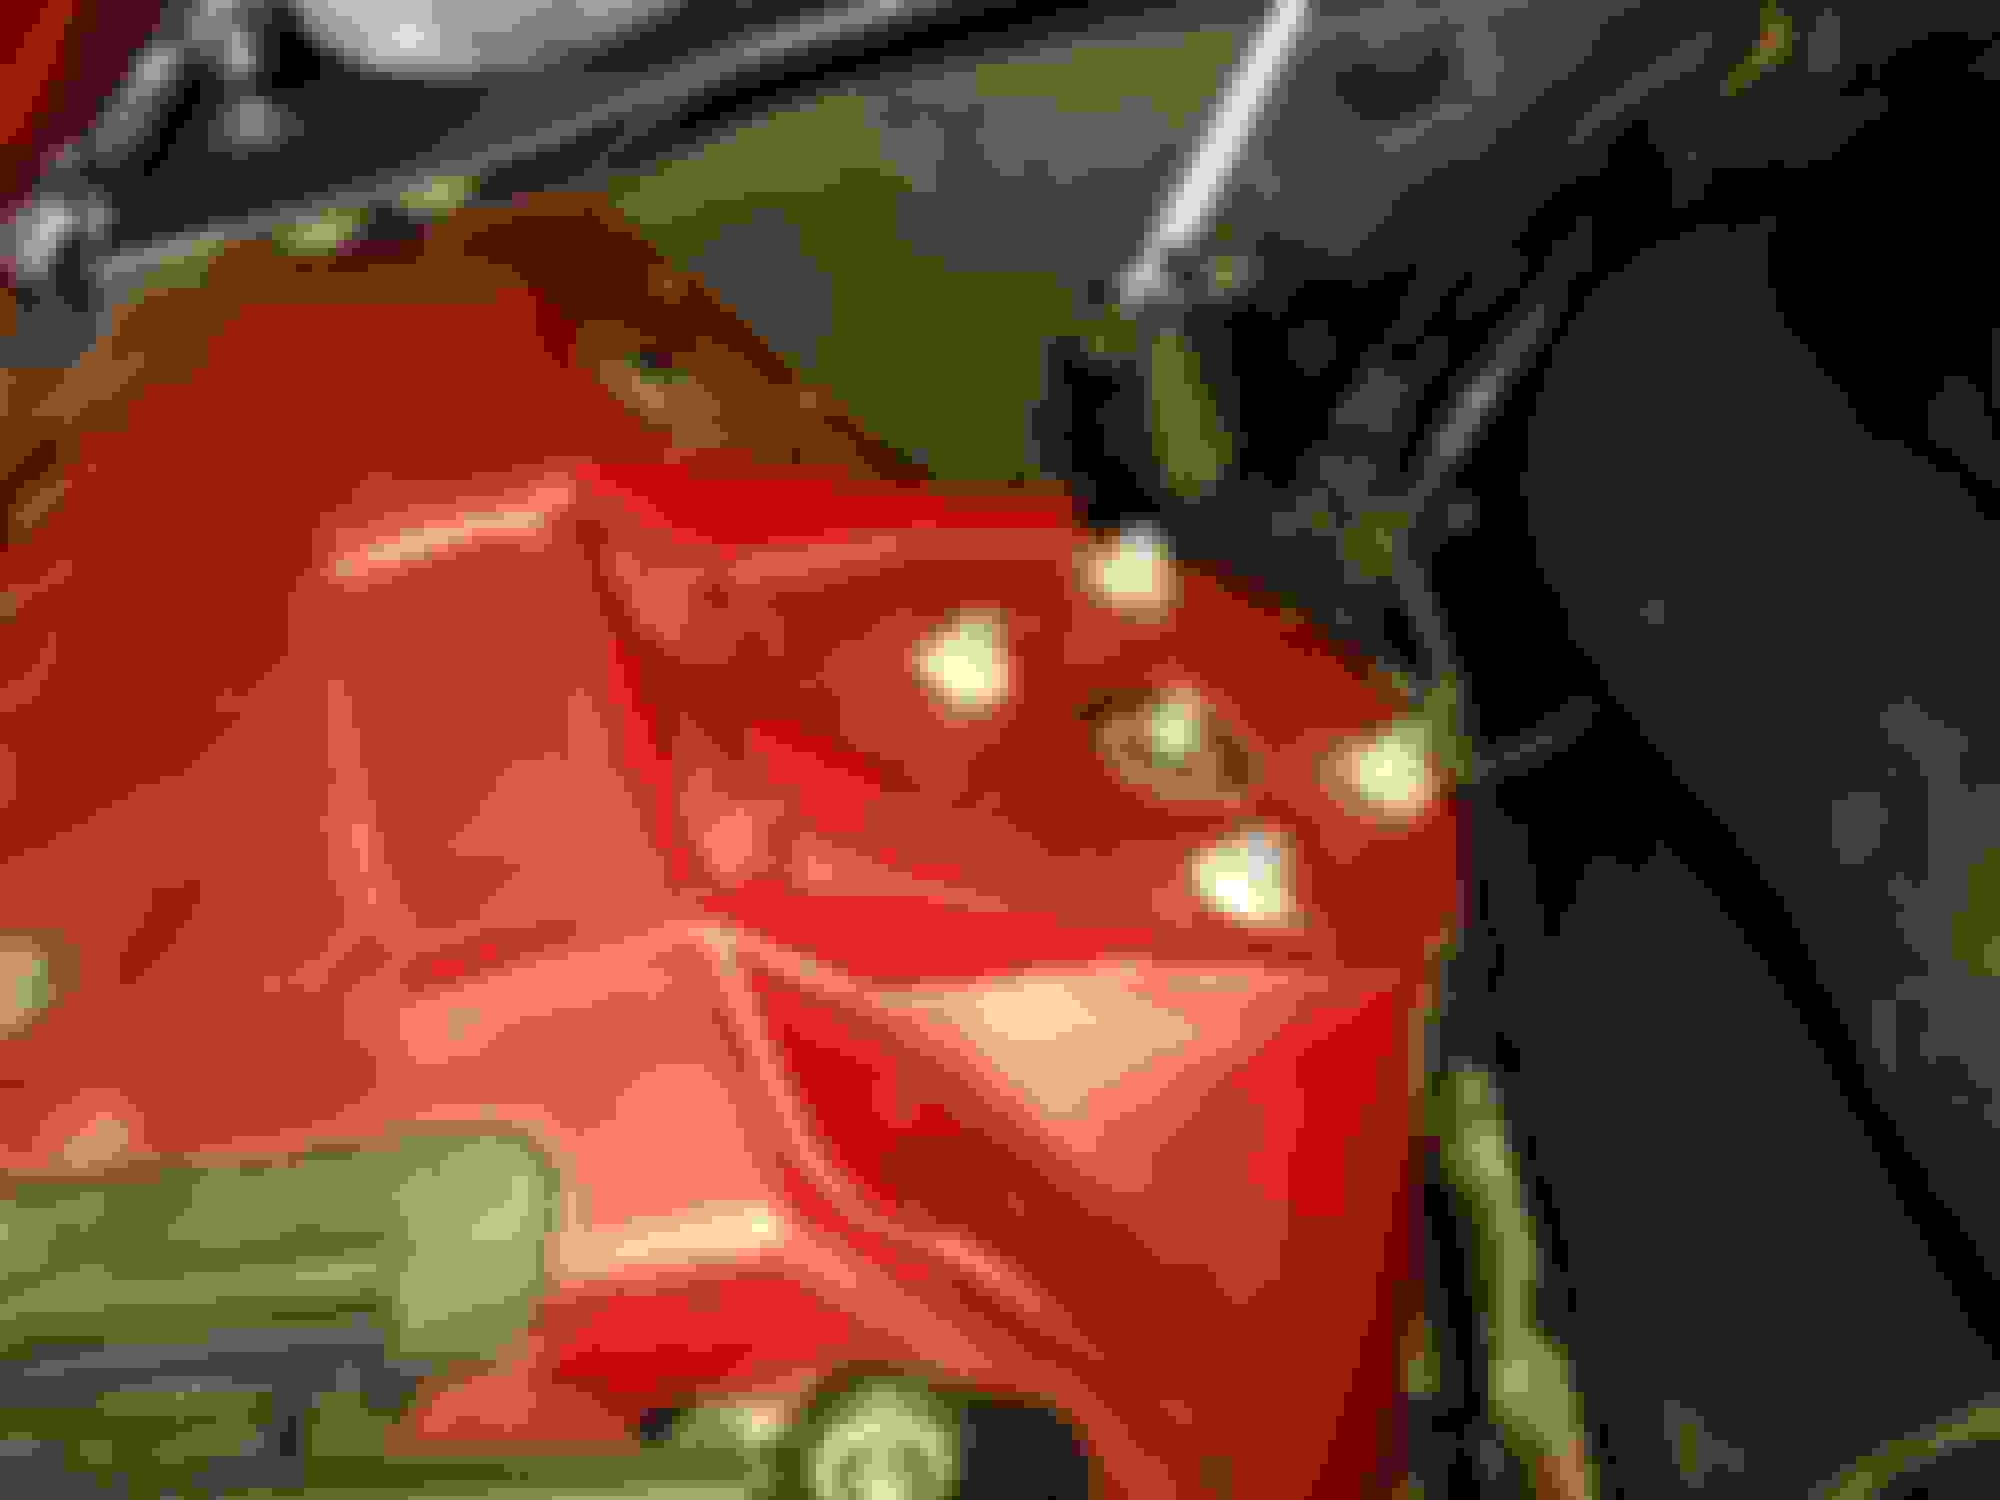
I used my compressor and installed new dust covers inside the coil springs.
This dust kit is universal and works well. Comes from O'Reilly Auto parts...$13
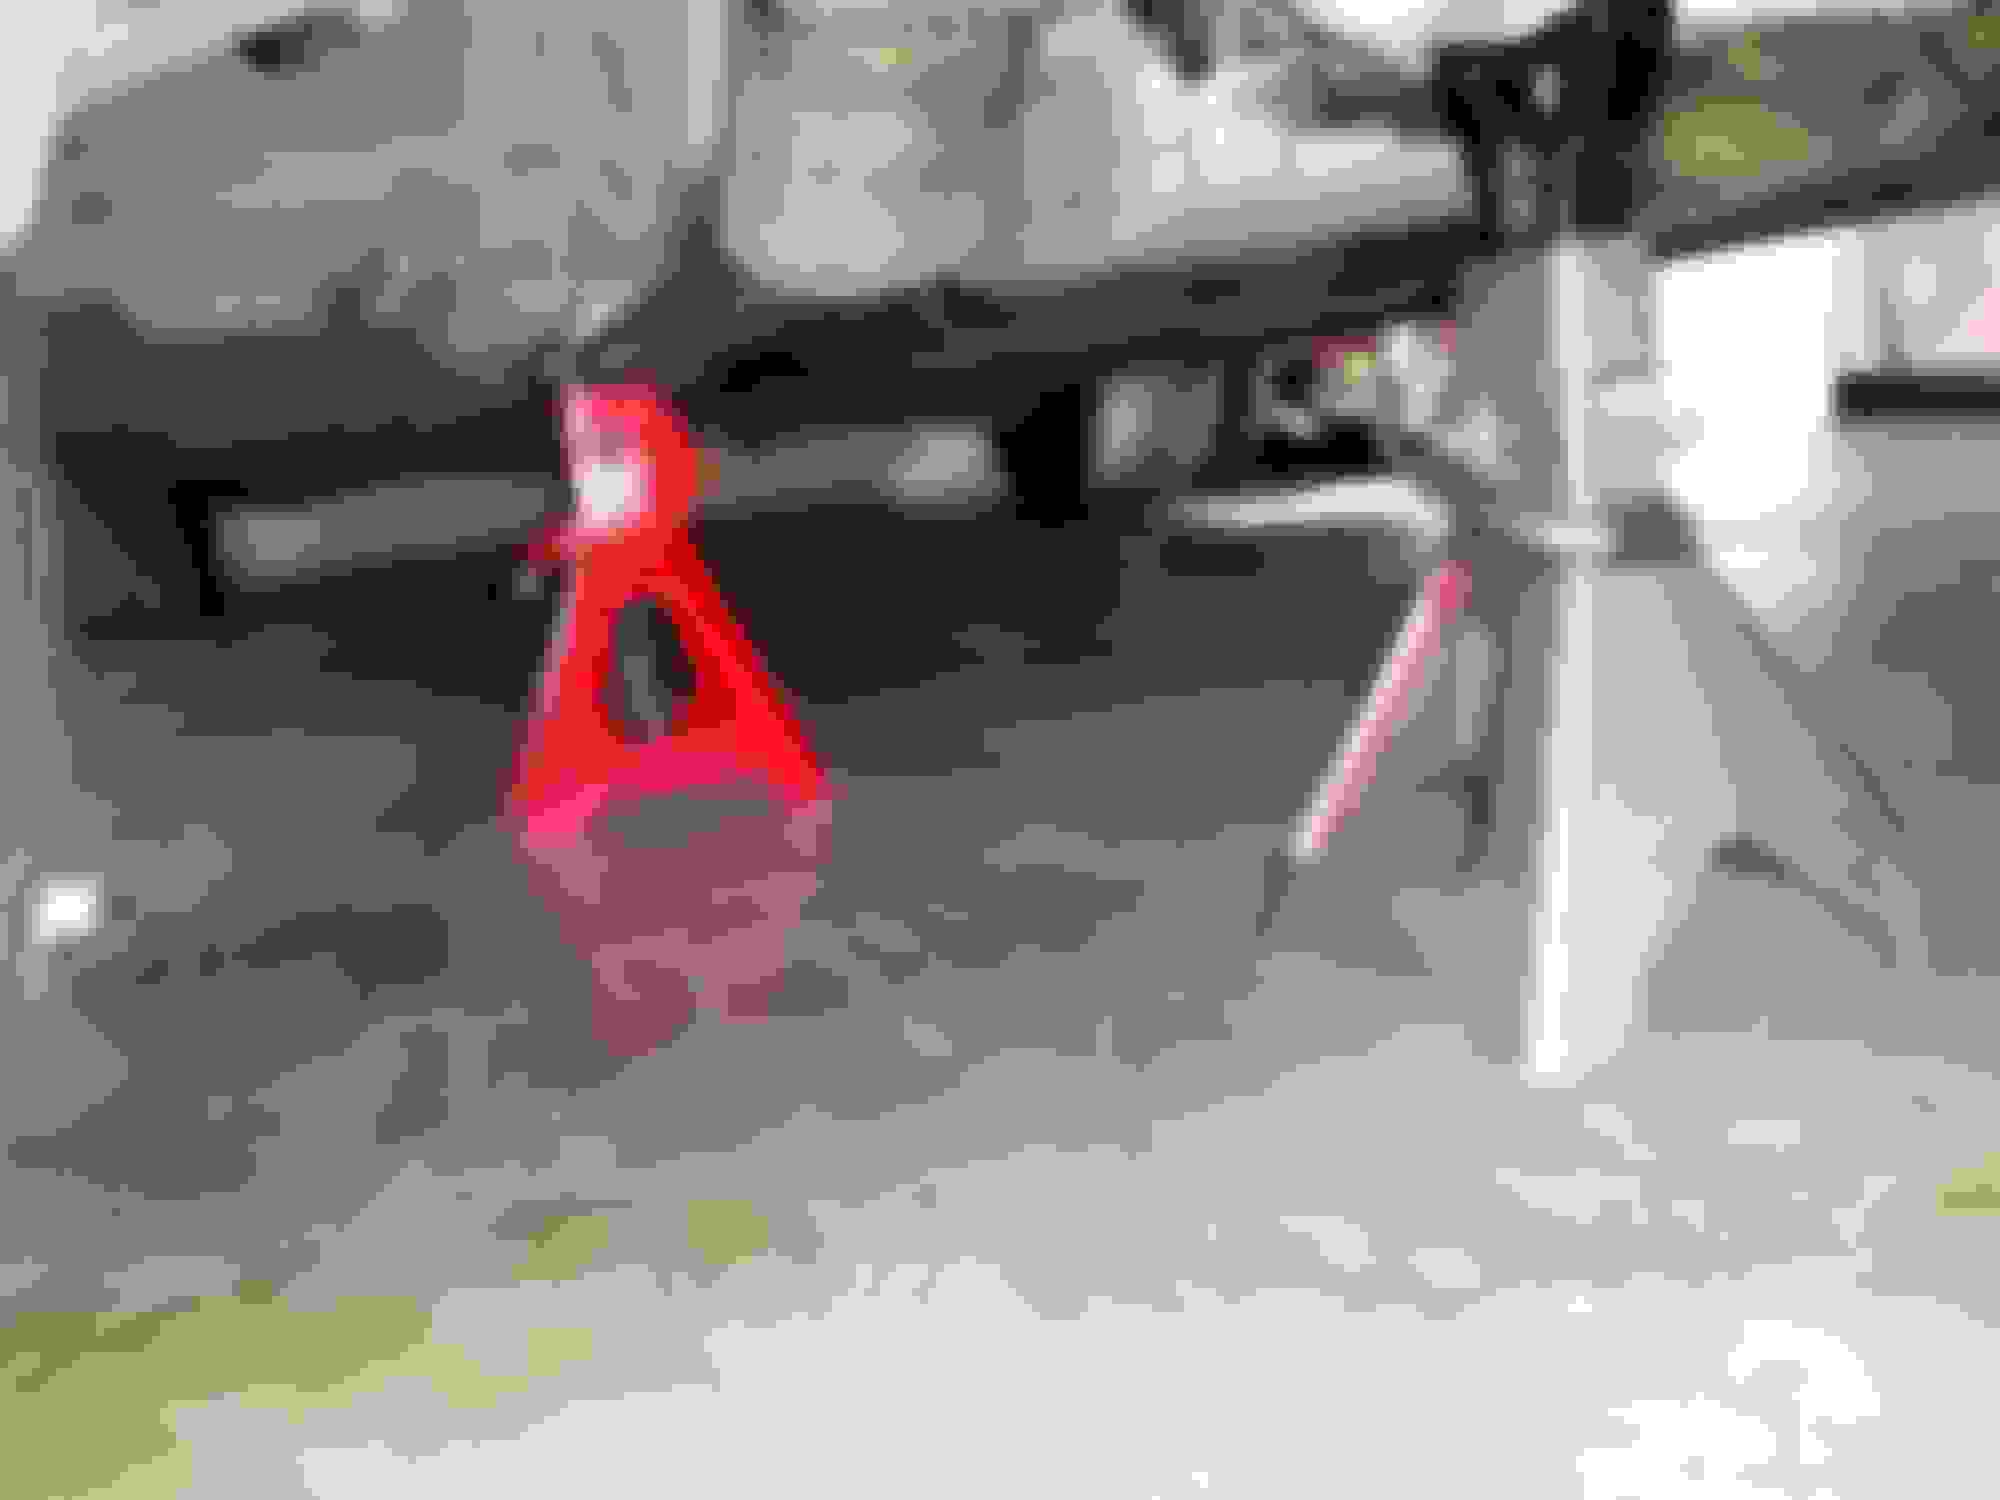
Be careful here. Access is horrible and the plastic wire connectors are very fragile. This black plate has a hidden bolt on the back side.
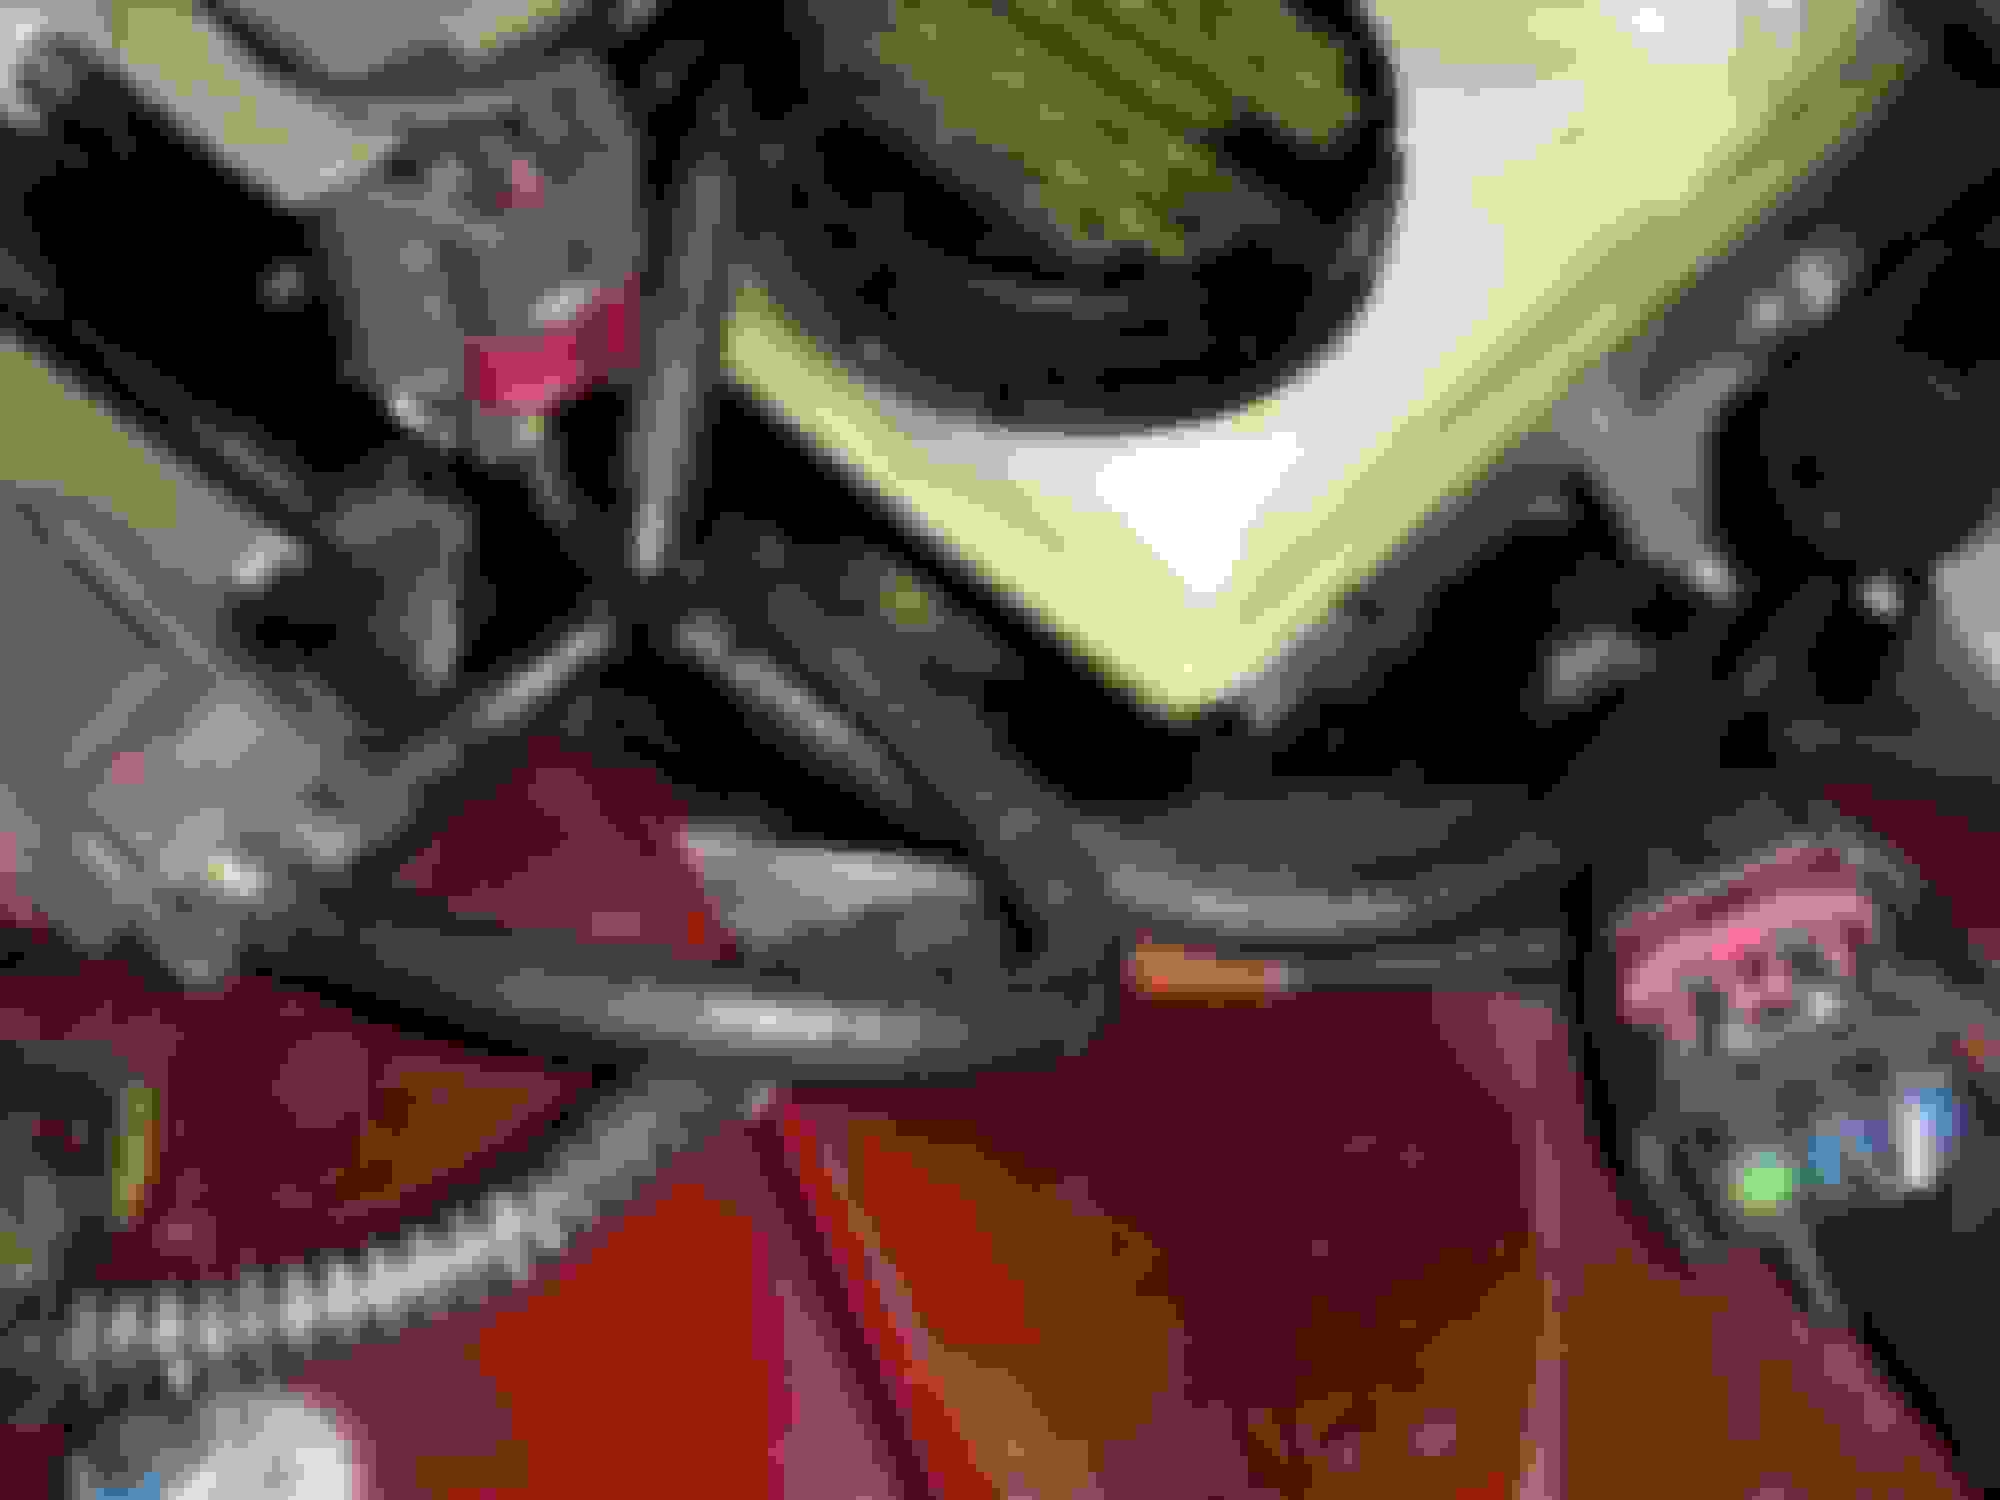
With everything moved you can reach the nut without too much injury and screaming.
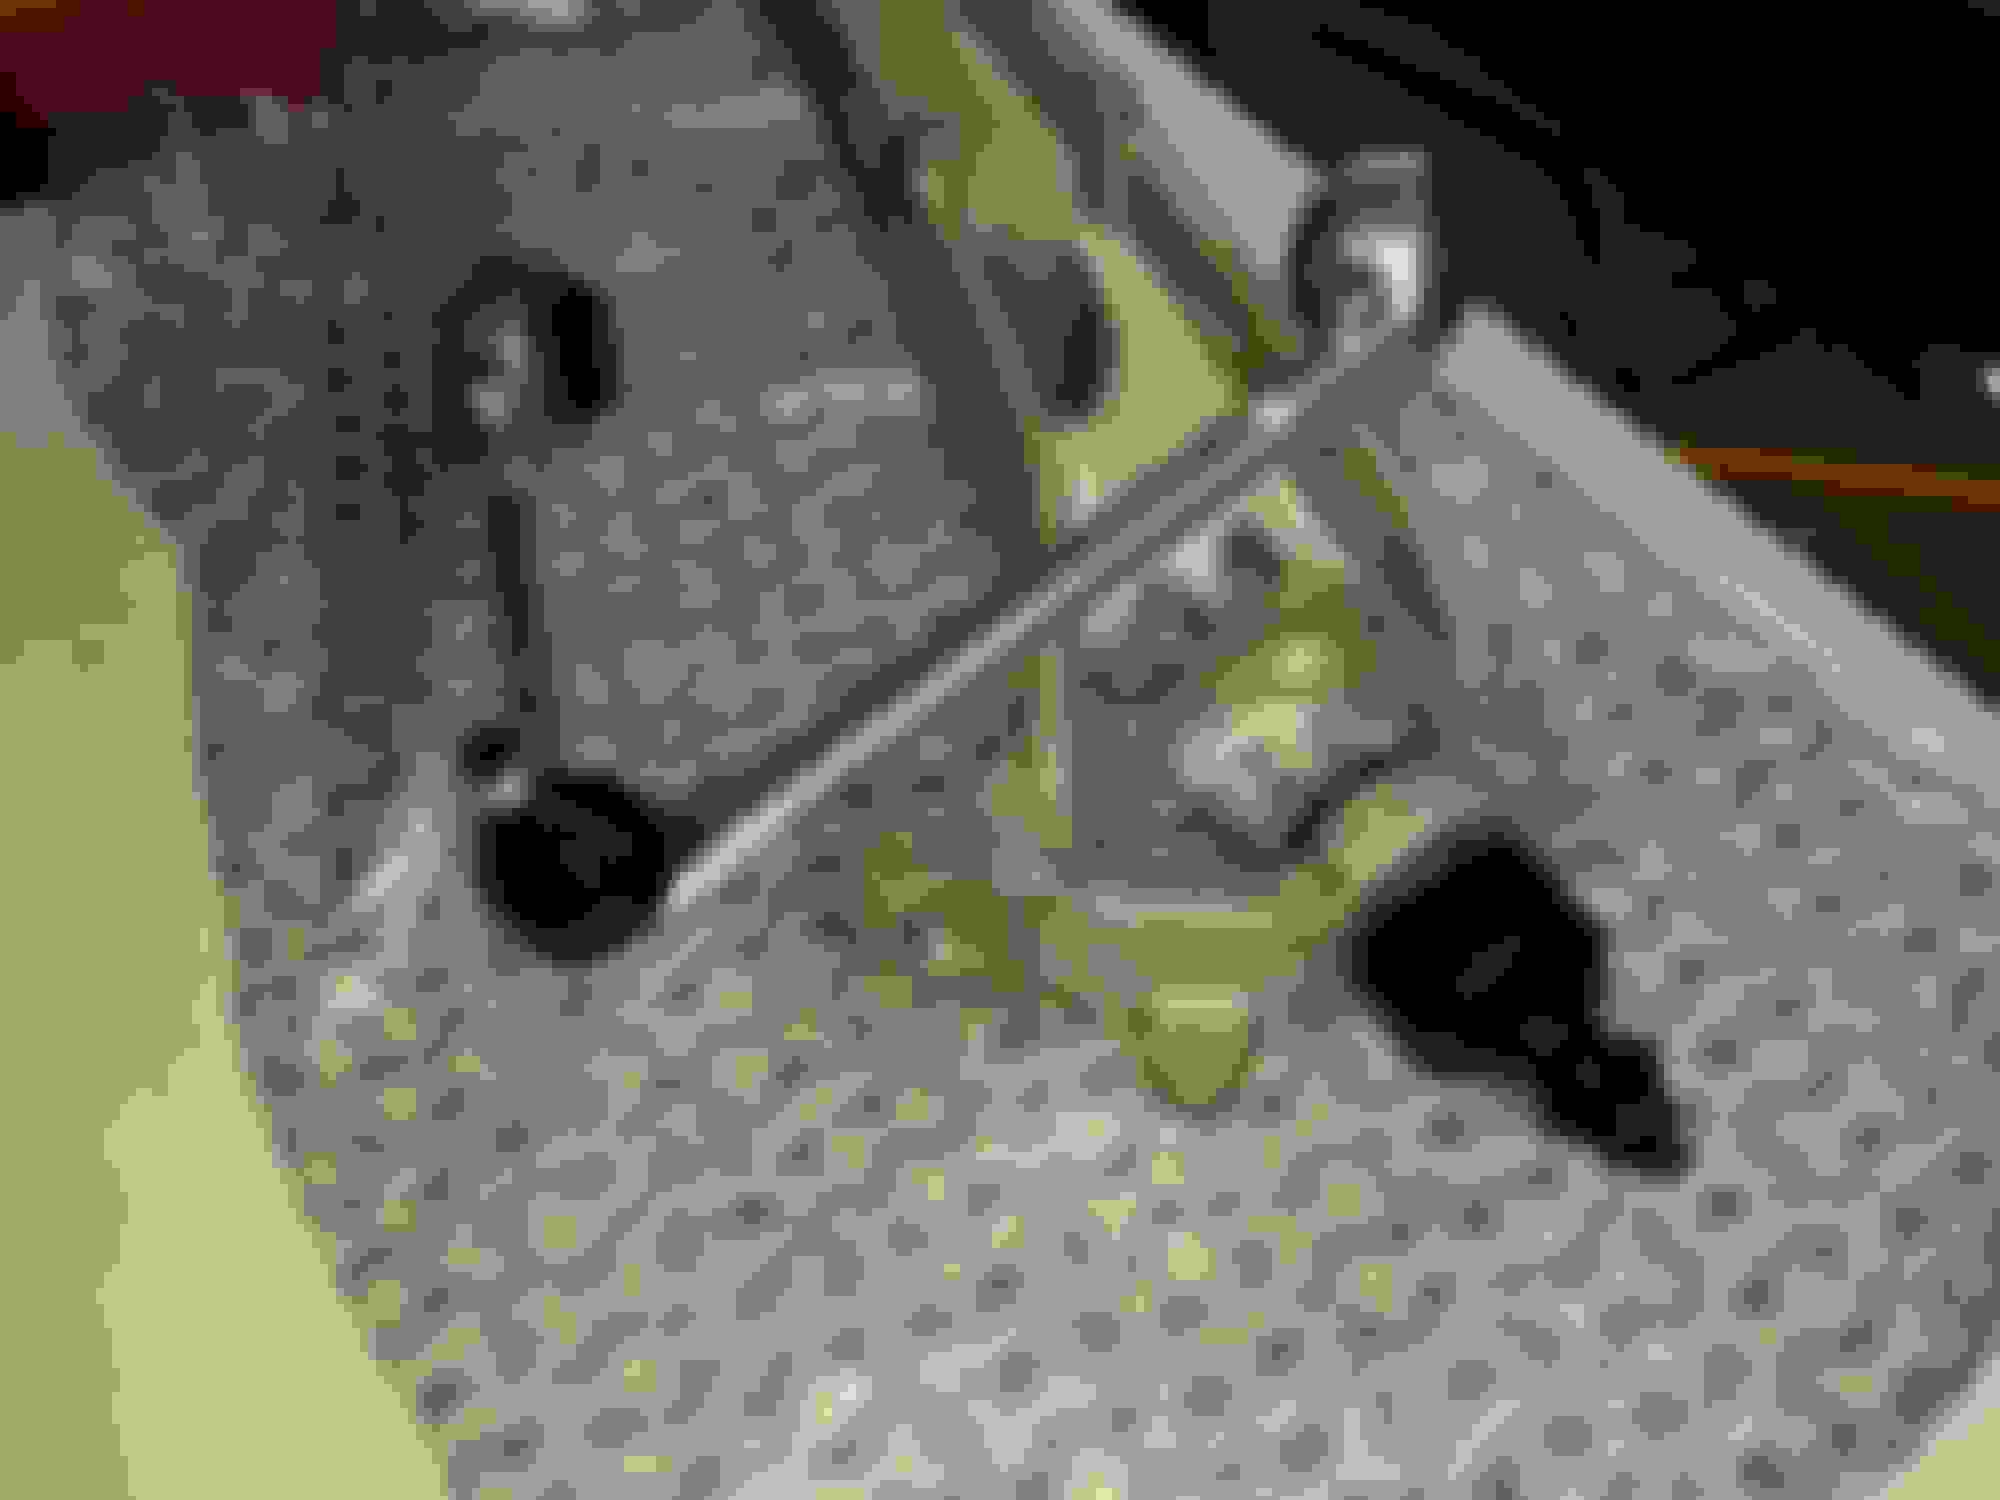
This nut will be your worst nightmare. To get to this nut makes impossible look good. I used an offset box end wrench 17mm. I went behind the brake unit and then zip tied the wrench and padded around it so it wouldn't move. On the other side I bent the bolt flange up and worked from the wheel well side. 1/4 turn at a time.
This small stabilizer link must be removed to take out the strut.
Last edited by davidladewig; 02-05-2017 at 12:39 PM.
So it looks like you replaced the vertical control arm at the same time. Is it from Mevotech? If it is you should check every now and then. My ball joint was dry that made steering a little difficult.
Looking at your photo I looked like the old hub was leaking a little did you change it as well?
So it looks like you replaced the vertical control arm at the same time. Is it from Mevotech? If it is you should check every now and then. My ball joint was dry that made steering a little difficult.
Looking at your photo I looked like the old hub was leaking a little did you change it as well?
If it was leaking, it wasn't obvious and I reused it. I'll keep an eye on the Mevotechs and the hubs. I have two new hubs ordered so if I need them, wala! I test drove the car about 20 miles yesterday and it was smooth. I've never been a fan of sealed joints.
Last edited by davidladewig; 02-05-2017 at 12:55 PM.

 02-03-2017, 09:40 PM