When you click on links to various merchants on this site and make a purchase, this can result in this site earning a commission. Affiliate programs and affiliations include, but are not limited to, the eBay Partner Network.
Touche, mon ami Mikey . . . the often sad, but still quite mad, Aussie doth lurk.
Yes; good to be among friends, though I may be a bit creeky and here and gone for some time yet. I have a couple of projects on hold that will involve input from both you and [JagV8] . . . . but they may not see action until early new year.
In the meantime, I have a sure fire plan which I am sending to Jaguar Cars, UK. Keen to get your input. In these days of laminated glass, it should be no problem to have the entire owners manuals, double sided and all, laminated into all of the Jaguar's glass areas. Can't work out how to use your keyfob? Fine. Step outside and peruse the passenger side rear window! I realize we might have a vision problem, and I don't have a fix for the poor soul who, having opened a window to peer out, now can't find the instructions for how to raise the window again. But, it solves 2 major problems . . . "car didn't come with any manuals" . . . or the really neat "I can't be bothered reading them".
Of course, the finishing touch would be to stop painting new Jaguars . . . just lay a montage of tastefully arranged JTIS pages all over the bodywork and seal with clear polycarbonate lacquer. Imagine a boot/trunk tastefully decorated with a full set of Wiring Diagrams unique to each vehicle. Imagine the throngs of people gathered around such a car in the local supermarket car park . . . all oohing and aahing at the proud owner, who delivers kerbside lectures in basic electronics to the assembled masses. Yep; I can see Jaguar Cars P/L snapping up this one in a flash! Then the three of us could go fishin'.
Oooooh; me knees are going rubbery and eyes misting over just at the joy of it. Folks could solve problems before they even enter the vehicle to find if they have any. Our gurus like [JagV8], Rick, Gus and many, many more might have to find a hobby (shock, horror) instead of patiently repeating "It's all in JTIS. You can download it here. It's free. Read it and then ask questions".
Gotta go practice my "Bah, Humbug" routine.
Take care, both of you,
My HID ballast gone both, one by one , by the time in about 130000 km or 10 years.
So was an opportunity ( sorry for my english) for me to change them and since i have the front bumper out , to change the round oem fog lights with new ones from Adamesh ( OSRAM Ledriving foglights).
Those lights have very interesting specs, cause there are in the same time fog lights , dlr lights and have turn light assistan, with led bulbs.
The new ligths are the same diametr with the old ( 90mm) , but the screews are not in the same place , so need custom fitting and work with the electric wires in front of the car.
I have some pics for everybody is interesting to fitt them in the s-types with oem round fog lights.
My car was like this before.
We have to start first with the plastic cover over the headlights
Then with the help of a friend and the heandlights open , push the windscreen cleaner to work and catch the
headlights cleaner axle ( not the cover you will brake it ).
Next step is to unsrew all the screw from the front cover in the bottom of the engine including and the two in the wheelarch sides of the car.
After that there is a bolt behind of the headlight, this with the arrow in both sides 10 mm.
A good way to not loose the bolt ,is to put a small piece of paper inside the tool.
There are two more bolts one per side 10 mm behind the wheelarch were the arrow shows
Follow the pics with these bolts.
This is if you want to work with the headlights.
You can take out the bumper now after the disconnection of the power wires for the fog ligths.
Now the DLR.
like this , is the fog lights from behind.
We have t
o take them out.
Inclounding the plastic support.
Cut the plastic almost in the midle , were the 90 mm are fitting inside.
Now fitt them to the bumper.
When you connect them to the power , must look like this.
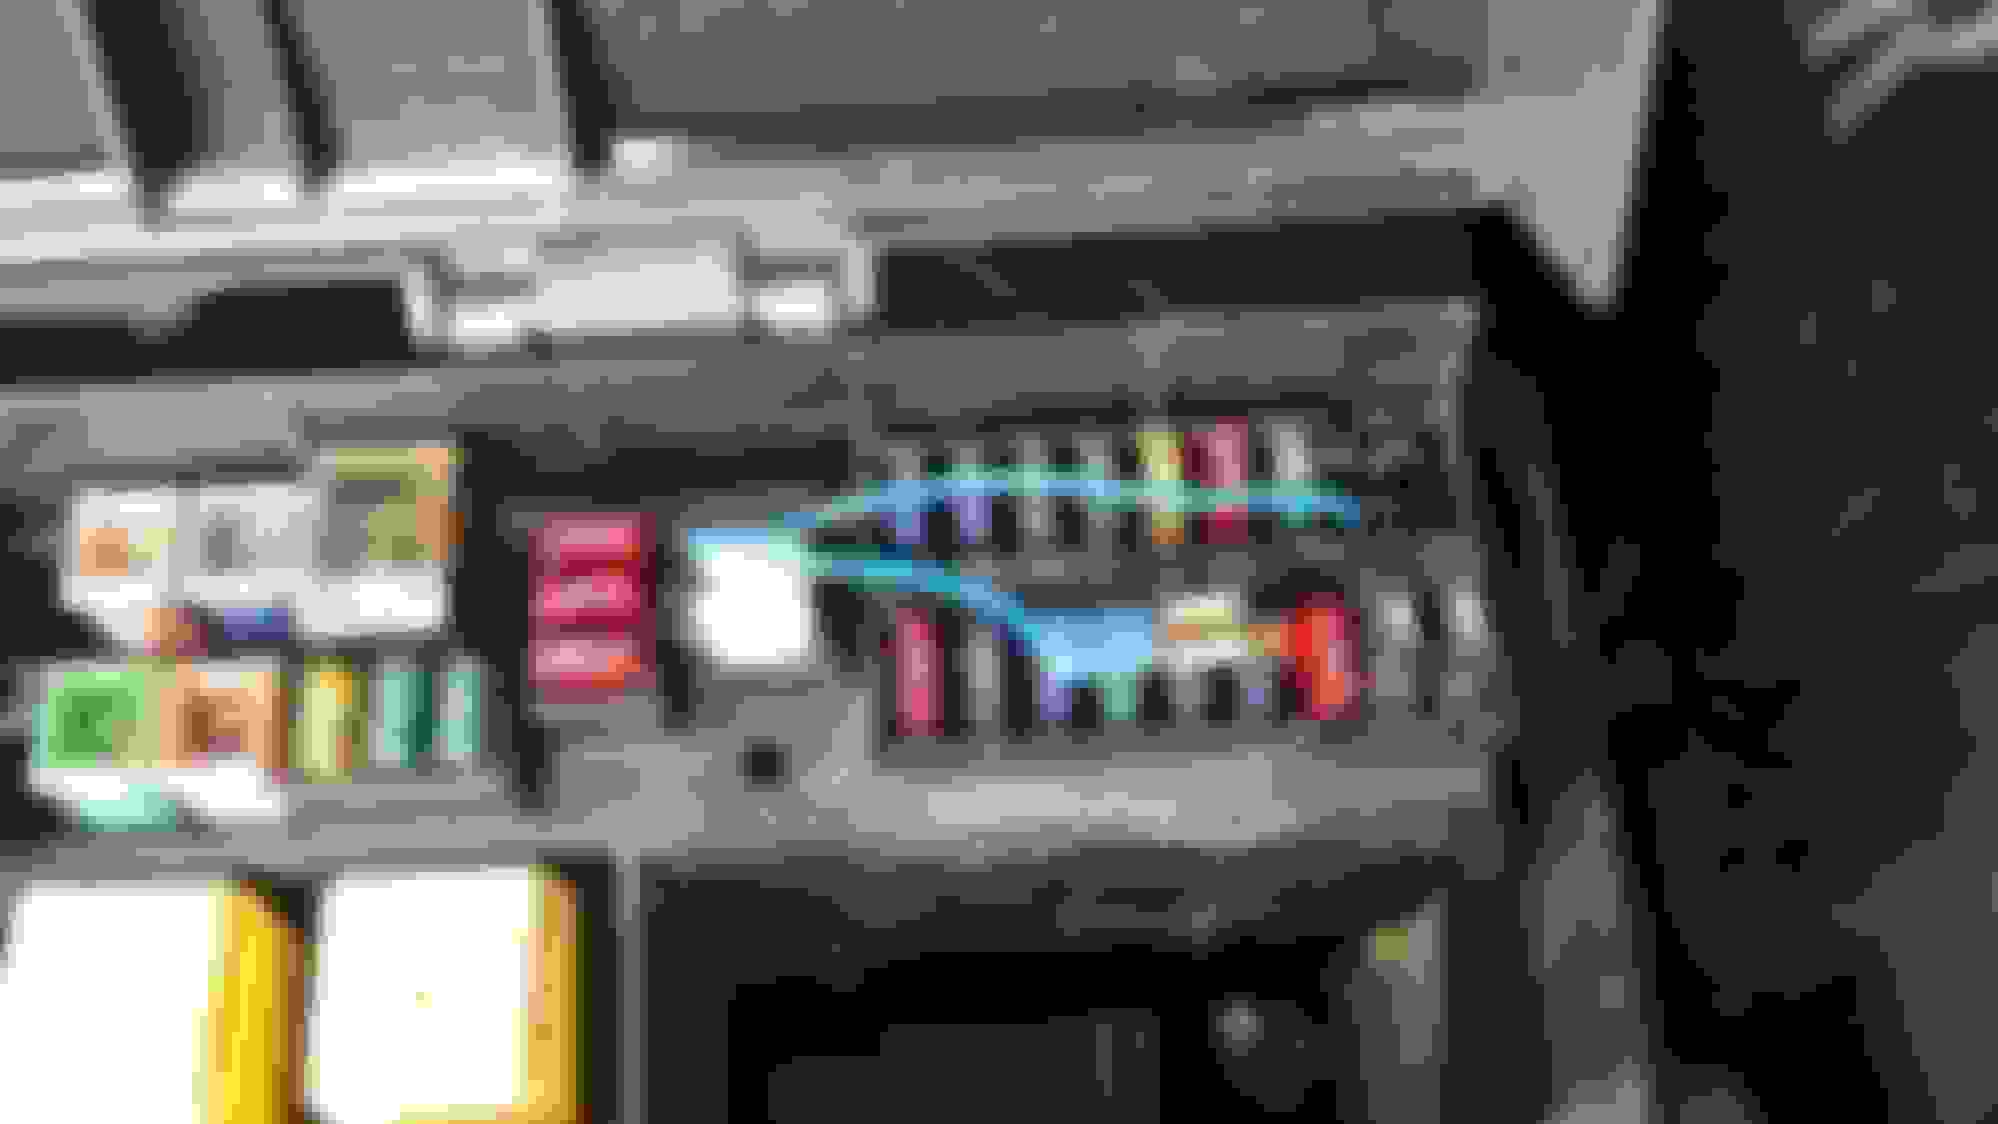
In the car, i put the wires from the set, under the front fuse box, andi found a place for the 10A fuse in the fuse box
The ingnition power 12v is coming from fuse nr. 38.
And the ground in the chasiss.
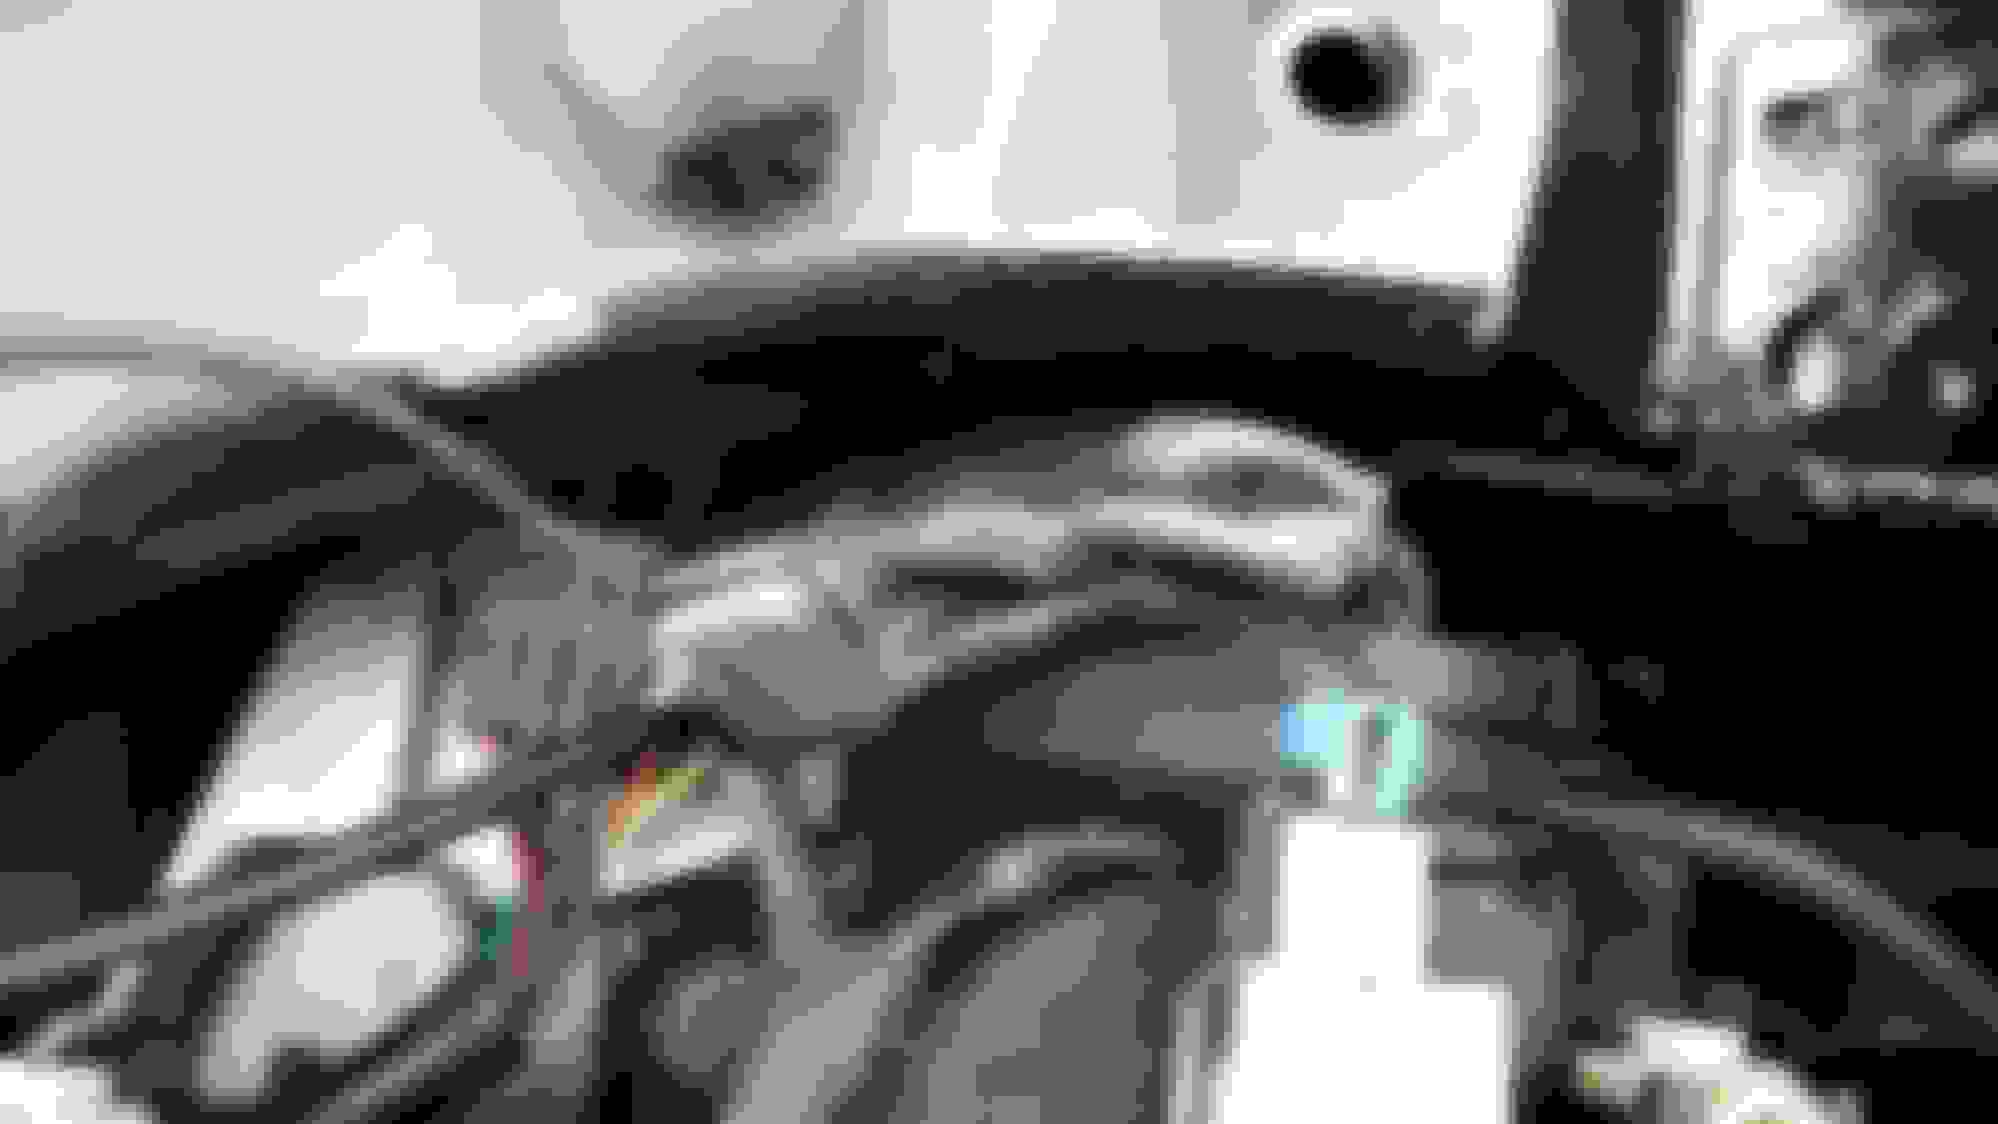
For the turn light assistant you will need 3 coils to take power from the left turn light , right turn light and city light.
This is the way you have to connect them.
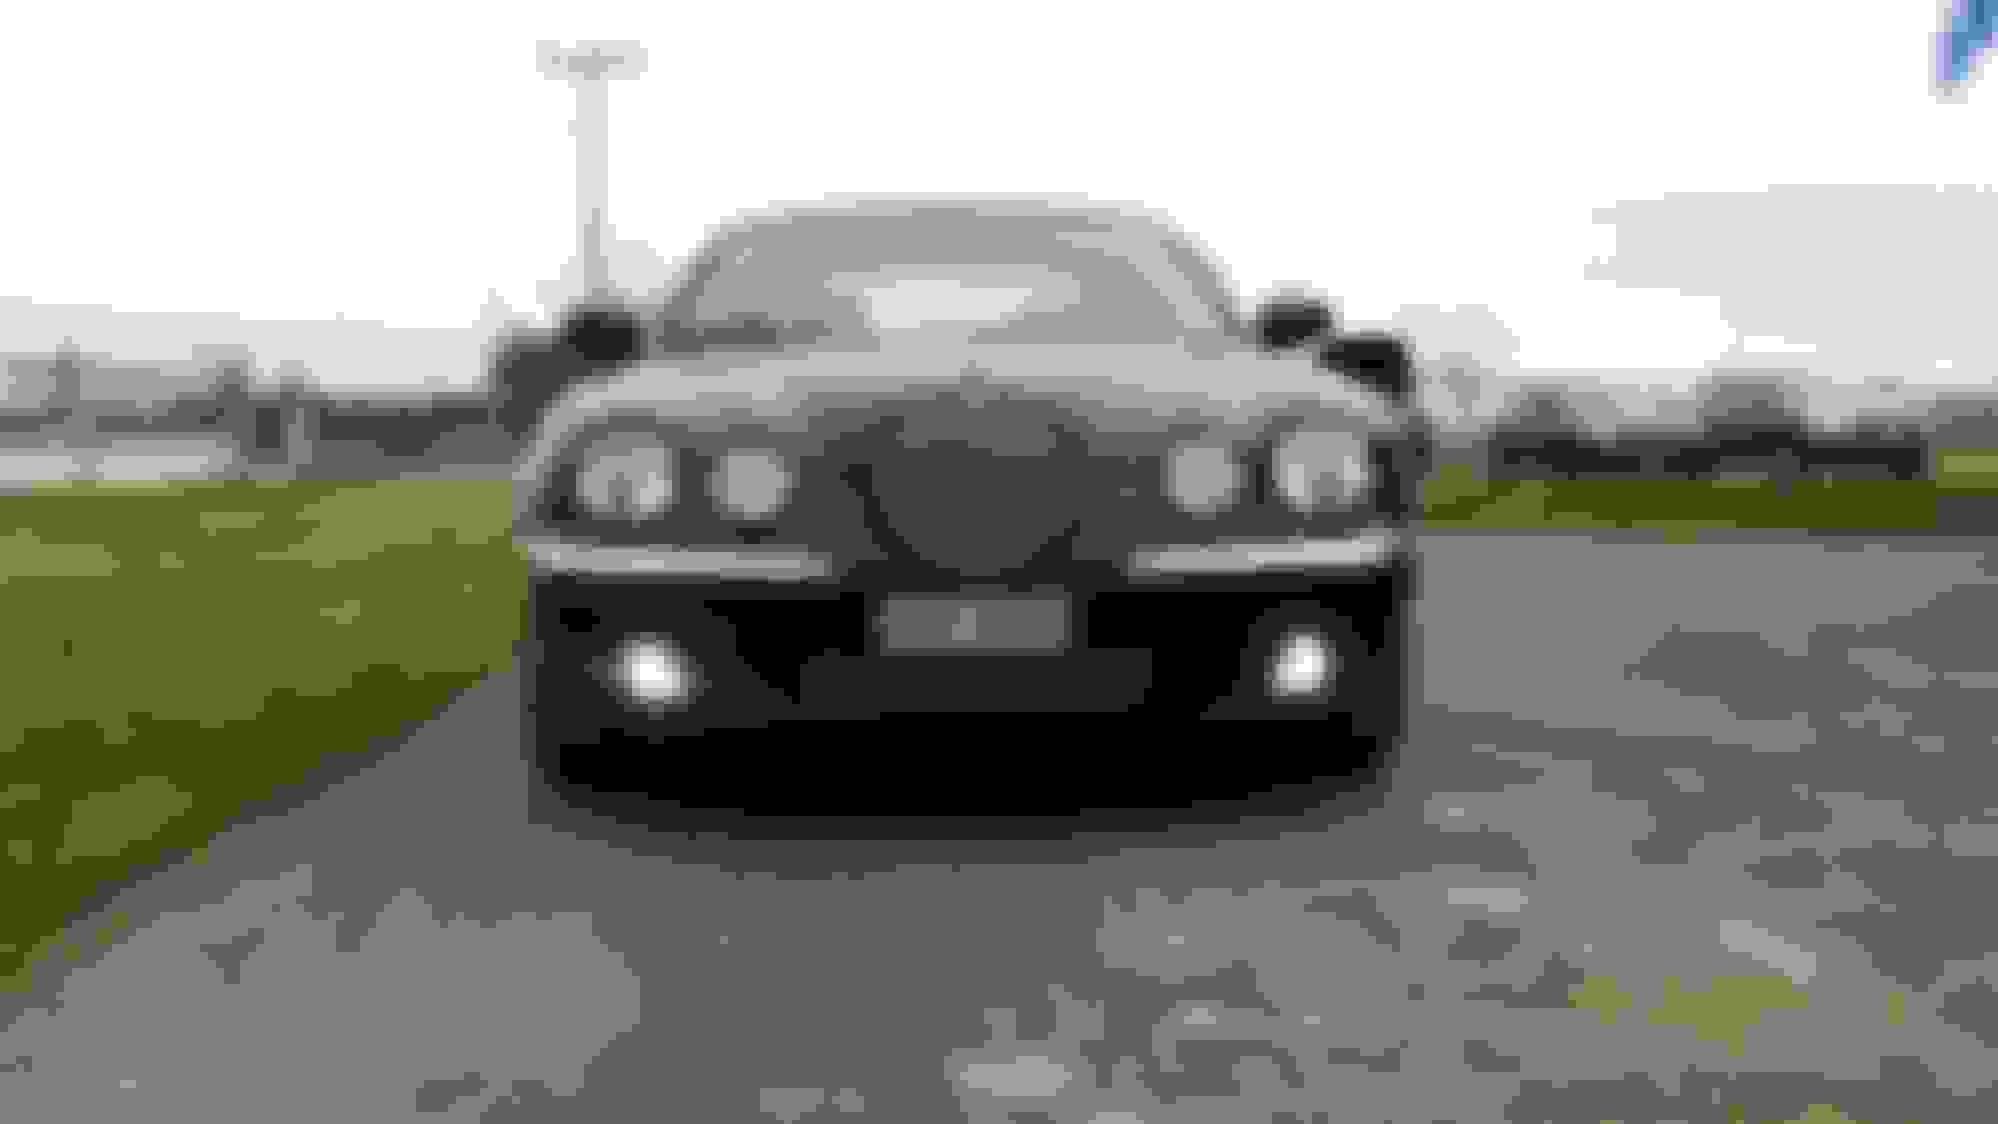
This is how is l
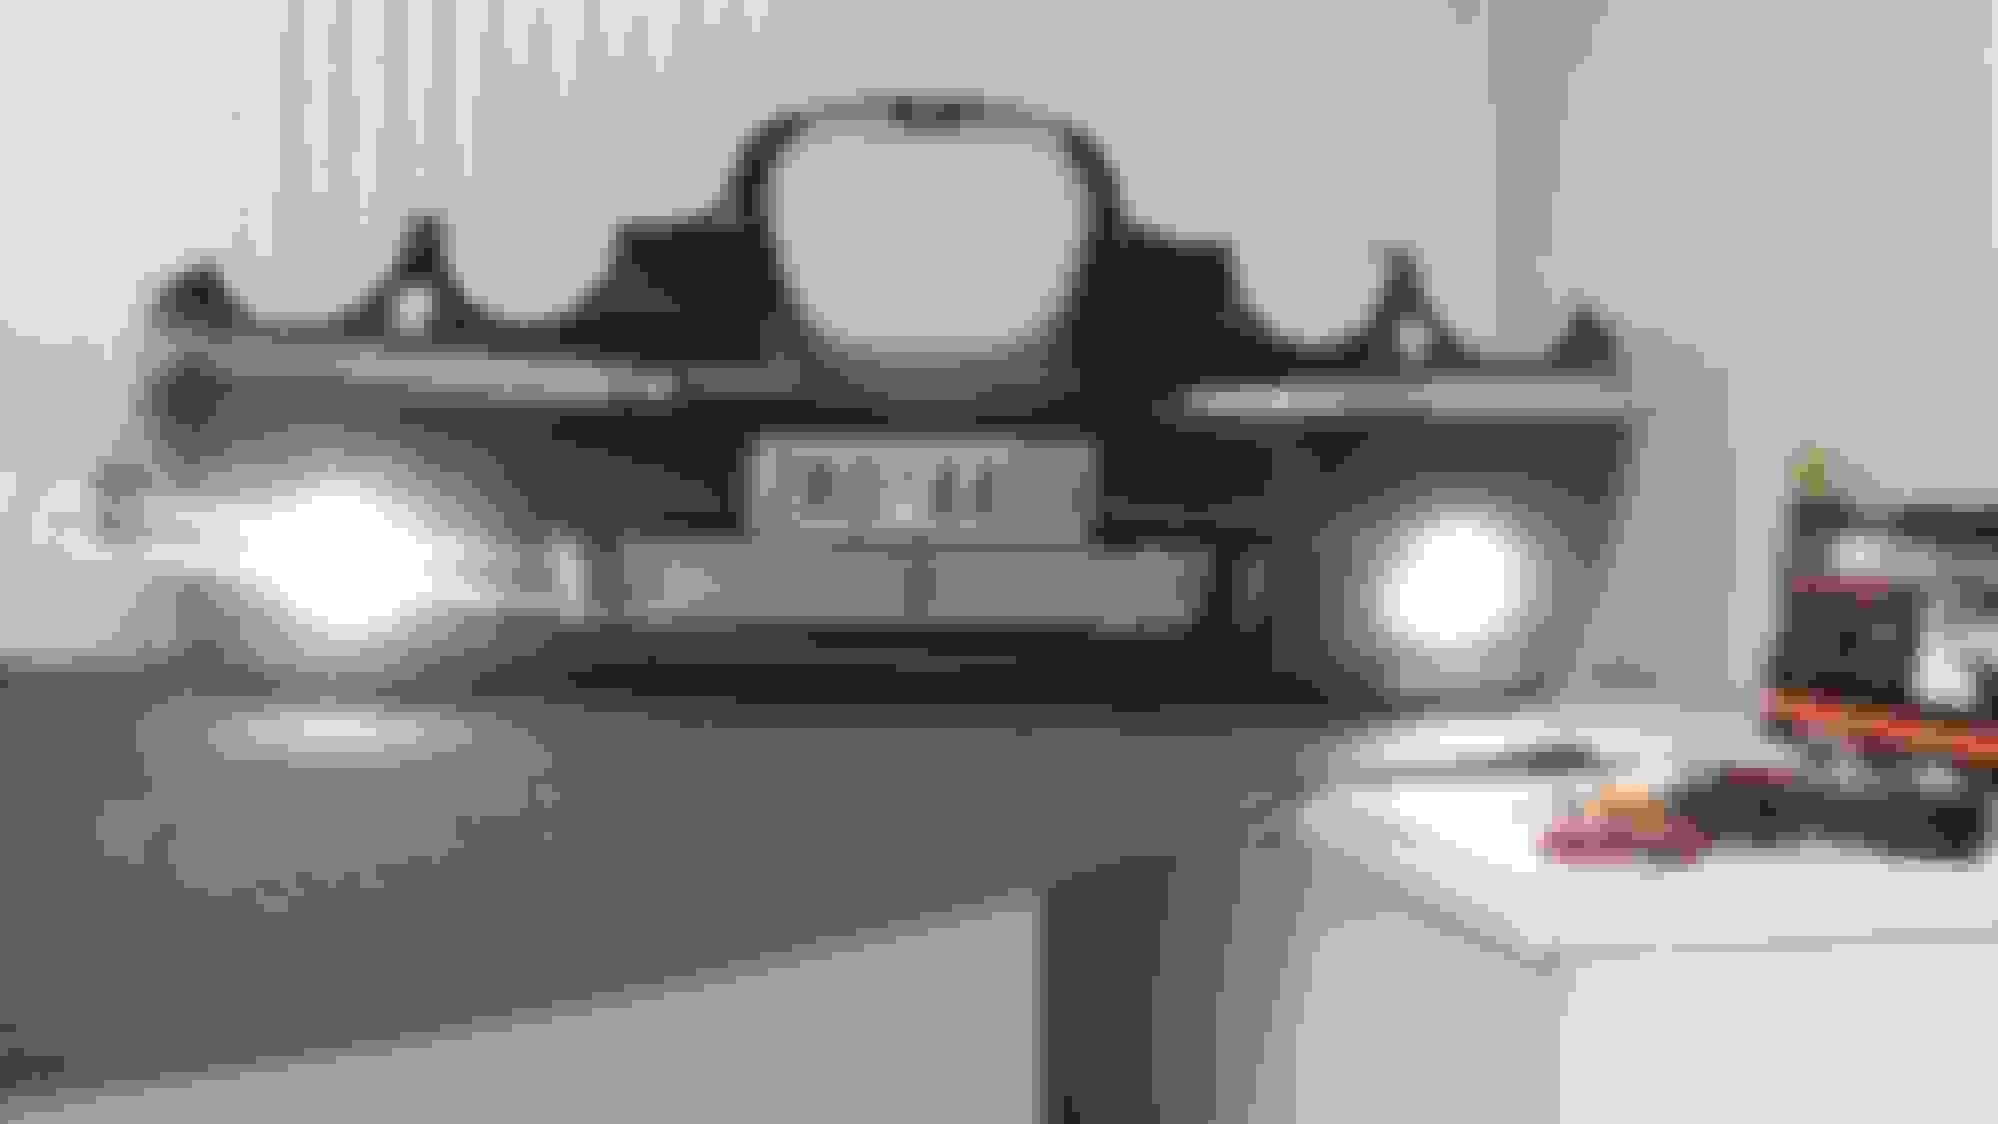
ooking the car with the dlrs.
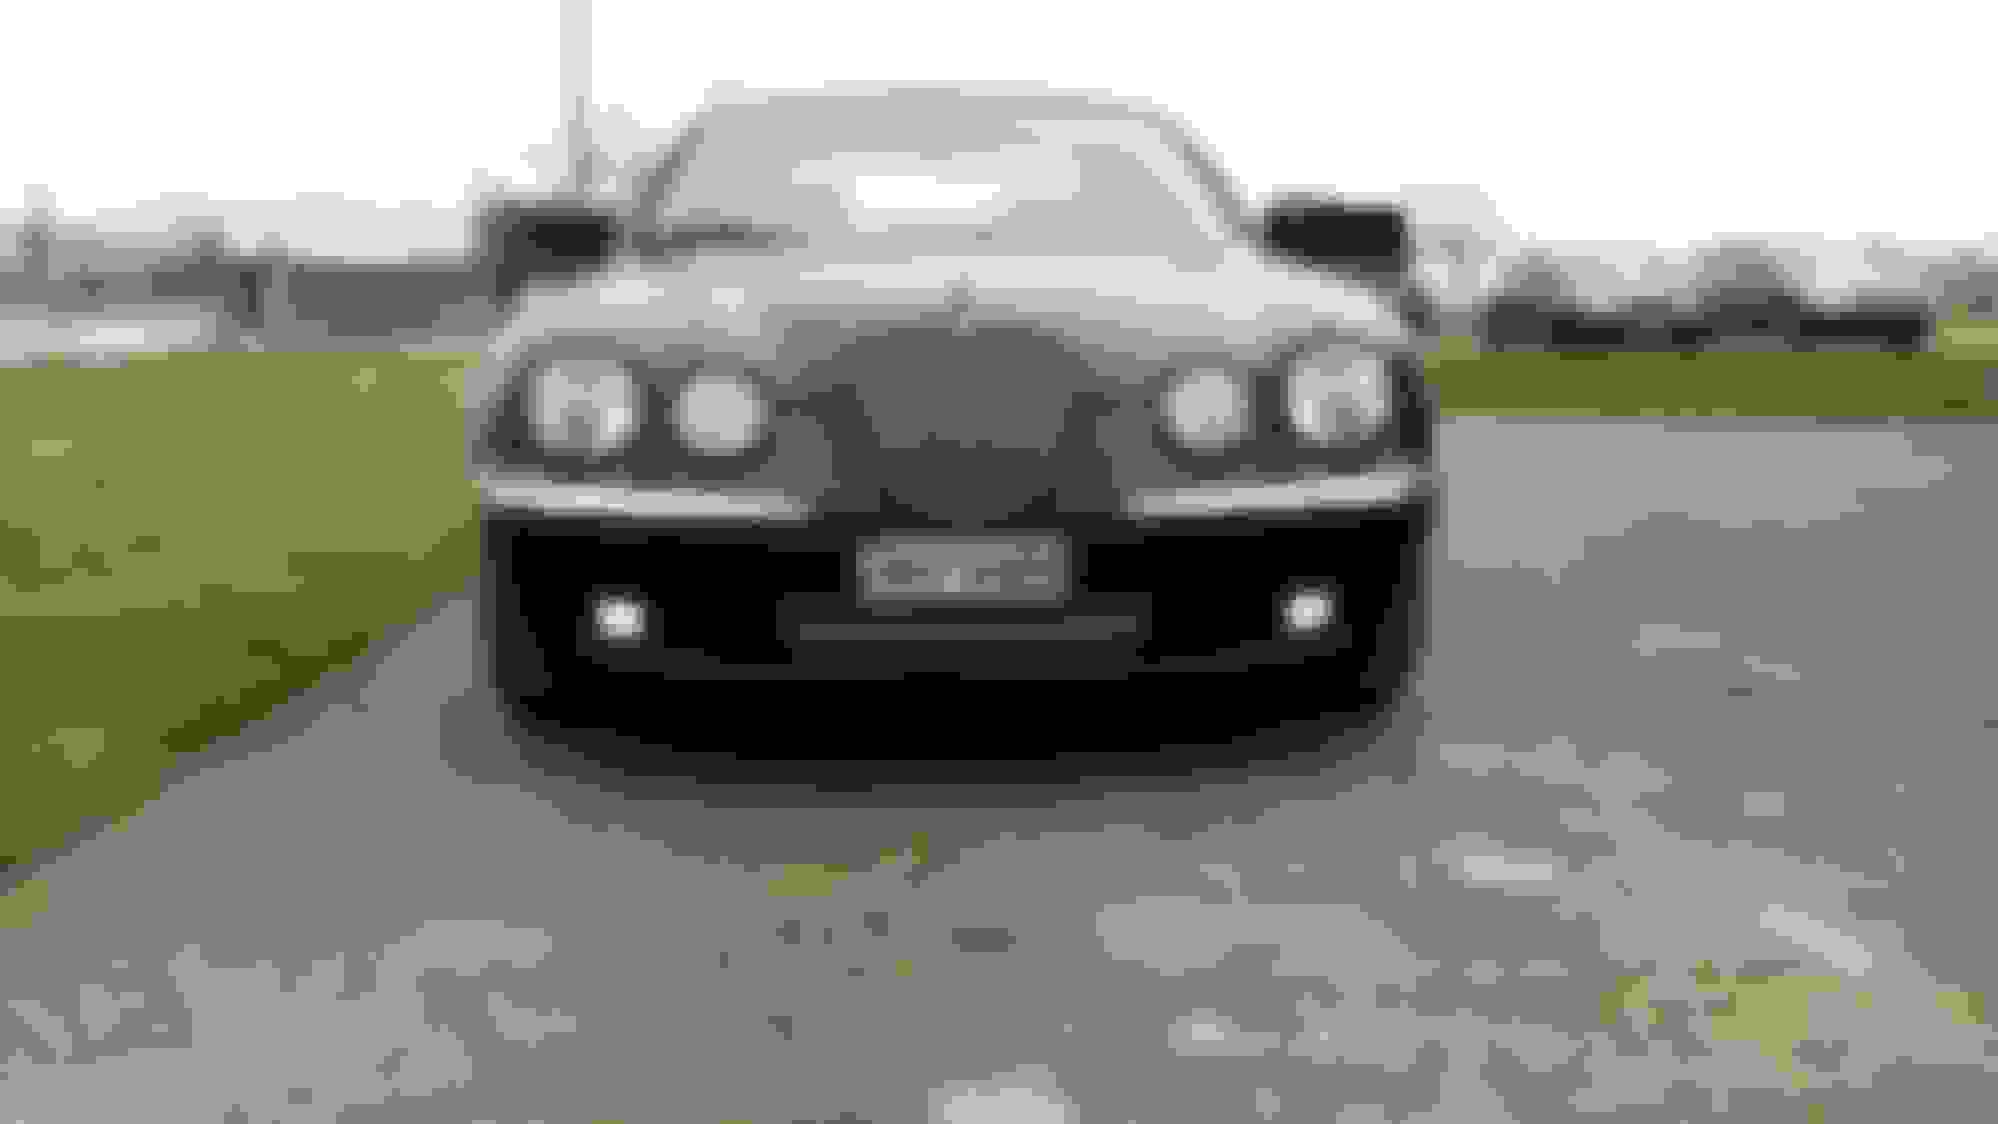
This is with the fog lights.
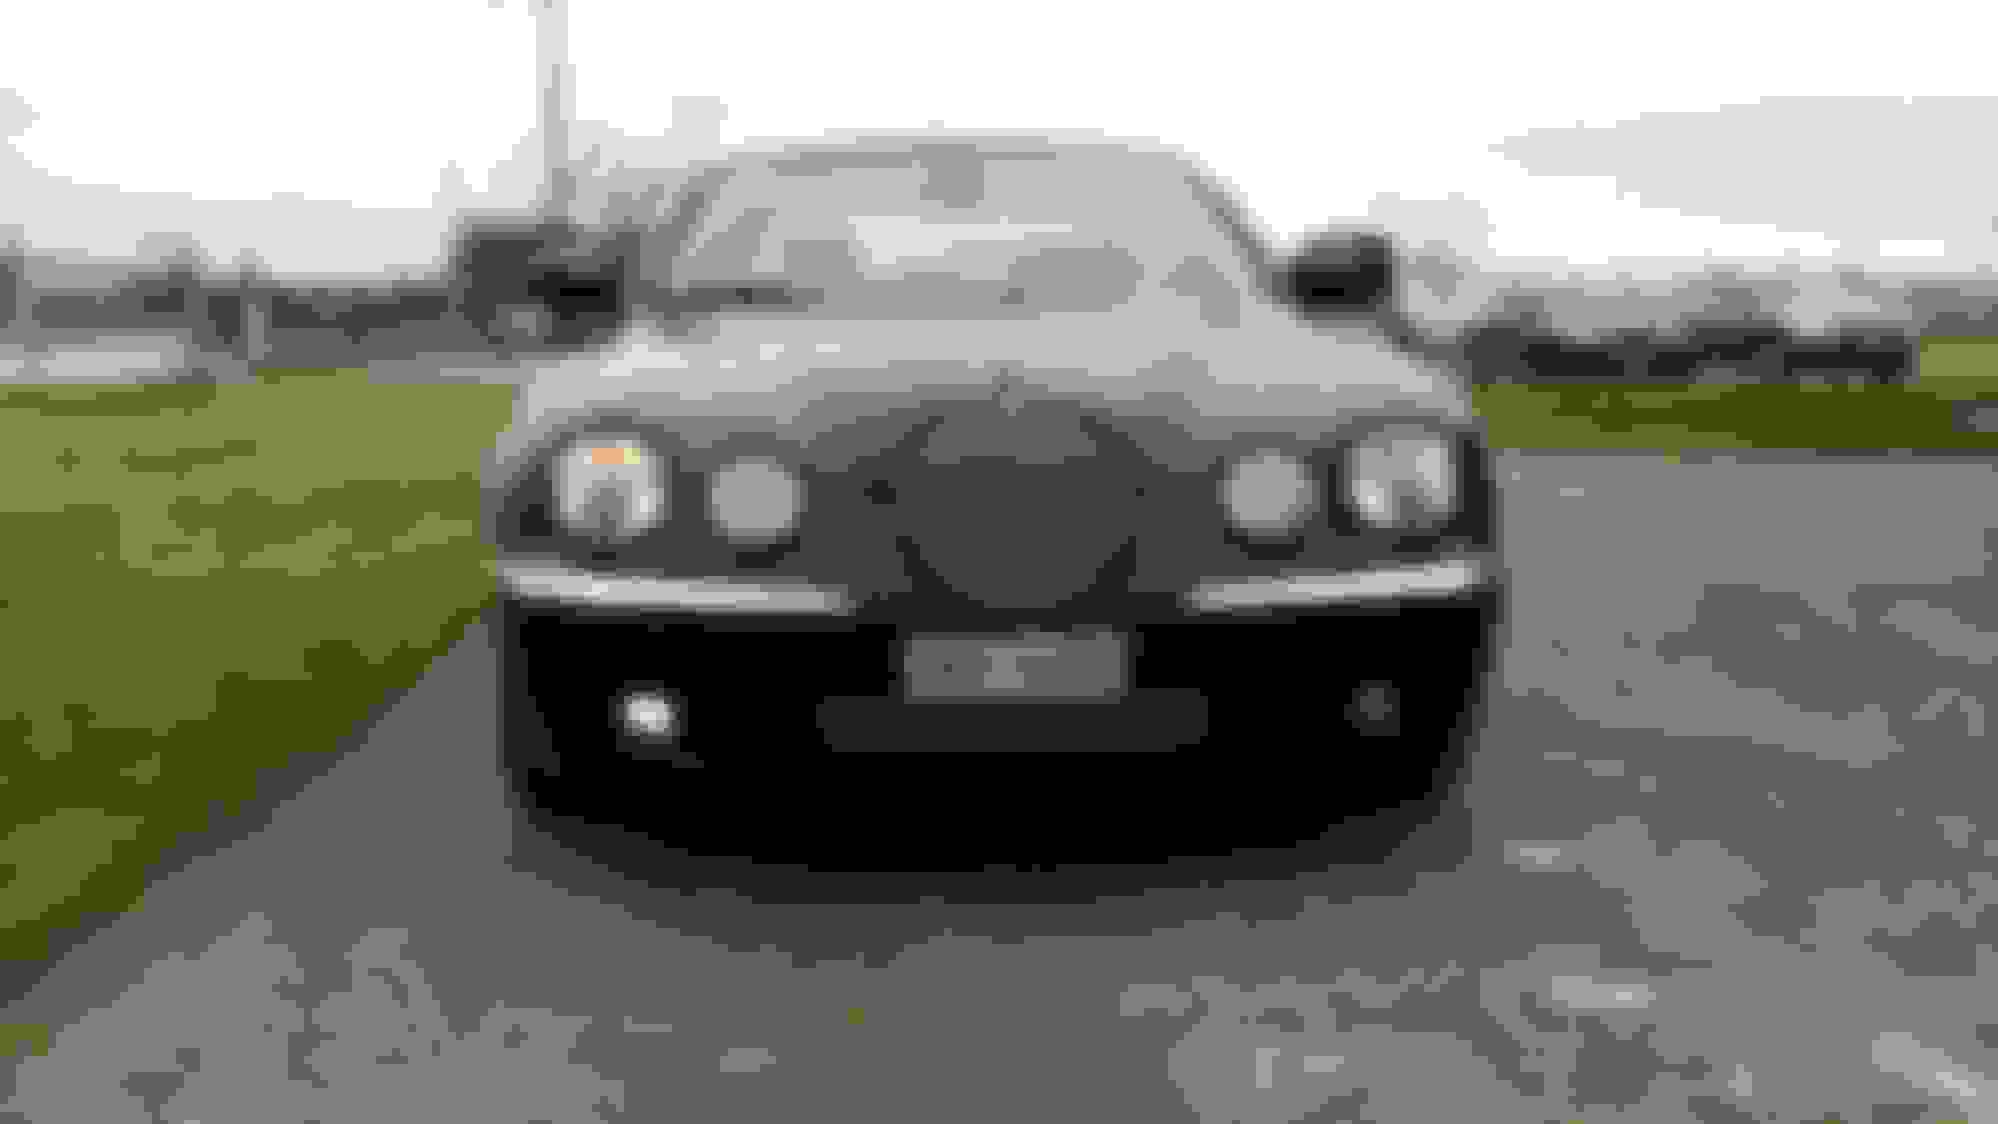
This with the left turn light.
And this with the right turn light.
I forget to say that with this opportunity i instal and the lower mesh grill. ( from Adamesh too).
Very nice job.
You may have had easier life by using a fuse pick as in the picture. You plug into the F38 location (F37 in principle should also work, and probably would be a better choice because if something happens to your lights you just cut the MAF circuit but the car will still run, probably in safe mode, if you interrupt the F38 circuit then you affect the engine control module) and you can connect two fuses, one acting on the plugging location (the 10A for example), and one connecting the wire pick going to the DRL (the 5 A for example as in the picture, or even better just 2 A).
Pouvez-vous indiquer SVP le type de relais utilis�s en particulier pour le branchement au feu de position pour le FOG 102, celui-ci
n�ayant plus la signalisation par les indicateurs de directions du FOG 101.
Comment se branche ce relai ?
D�avance Je vous remercie.


 11-27-2014 | 12:05 PM