When you click on links to various merchants on this site and make a purchase, this can result in this site earning a commission. Affiliate programs and affiliations include, but are not limited to, the eBay Partner Network.
Depends what's wrong with it. You won't know until you take it apart. The interior door trim panel must be removed and disassembled to get to the switch box.
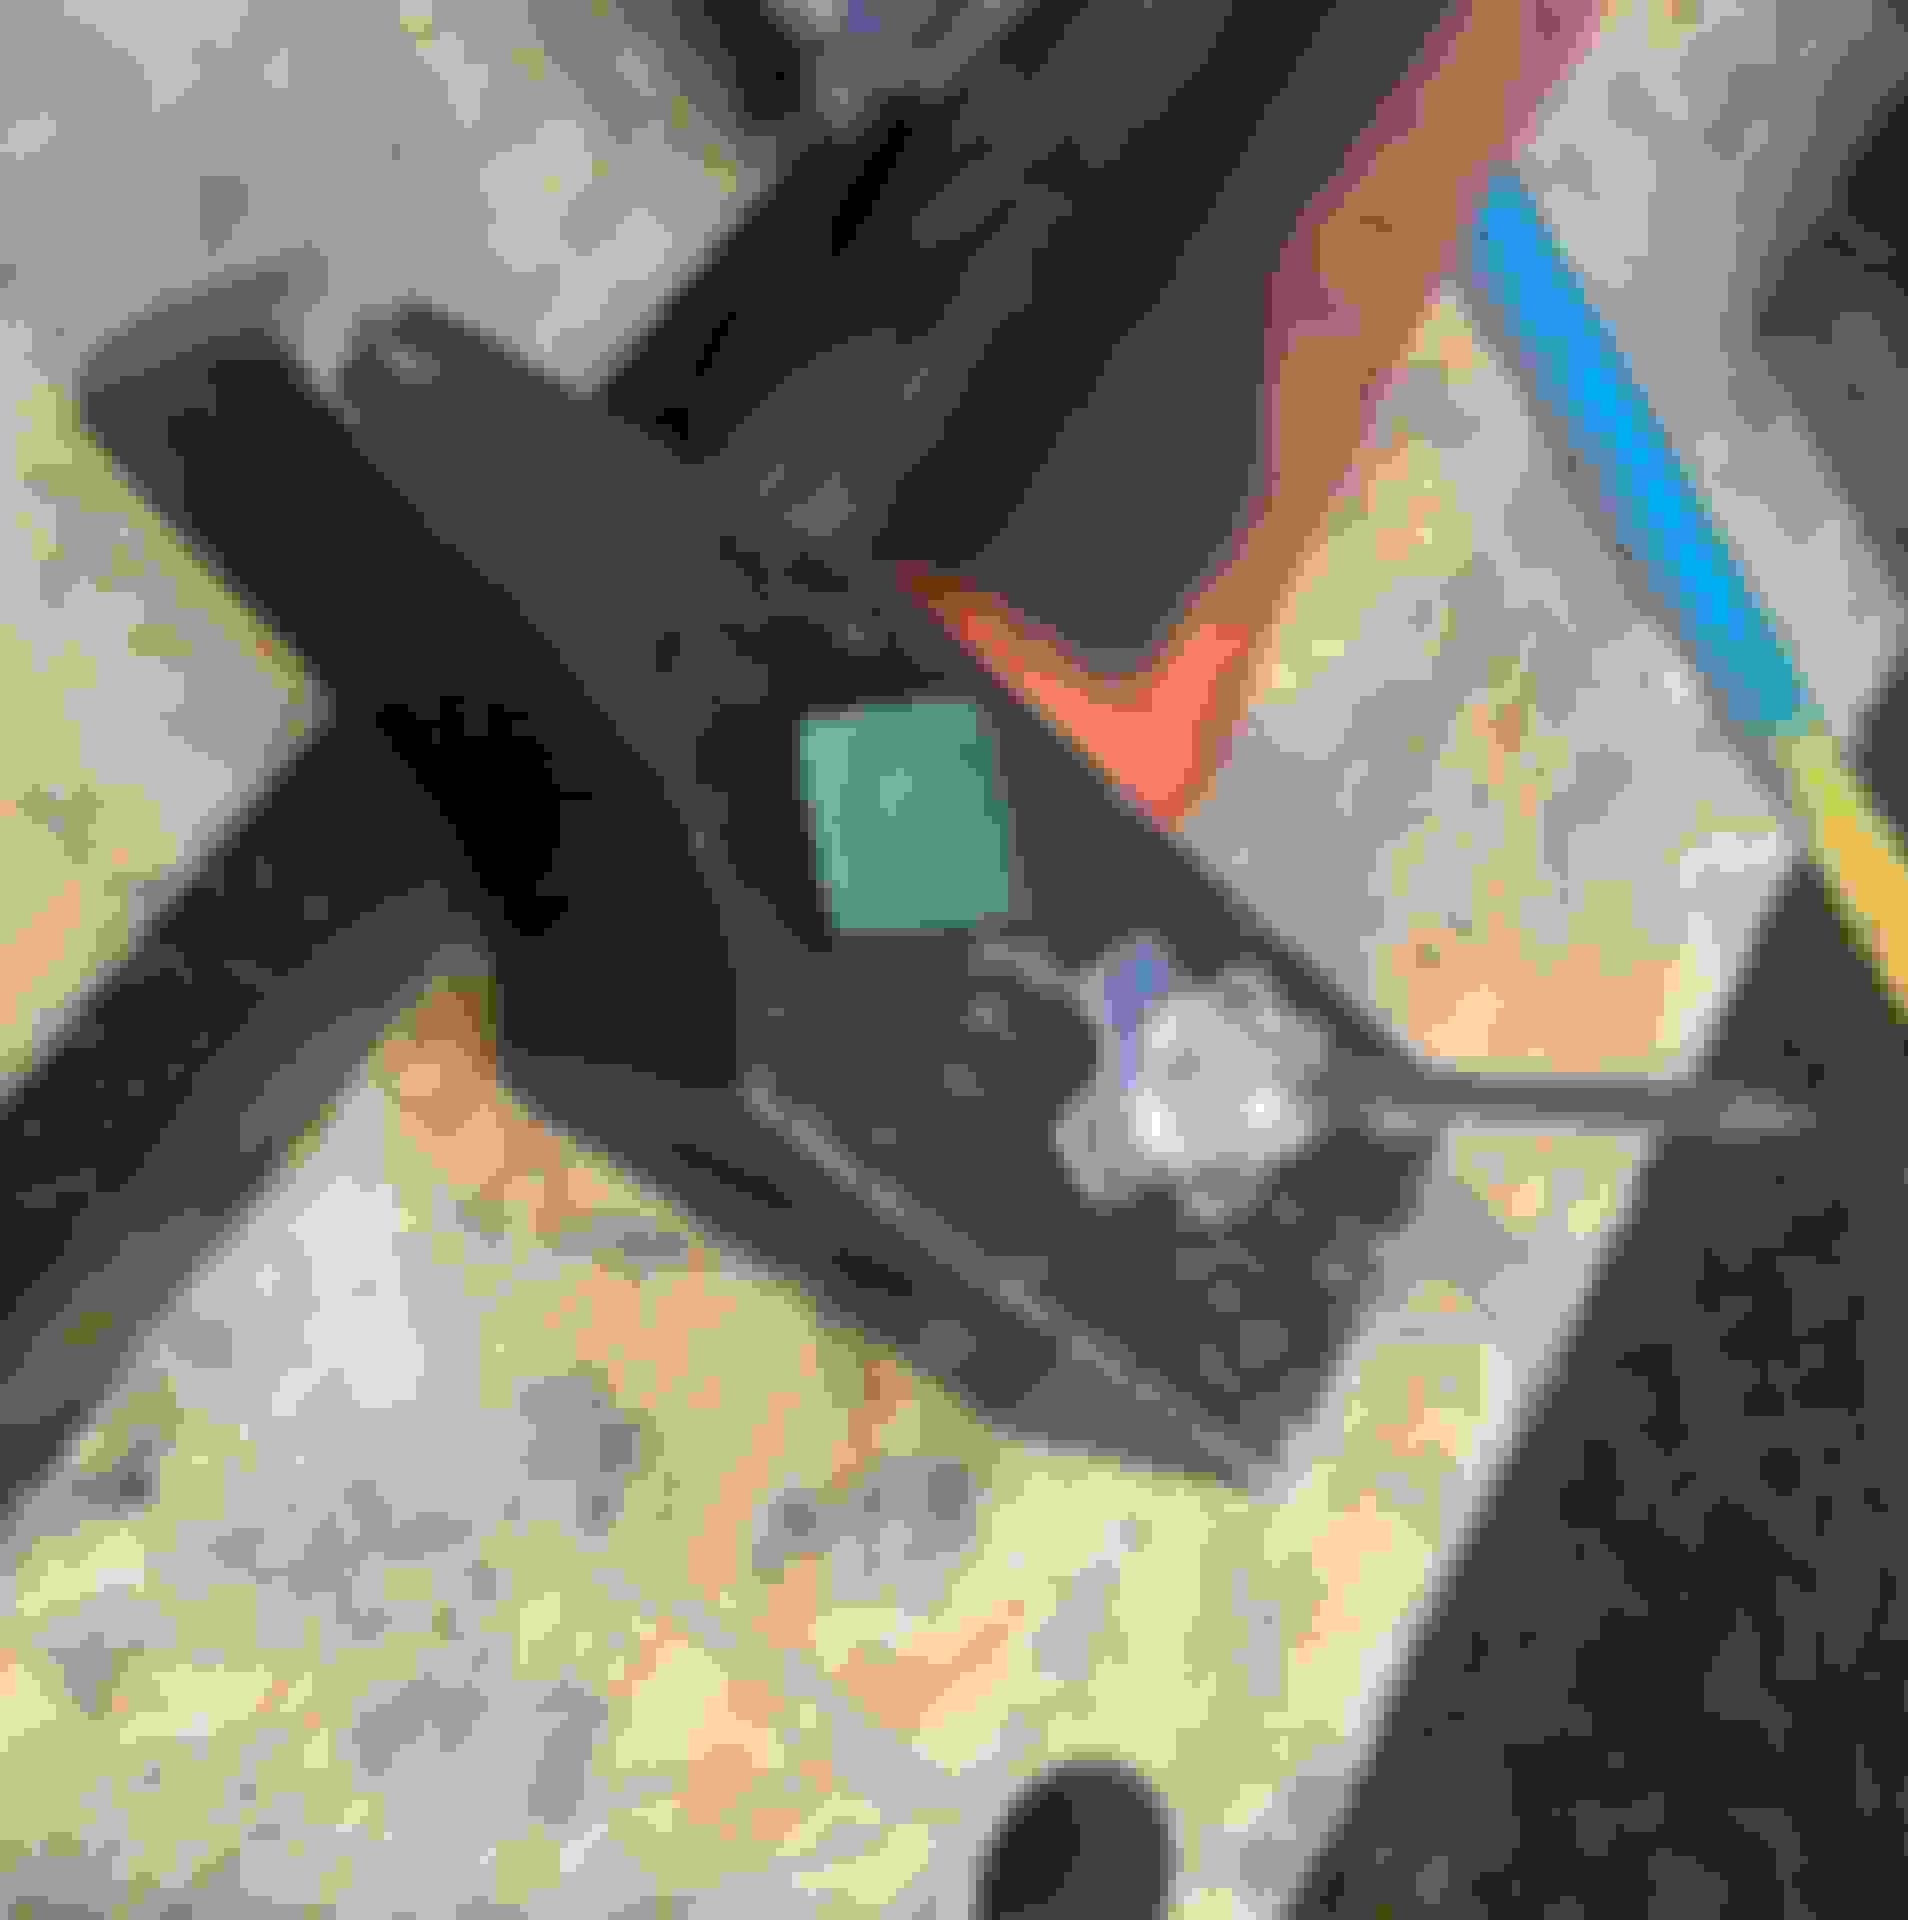
I had mine apart to access the backlights:
2 = The mystery mirror control backlight (why didn't they make it accessable like the other two/three)
3 = Contacts for backlighting whatever extra controls are included in high spec cars. This has an access hole included in such cars (mine just has the depression where the hole would be)
1 = I wonder what this thing is??? it certainly isn't an active backlight...
I am aware this post is almost 5 years old but I am facing the same issue with my master switch. The miror switch is broken and I would like to fix it by dismanteling the whole switch an then trying to recreate the broken button.
When I try to separate both parts of the black plastic casing, there is a strong resistance and I can not seperate it.
I do not dare force for fear of breaking everything... The part is bloody expensive !
Do you remember how you manage to seperate yours ? Did you have to force or disconect something before taking apart the 2 black plastic casings ?
The pictures show a white rubber strip going around the middle of the unit - this can be sliced lengthwise with an xacto knife / razor knife.
Also - I'm pretty sure there is a screw in the center holding the two sides and you need to poke through a round paper / plastic sticker to reveal that screw head.
I wanted to do the same, but ended up replacing the whole thing. The joystick is a thin rod of clear acrylic - I tried glue and plastic-welding, still no go.
If I could compare the pins with the X308, I would love to swap for that - just a flat pad instead of the joystick?
Although the unit is not compatible with the XJ40 years, the joystick part looks like it's the same - I think those are less expensive from used resellers.
I have noticed a small sticker at the back of the switch. That might be the one hidding a screw
I will try what you said this week-end.
I would like to fix it because I am located in France and these cars are pretty rare, especially with high specs, and cheap switches coming from UK are not compatible ... (LHD Vs RHD)
The number 1 in your picture is for the led for memory options when you have this.
I have a led there on my remote control and some buttons; 1,2,3 and set.

 01-06-2011 | 08:46 PM