2011 XJL Headlight
#3
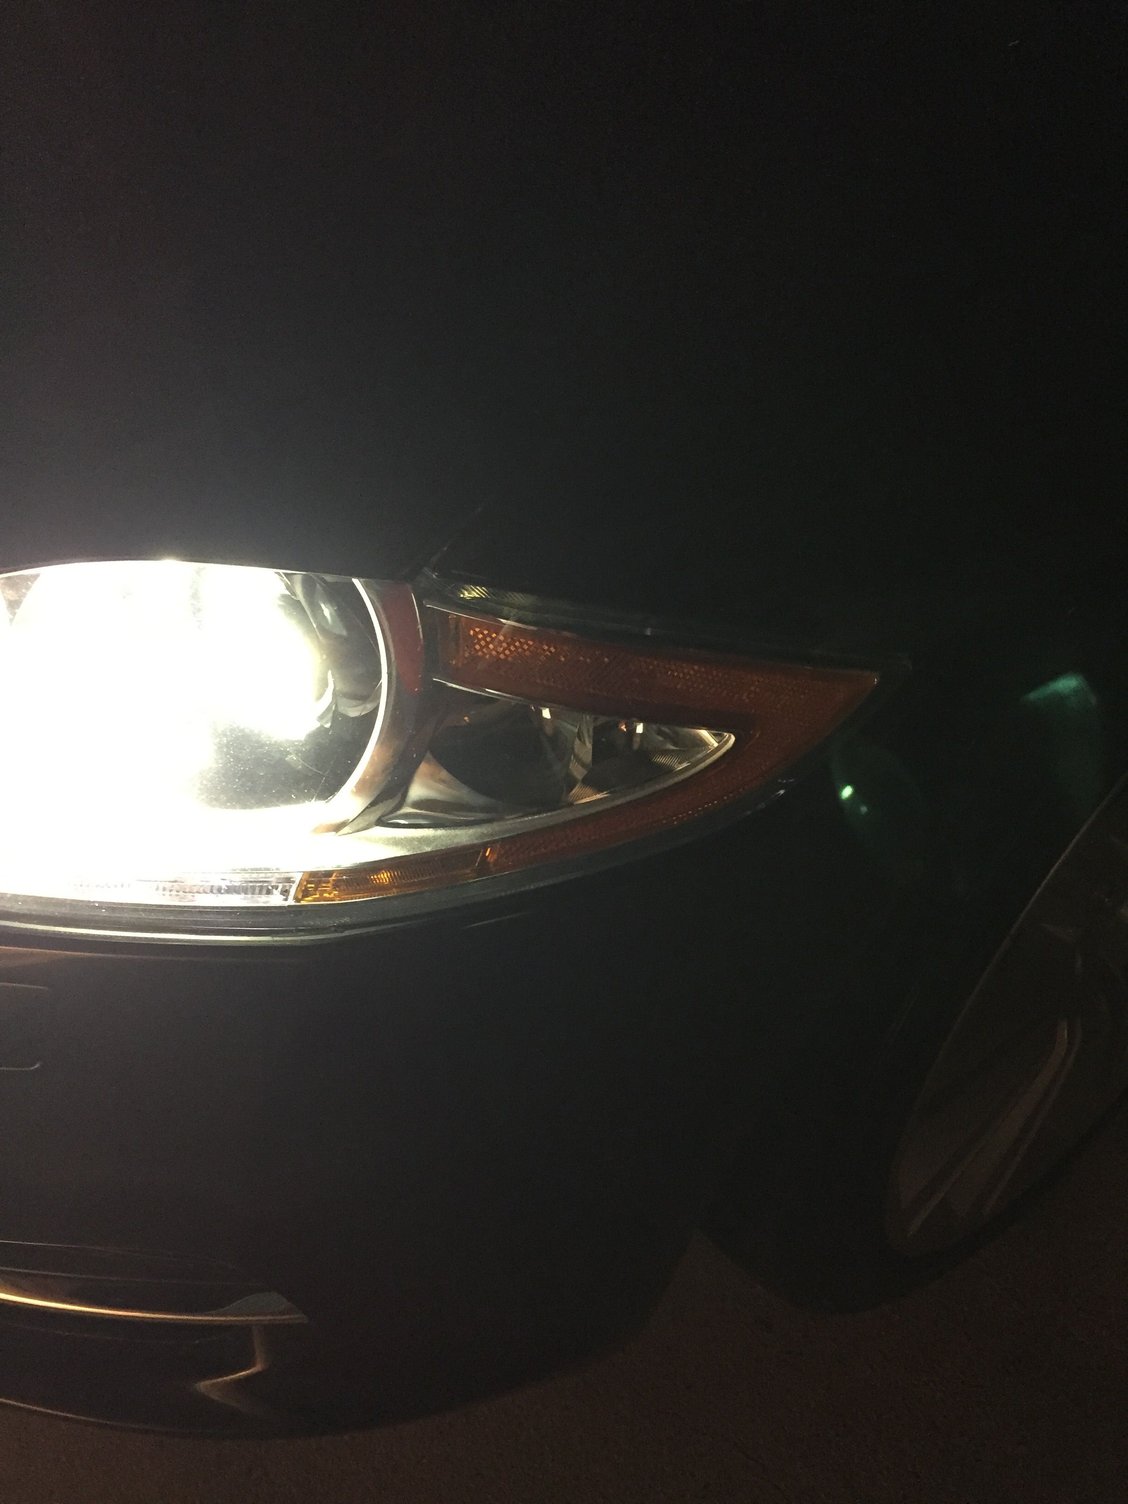
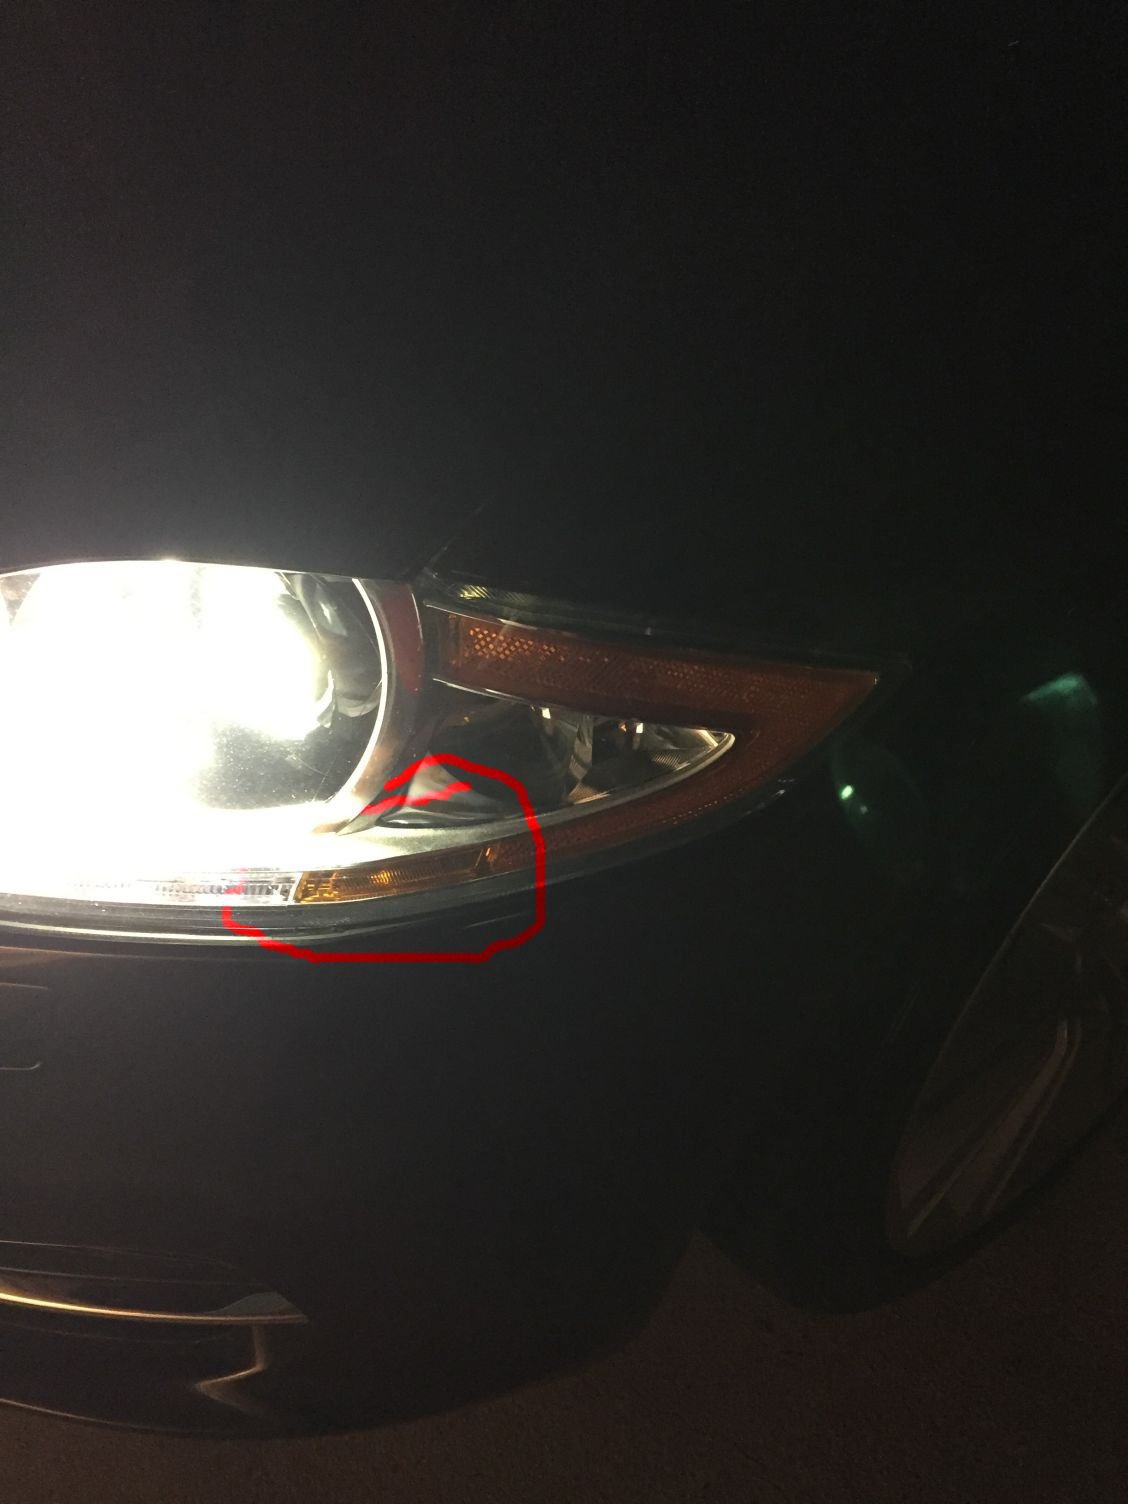
As the only amber light in that photo I am guessing you mean the triangle side marker added for the US markets? They are LEDs, and are non-servicable.
To get access to the board they are mounted on will require you to cut open the headlamp unit and reseal it afterwards. On these units you cannot use a heat gun or place the unit in an oven to release the factory sealant as the PP body has a lower melting point. Spare boards are not available as these are non-servicable parts so any repairs would be at the component level.
Removing the bumper cover is easy enough:
- Remove both front road wheels.
- Remove the bolts holding the wheel arch liners to the bumper covers.
- Remove the single 10mm captive washer nut at the rear of each wheel arch which then allows you to position it out of the way.
- Remove the two torx screws at either upper and outer corner of the bumper cover. One hangs it vertically along the top lip, and the second holds it horizontally about 4 inches down.
- Disconnect the headlamp washer line (tucked inside the RH front of wheel area right on the cover) and the bumper harness (same location on the LH front). Note their are airbag sensors in the bumper cover so it would be prudent to disconnect the battery first. (I don't bother, but ignore at your own risk. Certainly keep the ignition off when removing.)
- Remove the three 10mm bolts and the two torx screws that hold the rear of the radiator/bumper cover undertray to the main engine undertray.
- Open the hood/bonnet and remove the hanging bolts and the centre screw from the top lip of the bumper cover.
- You'll notice the outer two hanging points will look like they have a stretched piece of plastic under them. Lift those two points off and the rest should release easily, and the entire bumper assembly will lift right off in one go.
The to remove the headlamps:
- Remove the innermost front hex screw.
- Remove the two outermost rear hex screws. One is at the bottom and one at the top.
- Release the hanging clip on the innermost front corner and remove the headlamp starting at the inside and then the outside. Note there is a locating lug on the outside edge which prevents you pulling it straight forward.
[ edit ]
I meant to add - why do you want to access them? If the light is not working then initially check the fuse and wiring before looking inside the headlamp unit. I can't work out from your photo if the white LEDs are on or off.
The side marker LEDs receive their power from the central junction fuse box (behind the rear seat back), connector D/12, which is protected by F25/5A. Both sides are shared, and also power the white LED strip along the base of each lamp, so if both lamps are out suspect the fuse or wiring before the lamps.
Last edited by xdave; 11-14-2016 at 07:39 AM.
#4
#5
Yes, that is the side marker lamp fitted to US-region cars.
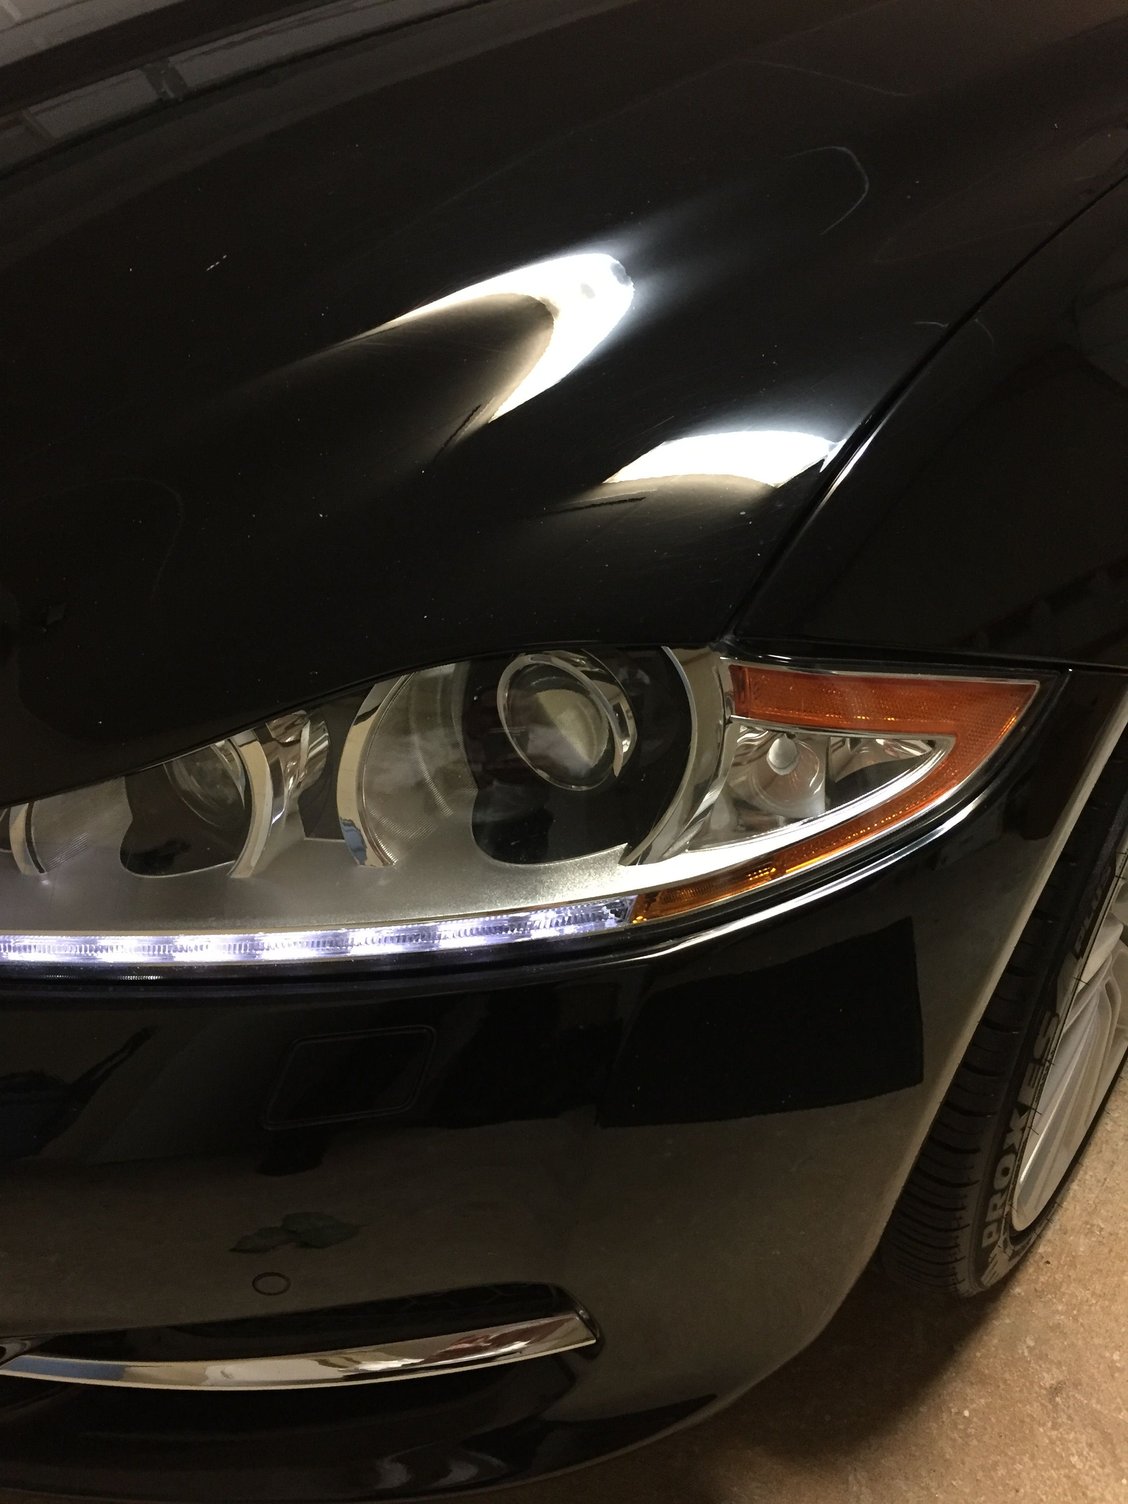
Are the white LEDs under the main lamps coming on when the lamp stalk switch is in at least position I? If so you have a failed LED (unit replacement or you can try and replace the LED yourself but it is not an easy task). If they are also not on then check the fuses and wiring.
Are the white LEDs under the main lamps coming on when the lamp stalk switch is in at least position I? If so you have a failed LED (unit replacement or you can try and replace the LED yourself but it is not an easy task). If they are also not on then check the fuses and wiring.
#7
Trending Topics
#8
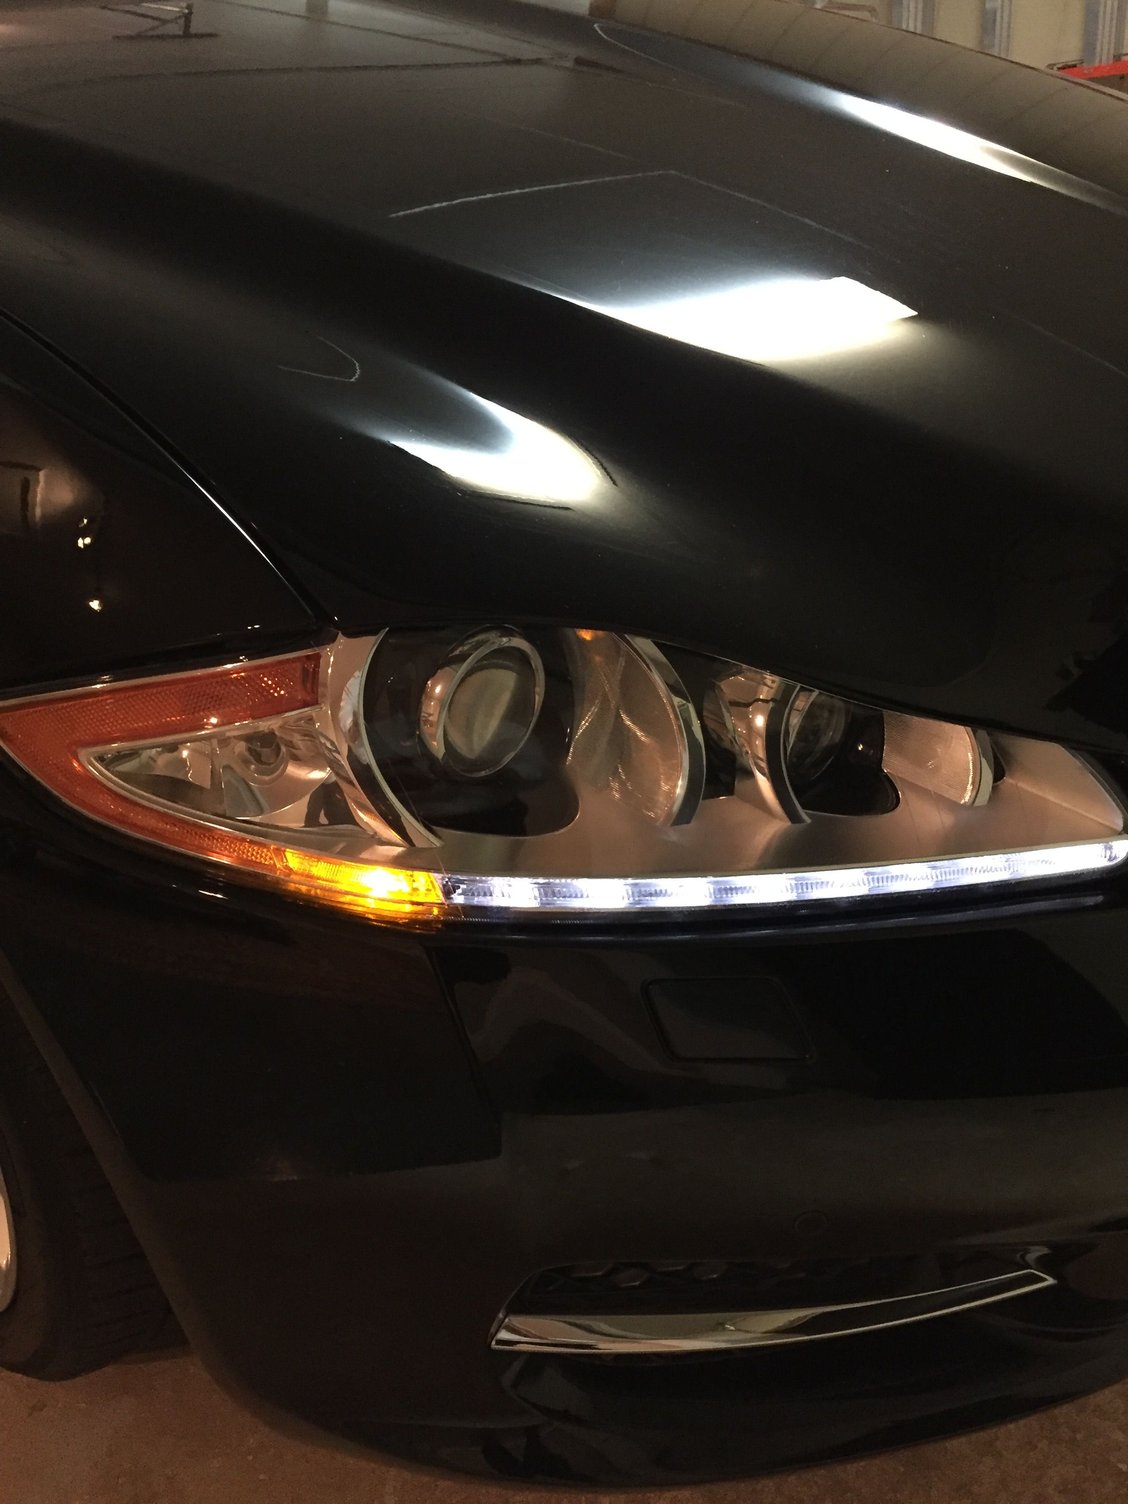
That makes it very clear. Sadly the side marker LED looks to be dead. They are internally wired in parallel to the position LEDs (the white ones) so if one is dead but not the other you have an internal fault.
It could be the LED itself, or it may be a driver circuit issue. It is worth removing the HID ballast from the base of the headlamp unit and refitting it in case it is related as they do sometimes get water in them, but I don't think it drived the LEDs on those lamps.
Given the frequency the complete headlamps are available used from breakers, I would replace it rather than attempting to fix. You appear to have the AFS lamps so make sure they match. You will need a US spec replacement - ROW has a clear reflector in place of the orange one. If you look at the "LED headlamps" link in my signature below it shows how to open the units for repairs/changes if you want to try it, but it is a complicated process prone to error.


