When you click on links to various merchants on this site and make a purchase, this can result in this site earning a commission. Affiliate programs and affiliations include, but are not limited to, the eBay Partner Network.
Ouch! That's a lot of additional rotating mass. I would not recommend that for the MT car. It will take longer to double-clutch rev for a downshift. The OEM pulley is only 2.75 lbs and the aluminum overdrive pulley is maybe half that.
Just like Obamacare, I will Have to live with it! But Unhingd's thought was that Carbon ceramic brakes were not good for MT. Let's just say I buck the system!
Maybe Stuart can weigh in.
Install completed
Dang!!! VAP tune and lower pulley. The change in response and overall pull of the engine is really hard to describe or believe. Kudos to VAP for providing a product worthy of its price!
Install completed
Dang!!! VAP tune and lower pulley. The change in response and overall pull of the engine is really hard to describe or believe. Kudos to VAP for providing a product worthy of its price!
. Pictures to follow and description of process I followed.
Install completed
Dang!!! VAP tune and lower pulley. The change in response and overall pull of the engine is really hard to describe or believe. Kudos to VAP for providing a product worthy of its price!
Can you at least give us SOME type of description??? lol and is this on a V6 or V8?
The car is a 2016 v6s six speed manual. First drive tonight it was misty so I did not want to push too much but the most notable differences are in torque coming on early and pulling beyond the cars normal limits. Best example is in third the car felt pre-tune like it was about tapped out at 90mph, with the new setup it blows by 90. When I get some dry roads I will run it out but this is a completely different drive now.
The car is a 2016 v6s six speed manual. First drive tonight it was misty so I did not want to push too much but the most notable differences are in torque coming on early and pulling beyond the cars normal limits. Best example is in third the car felt pre-tune like it was about tapped out at 90mph, with the new setup it blows by 90. When I get some dry roads I will run it out but this is a completely different drive now.
Keep in mind that in addition to the massive increase in power, the reason it is now blowing past 90 in 3rd is that redline is now at 7000 instead of 6800. Before the tune/pulley, I was always hitting the limiter before I naturally wanted to shift. That now doesn't happen. With the relatively tall gearing on the MT, the extra 200 rpm is perfect.
Install completed
Dang!!! VAP tune and lower pulley. The change in response and overall pull of the engine is really hard to describe or believe. Kudos to VAP for providing a product worthy of its price!
Did you have your rev limit raised? If so to what?
I will be having mine installed in a couple of weeks.
All righty. Now that I have recovered from spending a lot of time on my back on a creeper under an Ftype on blocks, I can update the pleasure of the install. Bottom line, this install is not rocket science. But, it requires patience. Even on a lift, the installer is removing T50 bolts that are installed with locktite. I have many ratchets and power tools. With the hood installed, there is no fast attack method.
Get the car up and remove the bottom tray and front lip system. About 40 screw and bolts. Easy with a power ratchet. From the top side, pull back the air filter inlet tubes. There are three clamps you will see to loosen on a youtube video which releases the clamps from inlet tubes and the snout to the MAP. Let me assure you, there is a much more involved wrestling match with the tubes than shown on the video. Also, I got a bit frustrated and yanked back on the snout in final removal. When doing so, I popped a very small cooling line that is clip fitted that feeds the super charger and spilled a bit of coolant.
What I found was that once the clamps are loose on left and right side, even before loosening the snout clamp, get rough with the flex inlets. They can take it. Pull-yank them back and tie them out of the way. They constantly want to be in place and hold the air duct Tee in place. I was fighting them when I wrestled the snout loose causing the coolant leak.
The lower tensioner for the supercharger belt is easy to release. Insert a 3/8" breaker bar in the tensioner(it has mortised receiver for the 3/8" drive." I then slipped an old floor jack handle over the breaker bar for leverage and pushed the bar from Left side of car towards right side. This will allow you to slip of the old belt easily. (Never be afraid to change a NON-valve driving serpentine belt. Very easy.) The idler pulley you will be replacing is just above the lower belt pulley. The OEM pulley is ribbed and you are replacing it with a smooth faced pulley as your new belt(green shown in pics) is a smooth back. The bolt is a 16mm and easy to remove and replace. Do note there is a small split poly insert washer on the bolt. Keep it in tact as you it fits in the new idler pulley. Torque the bolt back with loctite to 40NM or about 30 ft lbs.
There is a second idler pulley which looking down from the supercharger is to the right of the s/c which you WILL NOT need to change. It is between the s/c pulley and the spring tensioner.
At this point, the belt is off, the new idler is installed. Next step is not hard but gosh, what patience is required simply due to fatigue. Going up from the under chassis to the bottom pulley, there are 6 T50 torx bolts to remove. Of course there is a chassis member perfectly located just so you do not have a straight shot with a inline ratchet. I used a 1/2" flex ratchet and began working the bolts out. They are tight threads and you will ratchet all the way out. This is good for safety but tiring. You do not just pop these bolts loose and spin them out.
Once out, clean off old loctite which I used a wire wheel. The old pulley pops loose with the ease by prying gently with a screw driver between the pulley and the inner accessory pulley. >>> Offer up(always wanted to say that) the new pulley, apply loctite to a bolt and hand start the bolt. The bolts are self aligning and easy to start. Then begin the process of inching them tight. This also requires a lot of patience because the nature of torx sockets is that they must be kept straight so one hand is guiding the alignment of your tool the other hand-arm-shoulder is madly tightening the bolts one 1/8 turn at a time.
Moving top side, installing the belt is easy peasey. Weave it on course, use your handy breaker bar pushing from left to right and the belt slides nicely over the s/c top pulley. View your alignment. Make sure the belt is squarely seated on all pulleys. Be 100% certain the belt is clearly in all grooves and not riding the edge of a pulley or you can shred the belt upon start up. (I have done this once many years ago.)
Before reconnecting the air inlets or bottom tray, start the car. Check the running of the belts and if all goes squarely and quietly, you are ready to reassemble and dive. That is it!!!
Ouch! That's a lot of additional rotating mass. I would not recommend that for the MT car. It will take longer to double-clutch rev for a downshift. The OEM pulley is only 2.75 lbs and the aluminum overdrive pulley is maybe half that.
We went with Steel versus Aluminum for a few reasons, not the least of which was customer preference. The 4lbs difference on an engine of this size, relative to the large rotating mass of the engine (remember this is a V8, with counterweights on the crank, etc. etc.) is probably not going to be noticeable. Especially when you consider that relative to a flywheel for example, the mass is very close to the axis of rotation.
Also, due to the fact that the OEM pulley is damped, the extra mass relative to Aluminum will mitigate this to some extent, whereas the Aluminum will not due to the decreased mass.
Aluminum also expands and contracts at a different rate than steel when heated, and is more prone to belt slippage.
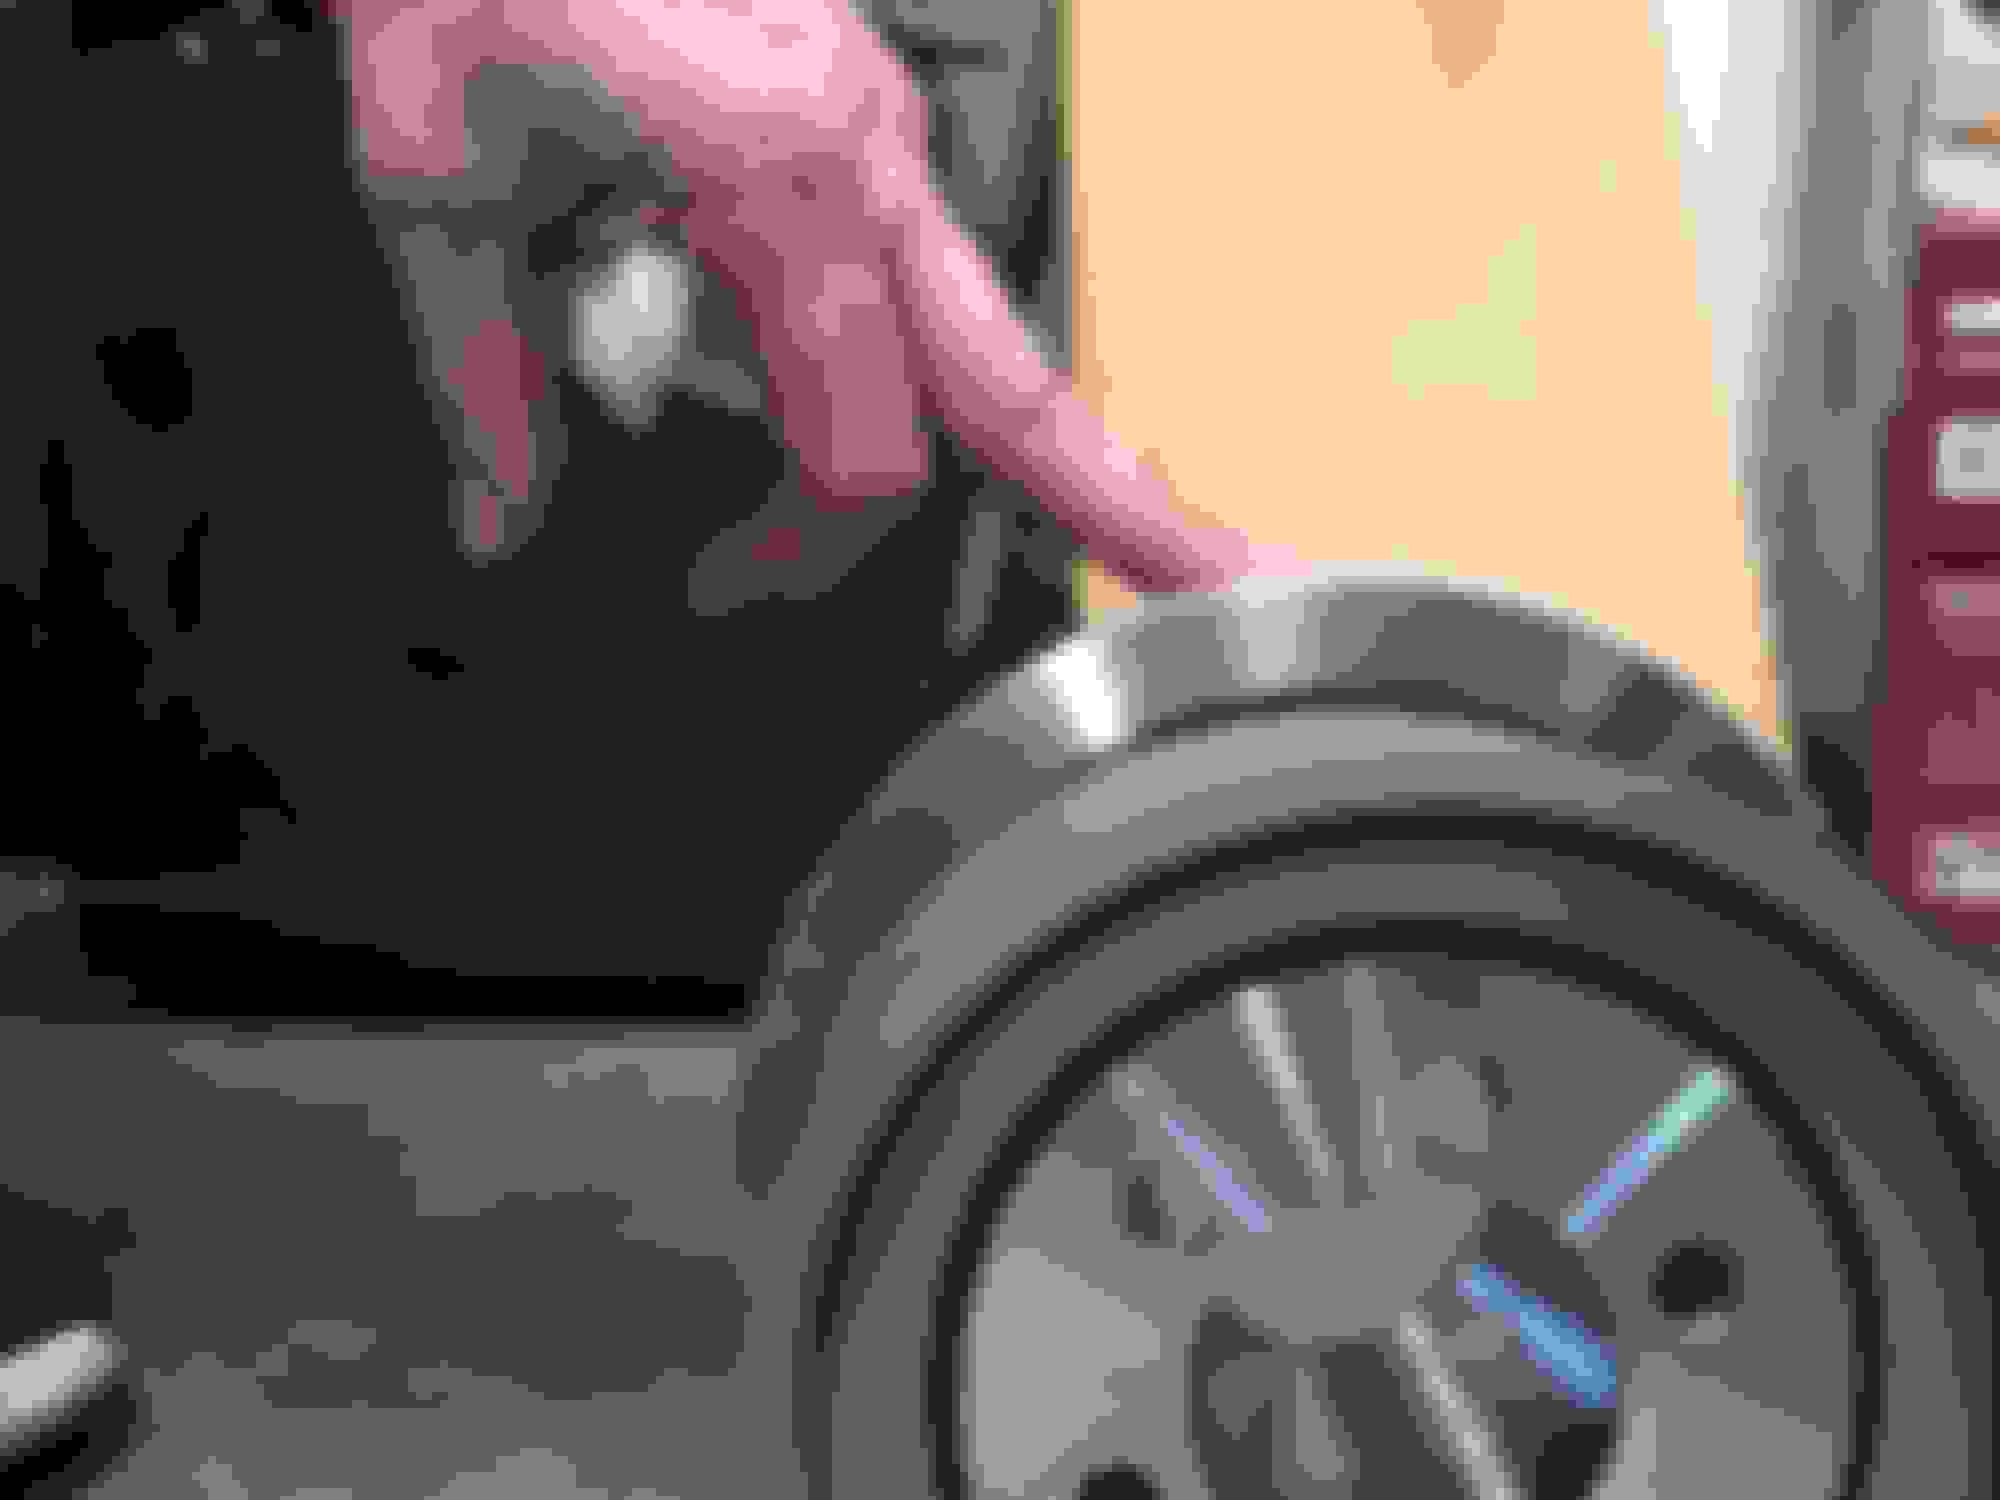
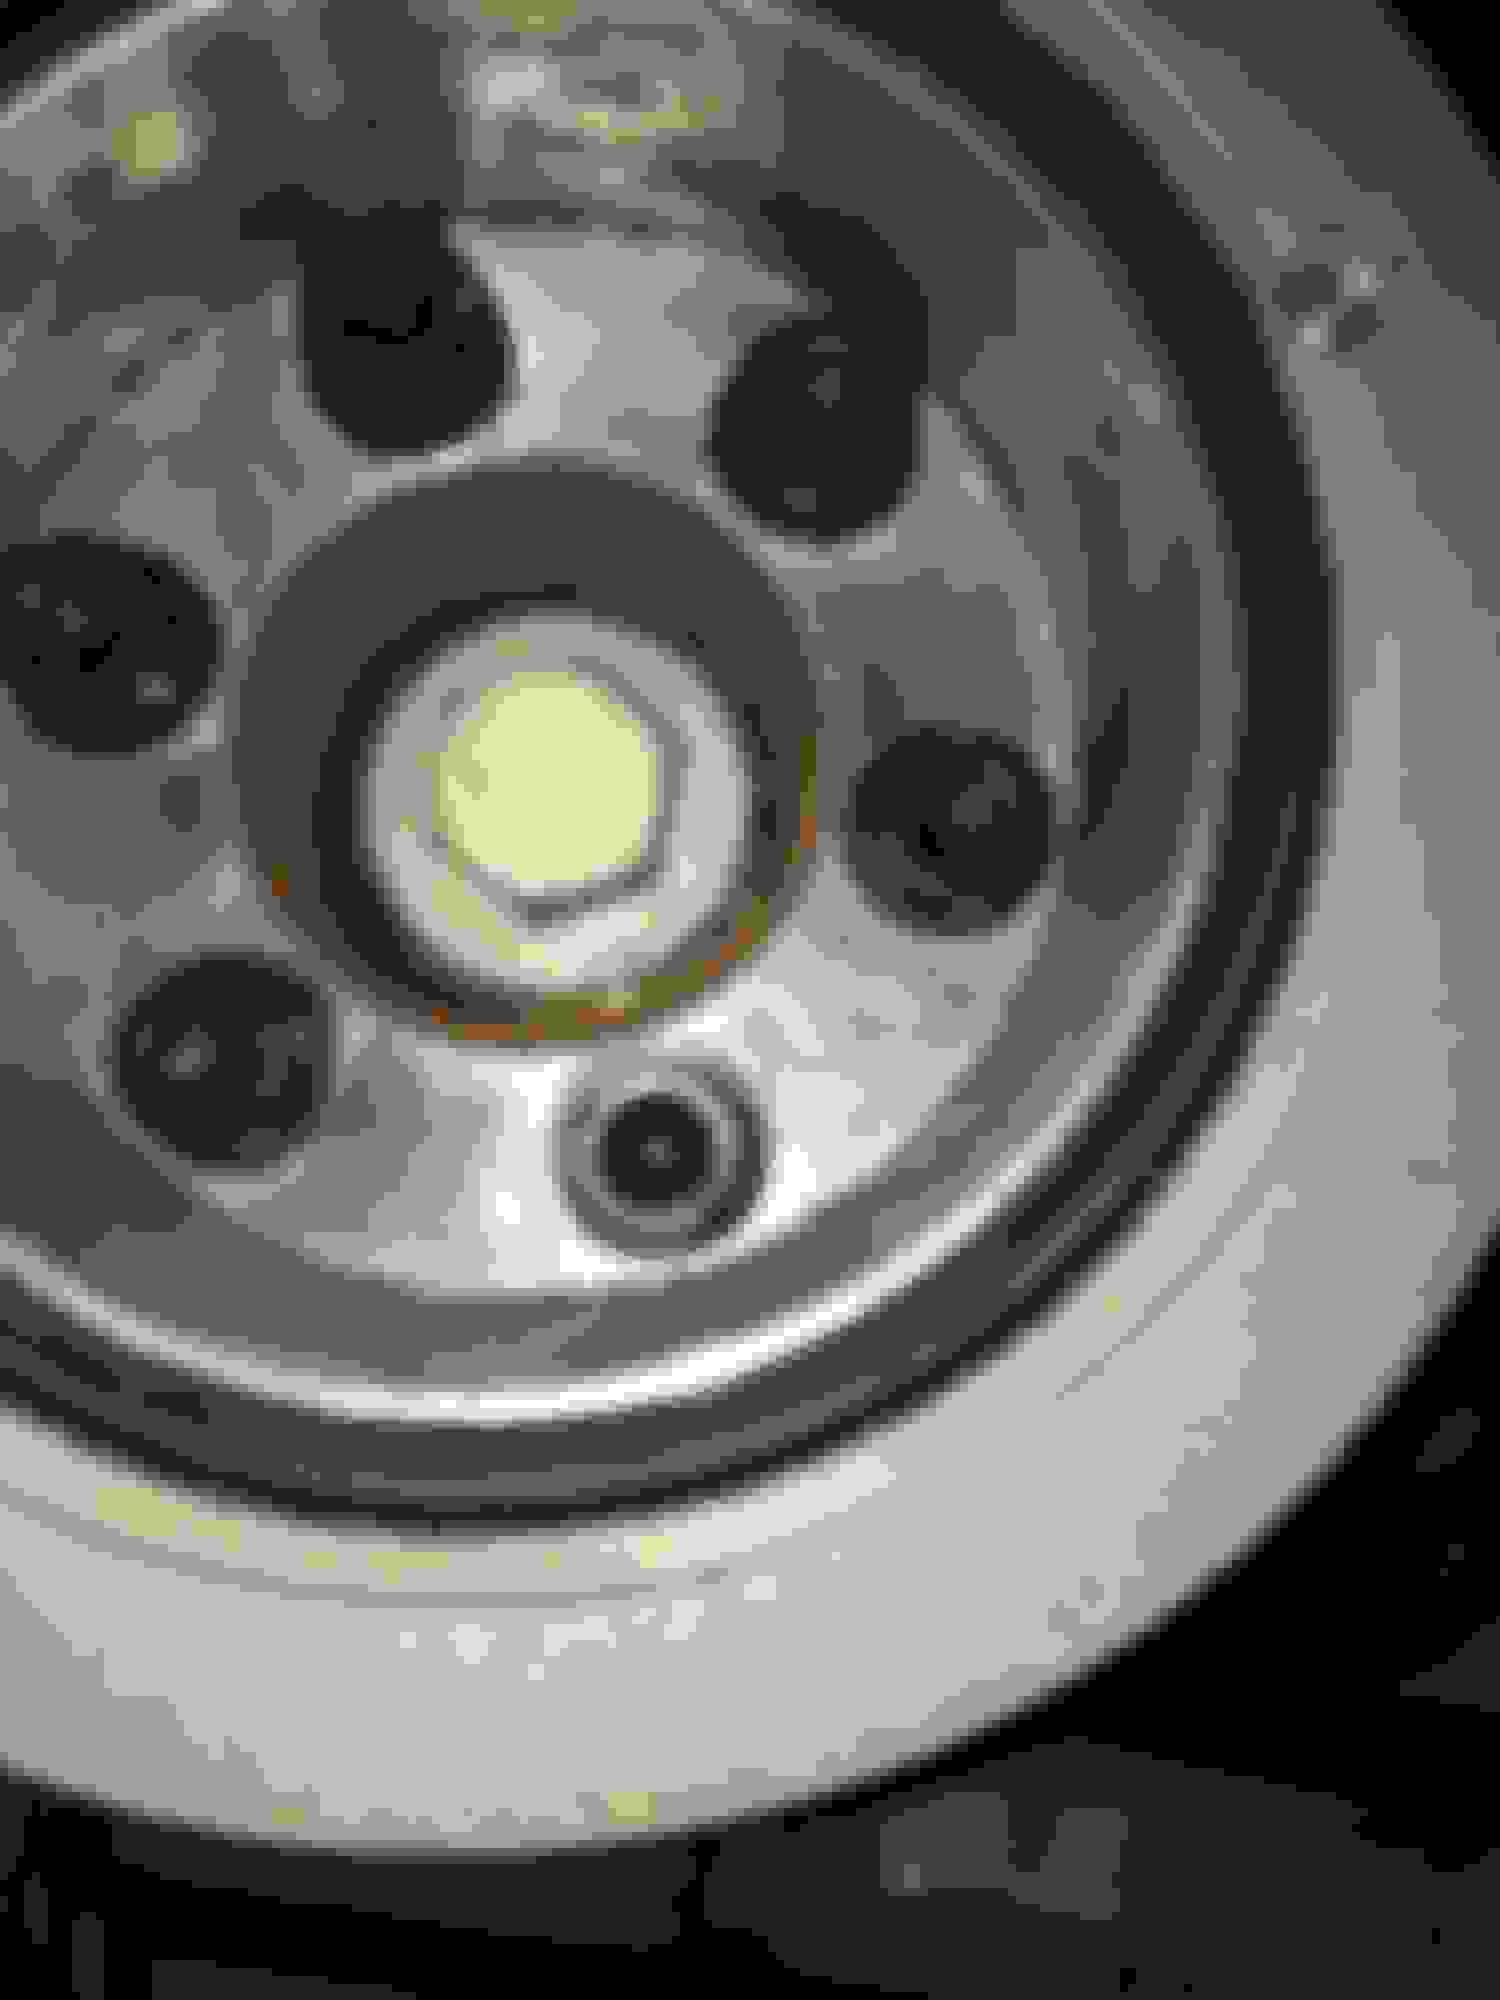
Here are pics. I apologize if this was not the thread for this post!
OEM aluminum 2.75 lb pulley in front. VAP Stainless 7.00 lb pulley in rear top down view prior to install. old belt is two sided groove Top side view post install OEM pulley on car VAP pulley installed Bottom up post install VAP pulley and belt The blanket used for my 6'1" body that spent a lot of time lying across the engine bay.Nothing convenient when working on front side of F Type with hood installed!


 03-25-2017 | 07:31 PM